
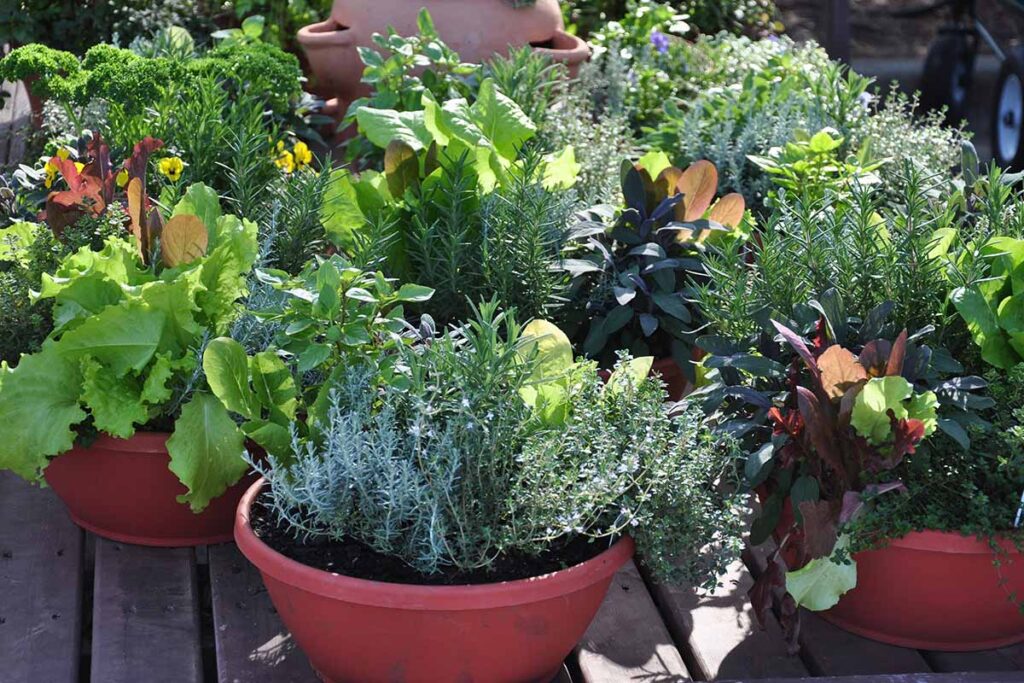
Even if you don’t have room for a regular garden, you can still enjoy growing and harvesting fresh vegetables all summer long by cultivating your crops in containers.
If the sun shines for a good part of the day on a balcony, driveway, front step, patio, porch, or sidewalk, you’ve got prime gardening real estate for a collection of pots filled with vegetables.
We link to vendors to help you find relevant products. If you buy from one of our links, we may earn a commission.
You may choose to grow some of your crops in containers to save garden space, or in the case of perennial vegetables, move them to a different location for winter protection.
In this article, we introduce the basics of cultivating vegetables in containers to help you become a proficient container gardener.
Here’s the lineup:
What You’ll Learn
Site Selection
The first choice to make when growing vegetables in containers is to decide where you’re going to put the pots. They can be in one place, or scattered about.
First, observe the sun as it shines on your outdoor space. Full sun is best for veggies.
This means six or more hours per day.
If you don’t have such a space, the next best is a partially shaded location that gets some sun, preferably during the warmest part of the day – in the afternoon.
As you make your observations, begin to browse seed catalogs to learn which veggies need the most sun.
Next, measure the sunniest area(s) to determine how much growing space you have.
By knowing the length and width of a step or patio, you can choose pots that fit well in the designated spaces.
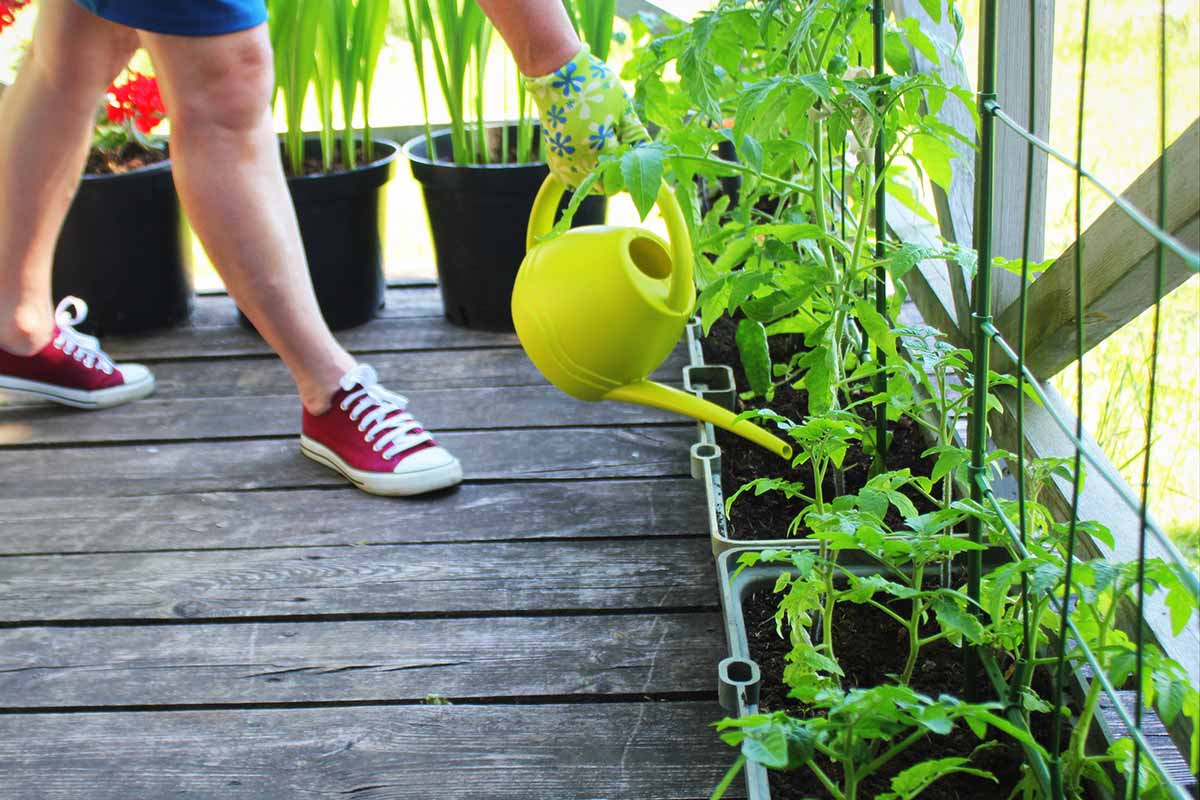
Then think about how you’re going to water your plants once your container veggies are underway.
Will you be carrying a watering can filled from the kitchen sink, or is there an outdoor tap that you might use?
If you have the option, always choose the location(s) closest to a water source.
Once you think you’ve picked out good spots for the pots, remind yourself that the plants are going to grow taller and probably wider than their containers.
As they grow, are they going to obstruct access to a door? Block a window?
In addition, consider that plants in close proximity may have overlapping foliage.
This can cause a deprivation of sunlight and an increase in ambient humidity that invites moisture-loving bacterial and fungal conditions.
It’s better to err on the side of too much space than too little, so leave some growing room around your containers.
And finally, if you go through these steps and can’t come up with ground space that receives a decent amount of sunlight and won’t be in anyone’s way, think outside the box.
Look up. Is the sun shining on a window ledge? A wall facade?
This is where you may be able to get creative with a window box or vertical planting shelf or trellis that puts plants high enough to be out of the shadows below.
Once you’ve chosen a location, gotten a broad overview of the vegetables you like, and estimated your growing space, it’s time to get down to the business of making choices.
What to Grow: Choose Your Vegetables
Many different varieties of produce grow well in containers, especially when you take care to accommodate their mature dimensions, provide abundant sunshine, and closely monitor their water needs.
In addition, pay close attention to the recommended USDA Hardiness Zones and number of days to maturity, so that your chosen crops’ requirements coincide with your region’s weather.
Decide what veggies you most enjoy eating, and start by consulting seed catalogs to determine which types are naturally compact, or available in dwarf varieties for growing in pots.
One example is the wide and varied category of beans (Phaseolus vulgaris).
Instead of choosing sprawling pole beans that will require trellising, pick a bush bean variety that doesn’t need so much room.
Small versions of favorites are lots of fun.
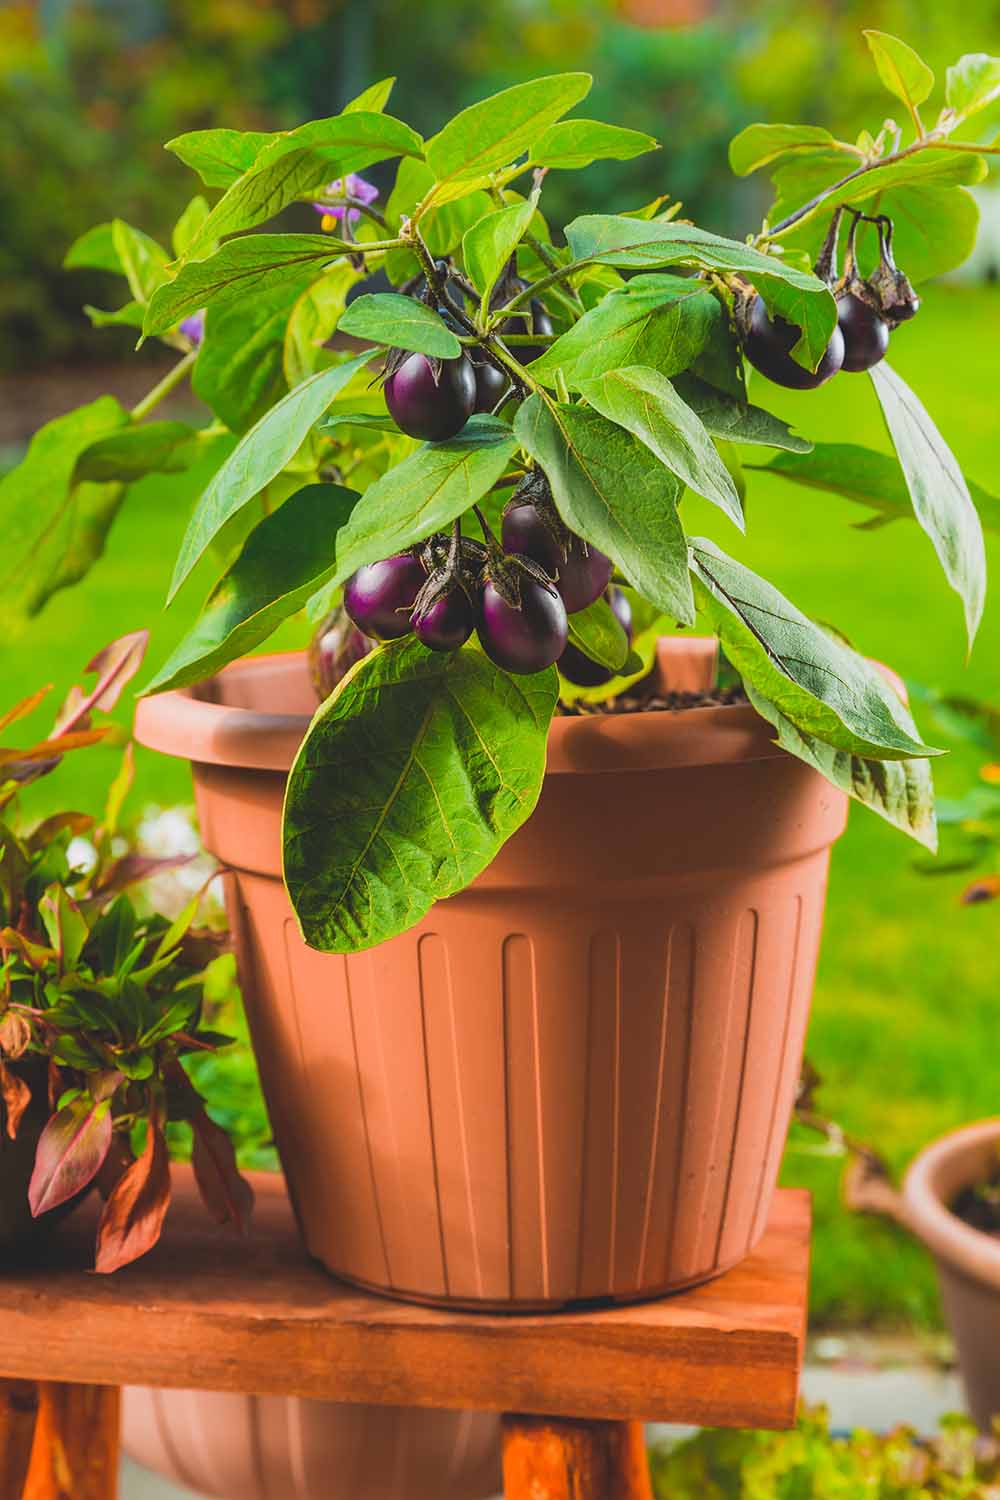
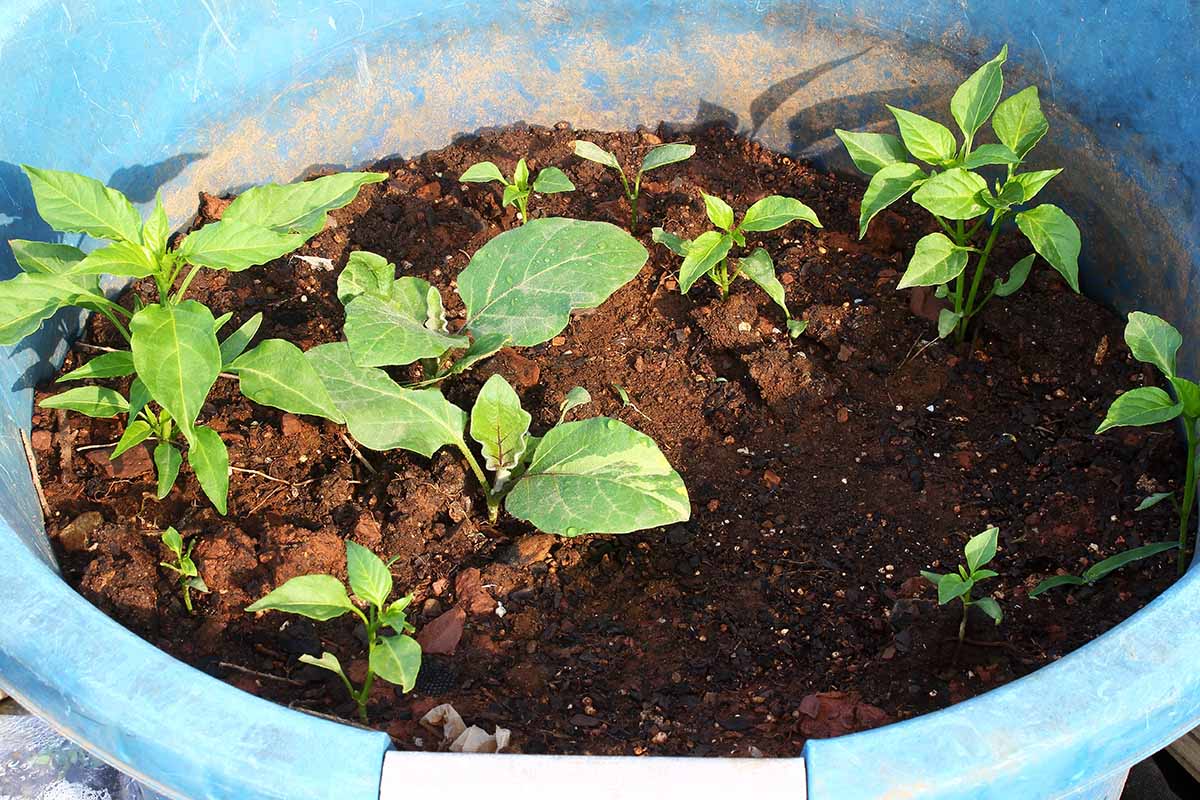
Eggplant grows well in containers, and there are many types of eggplant from which to choose.
A cultivar to consider is Solanum melongena ‘Patio Baby,’ which produces two- to three-inch-long fruits on plants measuring about two feet tall at maturity.
Growing carrots in pots is especially easy when you select types like Daucus carota subsp. sativus ‘Amsterdam,’ with roots that are ready to harvest at five to six inches long.
You can grow longer-rooted varieties, but you’ll need to ensure that your container is deep enough to accommodate their length at maturity.
You can generally expect 50 to 120 days to maturity. And did you know that you can even raise carrots indoors?
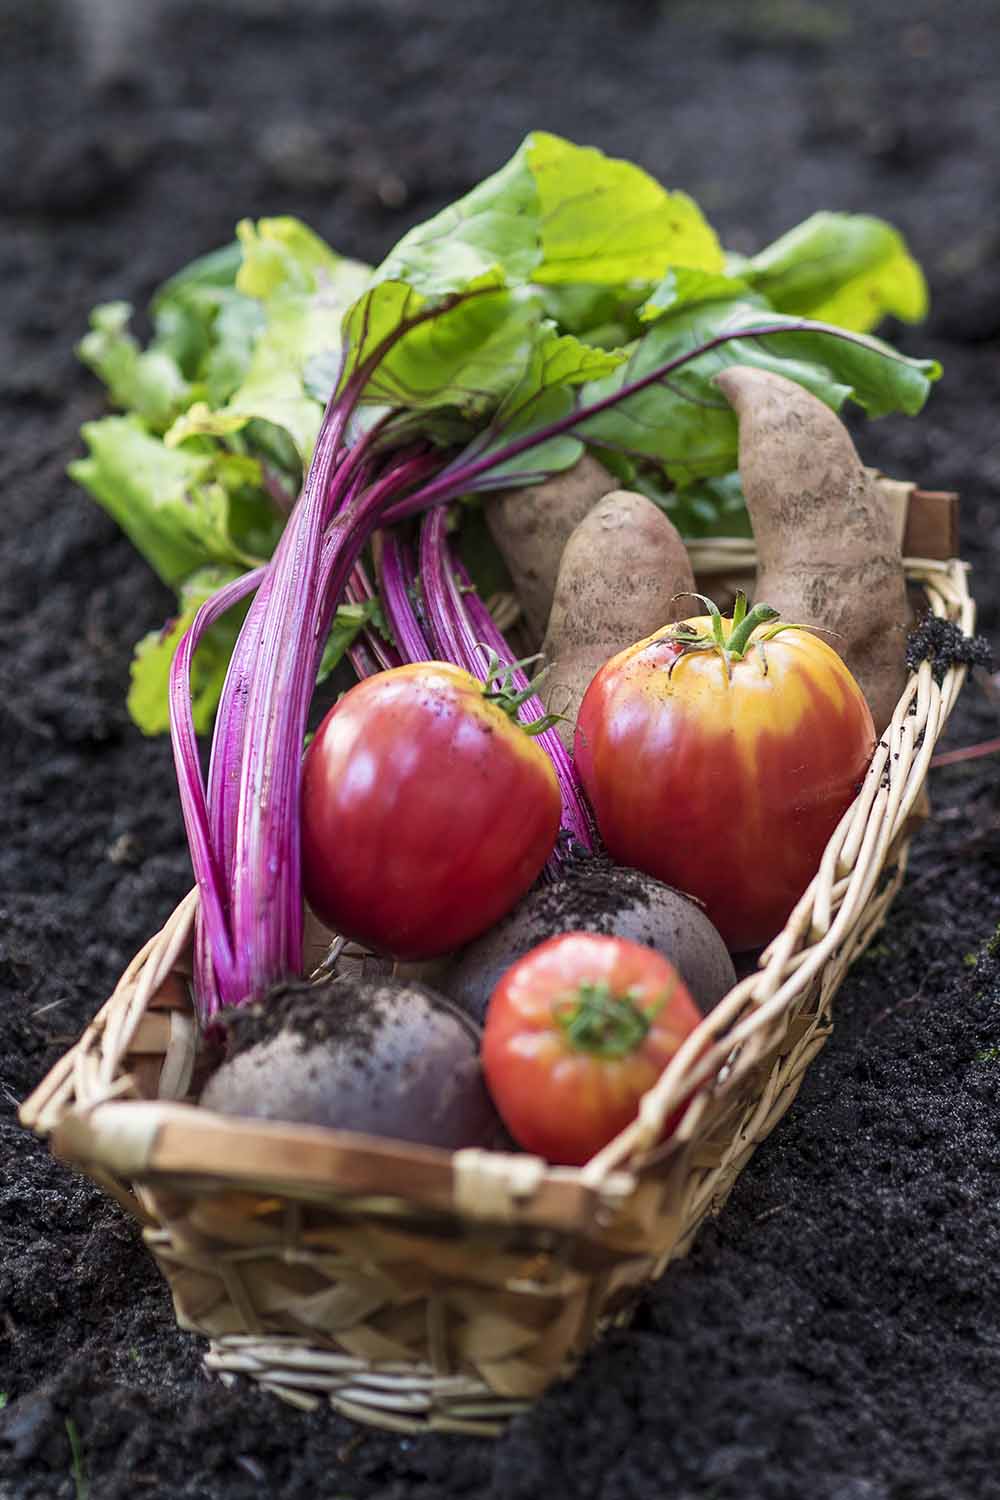
If you’re a fan of cool-season produce, like juicy, succulent beets, you’ll find these root crops to be another excellent container plant.
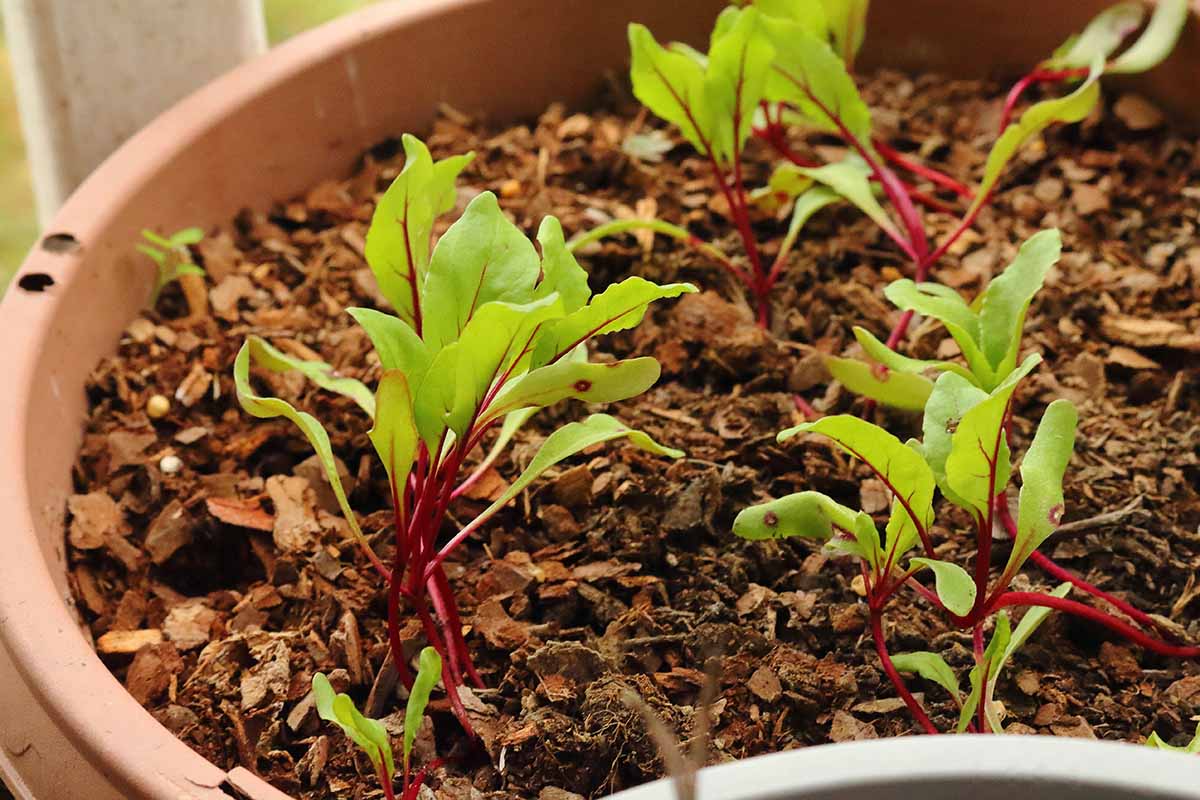
This is especially true with mini types like Beta vulgaris ‘Little Ball.’
At maturity, you’ll enjoy an abundant harvest of adorable one- to two-inch round beet roots.
And don’t forget to use the tender beet greens as a crisp and colorful addition to salads and sandwiches.
Learn more about how to grow beets in containers in our guide.
If you love crisp green cucumbers (Cucumis sativus) on a hot summer day, there is no reason why you can’t grow them in a pot.
Bush varieties are the best option, as they don’t require trellising. They reach mature heights of between two and four feet. The type you choose is entirely up to you.
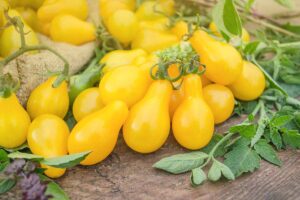
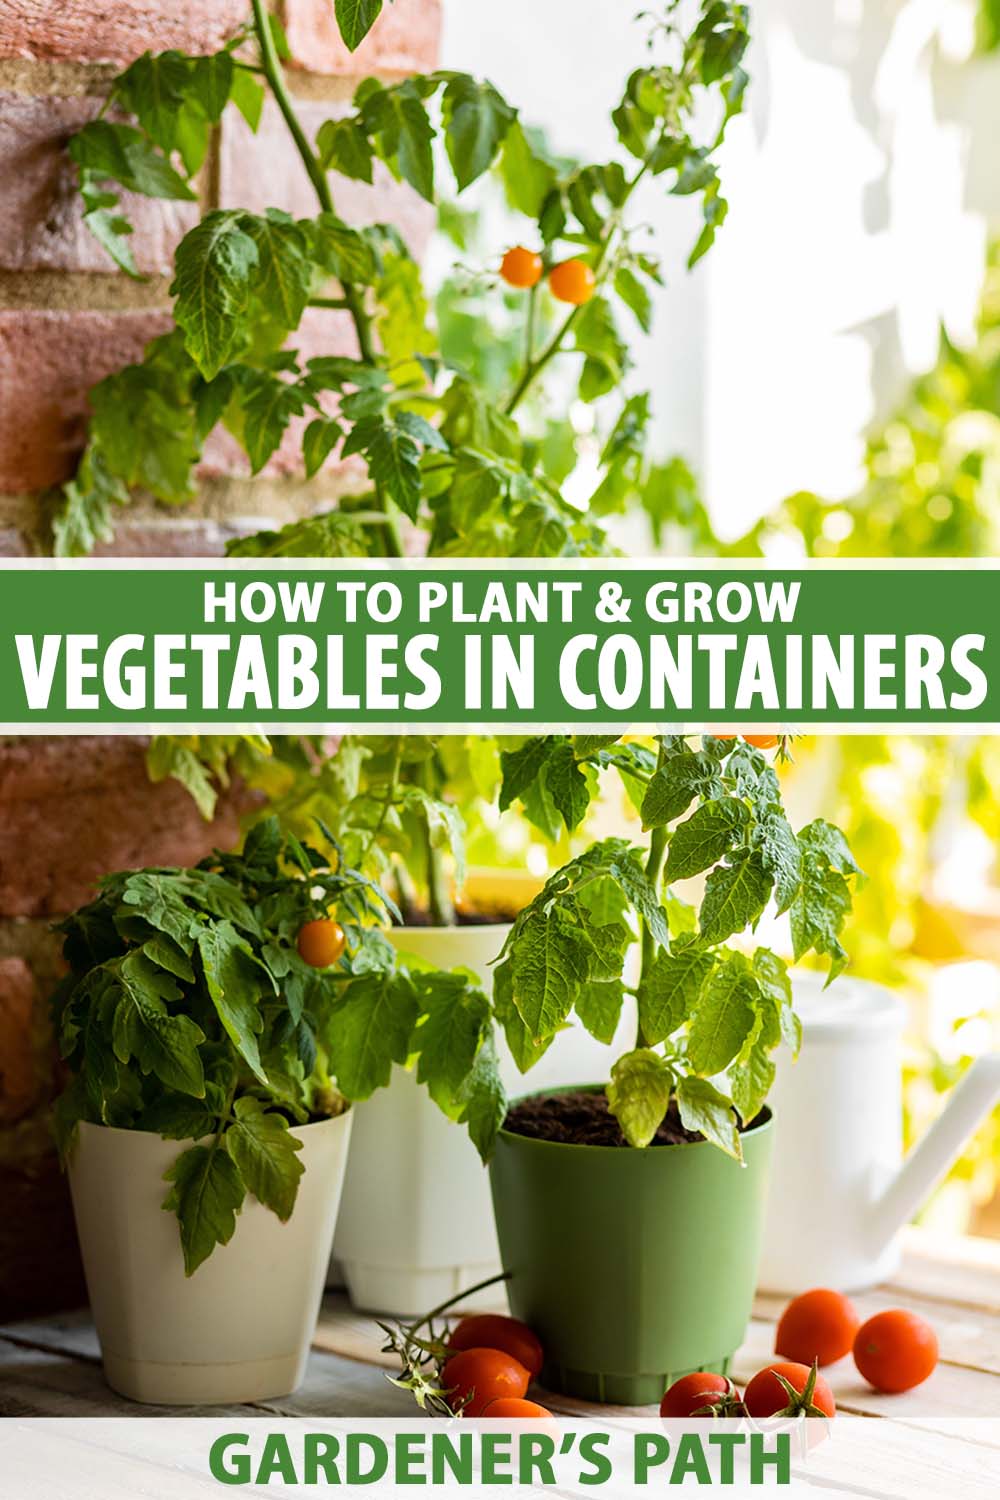
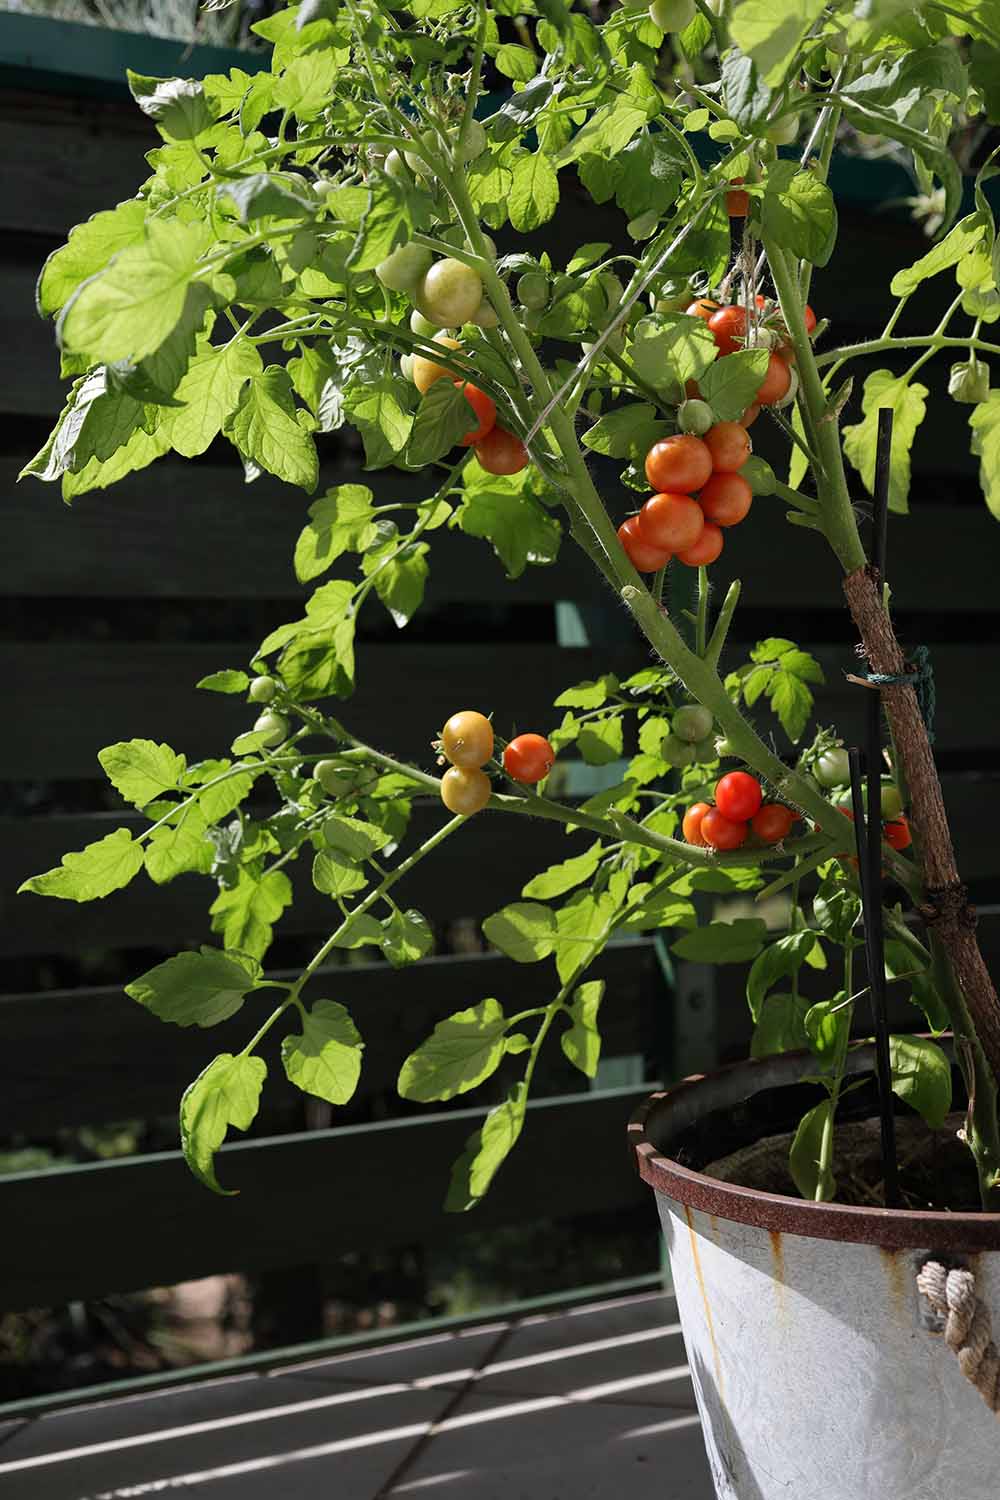
If you’re a tomato lover, there are many varieties from which to choose that grow very well in pots.
Imagine a vessel full of bite-sized cherry tomatoes right by the kitchen door, handy for snacking and tossing into salads.
Read all about growing tomatoes in containers here.
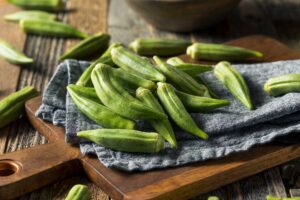
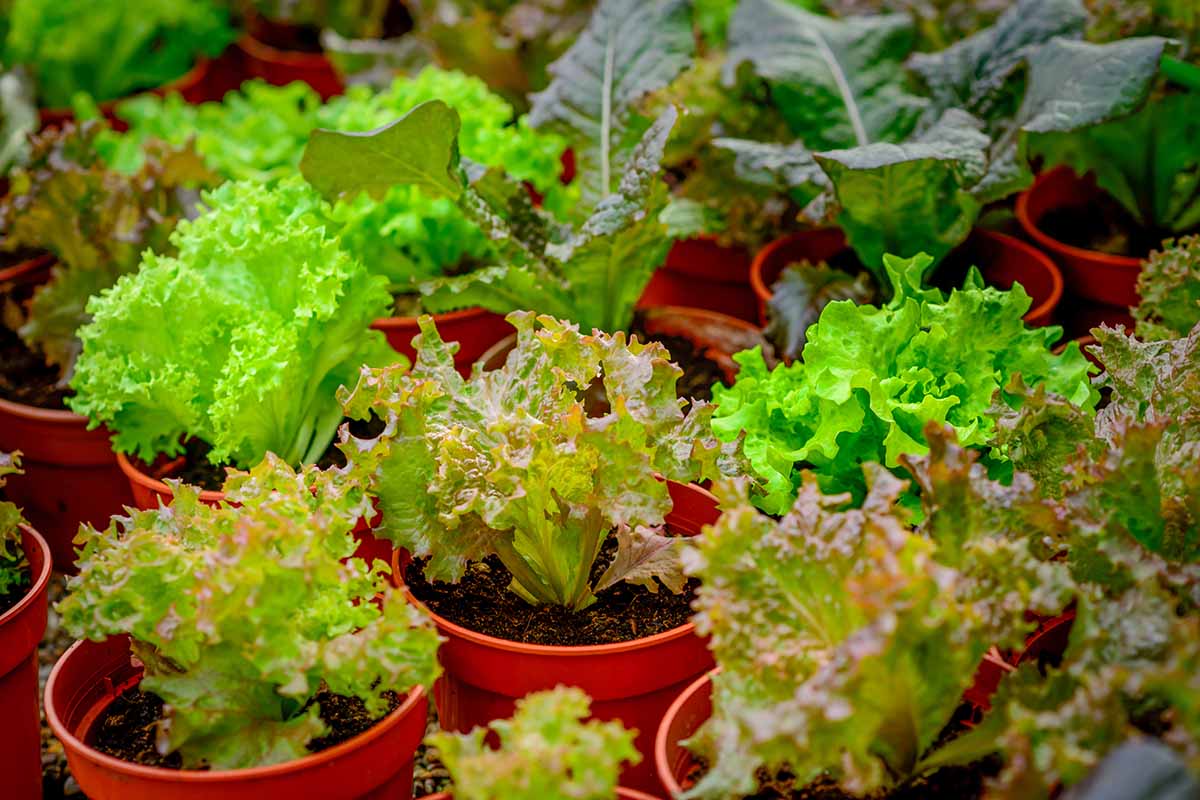
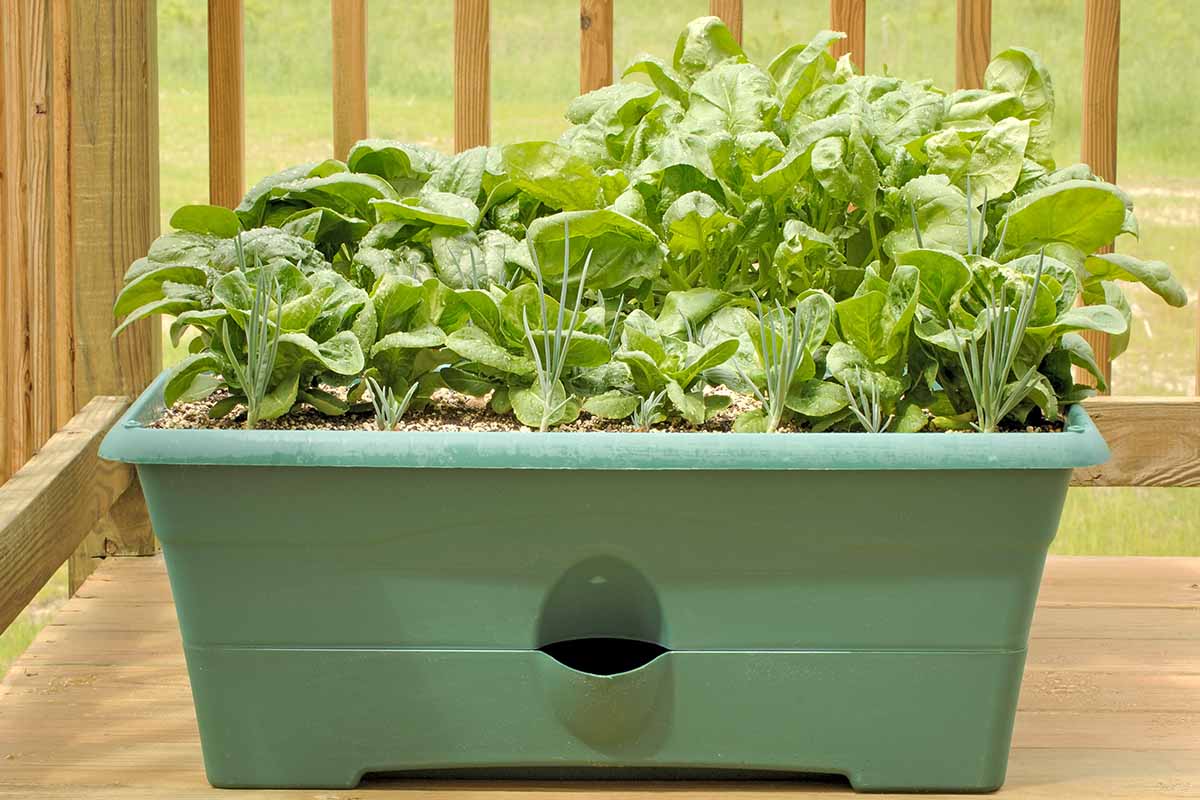
And let’s not forget leafy greens like chard and kale, lettuce, and spinach. Or root crops like onions and radishes.
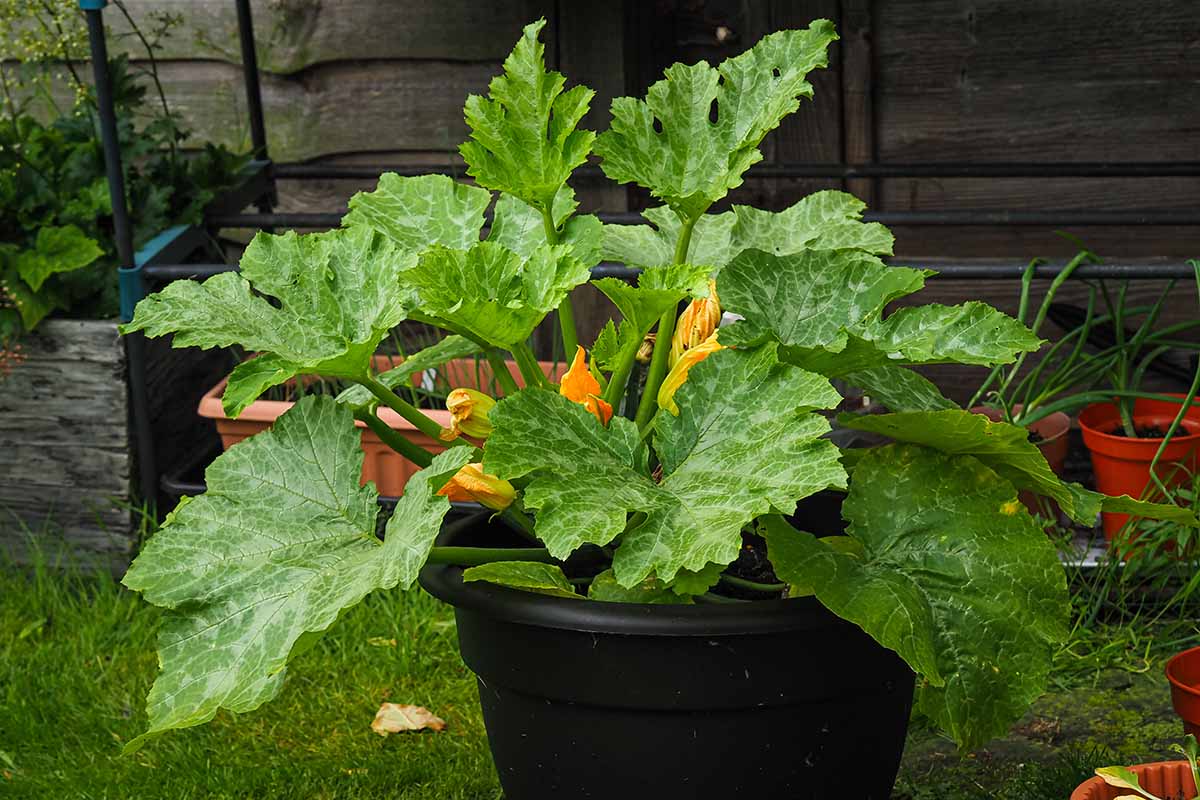
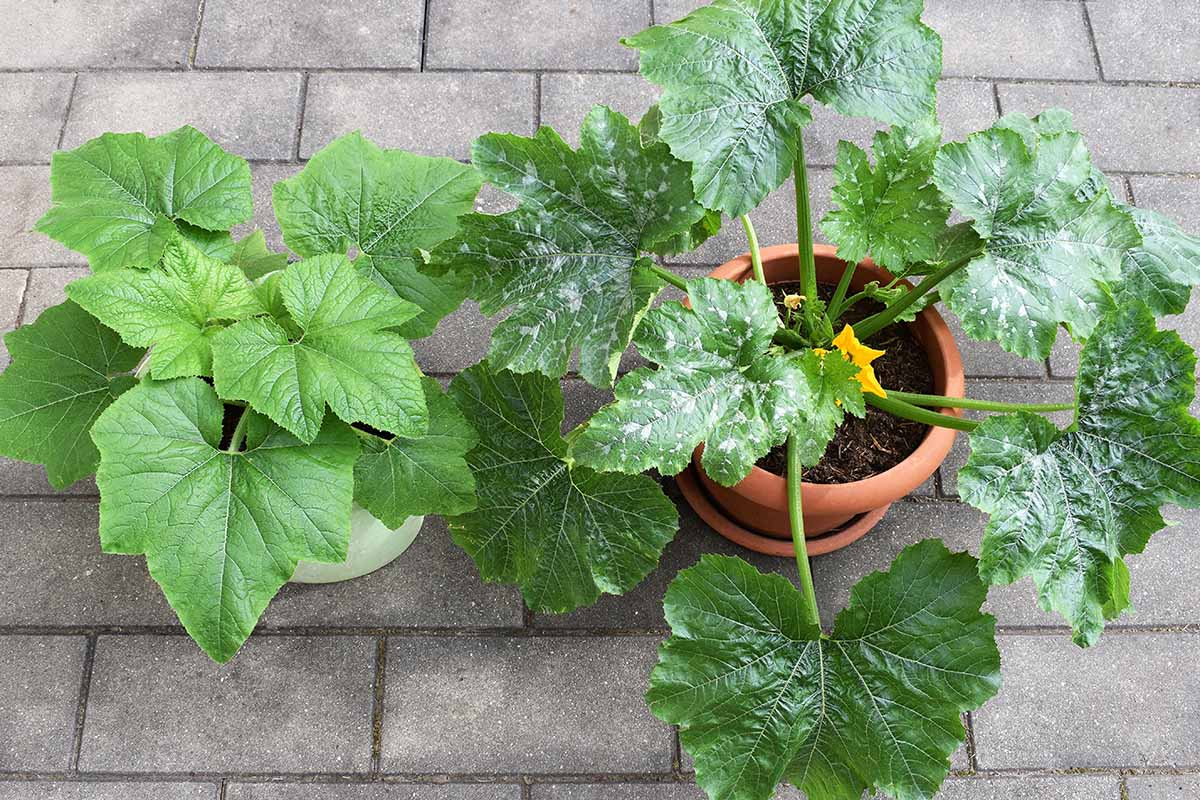
If you’re a zucchini lover, don’t worry about the huge leafspan of full-size varieties. There are many baby summer squash varieties with smaller profiles for potting up.
Avoid vining types, unless you are cultivating on a trellis. Opt instead for compact bush varieties with easy-to-harvest basal fruit.
Find our guide to growing zucchini in pots here.
Garlic is another container-friendly option to consider. Each plant needs a mere four to six inches in diameter and only eight to 10 inches of depth to produce firm and zesty heads.
Choose a hardneck cultivar with a stiff stalk to avoid floppy scapes that encroach on neighboring pots.
You’ll find all you need to know to grow your own container garlic here.
And finally, while they are not the easiest crops to cultivate, you might give broccoli or cauliflower a try. Compact and shallow-rooted, both of these cool-weather cruciferous veggies offer the option of both early and late season cultivation.
Learn to grow broccoli and cauliflower in containers in our guides.
Getting Started
There are lots of options that you can start from seed, either in seed-starting trays or directly in their pots. You can even start seeds indoors to get a jump on the growing season.
For even more time savings, get a head start by shopping for ready-to-transplant nursery seedlings and starts, either online or at your local home and garden center.
Once you know what you want to plant, use the descriptions of the plants found in catalogs, on seed packets, and on tags to learn the cultural requirements of each.
You’ll find details of their mature dimensions as well.
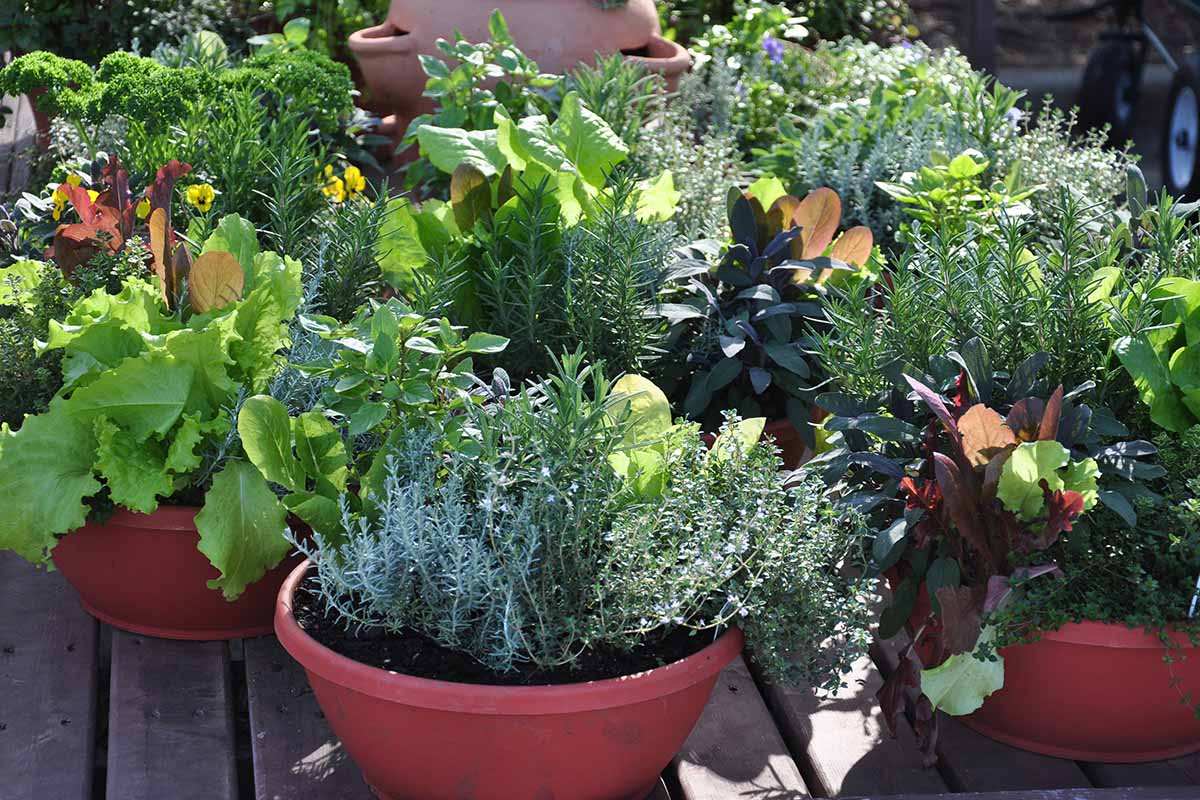
If you find you have several compatible plants with the same sun and water requirements, you may want to consider planting them in the same large pot.
And that is our next job – container selection.
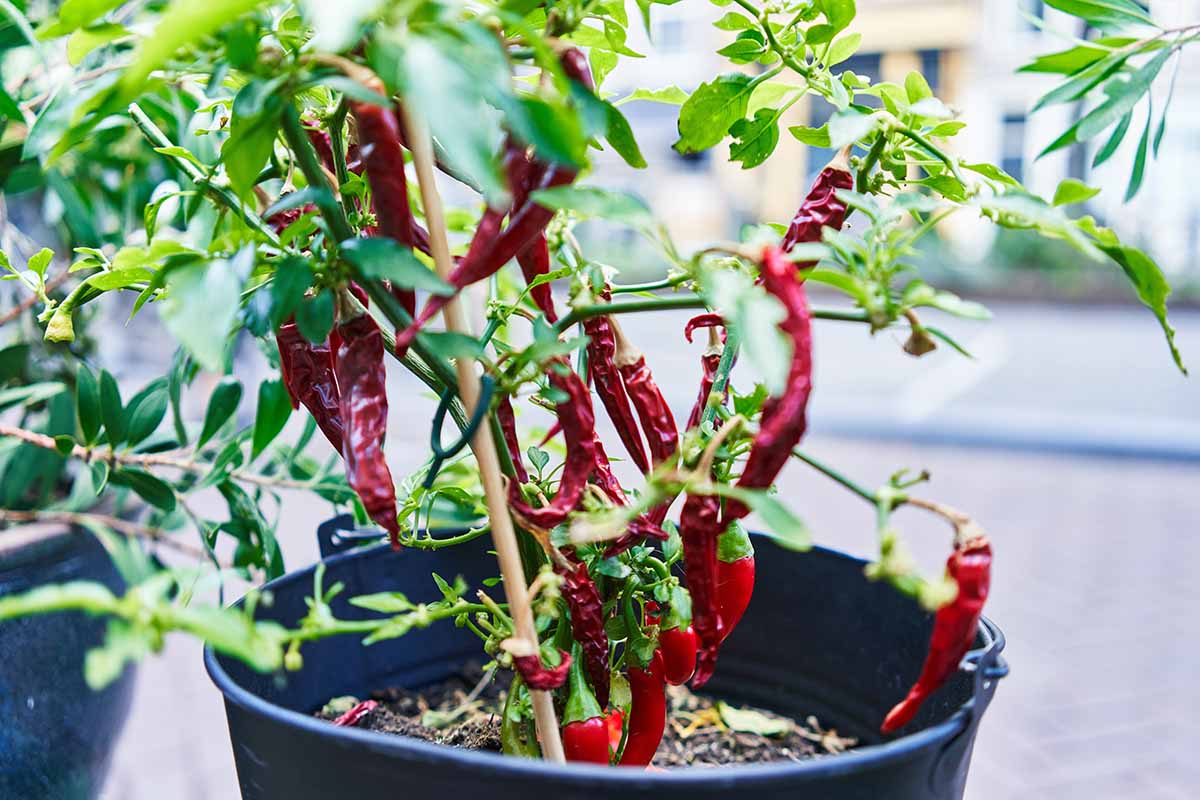
How to Select Appropriate Containers
There are many different types of pots to consider, including ceramic, wood, metal, and terra cotta.
In addition to aesthetics, your choice(s) should be based upon the answers to practical questions, such as:
- Is the material intended for outdoor use?
- Can I leave it out year-round?
- Is it deep and wide enough to accommodate what I plan to grow?
- How heavy is it?
- Does it have adequate drainage holes?
Beware of hand-painted containers that may not be colorfast outside in inclement weather.
Along the same lines, if you live in a hot climate, you may find that plastic containers left outdoors fade and deteriorate over time.
And conversely, in colder regions, pots left out through the winter may crack.
Metal containers tend to become very hot in the summer months, and unglazed ones promote evaporation, both resulting in the need for more frequent watering.
So, what’s the best choice?
For my money, here in the Northeast, I like a plastic pot that is light enough for me to move around as I like.
When I want to get fancy, I put it inside a decorative ceramic container to pretty it up.
The ceramic container may be glazed or unglazed, and have drainage holes, or not, provided I remember to tip the saucer after watering to drain off the excess.
Over the winter, I store the pot of soil in the shed, where repeated outdoor freezing and thawing don’t cause it to crack.
And if it ever gets too heavy, I use a wheeled caddy beneath the pot to help me move it around the patio during the growing season.
Make sure to check the diameter of potential vessels to make sure they can accommodate the mature dimensions of your intended plants.
Ideally, you’ll want to leave an extra inch between the plants and the edge of the pot, to slip the watering can or hose nozzle in at the soil surface rather than sprinkling the foliage.
Follow recommended guidelines for spacing to avoid overcrowding, which can elevate ambient humidity and promote fungal conditions.
No matter what type(s) you choose, make sure there are adequate drainage holes in the bottom of the pot to inhibit oversaturation and root rot.
In addition to standard pots, you’ll find unique products on the market that are designed to make container gardening as easy as possible, including self-watering containers, and drip irrigation kits.
You can keep your containers looking great by wiping the outside of the pots down periodically to remove debris like cobwebs, soil, and grass clippings.
Move the pots, if possible, to sweep or hose off the area around and beneath them.
This also aids in discouraging insects who have set up shop in hidden crevices beneath your containers from nesting or laying eggs.
Now let’s look at how to grow thriving, delicious, and attractive plants in the functional and beautiful pots you’ve picked out.
Preparing and Planting
Always wash a new container with a mild dish soap and water and rinse it thoroughly before use.
If you’re reusing an old pot, sanitize it with a 10 percent bleach solution made with one part bleach to nine parts water and rinse well.
A screen can be placed over the drainage hole in the bottom of containers, to prevent blockages.
Purchase an organically-rich, high-quality potting soil that is nutrient dense and moisture-retentive to support healthy plant development.
You’ll find a variety of different products readily available online or at your local home center.
A product you may want to try is Tank’s Pro Coco Soil Potting Mix, available from Arbico Organics. It contains 50 percent organic compost and 50 percent organic cocopeat.
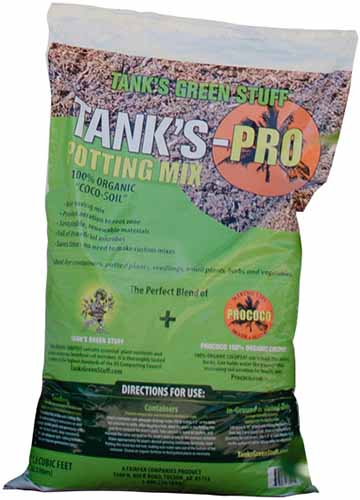
Tank’s Pro Coco Soil Potting Mix
Cocopeat is made from coconut coir, the hulls of coconuts, and is exceptionally moisture-retentive.
One of the hardest things about container gardening is not letting the pots dry out in the summer sun. With a product like this, you’ve got a leg up on the ladder to success.
Find Tank’s Pro Coco Soil Potting Mix now from Arbico Organics.
Add your potting soil and finish at a level that is one to two inches below the rim, to allow for watering without overflow.
Read plant tags to determine the mature widths of your plants, and space them at the closest recommended distances to optimize pot space.
For example, if the seed packet says, “space six to nine inches apart,” place plants six inches away from each other, or plant individually in appropriately sized containers.
Container-raised vegetables, especially compact and dwarf varieties cultivated specifically for this purpose, typically have shallow roots and can thrive well in pots with a depth of 12 inches, and sometimes less.
Radishes are one of the shallowest among root crops, requiring only six inches of soil depth, and mini-beets and carrots of many varieties do just fine with between eight and 10 inches of soil depth.
The best way to gain experience in this area is to measure the root length of your plants when you harvest them at maturity, and make notes in your garden journal for future use.
You may also be able to plan to harvest certain full-size crops at baby size, to maximize the available space.
If you start with seeds, transplant them from their seed trays when they have two sets of true leaves, or harden off their permanent containers gradually to the outdoors if you’ve sown them directly into their pots.
Nursery plants are ready to pot when you get them.
To sow more than one type of vegetable per pot, remember to read product descriptions to compare cultural requirements and match up suitable companion plants.
Settle each plant in the soil at the same depth it was in its original container. Tamp the soil, gently but firmly, all around it to secure it in an upright position.
Follow the product recommendations for spacing with mature dimensions in mind, using the low end of the recommended spacing range to optimize container space, as discussed above.

Some folks are very ambitious once they get the hang of container gardening, and plant in succession.
This is a practice of sowing seeds or plants more than once during one growing season for several harvests.
If you do this, be sure to remove all debris, including roots, after one harvest and before re-sowing.
Replenish the pot with enough fresh potting soil to return the level to its original height of one to two inches below the rim.
Potting soil can be reused from year to year if you amend it with fresh organic material like compost, or additional organically-rich potting mix.
Without refreshing it, the nutrients become depleted.
And finally, there are perennial vegetables, herbs, and even fruits that grow well in pots and can winter over from one year to the next.
I highly recommend exploring examples like asparagus, rosemary, and strawberries.
Watering and Fertilizing
Once planted, water your new veggie pot until liquid runs out the bottom of the container, and tamp the soil down again. Water a second time to ensure that there are no air pockets.
Next, unless your potting mix already contains fertilizer, it’s time to apply the first dose.
When cultivating in containers, regular fertilizing is needed to replicate the steady supply of nutrients plants would get if they were growing in the garden.
Choose a liquid plant food for vegetable gardening, or a granular product that is slow-release and well balanced.
Too much nitrogen in the NPK formula is likely to result in an excess of foliar production that is fine for leafy greens, but detrimental to the reproductive cycle required to produce fruit on other types of veggies.
Follow product package instructions for reapplications throughout the growing season.
Efficient Edible Gardening
Growing in pots keeps gardening manageable. There’s no acreage to weed and protect from foraging wildlife. Plants are closely monitored and less likely to fall victim to pests and disease.
Choose plants suited to container growing and follow instructions for spacing, watering, and feeding.
Jump-start seeds indoors either in trays or directly in their pots, or go to a local home center for some of the plants discussed.
Use the guidelines provided to purchase pots, bags of potting soil, and liquid or granular veggie fertilizer.
There’s nothing quite like the first harvest. And when you achieve it without a “back forty” or even the proverbial pensioner’s plot, the rewards are even sweeter.
Grab your gardening gear. It’s time to get growing!
Are you growing vegetables in containers? Let us know in the comments section below!
If you found this article informative, and would like more useful tips suited to container gardening, we recommend the following: