The first time I ever tried rhubarb, it was a squishy mess inside a pie at a chain restaurant somewhere. I never wanted to eat it again.
That all changed the summer I moved to Alaska, when my parents convinced me to try the pie at a quaint local establishment, with the best view ever of the surrounding mountains and the Matanuska Glacier.
Because of the breathtaking view plus gasp-worthy pie combo, we visit as often as we can.

We link to vendors to help you find relevant products. If you buy from one of our links, we may earn a commission.
Now an enthusiastic rhubarb convert, the sweet, tart tang of the red-green stalks haunted my winter dreams and made me ache for summer. Even though all of my friends had pie-plant patches in their gardens, I still didn’t.
That’s when I realized that I needed to grow rhubarb in containers at home during the winter.
My state may freeze for over half the year, but that doesn’t mean I can’t get a head start on growing my favorite pie filling in the world.
And so can you! In this article, I’ll show you how.
Here’s what I’ll cover:
What You’ll Learn
Why Grow Rhubarb in a Container?
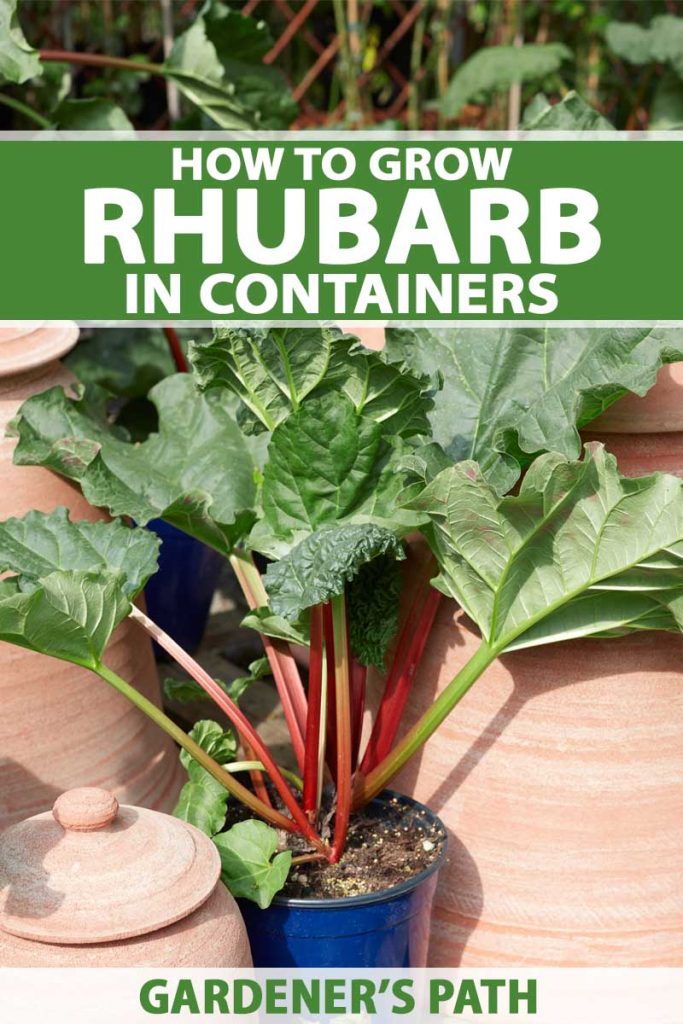
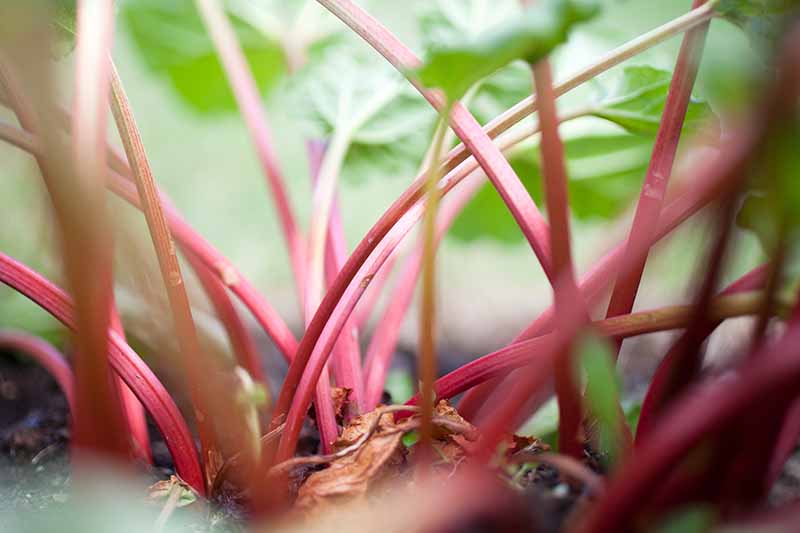
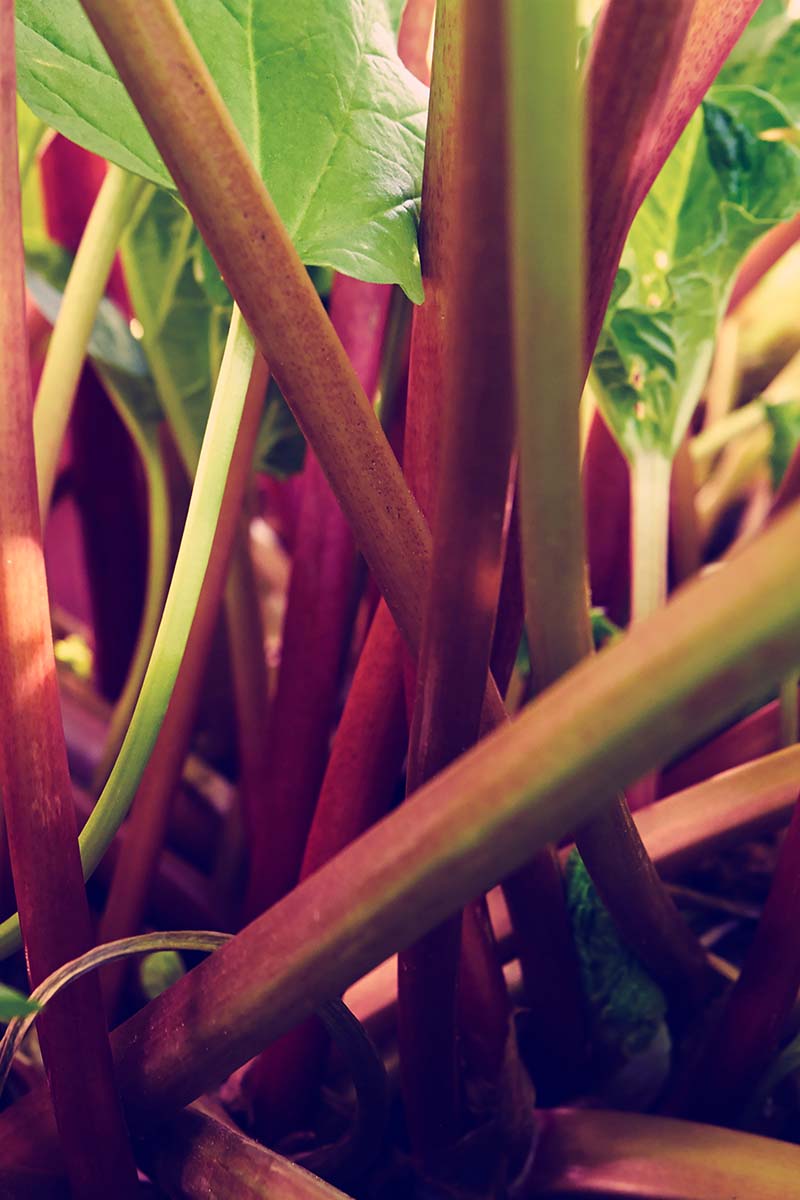
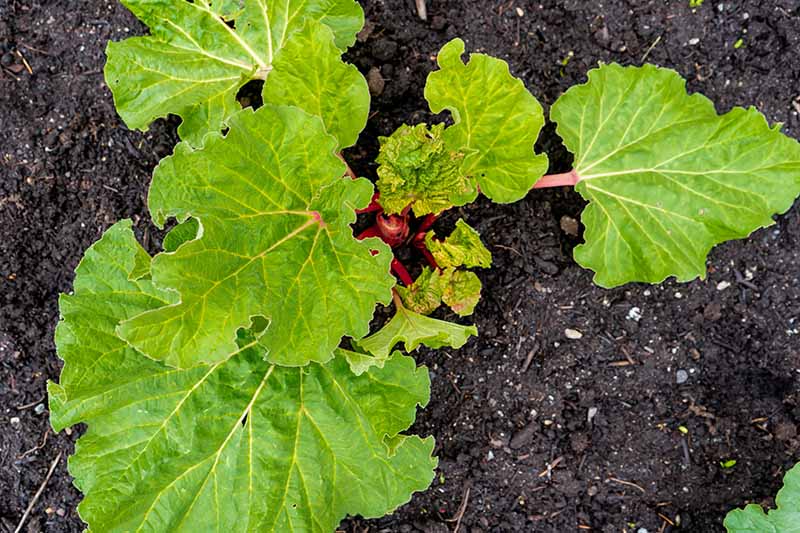
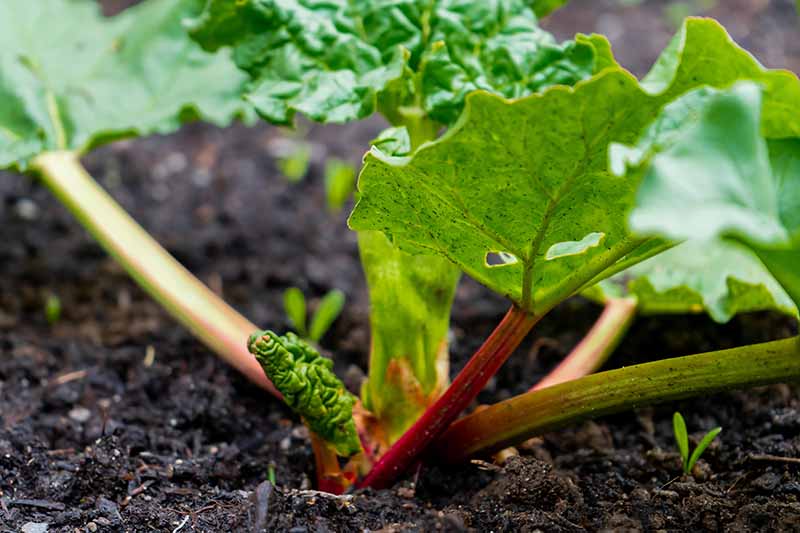
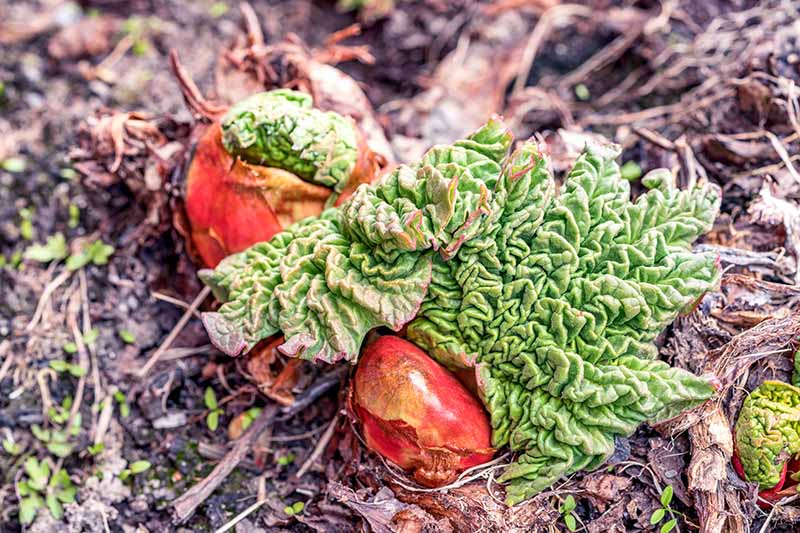
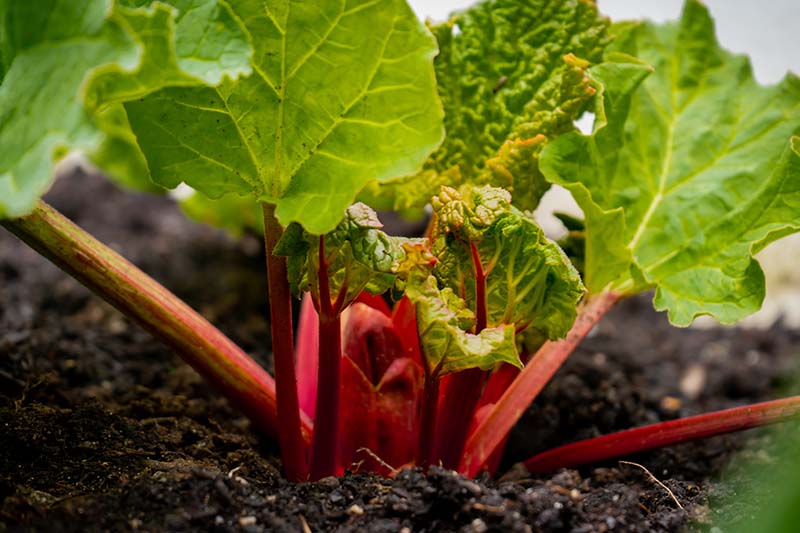
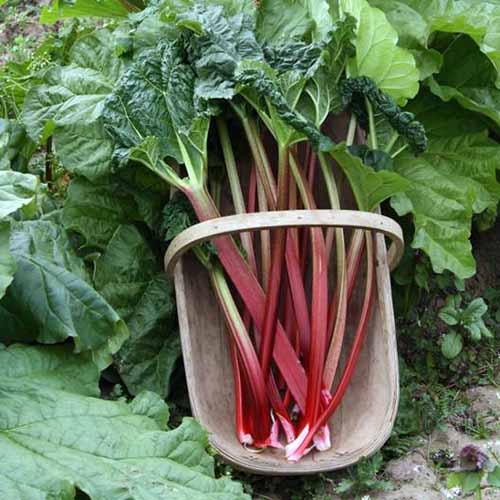
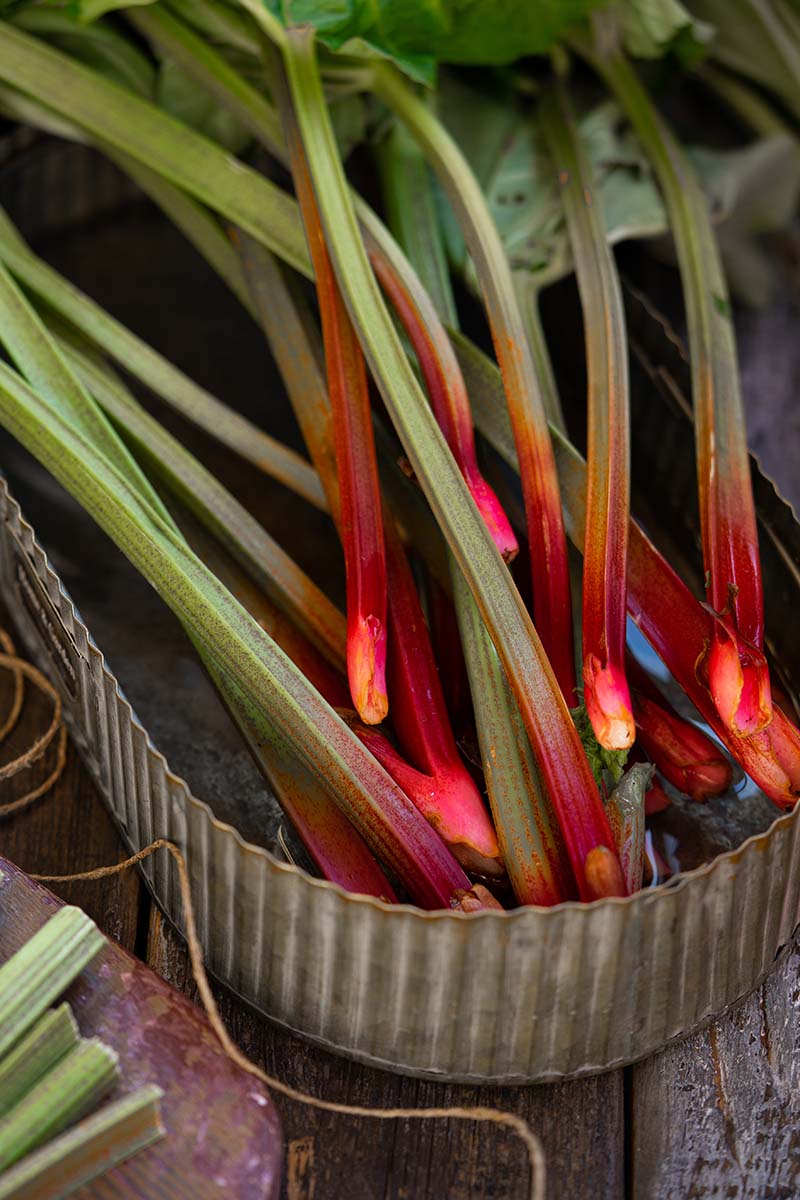
A member of the Polygonaceae family, Rheum rhabarbarum produces red or reddish-green stalks from springtime to early or midsummer, depending on the variety.
While the leaves are inedible, or even toxic if consumed in large amounts, the stalks are deliciously edible.
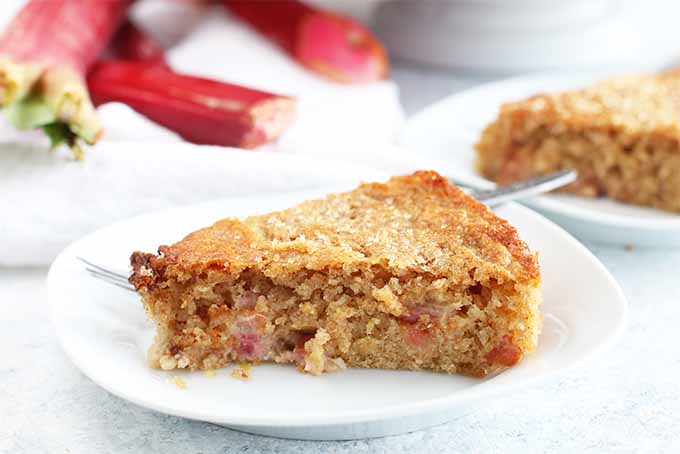
Cooked down with buckets of sugar, they shine in a pie. That’s reason enough for me to want to grow a whole field of pie plant!
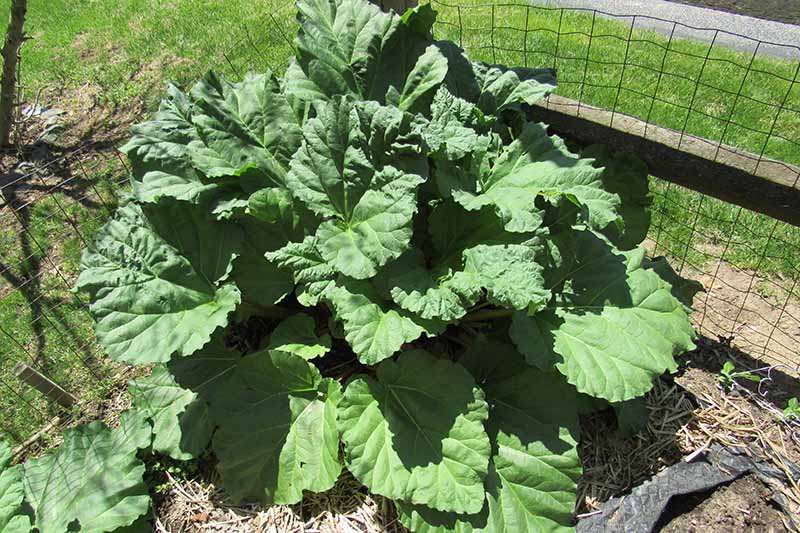
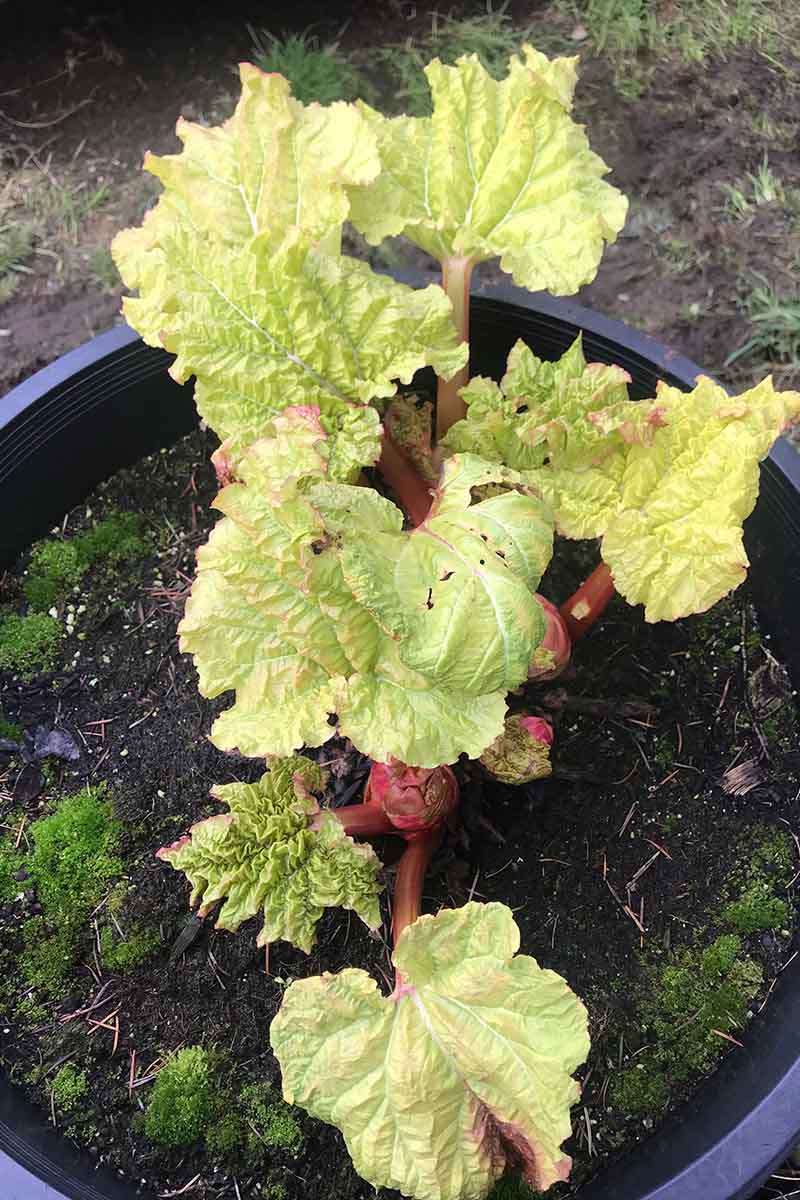
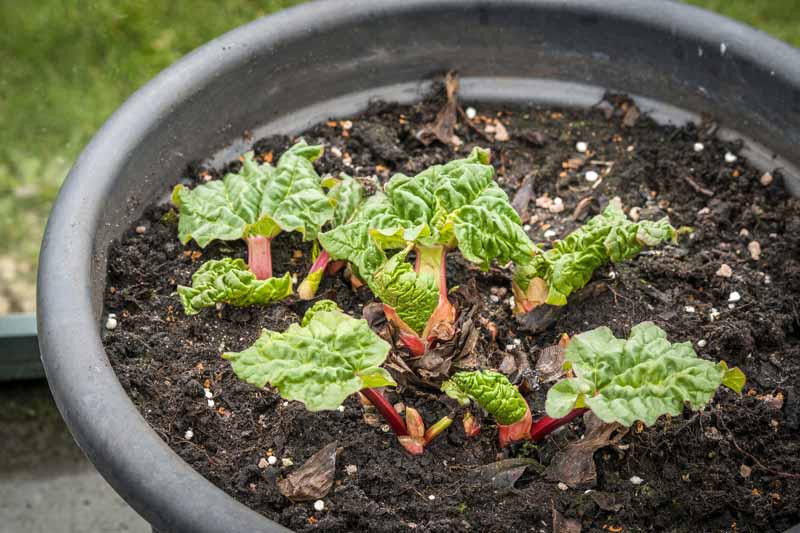
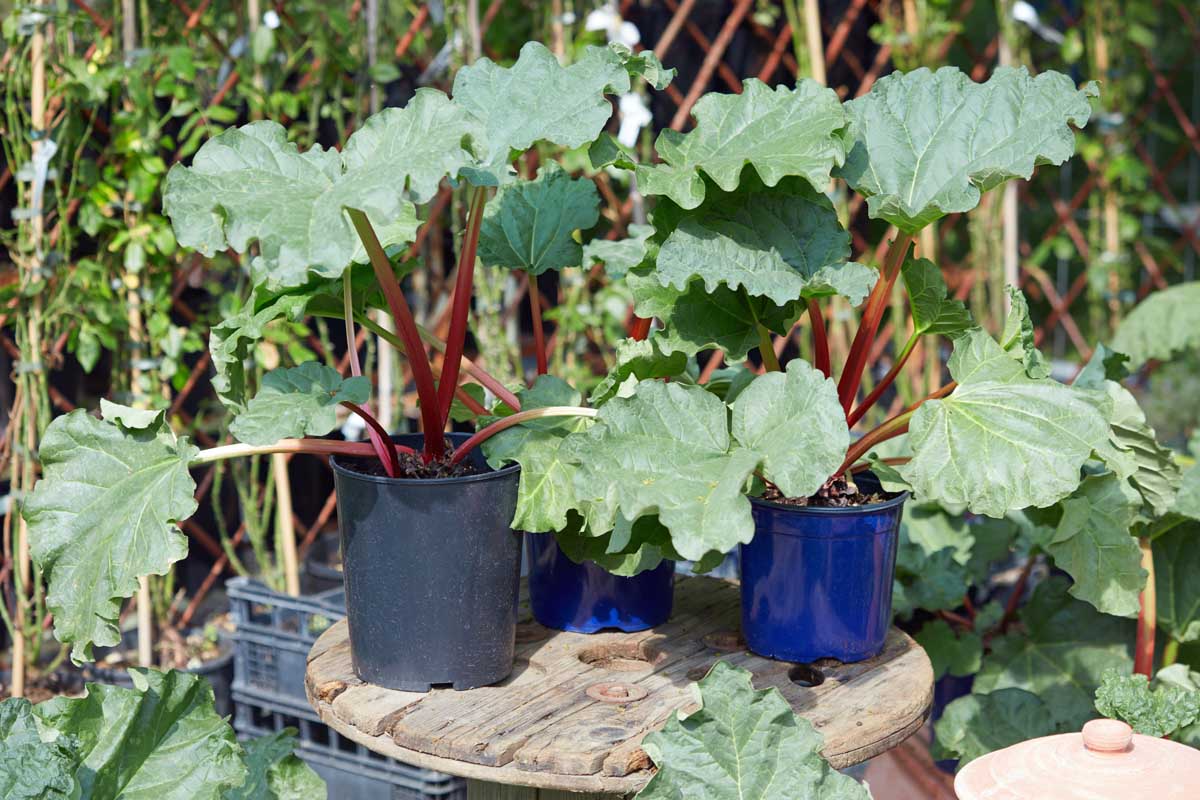
Growing rhubarb in containers is an easy way to have your own fresh harvest of stalks, even if you haven’t got much space in your garden.
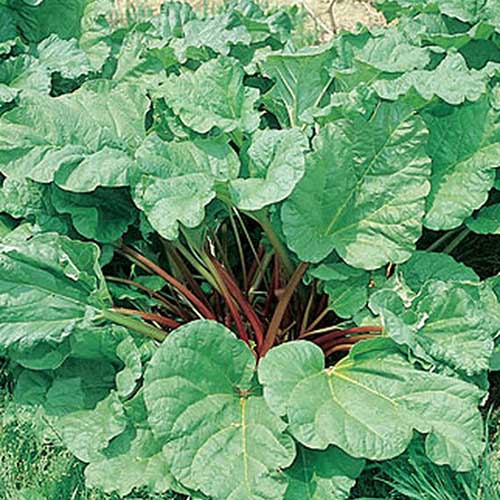
Containers also help keep this plant in check. Once it’s established in your yard, rhubarb tends to take over, spreading so tall and wide – up to four feet both ways – that it can overshadow other crops growing in the area.
In southern climes – USDA Hardiness Zones 9 and above – rhubarb plants perish when temperatures rise in the summer, which is why it’s often grown as an annual in those locations.
If it isn’t too hot out – meaning temperatures stay around or below 80°F throughout the hottest parts of the year – rhubarb thrives, and then naturally goes into dormancy during the late fall and into the winter months.
Rhubarb then needs to chill out at a temperature of between 28 to 49°F or below for at least six weeks.
This varies according the the cultivar you are growing, but on average, this plant needs 500 chill hours for best yields.
For those in Zones 7 or 8, the weather doesn’t always comply with this requirement.
Bringing your plant into a cool place like a basement or barn during these months will keep it happy during its winter rest period, allowing it to put all its energy into producing tasty new stalks come spring.
This is easy to do if you grow your plants in a container.
Choosing the Right Container
Are you planning to plant crowns, divisions, or bare roots in pots outdoors? Then you’ll need a container that’s at least 20 inches tall and wide.
It’s up to you whether you want to use a light plastic one, a more robust terra cotta variety, or something pretty and ornamental. Read more about what material is best for containers, pots, and planters here.
For starting seeds that you’ll later transplant to a larger outdoor container, select a pot that’s at least eight inches wide and seven inches deep.
This gives your plant plenty of room to grow and become established before transplanting time – without taking up scads of space in your house.
Alternatively, you can start seeds in trays and transplant the seedlings later.
Make sure you select a pot that has a draining dish, drainage holes that don’t leak onto your selected growing surface, or a self-watering insert.
You can also fill a regular pot with a layer of gravel at the bottom to promote drainage away from the root system.
Preparing Your Container
Fill your 20-by-20-inch container with either:
- Potting soil mixed with a little balanced 10-10-10 (NPK) granular vegetable fertilizer, according to package directions.
- Garden soil amended with well-rotted manure or compost (about half and half).
Use a good quality, organically rich potting soil that drains well. Rhubarb enjoys soil with a pH between 5.0 and 7.0, or lightly acidic to neutral.
If you’re using garden soil, you may need to amend it with compost or well-rotted manure. Conduct a soil test if you are unsure about the composition and pH level of your soil.
How to Grow
You can propagate rhubarb in four ways: from a crown (a one-year-old plant), a division, a dormant bare root ball, or seed.
We’ll discuss each method as it pertains to container growing so that you can make the best selection for your garden.
Planting a Crown
A rhubarb crown is a good way to start if you want stalks that are ready to harvest in the first season after you’ve planted it.
Make a four-inch-deep, six-inch-wide hole in the soil. Carefully remove your crown from its planter.
You may need to gently untangle the tendrils of the rhizome if the root ball seems very compacted.
Next, set the root ball in the hole, and backfill with soil. Don’t cover any part of the existing stalks or leaves with soil. All you need to do is make sure the root ball is covered.
Give the plant a thorough soaking and set your container in a location that gets at least six hours of sun per day, preferably more. Keep the soil moist, but not soggy.
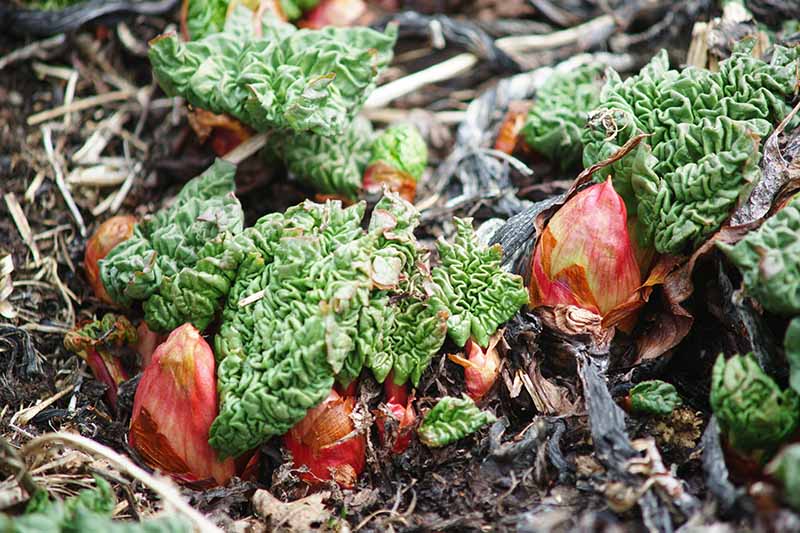
For crowns planted in the fall, reduce watering over the winter months, and increase again when you see the first signs of life in springtime. Then keep the soil evenly moist but not waterlogged through the growing season.
If you have planted your crowns in the spring, get ready to watch them grow. As directed above, don’t overwater, but don’t let them dry out, either.
While you may be tempted to start snipping those tasty stalks off immediately, don’t!
Wait until stalks are 10 to 12 inches tall, and harvest lightly in the first season, taking only 1/8 to 1/4 of the plant’s total stalks.
This will allow your plant to establish the strong root system it needs to produce truly delicious stalks starting one year after planting.
Planting a Division
If a friend is kind enough to give you a division from her rhubarb plant, rejoice!
To divide them, you have to dig up the root and cut it in half (or into three pieces, depending on how large it is).
It is best to divide in spring, when the plant is first starting to wake up from its winter dormancy, or in the fall, just before it goes dormant.
See our full guide to dividing perennials for detailed instructions on how to do this.
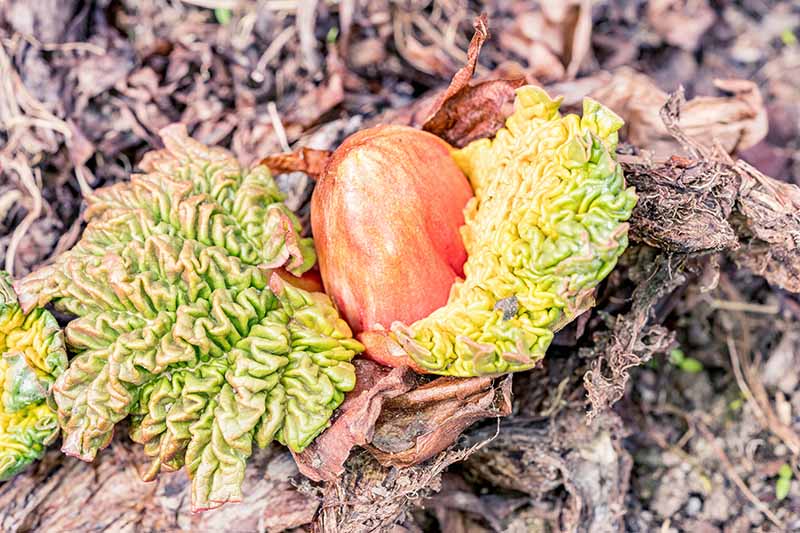
Depending on the division time that you choose, the root balls (rhizomes) will be yellowish, chunky, tuberous things that may or may not have stalks and leaves attached.
Plant each division in a hole about eight to 10 inches deep, leaf side up. Cover all but the top inch of the root ball with soil, and leave any remaining stalks and leaves uncovered.
Water the division thoroughly, and find the container a sunny spot on your porch or deck.
If you’ve planted a rhizome that was divided in the fall, keep the soil moist until the plant goes fully dormant – in other words, until it dies all the way back.
For spring-planted divisions, keep them moist throughout the rest of the spring and summer, and watch those mature stalks pop up. (Yes, you can harvest them!) Spring-planted divisions will grow quickly and will be ready for harvest as soon as the stalks are 12 to 18 inches long.
For fall-planted divisions, you’ll be able to harvest stalks the following spring.
Planting a Dormant Bare Root Ball
A dormant bare root ball is essentially the same thing as a division. This is what the plant is called when you purchase it from a nursery, and it will generally include just one pale, dormant bud.
Dig a hole eight to ten inches deep, depending on the size of your bare root.
Set the bare root inside, leaving the bud, exposed. Whatever you do, make sure to find the bud. It’s usually a very pale, one-inch-long bud near the top of the bare root.
The surest way to kill a bare root is to plant it root-side-up, bud-side-down.
If you don’t see a bud anywhere, contact the seller and explain the situation. They may be able to help you find the bud, or send a replacement.
Water your newly planted root ball thoroughly, find it a sunny, warm location, and keep the soil moist. If you plant in the fall, there’s no need to water the bare root once temperatures drops consistently to 60°F or below.
The plant will stay comfortably dormant until springtime.
With springtime planting, leaves should emerge within two or three weeks. Don’t harvest during the first season.
Rhubarb planted from small bare roots needs time to establish a strong and healthy root system, giving you a better second-season yield and a hearty third-season yield, as well as high yields in the years to follow.
Since these plants are very long-lived, they can keep producing for decades.
Sowing Seeds
Since Alaska – along with other northern states from Washington to Maine – are excellent locations for growing rhubarb, I decided to start my own from seed in late January.
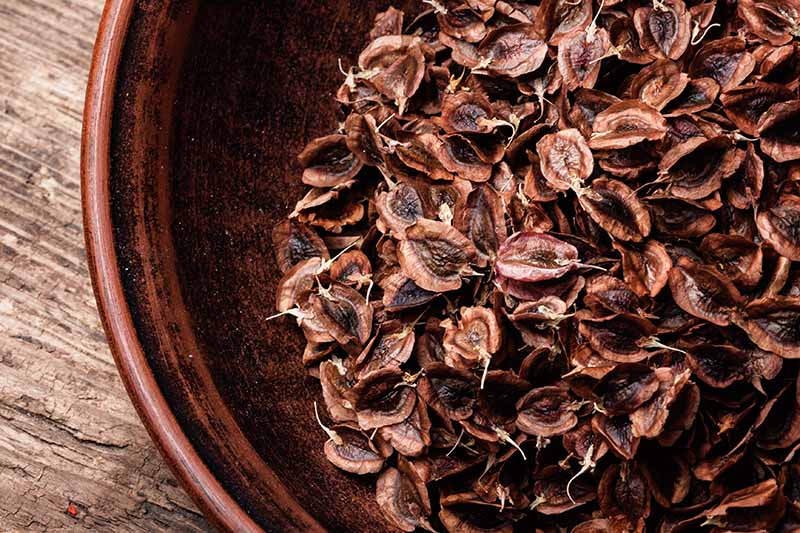
Rhubarb seeds are kind of funky looking, shrouded in a papery casing.
To speed up germination, soaking the seeds in tepid water for at least two hours before sowing is recommended, to loosen the casing around the seeds.
Typically, you’ll start seeds indoors about three months before your area’s average last frost date.
I chose to start my seeds in neat little starter trays, which you can find at Gardener’s Supply. They call it the Deep Root Seed Starting System.
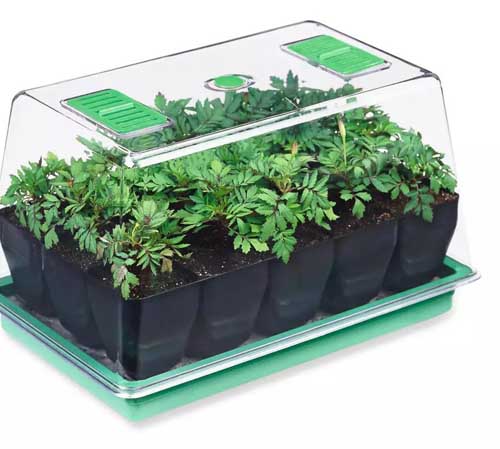
Deep Root Seed Starting System
It’s definitely heavier duty than anything else you’ll find on the market and the reusable growing tray is made up of 15 extra deep cells.
This setup includes a capillary mat and water reservoir that helps you make sure that your seedlings remain moist, but not waterlogged.
To sow, make a one-inch-deep hole about the size of your fingertip, and drop one seed into each cell.
Lightly cover each seed with soil, and give them a gentle but thorough watering.
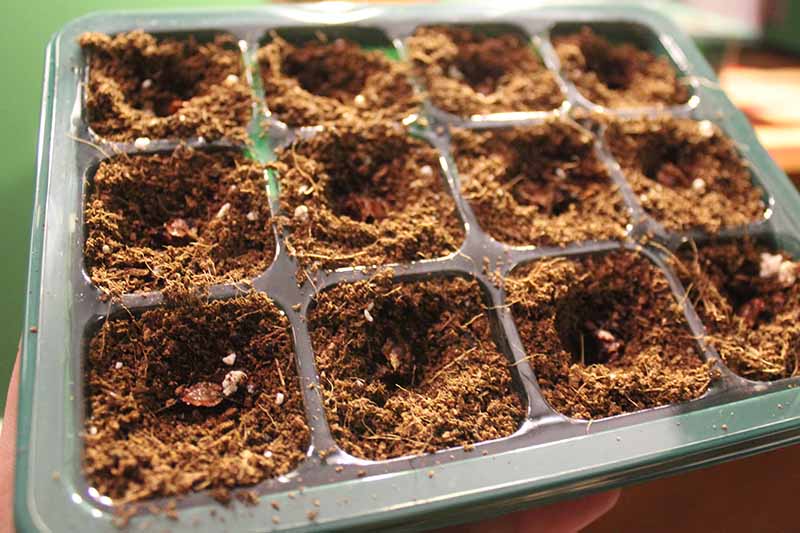
Germination can take anywhere from seven days to two weeks.
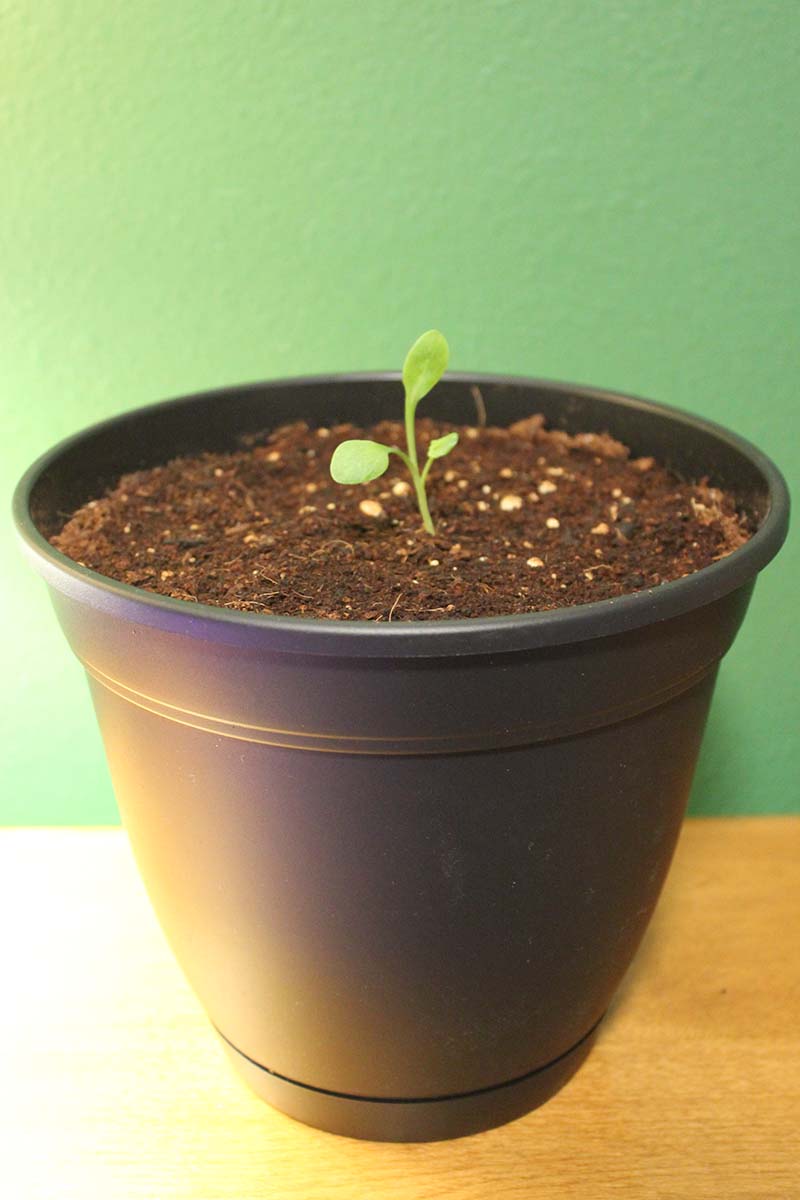
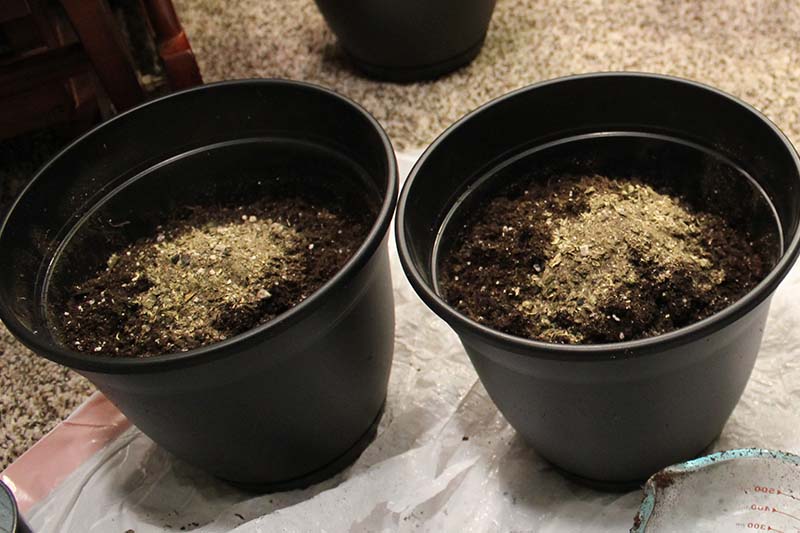
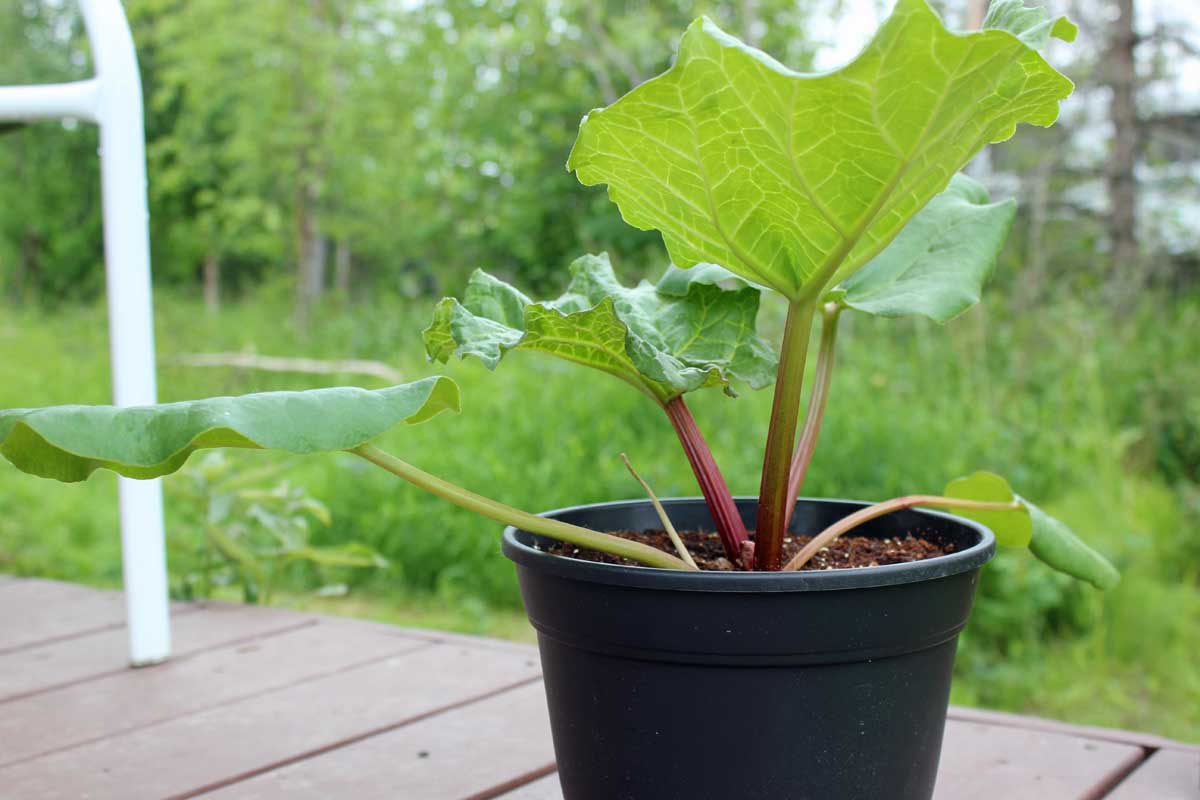
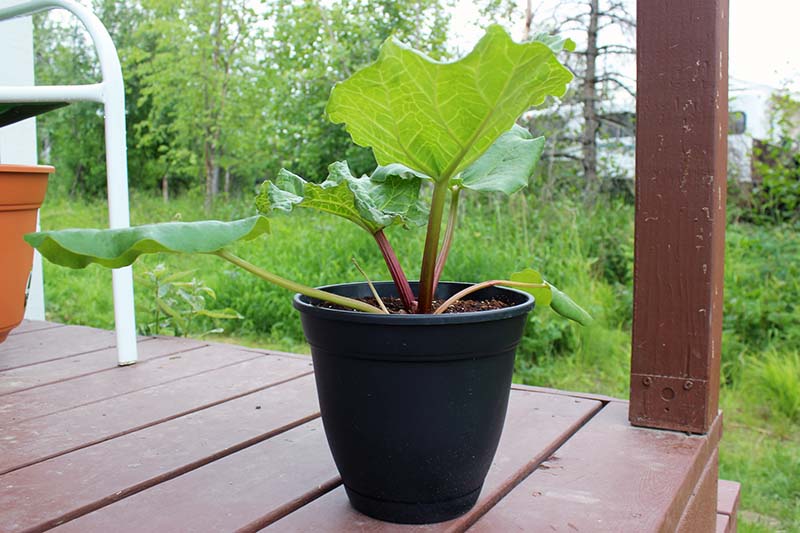
After three weeks, I transplanted my baby seedlings into my eight-inch-wide, seven-inch-deep pots, prepared as described above with potting soil and a little granular fertilizer.
Place them in an area that receives at least six hours of sunlight per day (or use a grow light), and maintain even moisture, but don’t let them become waterlogged.
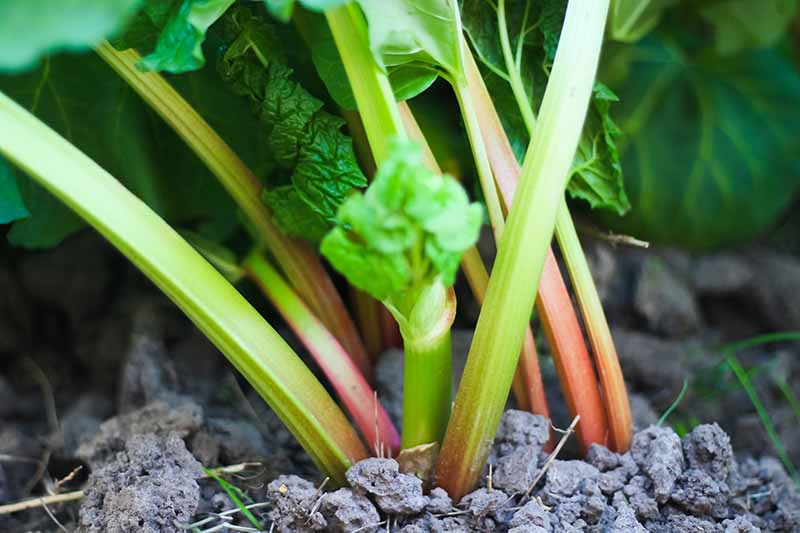
As the rhubarb grows, you’ll notice more leaves developing on the stems.

In spring, when all risk of frost has passed and the seedlings are four to six inches tall, your plants will be ready for hardening off and moving outdoors in a larger container.
To harden them off, place the pots in a partly sunny area protected from wind, rain, and excessive sunshine, starting with two hours of outdoor exposure a day.
Over the space of a week, gradually increase their outdoor playtime to eight hours, and then they will be ready to grow outdoors full-time.
And voila! Your pie plant is on its way to becoming a one-year-old crown. Next summer, you’ll get to enjoy stalks from your very own seed-grown rhubarb.
Container Care
Once established, rhubarb is easy to care for. Always keep in mind that it grows best in a sunny spot with evenly moist soil.
When growing it in containers, remember that the soil can dry out more quickly than it would in the garden. Keep an eye out for dehydration, especially during periods of hot weather.
If you haven’t had sufficient rain, you may need to provide extra irrigation.
Mulching with shredded bark, wood chips, or compost can help the soil to retain moisture, just be sure not to let the mulch touch the crowns – keep it about an inch away from the stems of your plants.
In the late fall, after harvest, the plant will die back and go dormant for the winter. As mentioned above, it needs a winter chilling period of about six weeks with temperatures between 28 and 49°F.
Come spring, when you see the first signs of new growth, fertilize with a balanced 10-10-10 (NPK) granular fertilizer. Note that this may not be necessary if you are mulching with compost, as it will gradually break down and provide extra nutrients to the soil.
Dividing Larger Plants
You won’t need to worry about this for about three or four years, but once your plants start to look too big for their containers, it’s time for some division.
Wait until late fall or early spring to do this – when the plant is either about to go dormant for the winter, or when it’s just waking up in springtime.
With a trowel or hand rake, scrape at the outside of the root until you can reach down and pull it out with two hands. Take a flat spade in two hands and hit the root with it, slicing the tuberous yellow chunk straight down the middle, or use a garden knife.
Depending on how large the root is, and how many buds it has, you may want to slice it again crosswise so that you have four chunks instead of two. Each division should have 1-3 buds.
(Yes, your plant will survive this. It’s very hardy!)
Replant the chunks with the stalk (bud) sides up, douse them with water, and watch them pop up and sprout new stalks in the spring.
Growing Tips
- When planting crowns, bare roots, or divisions, plant directly into a 20-by-20-inch container.
- Keep your plants moist but not waterlogged until they die back in the fall.
- Provide at least six hours of sunlight per day.
- Divide plants every three to four years for the best yields.
Cultivars to Select
You can grow just about any cultivar in a container, but some varieties are smaller than others, making them better suited to growing in a smaller space.
Here are a couple of the more popular cultivars suitable for your container garden. See our guide to the best rhubarb cultivars for a full selection of what’s available.
Glaskin’s Perpetual
This variety is perfect for container growing because it’s a bit smaller than other cultivars, growing just two feet wide and tall.
Plus, you can harvest it from spring all the way until late summer. And you can being to harvest ‘Glaskin’s Perpetual’ just one year after planting from seed!
Sweet, tart, and a bit less bitter than some other varieties, the reddish-green stalks will be harvest-ready when they’re 12 to 14 inches long.
Victoria
Sweet and just tart enough to please most rhubarb-lovers, ‘Victoria’ is a cultivar that gardeners have favored since it became the first widely popular pie plant cultivar in the mid-1800s.
This one is well suited to container growing because it reaches just three feet wide by three feet tall at maturity. While this may sound huge, it’s smaller than other cultivars!
‘Victoria’ is the type that I’ve been growing in my containers, and it’s an excellent cultivar to start from seed.
Find seeds in a variety of packet sizes available at Eden Brothers.
‘Victoria’ Plants or Bare Roots
If you want to get a head start on the growing season, you can also buy live plants or bare roots to start your crop, available at Burpee.
Managing Pests and Disease
Rhubarb is impressively pest resistant, and if you’re growing it containers, you won’t have as many (if any) weeds or pests to worry about.
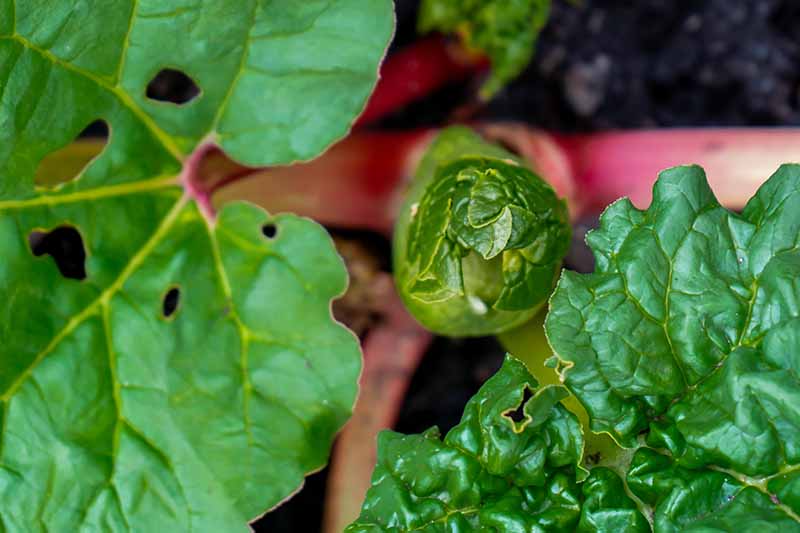
But keep an eye out for fungal leaf rot, which can happen if the leaves stay damp or damply hug other surrounding leaves for too long. An easy way to avoid this is to water at the base of the plant, avoiding the leaves entirely. Remove any dead or dying leafy growth throughout the season, to promote good airflow.
If you do find fungus, remove the infected leaf and stalk. You can still use the stalk in your cooking if you cut the affected parts away, and removing the leaf will help to keep the infection from spreading to the rest of the plant.
So, what’s the number one pest to watch out for?
The rhubarb weevil, a yellowish, long-snouted, half-inch-long beetle that carves notches out of your beautiful stems and leaves.
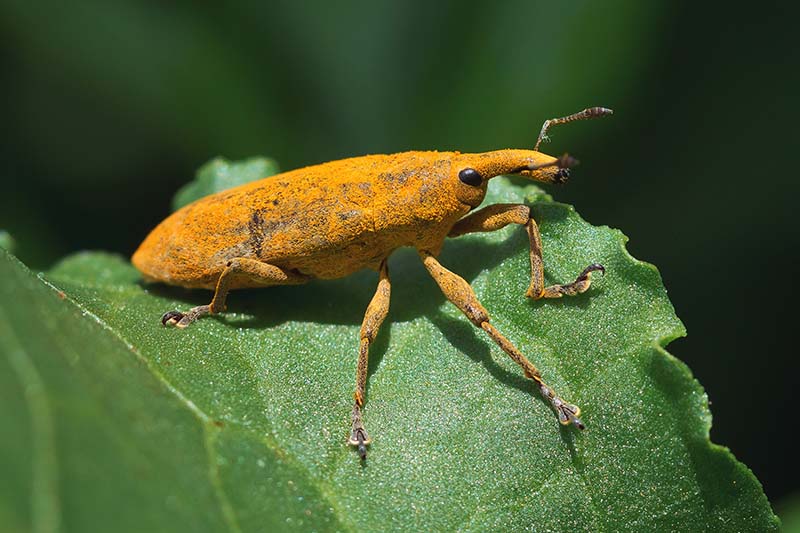
Scrape the weevils off the plant if you spot them, and kill them so that they don’t come back.
It’s important to catch them early, before they start laying eggs and multiplying at rates that are hard to keep up with.
Harvesting
To harvest your stalks, wait until the second season of growth. This is going to be the hardest part of growing your own, especially when your taste buds crave pie!
Most varieties will be ready for harvest from late April through June.
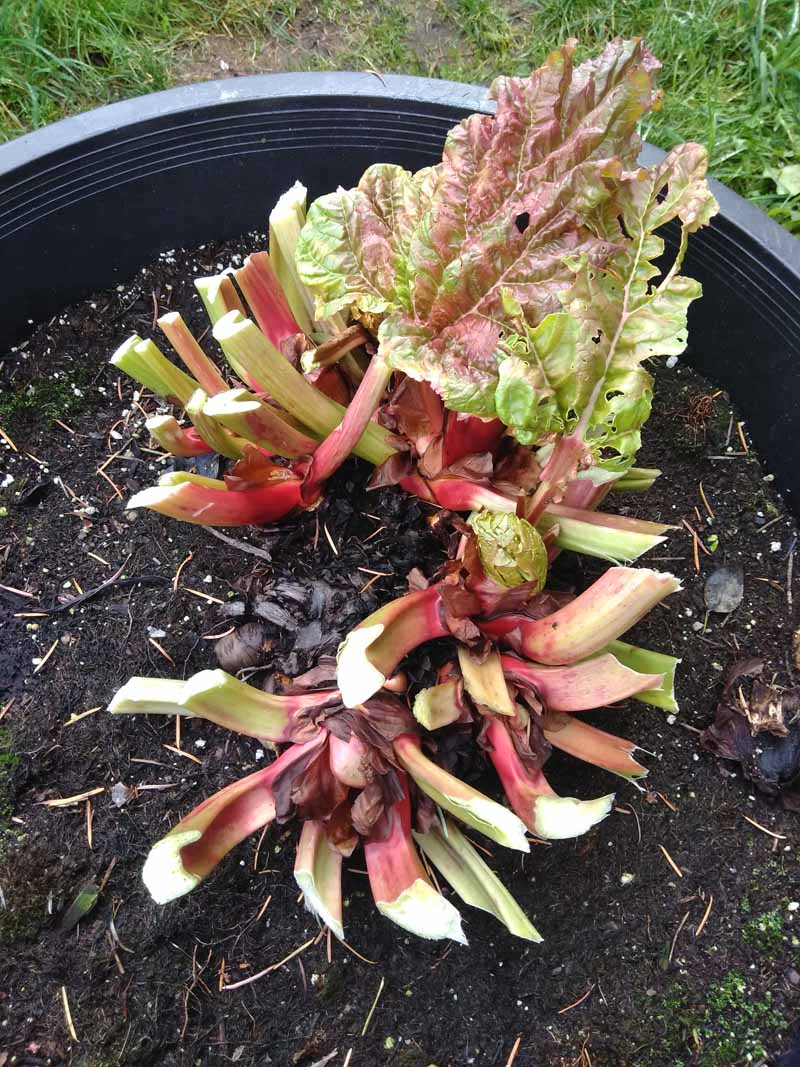
When the stalks are 12 to 18 inches in length, harvest the outer stalks by finding the base with your fingers and pulling firmly to break them off one at a time. Each stalk should detach pretty easily from the base, with a tapered end.
Cut the leaves off and whisk them off to your compost container.
Remember, they’re inedible and even potentially harmful due to the high levels of oxalic acid they contain, so you don’t want children or pets munching on them.
During your plant’s first harvest, take only about a quarter of the total stalks. The following year, you can take all but one-third.
By leaving a few stalks behind, you allow the plant to store energy for the winter dormancy period, and the reawakening to follow in the springtime.
If you live in Zones 7 or above, move your container to a cool, sheltered space – a basement, garage, or even an outdoor freezer – once it gets too hot, with temperatures consistently above 80°F.
It’s ideal if this space gets down to 40°F during the winter so your plant could also stay there through the necessary chilling period. Alternatively, you can move it back outside after the heat of summer has passed.
If you are growing your plant as an annual, harvest every single stalk off your pie plant when they’re ready, watch the remaining above ground portions of the plant shrivel in the heat – or simply dig it up and dispose of it – and replant a new division or crown in fall or the following spring.
Those in Zones 3 to 6 can leave the containers outside to happily overwinter in the cold.
Need more harvesting tips and tricks? We have a guide for that!
Recipes and Cooking Ideas
For use throughout the winter, cut clean stalks into one-inch pieces, lay them on parchment paper, and freeze until they are firm. Then transfer them to gallon-size freezer bags, making sure to mark them with the date you put them in the freezer. They’ll keep for up to a year.
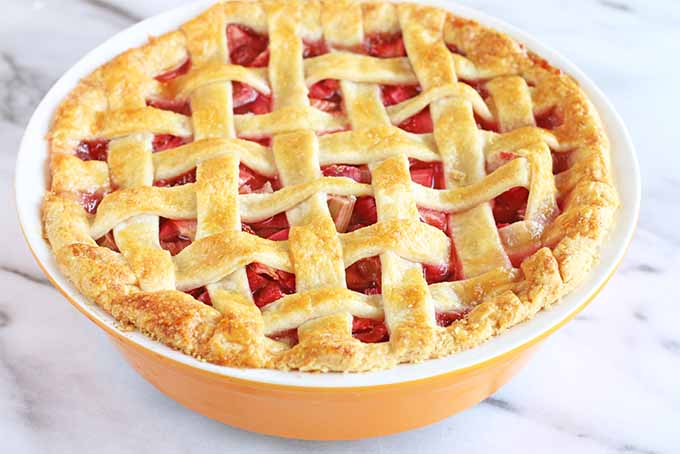
Alternatively, you can make a delicious pie, like this one from our sister site, Foodal.
Try your hand at making a rhubarb jam or sauce, perfect for drizzling over or stirring into your ice cream. Maybe bake a crumble or spelt cake such as this one, also from Foodal.
Wondering what else pie plant pairs well with? There are plenty of things that aren’t pie. For a full list of pairable foods, check out this article on using rhubarb in the kitchen, from Foodal.
The available options are endlessly tart and tasty.
Tart, Juicy Goodness Awaits You
By growing rhubarb in a container, you have more control over its growing conditions. And it makes a project for the kids to get involved in too.
I’ll be sitting here hovering over my six little plants for the next two years, just waiting until the gorgeous day when I can harvest them for the first time.
Until then, I’ll be making plenty of pie stops at Long Rifle Lodge, just off Mile 102 on the Glenn Highway in Chickaloon, Alaska (in case you ever visit!).
What’s your favorite rhubarb treat? Let us know in the comments section below!
And don’t forget to check out our other guides to growing veggies in containers next:

As long ago as the early 1930s, there was a large local rhubarb farm in the very fertile Fairview-Knik area near Wasilla. The location was Mile 3.1 Fairview Loop Road, near present-day Alder Lane. In the 1960s, the field was torn up and converted to timothy hay, but a few rhubarb plants were left near the old log cabin, to supply the household. I harvested those naturalized plants in the 1980s, to make pies and crumbles and preserves. The rhubarb went very well with the “MataRed” and “Susitna” strawberries from the very popular pick-your-own farm in the Butte area. Those… Read more »
It’s lovely to see a comment from a fellow Alaskan! I bet that rhubarb was absolutely delicious. And I really wish that the strawberry farm still existed, as it would be a perfect place to take my son for a day of berry picking. He loves strawberries. For now, we rely on Hatcher Pass blueberry picking every August to satisfy some of our berry cravings! 🙂
Hello,
I used to have a gorgeous patch of rhubarb, but unfortunately that portion of my yard suddenly is prone to flooding. It killed my rhubarb. I thought I’d start planting rhubarb in grow bags. Do I need to do anything to protect the rhubarb in containers over winter, like thermal blankets, put them in a cold frame, or is rhubarb awesome enough to handle a Wisconsin winter above ground?
Thank you. And this is a great post.
Hi Claire! Thank you for reading, and I’m sorry to hear about the demise of your rhubarb. Thankfully planting it in grow bags is a great idea! And while this plant is super hardy, you’re right: it’s best to use thermal blankets to keep them insulated during the coldest parts of the winter. A cold frame would work, too. You can put the pot back out probably in March or early April, when things start getting less freezing cold.
Thank you so much for this article! I learned a lot. I just ordered seeds. I am going to try containers, I live in zone 7a (northern Virginia) so it is challenging, but we have a lot of shady cool places to protect containers when it’s hot. This really motivated me to try seeds. I am not a fan of Victoria (which is never red when I grow it), I ended up digging the crowns out and giving them away. I ordered German Wine and Cherry Red seeds. Here are my questions- what size pot do you stick to in… Read more »
Hi Sara! I’m sorry I missed this comment earlier. I usually just do an eight or 10 inch container until I transplant it out, and as for container soil, Miracle Gro’s Nature’s Care is my favorite.
Laura – Wonderfully helpful article! I’m in Year 1 of trying my hand at container rhubarb and your advice/tips have so far been a lifesaver. I started with three roots in a 20×20 pot; all have taken well. But some of the stalks seem weak and, for lack of a better description, “floppy.” They are hanging over the sides of the pot and a few have broken under their own weight. There is new growth, so I believe the plants are fine overall. But is this sort of weakness in the stalks normal in Year 1? Do you think it… Read more »
Hi Jim! I’m so glad this article has been helpful. Floppy stalks can definitely be an issue during the first year or two of growth. About how thick are the stalks? I’d love to see a photo if you can attach one!
What I would do is give them as much sunshine as possible, without overheating them. I can’t begin to express what a difference that makes with my rhubarb: the long Alaska summer days strengthens the stalks and thicken them right up.
Thanks for the reply, Laura! I will try to post a photo today. I’ve been moving the pot around to maximize sun exposure during the day, but maybe I need to be a bit more diligent about that. The stalks are fairly thin, in my opinion. The first ones were thicker (they broke off), but the second sets are much thinner.
It sounds like sunlight could be the issue! Rhubarb sure loves the sunshine. 🙂
Laura – Me again, checking in the Oracle. So, thanks to your great advice, my rhubarb is thriving. I lost one of the plants a couple weeks back, but the two remaining are going gangbusters. This is Year 1, so I understand not to take too much from the plant. But I do need to take some stalks to give new shoots room/sunlight to grow, correct? Right now, both plants have large stalks and leaves that are shading the new growth.
Hi James! So glad the advice helped. You can definitely take a stalk or two, see how the plant takes it, and then take a stalk or two more from each. You’re right — this helps the new shoots get the sunshine they need.
I must say, my favorite rhubarb recipe is rhubarb crisp.
I love it, too! I also make a rhubarb and apple crisp with the rhubarb and apples from my garden. Delicious!
I’m planting my first rubarb crown in a 18”x18” container( just one) I’m in zone 9 and purchased this at our local nursery in Orlando. We have temps in the high 90’s in summer months. Will a shade umbrella be sufficient for extreme sun protection? I’m hoping to have this plant many years.
How often do I water it during dormancy?
Hi Jutta, with summer temperatures in the high 90s, I don’t think you’re going to have much luck growing this tart veggie as a perennial. High temperatures cause the crown to collapse, even with shade, mulch, and regular watering. And the roots also need a prolonged winter cold period for the buds to set properly… The good news is that in hot climates like yours Rheum can can be enjoyed as a winter-grown, seed-started annual. Seeds should be planted in late summer for harvest the following spring, with the rhizomes discarded once summer’s heat sets in. Our guide on How… Read more »