Gardening experts everywhere recommend that you test your soil before doing anything else.
And, if your garden is suffering, you’re just starting out as a gardener, or you’re a serial fertilizer, I recommend the same.
Understanding your soil’s nutrient composition and pH can help you to troubleshoot issues and fertilize appropriately, which can have a huge impact on the overall health and productivity of your garden.
But how in the world do you test your soil?
Well, you probably shouldn’t – professionals should.
We link to vendors to help you find relevant products. If you buy from one of our links, we may earn a commission.
Store bought kits are widely available, but the accuracy of these is questionable at best. In particular, if pH is off by just one degree in either direction, any amendments you make could do more harm than good.
And while kits are relatively inexpensive and you can usually get more than one use out of them, you’re on your own to interpret the results and figure out a plan.
If you send a sample to a lab to be professionally analyzed, however, you are guaranteed more accurate results.
Not to mention, you’re usually given suggestions for fertilization and amendments depending on what type of plants you’re planning to use.
Keep reading to find out who should test your soil, how to get a sample to them, and what you should do with the results.
What You’ll Learn
Who Are the Pros?
The best way to get your soil professionally analyzed is to reach out to your state or county’s local extension office.
If you have no clue what I’m talking about when I say “local extension office,” you’re not alone. It’s one of those often referenced, rarely explained blanket statements of advice.
In short, the USDA National Institute of Food and Agriculture (NIFA) supports an effort known as the Cooperative Extension System (CES).
NIFA refers to CES as “a nationwide, non-credit educational network that addresses public needs by providing non-formal higher education and learning activities to farmers, ranchers, communities, youth, and families throughout the nation.”
Basically, your local extension was created for you. So, use it!
For a modest fee, usually between five and 25 dollars, your local extension office will have your soil tested for you.
In some areas, county offices may have services available as well. For example, here in Cincinnati, Ohio, the Hamilton County Soil and Water Conservation District offers a soil testing service to residents.
No matter what service you use, the procedures are pretty similar across the board.
How to Collect a Soil Sample
A kit will be sent to you with instructions for collecting a quality sample. Usually, it goes something like this:
Step 1 – Create a Wedge
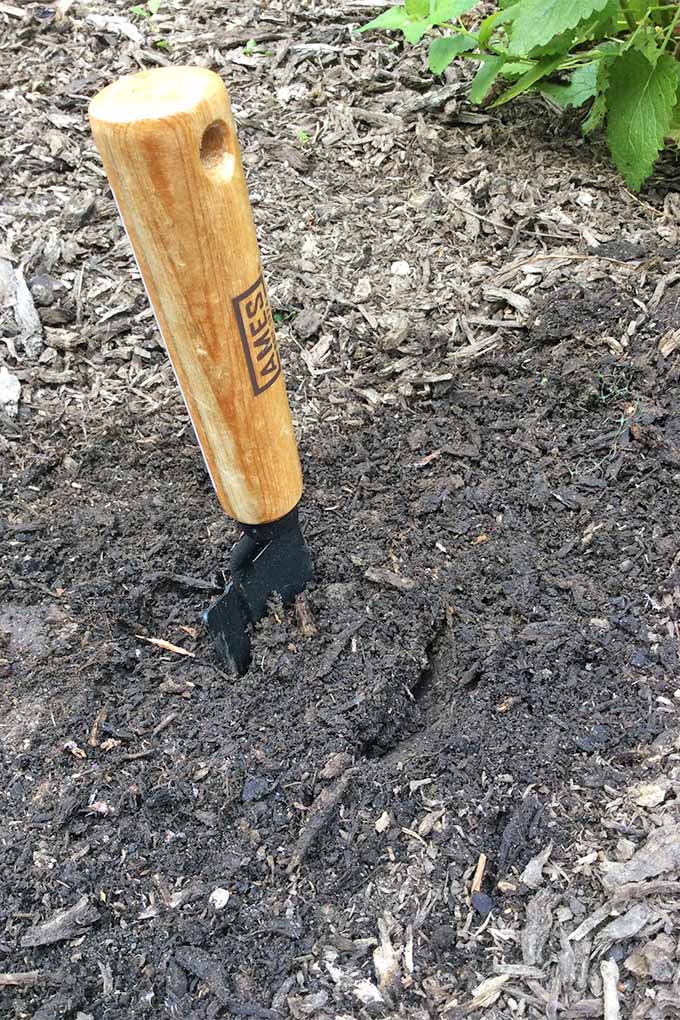
Use a trowel to create a v-shaped wedge in the ground, about 2 inches wide and 6 inches deep.
Step 2 – Remove and Cut
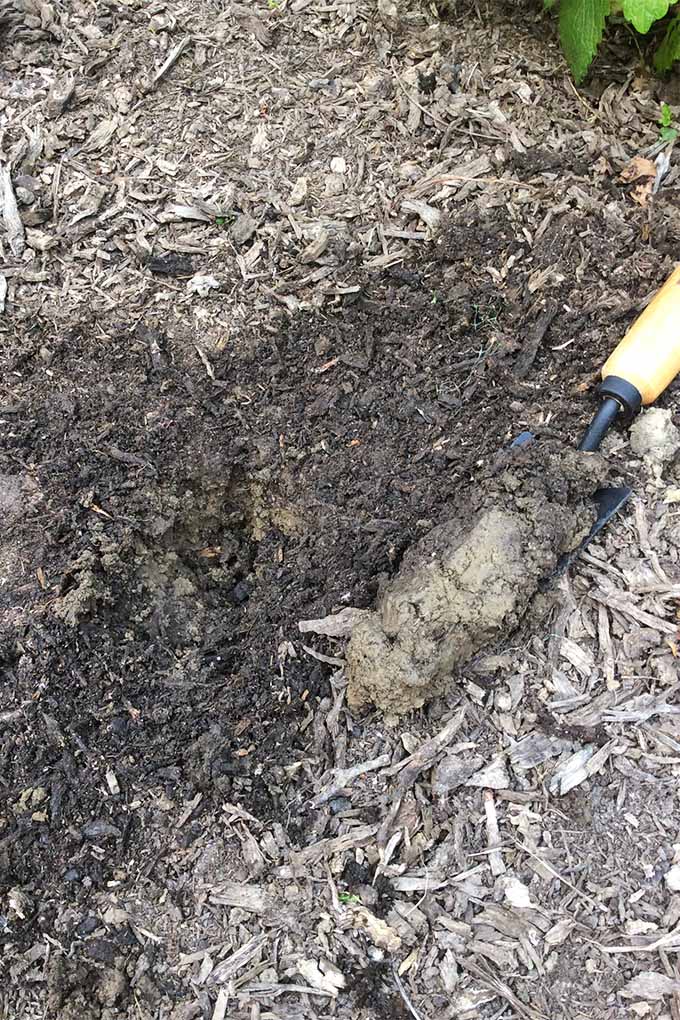
Remove the wedge from the ground and cut out a two-inch chunk from the center of the sample.
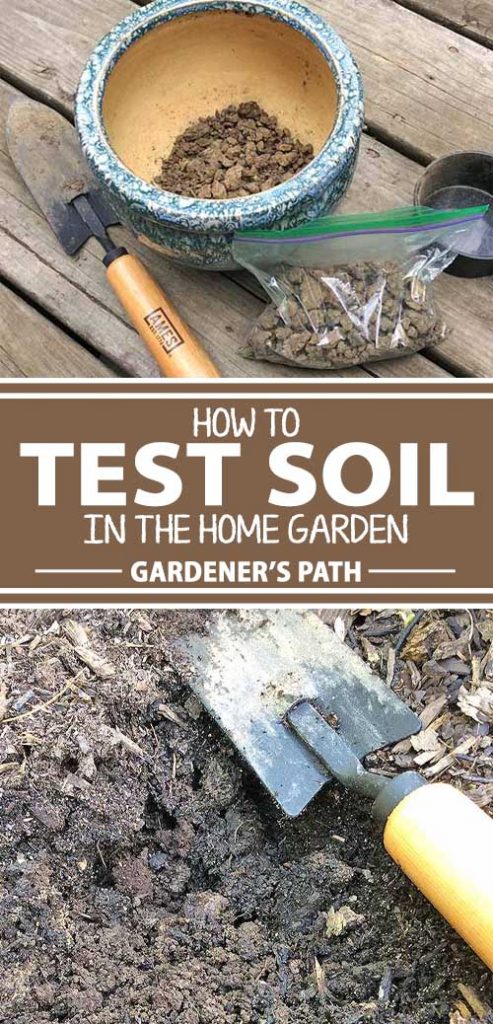
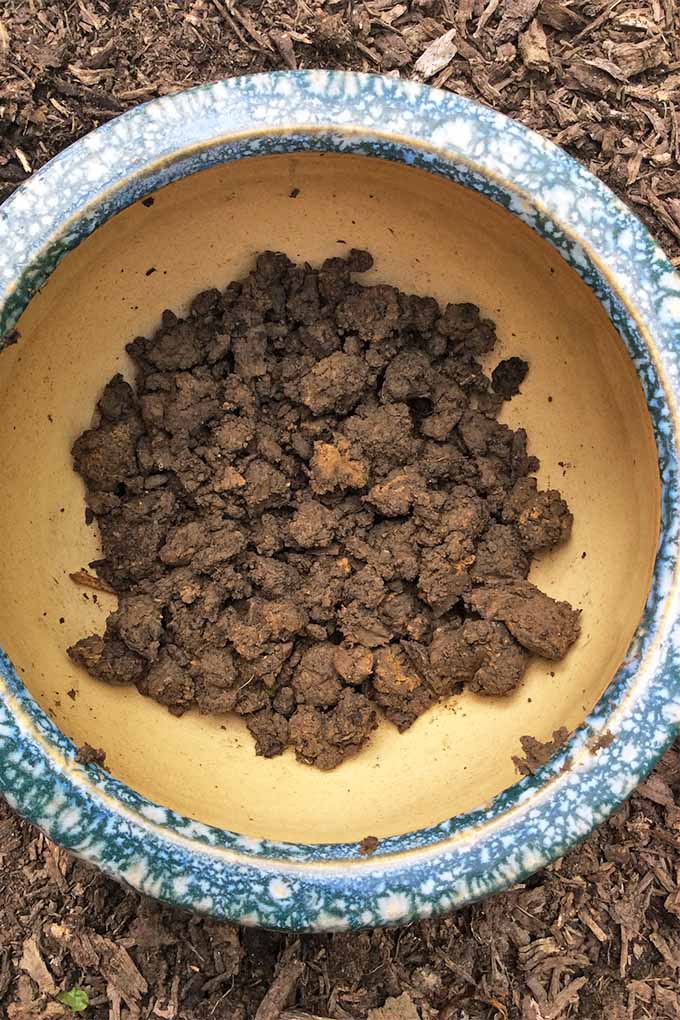
Step 3 – Set Aside

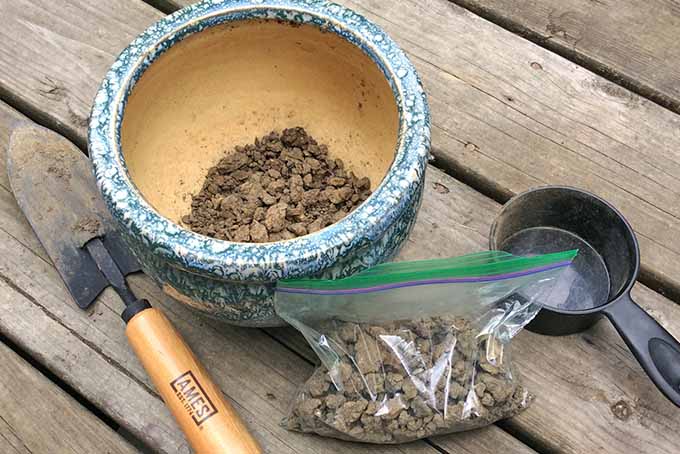
Place the sample in a clean, non-metal bucket or bowl of some sort.
Step 4 – Repeat
Depending on the size of the area you are sampling, repeat Steps 1 through 3 in 8 to 12 more spots. This will give you a more comprehensive picture of the area you’re testing.
Step 5 – Combine
Mix the samples together well, and allow the mixture to dry out completely.
Place the required amount – usually less than a cup – into the designated container, most likely a plastic bag.
Step 6 – Document and Mail
Fill out the required information sheet (one should be included) and send the sample off.
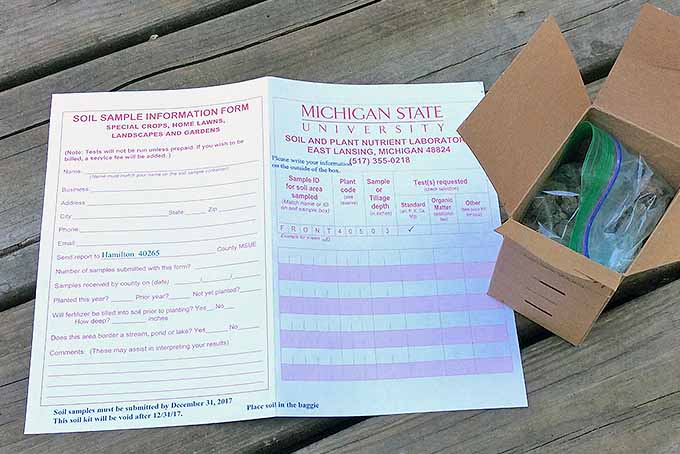
If you’re sending multiple samples, be sure to record where each sample was collected.
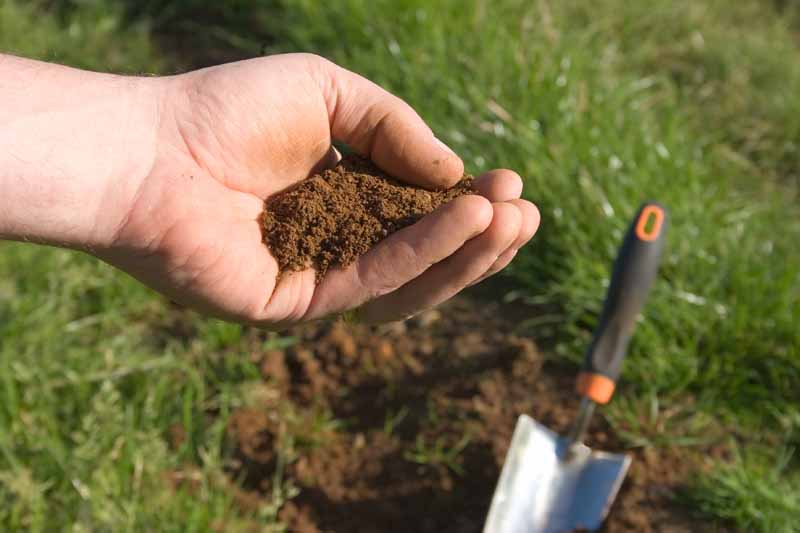
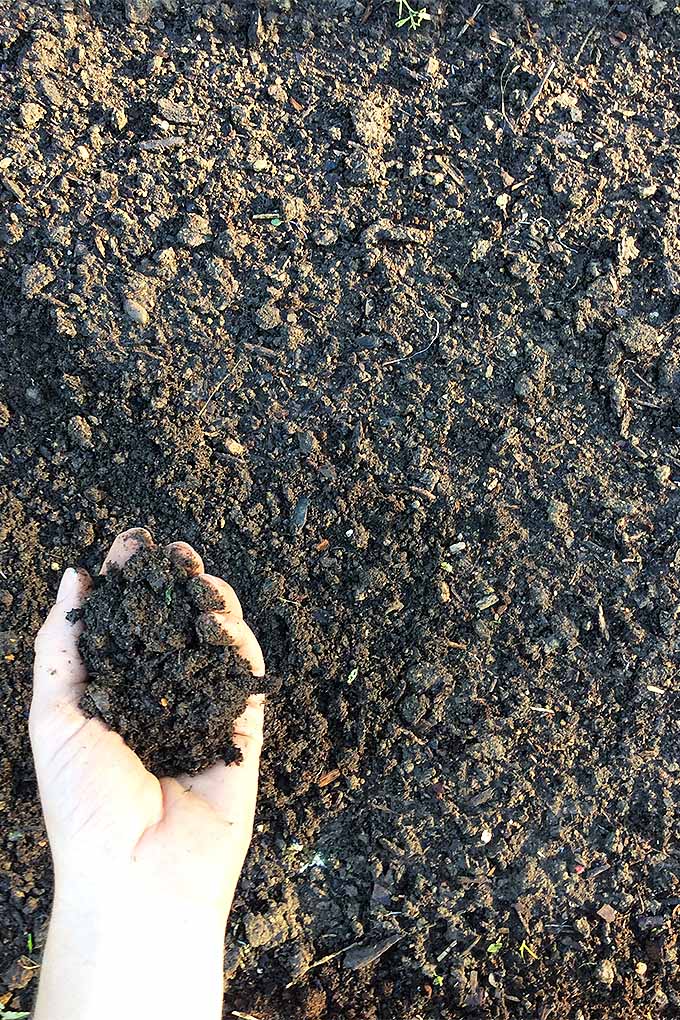
Most of the action happens close to the surface, so don’t worry about getting a deep sample.
Organic matter, nutrients, organisms, and plant roots are the most concentrated in the top four to six inches of the ground.
Sending in a sample isn’t something you should have to do every season either. Every three to five years should be sufficient. Stick to the same lab every time for the most consistent results.
Fall is the best time to send out a sample, but early spring is good too. This way, any amendments you make, like adding organic compost or lime for increasing pH, have time to take effect.
Good to Know
Don’t assume the test will be all-inclusive.
Generally, basic nutrients – like phosphorus, potassium, calcium, and magnesium – along with pH and organic matter are tested.
All plants use the macronutrients nitrogen (N), phosphorus (P), and potassium (K) in the highest amounts, which are the nutrients found in commercial fertilizers.
Nitrogen, however, isn’t typically tested since it readily moves in and out of the soil and any given reading is subject to change quickly.
Providing sufficient organic matter, rotating crops, and using cover crops all help to ensure adequate nitrogen levels for plants.
Many tests will give you an idea of texture as well, recording percentages of sand, silt, and clay. This is really helpful to know for drainage, moisture retention, and air circulation.
The ideal loamy texture that garden articles love to recommend for planting is made up of equal parts silt, sand, and clay, totaling 45 percent of the total volume.
Believe it or not, as much as 50 percent should be open pore space. At any given point, half of the open pore space should be occupied by water, the other half by air.
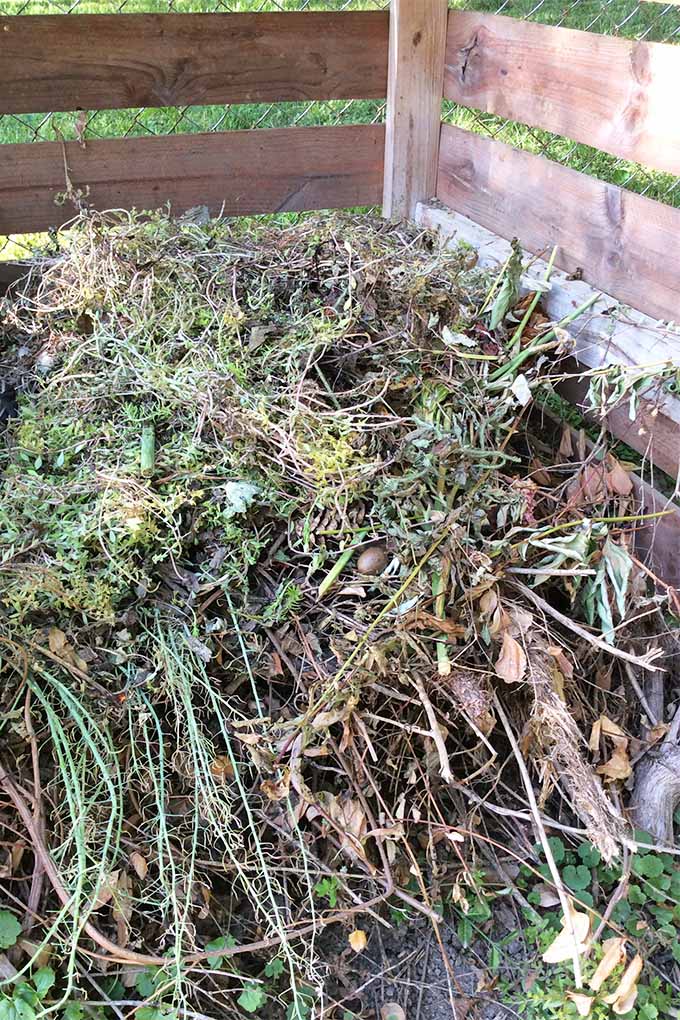
And organic matter, which is nothing more than decomposed sticks, leaves, grass clippings, animal waste, and the like should typically be around 5 percent in healthy gardens.
Call your extension office and talk to someone before mailing out your sample, and ask about what’s included in the standard test. You may have to make special requests if you have specific concerns.
For instance, if you want to test for heavy metals, like lead, you might have to ask (and pay a little more) or possibly even go through a private lab. But this is often worth the extra cost and effort if you plan to grow an edible garden, especially in urban areas.
What to Do with the Results
Once you get the test results, this information will likely be accompanied by fertilization and amendment recommendations, specifically for nutrients and pH.
Keep in mind that recommendations will be different for different crops. So, providing the lab with information about what you intend to grow is really important.
For instance, turf, vegetables, flowers, and shrubs will all vary in their general soil requirements.
My preferred way to fertilize is with organic compost. It’s as good as gold.
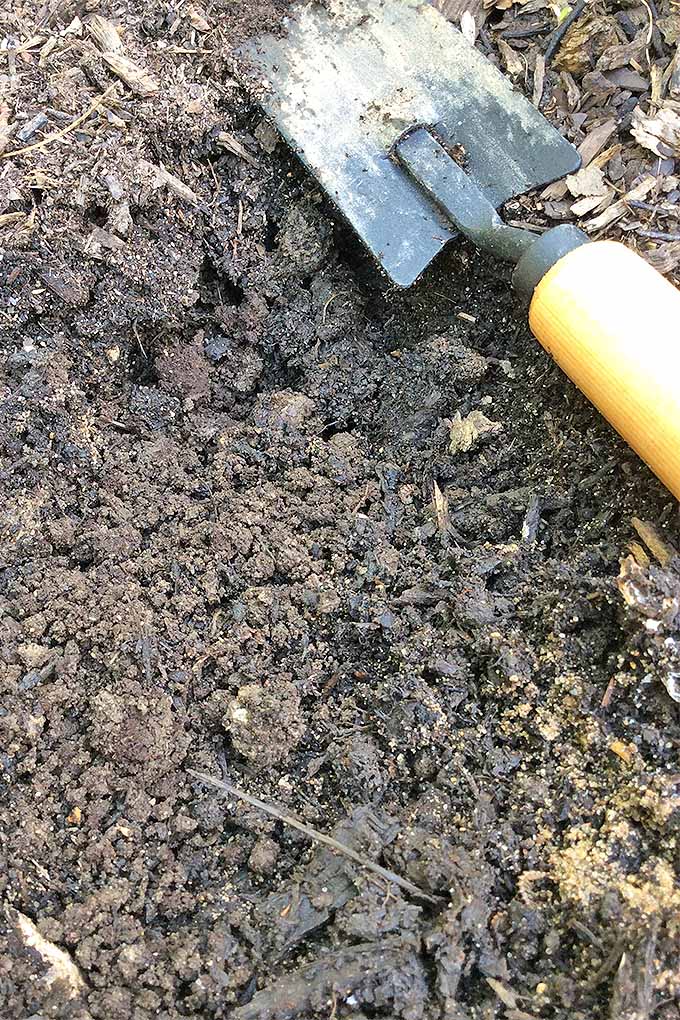
But, freshly added compost needs to be worked over a bit more by organisms before nutrients become readily available. So think of compost as a long-term, slow-release fertilizer.
Add a couple of inches of fresh, organic compost once or twice a year and soil should be well fed.
That’s right. The soil should be well fed. It is an ecosystem all its own, with bacteria and fungi and insects, and a host of others all working collectively.
Most commercial fertilizers are meant to feed plants, not soil. They typically include only nitrogen, phosphorus, and potassium in manufactured forms that are immediately available to plants, but do very little for life underground.
Overusing synthetic fertilizers can actually harm soil life in the long run. Certain nutrients will favor some organisms over others, so diversity may become an issue.
And, at least in the short term, fertilizers have been known to reduce nematode populations and can damage fungi.
They also leach out of the garden quickly, which means you’ll have to keep reapplying them throughout the growing season.
With that said, I do recommend chemical fertilizers in the short term, if you have acute nutrient deficiencies. Test results and recommendations will be especially useful to correct nutrient imbalances.

Try an organic fertilizer like Dr. Earth, available on Amazon.
Adjusting pH may also be recommended. Typically, this can be accomplished by adding lime if conditions are too acidic, and sulfur if it’s too alkaline.
Most plants will do best in slightly acidic to slightly alkaline conditions. If pH falls below 5.5 or above 7.5, adding either lime or sulfur will likely be recommended.
For general gardening, a pH of 6.0 to 7.0 is ideal. In this range, nutrients are readily available and life below ground is thriving.
Build a Healthy Foundation
Having an understanding of nutrients and pH, as well as texture and organic matter, makes it so much easier to ensure a healthy, thriving garden.
You’ll also be less inclined to over fertilize, which, depending on how much fertilizer you use every year, could save you some money.
Once you get your plants healthy and growing in the short term, put the chemical fertilizers aside and focus on feeding the soil.
Healthy, diverse, nutrient dense soil produces healthy, nutrient dense plants.
Even if you don’t intend to eat the plants you’re growing, they will be stronger and more resistant to pests and diseases if the soil is built up well.
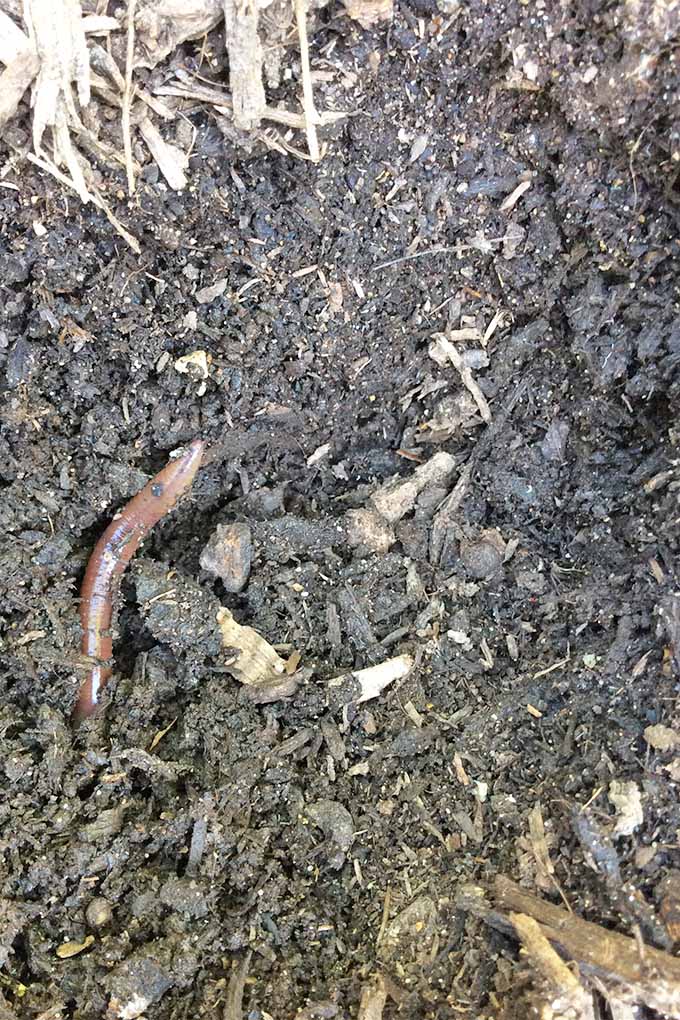
Once in spring and again in fall, add two inches of organic compost to your garden, just like you would any other organic mulch. Worms and other organisms will work it in and convert it into usable nutrients for plants.
Planting cover crops, like clover and winter rye, is another great way to maintain healthy soil.

They are typically planted during the off-season on fallow land or amongst orchards and can protect against erosion and weeds, as well as feeding life underground.
Keep annuals on a healthy rotation schedule each season to further encourage diversity and keep nutrients balanced.
And, you’ll want to avoid tilling and compacting your garden as much as possible.
Think about growing your soil before growing your plants and you’ll be on your way to a beautiful, productive, healthy garden.
Have you tested your soil before? What was your experience? Share what you learned in the process with us in the comments section below!
And for more information on techniques for improving the soil in your garden, check out these guides next:
Thanks for sharing such a detailed article. It is a very good idea to get your soil tested. You’ll find out how much you want to amend your soil, the pH level, and whether there is lead in it, which is a big concern for anyone looking to grow edibles. Also, UMass Amherst provides soil tests for a small fee. http://www.umass.edu/soiltest/ Their website has instructions on how to prepare your soil sample.
Great info, Nancy. Thanks for sharing! Readers are encouraged to contact their local extension offices for soil testing service information – this is great!
Thanks for information
Where do I get a test kit for my lawn. Address or phone number.
Hi Ellwood, there are a variety of different soil test kits available, depending on your requirements. Something like this one, available from Luster Leaf via Amazon, allows you to check the pH of your soil, as well as the major nutrients.