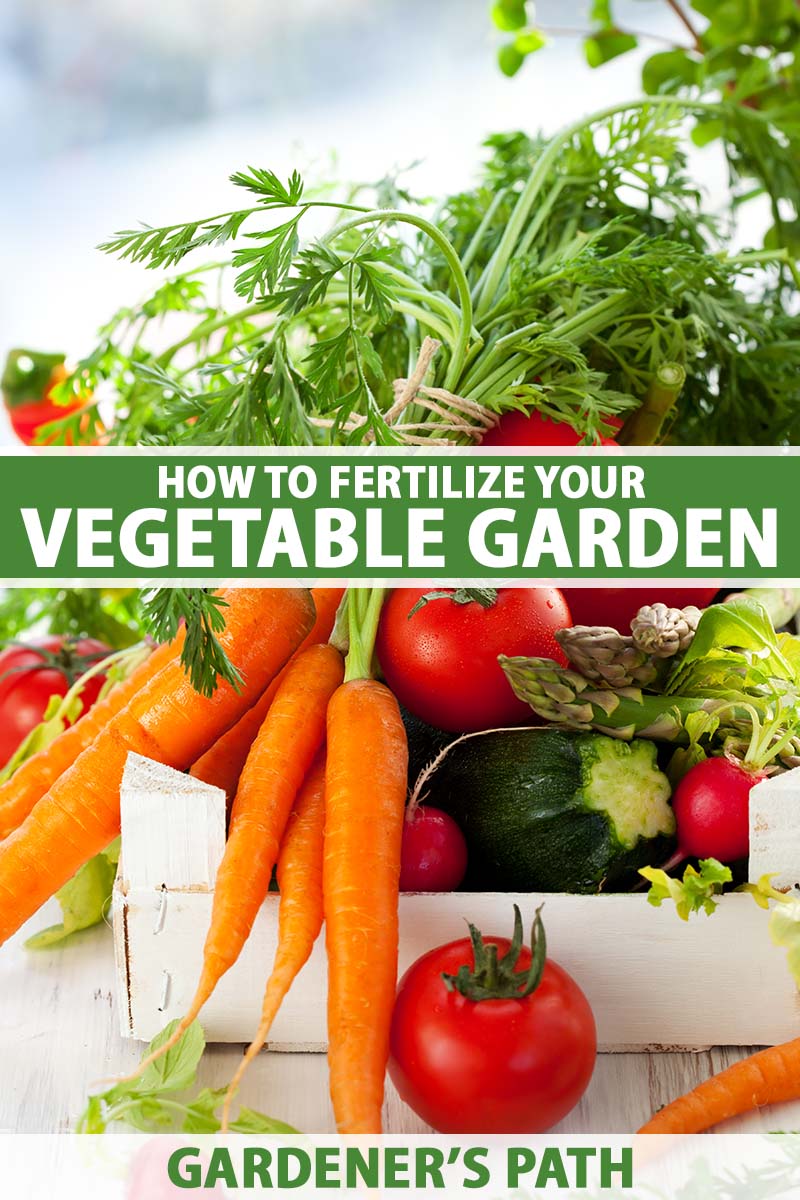
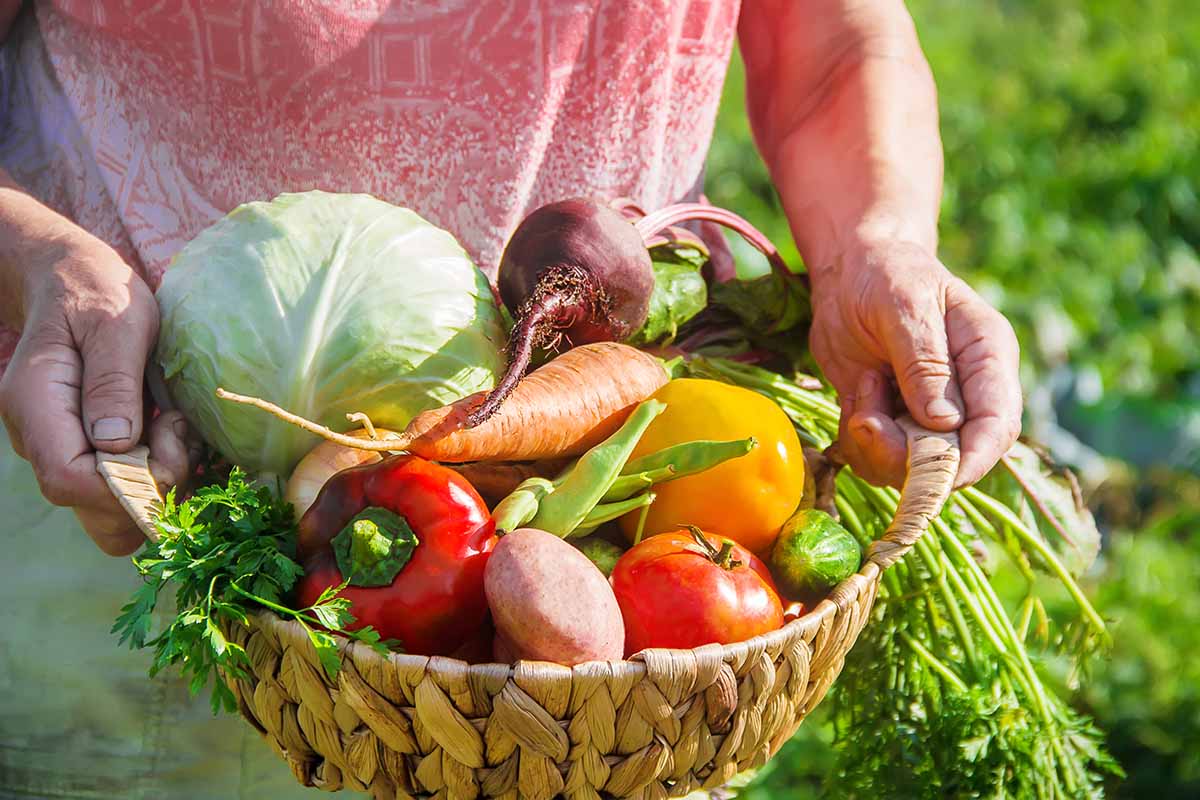
Most of us want our veggie garden to produce bumper crops, don’t we?
Whether we’re feeding a family, sharing with friends and neighbors, selling from a produce stand, or canning and preserving for future use, abundance is usually what we’re aiming for.
There are a lot of ways to increase crop yields, but one of the best and surest is to ensure that nutrients are available, and the plants are getting what they need.
We link to vendors to help you find relevant products. If you buy from one of our links, we may earn a commission.
Applying fertilizers of various types can help to support blooms, foliage, and fruit; boost production; and even aid in pest and disease resistance. But which type is the best vegetable fertilizer?
We’re going to cover everything you need to know to bolster and sustain nutrition and health to keep those veggies in tip-top shape!
Here’s what you’ll find in this guide:
What You’ll Learn
What Do Plants Need to Grow?
From the tiniest seedling just starting its life to the largest trees that have lived for decades, every specimen has basic needs that must be met to keep it healthy and productive.
Aside from sunlight and water, nutrients are crucial to the veggie patch. This includes both macro- and micronutrients.
Providing them is one thing, but making sure they’re available for use is another. We’ll cover that in a moment. First, let’s discuss the two major groups of elements.
Macronutrients
One definition of the prefix “macro” is “large in scale.” In botanical terms, this refers to nutrients that are needed in larger supply to support growth and development, budding and blooming, and fruit setting.
Vegetative macronutrients include nitrogen, phosphorus, and potassium, as well as calcium and sulfur. Fertilizers are typically labeled with NPK ratios – this acronym stands for nitrogen, phosphorus, and potassium.
Micronutrients
Just as the prefix “macro” refers to elements that are needed in larger proportion, “micro” refers to those needed on a smaller scale.
They’re still crucial, but they don’t need to be provided in as large a quantity. This group includes elements such as boron, copper, chloride, iron, manganese, and molybdenum.
Both macro- and micronutrients are typically found in most types of substrate, but the total amount of each may be disproportionate in abundance or availability depending on the soil conditions, especially in heavily tilled, pesticide-treated, or planted ground.
Oversaturation or drought conditions can further impact availability.
Learn all about which macro- and micronutrients plants need and when they need them in our general guide to understanding plant nutrients.
What Are Available Nutrients?
Adding fertilizer to the soil is one way to deliver what your crops need, but if those elements can’t be easily absorbed, adding more is superfluous at best – and can actually cause damage or adverse results at worst.
Soil that is highly acidic, for example, can create a hostile growing environment and reduce the available calcium, magnesium, and phosphorus.
But, this can’t be amended by adding fertilizers because the heavy metals that may be present in this type of environment can be mobilized by changes in soil pH, making them more easily absorbed by the plants.
Alkaline pH levels can also lead to encumbered nutrient uptake.
A mid-range pH is preferred by most garden-variety crops, and anything at either far end of the spectrum can significantly impact availability.
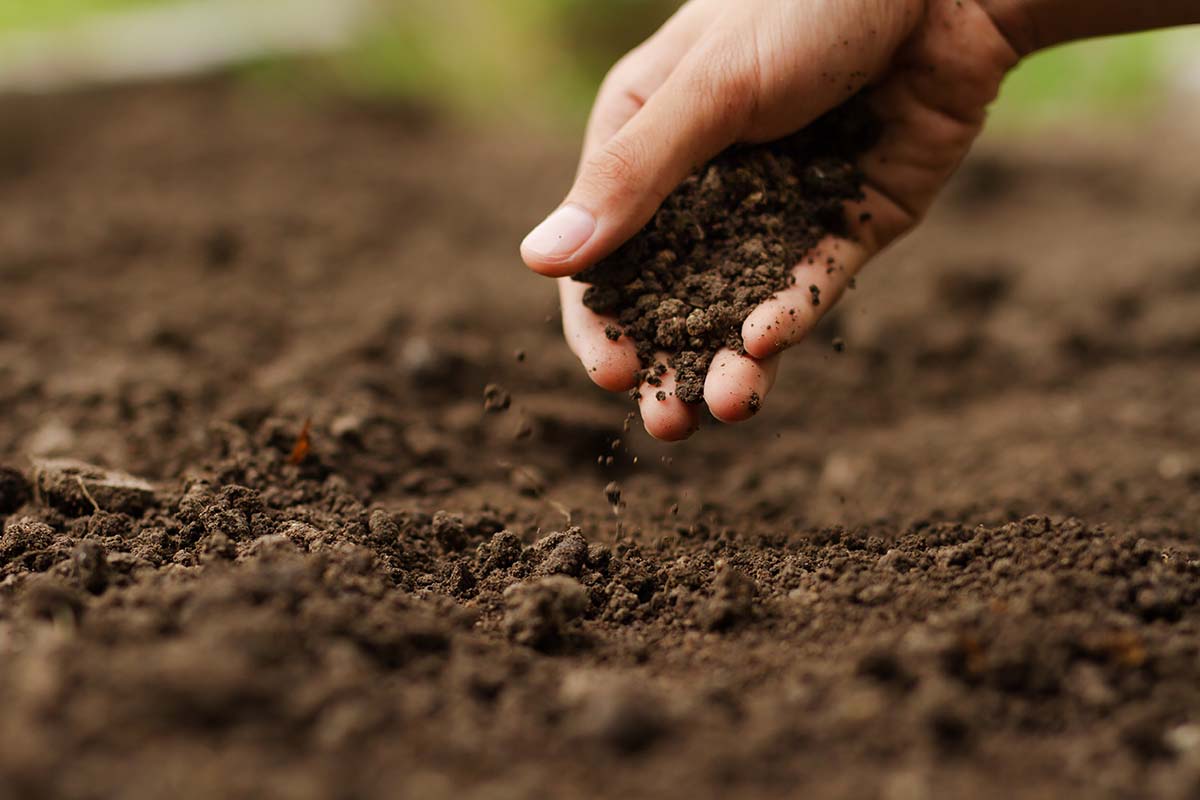
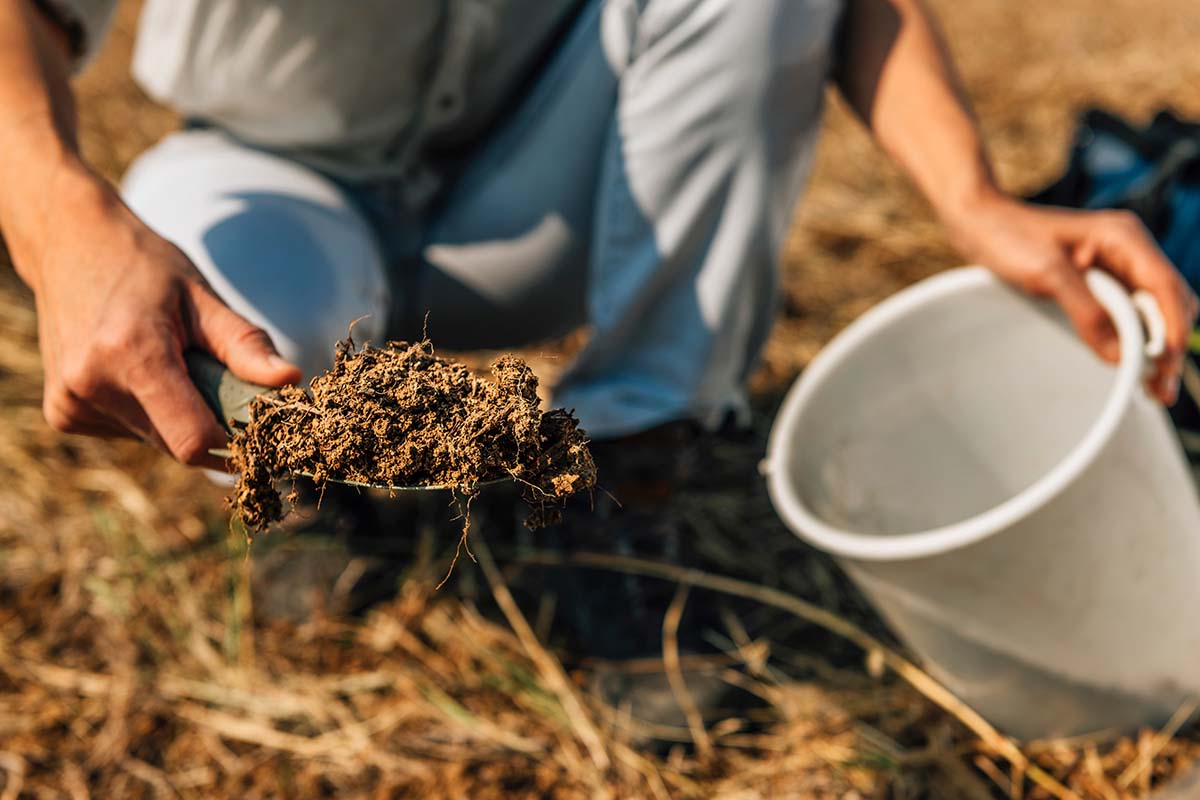
Soil testing is the best way to assess imbalances. This step should be taken prior to amending the soil in any way – otherwise, any other efforts you extend could be completely negated and waste time and money.
Having an accurate profile of the composition at the planting site is imperative and should be a step that is automatically included in your vegetable garden planning.
You can learn about using amendments such as lime and peat moss to address pH levels in our guides.
Soil Testing
For complete information, check out our guide to getting your garden off to the best start with soil testing.
Contacting your local extension office to schedule testing is the best method to ascertain the condition of your planting site, but there are test kits that can be used at home as well.
The My Soil Test Kit is a good choice for the home gardener, and it’s available from My Soil via Amazon.
This is a send-away kit that can give you a clear snapshot of the total available nutrients and pH level, along with a profile that you can access online.
With results in hand, you can begin to amend any deficiencies or overabundances that may be affecting the health and productivity of your garden.
After restoring balance, it’s time to figure out how to best support the crops you intend to grow.
Find our best picks for DIY soil tests here.
Common Garden Vegetables and Their Needs
We’re going to focus on what’s required to support some of the vegetables most commonly included in the home garden. Let’s take a look at what these varieties depend on for peak productivity.
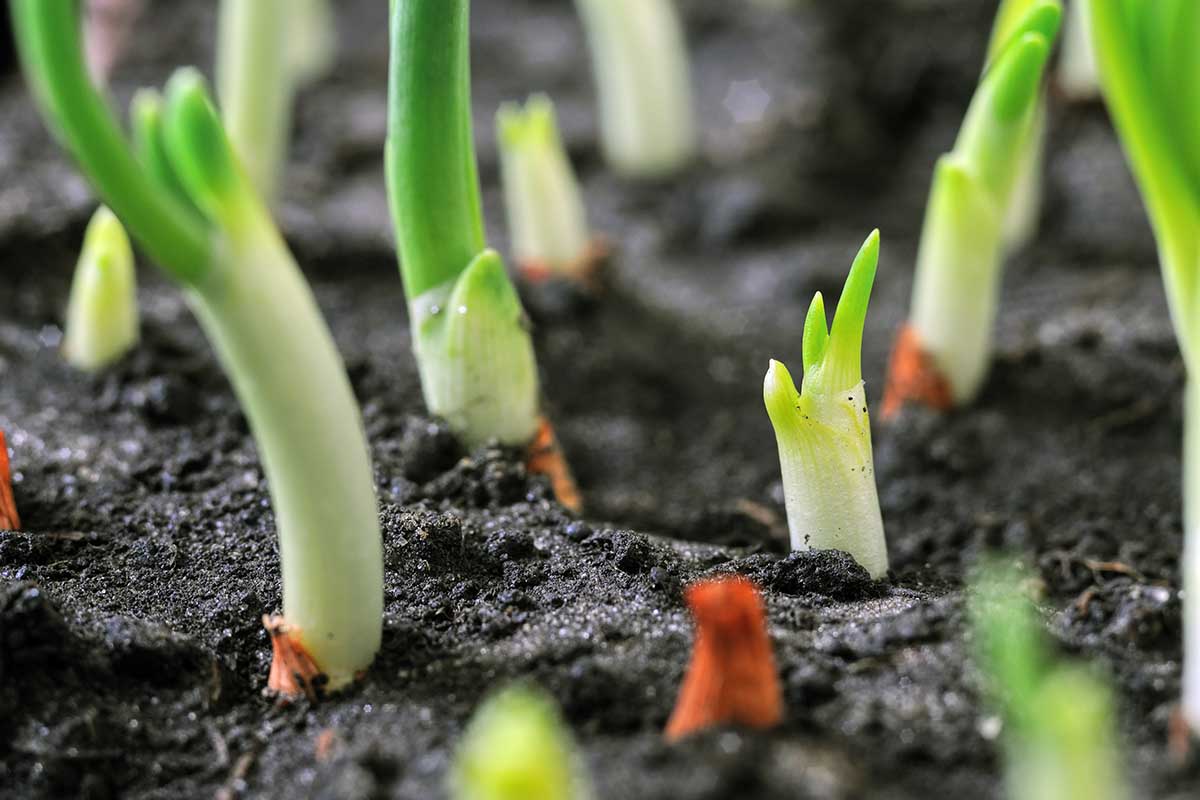
Alliums
Bulb-forming alliums such as garlic and onions are best supported with a balanced fertilizer, containing a close ratio of nitrogen, phosphorus, and potassium.
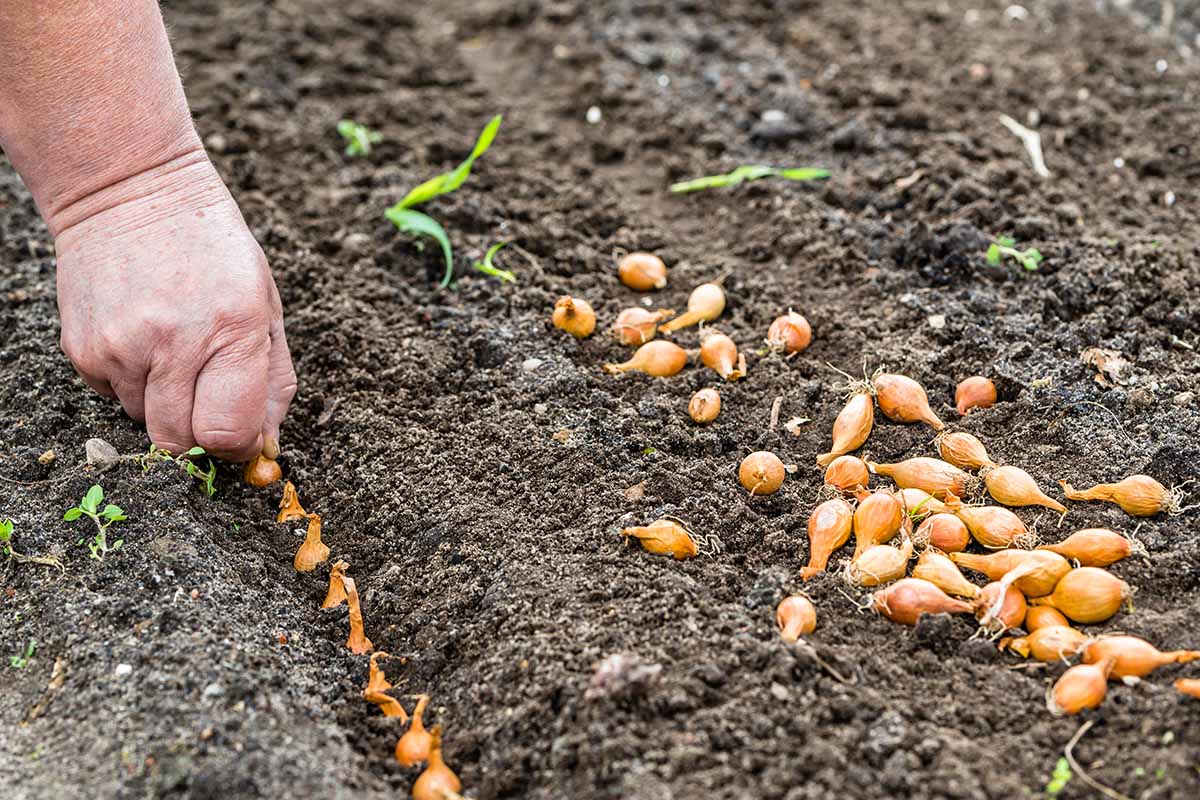
Members of this group are considered “heavy feeders” – that is, they draw a lot of elements from the substrate, and because most of them have a very long period to maturity, they’ll often need more feeding than those from other groups.
Brassicas
This group includes the cole crops, such as broccoli, cauliflower, and brussels sprouts.
Both potassium and nitrogen are critical elements in producing healthy brassica crops. Because these vegetables don’t fruit, and are comprised of leaves and stems, they require nitrogen-rich soil.
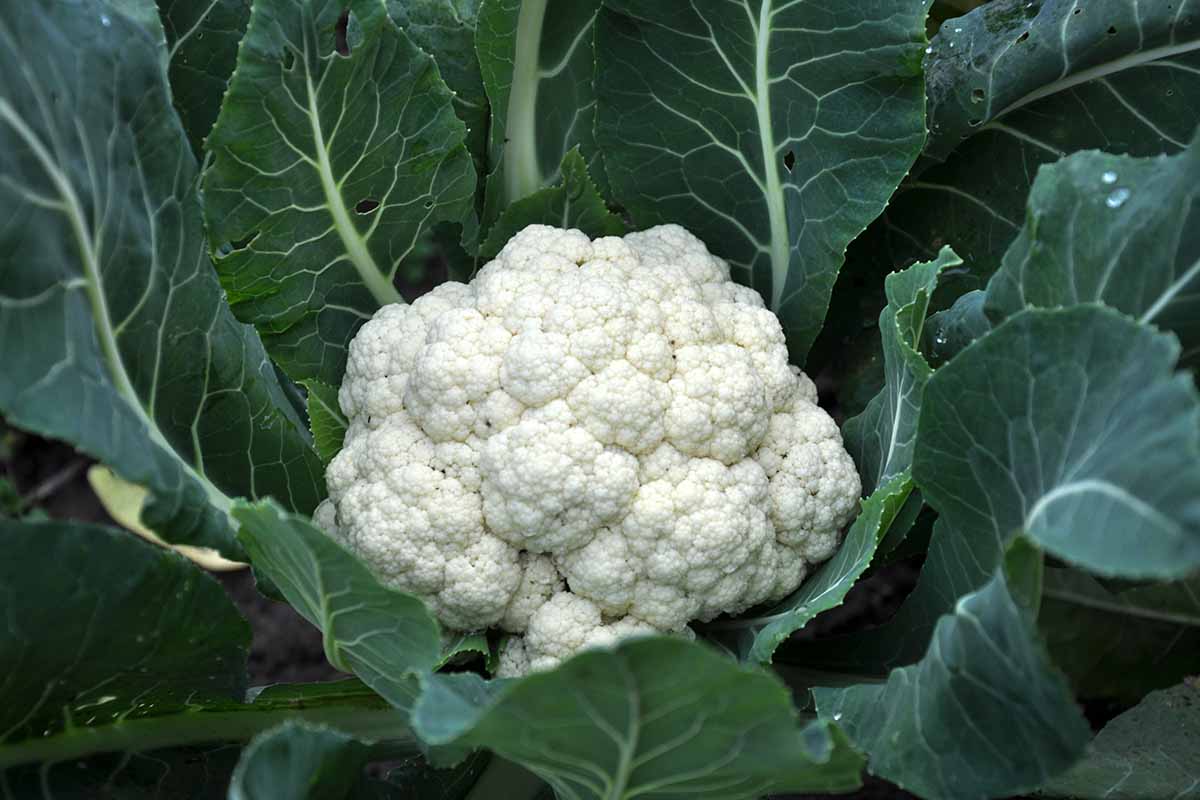
Adequate potassium is crucial for species in this family from germination to harvest, with calcium also playing a significant role.
Corn
Corn is a common crop in some gardens where space allows, and it’s known as a very heavy feeder.
Fertilizer should be added to the planting site ahead of time to increase available nutrients, and again when the plants are about four inches in height.
Nitrogen and potassium are the most important elements necessary for proper growth, but calcium, sulfur, and manganese are also vital.
Cucurbits and Melons
The Cucurbitaceae family is a massive group of nearly 1,000 species, the vast majority of which produce vines. This includes cucumbers, zucchini, pumpkins, and a wide variety of melons, among many others.
In this family, phosphorus is the key element, with manganese coming in at a close second. Avoid overuse of nitrogen with these species, however, as it can create long, leafy vines with little crop yield.
Fruiting Crops
This group is comprised of nightshade varieties such as tomatoes, peppers, and eggplant.
Although potatoes are included in the nightshade family, they tend to have different needs as they produce edible tubers rather than bearing fruit – we’ll cover these below.
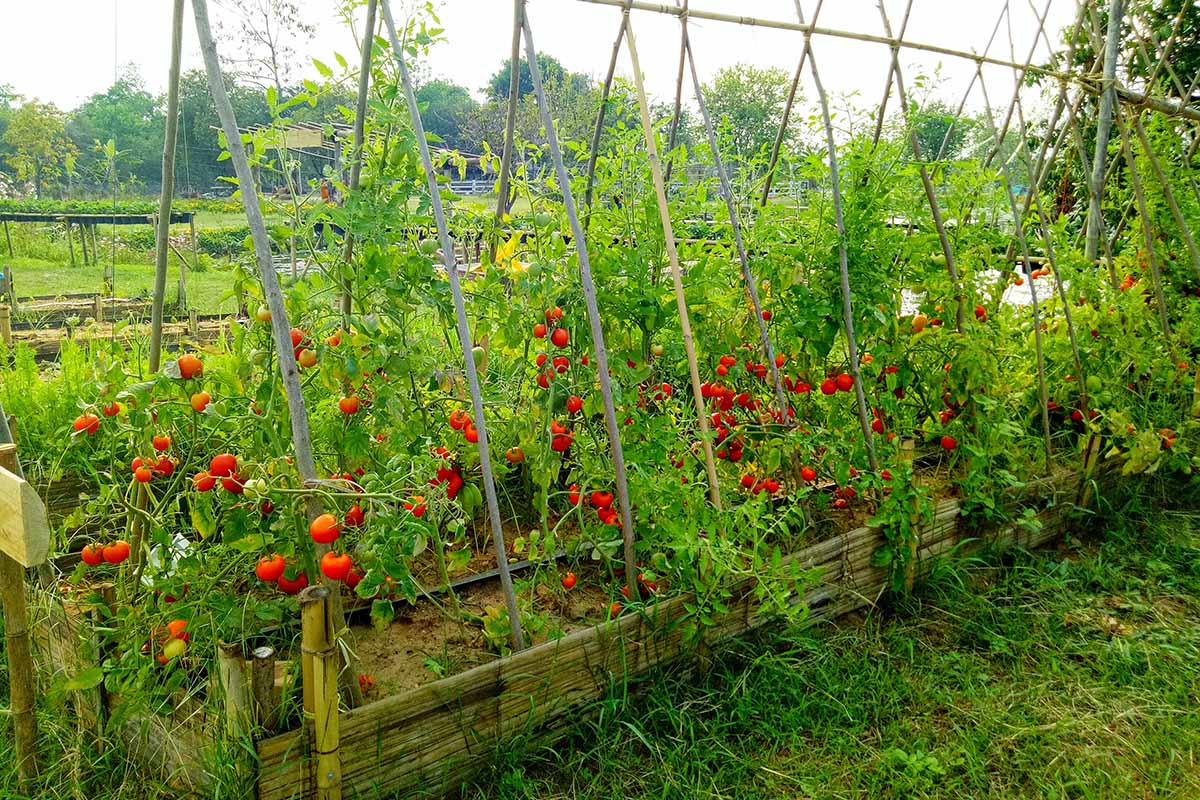
Avoid nitrogen-heavy fertilizer applications with this group, as it contributes to dense foliage rather than fruit production.
The key element to focus on here is phosphorus for strong bud and fruit development, and calcium for reduced impact from common diseases.
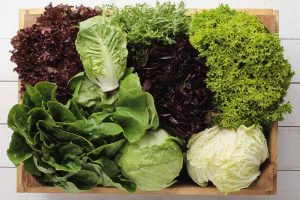
Leafy Crops
Lettuce, spinach, and other veggies that are comprised primarily of leaves are not heavy feeders, but they prefer healthy soil with a lot of organic material present.
They do best with fertilizers that are slightly higher in nitrogen, which is extremely important for healthy leaf development.
Legumes
This group is comprised of beans, peas, lentils, and other pod-producing species. They’re the oddballs on the crop list because members of this family fix nitrogen in the soil.
Legumes form a symbiotic relationship with bacteria, called rhizobia, that is present in the soil. In this process, nodules form on the roots where the nitrogen absorbed from the air is converted into ammonia, which is another element that the plant needs.
Several types of legumes are grown as cover crops specifically for tilling under to feed other plants. While they don’t generally need much fertilizing, they do need adequate phosphorus and calcium for best results.
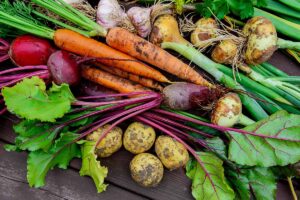
Roots and Tubers
Potatoes, carrots, beets, radishes, and all manner of starchy tubers and roots that grow underground belong to this group.
Even though they need nitrogen to build healthy stems and leaves for photosynthesis, too much can lead to small root development.
Instead, phosphorus and potassium levels should be the chief concerns, as both elements are crucial to healthy root development.
Fertilizer Fundamentals
Armed with the knowledge of what your plants need coupled with your complete soil profile, you can formulate a plan of action for increasing available nutrients for maximum production.
Now it’s just a matter of determining when to fertilize, and what types will work best for you.
When to Apply
There are a few points to consider as you decide when to feed.
If your testing results were less than stellar, take the time to make amendments before you ever sow a seed or transplant a seedling.
Take note of the type of substrate at the site as well – sand or heavy clay can have an impact on the fertilizer types and schedule you opt to use.
Since most vegetables will be planted in the spring in most regions, some fertilizers, such as compost and manure, can be spread over the entire site in the fall or early spring to allow time for them to thoroughly rot.
As they decompose, or “age,” the nutrients that they release will feed the soil, creating a healthier site full of organic matter ahead of time.
Note, however, that it’s difficult to tell exactly which nutrients are present and in what quantity. Only aged manure should be added to plots of plants that are actively growing, as high concentrations of nutrients can burn plants.
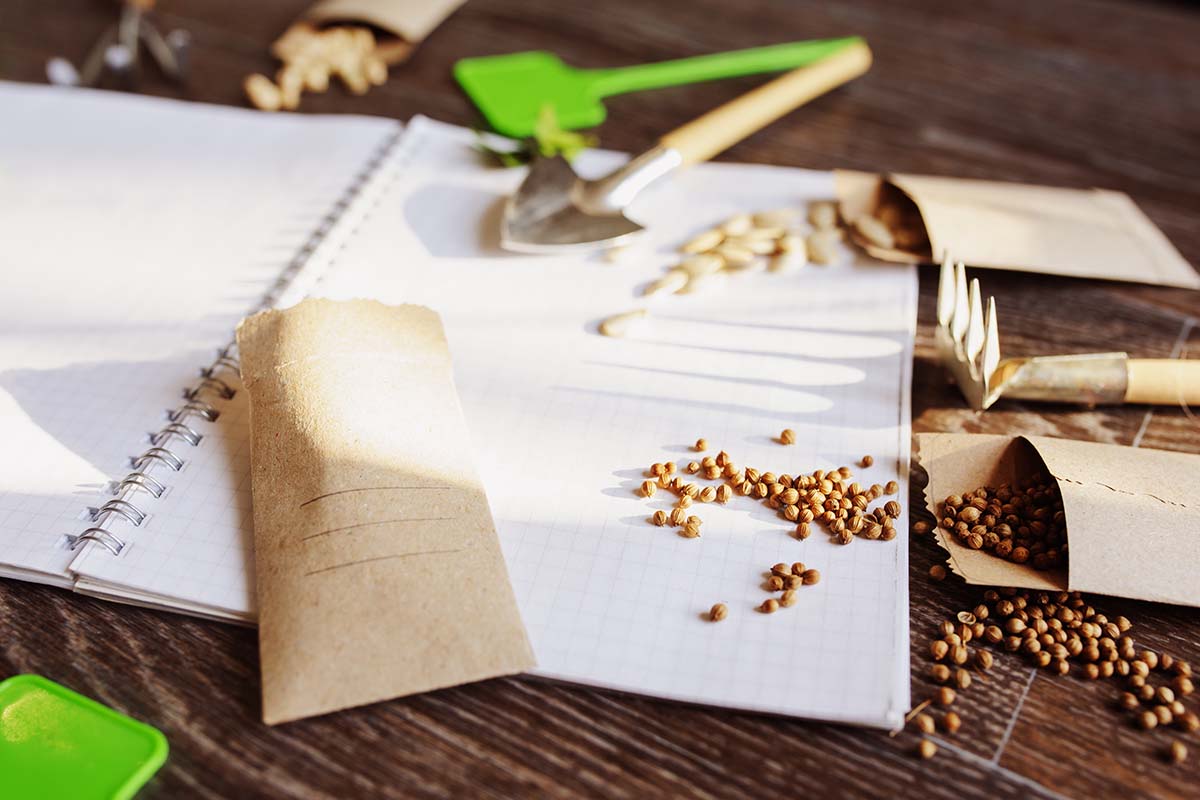
Make a Plan
It’s best to develop a schedule for application for the growing season, beginning with preparing the ground ahead of time.
Some gardeners choose to feed on a schedule throughout the year to keep the soil healthy, regardless of test results.
This can include spreading plant food every four to six weeks, or according to package instructions, beginning in the spring; however, it’s also important to pay attention to the reaction that you observe.
Visual cues such as leaf yellowing, low bloom or fruit production rates, dropping of blooms or fruit prior to maturity, or stunting, can all be signs of protest, indicating that too much or too little has been applied.
If these signs become apparent, be prepared to conduct more testing to determine the cause and discontinue applications until you’ve got those results. Start by ruling out infestations and diseases, however, as some symptoms of these can look similar.
If you’re not quite sure what your fertilizer options are, then read on to learn more about which ones are preferred and commonly employed.
Types to Choose
There are so many ways to feed your garden. Not all of them are purchased in neat packages from the store – many of them are completely natural, and some are derived from food sources that you also consume yourself, through your own diet.
Even though all of these are viable options, it’s always best to go with the natural, less environmentally damaging choices whenever possible.
Compost
As I mentioned, compost is an easy DIY vegetable fertilizer that can be applied before the season begins, to feed the site ahead of time. It can also be added as a top-dressing throughout the season.
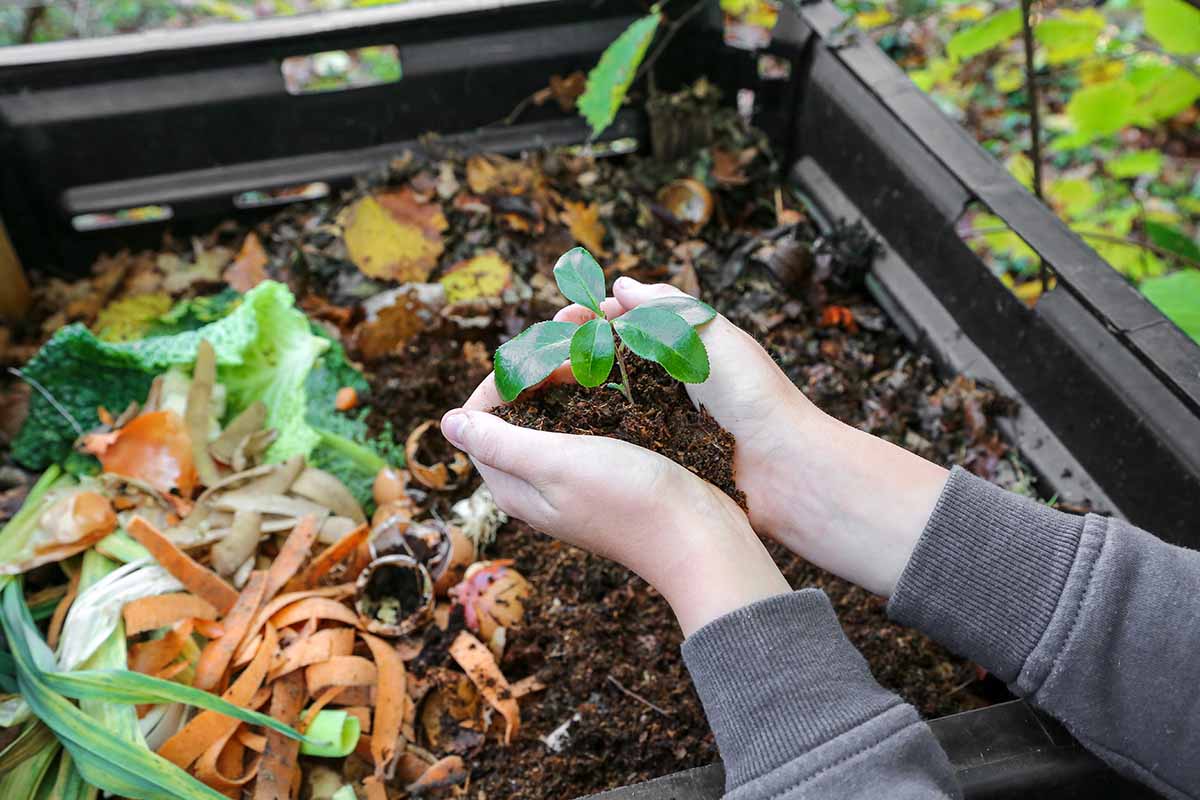
Well-rotted compost is typically nutrient-rich, although it’s difficult to ascertain what proportions of which elements it contains. Add only organic material to the pile and give it adequate time to break down before spreading it on your garden.
Learn all about composting basics in our comprehensive guide.
Every four to six months, a two- to three-inch-deep layer can be added to the rows or beds. This layer can be one to two inches deeper for fall plantings, as it also acts as insulation against chilly temperatures.
Compost tea can be made by wrapping a shovelful of compost in cheesecloth or another fabric with an open weave and tying it off at the top.
Place the “tea bag” in a bucket or container of water and leave it there for two to three days. Give it a turn now and then, and remove the bag when the water is amber to brown in color.
Use the solution to water the garden, or spray it on the leaves as a foliar spray – but note that crops with thicker leaves may not absorb as many nutrients from the spray as they would through their roots.
Other Natural Choices
Aside from compost, there are a variety of other organic and natural materials that can be used to add safe, nutritive content. Some of them can also improve soil texture and water retention.
All Purpose Organic Fertilizer
The first and most obvious choice is a purchased, all-purpose food such as Dr. Earth Tomato and Vegetable Fertilizer, which is available from Amazon in a five-pound bag of granules or a 24-ounce bottle of concentrate.
Dr. Earth Tomato and Vegetable Fertilizer
At the beginning of spring, granules should be broadcast on the surface of the soil and raked in. Concentrate should be diluted with water according to the package instructions and sprayed over the area.
Foxfarm Happy Frog Tomato and Vegetable Fertilizer is another good choice for all-purpose use, which can also be purchased via Amazon in four-pound or 50-pound bags.
Foxfarm Happy Frog Tomato and Vegetable Fertilizer
This blend contains bat guano as well as bone, kelp, and feather meal for added nutrition.
Worm Castings
Worms are the gardener’s friend, breaking down organic matter in the ground below our feet. As they consume what they need, they leave castings, or droppings, behind.
These castings are nutrient-dense, but somewhat pricey to purchase. If you have the means to farm worms at home, you can cut costs by having your own source.
If this sounds interesting to you, you’re going to love our guide to starting your own worm farm!
They can be purchased in one-, five-, 10-, and 25-pound bags from Arbico Organics, if you can’t or don’t want to produce them yourself.
Eggshells
In addition to composting eggshells, they can also be left out to dry and pulverized to make calcium-rich top dressing.
Sprinkle this over the root zone or add it to the planting hole for any calcium-loving vegetables, such as tomatoes or peppers.
Because eggshells are organic, they can be added at any time – and as a bonus, the grit and sharp edges can help to deter some types of soil-dwelling pests such as slugs and snails.
One-pound bags of prepared ground eggshells can be purchased from TruBlu Supply via Amazon.
Banana Peels
Most fruits and vegetables contain potassium, but bananas contain more than 40 percent by volume – more than any other type of produce!
The peels can be dried and run through a food mill or blender to make a potassium-dense powder, or simply added to the compost. Powdered peels can be sprinkled over the soil.
Wood Ash
While it should be used sparingly due to its alkaline nature, wood ash is chock-full of potassium, phosphorus, and calcium.
It’s best used to fertilize vegetables that need slightly acidic soil pH and a lot of potassium, such as brassicas, nightshades, and root veggies.
Application is best done before the season begins, as early as the fall, as overwintering will give the elements time to break down. Ash should be broadcast over the soil and tilled in well.
Read more about using wood ash in the garden in our guide.
Greensand
This organic conditioner is high in potassium but won’t burn delicate roots or leach into groundwater because it isn’t water soluble.
It’s also a great amendment to use in heavy clay or sandy soils, helping to improve friability while retaining extra moisture.
Because greensand doesn’t dissolve, it needs more time to break down. This translates to a longer waiting period before it becomes effective, so plan to till it into your substrate at least 12 months in advance.
Bone and Blood Meal
Both bone and blood meal are exactly what they sound like – pulverized bone, and dehydrated blood.
Bone meal is very high in phosphorus, but low in nitrogen, making it an excellent choice for root support. Use it for bulb-forming and root vegetables or broadcast it over the entire planting site several months ahead of time.
It’s best to till bone meal into the ground prior to sowing or transplanting, and be sure to water it in well.
Blood meal, on the other hand, is high in nitrogen. As I mentioned, this macronutrient is important for foliage development, so it’s best not to apply it on crops that set fruit. Otherwise, you may end up with a leafy jungle and very little produce.
Jobe’s Organic Blood Meal is available in a three-pound package from Home Depot.
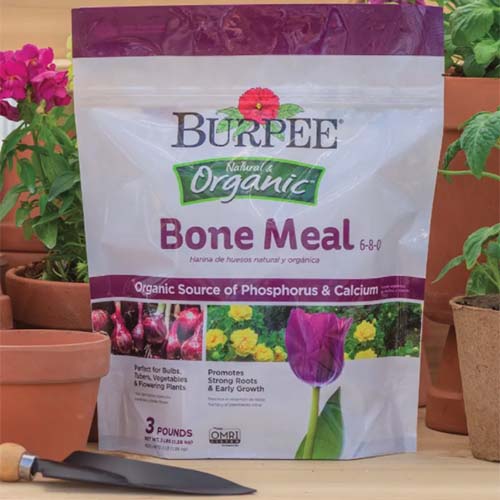
And Organic Bone Meal is available in a three-pound package from Burpee.
Fish Emulsion
Crops that benefit from an abundance of nitrogen will love fish emulsion. It’s usually available in a liquid form that is diluted and sprayed or poured onto the substrate.
I prefer to produce my own, however, and it’s an easy process. Simply prepare mussels or other shellfish by steaming, allow the water to cool, and pour it or spray it in the same way.
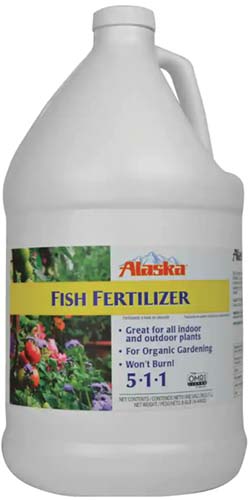
Leafy greens and brassicas particularly relish this type of food. If you’d prefer to purchase it, one-gallon bottles of organic Alaska brand fish emulsion are available from Home Depot.
Manure
Manure is an excellent source of nutrients, provided it has time to age to reduce the risk of potential negative effects.
Fresh manure is very high in nitrogen – far more than is necessary for use as fertilizer. It can also contain some types of bacteria and other pathogens that can cause serious illness.
Because it’s typically produced from livestock, it often contains urine, or more specifically, urea and ammonia, which can lead to serious burns when directly applied.
If you have access to fresh manure, be sure to let it age before spreading. Or, you could spring for this Espoma Organic Chicken Manure that is available in 25-pound bags from Amazon.
This is a good choice for less messy aged manure in a ready-to-use form.
Chemical Choices
There are a variety of choices in chemical fertilizers; however, all of these have far more potential to cause environmental damage and are best to use as a last resort.
Granules
Water-soluble granules are mixed into water, whether by the scoop or with a pre-filled packet. The solution is then applied either with a watering can, a pressurized sprayer, or a sprayer that attaches to the garden hose.
While it’s a no-mess, easy option, it also needs to be applied at least twice per month and often causes buildup over time. On the plus side, it does have a reliable NPK ratio as opposed to compost or other natural fertilizers.
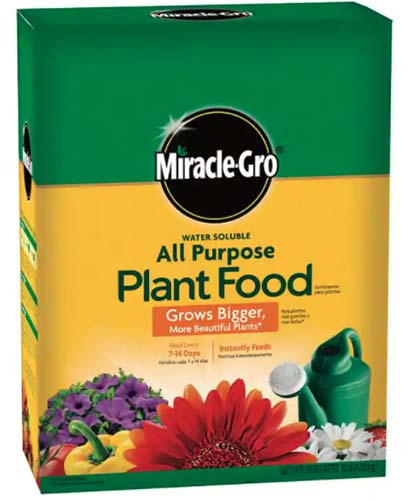
Miracle-Gro All Purpose Plant Food
Miracle-Gro All Purpose Plant Food is available in one-, three-, or 10-pound packages from Home Depot.
Spikes
Container gardens are better handled with slow-release formulas added sparingly since the contained environment can easily become overloaded.
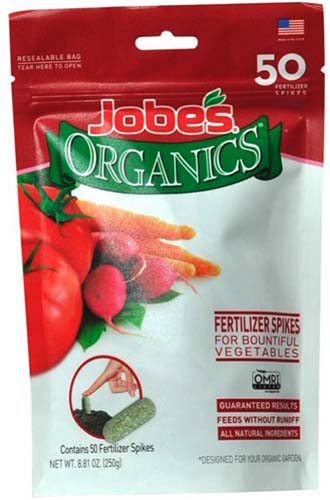
Jobe’s Organics Plant Food Spikes
Plant food spikes such as Jobe’s Organics Vegetable and Tomato Spikes are available from Walmart in packages of 50.
These can be pressed into the potting medium every 30 to 60 days, but be sure to place them outside the root zone to avoid burning.
No matter which type of fertilizer you choose to use, there are some important considerations to bear in mind.
Overfertilizing Pitfalls – A Word of Caution
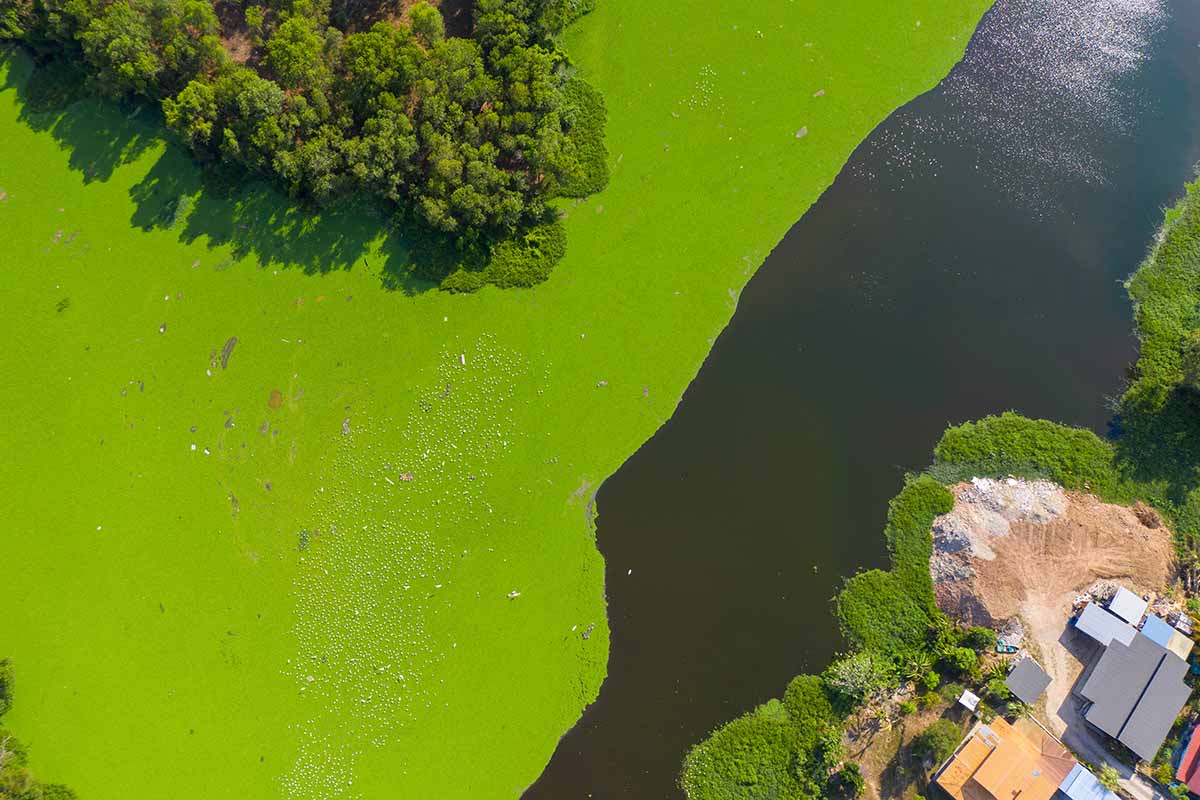
As gardeners, we are environmental stewards. Anything that we add to the ground brings potential for collateral environmental impact, whether for better or worse.
Bear in mind that chemical amendments to the garden may run off into the groundwater or local bodies of water, or become part of the soil for a long time after harvest.
The environmental impact of overfertilizing is evident as water pollution and algae growth increase. Methane gasses and ammonia are also potentially harmful, and the overuse of chemicals in agriculture is rampant.
The impact on your garden can also be detrimental, leading to burnt roots and struggling crops that can’t absorb water. Further, they weaken resistance to pests and disease, and can wipe out an entire season’s harvest.
To avoid these hazards, be sure to use any commercially available chemical fertilizers sparingly, and test the soil at least once per season.
Put Your Garden on a Diet
A healthy diet that nourishes it to produce a bountiful harvest, that is!
Whether you plan to take some simple steps like adding a sprinkling of crushed eggshells during planting, or go full-scale and start your own worm farm, there are many ways to improve conditions for optimum productivity.
Have you tried some of the natural methods I’ve mentioned? We’d love to hear which you’ve used and what your experiences were. And if you still have some questions, we’re here for you too! Let us know in the comments below.
Learn more about supporting a healthy garden environment by reading these titles next: