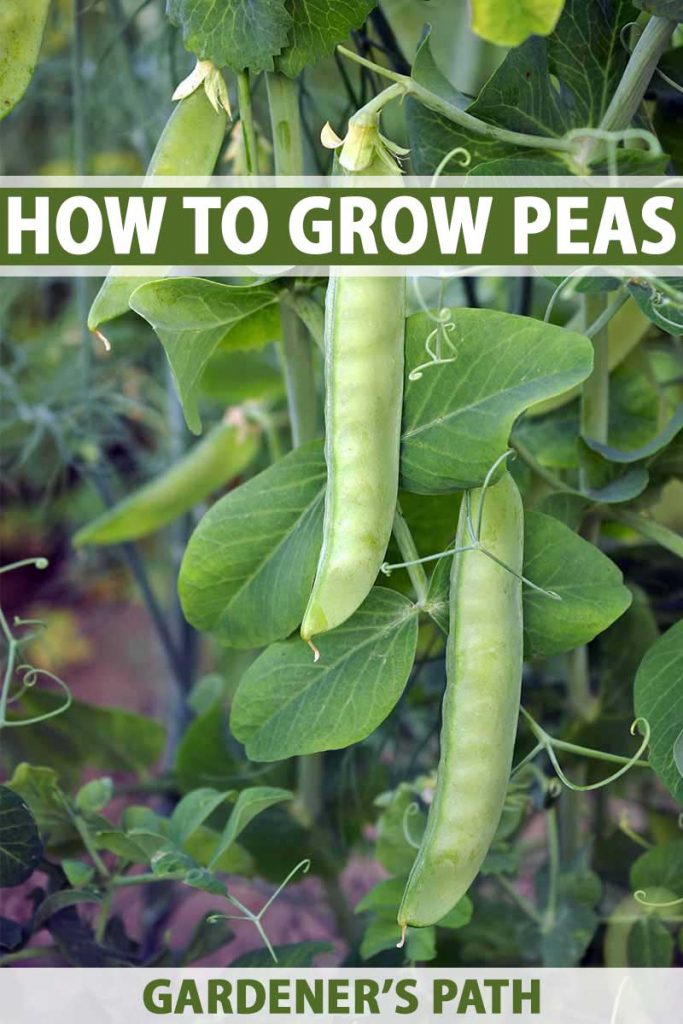
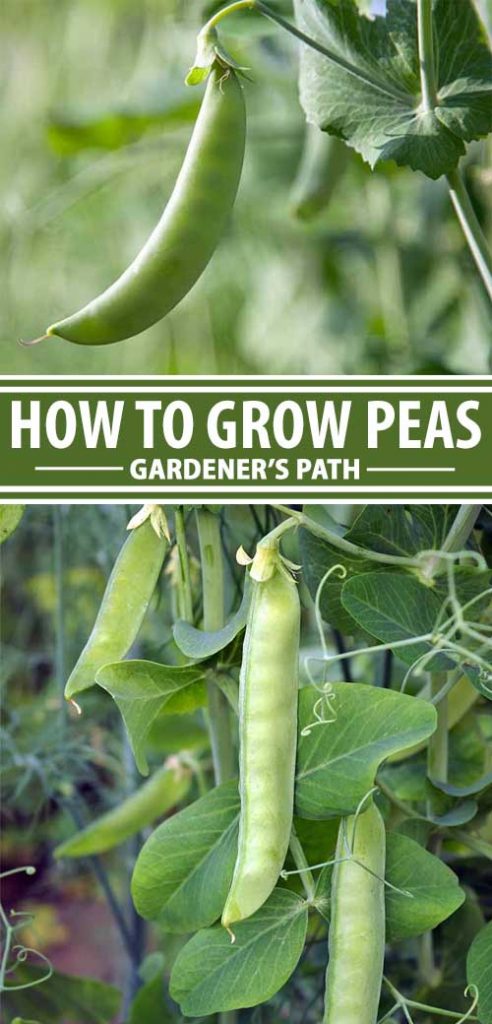
Pisum sativum
Opinions may differ, of course, but many gardeners will tell you that freshly picked peas (Pisum sativum) deliver a nearly unmatched pleasure.
Fresh-off-the-vine peas deliver a crisp crunch and an unmistakably bright and complex flavor, and because they are often the first spring crop to be harvested, the promise of summer’s bounty is yet to come.
We link to vendors to help you find relevant products. If you buy from one of our links, we may earn a commission.
In this growing guide, we’ll learn about the types of peas available to home gardeners, when and where to plant them, and most importantly, when to harvest and eat them.
Here’s what’s in store:
What You’ll Learn
What Are the Different Types of Green Peas?
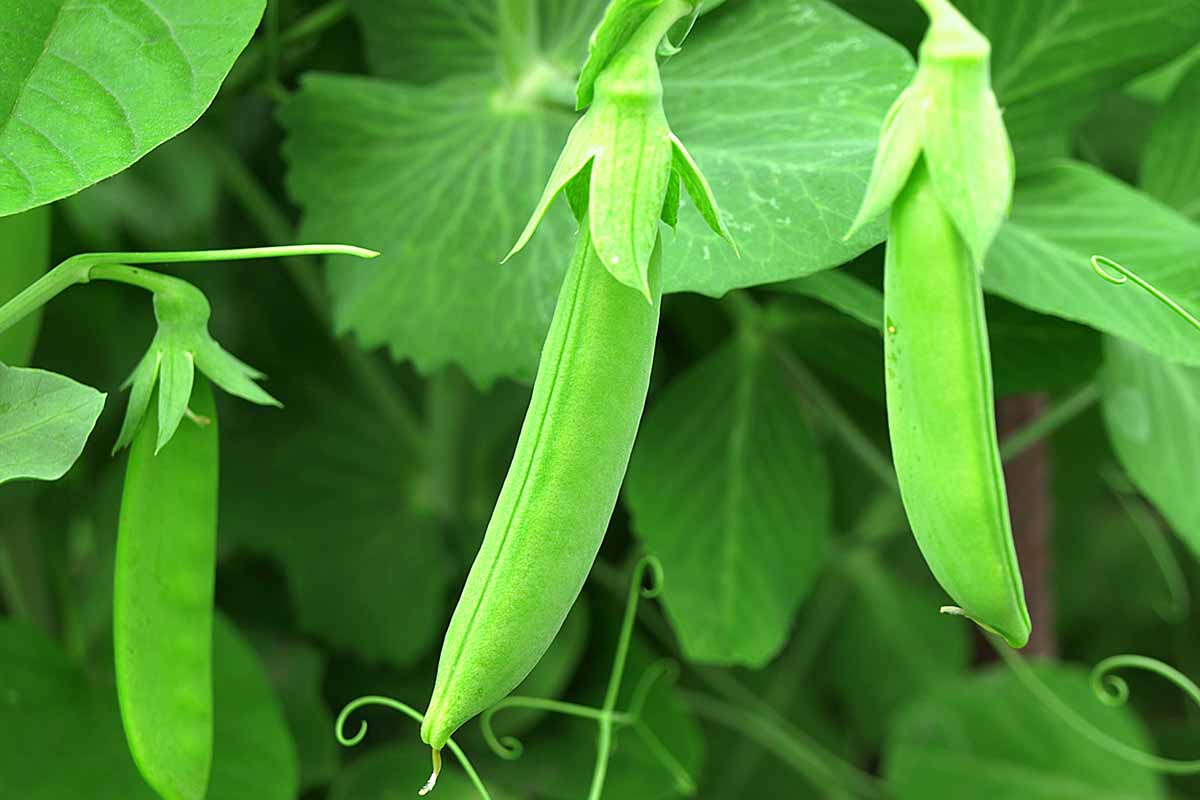
Broadly, there are two categories of this vegetable: non-edible pod, commonly called shelling, field, or English peas, and edible pod, which includes snow and snap peas. You may see the later described as P. sativum var. macrocarpum.
And within these two categories, there are dwarf – or bush – types, which reach a height of 16 to 30 inches at maturity, and the tall – or telephone – types, which can grow from three feet all the way up to eight feet, or sometimes taller.
The dwarf cultivars tend to produce their crop all at once, much like a determinate tomato, whereas the tall varieties bear fruit over a longer period.
Some gardeners prefer the easier harvestability of taller varieties.
You can often get away without trellising bush varieties, whereas with the tall ones, you’ll almost certainly need to provide support.
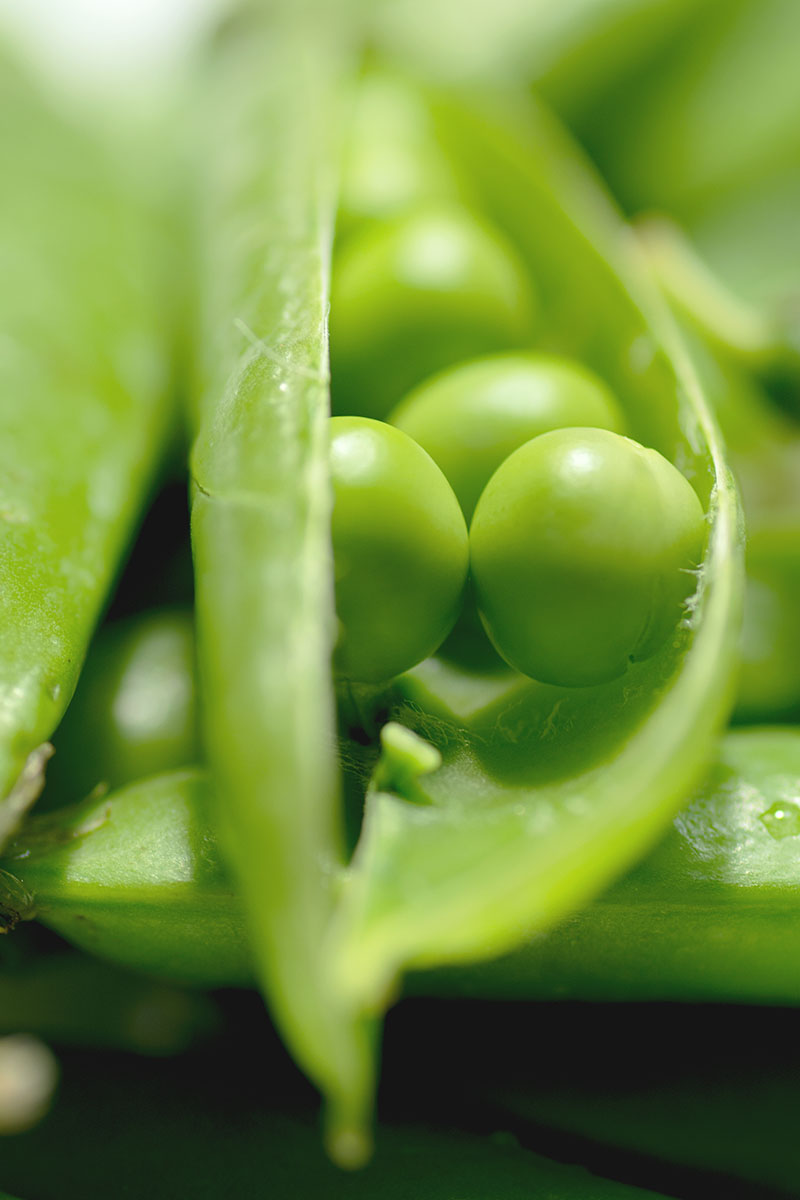
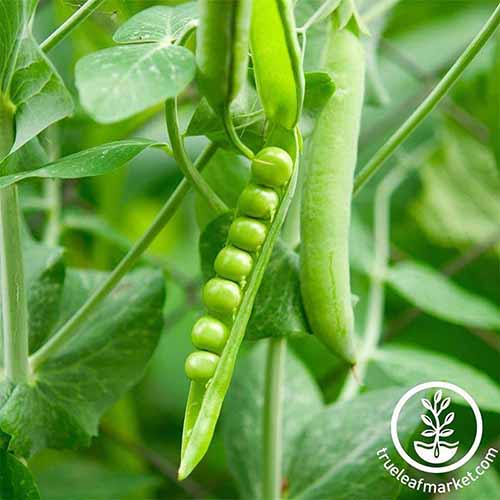
Shelling types must be shelled before the green orbs within are eaten, either raw or cooked. Their shells are fibrous even when the pods are very young.
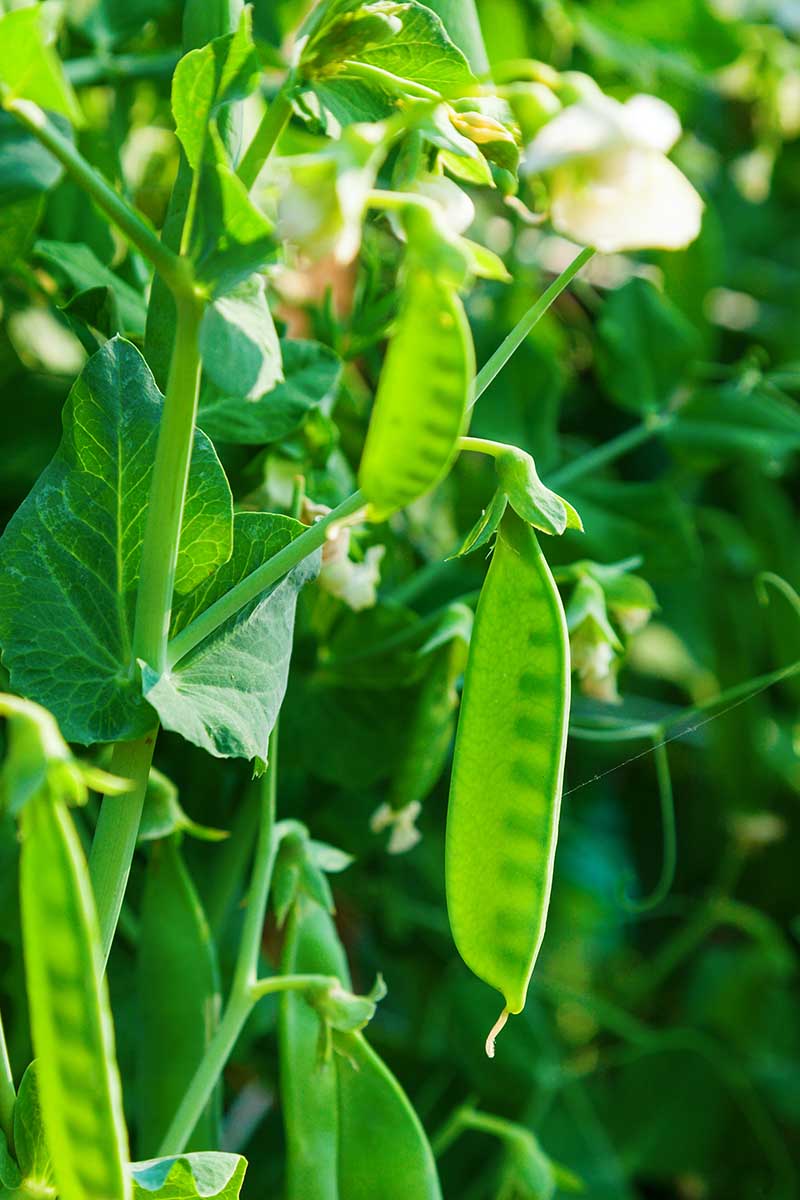
In contrast, the two types of edible pod peas, snow and sugar snap, are both grown to be eaten before the pods mature fully.
Let’s look further into the history of these types of peas and learn the advantages of each for home gardeners.
Cultivation and History
All peas are members of the legume family, Fabaceae, and the first plants were domesticated around 6,000 BCE.
They’re one of the cultivated vegetables with debatable provenance, but most historians and botanists agree peas originated in an area spanning Thailand, Burma, the Middle East, and Ethiopia.
What we now consider shelling types were grown in Africa and Asia as early as 1,000 BCE, and the Ancient Greeks and Romans put them to culinary use starting at about that time.
The edible pod peas came on the scene much later, with snow peas dating back only to the 16th century and sugar snaps, a cross between snow peas and English types, being introduced in 1979.
Learn more about their origins and how they differ from English types in our edible pod pea guide.
The three varieties all have their own positive traits and delicious uses on the home menu. Let’s take a look at how they could feature in your garden and at your dinner table.
Pea Plant Propagation
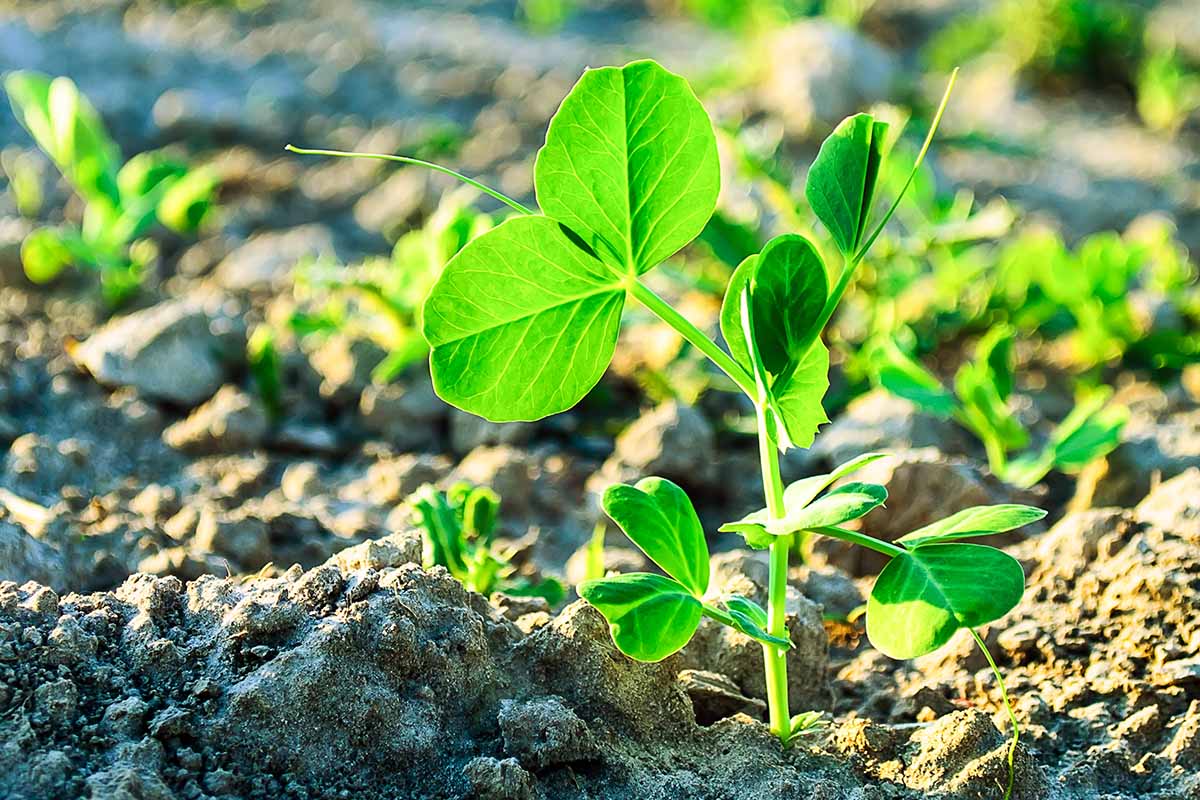
When you’re impatient to get your hands in the dirt in spring or anxiously awaiting your first vegetable harvest, all types of peas are good plants to start the growing season with.

They are simple to grow from seed, and you can plant them up to six weeks before your last average frost date.
In fact, you’ll want to plant them as early as possible. When temperatures exceed 70°F, growth and pod production decline. And once the temps hit 85°F, it’s adios, P. sativum.
Peas also make an excellent cool-weather crop to plant later in the season for a fall harvest.
Plan to sow about two months before your average first frost date if you opt for an autumn crop, counting backwards by the number of days to maturity for your selected cultivar to make sure you’ll have enough time to bring the plants to harvest.
Sow the seeds one inch deep and three inches apart for vining varieties or four to five inches apart for the bush varieties. You may want to soak the seeds overnight to speed germination.
When you’re growing in containers or a bed that hasn’t hosted these legumes before (or not in the past four years), inoculate the seeds before sowing so the plants can fix nitrogen in the soil more readily.
Make sure you purchase an inoculant formulated for peas specifically, not another random legume such as alfalfa.
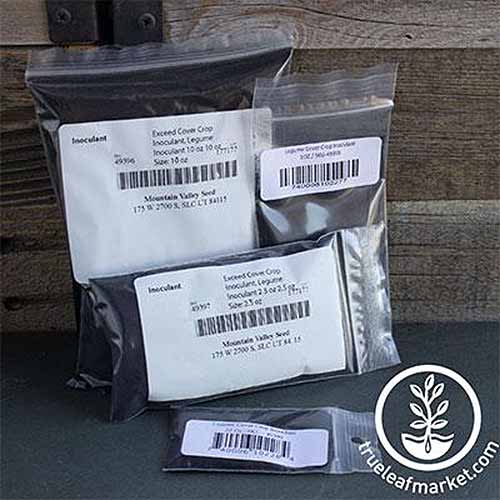
Cover Crop Inoculant for Pea, Vetch, Bean, and Lentils is available from True Leaf Market in containers ranging from a quarter-ounce to five pounds.
Space rows 12 to 18 inches apart, and install any supports when you plant to avoid disturbing their shallow roots later in the growing season.
Tamp the seeds down firmly and water them in afterward. Keep the area moist but not wet until the seeds germinate. This should take about seven to 10 days, but it might take longer in cooler temperatures.
If they’re available in your area, you can buy seedlings to get a head start on propagation or start the seeds indoors following instructions from our guide.
This isn’t the optimal approach, though, since the plants don’t withstand root disturbance easily. You can learn about other vegetable varieties best sown outdoors instead of inside in this guide.
If your only option is starting indoors, it’s worth a try, especially if you sow them in biodegradable cells.
A good option is the six-pack CowPots™ cell trays made from “recycled” cow manure first used to generate bio gas for energy. They’re biodegradable and don’t include peat.

CowPots™ are available from Arbico Organics.
To transplant your own seedlings or purchased starts, make sure to harden them off the week before transplanting by exposing them to progressively increasing hours of sun outdoors.
Dig a hole the same size as the biodegradable pot and space the plants about three inches apart, or five inches apart for bush varieties.
Backfill with loose soil, making sure the soil surrounding the root ball stays level with the surrounding soil surface. Cover the upper edges of the cell with soil so it will disintegrate more quickly without drying out.
If you’ve already planted seeds in ordinary cells or other pots you had on hand, you may lose a few seedlings to transplant, but you may luck out and have a 100 percent survival rate.
Increase your odds of transplant success by watering the cells the night before transplanting, and tilting them over on their sides to ease them out of the containers.
Work with one plant at a time and be gentle!
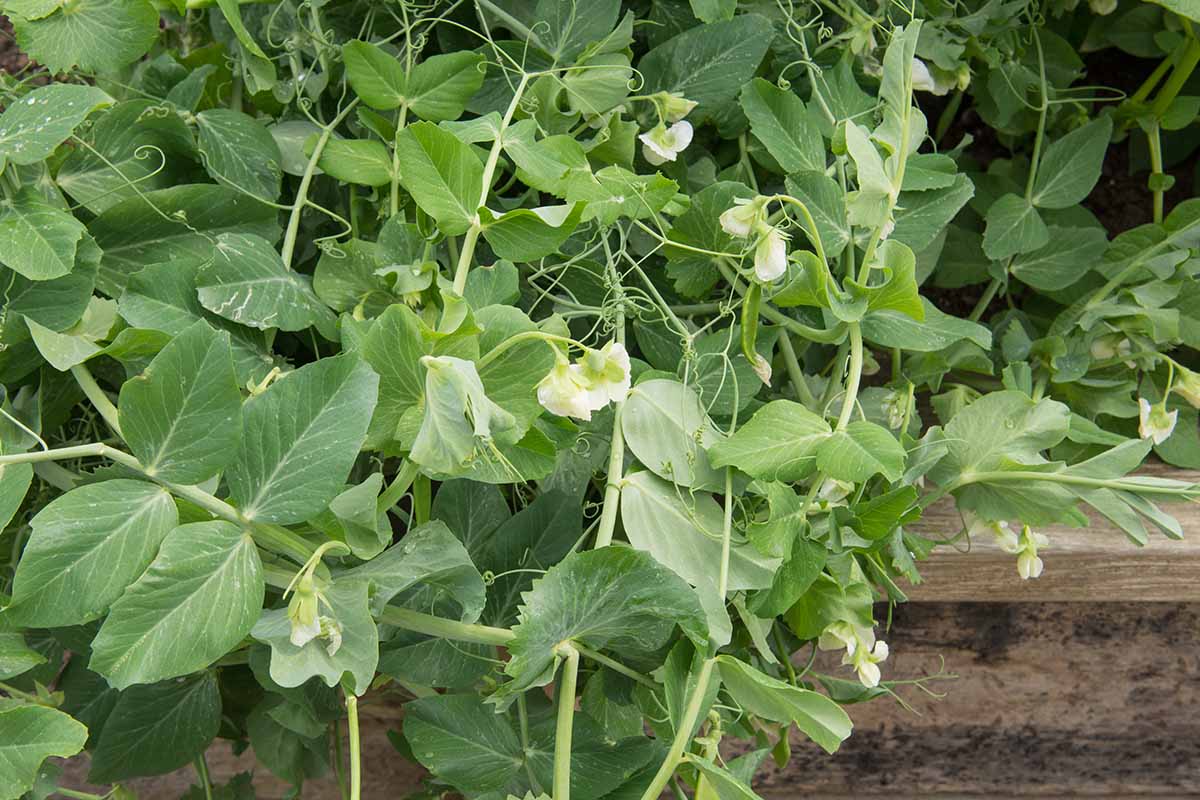
How to Grow Peas
P. sativum is a frost-hardy, cool-weather crop. Plant in full sun.
Make sure the plot is weed-free ahead of sowing. You don’t want the seedlings to have to compete with any weeds, especially not aggressive varieties that have gotten a head start.
If you live in an area with warm summers, you’ll want to get your seeds in the ground as early as possible so they can mature and produce pods ahead of the warm weather.
Peas prefer well-drained soil with lots of organic matter worked in ahead of time. They’re happiest in soil with a pH between 6.0 and 7.5.
Add mulch to your planting area to help retain moisture at the drip line.
Once they are a few inches tall, layer a couple of inches of shredded newspaper, straw, or grass clippings around the seedlings, being careful not to let the mulch touch the stems.
These plants need a good amount of water, especially when forming pods. If you get an inch of rain weekly, you’re in good shape. Anything less than that and you’ll have to supplement.
If soil tests warrant it, you can feed with phosphorus. But these plants gather their own nitrogen, so they don’t need supplements of that nutrient.
Once the plants start growing, your chores are mostly over.
No pruning is necessary, though you may want to pinch the top of vines or bushes to encourage sturdier stems. You can eat the tips, too, much as you would lettuce.
You’ll want to keep the garden area free of weeds by pulling any interlopers by hand. Using a hoe, you risk pulling the plants up with the weeds.
Once they’ve reached four or five inches tall, and started attaching to their supports if they’re vining varieties, you can quit weeding.
At this point, the peas are sprinting to grow to maturity, and the weeds won’t pose as much of a threat. Nor do you want to risk uprooting the plants instead of the weeds when you’re so close to harvest time!
Growing Tips
- Grow where the plants will receive full sun.
- Sow the seeds up to six weeks ahead of the last average frost in your area.
- Allow enough time for the plants to mature and produce before temperatures exceed 85°F.
- Mulch with a couple of inches of grass clippings or pine straw when the seedlings are a few inches tall.
- Vining types require supports, which should be installed when you sow the seeds or shortly after they germinate.
Pea Cultivars to Select
When it comes to growing peas at home, there are so many fantastic options to choose from. Here are just a few to get you started.
Green Arrow
‘Green Arrow’ is a popular heirloom dwarf garden type that reaches about 28 inches tall.
It produces pods filled with round green peas about 60 days after sowing and is available from Eden Brothers in package sizes ranging from one ounce to 10 pounds.
Lincoln
‘Lincoln’ is another compact English shelling variety. It produces four- to five-inch pods with six to nine seeds each.
It grows about two inches taller than ‘Green Arrow,’ and it requires about a week longer to produce.
‘Lincoln’ seed is available in various package sizes from True Leaf Market.
Oregon Sugar Pod II
Looking for a reliable, bountiful snow pea variety?
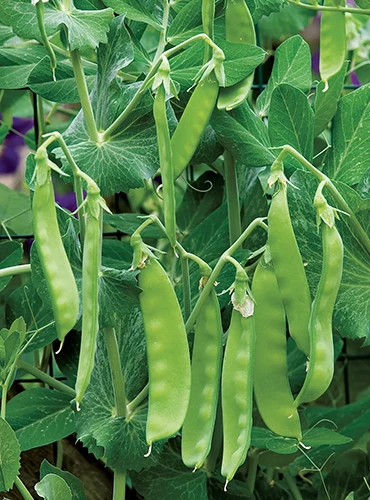
You can order packets of 300 or 900 seeds that will develop into 28-inch-tall plants. Organic seeds are available from Burpee.
We have more tips on growing ‘Oregon Sugar Pod II’ here.
Super Sugar Snap
Sugar snaps are a blend of garden and snow. They’re plump like garden peas, but have a tender, edible pod like the snow variety.
If you’d like to grow sugar snaps, consider Burpee’s ‘Super Sugar Snap.’
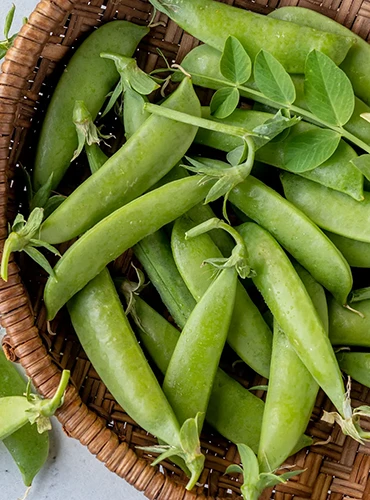
This variety grows to about 60 inches tall, and seeds are available from Burpee in packages of 300 or 900.
Want More Options?
Take a look at our guide, “17 of the Best Shelling Pea Varieties to Grow in Your Garden.”
Managing Pests and Disease
Because they grow so quickly and in cool weather, P. sativum plants avoid many pests and diseases that afflict garden vegetables later in the summer. But there are some foes to be aware of:
Pests
You may have difficulty with rabbits or deer munching the tasty seedlings. We offer tips for coping with these herbivores in our guides.
As for insect pests, P. sativum can be afflicted by aphids, which can be treated with neem oil such as this one from Bonide, available at Arbico Organics.
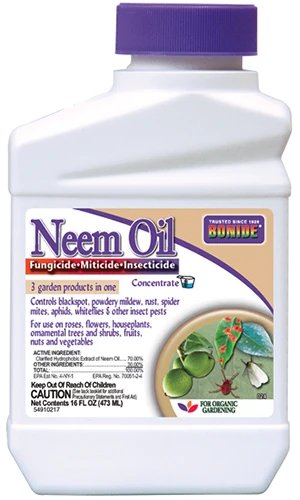
This 32-ounce spray bottle is ready to use, and it can also be used to treat powdery mildew, another problem from which this plant can suffer.
Cutworms are another potential pest of this plant.
Sprinkle diatomaceous earth around your plants to discourage these moth larvae, or use a Bt product, such as this one from Monterey, available from Arbico Organics.
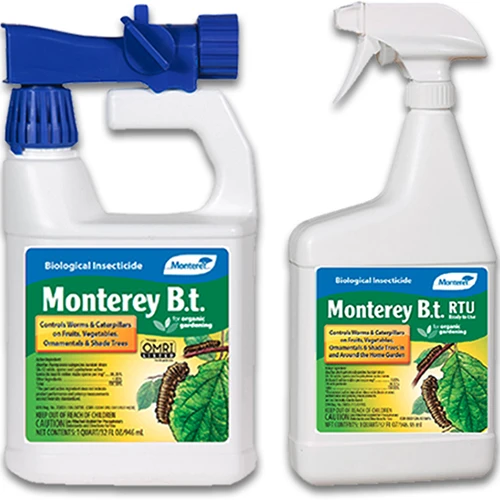
Monterey Bt Biological Insecticide
Leaf miners can also present problems. Learn how to detect and prevent them in our guide.
And be on the lookout for holes eaten in the leaves by slugs and snails, gastropods that are active at night. They will also succumb to diatomaceous earth or other solutions outlined in our guide.
Disease
While the plants are generally easy to care for, they may encounter various diseases.
Prevention is key: Most of these maladies can be avoided if you rotate P. sativum and other legumes with other crops on a three-year schedule, provide well-draining soil, give them ample and consistent water, and plant them in weed-free beds.
With that said, you should still anticipate powdery mildew, a floury fungus that can weaken plants and eventually kill them.
It’s more prevalent the later you plant and can be prevented by sowing resistant varieties and planting in the spring, not the fall.
Learn other strategies for dealing with powdery mildew in our guide.
When you take care to destroy or till plant debris at season’s end and diligently rotate crops, you can usually avoid another pea enemy: fusarium wilt, which is caused by the fungus Fusarium culmorum.
Turn to our guide to growing snow peas for more information on various pea ailments and available countermeasures.
Harvest and Storage of Peas
Any pea can be picked as a “shoot,” meaning you clip the top few inches at a joint in the stem.
Because the vines are the most tender and delicious when the plant is very young, some gardeners plant extra seeds just to harvest the tendrils and shoots before the pods even form.
They’re delicious added to fresh early-season salads.
These greens are sweet and tender, and can be enjoyed fresh from the vine or stored in a plastic bag in the crisper drawer of the fridge for a few days.
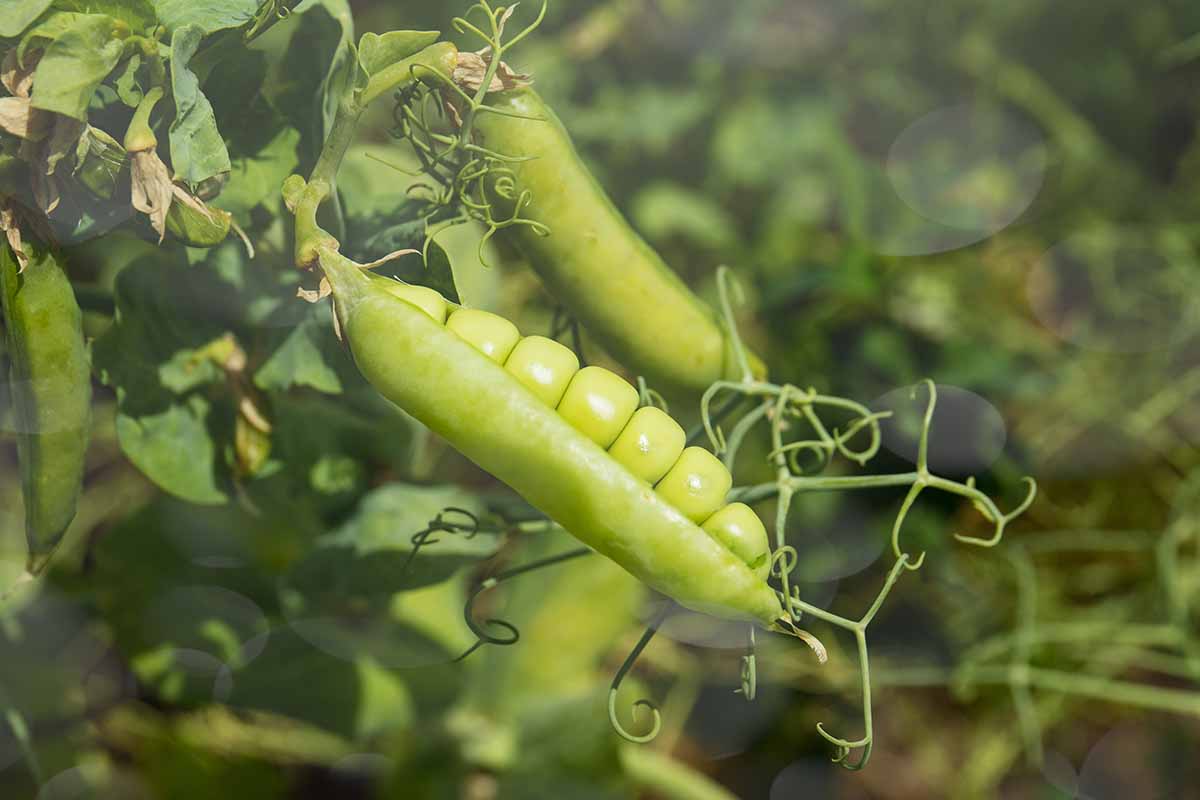
As for the main event crop, harvest English types before the peas have completely filled the pod. These veggies should be shelled and eaten as soon as possible – they will last only two to three days in the refrigerator.
You can also allow the English types to fully mature and dry on the vine and then harvest the dried peas for use in soups or to plant next year.
Learn more about harvesting garden peas here.
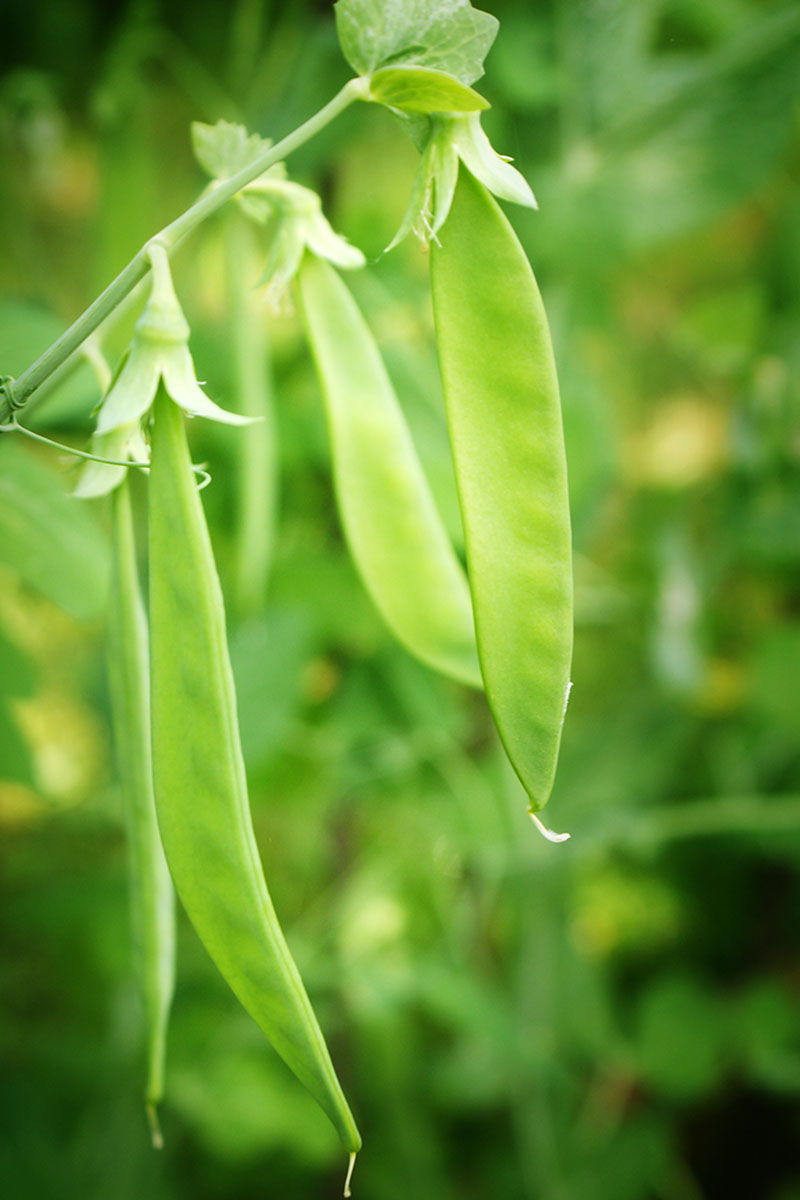
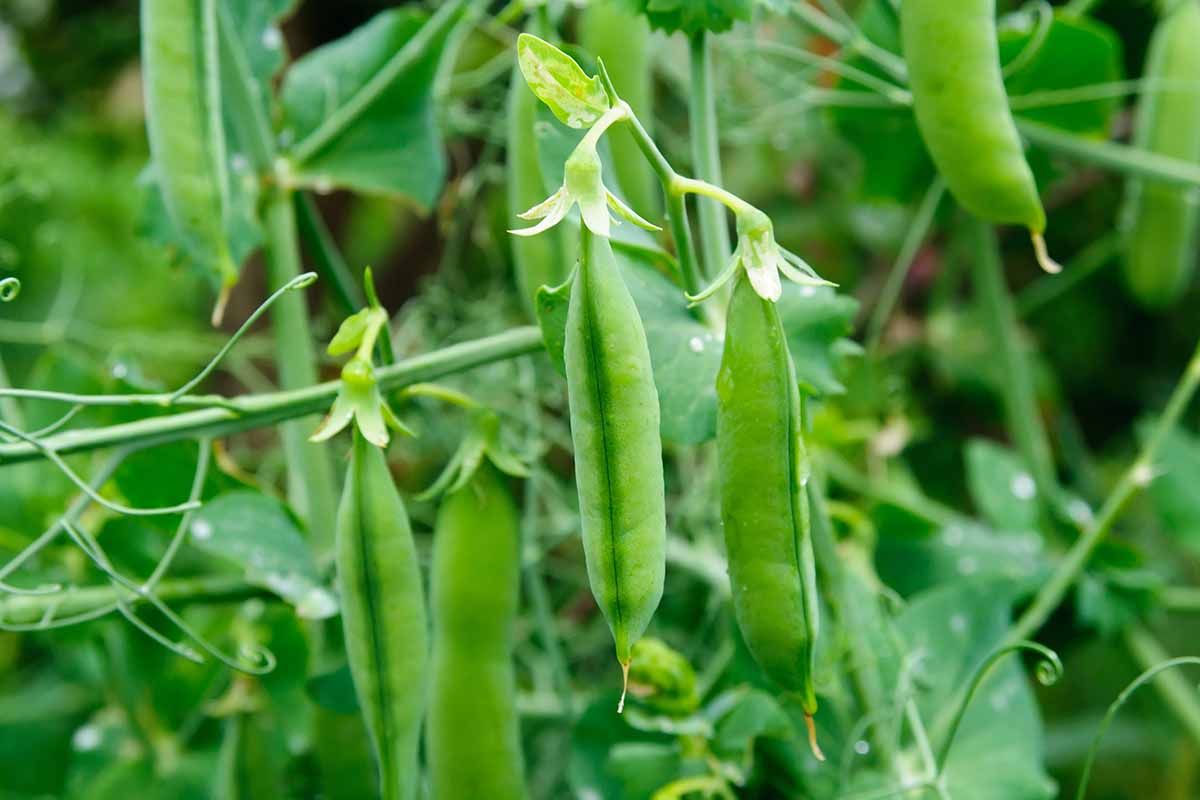
Snow peas should be picked as soon as they reach edible size. Consult the seed packet for optimal size at maturity, depending on your selected cultivar.
Pick sugar snaps while tender, as soon as the pods swell.
Snow and snap peas will remain tasty for as long as a week in the refrigerator. Just wait to wash them until you’re ready to eat.
Keep in mind: some varieties will need to have the strings removed before cooking.
Pods Not Forming?
A shortage of water, light, or nutrients, as well as plant diseases, can all prevent your plants from producing pods. Explore our troubleshooting guide to determine the cause and find solutions.
Preserving
Some gardeners can show enough self-restraint that they’re able to preserve their entire English pea crop.
But it’s also fun to crack open a few shells and eat the contents fresh on a late spring evening.
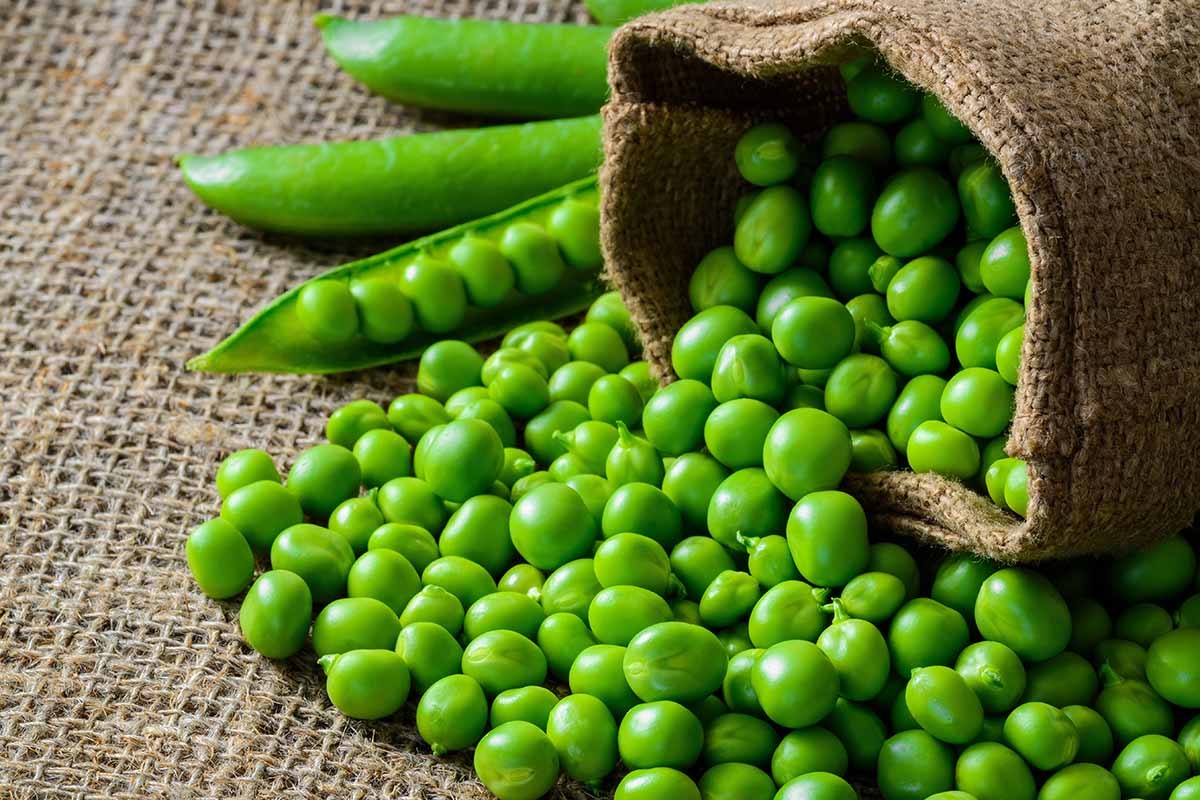
If you have enough to preserve, the best option is ordinarily freezing the orbs after blanching them for about two minutes in boiling water, dunking them in an ice bath to preserve the bright green color and halt the cooking, and draining them to freeze.
The same method works for freezing snow peas, only reducing the blanching time to one and a half minutes. Or, you can cook them into a stir-fry recipe and freeze portions in airtight containers.
Snap peas won’t maintain their texture if you cook them too long before popping them in the freezer, but you can blanch them for about a minute, and the process will yield decent vegetables to keep in the deep freeze until winter.
You can cook any frozen peas without thawing them first, but this approach works best when quickly cooking stir fry or simmering a stew and adding them at the last minute.
Thawed snap peas will not retain their crisp texture and are not suitable for a green salad, but they can still work added to pasta in the last 30 seconds of cooking and then drained with the noodles to form the basis for a pasta salad.
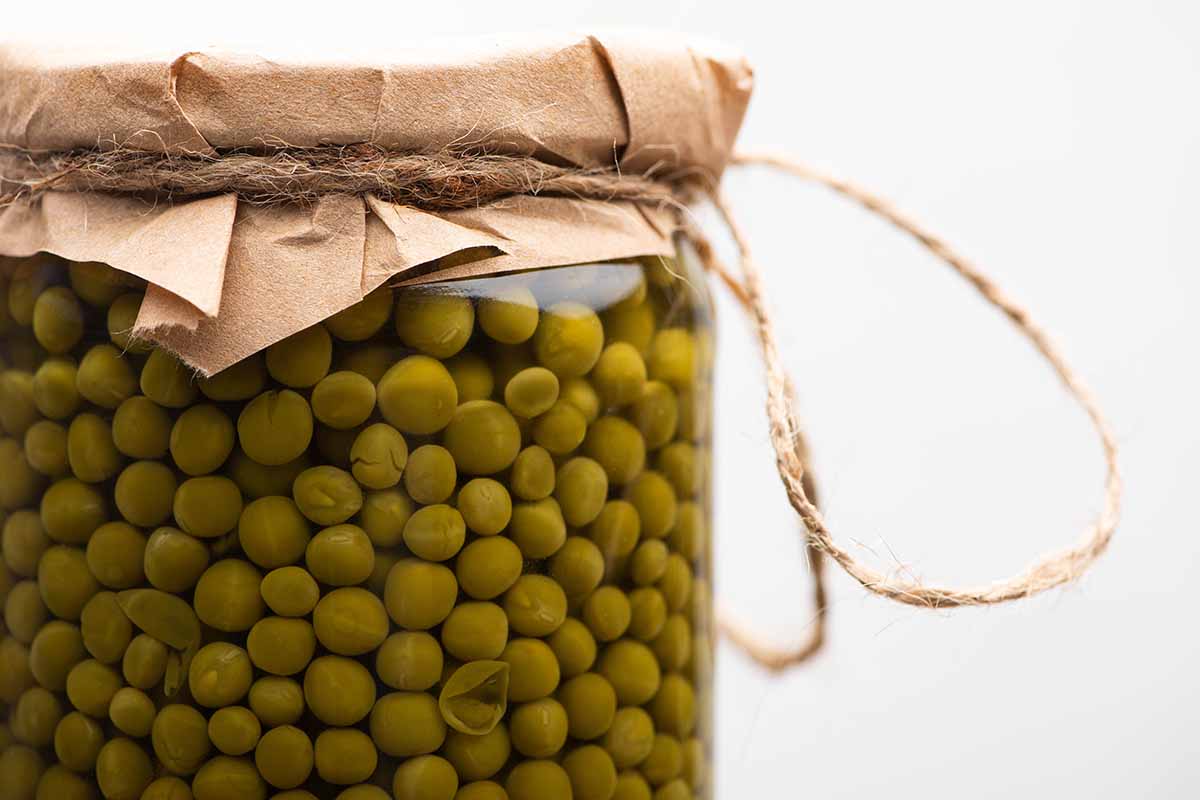
It’s tougher to save English peas by canning them. Their low acidity rules out water-bath canning and pressure canning can be tricky.
They are good candidates for dehydrating, though, as part of a vegetable soup mix or on their own. You can also consider dehydrating snow or snap peas as snack chips.
Reference Foodal’s Ultimate Guide to Dehydrating for the how-tos.
Recipes and Cooking Ideas
These green bits of goodness are wonderful sources of protein, fiber, and iron, and we’ve collected some recipes that are as tasty as they are healthful:
Let’s start with a fresh pesto pasta salad from our sister site, Foodal. English peas combine with other garden delights – basil and spinach – to create a refreshing summer salad.
Another salad from Foodal, made with black rice and a red wine vinaigrette, combines a hearty grain with greens, radishes, carrots, and our tasty emerald orbs.
If snow peas have caught your fancy, they’re delicious steamed for a few minutes, and served with a dab of seasoning and maybe some melted butter as a side dish.
Or add them to an Asian-inspired entree like Foodal’s recipe for 15-minute chicken chow mein.
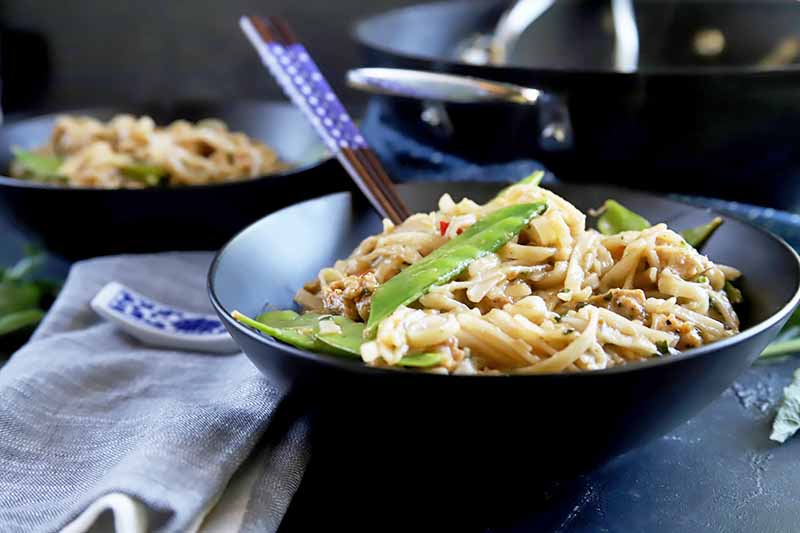
Or how about using part of the harvest for this knock-your-socks-off grilled veggie and soba noodle salad, also from Foodal?
Snap peas can be briefly roasted as a side dish, but they really shine as part of a charcuterie board or added fresh to a crudite platter or green salad.
The cool thing about growing your own supply of any variety of P. sativum is that you’ll have enough of a harvest that you can tinker around and come up with your own favorite recipes.
Quick Reference Growing Guide
| Plant Type: | Herbaceous annual vegetable | Tolerance: | Light frost, some shade |
| Native To: | Africa, Asia | Maintenance: | Moderate |
| Hardiness (USDA Zone): | 3-10 | Soil Type: | Average loam or sandy soil amended with organic matter |
| Season: | Spring-early summer, fall | Soil pH: | 5.5-7.0 |
| Exposure: | Full sun | Soil Drainage: | Well-draining |
| Time to Maturity: | 50-120 days, depending on variety | Attracts: | Butterflies, other flying pollinators |
| Spacing: | 24-36 inches (plants), 36-48 inches (rows) | Companion Planting: | Alyssum, beans, beets, carrots, cucumbers, eggplant, lettuce, peppers, radishes, spinach, thyme, turnips |
| Planting Depth: | 1 inch (seeds), even with soil surface (transplants) | Avoid Planting With: | Garlic, onions, other alliums |
| Height: | 18 inches-8 feet, depending on variety | Order: | Fabales |
| Spread: | 2-6 inches, depending on the variety | Family: | Fabaceae |
| Growth Rate: | Fast | Genus: | Pisum |
| Water Needs: | Moderate | Species: | Sativum |
| Common Pests: | Armyworms, birds, cutworms, deer, pea aphids, rabbits, weevils | Common Diseases: | Bacterial blight, bean leaf roll virus, damping off, fusarium wilt, pea enation virus, powdery mildew, root rot, stem rot, verticillium wilt |
Peas Earn an A+ from Gardeners Who Grow Food
Nothing sings the promise of summer veggies to come like the springy flavor of peas, whether they’re chubby BBs thumbed from the shell or flat as a stick of Wrigley’s and waiting to be sliced into a salad.
Among the few veggies that can take a frost with no ill effect, these legumes are easy to grow, provided you give them rich soil and plenty of water.
Do you grow peas? Which variety grows best in your neck of the woods? Share your experience in the comments section below.
And if you’d like to learn more of the ins and outs of growing and eating these legumes, check out these pea growing guides next: