Ocimum spp.
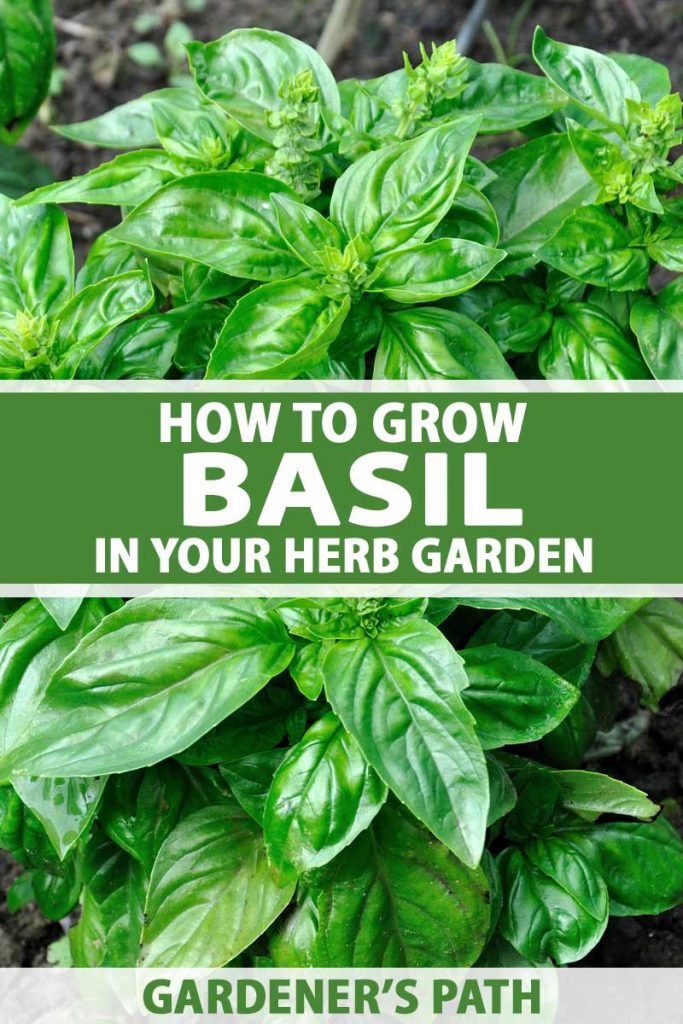
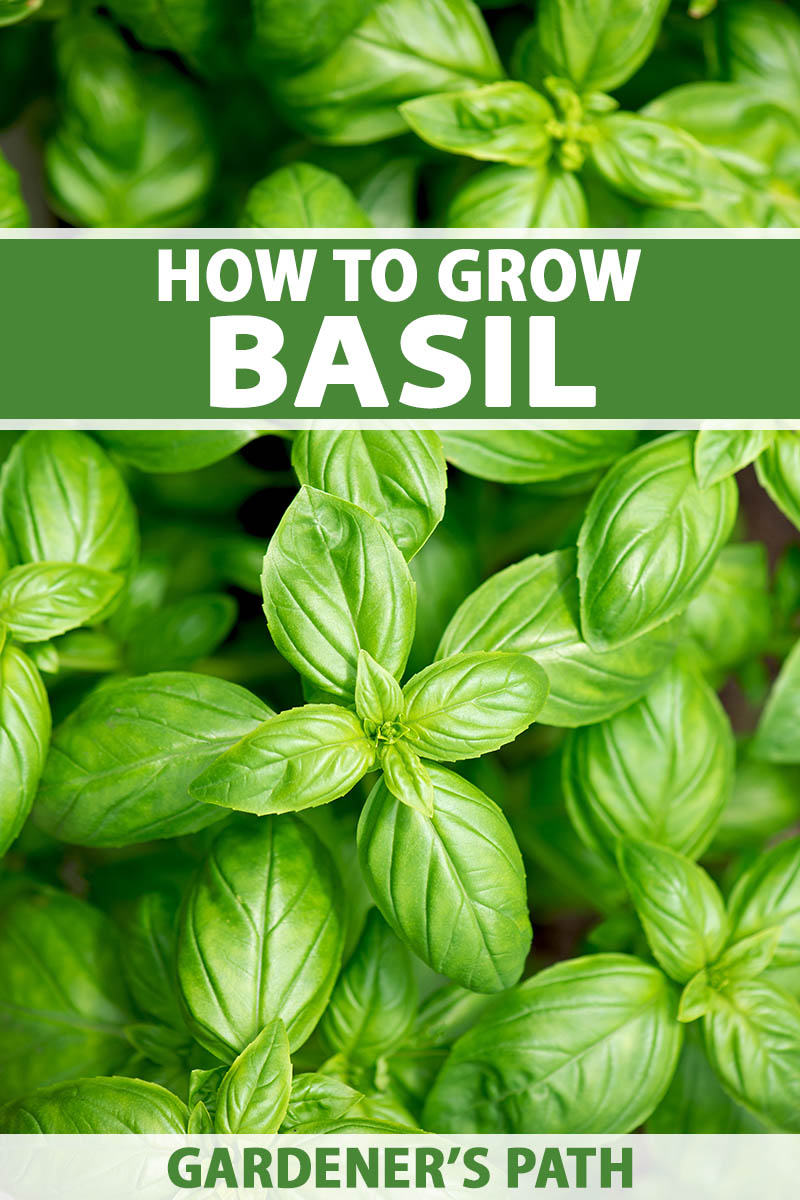
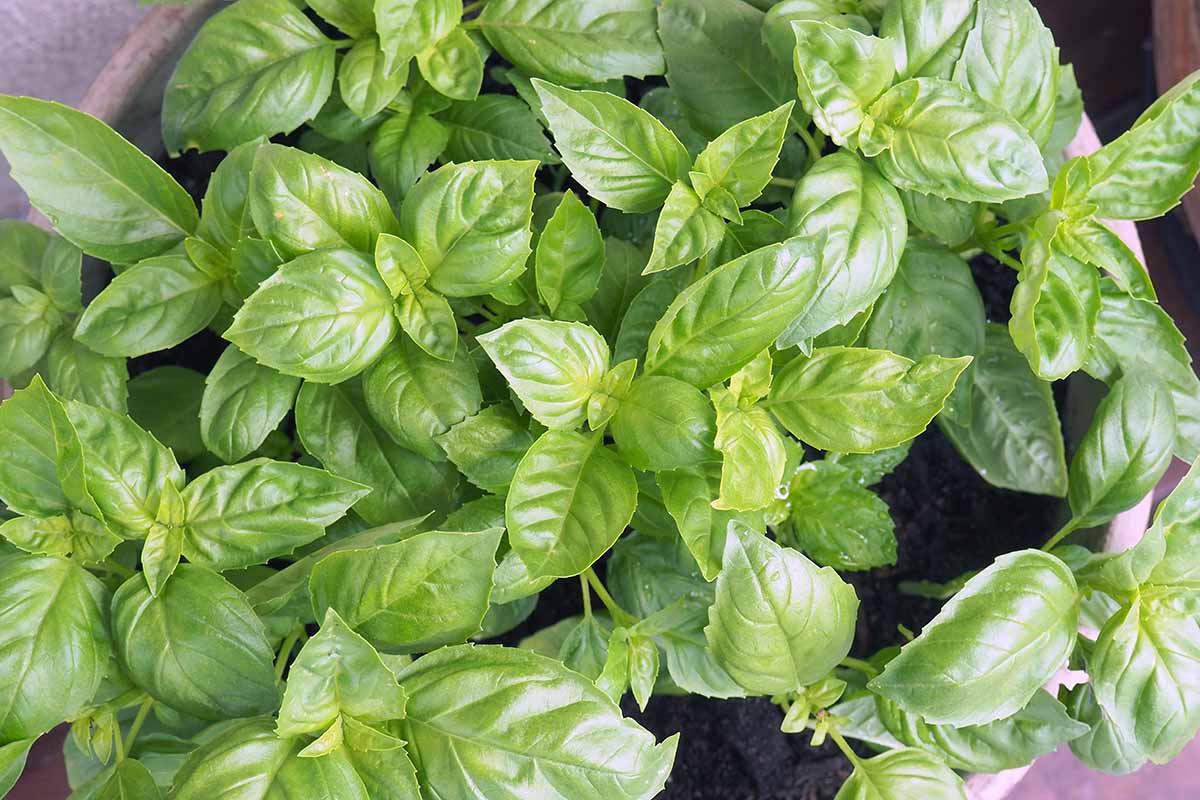
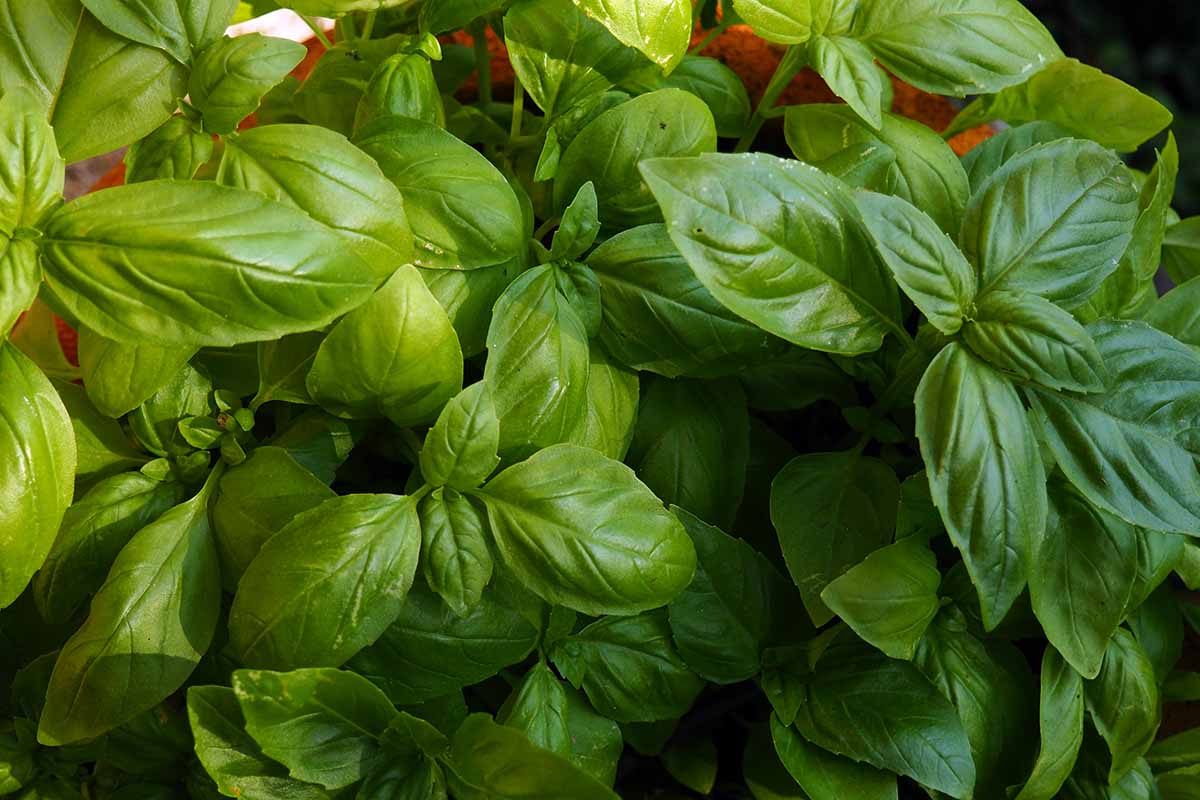
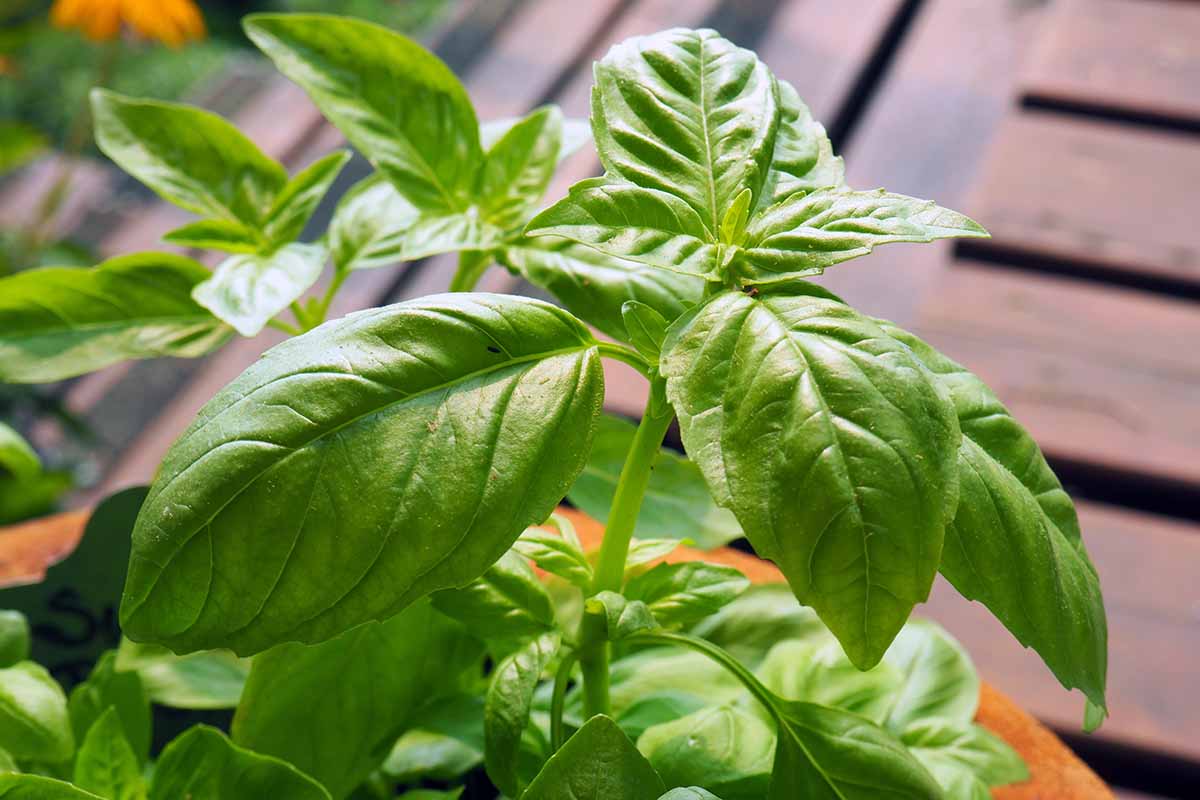
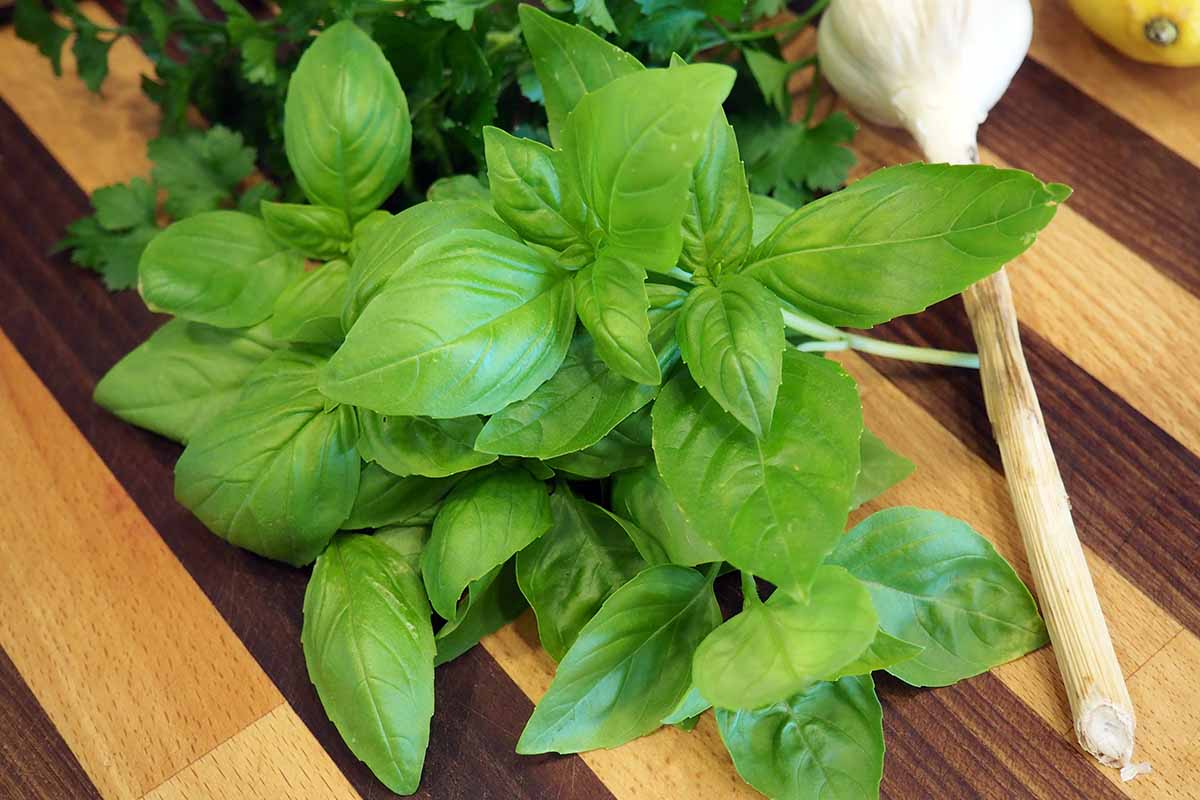
Highly aromatic with sparkling green or purple leaves and a sweet anise flavor, basil is one of the most popular culinary herbs – and it’s also one of the easiest to grow!
Extremely versatile and widely used, basil’s unique taste has been enjoyed in many cultures for many centuries, adding its distinctive flavor to both sweet and savory foods and beverages.
We link to vendors to help you find relevant products. If you buy from one of our links, we may earn a commission.
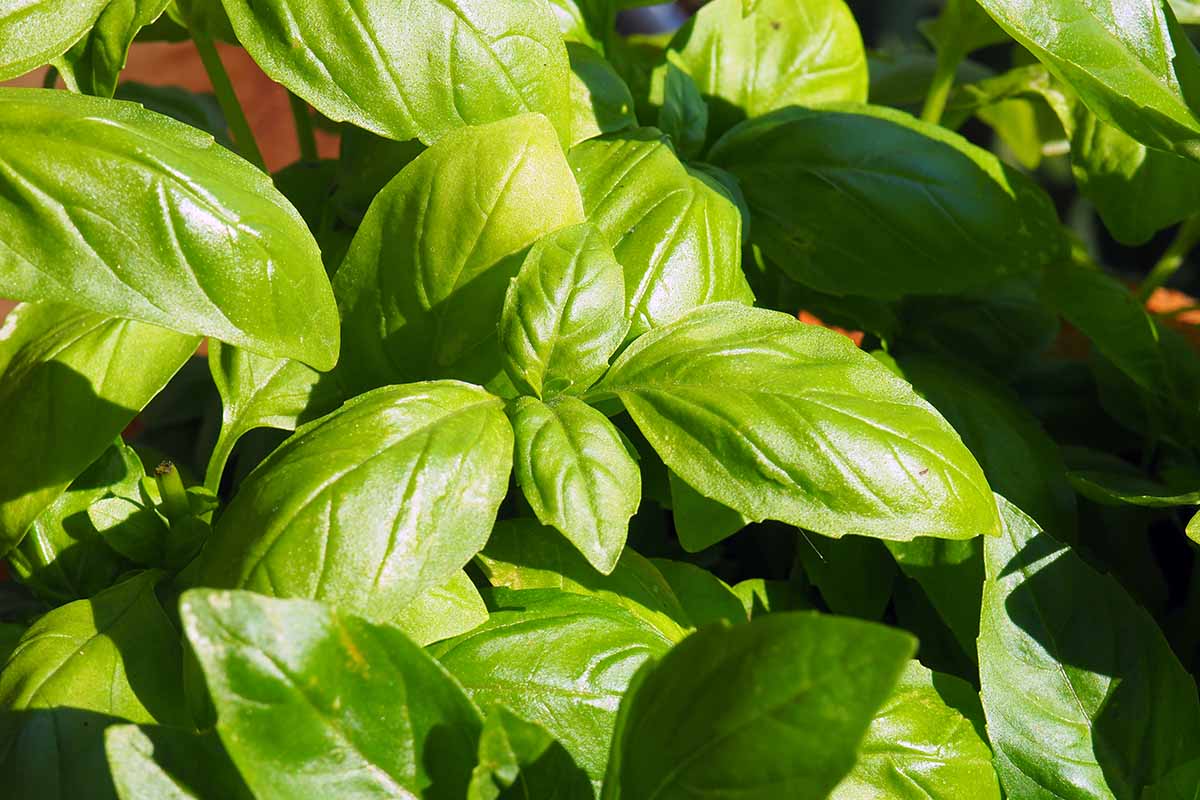
The fresh, bright, and flavorful leaves with notes of cinnamon, licorice, or mint are a must-have for kitchen gardens.
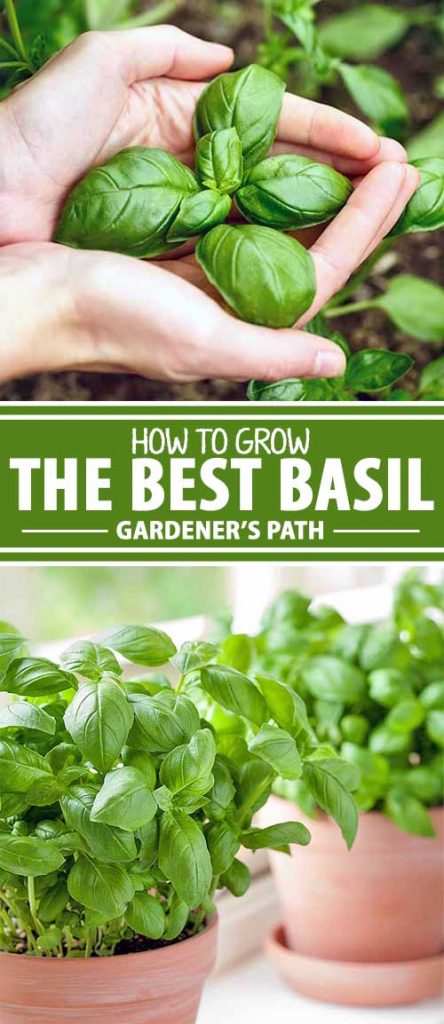
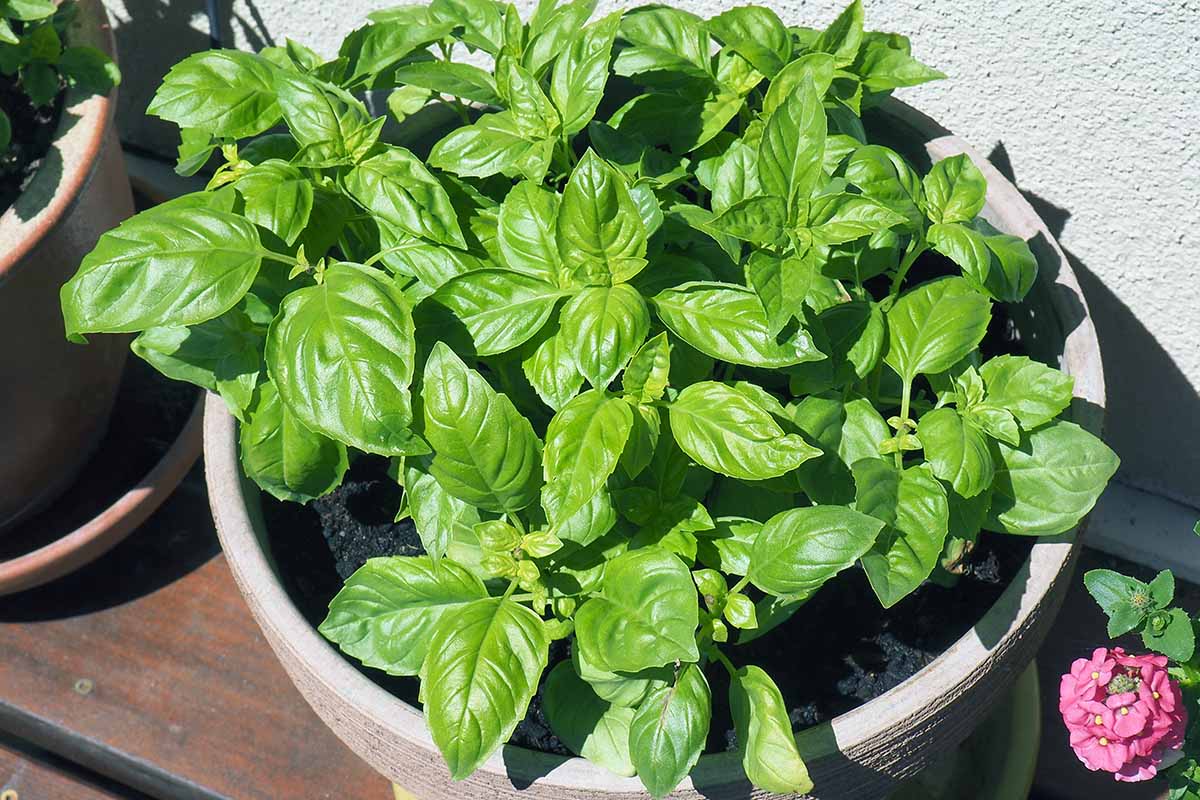
And the herb is well-suited for cultivation in garden beds and containers. Plus, its quick growth means you can enjoy several harvests from successive plantings.
When mature, basil plants produce upright spires of small, white to mauve flowers that attract a variety of pollinators such as bees and butterflies – and the edible flowers also make a pretty garnish for plates or beverages.
The flavorful, elliptical leaves are a breeze to preserve and can be quickly dried into flakes or frozen into herb cubes for later use in dishes like sauces, soups, and stews.
And basil’s good for you, too!
Loaded with antioxidants, Ocimum species have long been used as a curative in traditional medicines and now modern science is also showing positive, health-related results via the latest research.
Aromatic, easily grown, healthy, and flavorful – are you ready to add this outstanding herb to your garden? Then let’s jump right in!
Here’s what we’ll cover up ahead:
What You’ll Learn
What Is Basil?
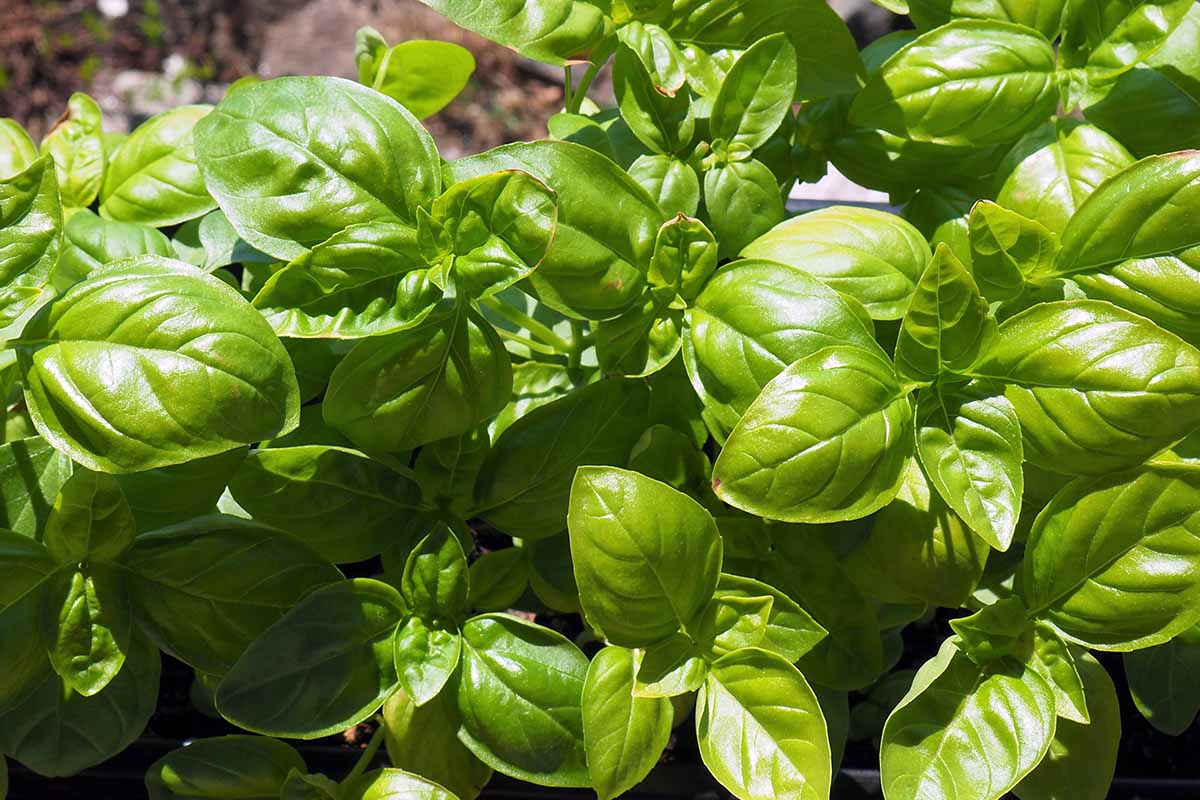
Basil plants are species of tender perennials in the Ocimum genus grown for their highly flavorful, deep green or purple leaves that are used extensively in culinary applications.
Fresh or dried, the leaves are a popular accompaniment to eggs, fish, meat, tomatoes and tomato dishes, pasta and pizza, sauces, soups, and vegetables. And their tangy flavor adds a refreshing zip to beverages like cocktails and vinegar-based shrubs.
A member of the intensely fragrant and flavorful mint family, Lamiaceae, basil is closely related to other common garden herbs like lavender, mint, rosemary, and thyme.
Rich in essential oils such as methyl chavicol, linalool, methyl eugenol, and methyl cinnamate, the fragrant leaves have a sweet, lightly spicy taste with a variety of undertones, such as anise, cinnamon, clove, licorice, mint, or pepper, depending on the variety.
The genus has about 65 accepted species, plus numerous cultivars and hybrids with sweet or common varieties, with O. basilicum being the most common.
Sweet basil varieties include popular selections such as ‘Boxwood,’ ‘Cinnamon,’ ‘Genovese,’ ‘Red Rubin,’ and ‘Spicy Globe.’
Other popular garden choices include citrus varieties (O. americanum), Greek (O. basilicum var. minimum), holy (O. tenuiflorum), and Thai (O. basilicum var. thyrsiflorum) cultivars.
A warm weather herb that’s grown as an annual, the fast-growing plants allow for several harvests each growing season when seeds or starts are planted successively every two or three weeks.
Flower buds are typically pinched out to concentrate energy into leaf production.
But when allowed to flower, they produce pretty spires of small, orchid-like blooms in colors of mauve, pink, purple, and white. And like most mint family members, the flowers are highly attractive to bees and other pollinators.
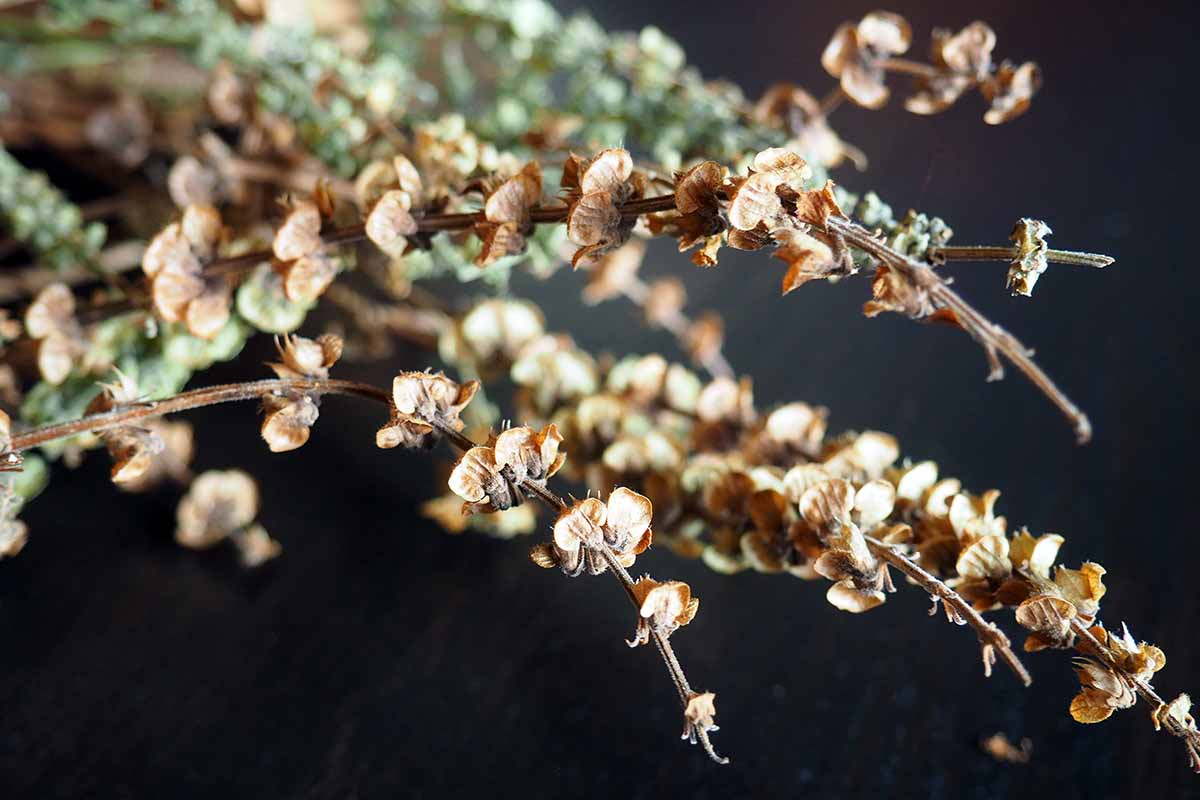
Fan-shaped seed pods form at the base of the flowers and produce an abundance of small, round seeds – each stem can contain hundreds of the brown or black seeds!
Garden cultivars grow to a mature height and width of 12 to 24 inches with dwarf varieties staying as small as eight inches.
Gardeners within basil’s hardiness range of USDA Zones 9 to 11 can grow these plants as biennials or short-lived perennials.
But in temperate regions outside of their range, they must be grown as annuals and planted out only once temperatures consistently stay above 50°F in the spring.
Plants typically die off from cold weather or frost, but they may be brought indoors to overwinter or used for propagation.
Cultivation and History
Native to tropical and subtropical regions of Africa, India, and Southeast Asia, basil has been cultivated for millennia.
Along with culinary applications, ancient traditional cultures from Egypt to Greece to India used it as a curative, perfume, preservative, and sacrificial herb.
Traveling along the spice trade routes, the herb made its way to Greece and Italy around 300 BC, and some say it was carried by the troops of Alexander the Great.
Documentation of its use in Europe can be found as early as the first century AD in the treatise “De Materia Medica,” written by Greek botanist and physician Dioscorides, who prescribed it as an antidote to the bites of sea dragons and scorpions!
Ocimum plants moved east through Europe and arrived in Britain in the 1500s, then came to the North American colonies in the 1620s.
Derived from the Greek word for royal or kingly, basilikon, it’s often referred to as the “king of herbs” – thought to refer to its wide range of applications and as an ingredient in royal perfumes.
Today, this highly popular herb is cultivated around the globe and used in a variety of industries, including cosmetics, food and beverages, holistic practices, perfumes, and pharmaceuticals.
Basil Propagation
Basil is easily propagated from seed and via stem cuttings.
Start Seed Indoors
To start seeds indoors, fill a flat or tray with lightly moistened, sterilized seed starter soil.
Scatter seeds lightly over the surface then cover with one-quarter to one-half inch of soil. Gently firm the soil over the seeds.
Water gently to moisten and place trays in a warm location.
These seeds don’t need light to germinate, but they do need warmth, with soil temperatures ranging from 50 to 70°F. The best germination rates occur closer to 70°F, so use a bottom heating mat to maintain warm conditions if needed.
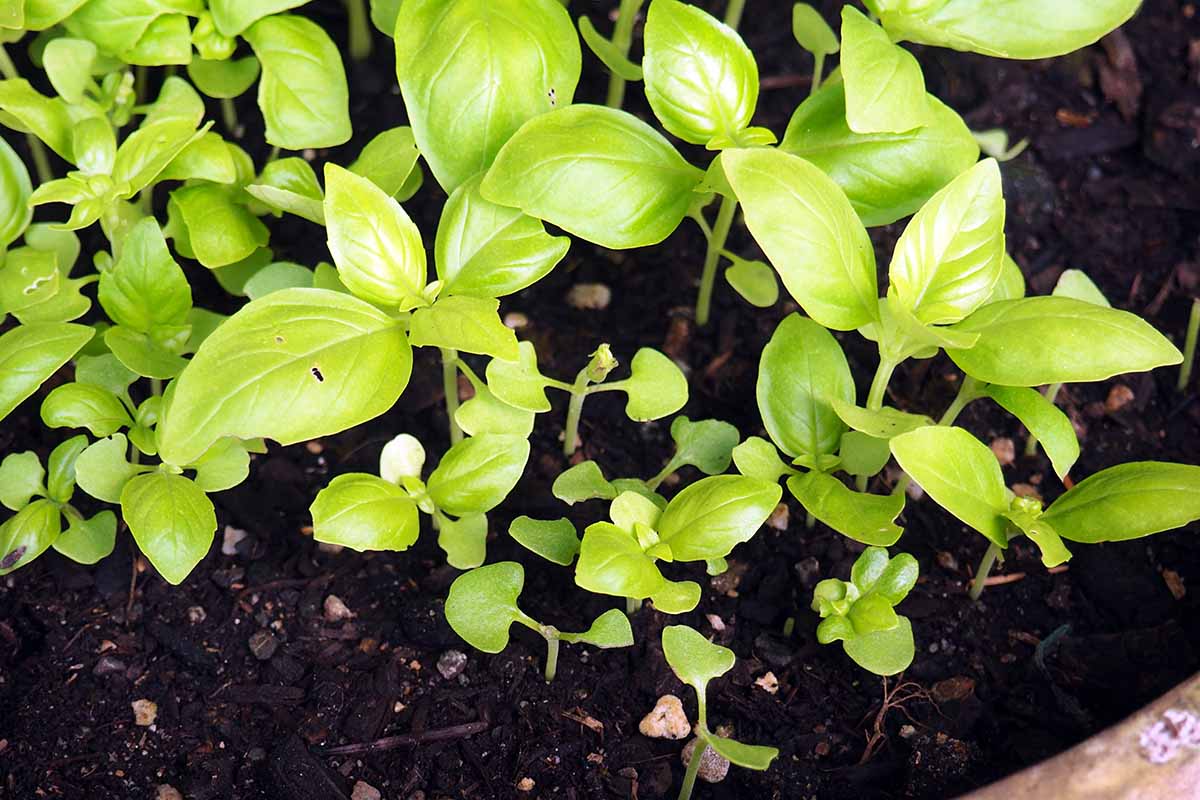
Seeds germinate in five to 10 days.
Once the seeds have sprouted, the seedlings need a minimum of six hours of bright light daily. Use a grow light for indoor seedlings if needed.
Keep the soil slightly moist but not wet to avoid fungal problems like damping off. And good air circulation is also important for healthy seedlings – a fan can be used to provide a gentle breeze to keep the air moving.
Once the seedlings are about four inches tall and have at least two sets of true leaves, thin to two inches apart.
After all danger of frost has passed and temperatures remain above 50°F, plant out into garden beds or containers.
For more details, be sure to check out our guide on how to propagate basil from seed.
Direct Sow Outdoors
To direct sow seeds outdoors, wait until the soil has warmed up to 60 to 70°F, with the best germination occurring closer to 70°F.
Plant in beds or containers prepared with well-draining, humus-rich soil in a full sun location. Scatter seed lightly over the soil surface and cover with one-quarter to one-half inch of soil.
Keep the surface soil lightly moist for seeds to germinate.
When plants have two or three sets of true leaves, thin to six to 12 inches apart in garden beds and four to eight inches apart in containers.
Depending on the variety, plants can become quite bushy and require ample space, but they don’t get as large in containers and can be planted closer together.
Stem Cuttings
For stem cuttings, choose three- to six-inch stems from mature plants and cut below the last leaf node.
Remove leaves from the bottom two inches of the stems.
Place stems in a glass with two to three inches of room temperature water and put the glass in a sunny windowsill.
Change the water every other day.
Roots form in two to three weeks, and once they’re one to two inches long, the cuttings can be planted out or potted up as outlined below.
Our guide to propagating basil has more information.
How to Grow Basil
Basil requires a full sun location in humus-rich, well-draining soil with a slightly acidic to neutral pH of 6.0 to 7.0.
Plant out once all danger of frost is past and soil temperatures are consistently above 50°F, or when air temperatures reach 65 to 70°F. The warmer the weather, the greater the leaf production will be.
To prepare the soil in garden beds, use a garden fork or spade to loosen it to a depth of eight to 12 inches.
Mix in a shovelful of compost or well-rotted manure to add nutrients and tilth.
Add a shovelful of grit such as landscape sand, pea gravel, or stone chips to improve drainage – basil cultivars are prone to root rot in wet soil and must have excellent drainage.
Before planting, mix in one or two tablespoons of bone meal for healthy, strong roots.
Create planting holes and set plants in place.
Backfill and cover the root balls with one to two inches of soil, firming gently in place.
Water lightly to settle.
Keep the soil slightly moist throughout the growing season, allowing only the top inch of soil to dry out between water applications.
Learn about the best practices for watering basil here.
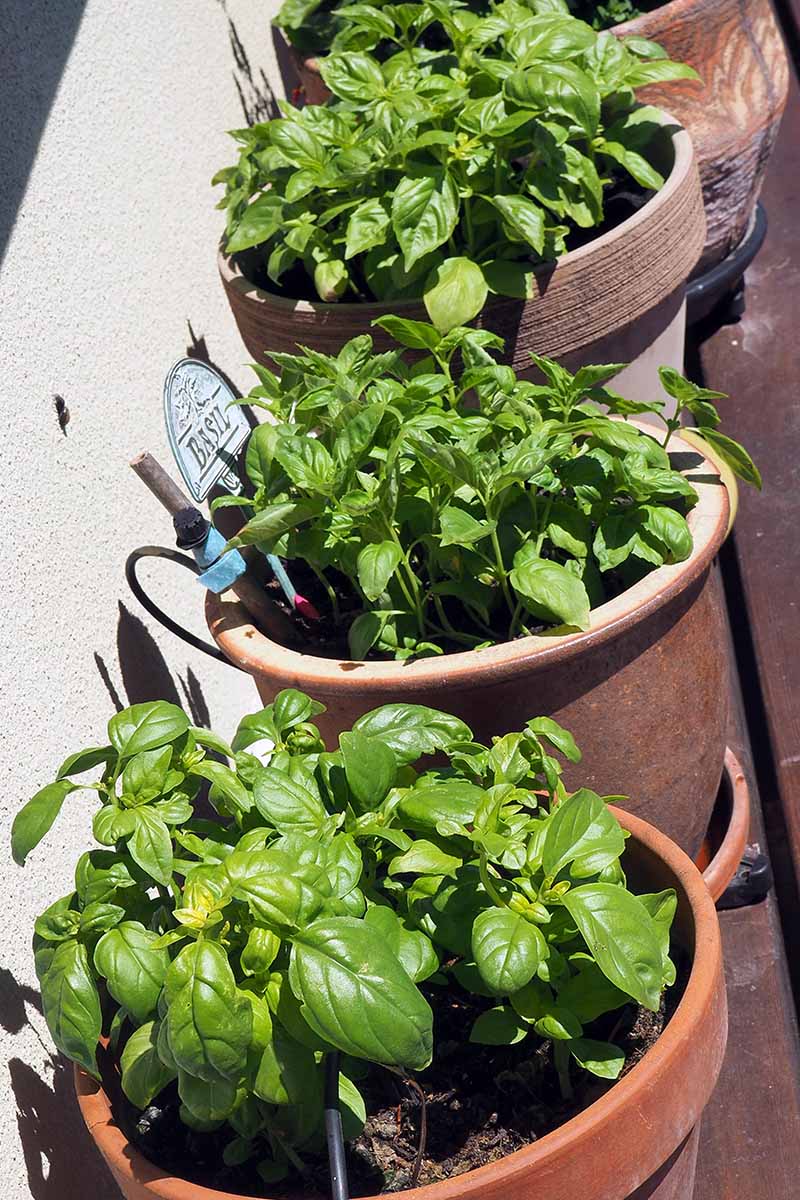
For container plants, choose pots and planters with drainage holes to ensure the soil doesn’t become overly wet.
I like to add a couple inches of loose materials like broken pottery over the drainage holes to keep water moving freely and to prevent the roots from sitting in wet soil.
Fill pots with light, loamy, and gritty all-purpose potting soil.
Enrich the soil with two parts compost or manure to four parts soil.
Amend with one to two parts grit as needed for free-flowing drainage.
Stir in a tablespoon or two of bone meal before planting.
Set plants in place and backfill with soil, firming it gently over the root zone.
Water deeply but gently to settle plants in place, and place containers in a full sun location.
Keep the soil lightly moist throughout the growing season. Depending on their size, containers may need to be watered daily in hot weather.
Once plants are about four to six inches tall, feed with an all-purpose fertilizer with a balanced NPK formula, such as 10-10-10. Feed every two to three weeks for the duration of the growing season.
To help retain moisture, add a two-inch layer of mulch such as compost, leaf mold, or straw to bedding and container plants if desired.
For seed collection, don’t pinch out the tops of a few plants and allow them to flower and set seed, then follow the steps in this guide on how to harvest and save basil seed.
Basil is thought to improve the flavor of certain vegetables and makes an ideal companion plant for tomatoes and other nightshade members, such as eggplant, peppers, and potatoes.
However, it is best to avoid planting in proximity to rue or sage, which are said to change its flavor and inhibit growth.
For a long season and continuous harvest, start a tray or container of seeds every few weeks – start successive plantings indoors, then sow seeds outdoors when temperatures are warm enough.
To successfully grow plants indoors over winter you’ll need a grow light to provide the duration and strength of light they need. You can find more information in our guide to growing basil in winter.
If you wish to collect seed for sowing, avoid mixing cultivars because Ocimum plants cross-pollinate readily. Also, don’t pinch out all of the flower buds, but allow a few to remain for seed formation.
Growing Tips
Easily cultivated, keep the following tips in mind for an abundant harvest:
- Grow in a full sun location.
- Provide organically-rich, well-draining soil with a pH of 6.0-7.0.
- Heavy feeders, basil harvests are most abundant with regular applications of fertilizer.
Now, let’s look at some popular varieties to try at home.
Basil Species and Cultivars to Select
With dozens of varieties out there, there’s no shortage of delicious and pretty species, hybrids, and cultivars to choose from. Here are a few favorites to get started!
Genovese
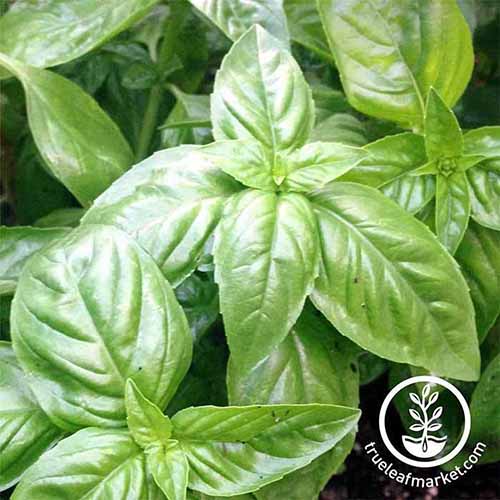
The creme de la creme of sauce and pesto cultivars, O. basilicum ‘Genovese’ has generous, soft leaves with a spicy fragrance and sweet, piquant flavor with notes of clove and mint.
Highly flavorful, the leaves are ideal for use in a variety of savory dishes, and sweet ones as well, such as cakes and cookies, berry granitas or sorbets, fruit galettes, and jams.
A beautiful, perfumed choice for containers, kitchen planters, and cottage or herb gardens, ‘Genovese’ matures in 60 to 90 days.
Seeds in packets and larger packages are available from True Leaf Market.
Find the details on growing ‘Genovese’ basil here.
Greek
An adorable dwarf variety, Greek basil (O. basilicum var. minimum) has small, narrow leaves on plants that grow in the shape of small, symmetrical globes – but they pack a big punch with robust flavor that’s more intense than that of large-leaved varieties.
The taste is more spicy than sweet with tones of anise, clove, mint, and pepper, and it’s used for flavoring dressings, salads, soups, and pesto.
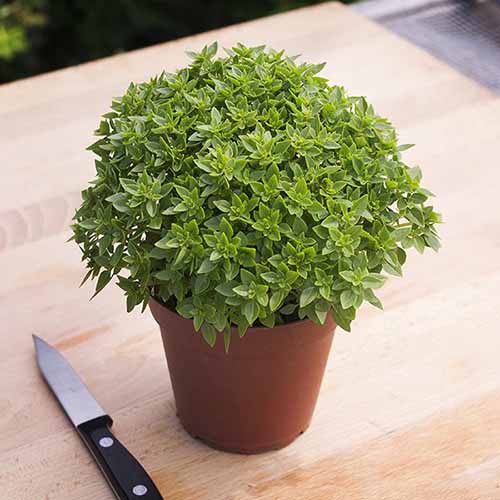
This is an excellent choice for the kitchen garden or a small container on a sunny kitchen windowsill.
Maturing in 55 days, open-pollinated seeds are available at High Mowing Seeds.
Learn more about planting and growing Greek basil here.
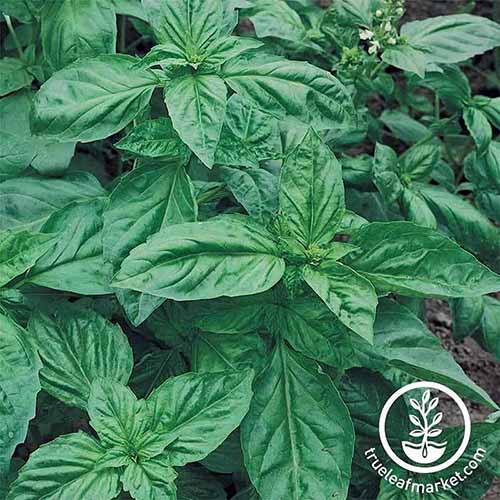
Italian Large Leaf
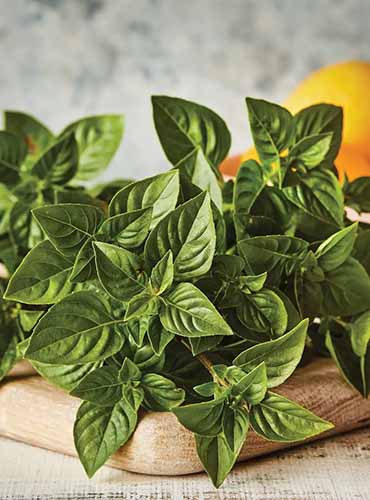
An heirloom, open-pollinated cultivar, O. basilicum ‘Italian Large Leaf’ features large, delicate leaves similar to ‘Genovese.’
The substantial leaves have a delicious, sweetly spicy flavor with hints of clove and mint and is a preferred variety for use in breads, salads, sauces, and pesto.
Plants mature in 60 to 90 days. Seeds in a variety of package sizes are available at True Leaf Market.
Limoncello
For something a little different, O. americanum var. pilosum ‘Limoncello’ has a tangy citrus flavor and bright fragrance that makes a refreshing garnish for cold summer beverages.
It’s also a flavorful choice for curries, fish, grilled foods, stews, stir fries, and soups, and a handsome, aromatic herb for borders and containers.
Plants mature in 80 days. Seeds are available from Burpee.
Red Rubin
A striking cultivar with bronzed burgundy to plum foliage, O. basilicum ‘Red Rubin’ has large, scented leaves, pretty pink flowers, and a sweet taste with notes of cinnamon and clove.
The unique coloring makes an attractive beverage or plate garnish and the leaves may be used for flavoring salad dressing, simple syrup, herbed vinegar, pasta, and salads.
Plus, the bright purple sprouts make colorful microgreens.
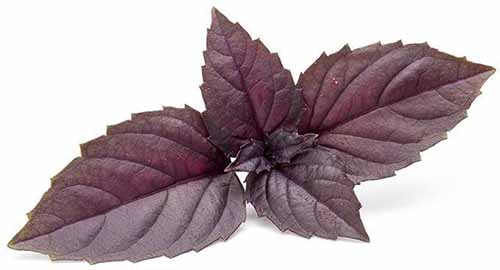
‘Red Rubin’ matures in 70 days. Seeds are available in a variety of sizes at True Leaf Market, where you can also find organic seeds.
Find tips for growing ‘Red Rubin’ here.
Thai
With a sweet scent, overtones of anise, deep green elliptical leaves, and gorgeous purple flowers, Thai cultivars (O. basilicum var. thyrsiflora) are a tasty addition to many Asian-style recipes.
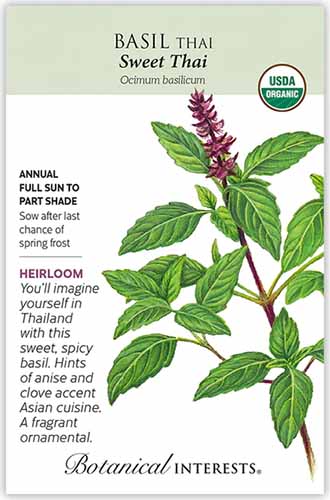
Bushy and multi-branched, the plants make a beautiful addition to beds, borders, containers, and herb gardens.
Plants mature in 60 to 90 days. Seeds are available from Botanical Interests.
Read more about growing Thai basil here.
Managing Pests and Disease
Overall, Ocimum varieties are quick and easy to grow, but there are a few issues to watch for.
Pests
Many of the usual garden suspects can target basil plants, including:
Aphids
Aphids are small green, gray, or black sapsuckers, warm-weather insects that feed on tender growth and cause curled or puckered leaves. They can also spread some of the below-mentioned problem pathogens.
Remove aphids with a blast from a spritz bottle and repeat as needed – avoid using a strong jet of water from the garden hose, which can easily bruise or shred the tender leaves.
For aggressive infestations, place some ladybug or green lacewing larvae around the infected plants and the aphids will be gone in a few days.
You can find predatory larvae like green lacewings at garden centers or online at sites like Arbico Organics.
A pesticide with natural ingredients like neem oil can be used as well.
Japanese Beetles
Japanese beetles are small, coppery metallic beetles that create uneven holes and chew marks in the leaves.
A soapy, homemade spray is effective on these critters – find out how to make it and discover other solutions in our guide to battling Japanese beetles.
Slugs and Snails
Slugs and snails also like to munch on the leaves and cause damage. Handpick gastropods and dispose of them in a bucket of soapy water.
This guide recommends several additional methods to protect your garden from slugs and snails if you need more ideas.
Whiteflies
Whiteflies are small, whitish-green sapsuckers, flying insects that group on the undersides of leaves to breed and feed, causing pale speckling with leaves eventually yellowing before dropping off. They can also spread problem pathogens.
Whiteflies can be difficult to control, and management can include the use of predatory wasps or insecticidal soaps. Learn how to control whitefly infestations here.
Disease
Here are some common diseases to keep an eye out for:
Damping Off
Damping off is caused by soilborne fungi that lead seedlings to collapse, and is prone to occur in conditions of high humidity, poor air circulation, wet soil, and cool temperatures.
To avoid damping off, use a sterile starter mix for seedlings and soq seeds sparingly to prevent overcrowding.
Don’t overwater and keep soil temperatures close to 70°F in a location with ample air movement.
Downy Mildew
Downy mildew is caused by a fungus-like organism known as an oomycete that enjoys warmth and humidity.
It causes yellow, then brown leaves that curl and wilt with a gray fuzz on the underside. Infected plants need to be removed and destroyed.
Spread via infected seed and soil by wind and splashing water, wet conditions can cause aggressive spread.
Avoid overhead watering, ensure the soil is well-draining, provide ample air circulation, and allow the top inch of soil to dry between water applications.
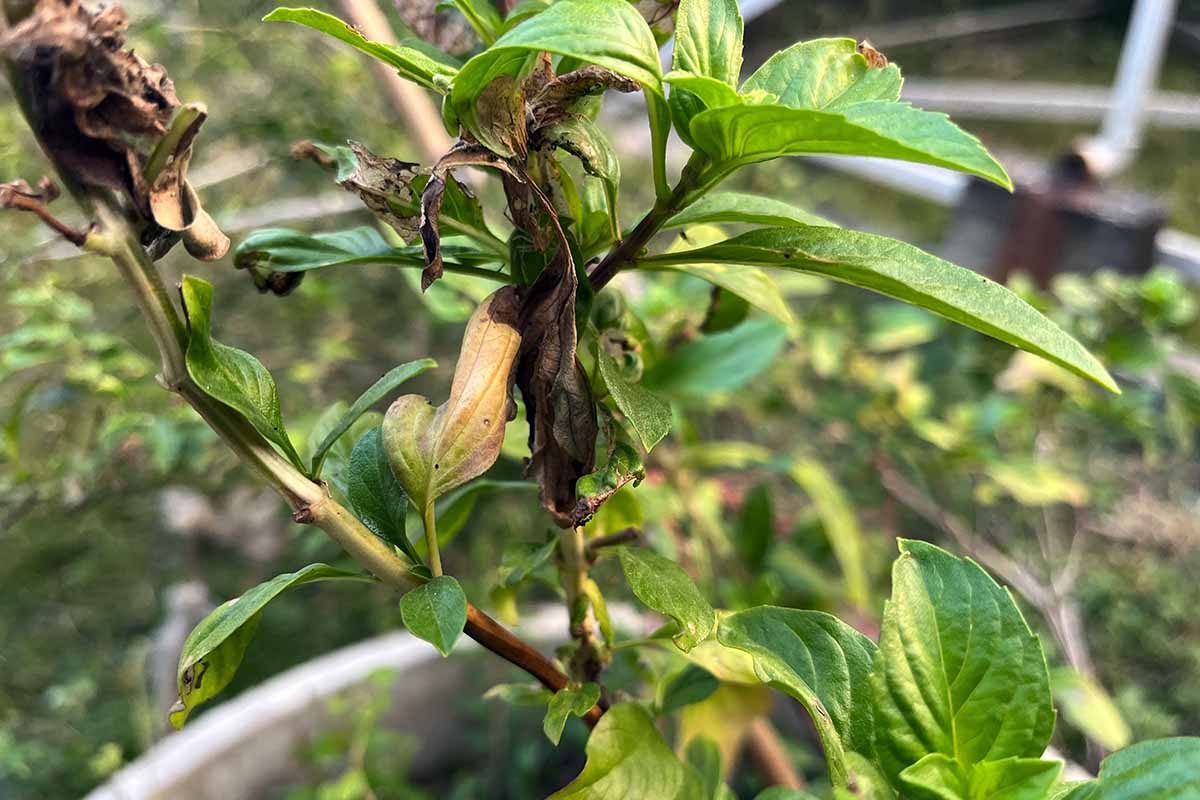
Fusarium Wilt
Fusarium wilt is a common soilborne fungus in wet, warm conditions.
Transmitted by infected seed or soil, it causes wilted and yellowing leaves, brown spots or streaks on stems, stunted growth, and leaf drop.
There are no known remedies for fusarium wilt and plants need to be promptly removed and destroyed.
Also, don’t replant the same area with mint family members for three years, and be sure to disinfect containers, gloves, and tools after handling infected plants.
Leaf Spot
Leaf spot or blight is a bacterial disease that causes water-soaked blotches of dark discoloration on the leaves and stems, starting when soil pathogens splash onto plants from rain or watering.
There’s no known cure for blight and affected plants should be removed. The incidence of infection can be reduced by avoiding splashing via overhead watering and choosing resistant seed stock where available.
Stripping away leaves growing close to the soil line can also help reduce infection, and improves air circulation as well.
Harvesting
Harvest leaves in the morning after the dew has evaporated and when essential oils are at their peak – once the hot sun hits the leaves the oils begin to dissipate.
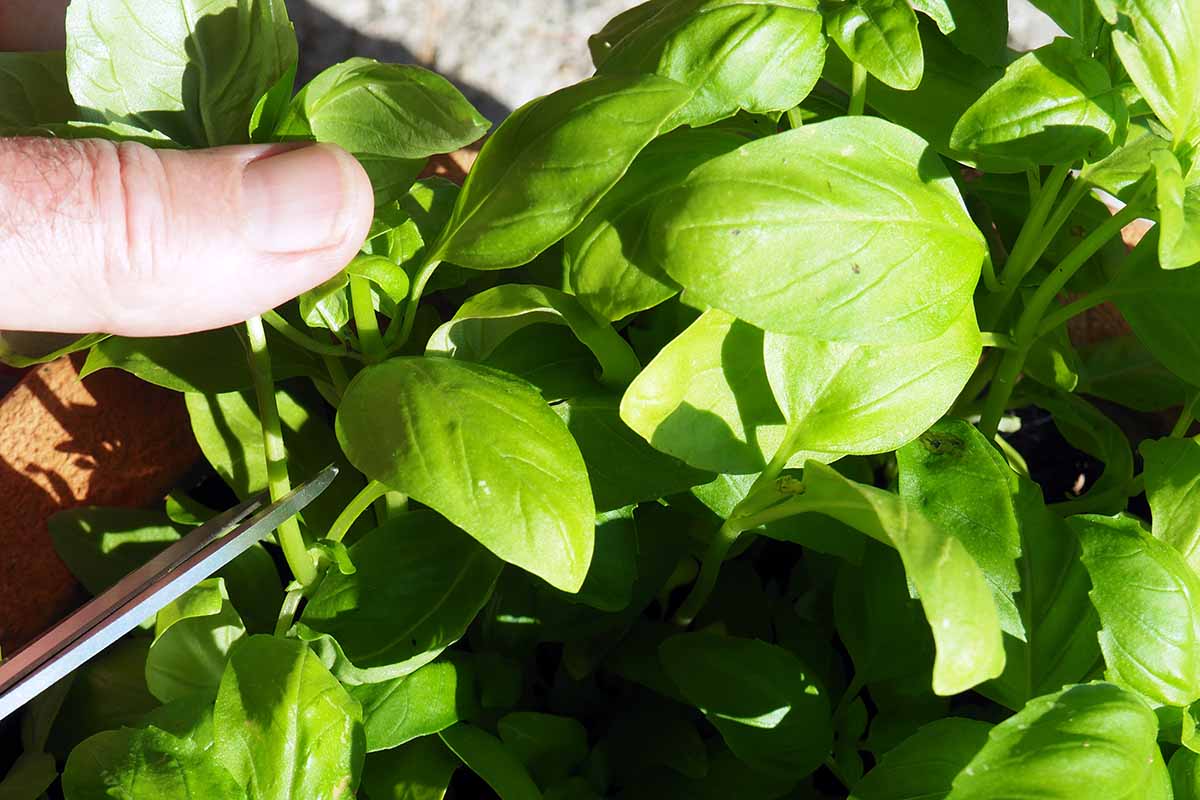
You can begin to harvest as soon as the plants are six to eight inches tall by pinching out the topmost leaves. Pinching also encourages branching and bushiness while delaying flowering.
Pinch out the tops with your thumb and forefinger or use clean, sharp scissors to snip the stem just below leaf clusters.
To pick more than a few leaves at a time, remove full stems by clipping off the top third just above a leaf node, which also encourages branching and leaf production.
Continue to pinch out tops and clip stems as long as plants keep producing new foliage.
If flower buds start to form, clip or pinch them out to encourage further leaf growth.
Preserving
Nothing beats the flavor of fresh basil, but the leaves can also be dried or frozen for use after the growing season ends.
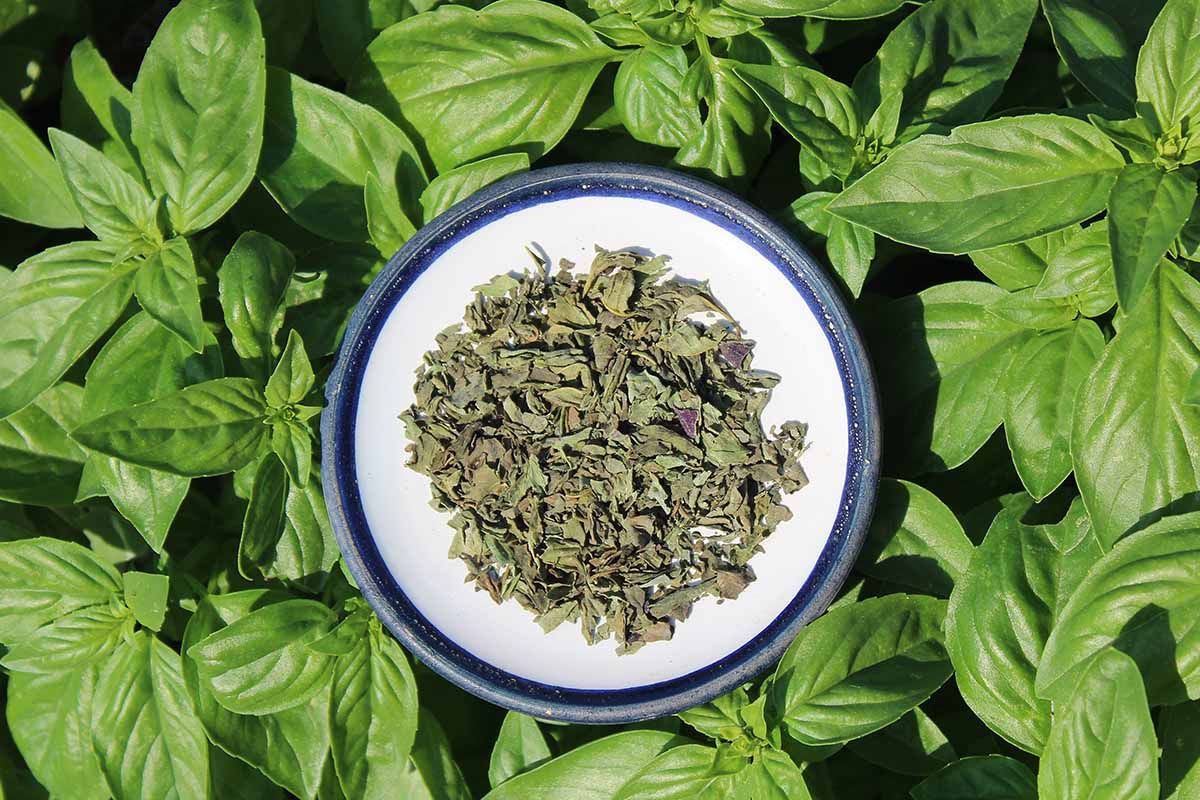
Dried leaves aren’t as flavorful as frozen ones, and frozen leaves darken and have a soft texture when thawed, but they still retain plenty of flavor for use in sauces, soups, and stews.
Keep sprigs of fresh leaves on the counter in a glass of room temperature water until you’re ready to use them – but don’t place them in the refrigerator, which can blacken the leaves.
Leaves can be preserved by air drying or dried in a food dehydrator. Oven temperatures, even on the lowest setting, can cause burning, and drying in the microwave tends to strip the leaves of flavor, so skip those methods.
To air dry, keep leaves on the stems and rinse under cool running water. Use a salad spinner to gently dry the leaves. Our sister site, Foodal, has info on the best salad spinners.
Use kitchen string to tie the stems into small bundles of six or eight. Hang them upside down in a dry, warm location out of direct sunlight and with good air circulation.
Leave them hanging for up to 14 days or until the leaves and stems are completely dry and crumble readily.
To dehydrate, strip leaves from the stems and wash in cool running water. Spin dry with a salad spinner.
Spread the leaves out in a single layer on dehydrator trays and dry on the lowest setting until they crumble easily.
Store dried leaves in a glass jar with a tight-fitting lid and keep in a cool, dark, and dry cupboard for up to two years.
Freezing basil is the best way to retain flavor and frozen basil can last for up to six months in the freezer.
Wash and spin dry leaves then spread them out on a baking tray in a single layer and freeze for two hours.
Once frozen, package leaves into zip-top bags for freezer storage.
Or you can chop the leaves in a food processor and freeze in a small amount of olive oil in ice cube trays. Once frozen, empty the trays into zip-top bags for storage.
Ready to preserve a crop of leaves? We have guides on how to dry basil and how to freeze herbs for you to read as well, with extra tips.
Recipes and Cooking Ideas
With such a great range of applications, it’s hard to choose just a few ideas!
Basil is extremely aromatic and lends itself well to recipes with tomatoes and garlic, like sauces, soups, and stews.
Or add it to a cheese platter or charcuterie tray. Simply pinch off some leaves, place atop the cheese on a cracker or a piece of fresh bread, and you have a flavor explosion that’s ready to go!
For cooking, our sister site, Foodal, has some excellent recipes.
You won’t want to miss this one for classic Italian pesto – bellissimo with focaccia bread – find it here!
And for sweet dishes, try out these scrumptious gluten-free basil shortbread cookies, also from Foodal, or strawberry basil jam, which you can find the recipe for here.
Quick Reference Growing Guide
| Plant Type: | Tender perennial grown as an annual | Water Needs: | Moderate |
| Native to: | Africa, India, Southeast Asia | Maintenance: | Low |
| Hardiness (USDA Zones): | 9-11 | Tolerance: | Salt spray (moderate) |
| Season: | Summer | Soil Type: | Humus-rich with some grit |
| Exposure: | Full sun | Soil pH: | 6.0-7.0 |
| Time to Maturity: | 60-90 days, depending on variety | Soil Drainage: | Well-draining |
| Spacing: | 4-12 inches | Companion Planting: | Nightshades |
| Planting Depth: | 1/4 inch (seed), depth of root ball (transplants) | Avoid Planting With: | Rue, sage |
| Height: | 8-24 inches | Order: | Lamiales |
| Spread: | Up to 18 inches | Family: | Lamiaceae |
| Growth Rate: | Fast | Genus: | Ocimum |
| Common Pests and Disease: | Blight, damping off, fusarium wilt, downy mildew; aphids, Japanese beetles, slugs, snails, whiteflies | Species: | Americanum, basilicum, tenuiflorum |
A Culinary Delight
A wonderful addition to any garden, basil is an easily grown culinary delight that thrives in a sunny spot.
Its aromatic quality and robust flavor always pleases and makes a welcome addition to so many recipes.
Keep the soil lightly moist and feed regularly for the best foliage production and remember to pinch out the tops to encourage branching and even more leaves!
What are your favorite types of basil to grow? Let us know in the comments section below.
And for more basil know-how, add these articles to your reading list next:
Great article.