
The first spring I spent in Alaska, I got a strong hankering for fresh basil. I craved sandwiches on ciabatta bread with mozzarella cheese, fresh tomato slices, and aromatic basil leaves.
Nothing could taste more like summer, and when you live in Alaska, summer is a glorious and highly anticipated, though short, season.
I longed for these fresh delights in the muddy throes of spring. But alas, I couldn’t find any fresh basil at the supermarket, and the local plant nurseries and greenhouses hadn’t opened yet. That’s Alaska for you.

We link to vendors to help you find relevant products. If you buy from one of our links, we may earn a commission.
So I gave up and decided I’d have to settle for store-bought pesto. But as soon as the earth in my garden thawed, what did I sow first?
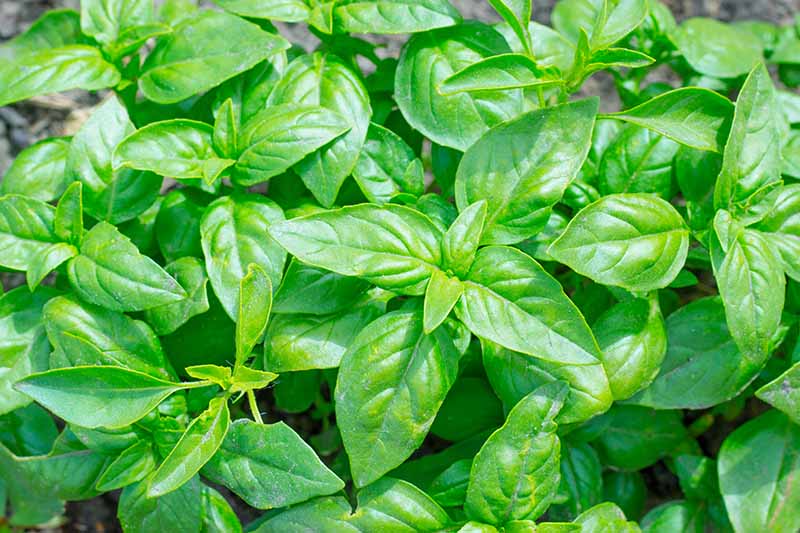
That’s right. Basil (Ocimum basilicum).
This member of the mint family, Lamiaceae, is easy to grow from seed. Mine sprouted after a week of intense Alaskan summer sun, and before long, each plant proudly displayed lots of tiny little leaves.
I was so excited that I plucked one leaf from each plant, chopped it up small, and made my mozzarella-tomato-basil sandwich. I will say the fresh herbs tasted a little… premature. But it was still delicious!
A few months later, I had tall, leafy basil that was absolutely thriving.
Yes, I ate a lot of sandwiches after that, and I don’t regret it.
But here’s the thing about Alaskan summers: they’re short. By September, the nights were beginning to feel chilly again.
I knew that if I wanted to enjoy fresh O. basilicum in my pasta, pizza, and sandwiches through the winter, I’d have to bring my plant indoors.
You can do this with your basil too, and I’ll teach you how in this article.
What You’ll Learn
What Happens to Basil in the Winter?
If you live in Zone 10 or above, you probably don’t need to bring your basil indoors unless temperatures in your area dip below 50°F on a regular basis. This herb loves warm, sunny days.
While temperatures close to 50°F won’t kill your basil, the cold can cause the leaves to blacken. Anything below 45°F is a danger zone.
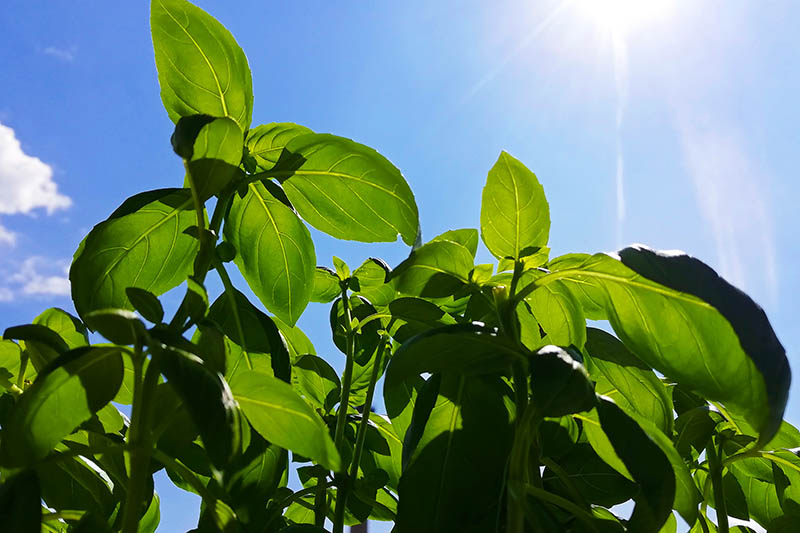
The only reason mine thrived outdoors in Alaska is because we have so much sunshine in the summer. I’m talking 20 hours of sunlight and four hours of civil twilight. It never gets fully dark.
Basil loves that, and so do I.
Yet, for many of us, summer eventually ends. Even if temperatures don’t fall below freezing during the winter in some growing zones, they often go as low as 50 or even 40°F, with occasional frosts.
That, my friends, is too cold for basil. As soon as the leaves turn black, this is a sign that they’ve been bitten by the cold and aren’t likely to bounce back.
This herb is an annual, so unless you bring it indoors, you’ll have to let it flower and die back, then plant more the following year.
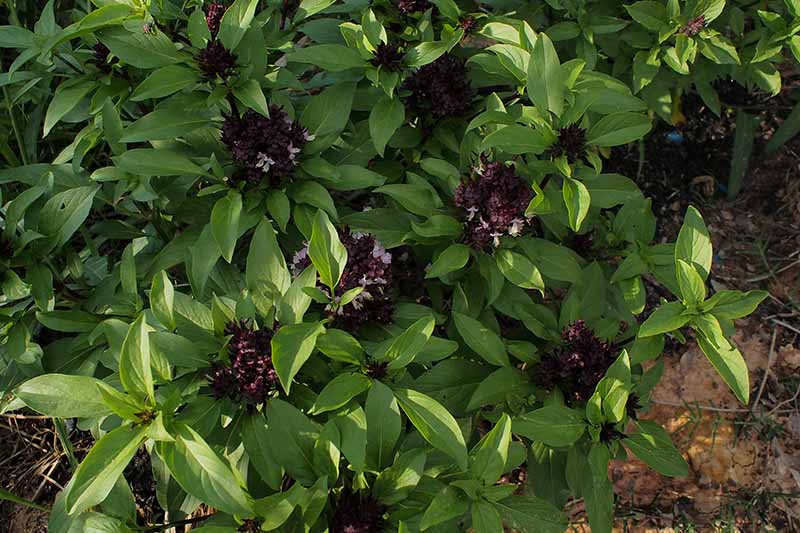
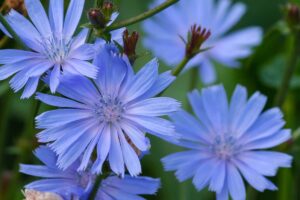
But before it dies, you could save the seeds to sow next year or share with friends. Towards the end of summer, your basil will produce little purple flowers – normally you would snip these off, as the leaves can develop a bitter taste when the plant bolts.
To save the seeds, wait until the flowers start to turn brown – usually sometime in September or October – and cut off the flower stalks. Hang them indoors in a cool, dry location for 3-5 days.
When the flowers have dried out completely, gently pry them apart and rub them with your fingers over a white plate.
The tiny black seeds will drop to the plate and you can place them in a brown paper envelope or airtight container and store in a dry, dark place for planting next spring.
You can technically keep a single plant growing for a few years before it peters out. But the central and lateral stems will turn woody after about a year, and the leaves produced on older plants won’t be as flavorful.
Plus, you have to keep on top of removing any flowers that start to form.
If you take cuttings from an existing plant and propagate them every six months or so, you can have a continual tender supply. To learn how to do this, see our guide to propagating basil.
Here’s how to enjoy the fresh taste of basil throughout the fall and winter months – even in places like Alaska, where we only have four hours of watery daylight in the deep of winter.
The Best Way to Overwinter Basil: Bring It Indoors
Do you have several rows of basil growing in your garden? Do you hate to watch them succumb to crisp fall temperatures?
If you already have a favorite basil plant that produces lots of tasty leaves, there’s no reason why you can’t keep enjoying it indoors throughout the fall and winter.
Placed in a cozy spot on a sunny windowsill, it will thrive throughout the cold months. Come summer, you can replant it outdoors.
Below, you’ll find our instructions for moving your plants indoors.
Gather Your Materials
You’ll need a container or pot with good drainage, as well as a draining dish or saucer, as you’ll want to keep your O. basilicum well irrigated when you bring it indoors.
The size of pot to choose will depend on the size of the plant you are digging up.
Very large basil plants can have roots as deep as 12 to 18 inches, but they can generally adapt to being planted in a slightly smaller pot. To play it super safe, select a 15-inch-deep pot.
With this said, however, I’ve successfully transplanted basil into eight to 10-inch pots and even smaller, so if you don’t have tons of space and your basil looks healthy, this should work, too.
You don’t want to choose anything smaller than eight inches deep and eight inches wide for an established plant.
You’ll also need a trowel, potting soil, and a bit of time. If you’ve got young kiddos like I do, wait until they’re otherwise occupied before beginning the process of digging up your plant from the garden.
My little one loves to help me garden, which is awesome, but some situations require concentration and the absence of adventurous toddler hands. It might just be the perfect project for those with older kids though.
For more tips, see our guide to gardening with children.
Pot Up Your Plant
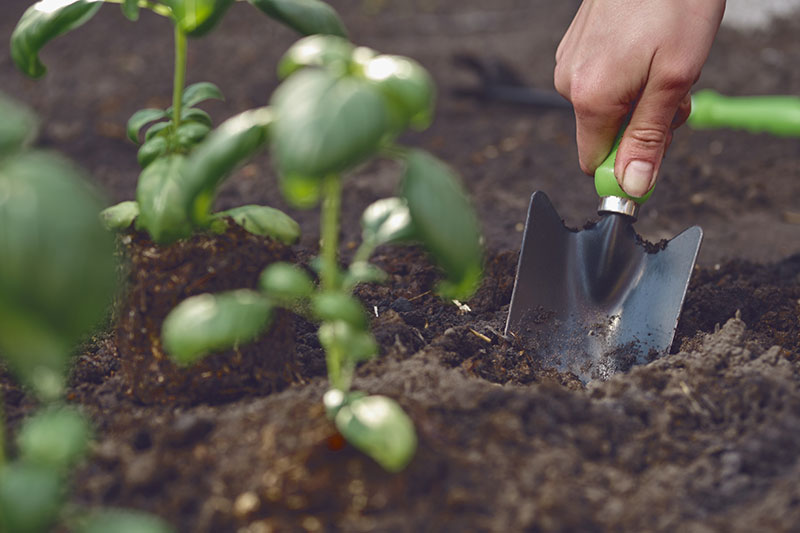
Add a handful of fresh potting soil to your planter. Mark a six-inch-wide circle in the dirt around your plant and dig down six inches with a trowel.
Gently loosen the soil and dig down a bit deeper if you need to. You want the entire root ball to remain intact.

Once you’ve got the root ball free, lift it out of the earth and place it in the waiting pot. Add one or two handfuls of the garden soil that surrounded it. Top this off with a few handfuls of potting soil.
Leave about half an inch of headroom between the soil and the lip of the pot so that water doesn’t tumble over the sides. (Can you tell I’ve made this mistake before?)
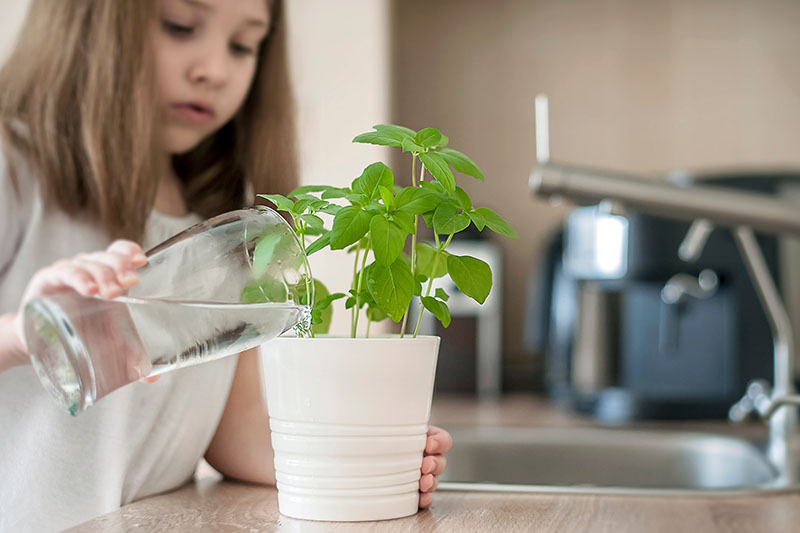
Water Your Plant
Water your newly potted herb until the drain dish leaks the first drops of water, and not a bit more.
You don’t want to drown it, but you do want to keep the soil consistently moist, especially in the first few weeks after transplanting.
Check the moisture level every day by pushing your fingertip about half an inch down into the soil. If it feels dry, add water until it drips into the draining dish.
I once failed to check the moisture on my indoor plant for three days and it started to wilt. Just a day or two more and it would’ve been beyond saving!
When you notice new leaves growing and you know your plant is thriving, give it a deep watering once or twice a week. Make sure the water drains out the bottom of the pot and into the dish.
Empty the dish in your sink so that the roots don’t languish in standing water.
Get more tips on watering basil plants here.
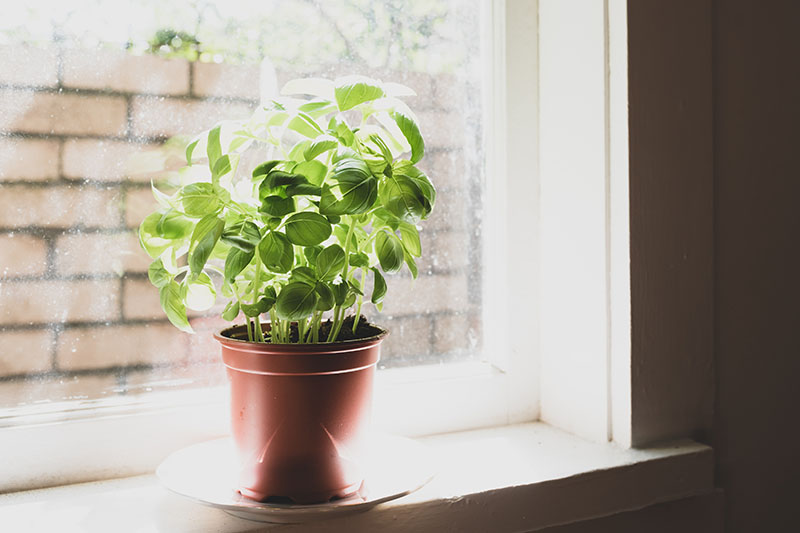
Give It Light
Find a sunny spot on your kitchen windowsill for your light-hungry herb. Or, if you’re using a hanging planter, make sure you hang it in a sunny area.
Your indoor plant needs at least six to eight hours of direct sunlight daily in order to thrive.
If you live in an area that gets less than five hours of sunlight a day in winter, like I do, or you don’t have a suitable south-facing window that provides that light, you may want to invest in a grow light.
I use this particular grow light, available from Amazon.
I love this light because it has two adjustable gooseneck heads. They make it easy to position the light one to two inches away from the plant, and adjust as the basil grows.
This light also has a timer. If you are getting six or so hours of sunlight but your herb seems to be wilting, set a grow light to go on for three or six hours during darker times of the day.
If your plant is really droopy, first make sure it’s getting enough water. If it is, go ahead and set the light for 12 hours. Shine the light on your plant a few hours before the sun sets in your kitchen window or wherever it is roosting.
More light won’t hurt your plant – up to a point. You don’t want to give it much more than 16-18 hours a day, total. Like humans, plants have a circadian rhythm and they depend on phases of both light and darkness in order to function normally.
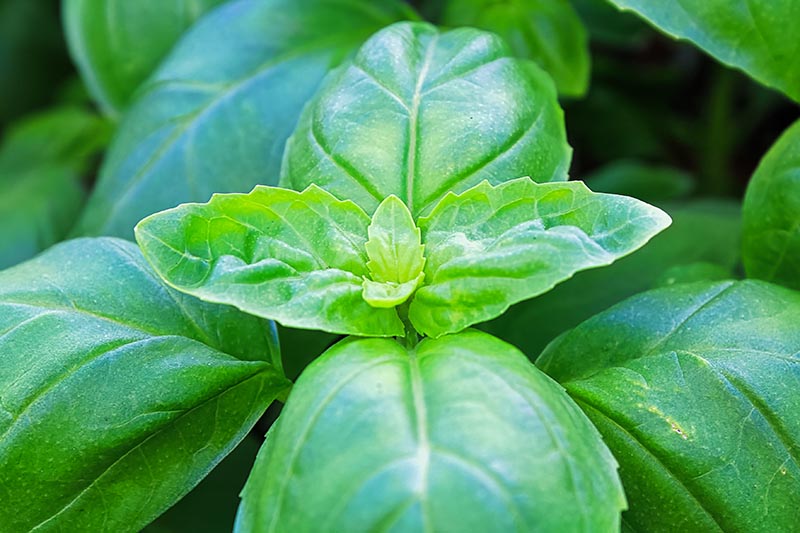
Prune Regularly
Basil thrives with regular pruning, which is delightful news for your taste buds. You can clip or pinch leaves off individually, starting from the top of the plant, or you can clip entire sections of the stem.
To prune for optimal growth, cut the main stem back to about a quarter of an inch above the bottom set of leaves.
Immediately use the clipped leaves in your favorite pasta dish (or a sandwich, if you’re like me) and watch the plant grow new stems and leaves that shoot off from the main stem.
Oh, and I forgot to mention that you don’t have to eat the leaves off a cutting.
You can also grow an entire new plant, as I mentioned before. You’ll just need to remember to snip the stem slightly differently when taking a cutting for replanting, as opposed to how you might when snipping a few leaves for your pasta.
Find more tips on pruning basil here.
Enjoy Your Endless Supply of Fresh Herbs
When the earth warms back up in spring, you can transfer your basil back outside – or continue to enjoy its fragrant green leaves in your home year-round.
Potted basil also makes a thoughtful yet inexpensive gift for your friend who loves those caprese sandwiches as much as you do.
Are you growing basil? Have you successfully overwintered your plant? Let us know in the comments below!
And for more information about basil, check out these guides next:
- How to Grow Basil in Your Herb Garden
- 13 Favorite Basil Varieties for the Garden
- Tips for Growing Citrus Basil
© Ask the Experts, LLC. ALL RIGHTS RESERVED. See our TOS for more details. Product photos via Relassy. Uncredited photos: Shutterstock.

Thank you. We don’t have much light in winter (Quebec, Canada) and although I bought a grow lamp similar to your for my indoor basal plants, I realized I did not give enough light.
Thank you for reading, Eva! We don’t have much, either. It’ll start coming back now though thanks to the Solstice having come. But for a few months, a grow light is my plants’ best friend.
I wish I would seen your article some months ago, very informative as I seem to have a fetish for all basil????Dark Opal, Purple Ruffles, Spicy Globe, Cinnamon Basil, and Italian Basil????
Those are all delicious choices! Basil is amazing, isn’t it?
Can I cut back basil plant when I transplant it from garden to pot?
Hi Jane! I’d either cut it back just a little bit right before, or wait until it begins growing new leaves (and thus is established in its pot) before cutting it back.
What’s the best way to prevent/treat bug infestations on an indoor plant?
Hi Kate! Prevention is key: keep the plant well watered but not waterlogged, and avoid overhead watering. Let the soil dry out at least one inch down in between waterings if you’re dealing with something like fungus gnats (is this the problem you’re hinting at?). These Gnat Stix, available from Arbico Organics, are also super helpful for trapping fungus gnats and other small, pesky indoor insects.
Well, I’ve never been very successful in keeping basil alive indoors, but I’m giving it another go with 3 basil plants that thrived in my garden this year. I hope they will continue producing throughout the fall and winter, even though I brought them in a little late. Some spots on the leaves but the new growth looks green. They are also very tall and a bit woody. Not sure how else to prune other than taking off flowers and dead stuff. Every stem with good green leaves I’ve kept on. They are all cozied up together in one pot… Read more »
No worries! Your basil plants might be getting a little past their prime if they’re woody and keep blooming. You may want to take a cutting of healthy, fresh green leaves and root it in water! We have a guide on that process too. Then, you can re-plant it in fresh potting mix and grow it indoors.
I’ve successfully killed 3 basil plants in a row???? here in Arizona. I was able to grow it no problem when I lived in Wisconsin. I know the summer is too hot here for it outdoors, but I’ve even tried planting it in pots in the fall/winter so I can easily bring it indoors depending on the weather…still no luck! I planted it in a Terra cotta planter…is that the problem you think? I’m really having trouble determining if I’m under or over watering it??
Hi Melanie! That’s so frustrating. Does the terra cotta planter have drainage holes? What type of soil do you use?
I have successfully wintered basil (indoors) in Northern Wisconsin! I transplanted the indoor plant into an outdoor pot this Spring and it continues to do well. I also added two more basil plants to the outdoor pot. They are all happy living together! I will be cutting them back soon and bringing them indoors.
Thanks for sharing, Sharon, isn’t it great to have basil throughout the winter!