Raphanus sativus
I have a radish problem. No, it’s not a disease issue, nor am I battling with pests. I have an addiction.
I can’t resist the lure of a big, bright bunch at the farmers market. And I always have some growing away, either in my garden or as microgreens on my windowsill.
I can’t help it, they’re just so beautiful, versatile, and delicious.
We link to vendors to help you find relevant products. If you buy from one of our links, we may earn a commission.
Even if you don’t share my radish addiction, you surely must agree that there’s a reason you can find them in practically every backyard garden at some point.
Actually, make that many reasons.
They’re quick to mature, with some cultivars ready to harvest in just over two weeks, and they start reliably from seed. They can be grown practically year-round, plus they’re nutritious and delicious.
Things only get better once you bring them into the kitchen.
The roots and leaves can be used raw, cooked, or dried, in an endless number of recipes. You can even eat the seeds! And as microgreens, they’re ready in a matter of days.
Maybe part of why I love them is because they appeal to my lazy gardening tendencies. You can practically do nothing more than scatter the seeds over some loose soil, and you’re good to go.
A few weeks later, you’re dining on your delectable harvest.
Of course, there’s a little more to it than that if you want to ensure the best results.
Coming up in this guide, we’re going to go over the following to help you make the most of these mouthwatering vegetables:
What You’ll Learn
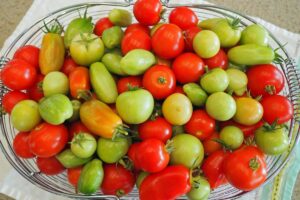
A good source of vitamin C, radishes also make good companion plants in the garden. And every part of the plant is edible!
Tender green tops add zing to any salad, and immature seed pods have a marvelous sharp taste that makes them a natural in soups and stir-fries. Even the flowers are tasty.
Let’s have a closer look at how to grow these fiery gems, the different types of radish, which other plants benefit from their company, storage tips, and a few unique serving suggestions.
Cultivation and History
Radishes (Raphanus sativus) belong to the Brassicaceae, or mustard family.
Also known as cruciferous vegetables, some Brassica relatives include arugula, cabbages, broccoli, cauliflower, kale, rapeseed (canola), kohlrabi, and turnips.
These biennials often grown as annuals likely originated in Southeast Asia, where they were among the earliest cultivated crops.
You can still find wild radishes in Southeast Asia and China today, so botanists generally agree that’s where they originated.
Ancient Egyptians and Romans devoured these easygoing veggies, and they were one of the first European vegetables to be introduced to the Americas.
Spanish explorers brought them along in the mid-1500s, and people were quick to incorporate them into their potagers.
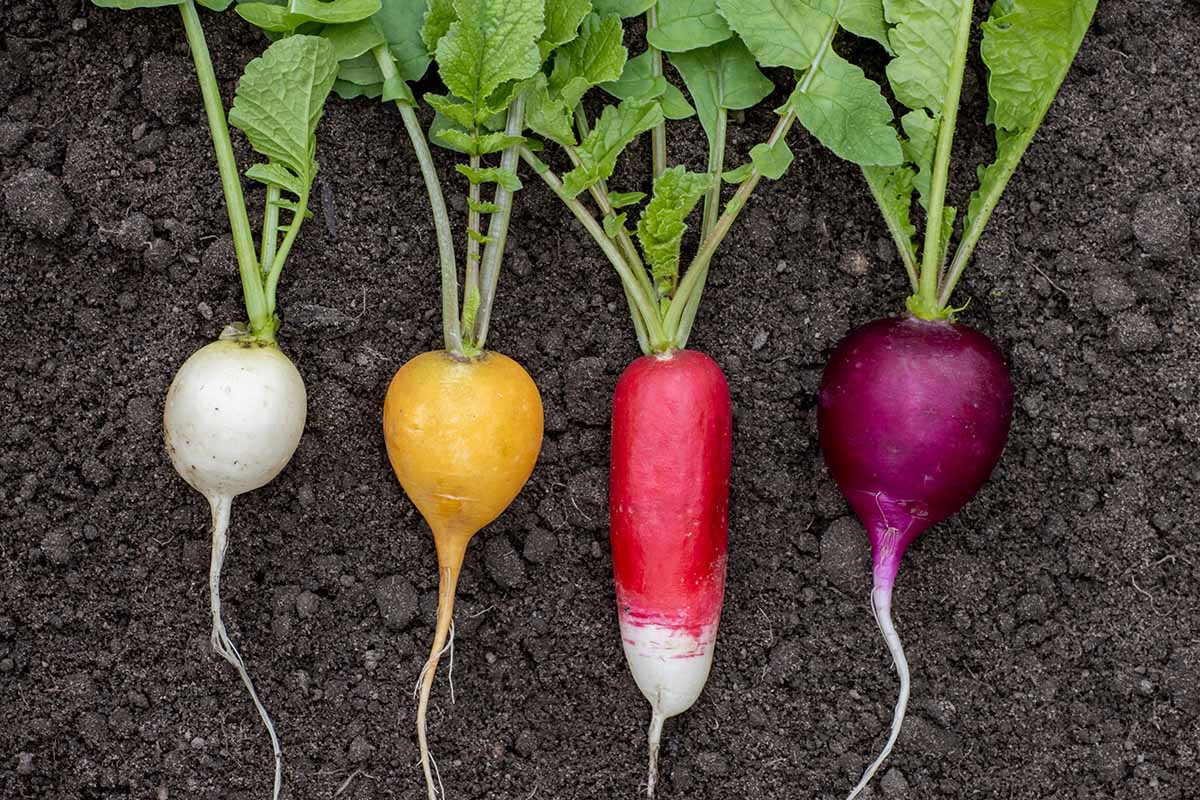
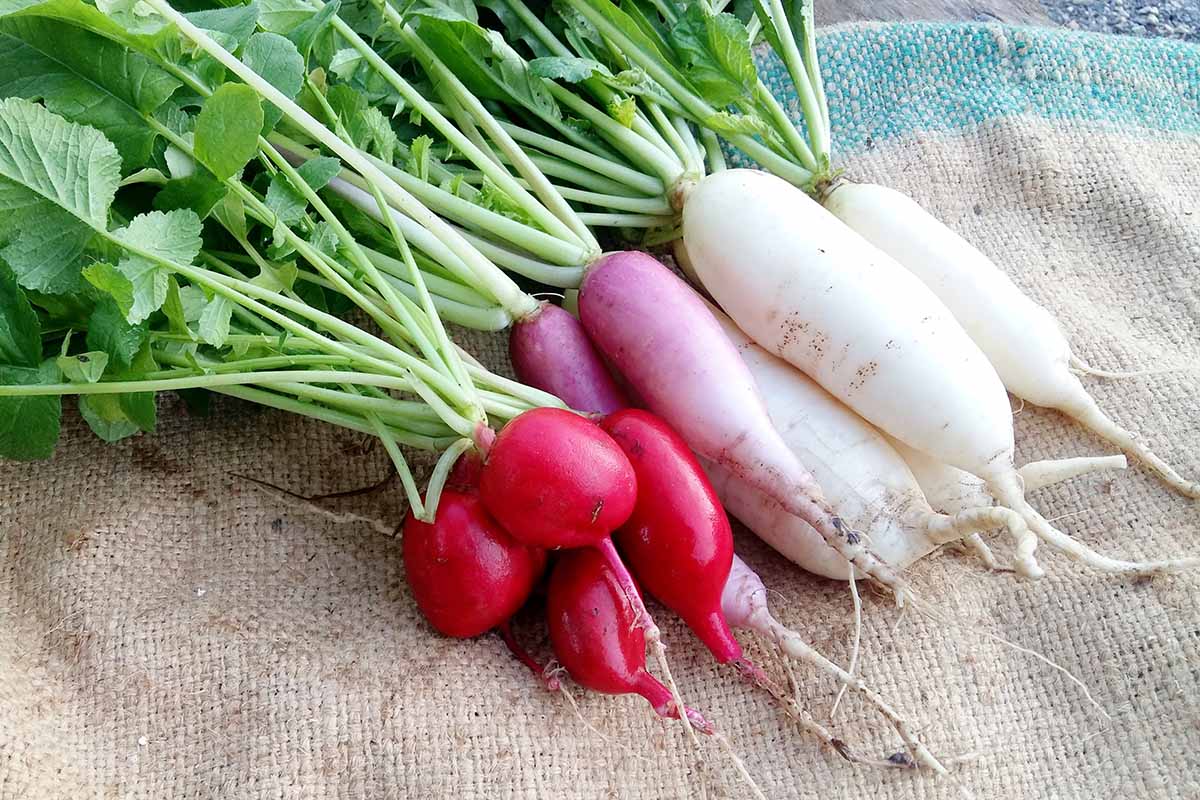
While many people probably picture small red garden varieties (R. sativus var. radicula) like the one-inch ‘Cherry Belle’ cultivar, these root vegetables also come in lengths up to 24 inches, as with daikons (R. sativus var. longipinnatus), and in colors including pink, mauve, white, yellow, green, and even black.
They can grow quite heavy, too. The round ‘Sakurajima’ daikon is capable of reaching up to 100 pounds.
Radishes can be grown as annuals in USDA Hardiness Zones 2 to 11.
Propagation
The seeds of R. sativus remain viable for about four years in proper storage conditions. And they germinate quickly, within five to seven days.
Before you plant, loosen up the soil and work in some well-rotted compost to about six inches deep. Amend the soil even deeper for larger types like daikons.

The key to excellent radishes is having loose, rich, well-draining, but water-retentive soil. That’s why growing them in containers or raised beds is such an effective method for these plants.
For spring varieties, seeds must be sown in cool weather in the 40°F range, with the best germination rates occurring in the range of 55 to 70°F.
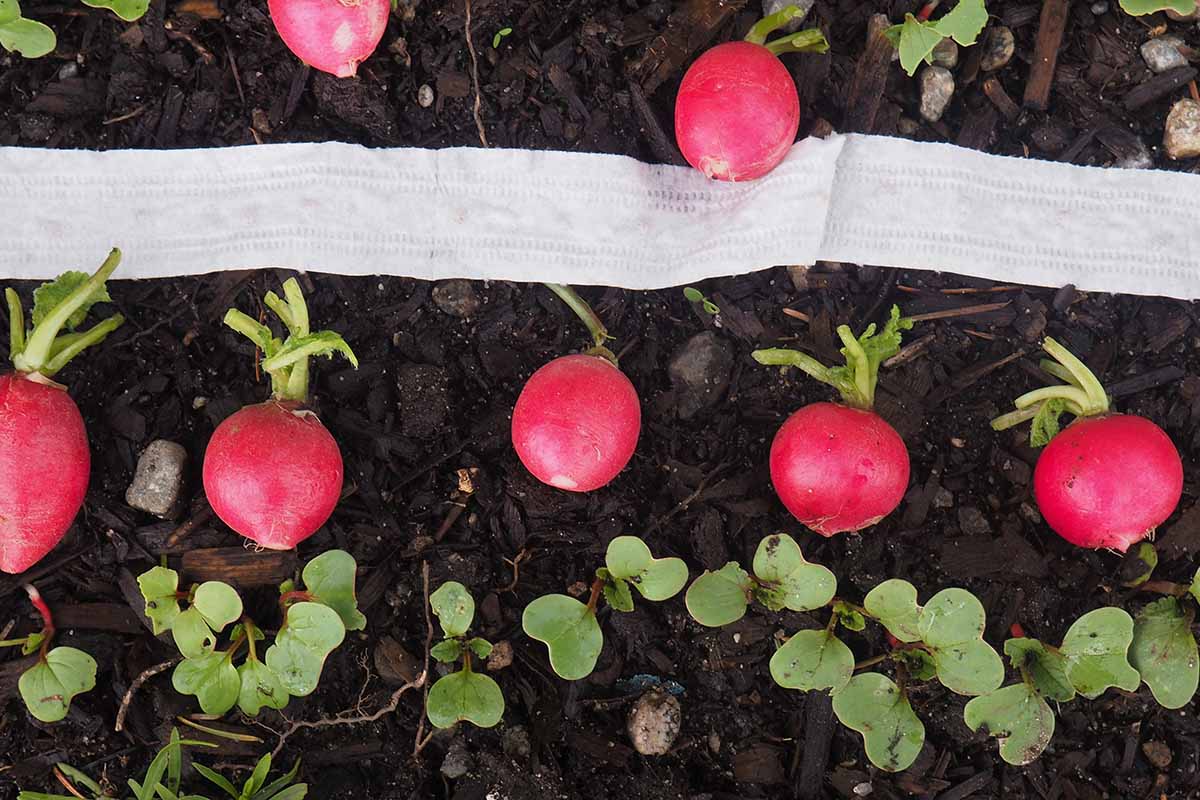
They can be planted as soon as the soil is workable. Sow about quarter-inch deep and two inches apart for most cultivars.
Of course, larger varieties will need to be spaced further apart. Check the seed packet for guidance.
To ensure a steady supply of fresh spring radishes, sow a row every week while the temperatures remain spring-like.
Sow again in late summer to early fall, when the heat is waning. Seeds should be set about a quarter-inch deep.
Summer varieties have essentially the same requirements for spacing, and can be sown until August in most areas.
These varieties can generally tolerate temperatures between 65 and 85°F. If you plant these in cooler temperatures, they will be slow to mature.
Due to their typically greater size, winter varieties naturally require more space.
Prepare the soil as you would for spring and summer varieties, but plant seeds three-quarters of an inch deep with six inches between the seeds, depending on the cultivar.
These can be planted starting in September and throughout the winter, depending on your climate. They prefer temperatures under 55°F and can tolerate temperatures well into the low 40s, and even a brief freeze.
Regardless of the type, they’ll do best if they’re not sown too closely together, and in a sunny location. Too much shade will result in plenty of leafy growth but roots will be skimpy.
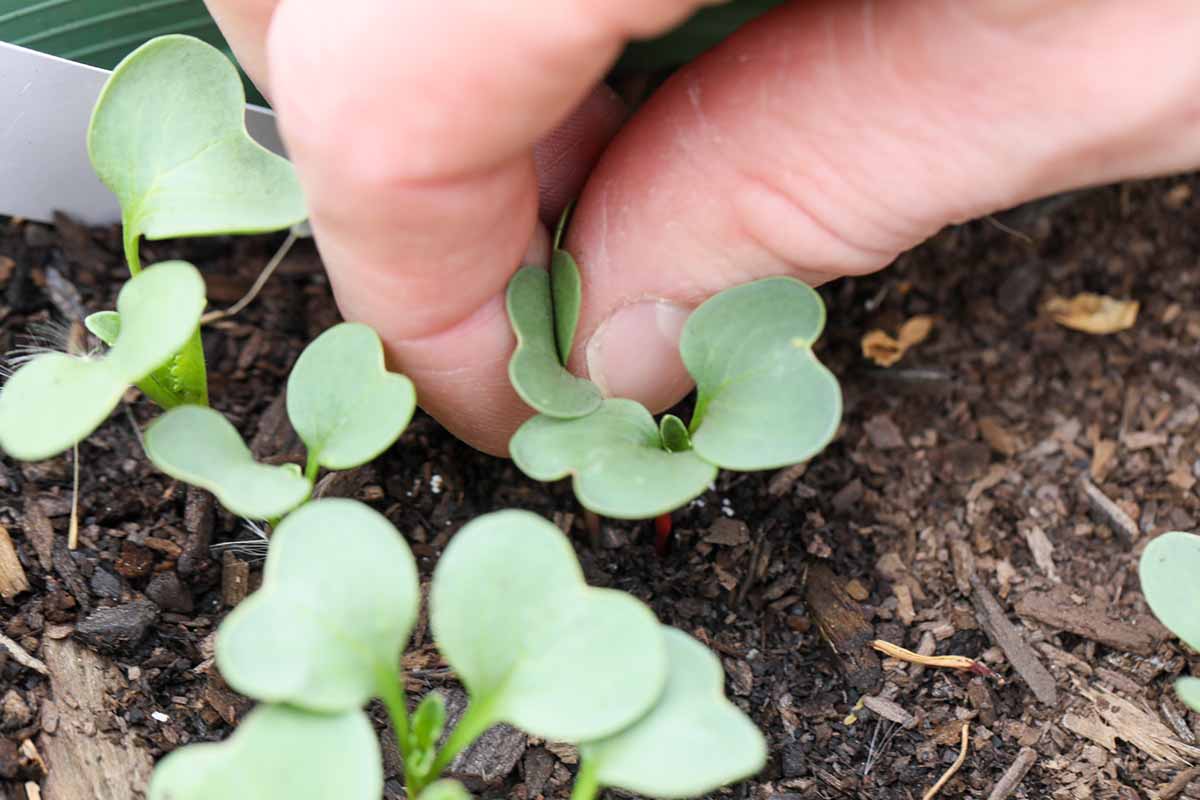
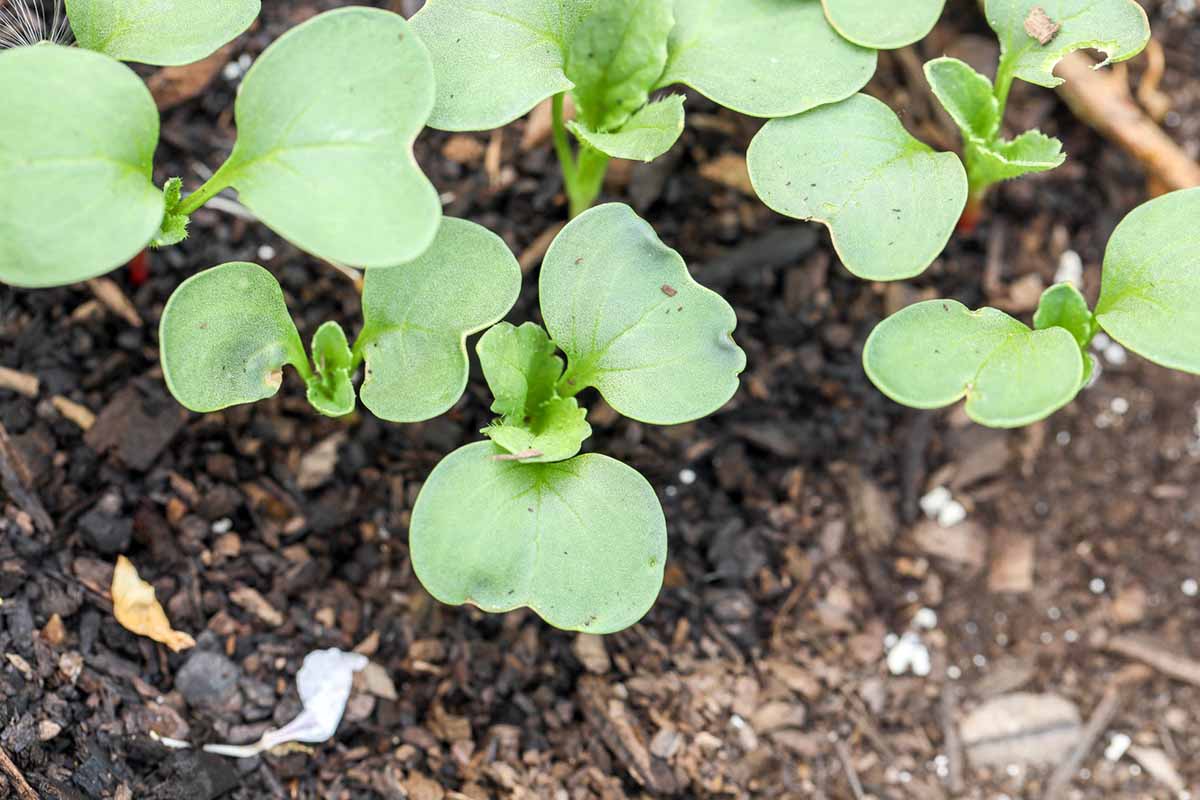
You can also sprinkle the seeds on the soil and lightly cover. Just be sure to thin the seedlings once they germinate and develop one set of leaves. Seedlings first develop a pair of B-shaped cotyledons followed by true leaves.
Seeds can also be started indoors a few weeks prior to when you intend to plant them outside.
It’s best to transplant them when young to avoid disturbing the taproot. You can also start these in compostable, biodegradable seed-starting containers, like those made by Cow Pots.
I like these better than peat pots because they’re made out of a renewable resource – cow manure – and they use up what would normally be a waste product.
Use a number three seed starting tray, with one seed planted per cell.
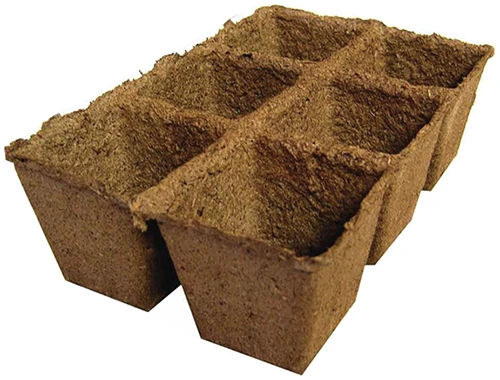
If you’d like to pick up some of these, six-cell trays in quantities of three, 50, or 120 are available at Arbico Organics.
Whatever container you decide to use, it should be filled with water-retentive potting soil.
Place the containers in an area where they will receive direct sunlight for at least six hours per day, or you can place seeds under supplemental lighting. Read more about grow lights in our guide.
Remember, radishes like cool conditions, so don’t use a seed heating mat.
Harden the seedlings off for a week before you transplant them outdoors. This can be done at any point after the seedlings have developed at least two true leaves.
Hardening off entails placing the trays outside for an hour in a protected area with direct sun and then bringing the seedlings back indoors.
The next day, bring the seedlings back outside and leave them outdoors for two hours. Each day, add an hour until a week has passed. Now the seedlings are ready for planting in their permanent spot.
To transplant, make a hole the size of the cell and gently separate it from the other cells using a pair of scissors. Place the cell in the hole and water gently so as not to disturb the seedling. Keep the soil moist.
If you used non-biodegradable pots, gently remove the seedlings from the pots, retaining as much soil as possible, and place them in the holes. Firm the soil up around each seedling.
The exception to all this is if you decide to grow your radishes as microgreens rather than for the roots.
To grow microgreens, broadcast the seeds over the soil in a seed-starting tray or microgreen pot.
Water, well, and place the tray in an area where it will receive direct sunlight for at least six hours a day.
How to Grow
This taproot crop is a medium to heavy feeder and likes soil that’s loose, cool, and fertile. Aim for a pH between 6.0 and 7.0.
Moisture is extremely important for healthy – and tasty! – plants.
Drought conditions will cause the roots to become woody and hard, and may lead to cracking. Don’t allow more than the top half-inch of soil to dry out.
Apply an all-purpose fertilizer, such as 10-10-10 NPK or 16-16-8 NPK, using approximately one cup for every 10 feet of row.
For those unfamiliar with plant nutrients and fertilizer ratios, the three numbers are always expressed in the same format – the first is nitrogen (N), followed by phosphorus (P), and then potassium (K).
This should be applied midway through the growing time frame. For instance, if the cultivar you’ve selected takes 40 days to mature, apply fertilizer at 20 days.
A winter crop will also benefit from a side dressing of well-rotted compost when the plants have developed a few sets of leaves.
Side dress the growing plants with the fertilizer or compost. Remember, we want to take care not to disturb the soil and damage the roots, so compost or manure should only be worked into the soil before planting.
Avoid fertilizers with a high ratio of nitrogen because these can cause root branching and excessive leaf growth at the expense of root growth.
Like marigolds, radishes are a good all-purpose aid in repelling many types of insects in the garden.
They make a beneficial companion when planted close to beans, beets, chervil, cucumbers, lettuce, mint, parsnips, peas, spinach, squash, and tomatoes.
They’re sometimes used as a trap plant with onions to attract root maggots. Radishes used in this way should be disposed of when the onions are harvested.
Avoid planting near potatoes or hyssop as well as other brassicas because they can share pests and diseases.
Growing Tips
- Soil should be loose, rich, and well-draining with a pH of 6.0 to 7.0.
- Keep the soil moist. Drought causes cracked, split, or woody roots.
- Avoid high-nitrogen fertilizer.
Maintenance
Due to their quick growth rate, cultivation and weeding are not usually needed.
So long as you prepare the area well and make sure there are no existing weeds in place, weeds will hardly have a chance to take root.
Because the roots are growing right underneath the soil surface, deep hoeing often does more harm than good and should be avoided.
Having said that, we can’t just ignore weeds. During the growing season, weed carefully to avoid disturbing the roots. Try to pull the weeds at the base near the soil rather than digging them out.
With the unpredictable weather many regions are experiencing, you might want to keep some shade cloth on hand in case of an extremely hot day.
Spring or winter radishes should be covered with shade cloth when temperatures climb above 70°F.
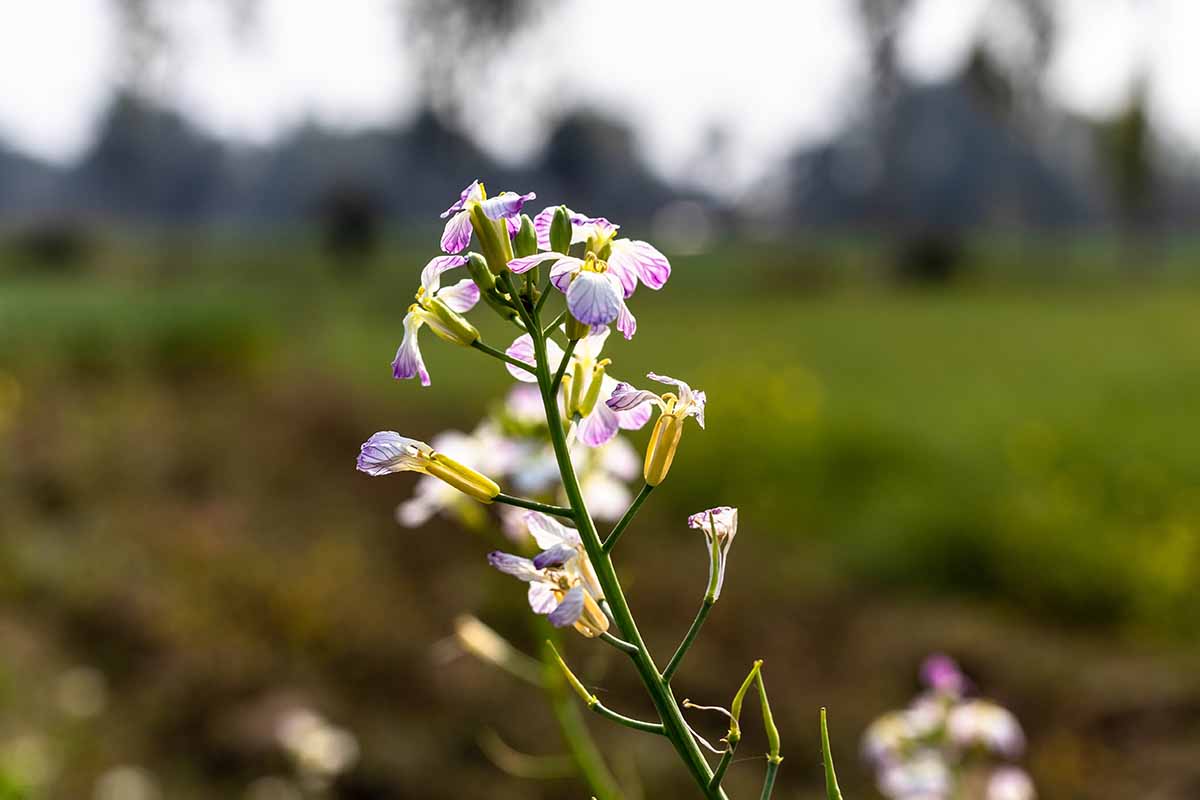
An unexpected heat wave can cause radishes to bolt. This is when a plant moves from regular growth to seed production rapidly.
When this happens, you’ll see flowers forming on the plant and the roots underground will rapidly turn hard and woody. If this takes place, harvest and use them right away.
Cultivars to Select
Radishes come in three types: early, midseason, and late.
Early radishes develop in the cool months of early spring and fall. They take up to 30 days to mature.
Midseason types can tolerate heat and may be grown from May through August, and they take up to 40 days to mature.
Late-season varietes, also known as winter radishes, can be sown throughout the winter in warm regions, and from late summer into autumn in temperate zones.
These are usually larger than midseason or early radishes, and they need up to 70 days to mature.
For a roundup of the best varieties, check out our guide. Here is a quick rundown of some of the best:
Black Spanish Round
A classic winter type that has been cultivated for hundreds of years, ‘Black Spanish Round,’ aka ‘Noir Gros Rond D’hiver,’ is the perfect choice for those who like a spicy radish.
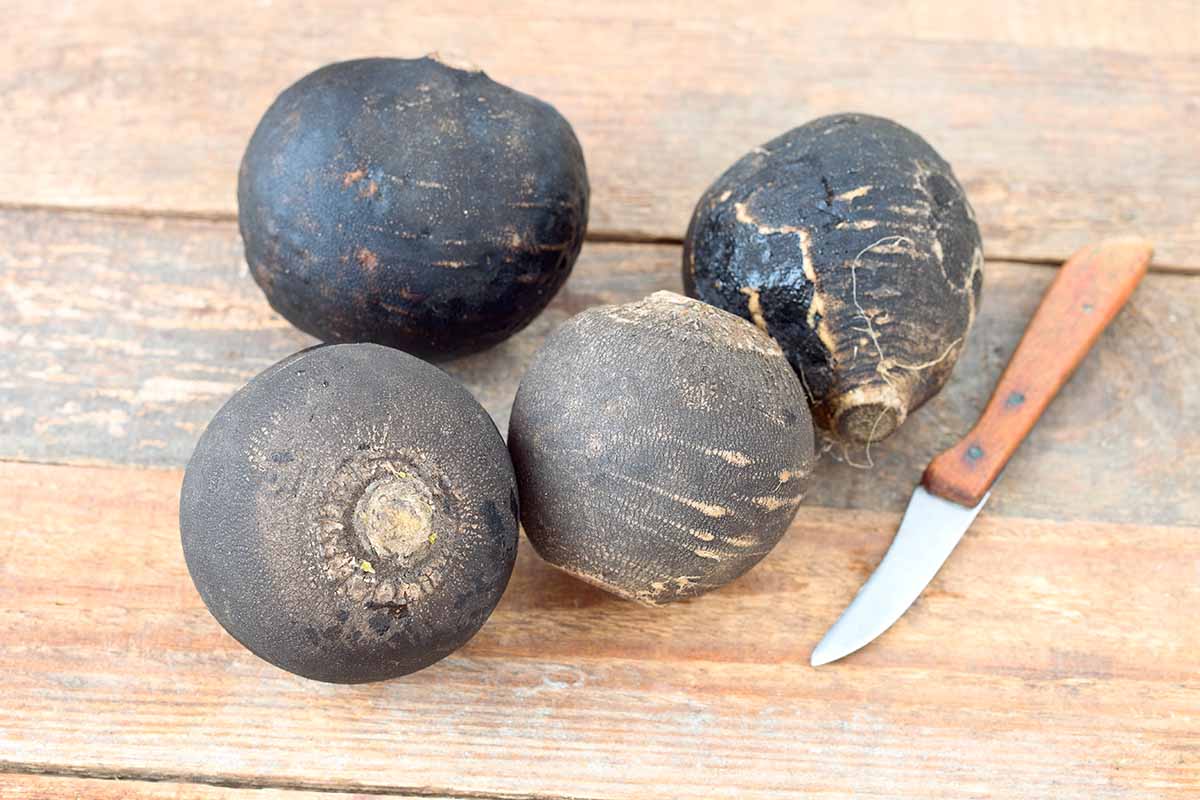
The deep black exterior of each root gives way to a snowy white interior that is crisp, hot, and pungent, and the perfectly round roots grow about five inches in diameter.
If you enjoy the classic French dish of sliced radishes and salted butter on bread, this is my go-to.
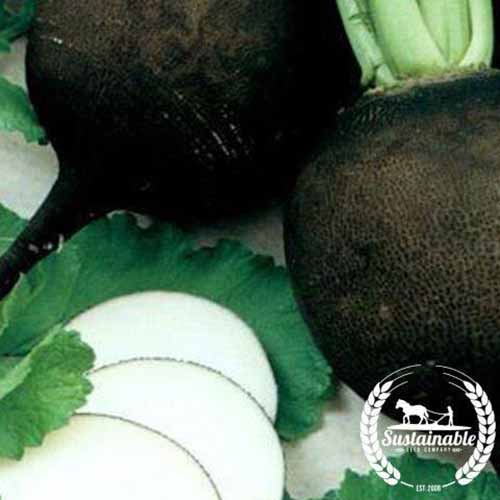
Ready to make things spicy? You should give ‘Black Spanish Round’ a try. Pick up five grams, one ounce, or four ounces of heirloom seeds at True Leaf Market.
Cheong Du
Most of us have had garden and daikon radishes before, but fewer people in North America have tried Korean radishes, R. raphanistrum subsp. sativus.
As the common name implies, these radishes originated in Korea, and they tend to be stout and heavy with a strong flavor.
While they look similar, a lot of people think Korean radishes taste better than daikon, with a stronger, more pungent flavor. But it all depends on what your preferences are. They’re also a bit heavier and more squat.
‘Cheong Du’ is a classic Korean option with three-pound roots that have green shoulders and the white skin typical of Korean types of radishes. They have a lovely crisp texture that works well in salads.
If you’d like to give it a try, grab this hybrid at True Leaf Market in two-gram, one-ounce, four-ounce, or one-pound packets of seed.
Cherry Belle
‘Cherry Belle’ is a classic heirloom option. The roots measure an inch in diameter, and they’re a bright cherry red on the outside with a snow-white interior.
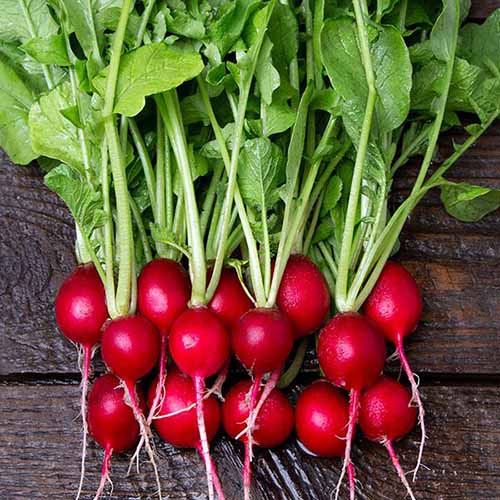
The roots mature in just 25 days, and they’re much less prone to pithiness than other radishes.
For a tasty salad ingredient, this one is the belle of the ball. Grab seed in various package sizes at High Mowing Organic Seeds.
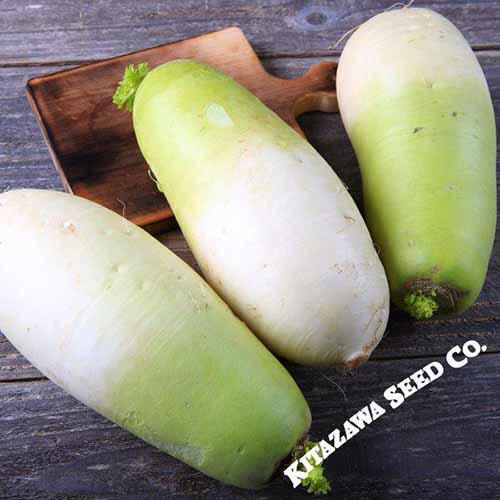
Miyashige
This snow-white and pale green daikon has 18-inch-long roots measuring three inches in diameter that are crisp and tender. Mature in 50 days, they can be stored for months in a cool, dark area.

‘Miyashige’ also makes an excellent cover crop because the roots can help break up dense earth. Just bear in mind that the roots won’t be as long or as smooth as those grown in loose ground.
And you don’t have to wait for the roots to mature to eat them. They’re a spicy, pungent treat when young, but they mellow in flavor as they age.
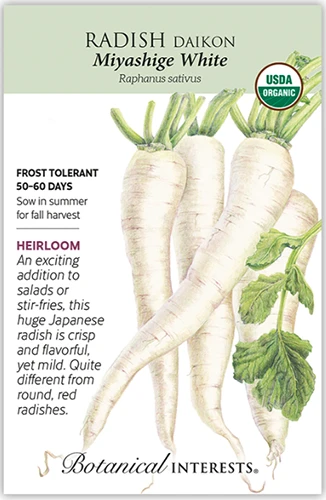
Sound like just the thing for your garden? Pick up a two-gram pack of seeds at Botanical Interests.
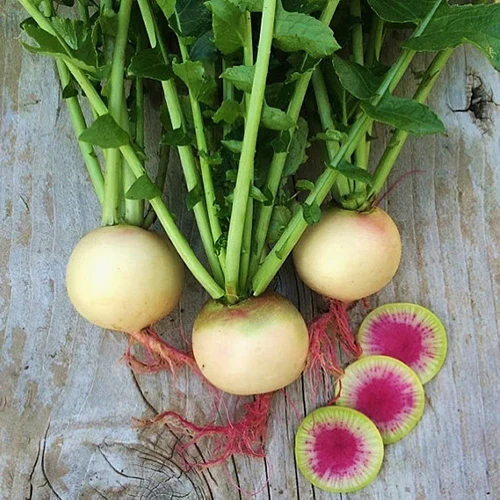
Watermelon
This radish is often sold as ‘Rosehart’ or ‘Red Meat,’ but I much prefer the name ‘Watermelon’ because it better reflects the colorful roots, which have a vibrant fuchsia interior and a pale green exterior.
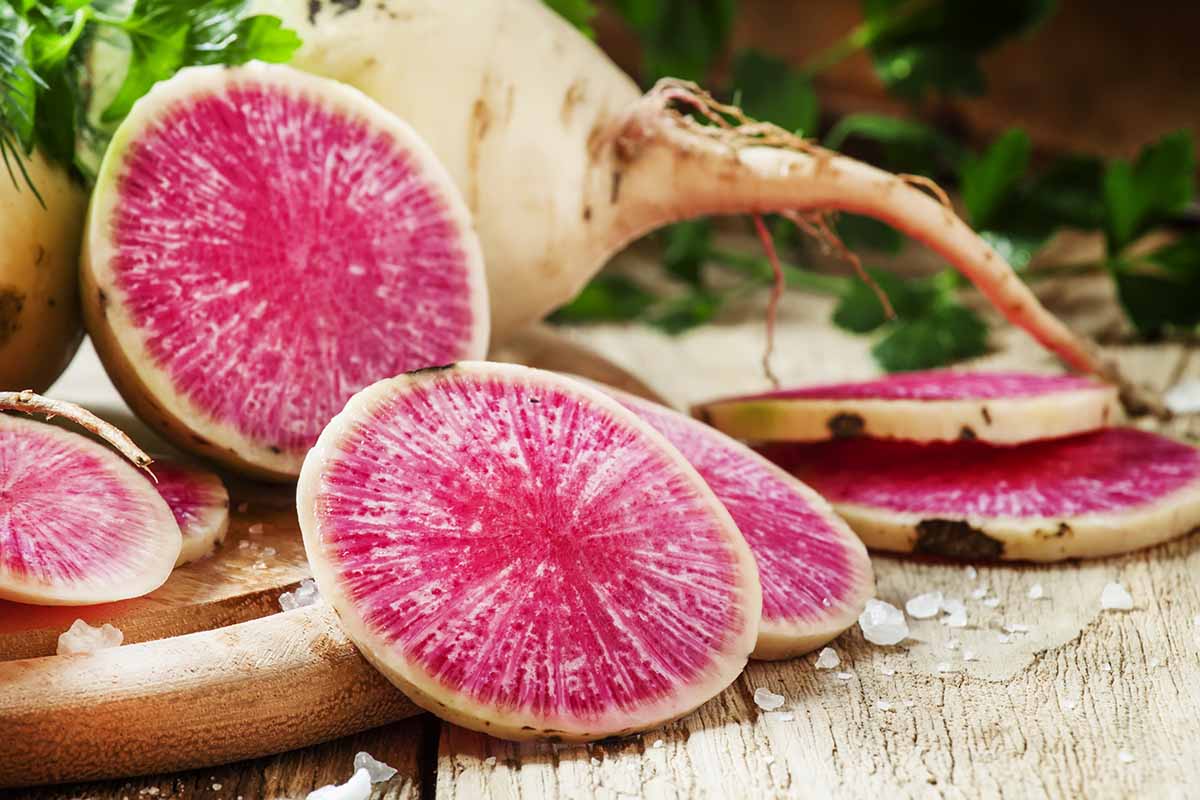
They make an eye-catching addition to whatever dish you use them in.
The four-inch-wide roots have a sweet, mild flavor and a crisp, juicy texture.
Eden Brothers has small packets, one-ounce, quarter-pound, and one-pound packages of seed available if you want some color for your plate.
Managing Pests and Disease
Because of their fast maturity rate, diseases caused by fungi and bacteria are rarely problematic. However, insects may infest your crop.
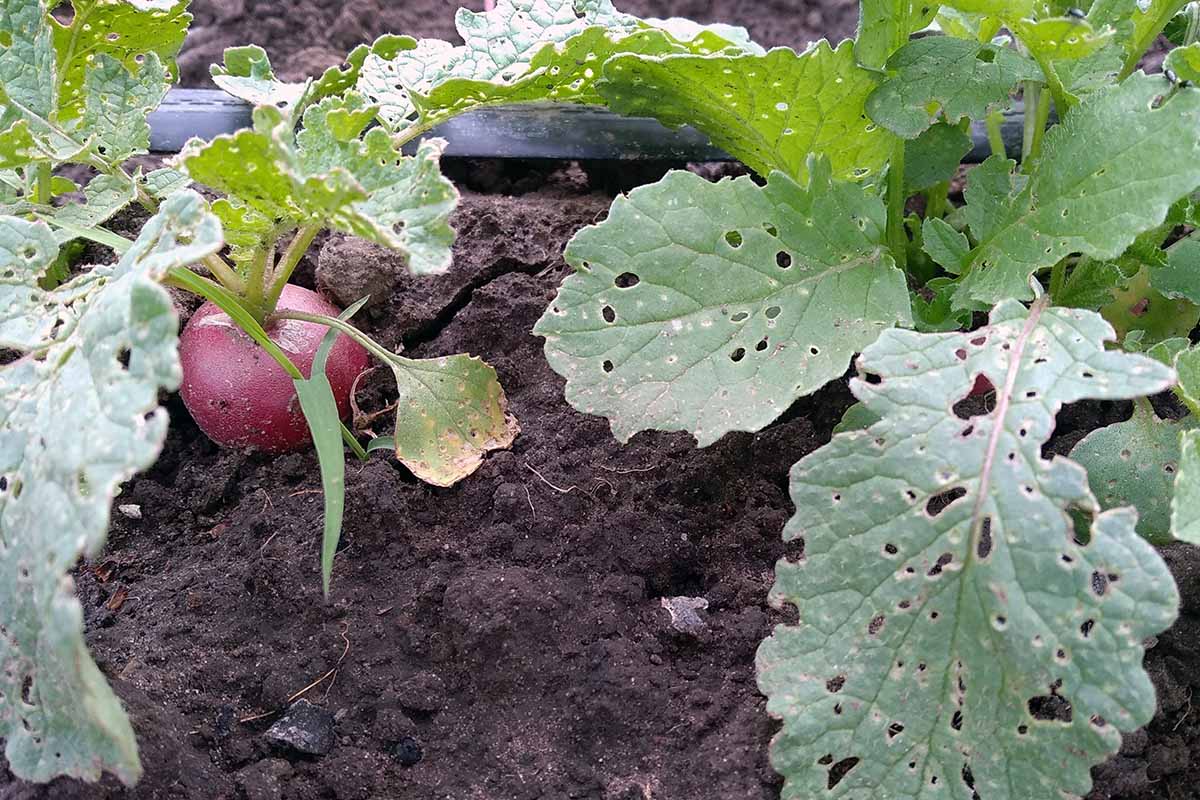
The most common issues are root maggots, which are larvae from insects in the Anthomyiidea family, and flea beetles, which are leaf-eating beetles in the Chrysomelidae family.
There are simple fixes available for both.
Practicing a three-year crop rotation to avoid planting radishes in areas where cabbages or other brassicas have previously been grown will help to minimize root maggot infestations.
And because flea beetles attack the leaves, a floating row cover will prevent damage from these pests.
The only disease you’ll really need to watch for is damping off. In radishes, damping off is caused by fungi in the Rhizoctonia genus.
It causes water-soaked lesions at the base of the stems and the eventual collapse of young seedlings.
Since damping off is a death sentence for seedlings, the best offense is a good defense. Make sure you’re always using clean soil and containers, as well as sanitizing your tools.
Keep seedlings healthy, and don’t overcrowd them as they’re growing. Always water at the soil level and not on the foliage.
Harvesting and Storage
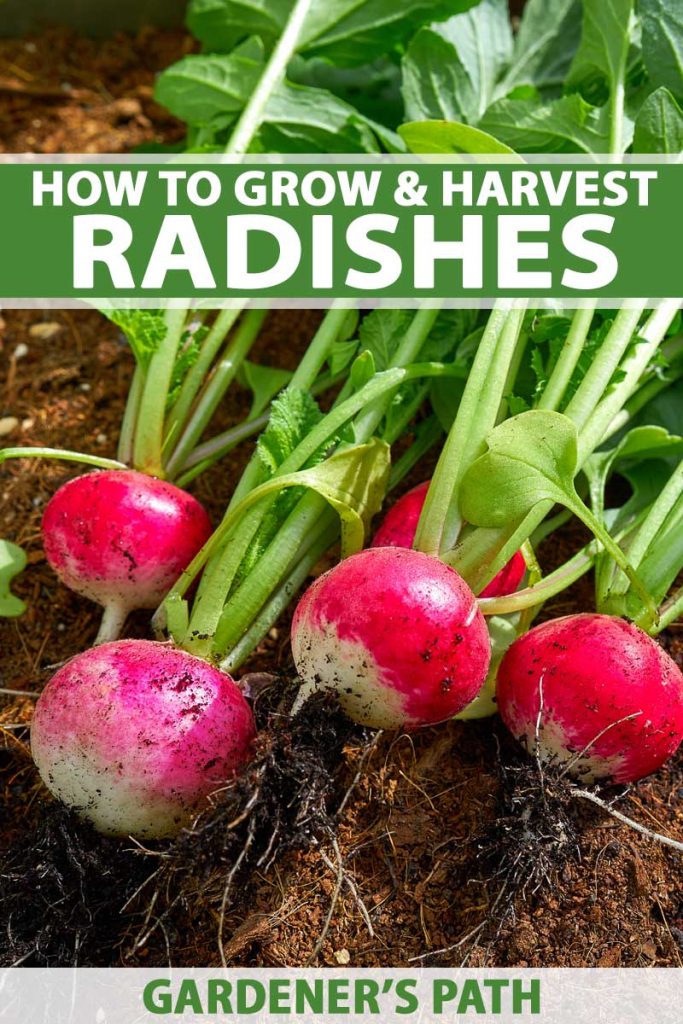
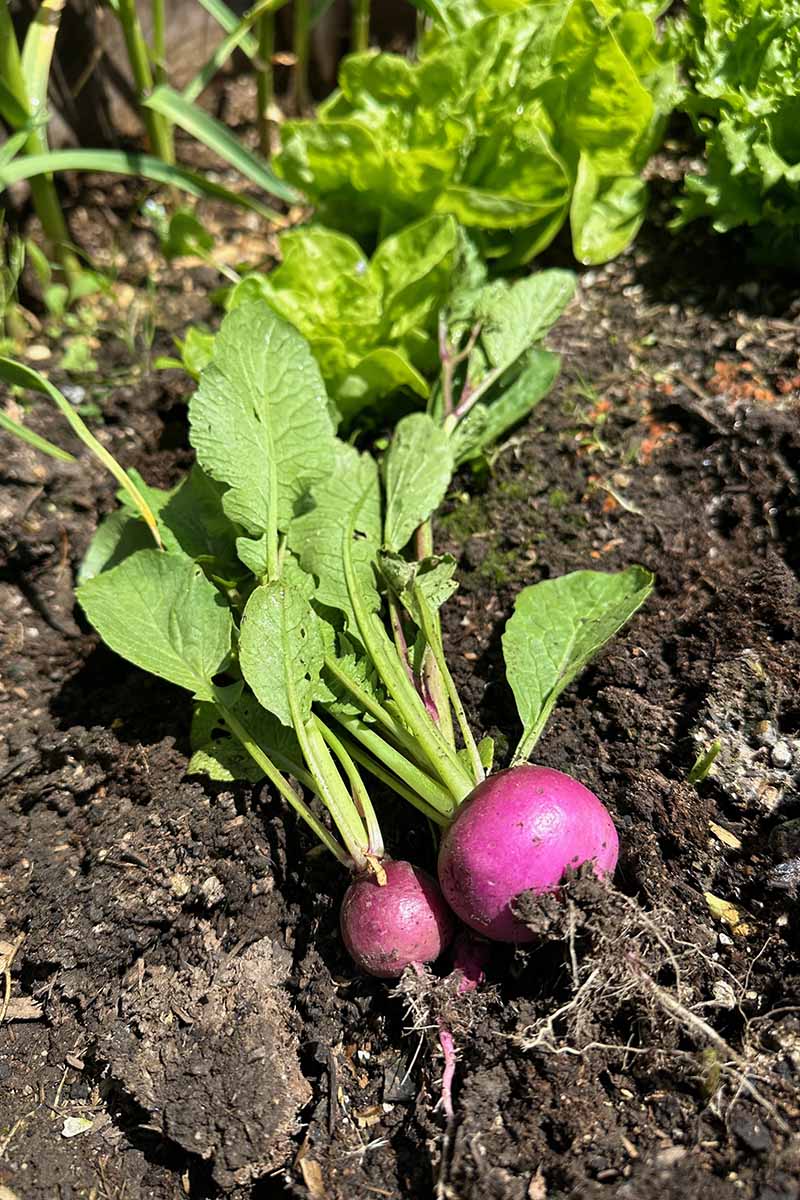
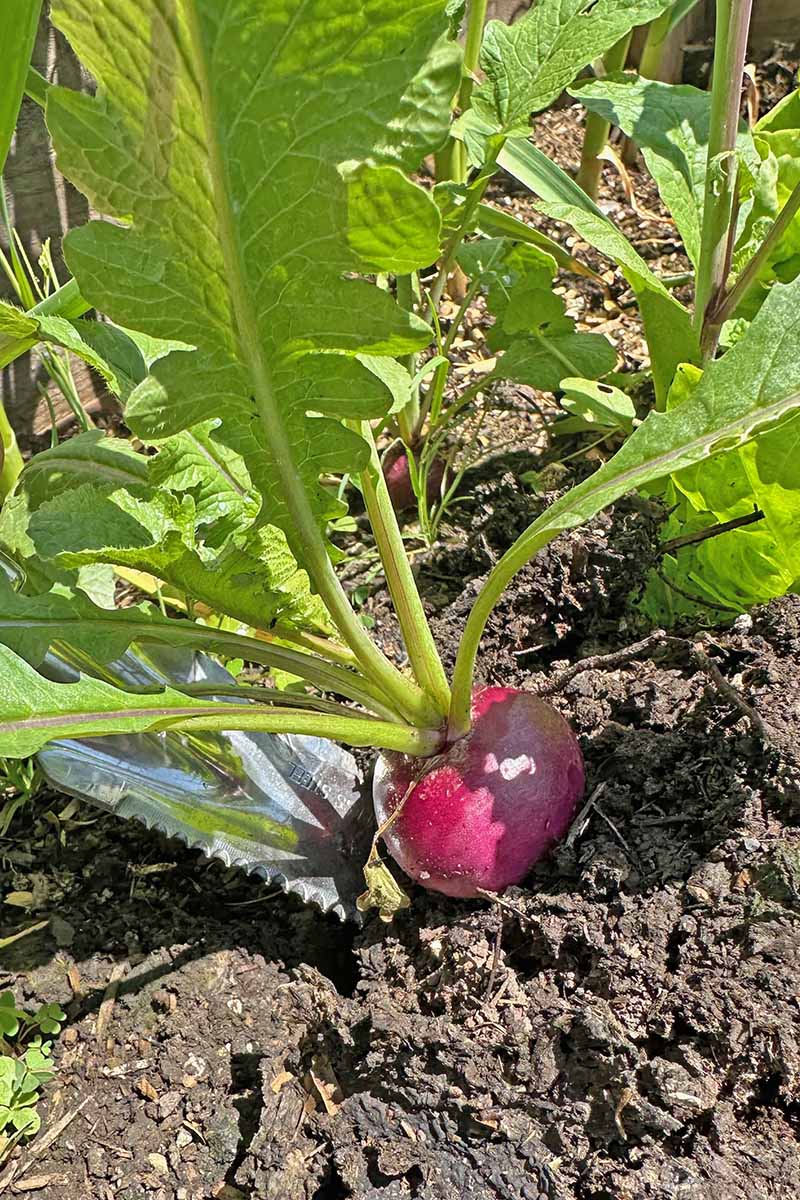
It’s important to harvest radishes before the roots turn woody and bitter.
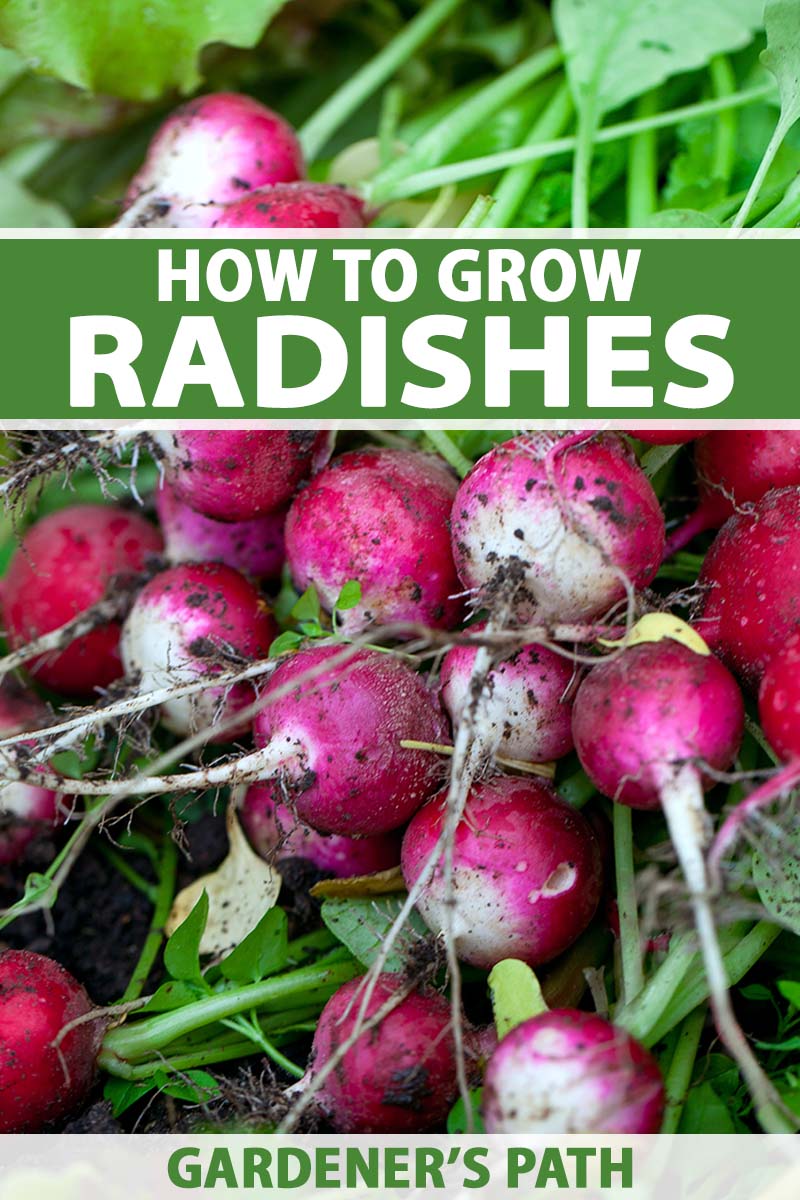
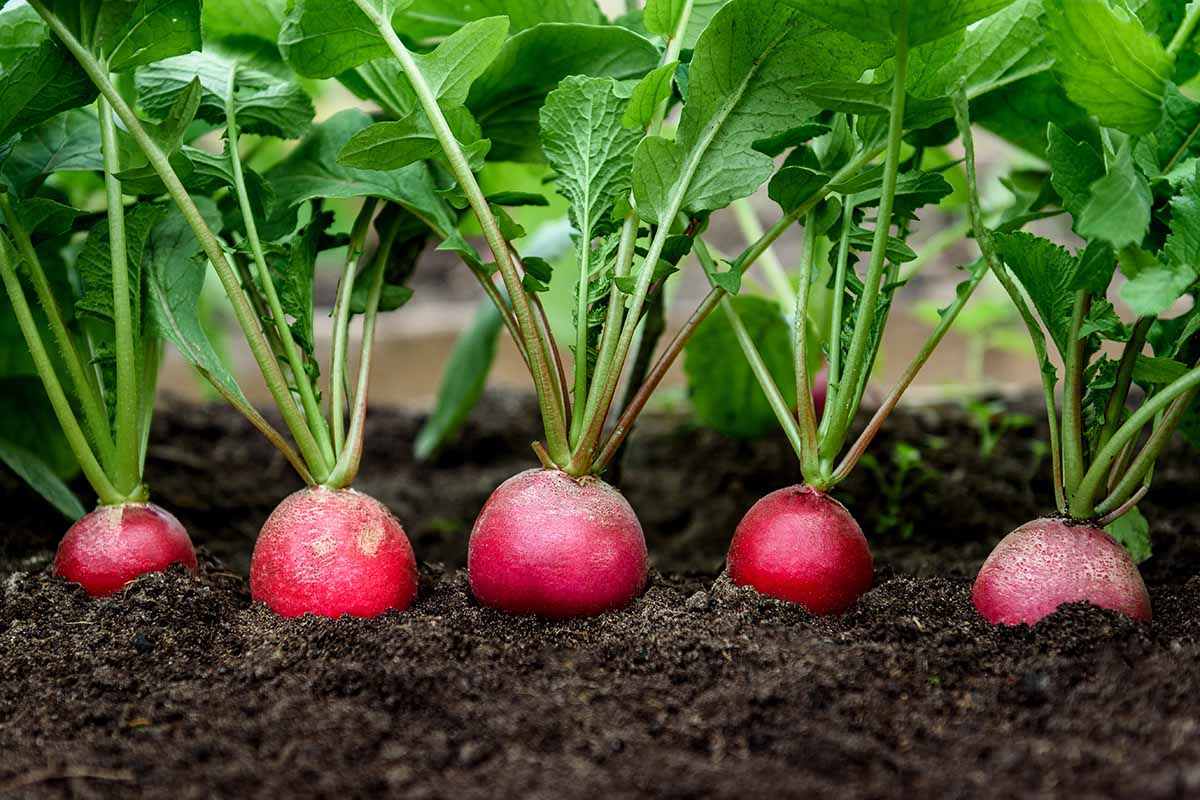
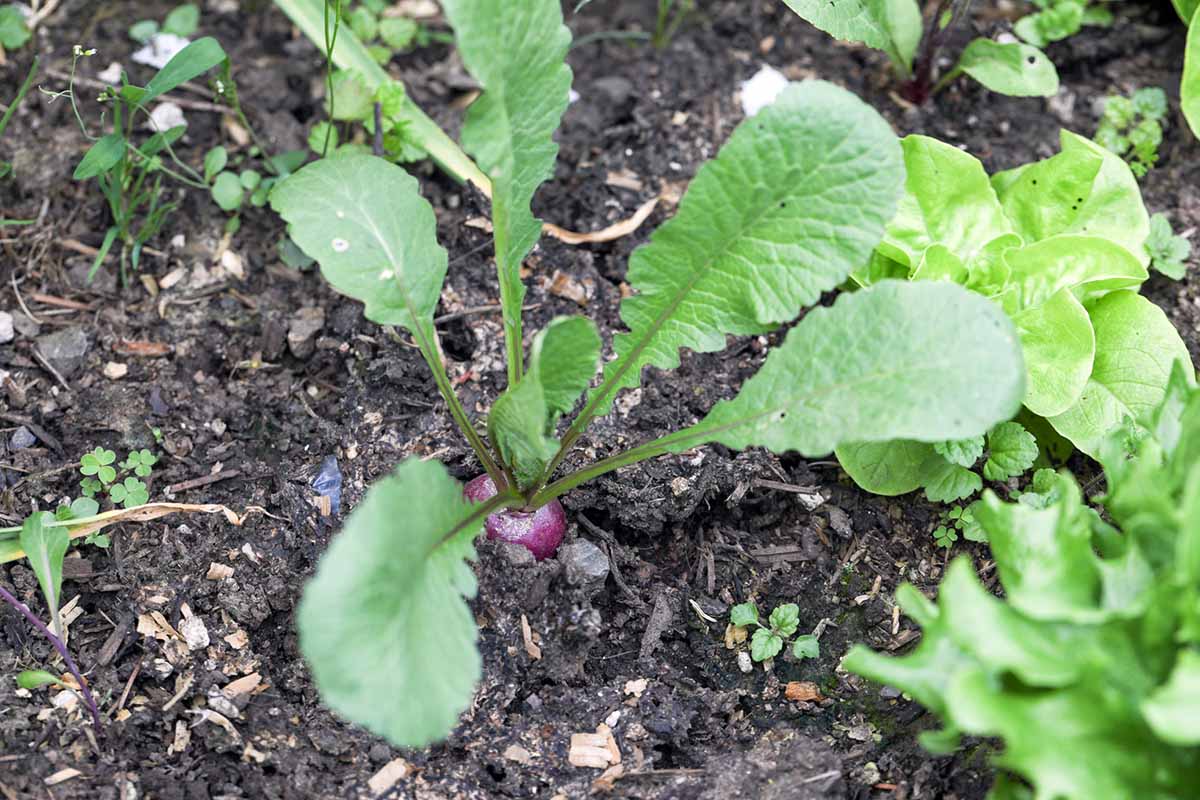
You can usually just go by the number of days to maturity listed on the seed packet. Once you see shoulders popping out of the ground, it’s time to pull those roots.
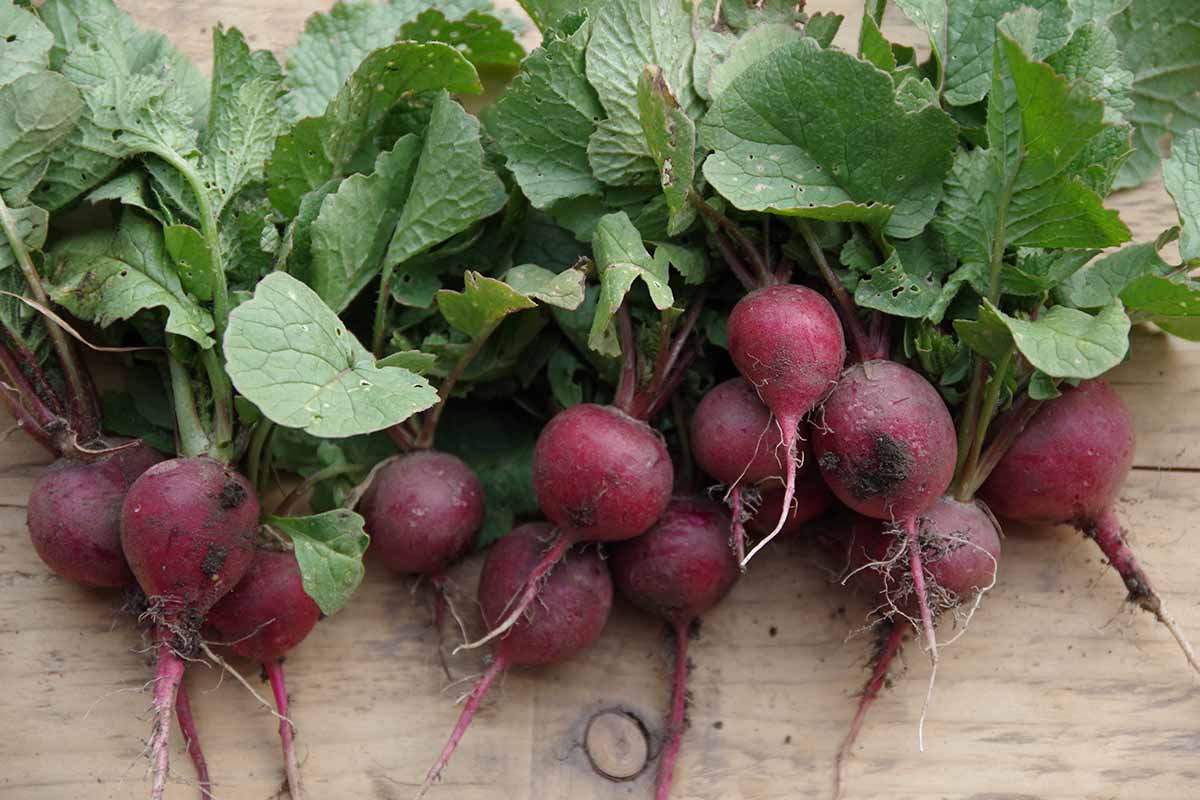
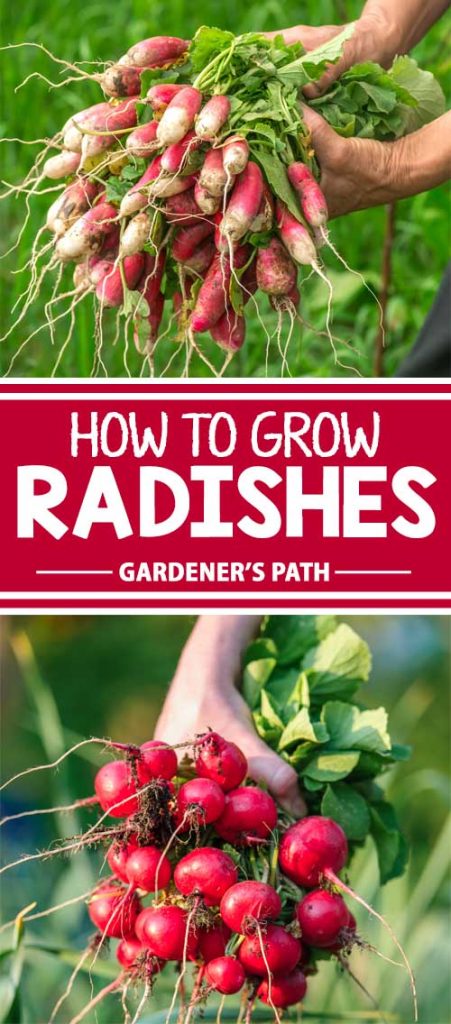
To harvest early roots, grab the leaves at the base and simply pull them from the ground when they’re the size you want, and brush off any excess soil.
You might want to use a garden fork to help you gently leverage up the plants. This is especially helpful for larger types like daikons.
Wash well just before use, and store leaves separately from the roots for longer storage in the refrigerator.
For spring and summer varieties, it’s important to harvest them pronto, as leaving them in the ground beyond the maturity date will result in rapid deterioration of their taste and texture.
Be sure to mark harvest time in your gardening journal, or set a reminder on your phone!
After picking, trim the tops, brush off any soil, and store in plastic bags or a covered dish in the fridge. If you do choose to wash them off right away, be sure to pat them dry to prevent rot.
The edible greens of spring and summer types will only keep in the refrigerator for about two to three days, but the roots will keep for five to seven days.
Winter varieties are a bit different, as they can be left in the ground until the first frost without any flavor deterioration. They’re also very cold-hardy and will keep in moist storage for several months. In the refrigerator, they can be stored for several weeks.
For long-term storage in root cellars, line a box with a thick layer of straw and put in the radishes, then layer with straw, a bit of soil, then more straw.
Or, after the first frost, you may choose to harvest and then ground trench them outdoors in the same manner.
Dig a trench several inches deeper than the roots are wide, add a thick bed of straw, the radishes, more straw, some soil, and a top layer of straw.
Preserving
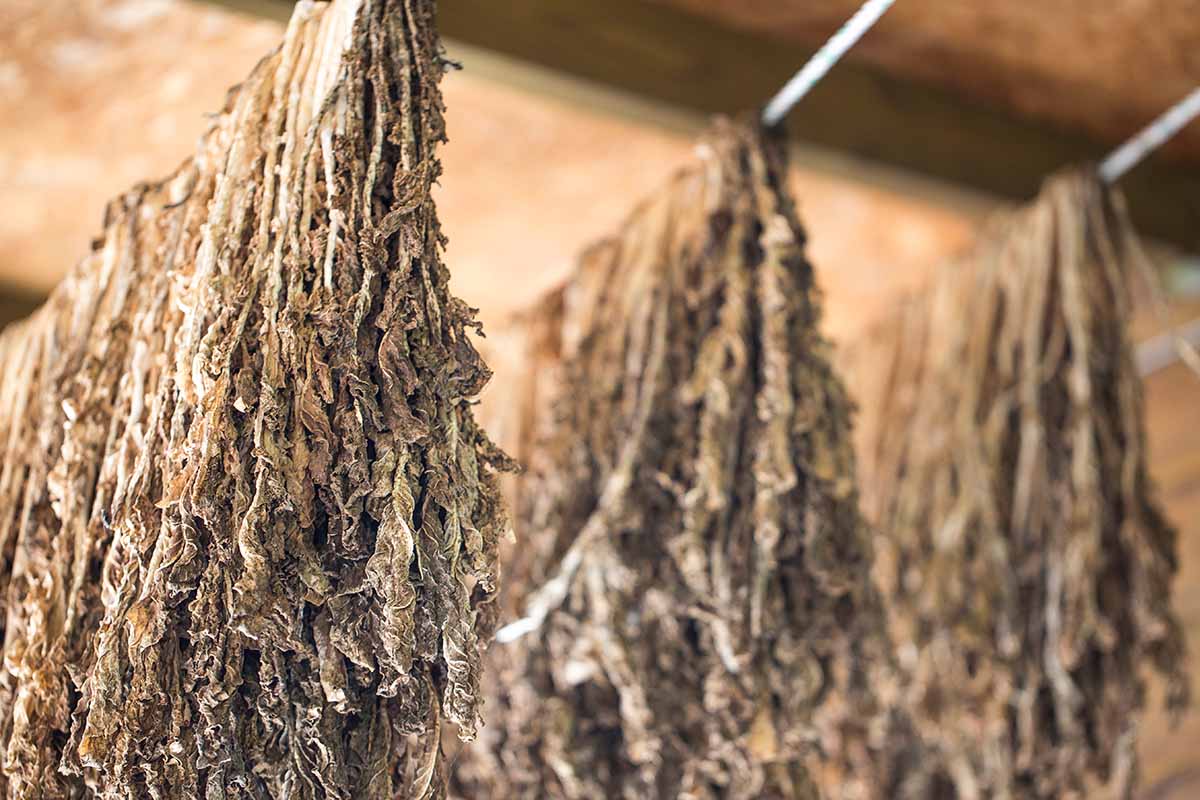
Dried radish greens, known as mucheong in Korea, are an incredibly popular dish in the region and are used to make siraegi.
If you’ve never tried them, now is your chance. Drying is a great way to save them when you have an overabundance of leaves.
Wash the leaves before drying. If you don’t have a dehydrator, arrange them in a single layer on a cookie sheet and place it in your oven on the lowest setting until the leaves are crisp, but not brown.
If you aren’t in a hurry, you can hang the washed leaves in bunches in a dry area with good air circulation. They will take up to a week to dry this way.
You can also dry the roots. To do this, trim off the greens and the root tip and thinly slice the radishes an eighth of an inch thick or into thin strips.
Place the strips or slices in a single layer on a baking sheet or in your dehydrator. Bake on the lowest setting in your oven until the radishes are crisp, but not burnt.
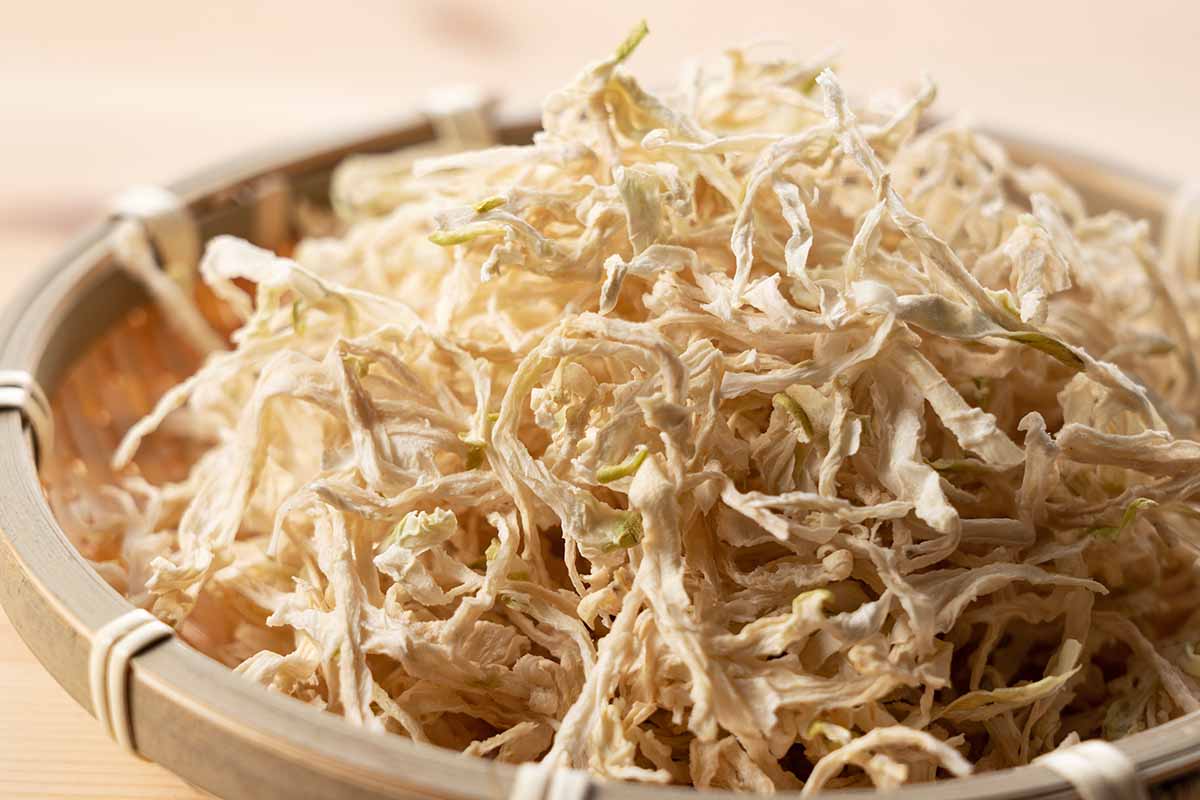
In Korea, dried radish strips are called mu-mallaengi and sundried daikon strips are called kiriboshi in Japan.
The strips are used to make a Korean dish known as mu-mallaengi muchim, which is a pungent, spicy salad that incorporates soy sauce, red chili powder, garlic, Korean peppers, and sesame oil. My mouth is watering just thinking about it.
Of course, you can always pickle radishes too. From quick-pickled roots in vinegar with sugar to the Korean pickled radish dish called chikin-mu, there are lots of options.
Recipes and Cooking Ideas
These peppery roots are familiar as a component of appetizers, salads, and tea sandwiches, but they can also be roasted, steamed, or sauteed.
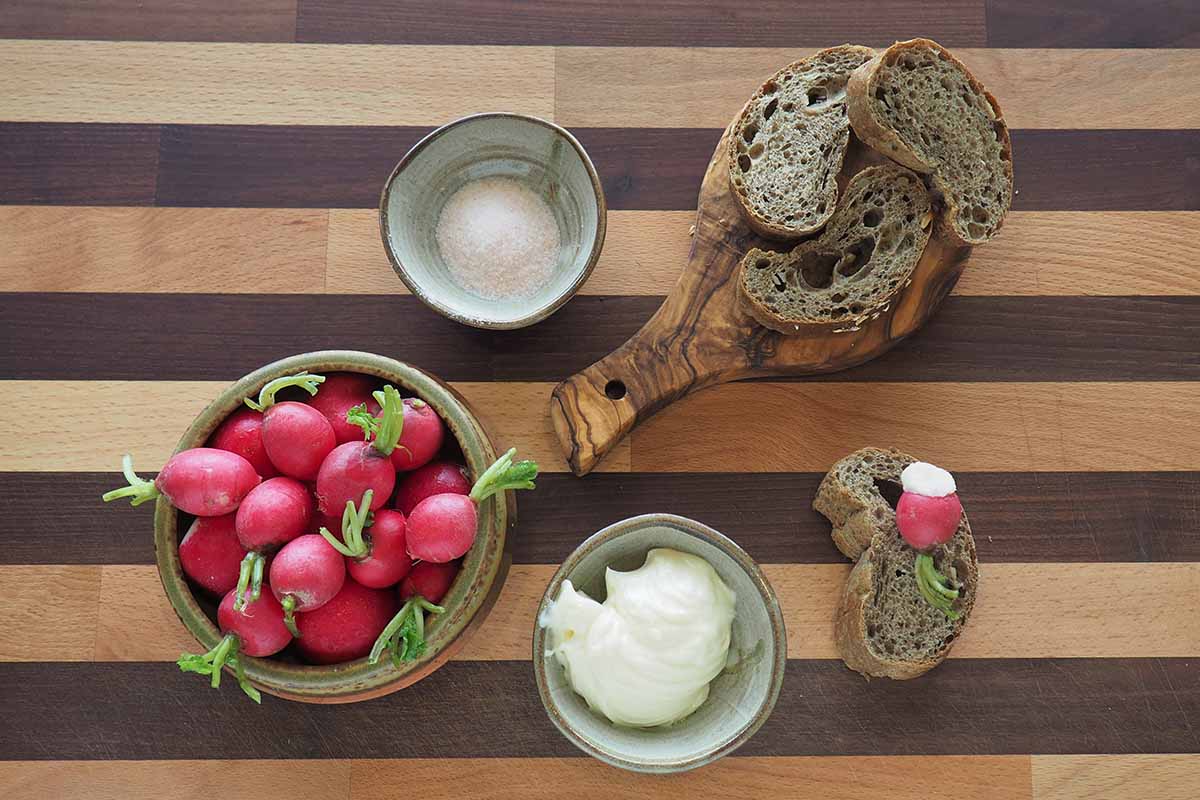
A most hospitable vegetable, in France, many restaurants serve radishes on a plate along with a pat of homemade butter, some sea salt, and a carafe of local wine to crunch on and sip while deciding what to order.
For brunch, rework a traditional Victorian breakfast at home. Serve sliced radishes with potted shrimp or crab, a bowl of watercress, and plenty of fresh bread and butter.
Don’t forget radishes at lunch! Try creating a delicious sandwich with thin slices of whole-grain pumpernickel, cream cheese, sliced avocado, and radish matchsticks.
Inviting company over? As canapes, serve paper-thin slices on toasted baguette rounds with an olive tapenade. Or wow everyone with a to-die-for radish panzenella. Get the recipe from our sister site, Foodal.
How about one for the vegetarians? For a meat-free entree, roast radishes with some chickpeas and serve in taco shells or on tortillas, with sliced avocado and tzatziki sauce.
Or how about these mushroom and sweet potato tacos dressed with radish slaw from our sister site, Foodal?
Sautee the greens with garlic or add to stir fry and serve over brown rice with spicy homemade radish kimchi.
Or, try fresh radish seed pods sauteed with garlic and thyme, and served over a bed of peppery greens – such as arugula, watercress, or your own spicy organic radish sprouts!
Quick Reference Growing Guide
| Plant Type: | Biennial root vegetable | Tolerance: | Freezing temperatures |
| Native To: | China, Southeast Asia | Maintenance: | Low |
| Hardiness (USDA Zone): | 2-11 | Soil Type: | Loose, rich |
| Season: | Spring, fall, winter | Soil pH: | 6.0-7.0 |
| Exposure: | Full sun | Soil Drainage: | Well-draining |
| Time to Maturity: | Up to 70 days | Attracts: | Pollinators |
| Spacing: | At least 2 inches, depending on the variety | Companion Planting: | Beans, beets, chervil, cucumbers, lettuce, mint, parsnips, peas, spinach, squash, and tomatoes |
| Planting Depth: | 1/4-3/4 inch (seeds) | Avoid Planting With: | Brassicas, hyssop, potatoes |
| Height: | Up to 12 inches | Order: | Brassicales |
| Spread: | Up to 9 inches | Family: | Brassicaceae |
| Growth Rate: | Fast | Genus: | Raphanus |
| Water Needs: | Moderate | Species: | Sativus |
| Common Pests and Diseases: | Flea beetles, root maggots; damping off | Varieties: | Caudatus, longipinnatus, niger, radicula |
We Can’t Stop Raving About Radishes
Although the radish doesn’t get the same levels of adulation that some other veggies do, you’d be hard pressed to find another that’s as easy to grow – and entirely edible!
Remember to fertilize your soil well, plant early, and harvest as soon as your radishes are mature for the best flavor. Try a few different ways of serving them to fully appreciate their versatility, and to utilize the whole plant.
Do you gardeners have any favorite varieties or growing tips? Let us know your thoughts in the comments below!
And if you’re looking for some other cool-weather vegetables to grow at home, you might be interested in the following guides: