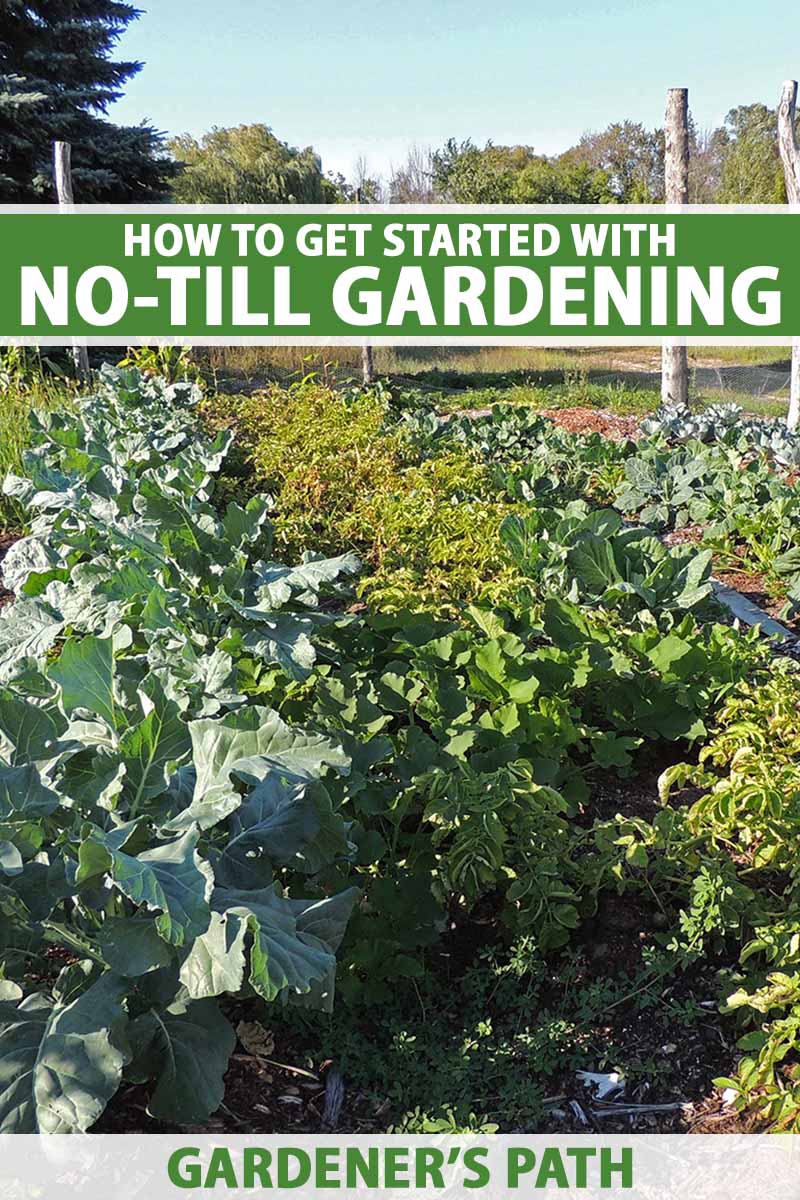
Looking for a gardening hack that saves time, labor, and improves the soil? Then it’s time to stop digging and start mulching with the no-till gardening system!
At first this might sound like a counterintuitive idea – leaving the grass and weeds in place with packed soil doesn’t seem like the smartest plan for a bumper harvest.
But the no-dig system is actually a clever method of building the soil through layering, adding a selection of natural materials that includes cellulose from paper, chopped leaves, compost, and grass clippings to increase the volume in a lasagna-like soil casserole.
We link to vendors to help you find relevant products. If you buy from one of our links, we may earn a commission.
As the layers build, they perform a variety of tasks like adding nutrients, improving structure and tilth, and supporting a healthy microbiome teeming with important insects and organisms in an intricate web of life.
It’s also an excellent system for holding moisture in the root zone of plants so you don’t have to water as often. And it’s top notch at killing weeds and keeping them at bay.
A close look at how nature works reveals no need for spades, tillers, or plows – everything is just piled onto the surface of the ground, creating fertile soil as leaves and plant debris decomposes.
Now, you still have to do the work of adding layers, but the process is spread out over the entire year, and it’s a much gentler prep method for both the garden and gardener!
Ready to learn about this productive garden method? Then let’s peel back the layers on no-till gardening.
Here’s what I’ll cover:
What You’ll Learn
Digging vs. Mulching
Conventional wisdom tells us that mechanically tilling a garden is a good way to aerate and lighten the soil structure while killing weeds at the same time.
But it also wreaks havoc on soil life, disturbing the local microbiome and killing a host of beneficial bacteria, fungi, and insects.
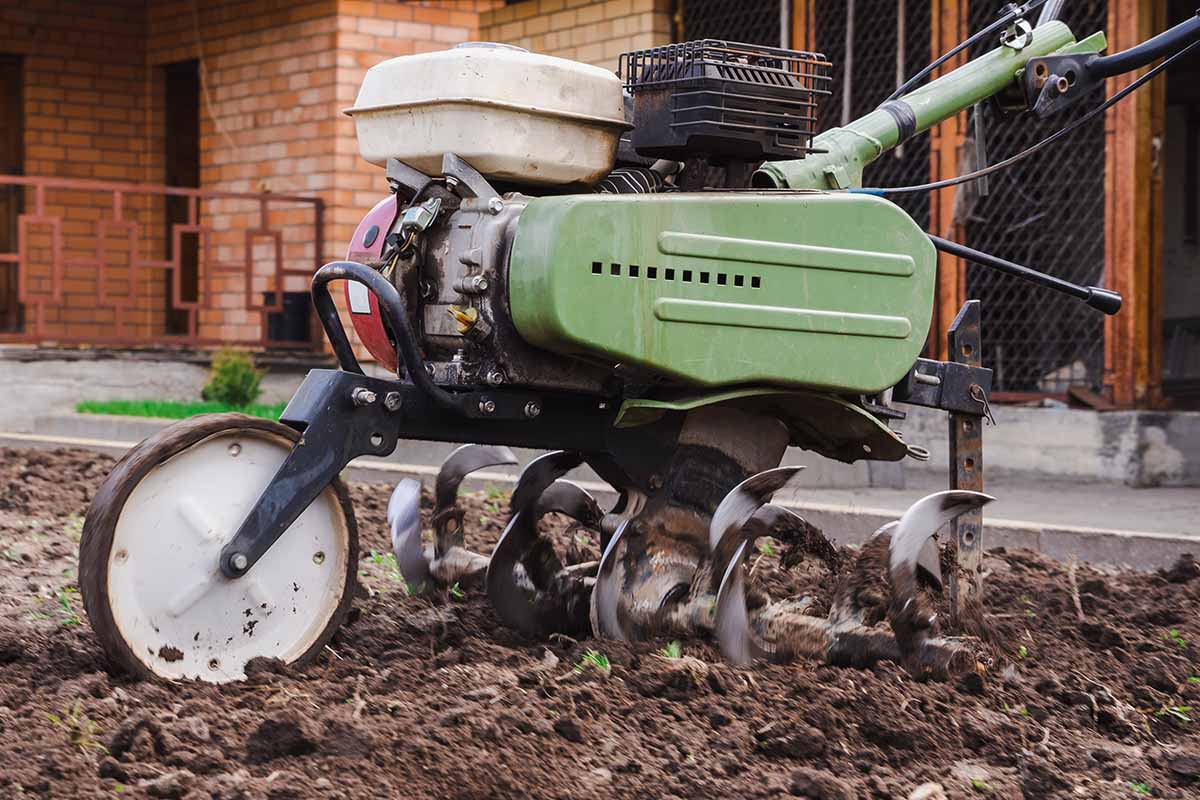
And those weeds you thought the tiller was killing? It turns out the blades are actually planting the seeds, so you can expect a nice crop of weeds along with your veggies!
Even manual digging or double digging is time consuming and labor intensive.
For healthier soil – and less backache – the no-till system, also called no-dig, layered, or lasagna gardening, delivers the benefits and results you’re looking for by eliminating digging altogether and replacing it with mulching.
If you’d like to learn more about creating healthy soil, our guide to understanding garden soil is full of useful information.
Let’s have a look at how it’s done the no-till way.
Prepare the Plot, Kill the Weeds
The no-dig or no-till system produces strong, healthy plants by not disturbing the soil and by adding successive layers of organic goodies that continuously replenish the soil as they break down.
This allows a host of beneficial bacteria, fungi, insects, nematodes, and other soil life to thrive, interacting in a symbiotic relationship with plant roots.
For the best results, begin preparing your garden beds in late fall or early winter to give the various layers time to decompose somewhat and be turned into soil by earthworms and microbes.

That being said, this method can still achieve good results when started in early spring.
Use an existing vegetable plot, a raised bed, or create a new bed by measuring out the corners and borders with stakes and string.
Using raised beds isn’t essential, but the sides do help to contain all the organic matter that you’re adding in. And they have many other benefits, including preventing backache! Find out more in the benefits of raised bed gardening.
To prevent soil compaction and provide for easy access, plan for furrows, mounds, or rows to be no wider than four feet, and include permanent paths between and around them.
Clean the bed surface of debris and stones and mow down any dead plants, grass, or weeds.
In no-dig systems, killing grass and weeds is a simple process that requires no harsh chemicals, only some newspaper and water.
First spray the grass or weeds with water – it helps to keep the papers in place.
Next, open up several pages of newsprint or paper grocery bags and lay them flat on the wet surface, a couple of sheets thick and overlapping the edges generously to block all light from the weeds.
Today, inks for newspapers, laser printers, and inkjet printers are mostly water or soy based, so you don’t have to worry about petrochemical or heavy metal toxins leaching into the soil. But avoid using the colored advertising inserts which have an ink-binding coating that significantly slows decomposition.
Be sure to cover all the grass or weeds with your paper then spray with a hose, thoroughly wetting the paper to prevent it from blowing away in the wind.
Or you can scatter a few shovelfuls of compost or soil over the paper to add some weight if needed.
Thick cardboard is excellent for killing unwanted plants and is a superb material for suppressing weeds in paths between beds, mounds, or rows.
But because it is so thick, cardboard can be impractical to use for growing areas as it can take up to five months to break down – newspaper is a better choice for garden beds because it decomposes much faster.
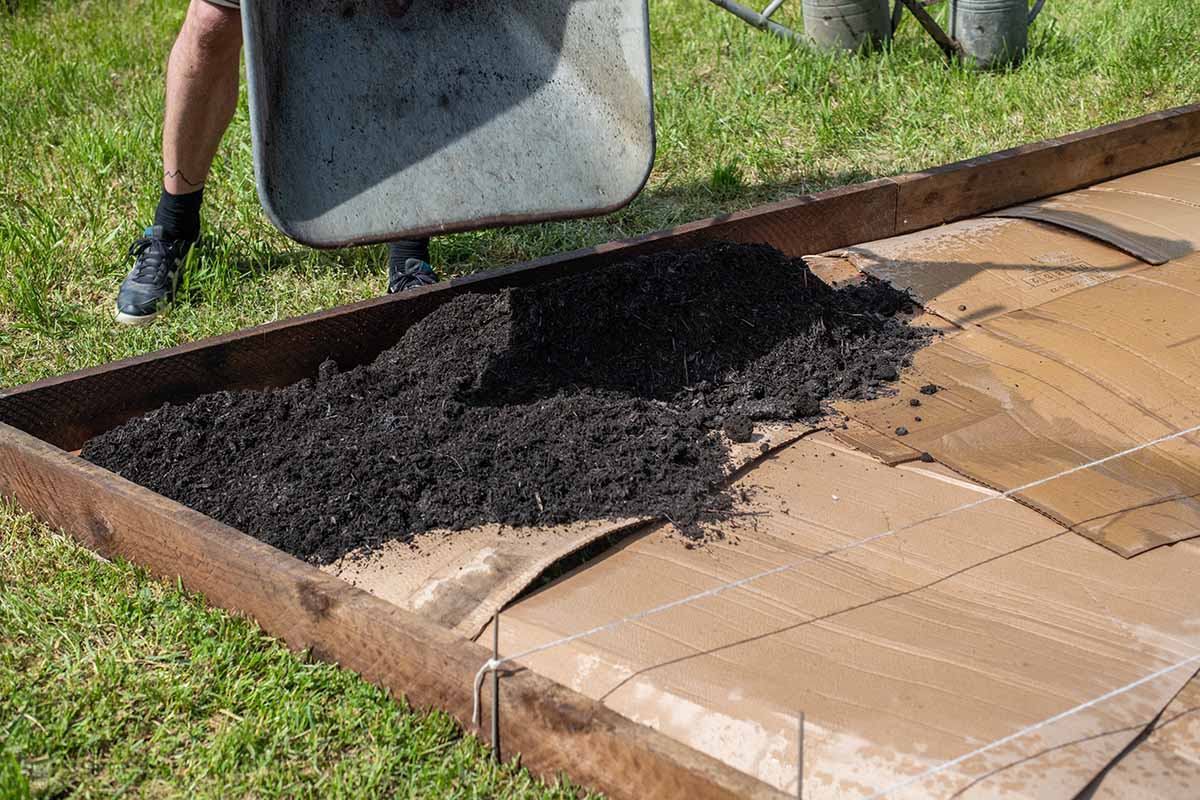
Remove and discard any tape or packing labels from the cardboard and lay down a thick layer, with plenty of overlap at the edges. Wet the cardboard with a hose then stomp it down in place to keep it flat.
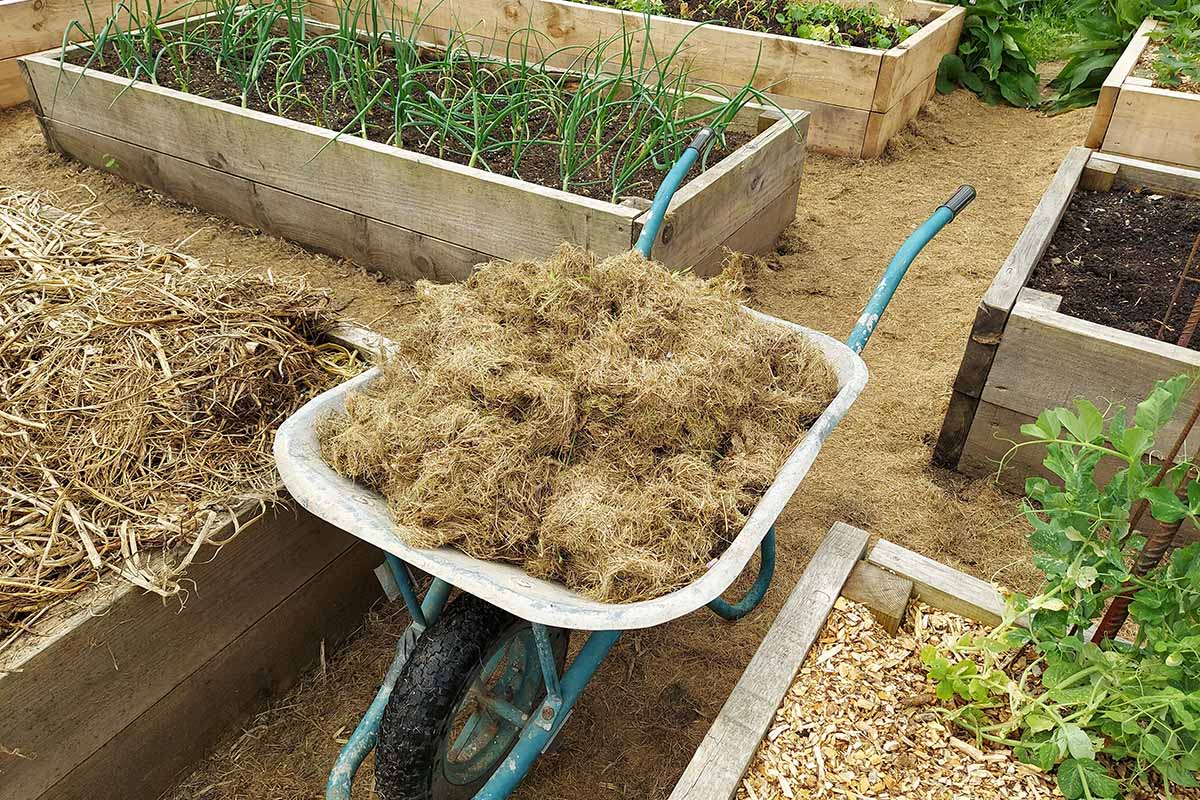
After your beds are mulched, you can give pathways a pretty finish by adding an aesthetically pleasing layer of organic materials like bark mulch, conifer needles, straw, or wood chips.
Layer Organic Matter
Once the cardboard or newspaper is in place it’s time to start adding layers of organic matter.
Start with a two-inch layer of compost, garden soil, or well-rotted manure, generously covering all areas except the paths.
There’s no hard and fast rule as to the order of materials, but it’s helpful to place matter in alternating layers of brown and green, much like making compost.
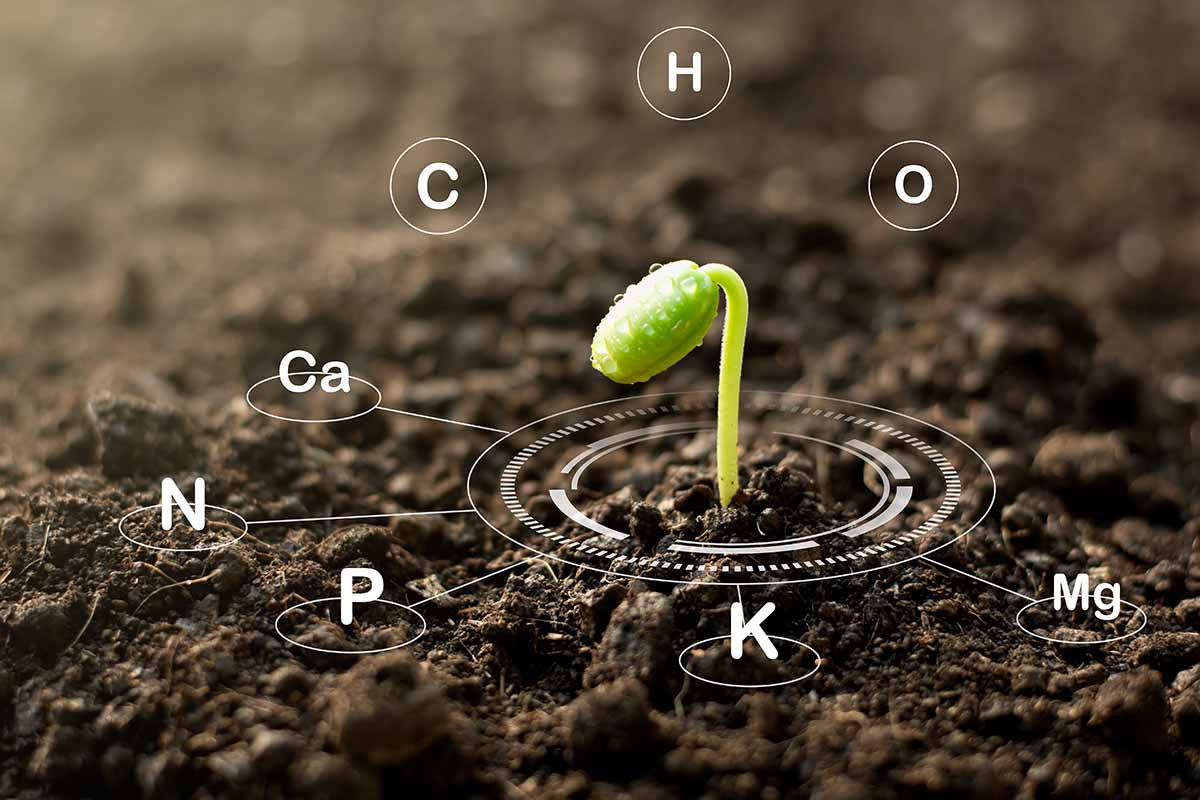
Brown layers provide carbon for energy, absorb moisture, and provide strength and structural stability to the soil plus a porous loft for air circulation.
Brown materials are typically dry and can include bark mulch, clean cardboard, coir, chopped leaves, crushed shells, newsprint, paper bags, peat moss, straw, wood ash, and wood chips.
An electric leaf shredder is a fast and easy way to transform clippings, grass, leaves, paper, and twigs into a lovely, chopped mulch.
Need a leaf shredder? This popular electric model from Worx is available via Amazon.
It shreds up to 53 gallons of leaves per minute, transforming those raked-up piles in your backyard into mulch in no time.
Green layers provide nitrogen and moisture. These include fresh or damp materials such as freshly harvested kelp or seaweed, compost, garden soil, grass clippings, leaf mold, and rotted manure.

We have lots of great ideas about how to create compost at home – if you’re new to this practice, start with our guide to the basics of composting.
When the brown and green materials decompose together, they create rich, loose soil loaded with nutrients – the perfect growing medium for berry patches, flower beds, and vibrant vegetable plots!
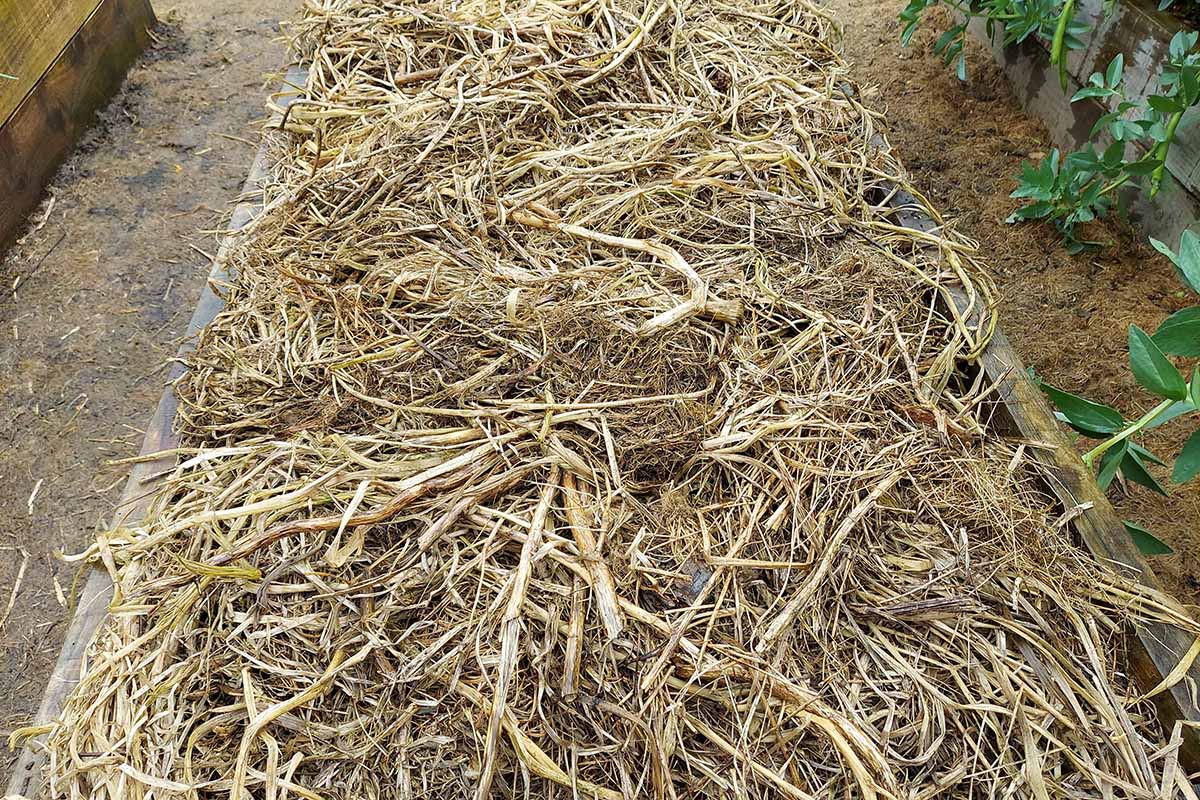
Add a variety of brown and green materials in layers one to two inches thick until you have a thick, organic mulch six to eight inches deep.
Continue to add mulches over the course of the growing season to maintain the depth.
If you have a surplus of materials, stockpile it for the winter covering. Mulches don’t decompose as quickly in cold weather, and adding fresh material over winter usually isn’t required.
If rainfall is inadequate while mulching, water each brown layer after it’s in place.
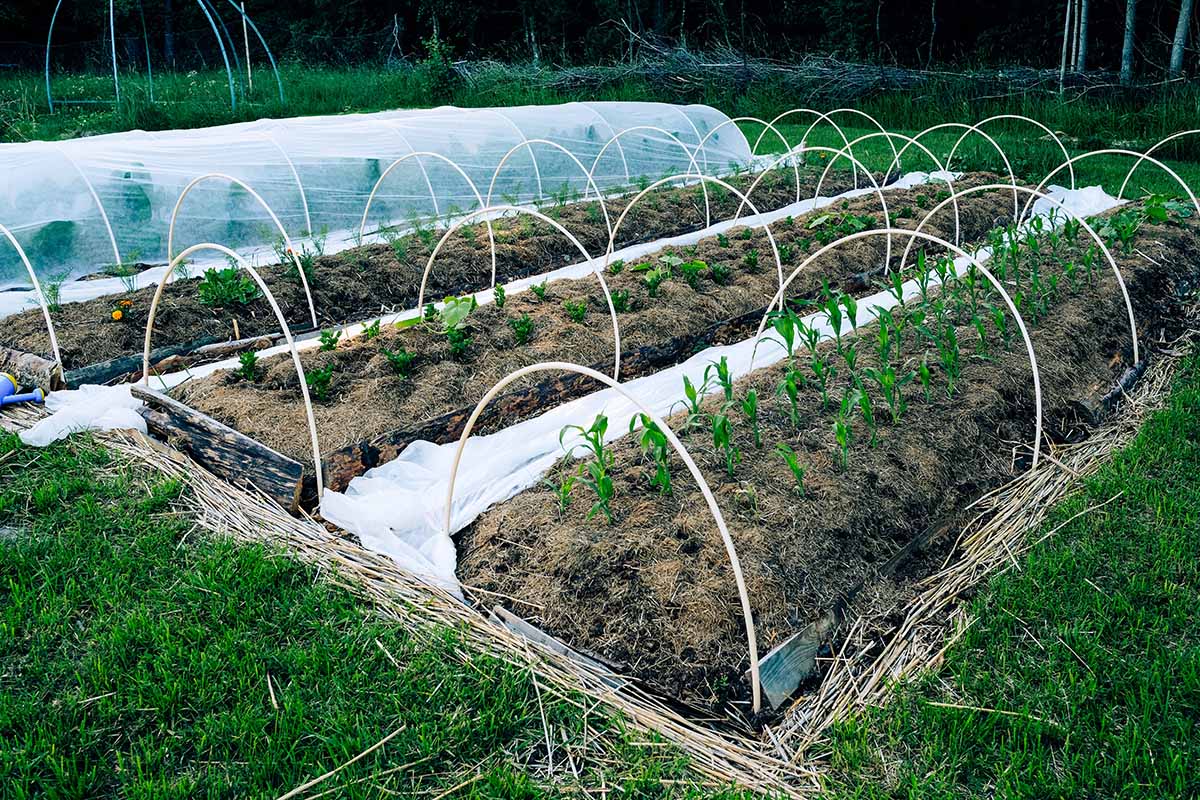
Sow Seeds and Transplants
No-dig gardening produces humus-rich soil with a lovely light and porous texture.
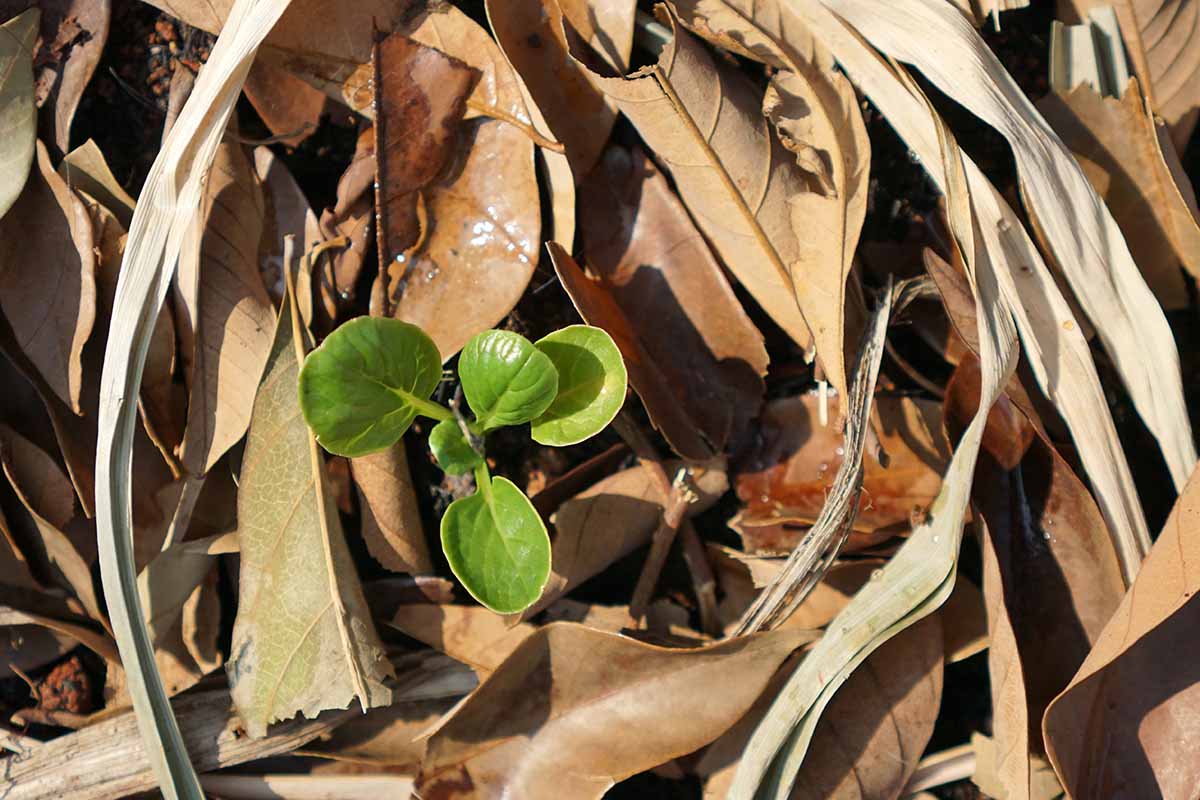
However, when planting seeds, it’s important to temporarily move aside the top layer of loose mulch so they can germinate and sprout easily.
Even if the top layer is made of light straw, many vegetable seedlings, like carrots, are very fine and can struggle to push through it, with disappointing results.
Pulling back the top of the mulch also releases humidity, which can cause tender sprouts to fail as a result of problems like damping off.
Simply pull back the loose material on top to expose the rich, loose soil below, then sow the seed at the appropriate depth and spacing.
Keep the soil moist during germination and once plants are well established, around four- to six-inches tall, push some of the mulch back to keep the roots cool and moist.
However, always allow a mulch-free collar around plant leaves and stems. This keeps excess moisture away from the stems and helps to reduce problems like fungal and mold infections while preventing easy access by slugs and snails looking for tender greenery.
Seedlings started indoors or purchased from the nursery receive a similar treatment.
To transplant seedlings, pull back the top layer of loose mulch and create a small pocket in the loose soil below, setting the transplants at the same depth as they were in the original containers.
Water gently to settle in place and move some mulch back over the future root zone but keep a small, mulch-free halo away from stems and leaves.
After a couple of seasons, you might find that because the soil is so rich, you can plant your seeds and plants just a little closer together than you normally would – however, always be sure to allow for good air circulation.
Maintenance
At the end of the growing season, put the garden to rest by cleaning out the remains of any unwanted plants – anything that had problems with disease or insect infestations should be removed and disposed of in the garbage.
Chop down healthy plants and spread them over the surface of the beds, then cover your beds with a two- to four-inch layer of compost and an equal layer of chopped leaves or straw.
To keep things in place over winter, top the bed with sheets of black plastic or an opaque tarp, anchoring it in place with bricks, pegs, or stones.

The plastic covering also helps to keep the soil below a touch warmer, which aids the breakdown process.
In late winter, when weather permits, pull back the plastic and add another two-inch layer of green materials like compost, leaf mold, or manure. Top with a brown layer of chopped leaves, peat moss, shredded paper, or straw.
Replace the plastic or tarp and leave in place until soil temperatures are reliably above 45°F, or when you would usually plant out your cold season crops.
After temperatures warm up, remove the plastic and tarps and begin the layering process again. Continue mulching over the growing season and into fall, adding various layers of mulch as necessary.
By continuously replacing the old mulch as it breaks down, the beds are constantly built up and nutrients replenished, producing healthy, loamy soil – without tilling or the need to use synthetic fertilizers!
No Digging Required
The not-so-secret secret to successful no-till gardening is in the simple practice of regular mulching with a variety of organic materials.
The mulches cover all surfaces, protecting them from wind and rain erosion while suppressing weeds and reducing moisture loss.
As they decompose, the mulches improve fertility, structure, and tilth, producing fluffy, rich soil for happy, healthy plants without any digging or tilling – saving you time and physical exertion!
If you’d like to reduce the number of tasks on your spring garden checklist – and summer chores like weeding and watering – you’ll love the almost effortless results of the no-till system!
This system isn’t restricted to large gardens either – it’s effective for containers or small spaces too.
Lasagna Gardening for Small Spaces
You can find inspiration for small yards and big planters in Patricia Lanza’s book “Lasagna Gardening for Small Spaces,” available at Amazon.
What about you folks? Now that you know about no-till gardening, will you give it a try? Let us know in the comments below!
And if you enjoy labor-saving garden tips, check out these guides next:
I suggest Googling ‘ Deep Green Permaculture, No Dig gardening.” As you scroll down you will get to a sketch of an ideal way to layer. This is the best example I have seen for serious beginners.