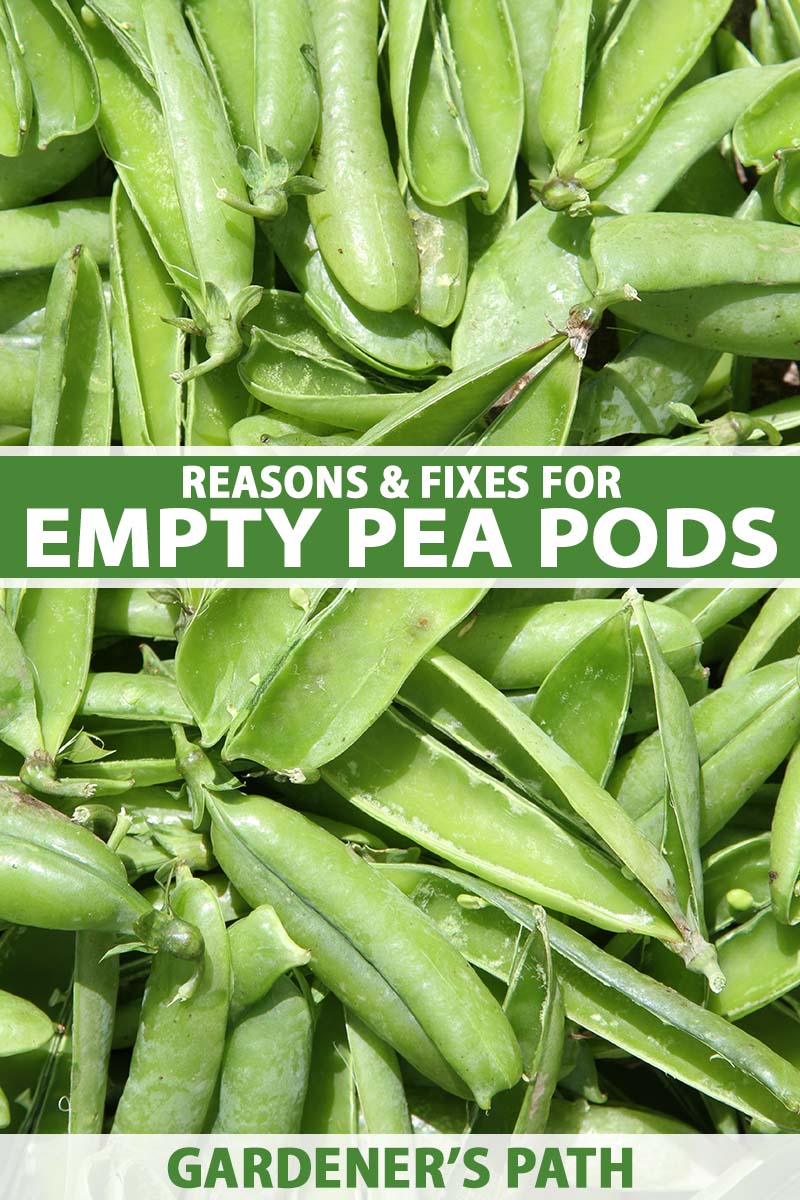
Peas can be teases.
You walk past the garden and take a look at all those healthy tendrils climbing up the trellis, heavily laden with foliage and plump pods.
Your mouth is watering just thinking about the sweet, juicy pods you’re about to bite into.
We link to vendors to help you find relevant products. If you buy from one of our links, we may earn a commission.
Then you slice open a pod, just seconds away from the reward that you’ve been looking forward to for weeks, and you find: nothing. Just a sad, empty pod.
What happened? Where did the seeds go? And how can you encourage them to develop, so you don’t miss out on the sweet treats?
In this guide, we’re going to help you figure out why your peas failed to develop inside the pods and what you can do about it.
Here’s what we’ll go over to help make that happen:
7 Reasons for Empty Pea Pods
By the way, if the weather is getting too warm and your crops are on borrowed time, or you already plucked the pods, only to find it empty, go ahead and eat them.
The tough pods might not be good raw, but you can cook them up, and they’ll be every bit as tasty. Younger pods are delicious raw.
In fact, it doesn’t matter if your pods are empty or not. When you do shell a pea, save those pods and cook them later! Waste not, want not, right?
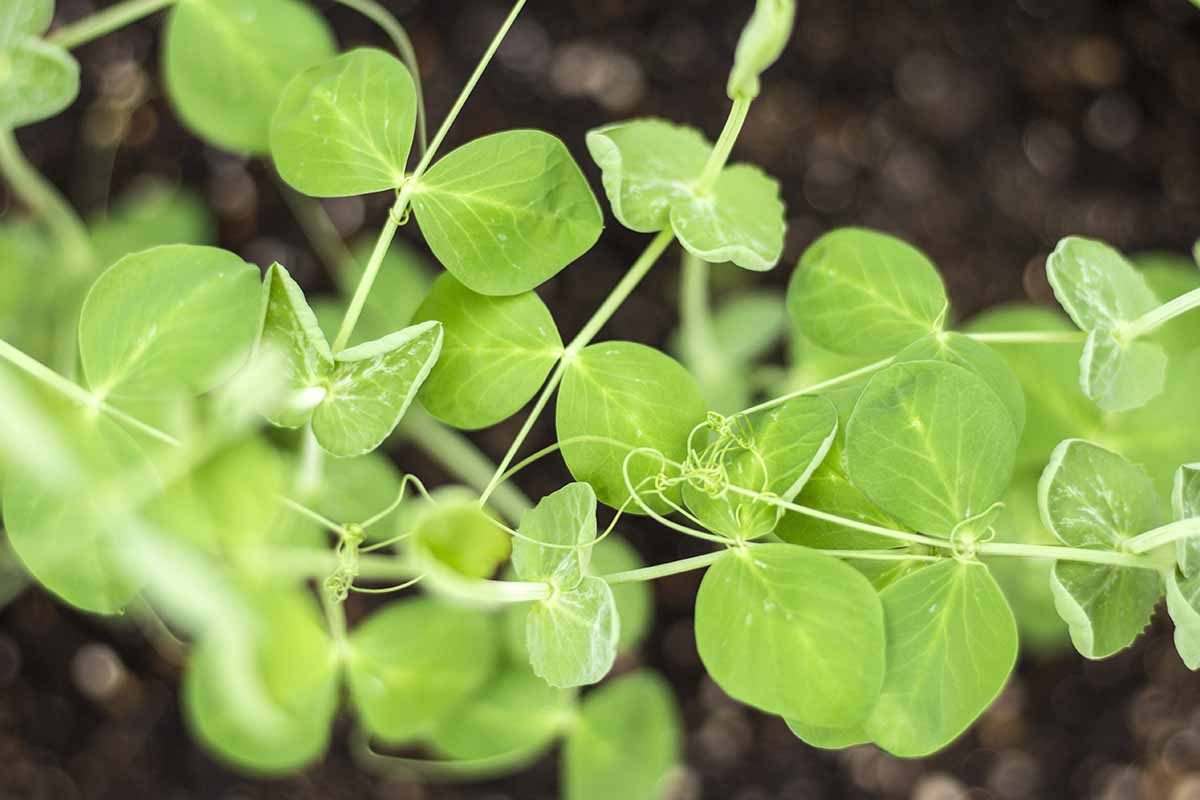
1. Immature Plants
Sometimes problems don’t require a complex explanation, and this is one of those times.
More often than not, the reason your pods are empty is simply that they aren’t mature yet. Pods form well before the peas inside do.
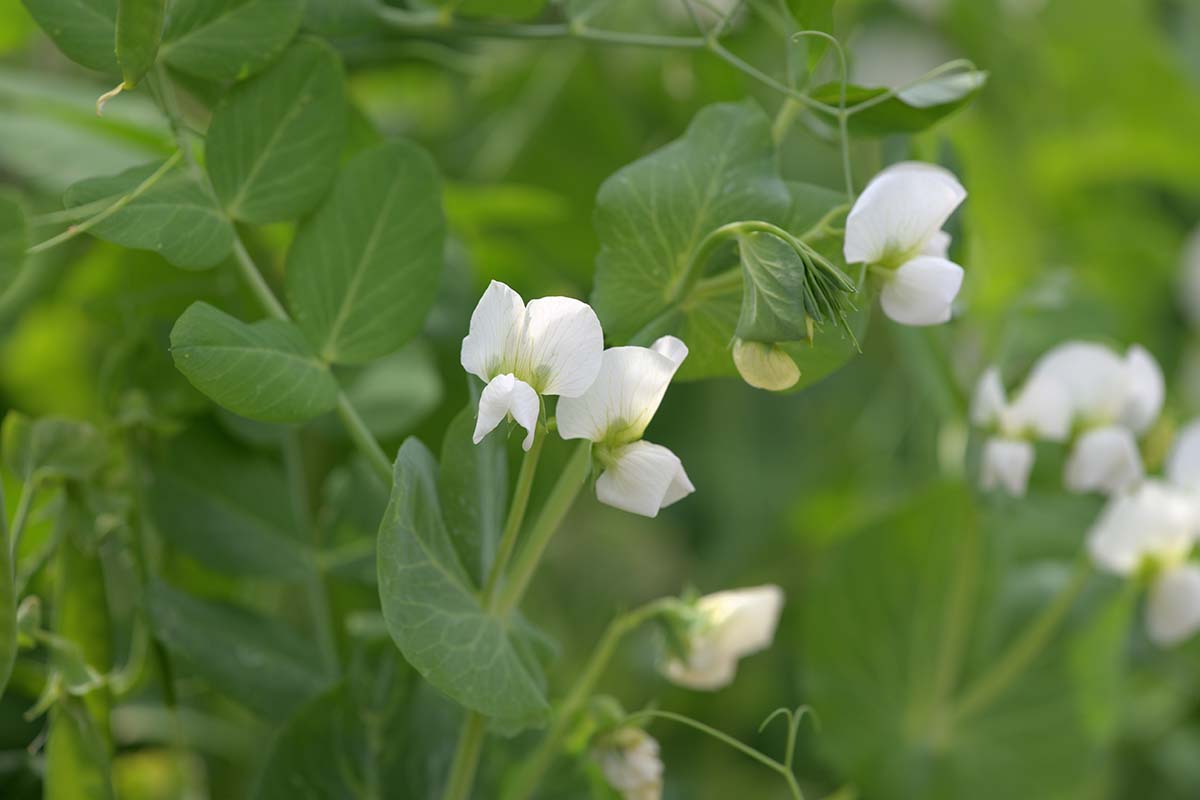
As a general rule, you can assume that your seeds will be ready to harvest three weeks after the flowers are fully mature.
But every plant, climate, and situation is different, so you can’t take that as gospel.
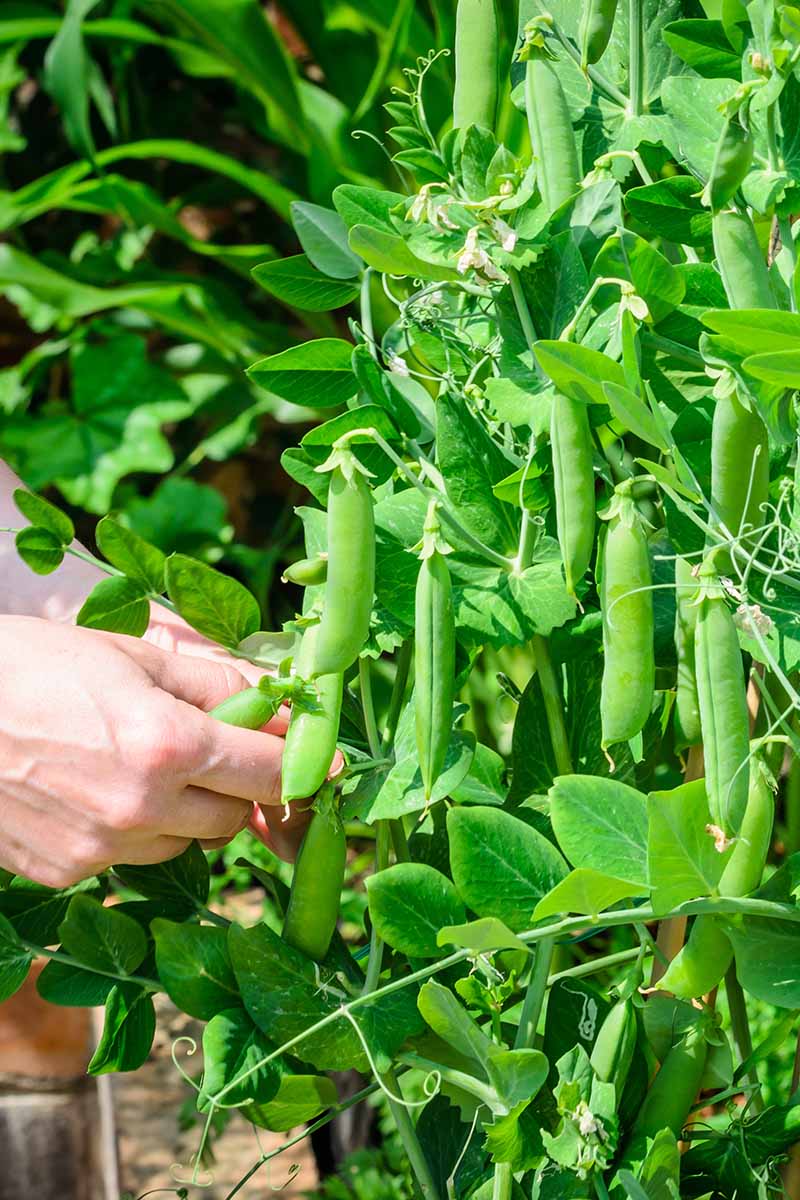
Really, the best way to tell if they’re ready is to open one up.
You can always kind of prod them and gently feel for the peas inside, but sometimes you just have to find the largest pod on the plant and crack ‘er open.
Empty? Or are the peas still small? Keep waiting. In the meantime, check out our guide to growing peas for some smart tips.
2. Mineral Deficiency
While these plants aren’t necessarily heavy feeders, and they make their own nitrogen, they can become nutrient deficient in depleted soils. When this happens, it can result in empty pods.
A study published in Frontiers on Plant Science by researchers at the University of Burgundy found that when plants didn’t have enough nitrogen, sulfur, phosphorus, calcium, magnesium, iron, or manganese, it could result in fewer or no seeds (i.e. peas).
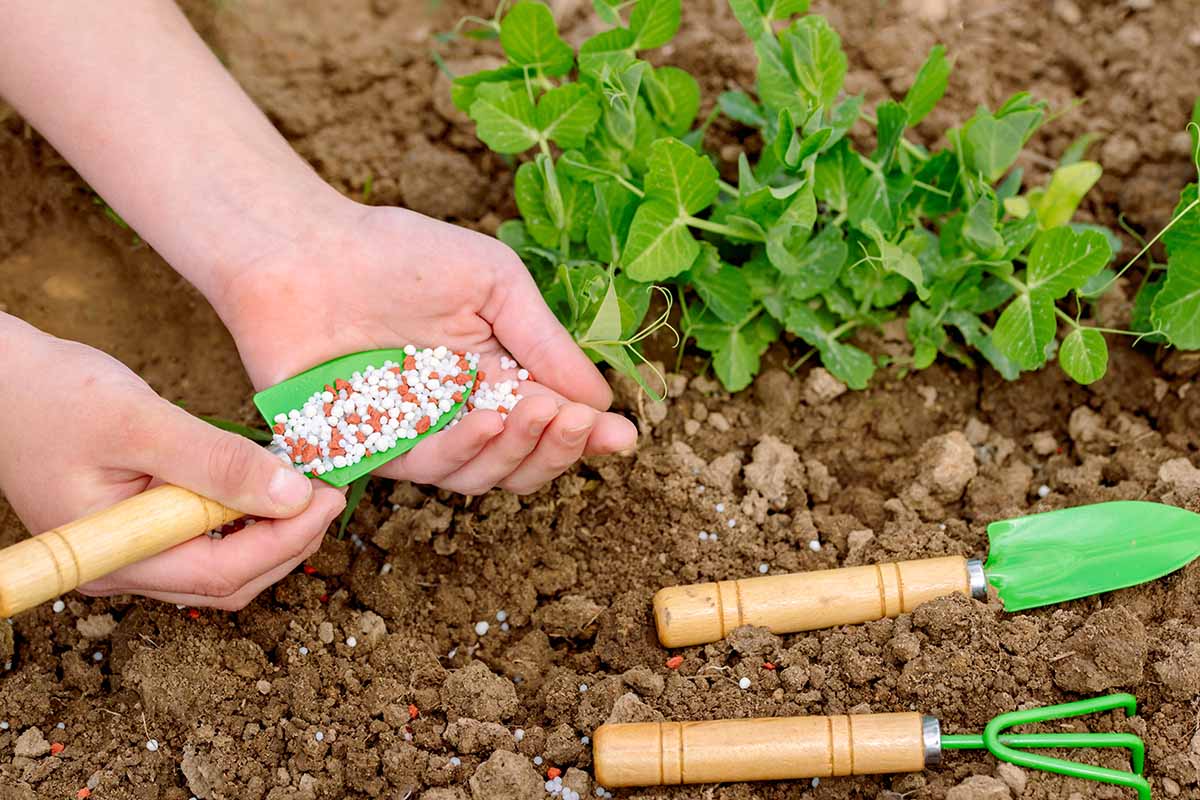
Rather than just tossing fertilizer onto your soil and hoping for the best, the optimal path is to have your soil tested (or test it yourself).
It doesn’t cost much, and it can give you invaluable insight into your soil makeup that will help you tremendously in your growing endeavors.
Read our guide for tips on how to test your soil and to learn more about why it’s such a good idea.
Once you find out what your soil’s nutrient composition looks like, you can add whatever is missing.
It’s best to test early in the season rather than waiting until you find empty pods. Still, if you find empty pods and hurry to correct the imbalance, you might still be able to grow a crop.
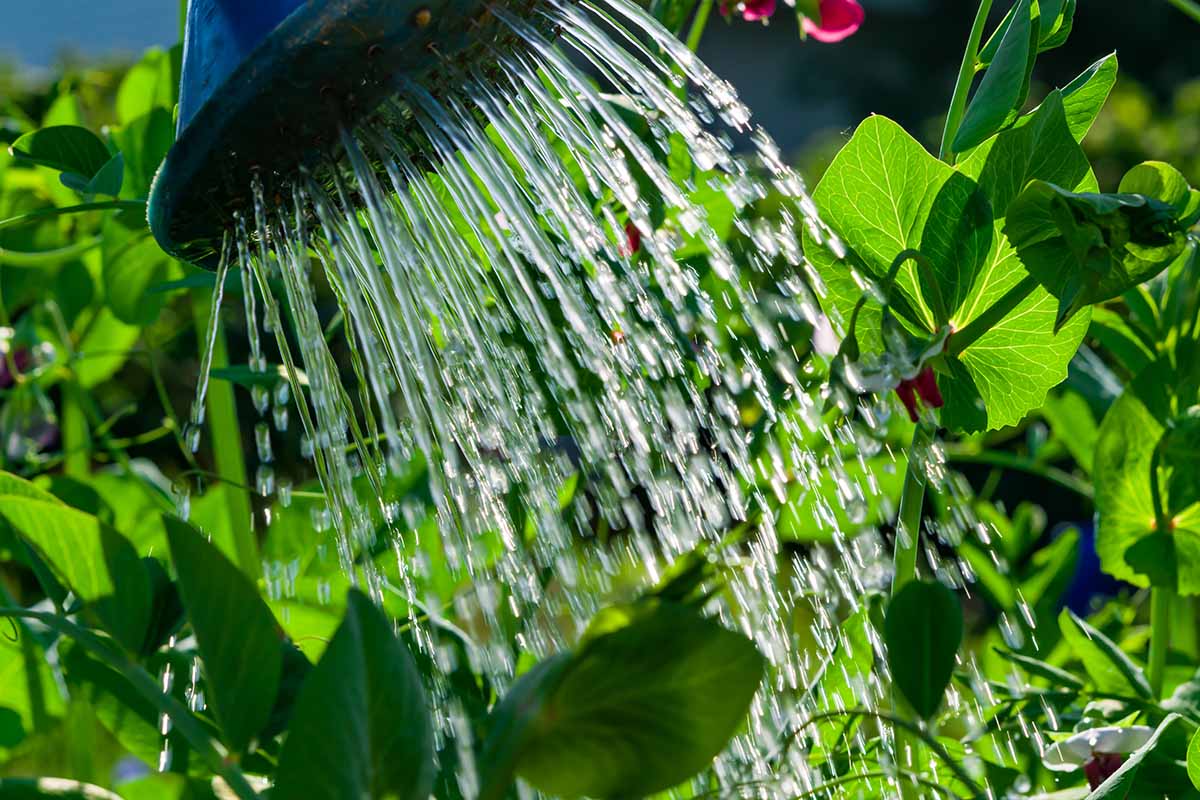
3. Not Enough Water
These plants are fairly thirsty, especially when they’re producing flowers and seeds.
If they don’t have enough access to water, they can’t move nutrients throughout their system, and that means they won’t be able to produce seeds.
The soil doesn’t have to be wet, but it should be constantly moist.
If you stick your finger in the soil and find it feels dry at any point, you should add water. Try to make the soil feel like a well-wrung-out sponge at all times.
Besides immaturity, this is the most common problem I’ve run into, especially when I was trying to cultivate these legumes in the high desert where rain and cool temperatures were hard to come by.
If you know for sure that your soil got a little dry – and no judgment here – then this particular cause should be high on your list of suspects.
If you provide plenty of water and you have enough days before the heat arrives, your plants will still be able to fill those pods.
Just be extra diligent for the next week or two to give your peas the moisture they need, and you should be able to turn things around.
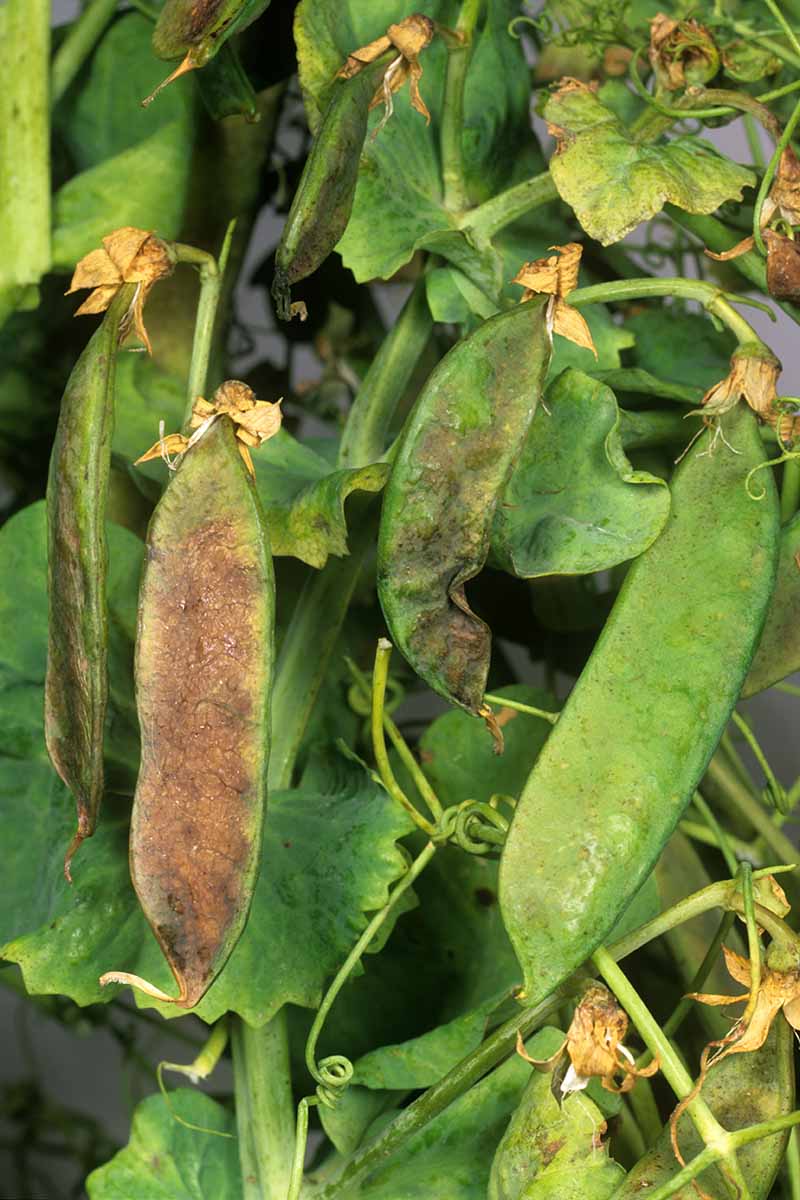
4. Pea Streak Virus
Pea streak is caused by viruses that are spread by aphids, which is yet another reason you want to try and keep those common pests out of your garden.
There are 11 different viruses that can cause pea streak symptoms, which include purple or gray streaks on the stems, dieback of foliage, and deformed pods.
Those misshapen pods may or may not contain seeds.
Alfalfa and red clover serve as hosts for these viruses, so the problem is more common if you live where those crops are grown.
Sadly, there isn’t a cure, and the virus can spread without aphids, so keeping the sapsucking insects out isn’t a guarantee that your peas will be safe. But, it will reduce the chances of the disease spreading.
Don’t plant close to alfalfa fields, if you can avoid it, and pull any red clover that tries to grow in your yard.
If your plants are infected, pull them right away to prevent the virus from spreading to other plants or gardens.
5. Pests
There are several pests that will bore into the pods and eat the peas inside, including the European corn borer (Ostrinia nubilalis) and the cowpea curculio (Chalcodermus aeneus).
If you crack open your pods and find rotted seeds or no peas inside, examine the exterior carefully for holes. If you see small holes, it’s a safe bet that you’ve been visited by one or both of these pests.
Cowpea curculio adult females lay one egg in the newly formed pod, and once the grub hatches, it eats the peas inside. Once it has matured, it chews an exit hole through the pod and drops to the ground. The circle of life continues.
To control this pest, you need to apply pyrethrin regularly so both the adults and the larvae are impacted.
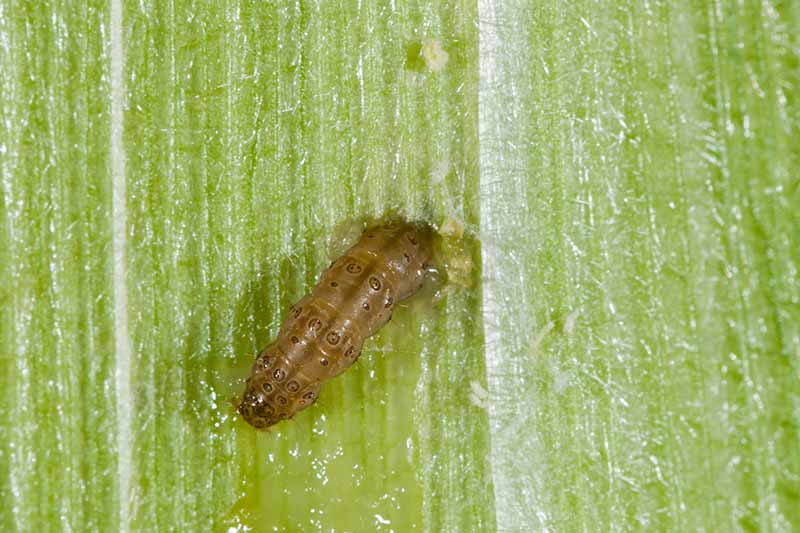
European corn borers prefer corn, as you might have guessed from the name. But when there isn’t any corn present, particularly in the fall after harvest, they’ll move on to peas.
This weevil will bore into the pod and munch away at the growing seeds.
Fall-grown legumes are particularly at risk. This pest can also be controlled using a product that contains pyrethrin.
Pyrethrin spray is one of those things that I always keep around because it works so well on so many different worm-like pests.
Monterey Bug Buster-O, for instance, contains a good percentage of this powerful naturally-derived toxin.
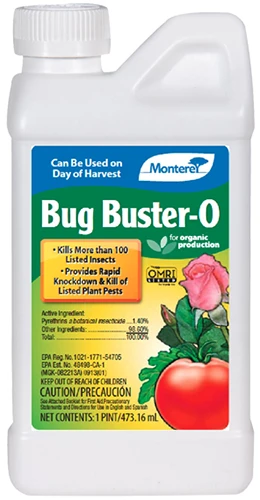
Arbico Organics carries it in eight- and 16-ounce containers.
Just keep in mind that it can harm bees, so don’t spray it as a preventative or when bees are fertilizing the flowers in your garden.
The only time you should spray it is when you can positively identify the adults or larvae in your garden.
If your seeds have already been eaten, it’s probably too late for this round, but now you know what to watch for next year.
6. Too Hot
Peas are highly self-pollinating, which means even just a little breeze can cause the stamen to move enough to transfer the pollen to the stigma.
The flowers don’t even need to be fully open for them to pollinate themselves.
When the bees come along, they usually take care of any remaining pollination issues. So pollination itself is rarely a problem. But the plants can suffer from a lack of fertilization nonetheless.
When the plants suffer from heat stress, it reduces pollen viability and the amount of pollen that reaches the pollen tube.
That means the peas might fail to be fertilized, and so the pods, if they do form, will be empty. Sometimes, the pods don’t form at all.
There isn’t a lot you can do to control the weather, but if you know a heat wave is on the horizon and your plants are developing or already have mature flowers, cover them with some shade cloth during the hottest parts of the day and stay on top of the water situation.
Sadly, it’s probably too late to fix this crop, so be extra diligent about watching the weather next time you plant them.
7. Too Much Nitrogen
Legumes like peas fix nitrogen in the soil. That means they can absorb nitrogen in the atmosphere through nodules in their roots, with the help of beneficial bacteria, and they convert it to a soluble form that they can use as their own fertilizer.
That’s why some gardeners use legumes as a cover crop to increase the nitrogen in the soil the natural way, without chemical fertilizers.
All this is to say that most pea plants aren’t struggling to get enough nitrogen.
So if you go and add a nitrogen fertilizer to the soil, the plants will have an overabundance of this nutrient, which can lead to all kinds of issues.
Too much nitrogen stimulates leaf growth rather than flowers, and it can cause any pods that do develop not to fill out.
If your plant looks incredibly happy with lots of healthy foliage but not many pods, ask yourself if you added fertilizer at some point.
Or, test your soil to see if it’s already high in nitrogen. If either of these is the case, it’s likely that your plants have too much nitrogen.
Once again, it probably won’t help to try to fix it now. Just amend the soil with well-rotted compost and don’t plant peas there for a year to try and allow some of the nitrogen to leach out.
While it’s not necessary, you could plant something that’s hungry for nitrogen to speed up the process, like rhubarb (Rheum rhabarbarum), kale (Brassica oleracea var. acephala), mustard (Brassica juncea), Brussels sprouts (B. oleracea var. gemmifera), or chicory (Cichorium intybus).
Bring on the Peas, Please
Part of what I love about growing peas is that they’re fairly easy to raise. They don’t take long to mature, and the rewards are marvelous.
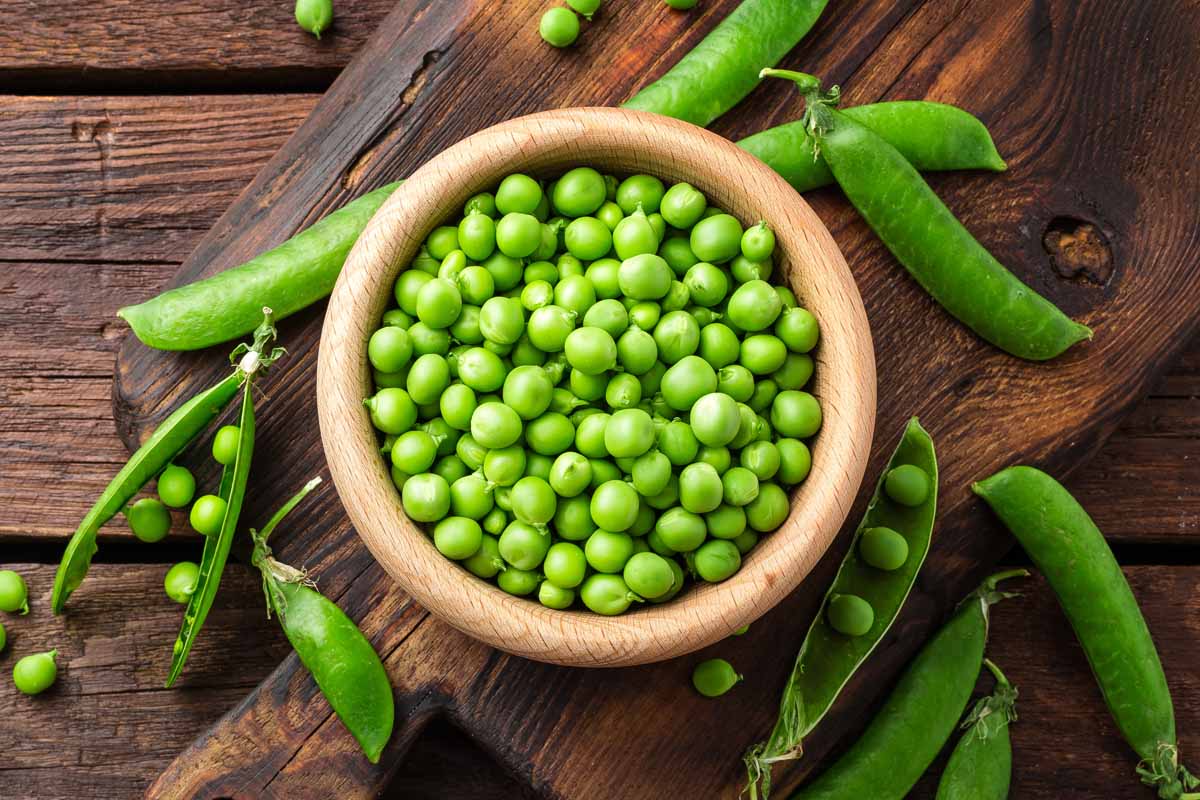
I mean, who doesn’t love standing in the garden as they slice a sun-warmed pod open with their thumbnail and tip the green orbs into their mouth?
The only way to ruin the pleasure is to break open that case to find it empty.
Did you run into empty shells this year? What was the cause? Are you having trouble figuring it out? Hit us up in the comments, and maybe we can help you sort it out.
Hopefully, this guide helped you determine the cause on your own, though! If so, you might be looking to move along in your pea-growing journey.
We have a wealth of other guides that can help! Check these out next: