Peas, Pisum sativum, are a cool-weather crop for USDA Hardiness Zones 3 to 11.
Those in zones that receive frost sow and reap in the spring, while those in the warmest zones within this range plant in the fall for a winter harvest.
We link to vendors to help you find relevant products. If you buy from one of our links, we may earn a commission.
Our guide to growing peas in containers has all you need to know to raise a crop outdoors without a garden.
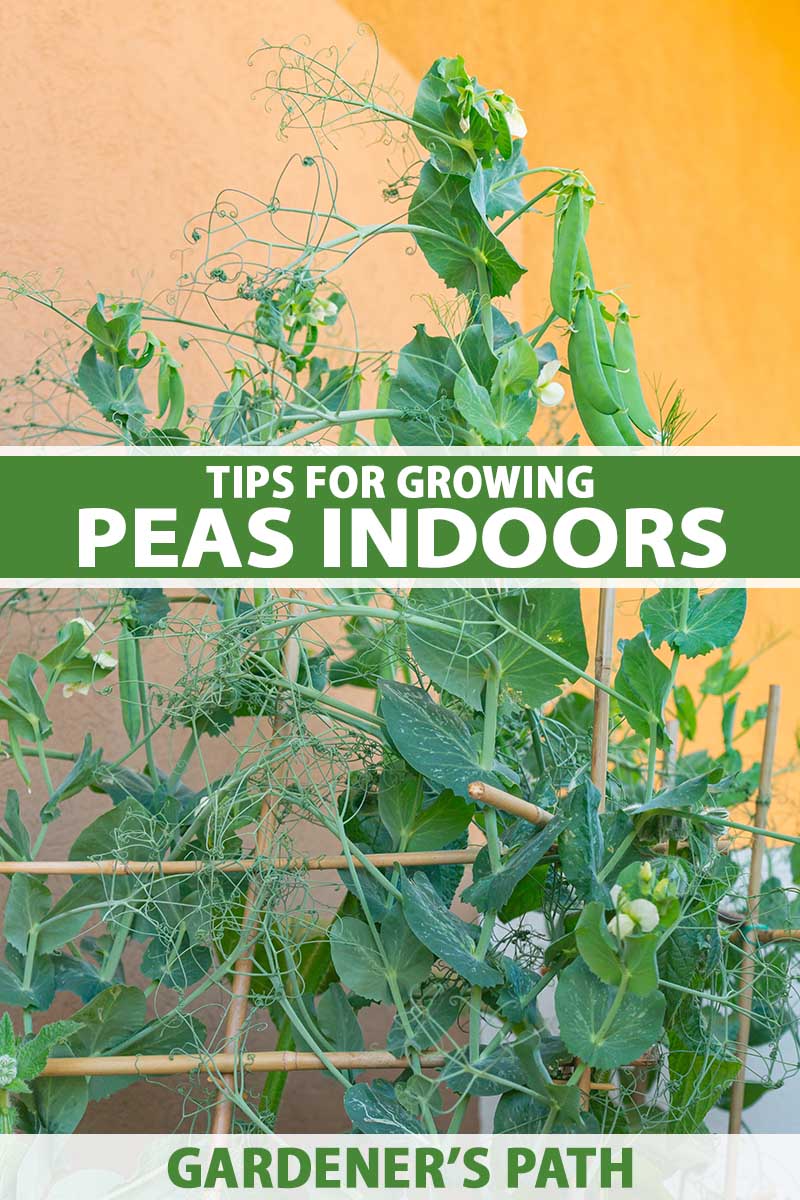
This article takes container gardening a step further and brings pea cultivation indoors.
Here’s what we’ll cover:
What You’ll Learn
Let’s jump in!
Peas 101
Peas are members of the Fabaceae family of plants that also includes beans. Biologically speaking, a pea is a pulse, or edible seed, and the whole pod is considered a legume.
P. sativum is an annual that grows for only one season, completing its entire life cycle in this time. We eat the seeds, or the seeds and pods of some varieties, as vegetables.
In the garden, these plants are known as “nitrogen fixers” because their roots have a symbiotic relationship with rhizobia bacteria.
The bacteria form nodules and colonize on the roots and, in return, “fix” atmospheric nitrogen for the pea plant and neighboring plants to use as food.
Another fun fact about peas is that they are self-fertile, and can pollinate themselves without the help of bees and other insects, relying instead on the wind to jostle the pollen into position.
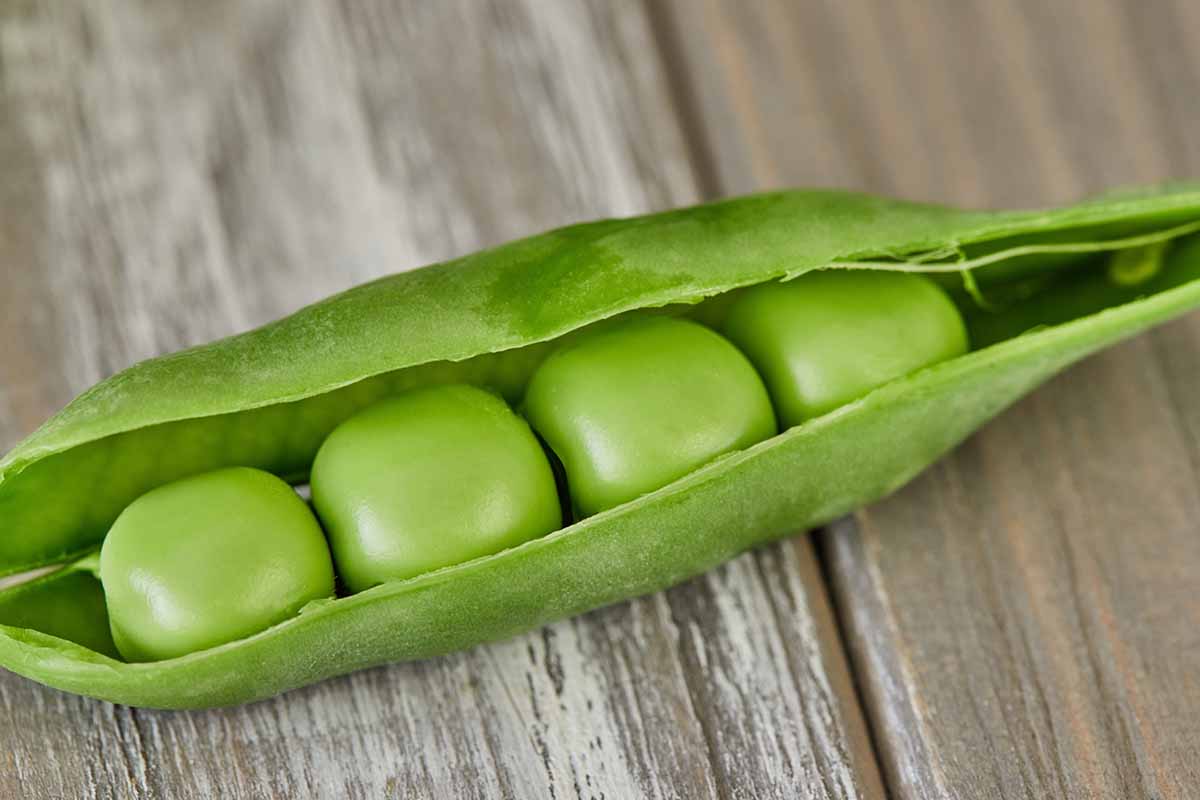
Garden or English types are those that we shell before eating. Their pods are tough and inedible.
Snow peas have tiny, immature seeds inside flat, edible pods.
And the sugar snap variety has plump round seeds inside edible pods.
Some varieties grow on long vines that require staking. Others have a more compact, bushy form and need minimal to no support.
Compact plants are the best choice for container gardening because they take up less room and require little to no staking.
Before we jump into growing, please note that there is a flowering ornamental plant you may also be familiar with called the sweet pea, Lathyrus odoratus.
It is an inedible and toxic species. Read seed packets carefully, and do not mistake sweet peas for edible peas.
Getting Ready to Plant
When growing your crop indoors, it’s essential to provide ample light – at least eight hours of sunlight per day.
If you have a south-facing window, you can try placing pots near it. Monitor them closely to avoid leaf scorch from intense rays through the glass. If this occurs, move the plants back, up to three feet from the window.
The ideal room temperature is between 60 and 70°F . Avoid placing pots near HVAC registers and doorways that may cause drafts and temperature fluctuations.
Alternately or in conjunction, you may use an LED grow light. A period of about 10 to 12 hours per day beneath a grow light simulates the full sun conditions these plants need to thrive outdoors.
Use the grow light at a distance of six to 12 inches from the soil surface, raising it higher as the plants grow.
You’ll need a well-draining container. Because these plants have shallow roots, it doesn’t need to be deep. Eight to 12 inches is adequate.
If you are growing for the purpose of harvesting pea sprouts, aka shoots or microgreens, rather than allowing them to develop pods, a shallow pan about three inches high with holes punched in the bottom is adequate.
It’s best to sow seeds in a container that can accommodate mature dimensions to avoid transplanting fragile shoots.
You may like a window box type planter for a south-facing windowsill or multiple round pots set on a table beneath a grow light. Be sure to allow room for airflow between pots.
Once you’ve chosen your vessel, you can fill it to within one inch of the rim with high-quality, moisture-retentive, all-purpose potting soil.
Espoma Organic Potting Soil Mix
Espoma Organic Potting Soil Mix, available via Amazon, is a rich blend that contains fungal mycorrhizae that support disease resistance.
In the garden, the ideal soil has a pH of 5.8 to 7.0. Potting soil replicates this level of acidity for indoor and outdoor container gardening.
Generally, “soil builders” like peas that contribute nitrogen to the earth around them don’t require fertilization.
However, when growing in a container indoors, a low-nitrogen granular product, such as one with an NPK ratio of 5-10-10 , is beneficial. Apply it sparingly when the flowers begin to bud.
Alternatively, use an all-purpose liquid houseplant food diluted with water to one-quarter strength.
Now, let’s get planting!
How to Grow
Sanitize your new pot(s) with a 10-percent bleach solution (one part bleach to nine parts water), rinse well, and dry.
Because these plants don’t take transplanting well, it’s best to sow seeds in a pot large enough to accommodate mature dimensions.
Fill with potting soil to one inch below the pot rim for easy watering.
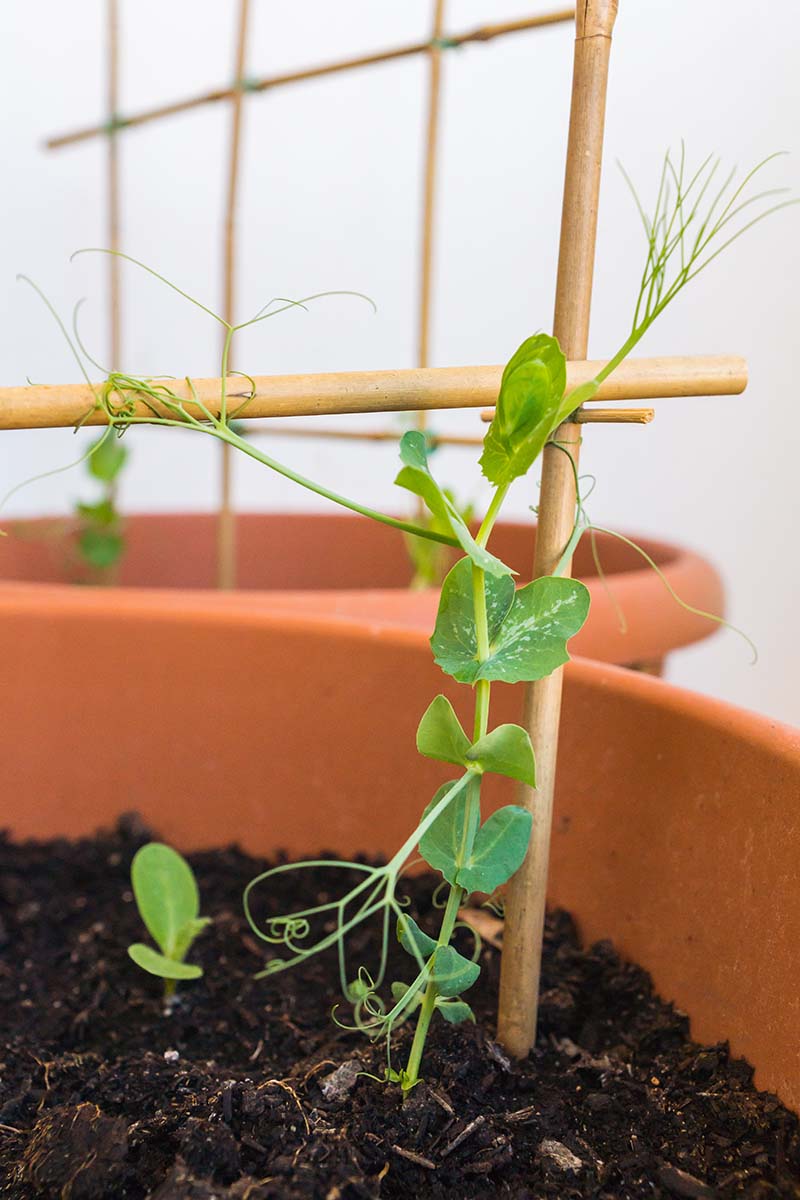
Now is the time to add a trellis or other support structure to the pot, before the seeds go in and the roots begin to grow. Use the description on the seed packet to determine if this is necessary – bush types will not typically require staking.
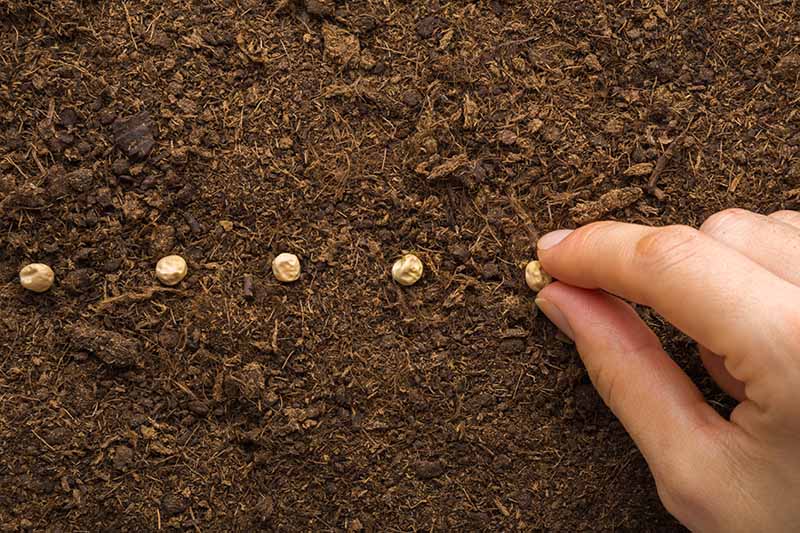
Prep the dry seeds by soaking them overnight in enough water to cover them completely.
The next day, lay the soaked seeds on paper towels to dry before planting. Some may have already sprouted.
Sow the seeds one to one and a half inches deep. For any that have sprouted, point the shoot upward.
Space the seeds one and a half to three inches apart. The greater the distance, the better the airflow will be when the plants grow, and the lower the risk of fungal disease.
For those growing microgreens only, you can sow densely, placing the seeds against each other and adding more until the tray is full.
With the recommended spacing, you will not have to thin the seedlings unless you want to weed out any weak ones.
Maintain even moisture, but avoid oversaturation. A moisture meter can help you monitor watering needs.
Place in a sunny window or under a grow light.
Growing Tips
Let’s recap. When you remember the following, you’re on the road to successful indoor cultivation:
- Provide bright natural or LED light for up to 12 hours daily to replicate full sun outdoors.
- Use a well-draining pot(s) 8 to 12 inches deep and wide enough to accommodate mature dimensions.
- Fill the pot to within 1 inch of the rim with high-quality, moisture-retentive, organically-rich potting soil.
- Soak the seeds overnight and sow 1 to 1.5 inches deep and 1.5 to 3 inches apart.
- Maintain even moisture without oversaturating the soil.
And here’s one final tip for success:
Rotate the pot(s) a quarter turn every few days to allow all foliage to be exposed to light, prevent the stems from bending, and provide movement to support pollination.
Cultivars to Select
When shopping for seeds, seek out cultivated varieties with compact dimensions suited to container gardening.
You’ll find products that have been pretreated for enhanced disease resistance as well as those that offer shorter-than-average days to maturity.
Here are three cultivars to whet your appetite:
Oregon Sugar Pod II
If snow peas are your favorite, check out P. sativum ‘Oregon Sugar Pod II.’
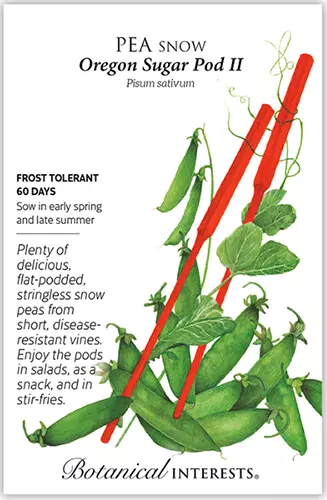
Flat, crisp pods are stringless and measure four inches long. Expect maturity in 60 days.
‘Oregon Sugar Pod II’ seeds are available from Botanical Interests.
We delve deeper into growing this cultivar here.
Patio Pride
P. sativum ‘Patio Pride’ is a sugar snap type with a height of 18 to 24 inches.
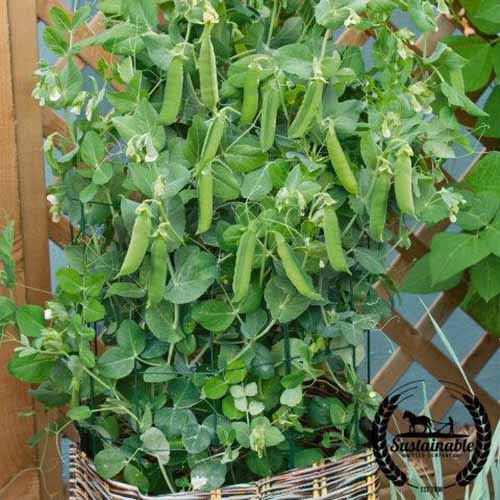
Edible pods measure two to three inches long. With just 40 days to maturity, it’s one of the earliest varieties to produce a crop.
‘Patio Pride’ seeds are available from True Leaf Market.
Tom Thumb
One of the most compact cultivars is P. sativum ‘Tom Thumb,’ topping out at approximately 12 inches tall.
Although it is a garden variety that’s typically shelled before eating, you may also find the pods tender enough to enjoy. Expect maturity in 50 to 55 days.
Organic seeds are available from True Leaf Market.
For more selections, see our guide to 17 of the best shelling pea varieties to grow in your garden.
Managing Pests and Disease
When growing peas indoors, you are less likely to experience the following pest and disease issues, provided you avoid both under- and overwatering.
However, it’s best to be aware of common issues, especially if you grow them outdoors when the time is right as well.
Common pests that you may encounter include:
- Aphids
- Armyworms
- Cutworms
- Leafhoppers
- Pea Weevils
- Spider Mites
Diseases to be aware of include:
Except for damping off, a fungal condition that kills seedlings, pest and disease issues are often treated successfully with a product like organic fungicidal and insecticidal neem oil.
However, its strong, garlicky smell can be quite overpowering in the house.
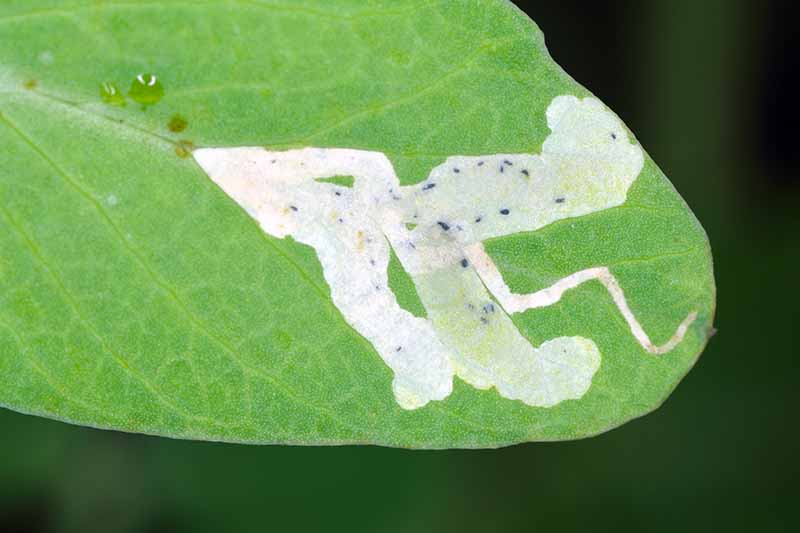
The best practice for indoor veggie gardening is to monitor plants daily for signs of damaged, deformed, or discolored leaves, eggs on leaf undersides, and insects.
The prompt removal of pests and affected foliage may be all that is needed to remedy a problem.
Harvesting
Use the seed packet as a guide to the approximate number of days to maturity. Though some varieties produce a harvest more quickly, 50 to 70 days is the norm.
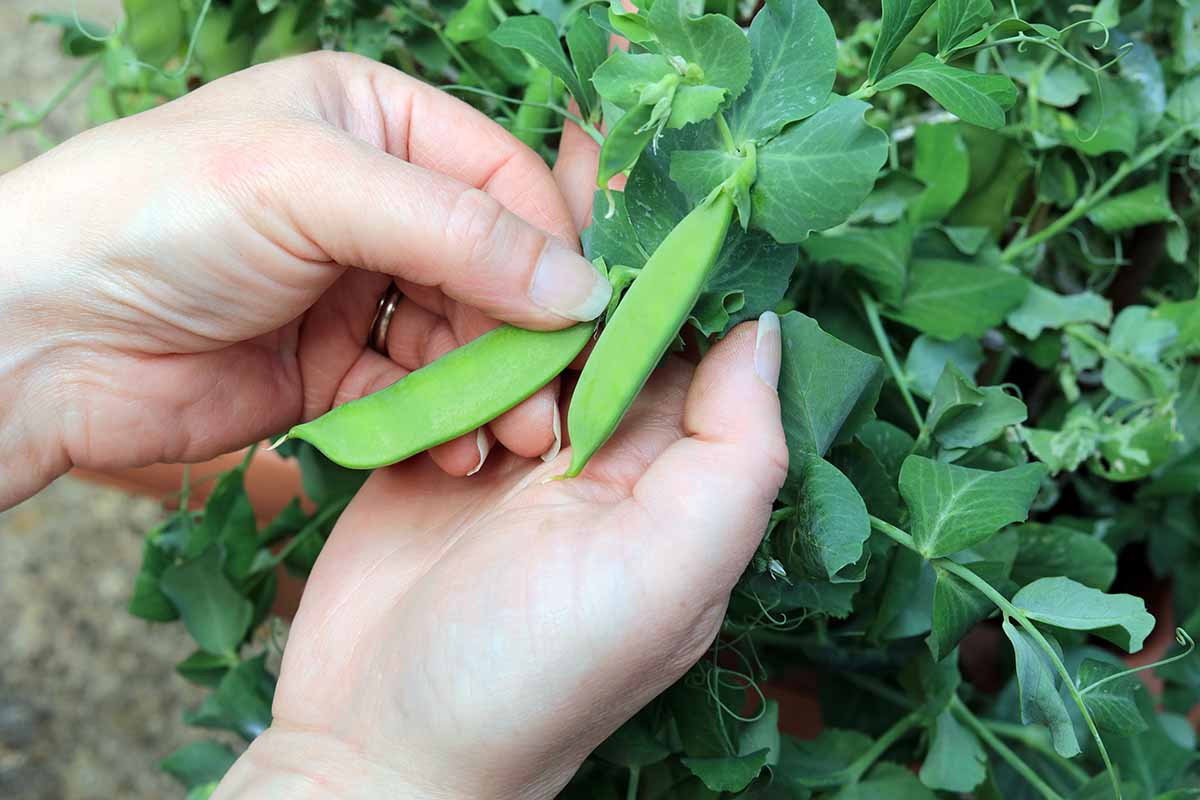
Pods are ready to harvest when they are two to three inches long. Some cultivated varieties grow longer, but take care not to let them get too long, or edible pods may be tough.
To harvest, grasp the stem with the index finger and thumb of one hand, and the pod using the thumb and index finger of the other. Use a gentle, twisting motion to release the pod without damaging the plant stem.
Alternatively, you can use sanitized garden scissors to snip the stem just above the pod. Remember the 10 percent bleach solution we used to clean pots above.
It’s as easy as that!
In addition to seeds and edible pods, the flowers, foliage, and tender sprouts are all edible.
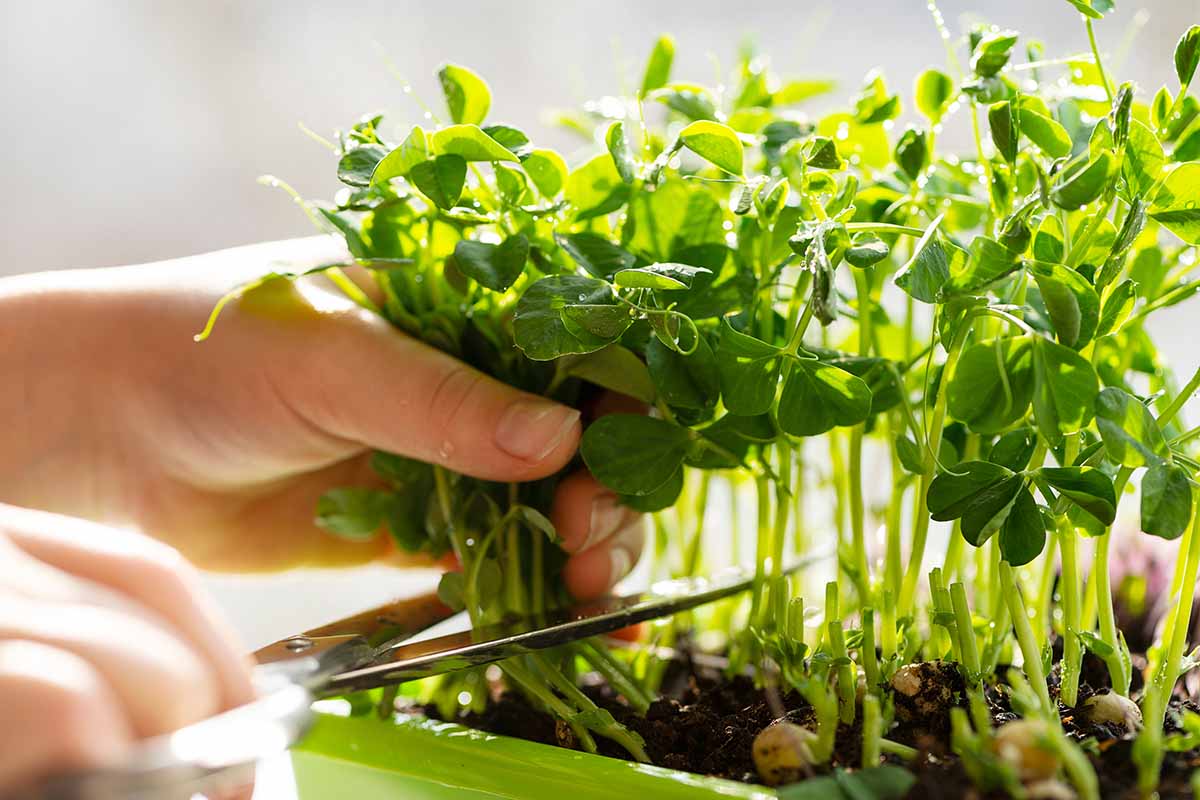
Some folks harvest seedlings at about four inches tall for tender microgreens. And the blossoms, foliage, and tendrils make elegant garnishes.
Pea Pods Not Developing?
If pods are missing, your plants could be suffering from improper watering, limited sunlight, a nutrient-poor environment, or diseases. Our troubleshooting guide can help pinpoint and address these concerns.
Preserving
Store the shelled garden variety for up to one week in the fridge. Use snow and sugar snap pods within three days.
Place the unwashed peas or pods in a vented produce bag in the crisper bin for best results.
You can also freeze some or all of your crop. Here’s how:
- Wash shelled peas or whole edible pods in cold tap water.
- Pull the stem ends and strings off the pods.
- Plunge the shelled peas or pods into boiling water for a minute and a half.
- Remove and place them in ice water for two minutes.
- Take them out and lay them on paper towels or a clean cloth, turning as needed to dry them.
- When dry, place the shelled peas or whole pods in zippered plastic bags. Squeeze out the excess air and zip.
- Freeze and use within one year.
Consume microgreens, flowers, leaves, and tendrils immediately upon harvest.
Recipes and Cooking Ideas
Peas are versatile, with uses ranging from a stand-alone side dish to a toss-in addition to soups, stews, stir-fries, salads, and more.
Crisp snow varieties are equally delicious eaten raw out of hand.
Here are some recipes to try at your house:
Asparagus and Snow Pea Salad with Black-Eyed Peas from our sister site, Foodal, pairs snow pods’ crunch with the creaminess of black-eyed peas for a luscious dish.

Gluten-free Brown Rice Salad with Apples, Dried Cranberries, and Peas, also from Foodal, is an easy make-ahead dish dotted with sweet, shelled garden peas.
Veg-up your penne with Foodal’s Fresh Pesto Pasta Salad with Green Peas. This light entree features shelled garden and snap or snow pods, basil, and garlic.
Quick Reference Growing Guide
| Plant Type: | Annual legume | Flower/Foliage Color: | Pink, purple, white/green |
| Native to: | Asia, Europe | Water Needs: | Moderate |
| Hardiness (USDA Zone): | 3-11 (outdoors) | Maintenance: | Moderate |
| Exposure: | Bright direct to indirect sunlight, grow light | Soil Type: | Moisture-retentive potting soil |
| Time to Maturity: | 50-70 days | Soil pH: | 5.8-7.0 |
| Spacing: | 1.5-3 inches (seeds) | Soil Drainage: | Well-draining |
| Planting Depth: | 1-1.5 inches (seeds) | Order: | Fabales |
| Height: | 18-30 inches (bush type), pole type (vining) 4 to 6 feet | Family: | Fabaceae |
| Spread: | 18-30 inches | Genus: | Pisum |
| Common Pests and Diseases: | Aphids, armyworms, cutworms, leafhoppers, pea weevils, spider mites; damping off, powdery mildew | Species: | Sativum |
The Peas Are in the House
Imagine coming home from work, kicking off your winter boots, and heading to your indoor garden, where a fresh crop is ready for harvest.
Whether indoors or out, gardening is a healthy way to reduce stress and unwind. And when the rejuvenating efforts culminate in edible produce, all the better. I’ll take a handful of sweet homegrown peas over store bought any day.
Are you growing peas indoors? Let us know in the comments section below!
If you would like to learn more about peas and how to grow them, we recommend the following articles next: