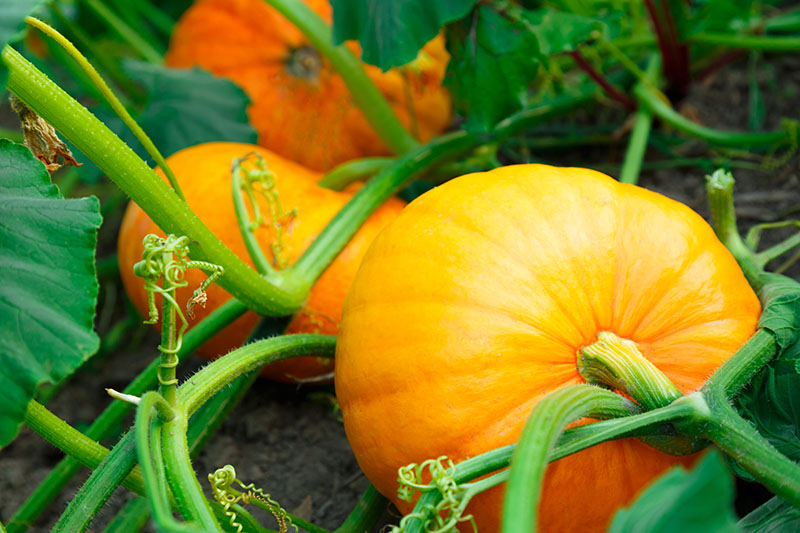
Cucurbita pepo
Just like Linus from Peanuts, I’ve always searched for the Great Pumpkin… well, a great pumpkin, anyway!
I admit an utter fascination with state and county fairs where farmers show off their freakish and massive pumpkins.
Something about the dedication it takes to grow one of those misshapen monstrosities inspires me to give it a shot on my own.

We link to vendors to help you find relevant products. If you buy from one of our links, we may earn a commission.
The bit of success I’ve had has taught me a thing or two about growing pumpkins.
Here’s what ahead in this article:
What You’ll Learn
Let’s get to it!
Planning for Your Pumpkin Patch
Pumpkins typically are at their best in USDA Hardiness Zones 3-9, and they prefer soil that is slightly acidic to neutral in its pH. We’re talking an ideal pH of 6 to 7.0.
If you’re not sure about the composition of your soil, you can do a soil test.
In fact, the best way to guarantee success is to start prepping your pumpkin patch right away. A good, solid year of preparation is just what the soil needs to ensure the productivity of your patch.
You’ll want your growing area to be in a location that gets lots of sun, though they can tolerate some light shade.
You should plan to space the mounds about four to eight feet apart, and on average you’ll be able to fit two or three plants per mound, depending on the cultivar that you select. Smaller varieties will take up less space.
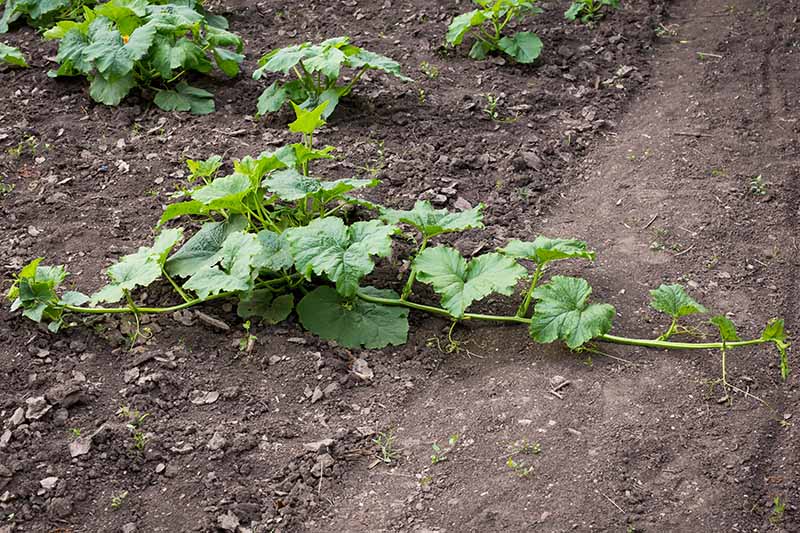
Start with finding a location where you can let your vines grow with abandon – and keep in mind that you can get creative with it.
I’ve seen people grow pumpkins in their front perennial beds to have built-in autumn decor ready for Halloween. Those long runners of vines can be cut and removed to free up walkways.
Pumpkins want good drainage, and warm, rich soil. Sound like a problem? Don’t fret! It’s a pretty simple process to achieve this.
Start with digging a hole about 12 inches deep by 12 inches wide. At the bottom of this hole, place a layer of aged manure or compost; about two to four inches should do the trick.
Place the soil back into the hole and add more until you’ve got a mound formed, about the size of a baseball base.
The purpose of mounding the soil is to increase drainage, and to provide a base of rich organic matter for your plants.
By prepping this mound six months to a year before you plant, you’ll be ready to plop those seeds in and get right to growing when planting season arrives.
I promise, your Future Gardening Self will thank your Past Gardening Self for doing this work ahead of time.
Seed Saving and Starting
If you’re collecting your own seeds from the guts of your jack-o’-lantern, simply spread the fresh seeds in a single layer on a paper towel and set it someplace dry and cool.
Since you’re going to prepare your patch so far in advance, this is a great activity to keep you busy in the meantime!
I’m a fan of placing my seeds randomly in desk drawers and glassware cabinets to dry – it’s fun to hear my wife’s reaction when she finds them!
After a week or so, the seeds should be plenty dry. Place them into an envelope and hold onto them until the growing season. Remember to label it with the variety and the date.
Keep in mind that hybrid pumpkins won’t grow true to seed, whereas heirloom and open-pollinated varieties will be identical to their parent plants – unless they were cross-pollinated by a different variety.
Another reason why we made those mounds when we were setting up our patch for growing was to increase the temperature of the soil for our seeds.
Pumpkins love warm conditions, and the seeds will germinate and start growing much faster when they’re in warmer soil.
It’s best to plant seeds directly into the soil rather than trying to start them indoors.
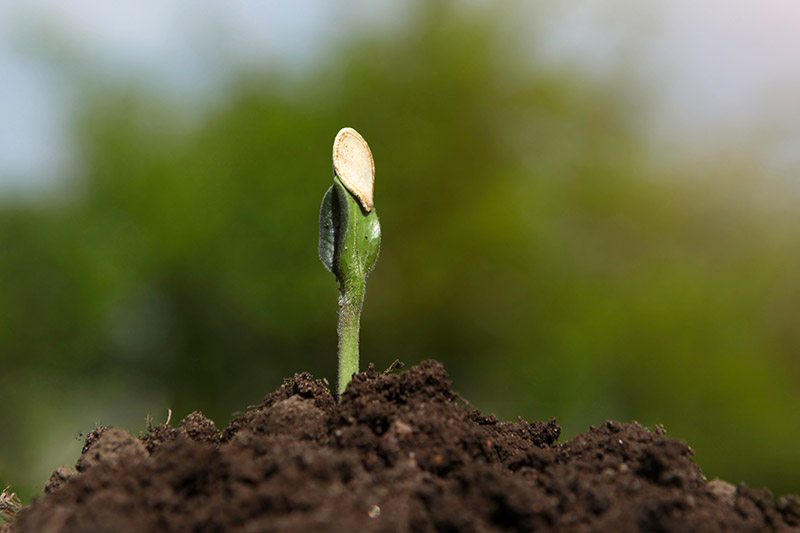
However, pumpkins are very cold sensitive, so make sure the soil temperature is about 70°F before sowing.
You’re probably safe to directly sow your seeds starting in late May, after the risk of frost has passed. Most regions won’t experience a significant cold snap this late in the year.
Plant the seeds about an inch deep in the mounds. You can grow about two to three plants per mound, but be sure to note the suggested depth and spread on individual seed packets.
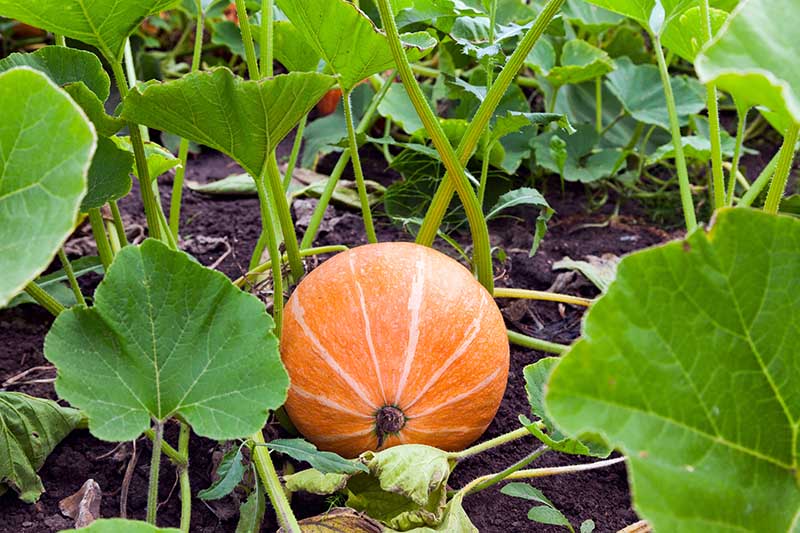
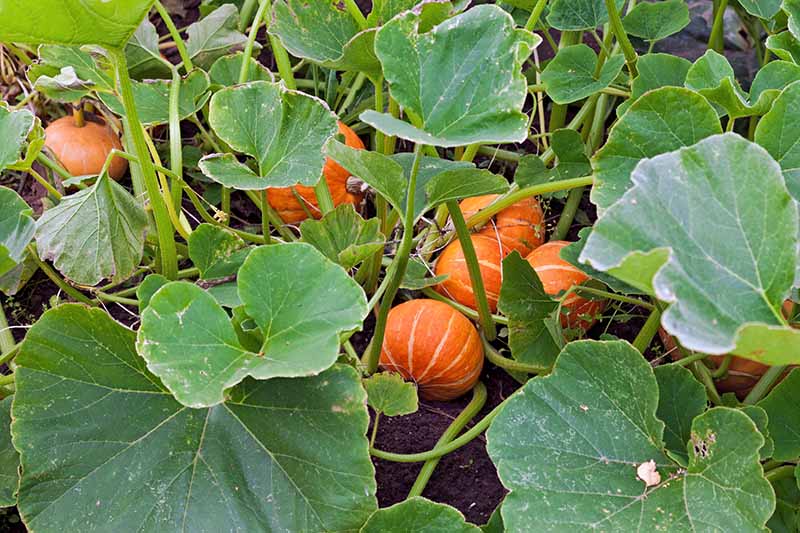
How to Grow
As your vines become established, there are some things to keep in mind to ensure that they are well cared for, and productive.
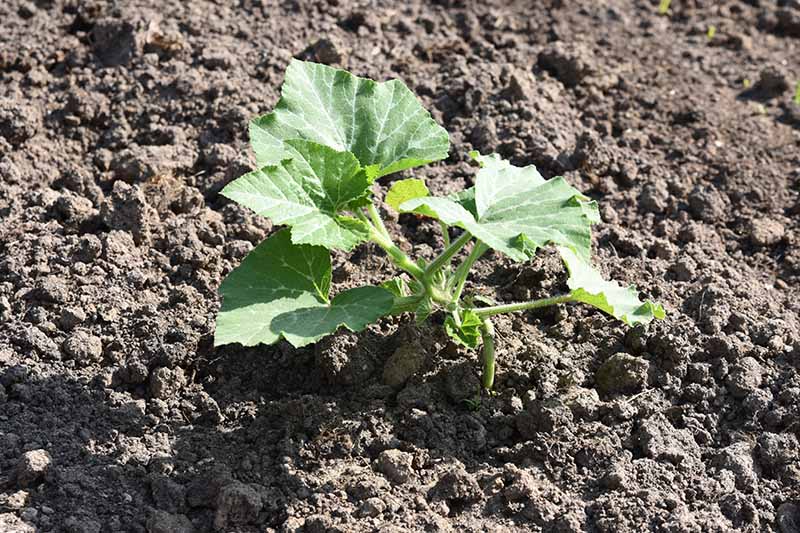
Keep them well watered, because they really can’t stand drying out! This is because pumpkins have very shallow root systems and can’t dig deeper in search of moisture.
A friend who works on a sixty-acre farm outside of the city and said they give their pumpkins as much as 20 gallons of water a week if there is no rain in the forecast.
It’s up to you to make sure your plants receive at least one to one and a half inches of water a week.
Those shallow roots mean you should exclusively hand weed as well, to prevent them from picking up any chemicals that you might use otherwise for weed control, and to avoid disturbing the roots.
Avoid digging through the soil if you can, to minimize the risk of damaging your pumpkins.
The old fashioned “chicken pickin’” style of weeding is your best bet here; pull the weeds directly from the ground and avoid using shovels, trowels, and other tools.
The roots are spread out around the entire plant and are very easily damaged – I can’t stress that enough!
If you can, set up some boards to walk on between rows so you won’t have to risk damaging the roots, or at least use the same foot path each time you walk between the plants.
Pumpkins are also voracious feeders, so get ready to fertilize regularly. You might as well call them “Hungry, Hungry Pumpkins.”
Considering how large their fruit is typically, it’s not hard to see why they’re so hungry!
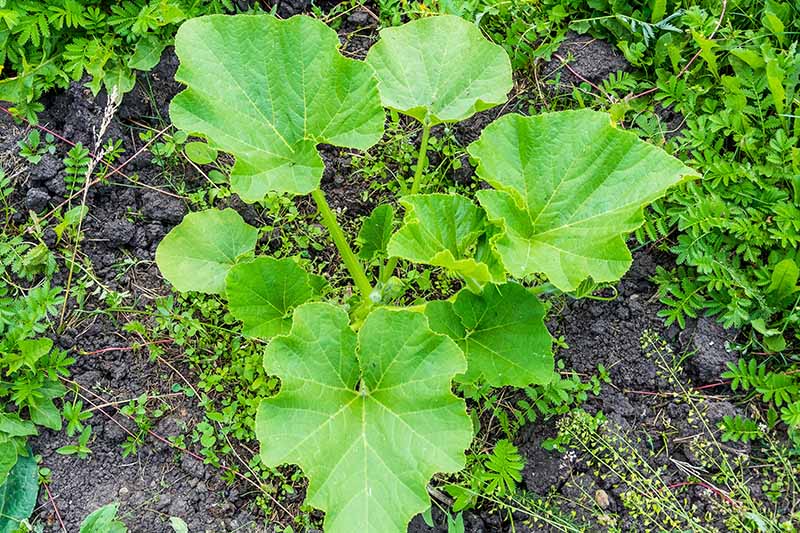
Start fertilizing your pumpkins when the plants reach about twelve inches in height, and before the vines start to run.
You can use almost any type of balanced fertilizer you have on hand for feeding your other edibles when first planting.
However, you should look for a higher phosphate and potassium combination rather than something high in nitrogen after planting.
Too much nitrogen will give you a huge tangle of vines, while higher phosphate and potassium levels encourage stronger, healthier blossoms.
Aim for a ratio of two to three times as much phosphate and potassium as there is nitrogen in whatever fertilizer you choose.
For example, instead of feeding plants with an all-purpose fertilizer that is listed as 2-2-2 (NPK), seek out something like 2-6-6 instead.
Learn more about plant nutrients, what they need and when they need it here.
It might be difficult to find fertilizers with these exact values, but that’s okay! The overall ratio is what’s most important here.
The important thing to keep in mind is that we are fertilizing with a balanced mix at planting time, and fertilizing for strong blooms and healthy plants while they grow and mature, while trying to keep a check on producing too much green growth.
Espoma Garden-tone Herb and Vegetable Food
I generally favor using anything from the Espoma product line, and their all-purpose vegetable fertilizer, available at Nature Hills Nursery, is good to get the ball rolling for your first round of fertilizing at planting time.
Following that, through the rest of the season we want to fertilize once a month, ideally using a liquid or water soluble fertilizer so the plants can absorb the nutrients immediately.
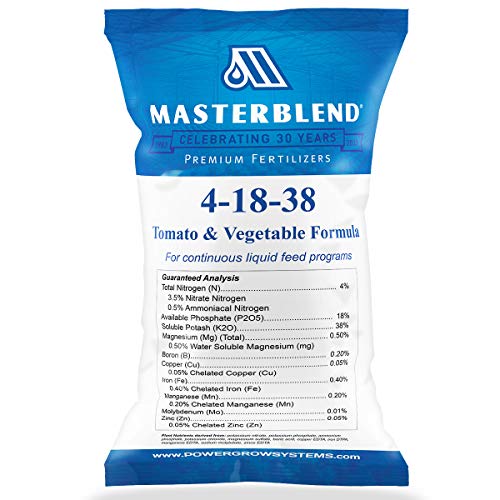
MasterBlend Tomato and Vegetable Formula
I’ve yet to use this personally, but this product by MasterBlend, available on Amazon, has been recommended to me for fertilizing pumpkins.
As a bonus it’ll work on most other vegetables in the garden, too.
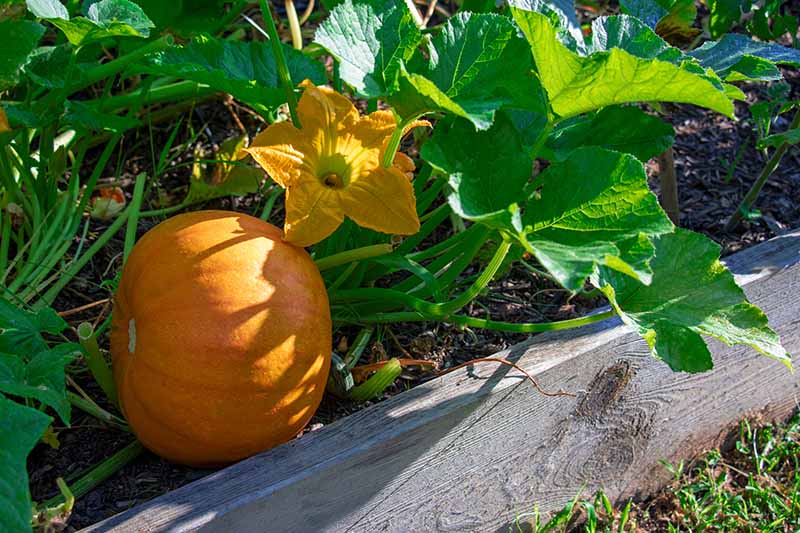
Once several fruits start to form on each plant, you can pinch back the fuzzy growth that’s forming elsewhere on the plant.
This helps ensure your pumpkins will grow large and in charge, because the plant is concentrating its energy on existing fruit rather than making new ones.
I’ve always turned my pumpkins every few days to keep them shapely and attractive. Some people will place a thin board underneath each fruit to keep it from getting too wet, but this hasn’t been necessary, in my experience.
Growing Tips
- Keep your plants fertilized, at planting time and once a month after that.
- Water regularly but not too much that it causes wilting.
- Consider growing smaller varieties along fences or trellises to save space.
- Once fruit starts developing, remove and prune additional booms and curly bits of growth.
- You can’t be too careful with the roots, so step lightly!
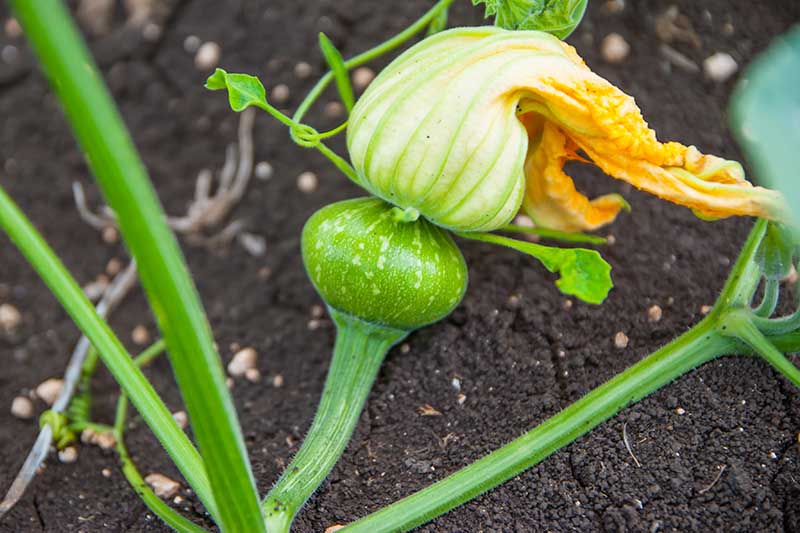
- If you have a lack of pollinators in your area or if you are growing in a greenhouse, hand pollination of the flowers may be necessary.
- If your vines aren’t fruiting like they should be, you can check out our supplemental guide, “5 Reasons Why Your Pumpkin Isn’t Producing Fruit.
Cultivars to Select
Most pumpkin plants take between 75 and 100 growing days to produce fruit. Remember, you’ll want to get your seeds started no later than late May in most cases.
But if you live in a warmer climate with a long growing season, you may be able to get away with starting your pumpkins as late as July.
If you’re looking specifically for eating pumpkins to make puree and pie filling, you can read more about some of our top picks.
And if decorating is more your thing, check out our roundup of the best cultivars for painting, harvest displays, and carving into jack-o’-lanterns.
Search for seeds online or check the selection at your local plant nurseries. I’m a fan of the following varieties.
Baby Boo
Sometimes you want straight-up quantity! For the lover of those miniature white pumpkins that seem to last forever, ‘Baby Boo’ is an ideal choice. One plant can produce enough fruit for all of your mantle-decorating needs.
Expect to harvest your plants after about 95 days. You’ll be collecting fruits that are about two inches high and two and a half inches wide.
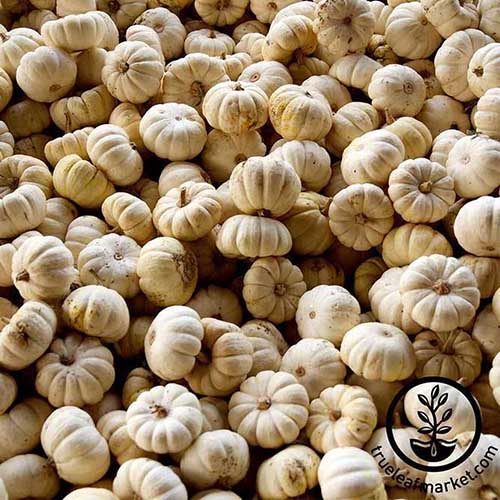
These grow best in Zones 3 through 8.
A special note here is that you’ll need to harvest these pumpkins before they are fully mature, or else they’ll take on a yellow shade.
Seeds are available from True Leaf Market.
Cinderella
A good pumpkin for simple decoration, and for baking. ‘Cinderella’ takes a bit longer to grow than most cultivars, but the end result is an appealing gourd that you don’t need to carve.
In fact, these aren’t very good for carving as they are squat and ridged. Sorry, kids! Just set the mature fruit out as is, as an attractive decoration for the harvest table or the front porch in autumn.
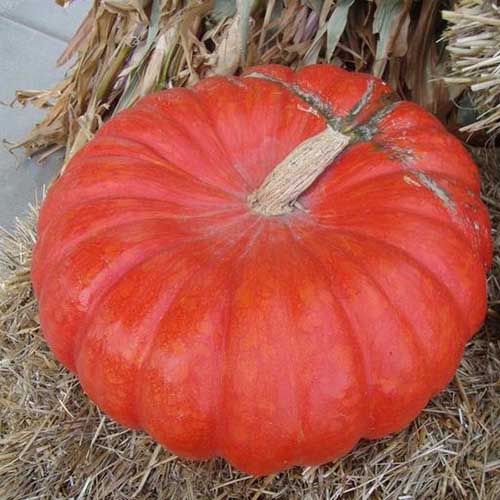
These pumpkins can take longer to reach maturity than other varieties, typically ranging from 90 to 150 days.
The fruit stands about 6 inches tall and 18 inches wide at maturity. This type is best suited to Zones 3 through 8.
Find seeds now, available from Eden Brothers.
Howden
An excellent pumpkin for carving! ‘Howden’ has extra thick flesh and is perfect for Halloween decorating.
Most of the fruits will develop to be somewhere in the 15-pound range at maturity.

It takes a few weeks longer for ‘Howden’ pumpkins to mature than some types, about 115 days, but you’ll be rewarded with a pumpkin that is typically about 18 inches tall by 20 inches wide.
Find seeds in a variety of package sizes from True Leaf Market.
Lil’ Pump-ke-mon
Any pumpkin that references Pokémon is a good choice in my book. These offer an attractive option when you want some two-toned pumpkins for your autumn arsenal.
It’s a flatter gourd that will bring some variety to your decor.
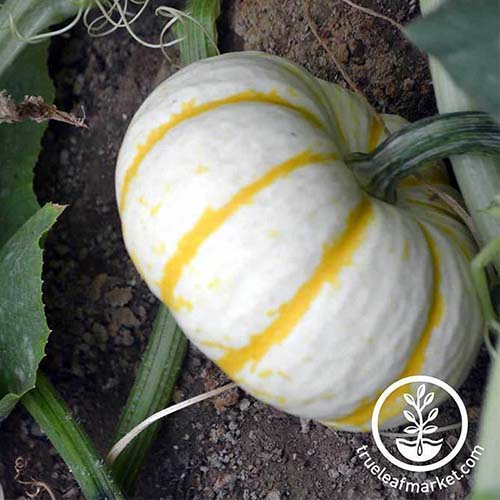
Harvestable about 100 days into the season with a crop of 3-inch-tall by 5-inch-wide squash. Not only are these easy to grow in Zones 4-8, they’re also a good option for baking.
Seeds are available from True Leaf Market.
Red Warty Thing
Even with its spooky, borderline offensive name, this pumpkin is happy to perform and to produce.
This is the cultivar of choice for when you want something rather unique, and oddly appealing. It’s also great for baking, proving that beauty goes more than skin deep.
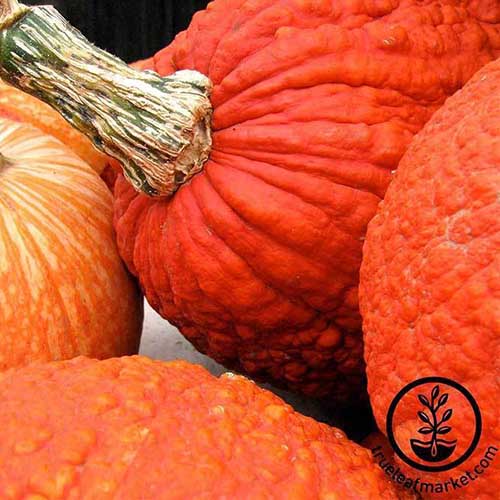
You’ll get your warty reward about 110 days into the season. Fruit tends to be about 16 inches high by 12 inches wide at maturity, but its thick rind means ‘Red Warty Thing’ is not suitable for carving.
Find seeds at True Leaf Market.
Managing Pests and Disease
Of course these hungry and thirsty plants, with their oh-so-tender roots, are appealing to certain pests. And you’ll have some diseases to watch out for as well. Gotta keep you on your toes!
Herbivores
I have noticed minimal herbivore damage on my pumpkins, but your garden might be different. Be on the lookout for these animals:
Deer
Our favorite garden friends love to eat the new shoots and fresh green growth of pumpkin vines, and when fruit is ripe they’ll tear right into the rinds to start eating.
A fence works best to keep deer away, but repellants can do the trick in a pinch.
Check out our guide on keeping deer out of your garden for more detailed information!
Rabbits
Like deer, rabbits will go after the tender new growth on pumpkin vines. They also munch on young fruit.
Rabbits have been the least of my concerns in the pumpkin patch, but if your garden has a rabbit problem, it’s time to bust out the humane traps, repellents, or a good old fence to keep them out.
Rodents
I’m a tree hugger through and through, but man, I sure don’t like rodents.
From mice, moles, and rats to squirrels and chipmunks, and their foul-tempered cousins – known as woodchucks or groundhogs – with their bottomless appetites, these critters can cause a lot of damage to a garden.
Mice and moles will disturb the roots of a pumpkin plant, and they have a lovely habit of tunneling into a pumpkin from an unseen angle and cleaning it out so that you’re left with a shriveling rind and a question of what went wrong when you discover the empty husk. Traps work well here.
For the rodents that I find to be at least a bit more cute than the mice, you may still have a problem on your hands. I’m talking about squirrels and chipmunks, and you’ll find these seed lovers destroying your fruit to harvest and eat the seeds.
Luckily the spray deterrents available work wonderfully for squirrels and chipmunks, especially the pepper-based ones.
The worst of the worst is the woodchuck. I’ve tried fencing and raised beds, but nothing seems to really get the job done effectively and reliably.
They’re awful critters, tenacious and determined. The only effective methods to control them are to trap and release, or to hunt them.
Insects
Watch out for these insects! Fortunately, most insect problems are solved naturally before they get out of hand, but being proactive and inspecting your plants for insect infestations is vital.
Aphids and Beetles
Aphids and squash bugs can be a problem. These pests can be controlled with regular applications of neem oil.
A host of other beetles could plague your pumpkins as well, but luckily they may all be controlled the same way.
A trick for dealing with beetles in general is to use row covers at planting time and destroy the remaining plant material immediately after harvest.
These critters can stick around for a while, and have a habit of coming back to the pumpkin patch year after year.
Minimize the risk of infestation by eliminating available access to your plants.
Beetles can be controlled with any pesticide that includes carbaryl, while most other buggy problems can be controlled with Bacillus thuringiensis (Bt).
Learn more about using Bt to control insects here.
Worms
Armyworms, cabbage loopers, and cutworms really dig pumpkins. Thankfully these insects are often controlled naturally by birds and other beneficial critters in the garden.
You can also manually remove these yourself – they don’t sting, they just feel a little gross.
Bt treatments work here too!
Disease
Fungal diseases are going to be the main culprit here, so keep an eye on your plants during periods of warm or humid weather, and be sure to water at the crown of vines at the ground level, rather than using overhead sprinklers.
Powdery Mildew
Powdery mildew is a fungal disease that attacks many different types of plants during periods of warm and dry weather. Pumpkins and other cucurbits are very susceptible. Severe cases of powdery mildew can be treated with an antifungal spray.
You can read more about getting rid of powdery mildew on pumpkins here.
Blossom End Rot
Finally, pumpkins are prone to blossom end rot, a problem caused by too much or too little water and a calcium deficiency.
Rather than being a disease caused by a pathogen, this is physiological malady.
I’m a fan of collecting eggshells, really smashing them up small, and adding them to the soil around my pumpkins before and at planting time to ensure that plenty of calcium is available.
Be sure to maintain a regular watering schedule if rain is not in the forecast, and supply supplemental water during periods of heat and drought.
For more information on preventing and treating diseases in pumpkins, read our guide (coming soon!).
Harvesting
As referenced above, the length of time to maturity can vary depending on the type of pumpkins that you are growing in your garden.
Be sure to check seed packets carefully and note the expected maturity date in your gardening journal at the beginning of the season.
Winter squash do not necessarily all ripen on the vine at the same time, so monitor each individual fruit for signs of readiness.
To pick your crop, use a sharp knife and slice cleanly through the stem a few inches away from the top of the fruit, being careful not to break off the stem or damage the vine.
Leaving several inches of the stem intact will help to prolong the life of your pumpkin decorations.
We also have seperate guides for determining when your pumpkins are ripe, harvesting seeds for eating, and storage after harvest.
Recipes and Cooking Ideas
Whether you’re in the mood for muffins or soup, pancakes or bread, or the old classic, pumpkin pie, this autumn vegetable offers a wealth of options in terms of good eating.
If you’re growing an eating cultivar, be prepared to scoop out those seeds for roasting, and roast the flesh as well.
It can be cut up into chunks and added to a curry, or blended into a puree for soup-making or baking.
The hollowed out shells even make an attractive serving dish that you can toss at the end of the meal!
For a whole wealth of delicious options, check out this roundup of the best pumpkin recipes on our sister site, Foodal.
Quick Reference Growing Guide
| Plant Type: | Annual vining vegetable | Maintenance: | Moderate |
| Native to: | Central and South America, southern US | Tolerance: | Heat |
| Hardiness (USDA Zone): | 3-8 | Soil Type: | Organically rich, fertile |
| Season: | Summer-fall | Soil pH: | 6.0-7.0 |
| Exposure: | Full sun | Soil Drainage: | Well-draining |
| Time to Maturity: | 75-110 days, depending on variety | Attracts: | Bees |
| Spacing: | 3-4 feet | Companion Planting: | Beans, corn, marjoram, nasturtiums, sunflowers |
| Planting Depth: | Seeds: 1 inch | Avoid Planting With: | Potatoes, other cucurbits |
| Height: | 1-3 feet | Family: | Cucurbitaceae |
| Spread: | 5-20 feet | Genus: | Cucurbita |
| Water Needs: | Moderate | Species: | maxima, moschata, pepo |
| Common Pests: | Aphids, beetles, cabbage loopers, cutworms, snails and slugs, squash bugs, vine borers | Common Disease: | Anthracnose, black rot, bacterial fruit spot, blossom-end rot, cucumber mosaic virus, downy mildew, fusarium crown rot, gummy stem blight, phytophthora blight, powdery mildew, sclerotonia rot, squash mosaic virus, zucchini yellow mosaic virus |
A Gourd-geous Fall Bounty
Nothing heralds the arrival of fall quite like the cheerful faces of pumpkins. As the days draw in, and the weather gets cooler, these decorative – and delicious – gourds are a reminder of summer’s bounty.
Are you growing gourds in your garden? Let us know in the comments below!
And for more information about growing pumpkins in your garden, check out these guides next:
- The Complete Guide to Growing Winter Squash
- Best Companion Plants to Grow with Pumpkins
- Nutrition and Health Benefits of Pumpkin Seeds
- How to Turn Green Pumpkins Orange After Vines Die
© Ask the Experts, LLC. ALL RIGHTS RESERVED. See our TOS for more details. Product photos via Eden Brothers, MasterBlend, Nature Hills Nursery, and True Leaf Market. Uncredited photos: Shutterstock. With additional writing and editing by Allison Sidhu and Clare Groom.


Sure wish your pumpkin info was set up to email and not limited to Facebook, Twitter and Pinterest.
Sorry for the inconvenience! For an email-ready option, what I like to do is save the article as a PDF to send via email. Just right click and tap on “Save As” via your desktop browser. Or, if you are accessing via phone, tap the menu with 3 dots in your browser and select the email sharing option. Hope this helps!
Thank you so much for this great page – excellent information. First time growing pumpkins this year (I’m in the UK so hopefully I’ll get enough sunshine), I plumped for a giant variety simply out of curiosity and I can’t wait to see the results.
Good luck with your pumpkins! If you are growing a giant type, you might enjoy our article about growing giant pumpkins. Happy gardening!