
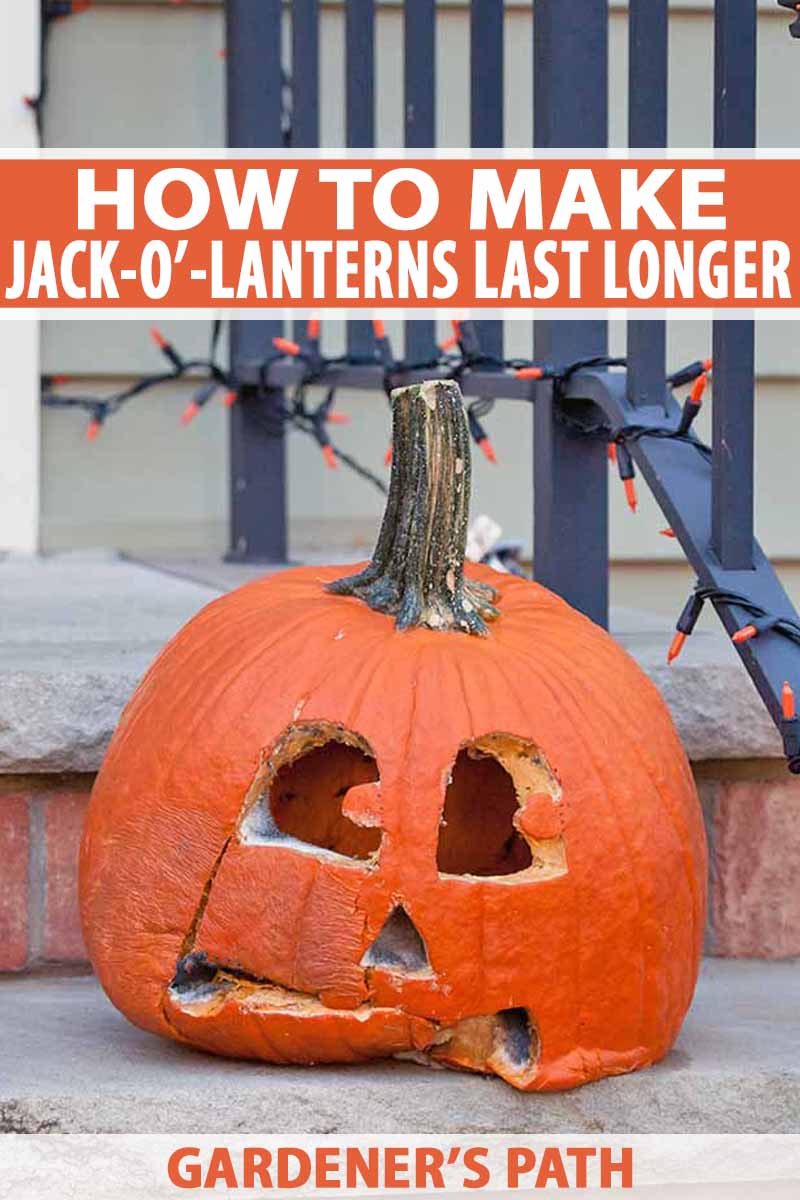
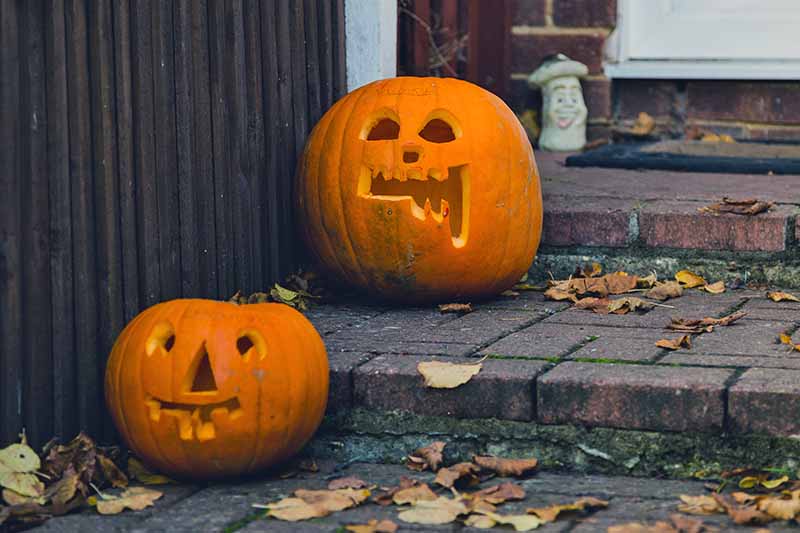
It’s almost Halloween, and that means pumpkin carving!
But what can you do to keep those gorgeous creations from turning into a pile of mush within a matter of days?
We link to vendors to help you find relevant products. If you buy from one of our links, we may earn a commission.
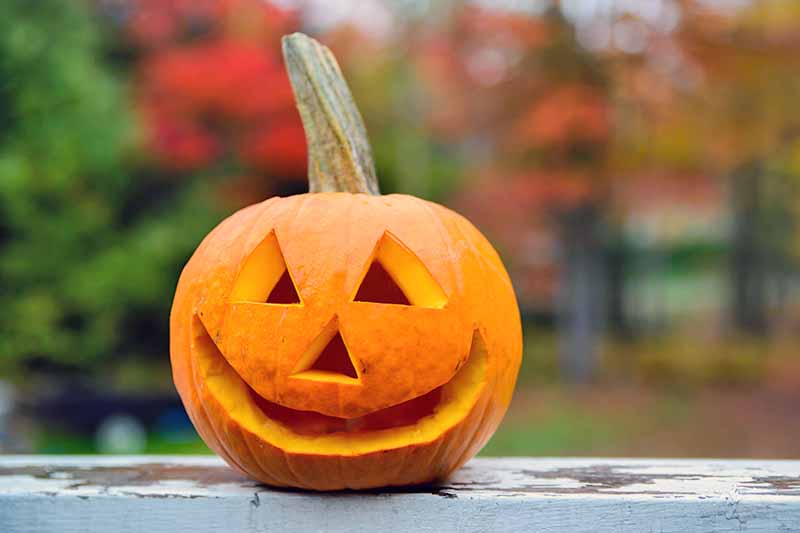
From choosing the best to carving and proper care, the following 9 tips will help you keep your decorative masterpieces fresh for a festive Halloween night.
9 Tips for Long-Lasting Jack-O’-Lanterns
1. A Stem Is a Lifeline
The ideal pumpkin has a good length of firm stem that is still attached, and this should not be shriveled.

It’s still being nourished by this portion of the vine, making it less vulnerable to rotting than its stemless counterparts.
2. Blemishes Are Red Flags
Bruises, cuts, and scars are stress indicators that may mean an early decline. For the longest possible life, your selection should have the least blemished skin.
3. Go Green

An unripe fruit or vegetable lasts longer than a ripe one, so pass on the orange and go for the greenest one you can find, for a fresh, funky look.
4. Squeaky Clean
When you get home, wash the skin with an antibacterial dish detergent or hand soap and thoroughly dry it, to remove rot-inducing debris and bacteria.
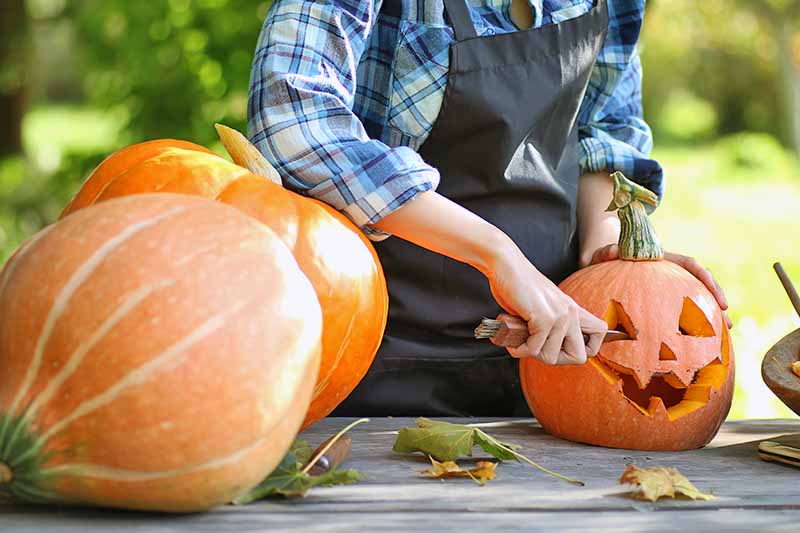
5. A Back Door Instead of a Lid
Instead of slicing off the top to reveal the “guts” inside, cut an opening in the back of your pumpkin.
Remove the piece and notch a thumb-sized hole out of the edge for easy grasping and convenient access to the cavity. By leaving the stem in place, nutrient feeding continues for the bulk of the vegetable.
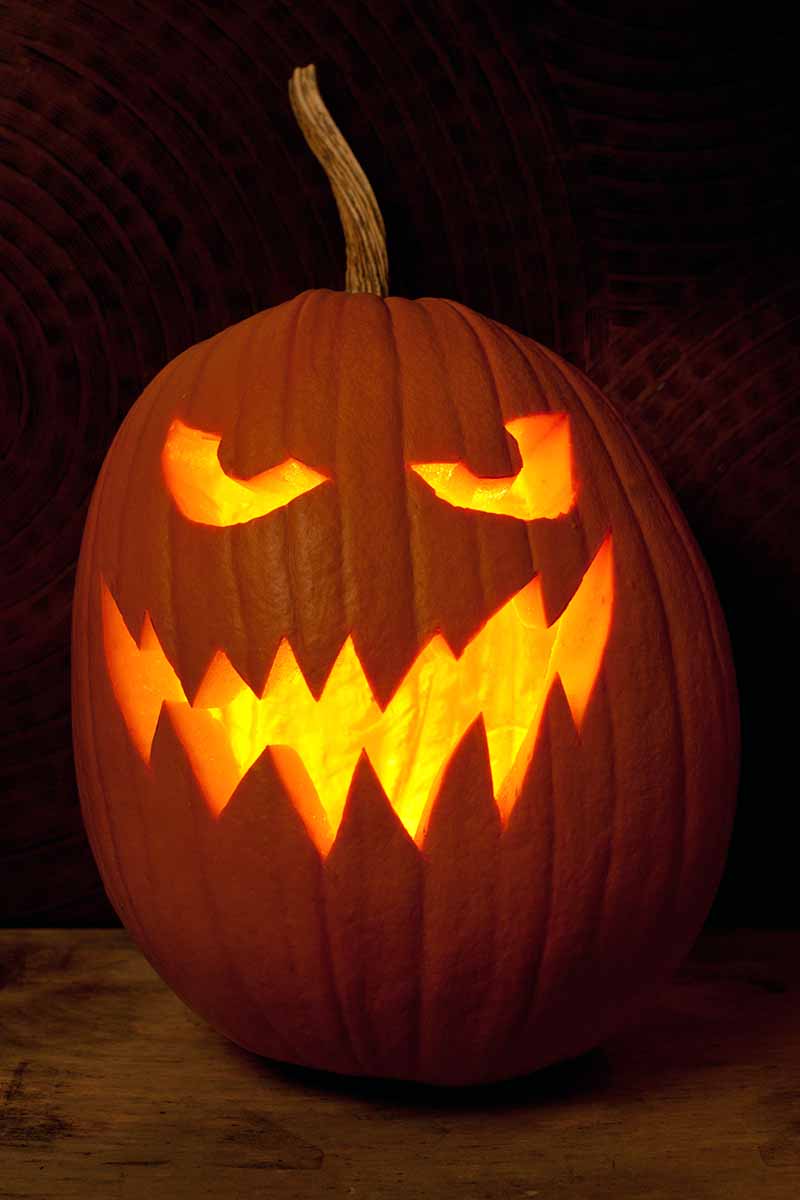
6. Simplify Designs
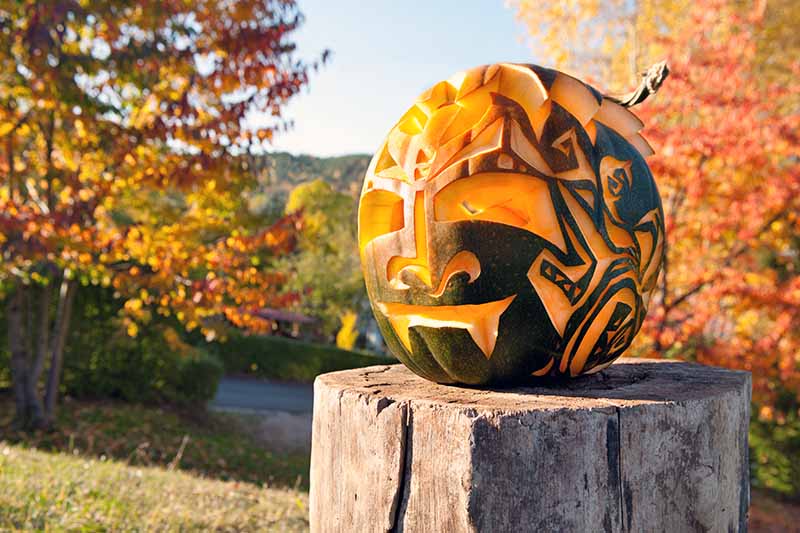
The techniques of thinning and removing skin, as well as making many intricate cuts, increase vulnerability to rotting. The first to go will often be the ones with the least holding them together.
7. Freshen Up with Baking Soda
To absorb moisture and odors, place a cup of baking soda inside the clean cavity. For safety, remove it while the pumpkin is lit with a candle. You may leave it in if you’re using battery-operated lighting.
8. Elevate on a Plate
Instead of putting your Halloween masterpiece directly on the ground, put it on an old plate to prevent moisture absorption and insect burrowing.
9. Let Jack Sleep Indoors
To avoid exposure to excess moisture from morning dew and frost, bring your carved creation inside for the night. Keep it in a cool, dry location until you wish to display it outdoors again.
By following these tips, you’ll get the most bang for your pumpkin buck. Barring a spike in humidity or a plunge to freezing temperatures, you may not notice decay for a week or more.
For quality craft tools, check out the Pumpkin Carving Kit from Ninonly, available on Amazon. It contains four precision stainless steel pieces guaranteed not to break.
Use them with care. These tools are sharp, they are not toys, and supervision of children is a must!
Safety First: What Not to Do
And while we’re on the subject of safety, let me caution you about some other ideas that are floating around out there for extending the life of carved pumpkins:
Hazardous suggestions include applying petroleum jelly, mineral oil, or hairspray. Please know that such materials are flammable and/or combustible, and that a candle or other hot light source in the vicinity may lead to fire or injury.
Another dangerous idea is to use desiccant packages. I urge you not to use these either.
They look too much like candy packets, and while some are non-toxic, others contain toxic cobalt chloride, and all pose a choking hazard. Kids eager for a candy fix may be eager to give these a taste if unsupervised.
Take care, and enjoy a fiendishly fun Halloween!
Resources You Can Use
For more seasonal ideas, consult our articles on arranging foliage from your garden, and growing fall-blooming New England aster, chrysanthemum, and winter squash.
Visit our sister site, Foodal, to read about the varied uses of pumpkin, making pumpkin puree, roasting pumpkin seeds, and more.
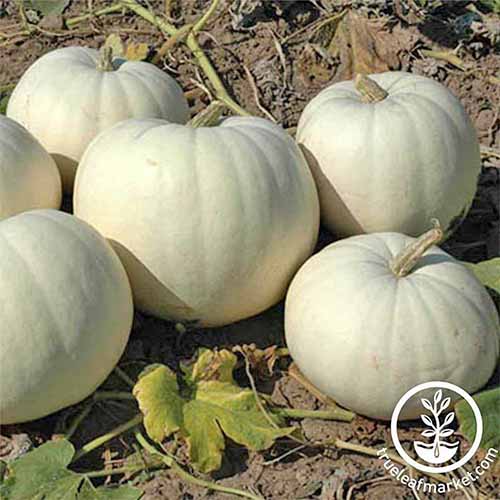
‘New Moon’ Hybrid Pumpkin Seeds
And for something really different next year, how about growing your own white pumpkins? New Moon Hybrid seeds are available from True Leaf Market in packages of 100.
Want to share photos of your jack-o’lanterns? Post them on our Facebook page! And don’t forget to leave a comment below, to let us know which squash preservation tips have worked for you.
And for growing your own pumpkins, be sure to check out some our guides such as:
- Pumpkin Growing 101
- How to Choose the Best Halloween Pumpkins to Grow in Your Garden
- How to Grow Giant Pumpkins
- How to Turn Green Pumpkins Orange After Vines Die
Product photos via Ninonly and True Leaf Market. Uncredited photos: Shutterstock.