Maybe it’s because I always struggled with math in school, but anytime I see numbers and measurements, I balk.
Unfortunately for my plants, this includes the measurement and feeding instructions on the back of a fertilizer package.
But I have learned my lesson about fertilizer.

We link to vendors to help you find relevant products. If you buy from one of our links, we may earn a commission.
Two years ago when I moved into my little red house in Alaska, I planted three apple trees. For those first two summers, they bloomed and produced fruit – even after heavy pruning following a moose attack.
This year, sadly, only two of the trees bloomed. The others are alive and robust… too robust. I fertilized them with a low-nitrogen, high-phosphorus fertilizer in April without measuring the quantity.
And then I also applied a high-nitrogen grass food to the lawn around the trees.
What a scatterbrained move. The excess nitrogen from the lawn fertilizer has caused the trees to produce a lot of leafy growth, but no flowers – or fruit.
I’ll have to wait until next year to rectify the damage, and simply enjoy the green growth this year.
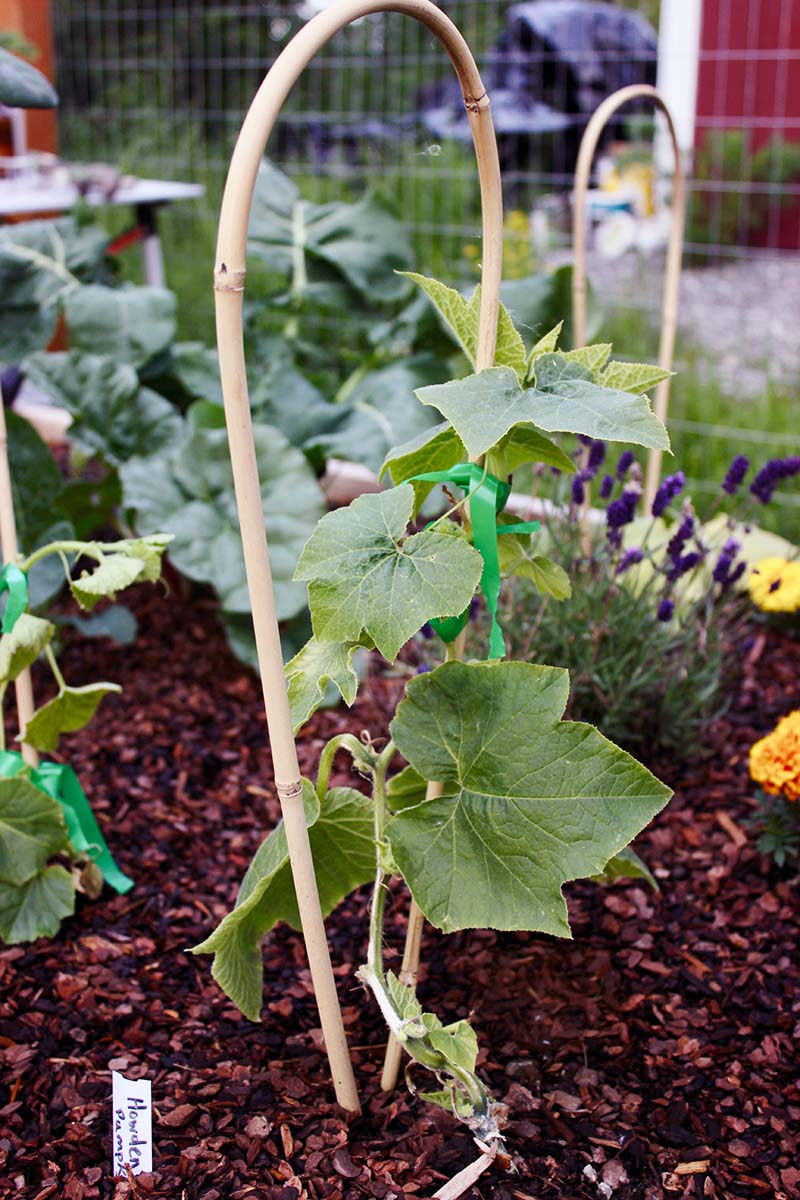
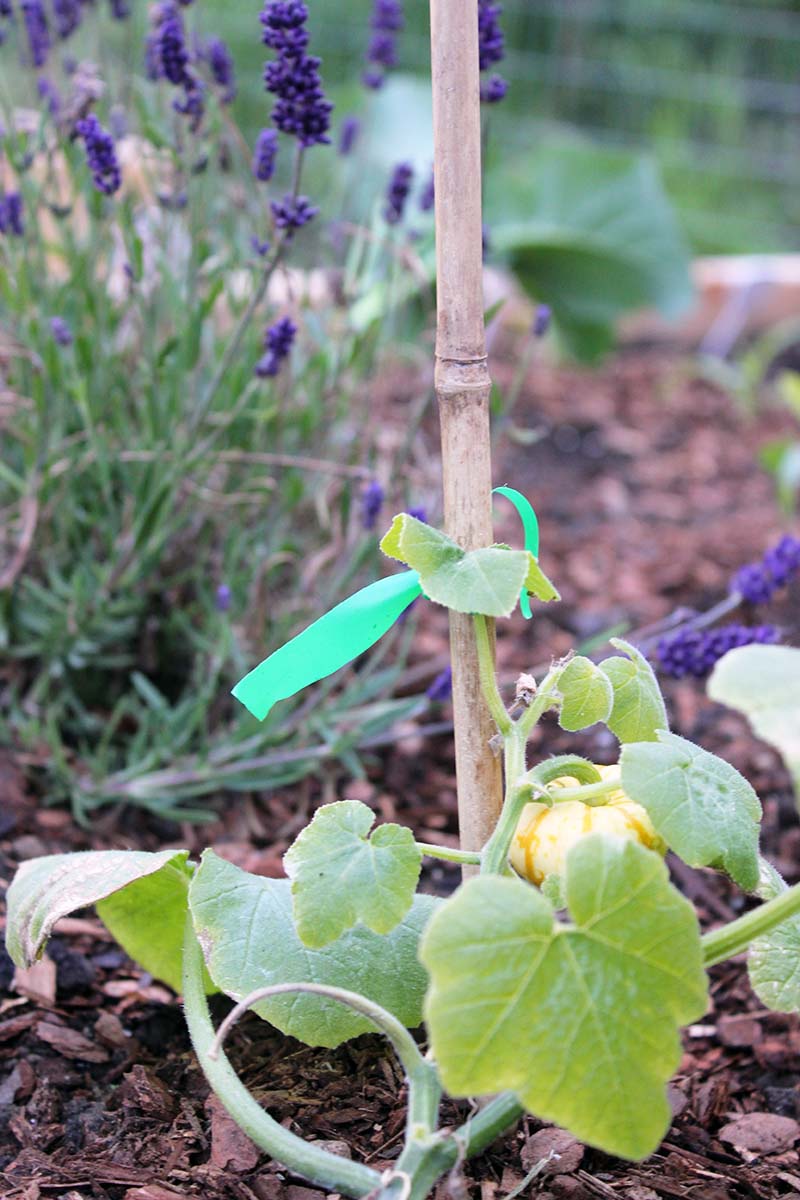
But since this is an article about pumpkins – which you can read more about in this growing guide – let’s talk gourds. Unlike apple trees, pumpkins (Cucurbita pepo) aren’t perennials.
You’ve got one sweet summer to get the fertilization right.
What You’ll Learn
Understanding Fertilizer
While there are many nutrients that plants need in various quantities in order to thrive, nitrogen, phosphorus, and potassium are the three most important macronutrients.
But just looking at the three numbers on fertilizer packets used to make me want to scream.
I am not kidding about my math aversion.
For those of you who are like me, just know that these numbers and letters aren’t as confusing as they might seem.
Let’s take the general-purpose balanced fertilizer 10-10-10 (NPK) and break it down.
First, know that the three numbers each have an invisible tether connecting them to one of the letters, in the order of nitrogen (N), phosphorous (P), and potassium (K).
Think of it like this: 10(N)-10(P)-10(K).
The letters come from the periodic table of elements, and the three numbers represent the ratio of each element contained in the fertilizer – and the overall percentage of each element.
For example, a 10-10-10 (NPK) fertilizer contains 10 percent of each element. In a 9-12-12, you’ve got 9 percent nitrogen, 12 percent phosphorus, and 12 percent potassium.
You’ll see why it’s important to understand these numbers in just a moment.
Check out this guide to learn more about plant nutrients, what they need, and when they need it.
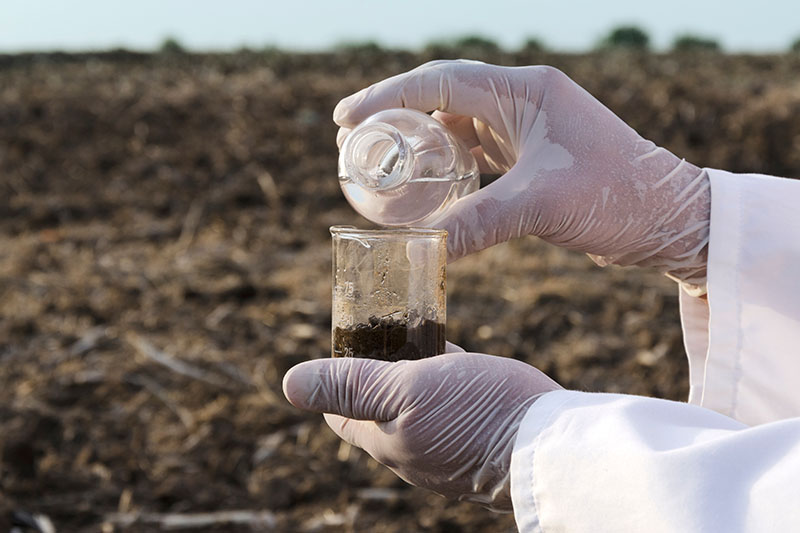
Conduct a Soil Test
If you have a chance before sowing seeds or transplanting seedlings to your garden, it’s smart to conduct a soil test.
This will determine the levels of nitrogen, phosphorus, and potassium in the soil, as well as its pH level.
My raised beds are new, and they are filled with a garden mix of topsoil, peat moss, and compost.
But as I have a lot of plants competing for nutrients every day, I decided to get a soil test kit to help me understand the nutrient balance of the soil I’m working with.
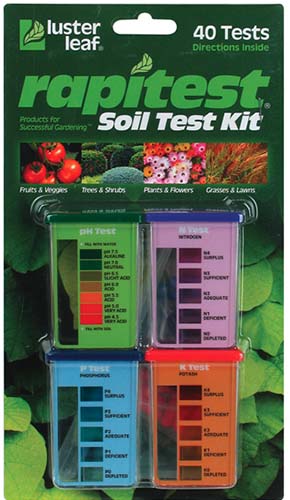
Luster Leaf Rapitest NPK and pH Soil Test
I ordered my at-home soil test, the Luster Leaf Rapitest NPK and pH Soil Test, from Arbico Organics.
I had a question during the ordering process, and was delighted that a customer service representative at Arbico Organics answered right away and helped me place the order.
You can also conduct a soil test via your local agricultural extension office.
I should have done this before planting anything in my raised bed, but alas, I did not. I’m too curious not to try it now nonetheless, even though we’re halfway through the summer here in Alaska!
The test results will give you a basic understanding of your soil before you add any nutrients or amendments to it.
But if you don’t have the means to do a soil test, that’s okay too.
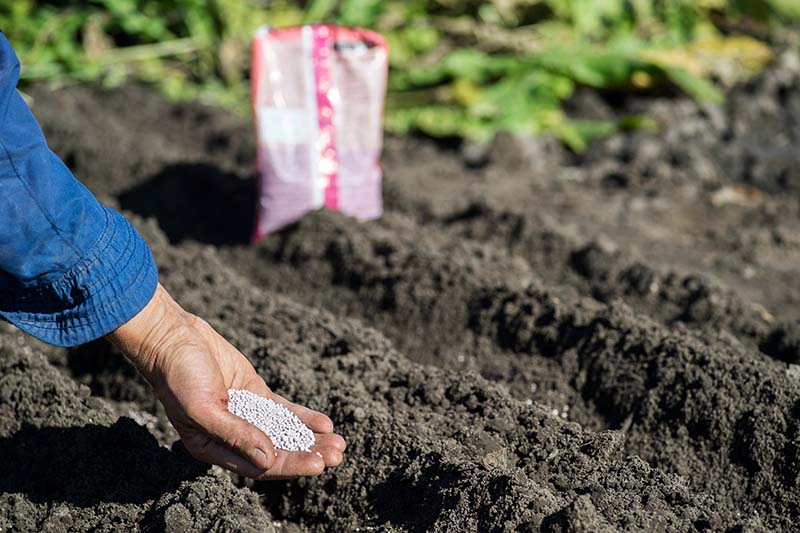
Make sure you amend your soil with compost, well-rotted manure, or a general-purpose balanced fertilizer before you plant. That way, you’ll have a solid foundation for your gourds.
Many soil tests (including the one that I purchased from Arbico) also come with a pH testing option. Pumpkins require a soil pH between 5.5 and 7.5.
If you find that the soil is too acidic (below pH 5.5), amend with compost if it’s not too far below 5.5, or you can add lime if your soil is really low on the pH scale.
For soil with a pH above 7.5, you’ll need to make it more acidic and less alkaline. To do this, amend the soil with peat moss or granular sulfur.
Now it’s time to break down pumpkin fertilization during the different phases of plant growth, which is a little more involved than just adding a general-purpose product whenever inspiration strikes.
You’ll want to follow these guidelines even if you don’t conduct a soil test.
The Three Steps of Pumpkin Fertilization
The first thing you should know about feeding a pumpkin is that the plant requires different nutrients for each of its three main growing phases.
It’s a heavy feeder, and while applying a general, balanced NPK fertilizer throughout the growing period is better than nothing, it’s less than ideal.
Below, you’ll find out why.
1. Pre-Flowering
In the 55 or so days before your vine begins to flower, you need to make sure the plant has sufficient nitrogen.
Nitrogen is crucial to any plant’s early growth because it’s an important component of chlorophyll, the compound responsible for the green color of stems, vines, and leaves.
Chlorophyll absorbs energy from the sun and uses it to create sugars to feed the plant, via a process called photosynthesis.

Nitrogen promotes leafy green growth, which helps your young plant produce healthy vines and foliage while it becomes established.
If you test your soil and discover that it’s nitrogen deficient, you can add blood meal (12-0-0), according to package instructions.
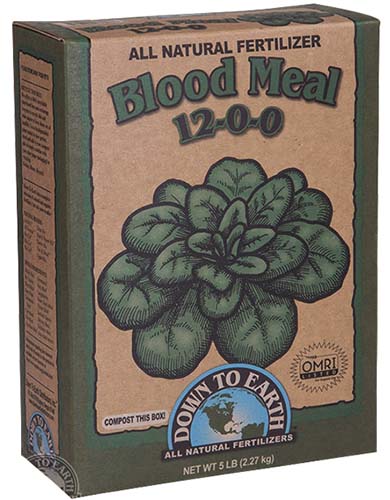
You can find blood meal available at Arbico Organics.
Or, if your initial soil test finds that your soil is phosphorus and potassium deficient too, you can apply a balanced 10-10-10 NPK fertilizer to the soil.
This will satisfy your plant’s nitrogen needs and also provide a head start on the pumpkin’s heavy phosphorus and potassium requirements in the second and third growing stages.
Follow package instructions for mixing it into the soil around your young vines.
Make sure not to accidentally over-fertilize, like I did with my apple trees!
If you notice a lot of leafy green growth but few (or no) buds starting to develop – especially as you approach day 55 after germination – stop applying nitrogen.
Overly large leaves are also a sign of excess nitrogen, as are random tears inside the leaves. If at any point you notice these signs of over-fertilization, stop adding nitrogen.
The plant will have enough for the rest of this growth phase.
Feed your gourds every two or three weeks, until about 10-15 days before flowering should occur – 40-45 days after germination
2. Flowering
Around day 55 after germination, your vines will begin to produce blooms.
During the blooming phase, the plant requires phosphorus. This element is an essential component of adenosine triphosphate, or ATP, which provides the energy needed to form buds and fruit.
Without an appropriate amount of phosphorus, the plants may not bloom. Even if they do bloom, the buds may be aborted before they open, and plants may even abort young pollinated fruits as they don’t have enough energy to grow bigger.
Just before the blooms start to appear – at about 40-45 days after germination – stop adding extra nitrogen and instead add bone meal (not to be confused with blood meal).
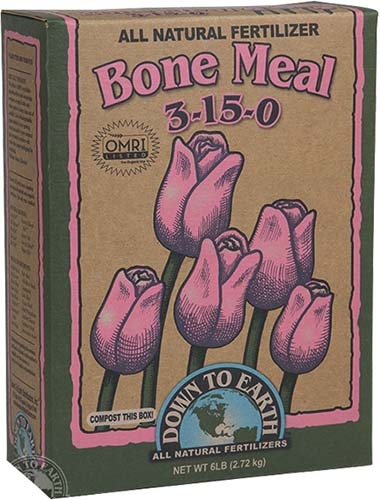
Bone meal, which you can find at Arbico Organics, is generally 3-12-0 NPK, meaning it’s relatively low in nitrogen but high in phosphorus.
It doesn’t contain any potassium.
In June, I noticed that my plants seemed a little unhappy. The foliage wasn’t as green as I wanted it to be, and I hadn’t seen any new male flowers for a week.
Since two of the plants didn’t even have pumpkins growing on them yet, this got me worried.
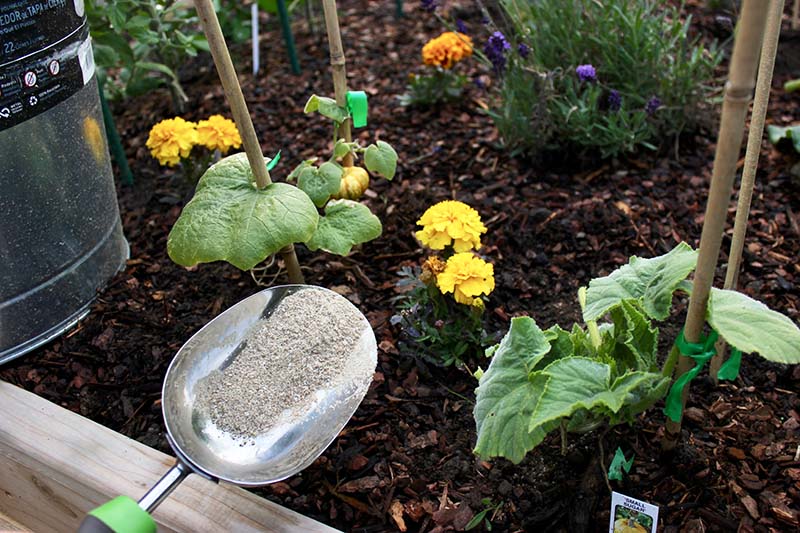
I fertilized each of them with all-natural bone meal by sprinkling a tablespoon or so around the base of the plant.
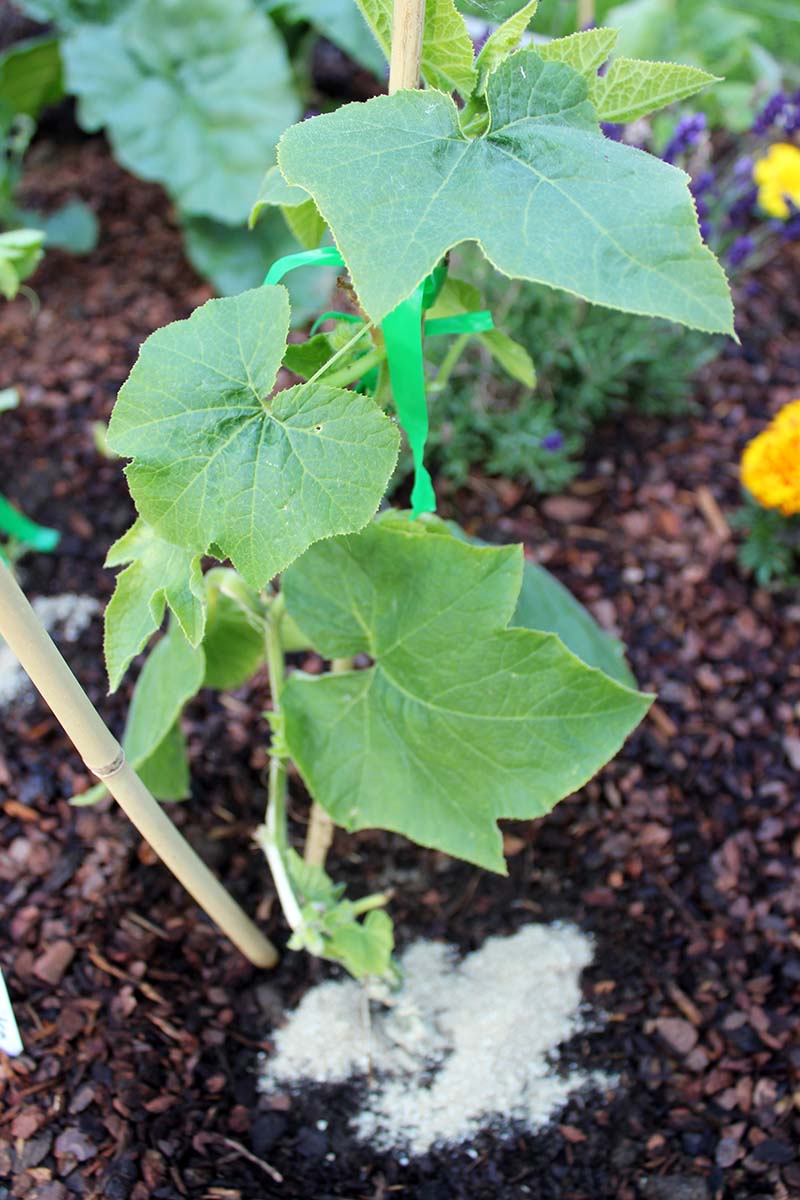
With a hand cultivator, I gently worked the bone meal into the top two inches of soil, so as not to disturb the roots.
After that, I replaced the mulch I’d displaced and watered the plants thoroughly.
I kid you not, two days later I spotted a female flower on my ‘Howden’ for the very first time.
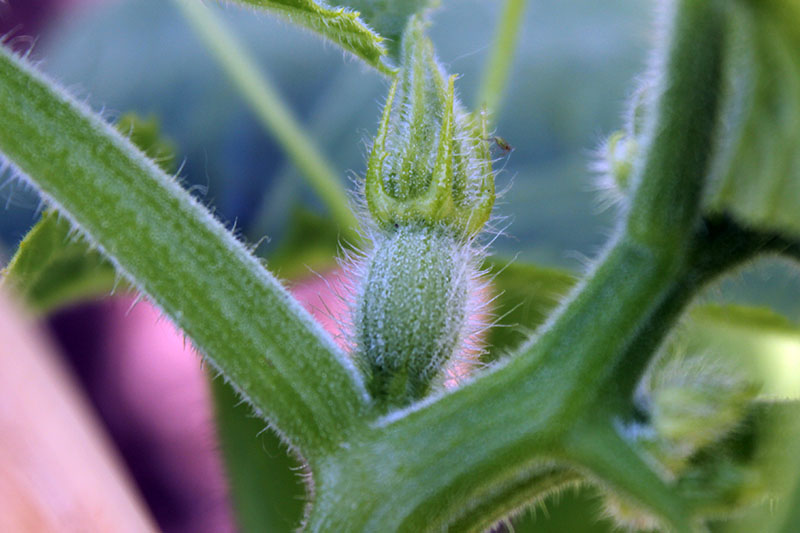
To say I was thrilled is an understatement. Plus, I looked carefully at the plants and found a couple of tiny male flowers beginning to develop, too.
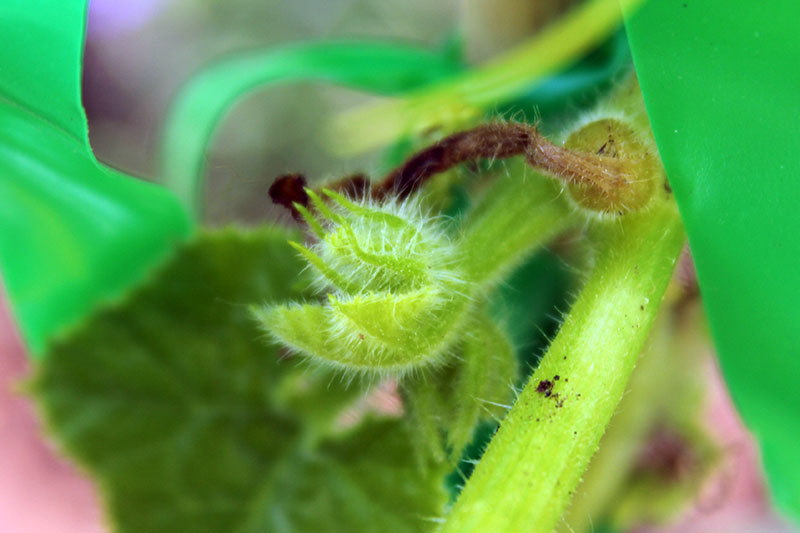
Now I’ll be watching the buds closely to make sure I can catch them both in bloom at the same time so I can hand-pollinate them.
This just goes to show you how important it is to make sure you fertilize your gourds with bone meal or another high-phosphorus fertilizer during the flowering stage.
For best results, add a little bone meal according to package instructions to the soil around your vine every one to two weeks.
But watch out for signs of over-fertilizing with phosphorus: if leaves begin to look yellowed around the edges, stop applying phosphorus.
Too much phosphorus can inhibit the plant’s iron and zinc uptake.
Once you’ve got several small fruits developing on your vine, it’s time to channel some of your fertilizer focus to potassium.
3. Fruiting
Don’t ease up on the phosphorus too much once the pumpkin starts growing, but do make sure you also give your developing gourds potassium.
Potassium is also a critical part of energy-producing ATP, and helps regulate the amount of water and carbohydrates stored in the plant tissues. It also stimulates the production of starch and protein in the gourds.
You can switch to a 5-10-10 NPK fertilizer that is high in both phosphorus or potassium, or continue to feed your plant bone meal along with seaweed powder, an excellent source of K.
Try this 0-0-17 NPK seaweed powder from Arbico Organics.
I bought this exact fertilizer for my pumpkins and I’ll also use it to feed my tomatoes, jalapeno and bell peppers, and cantaloupe after they flower and begin to set fruit.
To use the seaweed powder, mix a teaspoon into a gallon of water and let it dissolve overnight. Water the pumpkins with the seaweed water the following day, and once a week thereafter.
This will help ensure that your plants have all the potassium they need in order to grow into big, tasty, fleshy pumpkins.
As always, also be sure to watch out for over-fertilization with potassium. If you notice cracks in the fruit as it’s growing, and if it seems to be growing too quickly, hold off on future potassium applications.
Too much of this essential nutrient can cause gourds to grow too quickly and split open prematurely. Not cool!
Well Fed and Joyful
Keeping your pumpkins happy can only bring great rewards, like a gorgeous orange gourd to carve come Halloween or a sweet young squash for your Thanksgiving pies.
Now you know exactly how to help your pumpkins grow, set fruit, and thrive. And you won’t have to learn any painful over- or under-fertilization lessons first, like I did with my apple trees.
But of course, if you do have fertilization snafu stories, I’d love to hear them and any other gourd-growing questions in the comments below.
And for more information on growing pumpkins in your garden, check out these guides next:
- How to Train Pumpkins to Grow on a Trellis
- The Best Companion Plants to Grow with Pumpkins
- 5 Reasons Why Your Pumpkin Isn’t Producing Fruit
- When and How to Trim Pumpkin Vines
Photos by Laura Melchor © Ask the Experts, LLC. ALL RIGHTS RESERVED. See our TOS for more details. Uncredited photos: Shutterstock.
Thanks so much for this info, I never understood the NPK numbers, now after yellow leaves and no fruit set on my pumpkins that has changed after applying a high potassium fertiliser. Big yay. Thanks again.
Hi Laura, I just love the way you write and everything is in one place instead of having to rush from one article to the next all over the internet trying to find the right information.
Can you please tell me whether I should feed the original planting location of the seeds, where the vine begins, or 25 feet out where the pumpkins are growing with their own little root systems. Or both?
Hello Brigitte! For the most part, you should stick to fertilizing near the base of the pumpkin plant, not near the runners. (Congrats that they’/re growing 25 out, though!) .If the runners are anchored to the soil with little roots but haven’t formed blossoms, though, you may want to scratch. just a little potassium-rich fertilizer into the soil near the individual pumpkins forming on the vines to encourage the fruits to be healthy. Be careful not to give the vines more nitrogen once they’ve started blooming, though, either at the site of the runners or near the base of the… Read more »
Can I please try your fertilizer for my pumpkin plants?
You can follow the links in the article for suggested products. Happy gardening!