Most people who are worried about “storing pumpkin” are looking only for ways to store the portion of puree that’s left in a can of pie filling after doing their baking for Thanksgiving.
But when you grow your own Cucurbita pepo, C. moschata, or C. maximum, being able to save the bounty to use at Halloween or throughout the winter is a luxury.
Since these species have been bred as important food sources, this type of winter squash isn’t super picky about how you save it.
We link to vendors to help you find relevant products. If you buy from one of our links, we may earn a commission.
But there are a few steps that will keep your harvest from rotting before you can carve or cook with them.
I’ll share tips for all types you might want to save for later. Here’s what to expect:
What You’ll Learn
How Long Can You Store Fresh Pumpkins?
Before you make plans, a reality check is in order.
All your best efforts won’t keep these winter squash fresh beyond a certain point.
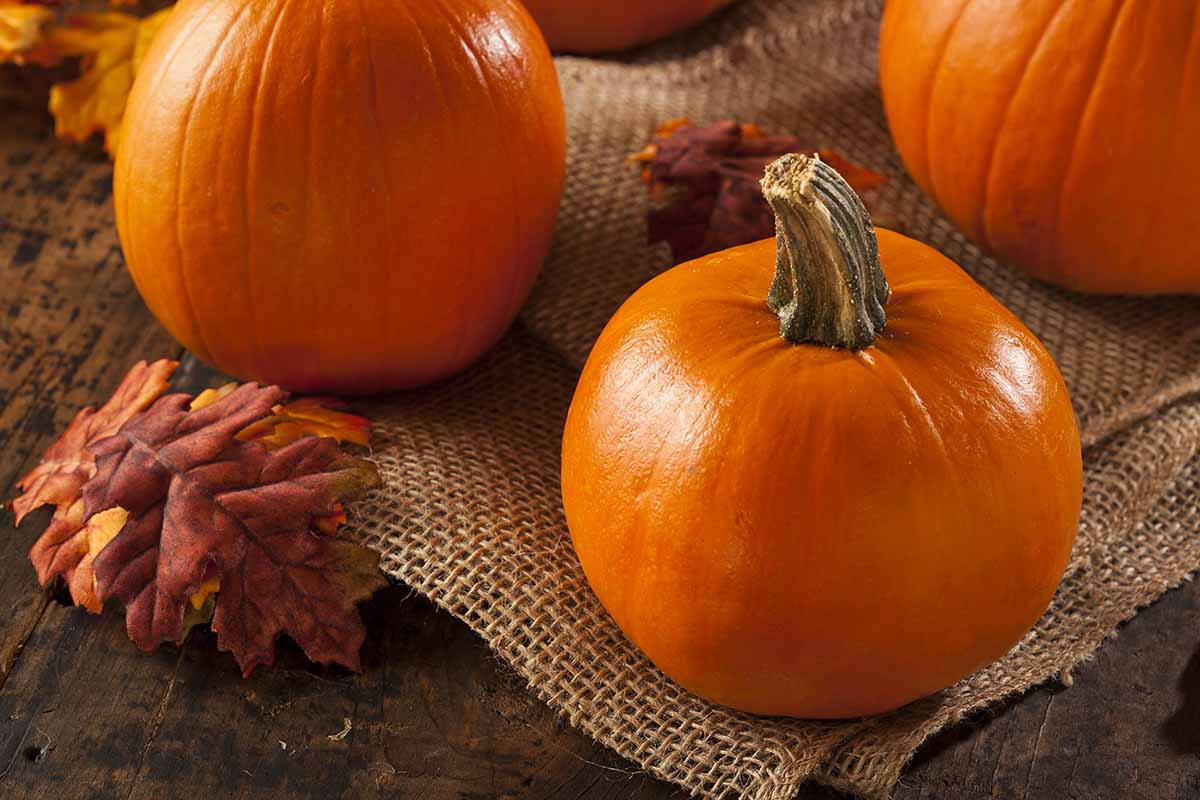
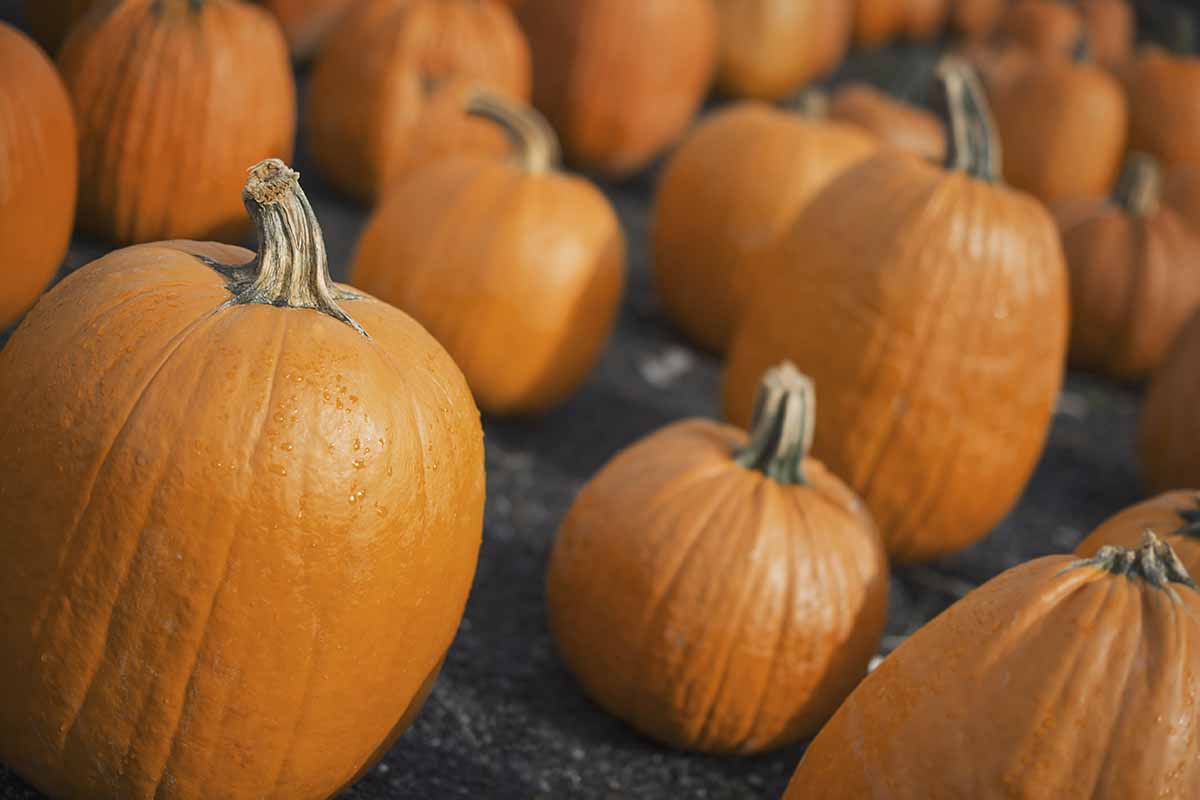
If you’re trying to save a Halloween variety with a thin rind and minimal flesh, you can expect it to stay fresh for a month at room temperature, or a couple of months if you take steps to store it somewhere that’s cool and dry.
As for pie types, they may last two to six months in ideal storage conditions.
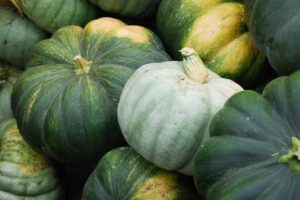
Some heirloom cooking pumpkins, like ‘Amish Cheese,’ have thick, sweet flesh and have been bred to be stored for many months longer.
The Australian cooking favorite, ‘Jarrahdale,’ can last up to a year in storage. I have experience growing this variety, and last season used the green-rinded fruits as part of a Christmas display atop my piano.
Of course, any of these maxed out expiration dates rely on a lot of attention from you. Read on for the tactics that will improve your odds of long-storage success.
Planting and Growing Considerations
It’s hard to imagine planning this far ahead, but the best time to assure the fruits last a long time after you harvest them happens very early. You’ll need to determine the best time to pick before you sow.
For jack-o’-lantern types, you’ll want the number of days to harvest to coincide with a date a few weeks ahead of Halloween. That will give you time to cure the fruits ahead of carving.
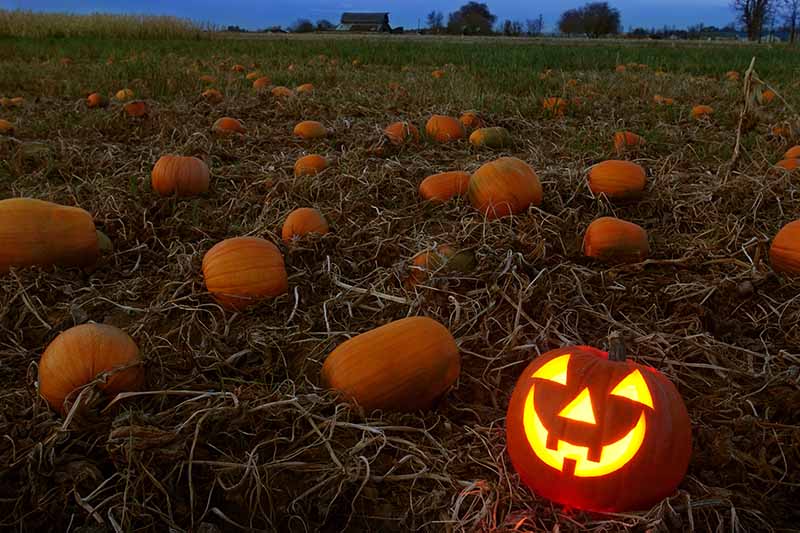
If it’s too late for that type of pre-planning and your harvest is due to come in several months ahead of Halloween, be sure to follow all the other steps described below to keep your festive winter squash from rotting ahead of October 31st.
For more tips on making jack-o’-lanterns last longer, consult our guide.
As for those intended for cooking, try to time that harvest for late September to mid-October.
That allows you time to cook the cured fruits in pie, soup, and other dishes for Thanksgiving, and you’ll still have months afterwards when they’ll remain fresh for cooking winter comfort foods and fruit butters for freezing.
Remember, even though pumpkins may be mature and ripe for the picking, the seeds will keep maturing and the flesh will become a bit sweeter after harvest.
Before harvest, it will also boost your storage efforts if you make every attempt to space your vines for ample air circulation, pruning as needed.
This will discourage downy mildew, which rots the fruits from the inside. That may make them unfit for picking, much less storing.
Harvest to Last Longer
Part of assuring an extra-long useful life involves careful harvest practices.
First, make sure to pick only fruits that are already mature. Any others picked too soon won’t last but a couple of days before the rinds start rotting. For more tips on knowing when pumpkins are ripe, see our guide.
Also, harvest ahead of frost, which makes these and other varieties of winter squash start decaying immediately.
Any fruits that you’re planning to keep around for a while should also be free of bruises and blemishes. Marred rinds hasten deterioration.
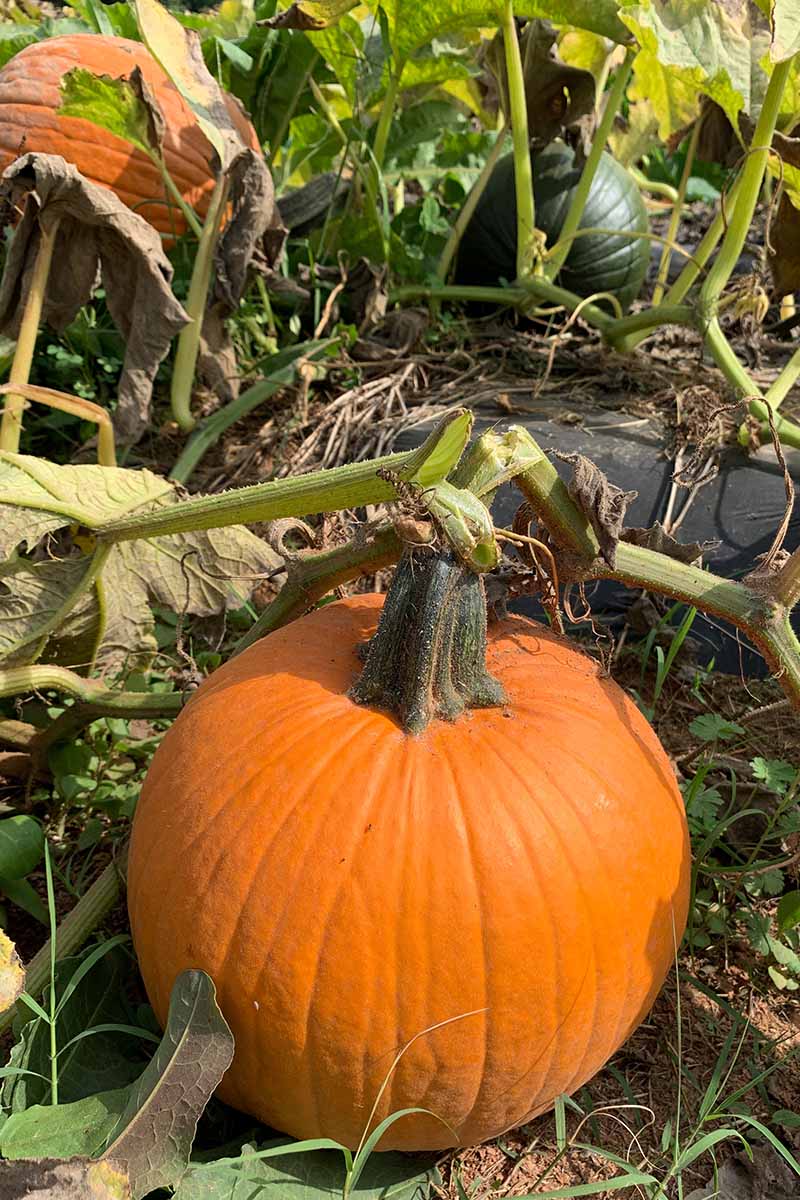
When an individual squash has fallen from the vine minus a stem, or if one has a damaged stem, that also disqualifies it as a long keeper.
The space where the stem grew is particularly susceptible to mildew and decay, and a rotting stem will cause the rest of the fruit to quickly deteriorate as well.
Leave a three-inch stem attached at the top when you harvest. It won’t serve as a handle, but rather, forms a seal against mold and gives the fruit a few more days of nutrition.
Part of the healthy harvest relies on the picker! Make sure your hands and tools are clean, to avoid conveying mildew or mold to the fruits that will make them rot more quickly.
Also be careful to carry each one with both hands, not using the stem, to avoid dropping or bruising it. After that, proceed to the curing step.
Curing and Disinfecting
“Curing” is just another word for “hardening,” and the process involved can help your homegrown winter squash to last an additional three months or move. For cooking pumpkins, curing also intensifies the flavors.
The process is straightforward:
Once you pick the fruits, wipe any loose dirt off with a dry microfiber cloth. Then leave them in a warm place, but out of direct sun or freezing weather, for about three weeks.
Start on one side, then flip it to the other midway through.
Although not an essential step, a wash with diluted bleach is one more tactic that’s readily available for keeping your pumpkins from succumbing to mold.
Spray each fruit with a solution of two teaspoons of household bleach per quart of water. Let it sit for half an hour, then spray it down with clean water to rinse, and wipe it with a paper towel or clean dishcloth.
After air drying, sanitizing is complete. Just be sure to treat both sides of large, oblong fruits with this solution, and flip them over as needed until they’re completely dry.
Storage
Now, to find a good home for this storage crop.
Look for somewhere that you’ll be able to place the fruits in a single layer, without any stacking.
If your haul’s not overly large, this orchard storage rack from Gardener’s Supply Company makes a nice option. It has nine shelves that are removable to accommodate fresh produce of a variety of sizes.
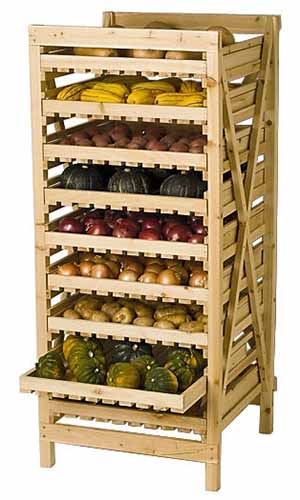
You’ll also need to stash them in a dry, dark spot where the temperature is between 50 and 60ºF.
Nope, that means you can’t use the fridge – sorry! It’s too moist, and too cool.
Better ideas include an unheated garage or shed if you live where autumn weather is chilly but not freezing, or an unheated attic if you live where cold temps arrive in October or before.
Be sure to keep an eye out for cracks and other spaces where pests may be able to get into your storage area, since you don’t want to invite any of the local wildlife to nibble on your harvest.
I’ve got just a few more cautions for you – ready for more?
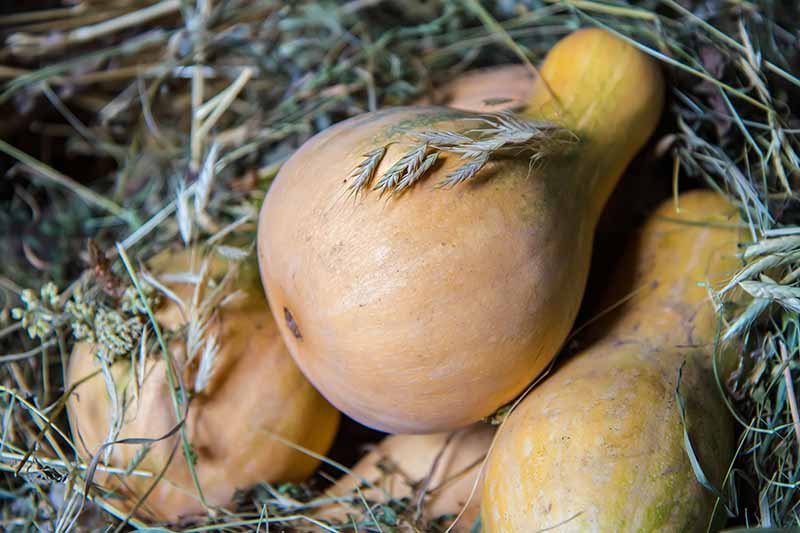
Don’t lay the fruit on linoleum, or even concrete – both of these will promote moisture buildup and decay.
Opt for porous cardboard as a storage surface, or try straw instead. I’ve used a scrupulously clean bathroom rug in a pinch.
And above all else, don’t forget about them!
Sometimes, despite your best efforts, one or more will start decaying. This can lead to them “weeping” all over the area, and possibly drawing flies or promoting decay in neighboring fruits.
Be sure to check on them at least once a week, and remove any that show signs of rot for immediate use if you can salvage them, or disposal if not.
Save Plenty for Pies, Carving, and Autumn Displays
It’s so satisfying to preserve food or elements for an outdoor display made from vegetables you grew yourself.
And don’t forget, if you get towards the end of the safe storage window and have more than you can cope with, it’s also gratifying to share extras with zoos, wildlife rehabilitators, or attractions that feature a petting zoo.
While I have your attention, do you have any pumpkin storage questions or tips of your own to share, whether for the late stages or the happy days when you’re first facing extra produce? The comments section below awaits your input.
Whether you’re planning to plant these autumn favorites for the first time or are an experienced grower, if you found this information valuable, take a look at these pumpkin guides next: