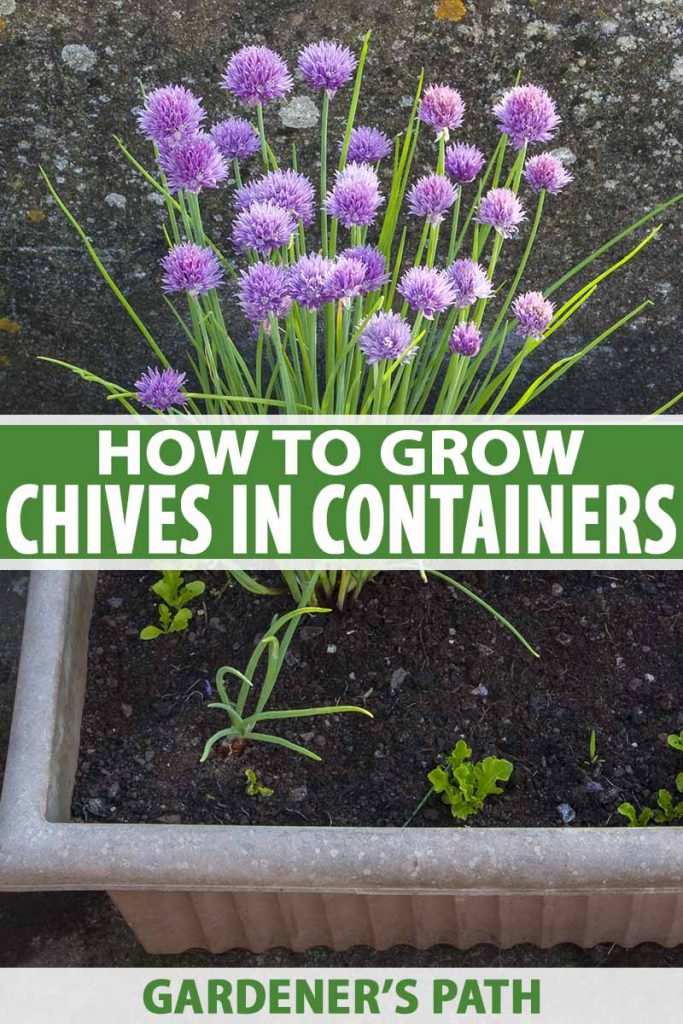
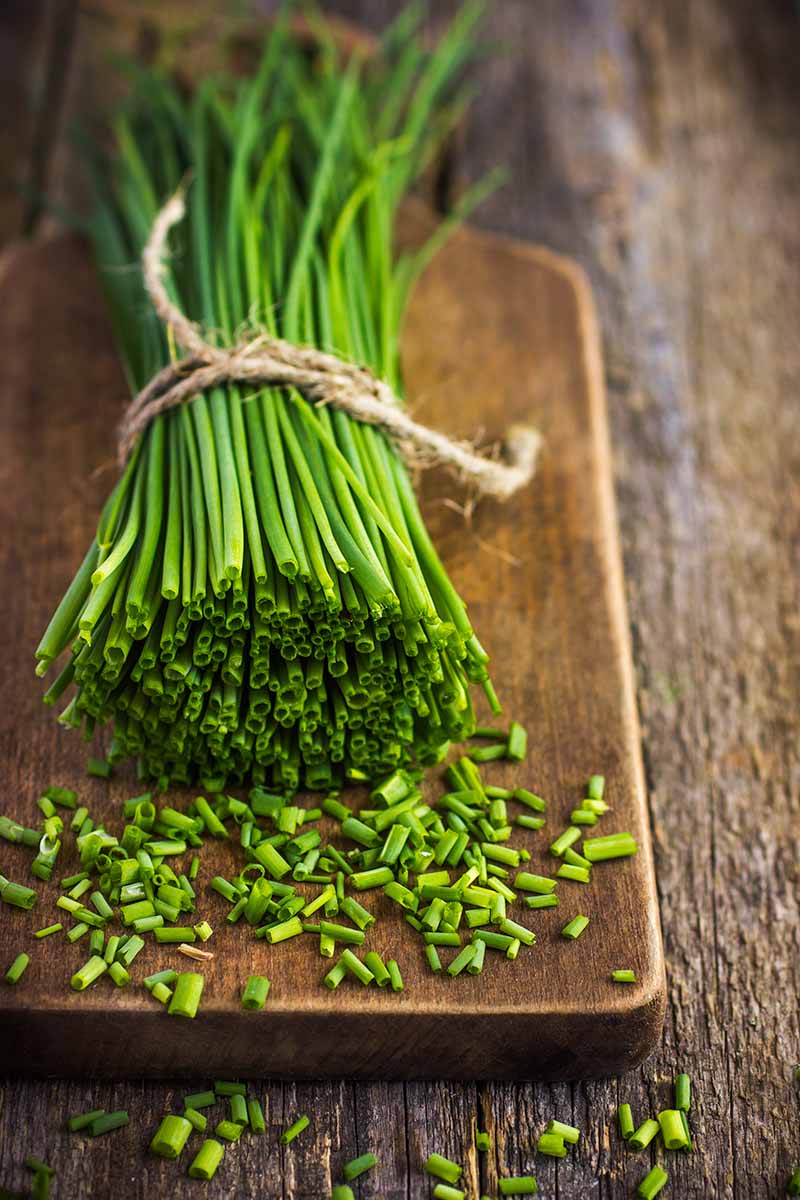
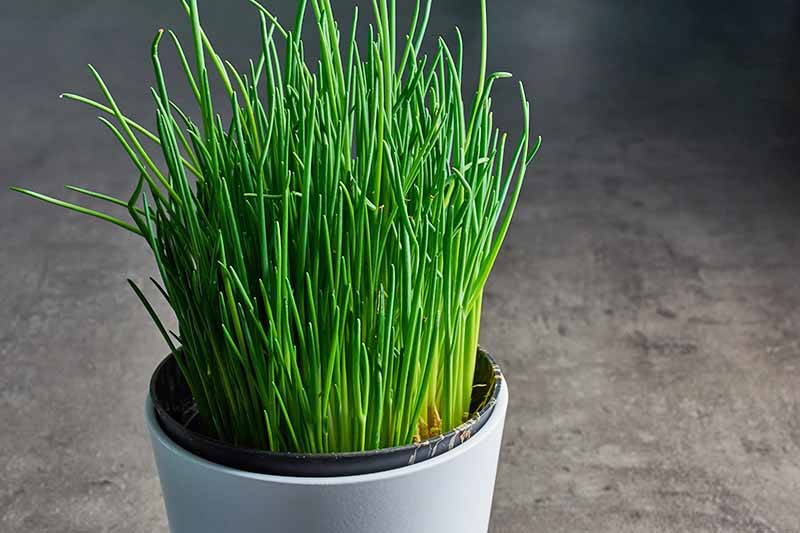
The brilliant green color, satisfying crisp crunch, and light onion flavor of chives (Allium schoenoprasum) make them a requisite ingredient in many dishes.
How essential and wonderful, then, to always have a pot of this easy-to-grow allium at the ready, when a fresh salad or a simmering entree calls out for its distinctive character.
Chives are perennial in USDA Hardiness Zones 3-9, so most gardeners in the United States can safely leave them outdoors year round.
If you must bring them in (I’m looking at you, North Dakota!), then your supply of fresh chives will be even closer at hand!

We link to vendors to help you find relevant products. If you buy from one of our links, we may earn a commission.
If you’re new to growing chives, check out our complete growing guide.
What You’ll Learn
Use Nursery Starts
Your best bet is to purchase small chive plants from a local nursery and transplant them into a container of your choice.
Usually you’ll find herbs in four-inch pots, and you can transfer one of those into a six- to eight-inch container that’s at least six inches deep.

Alternatively, you can plant several nursery plants in a larger container. Space the plants about six inches apart.
You’ll want to use pots that have holes in the base to ensure good drainage. Use a light, high-quality potting mix, or you can amend with perlite to improve the drainage.
Plant your chive transplants at the same depth they were planted in their nursery containers. Leave about half an inch inch between the top of the soil and the rim of the pot.
Transplant from the Garden
Alternatively, if you have chives already growing in the landscape, you can transplant some from the ground to a container.
To do this, start by watering the ground around the chives you’ll be digging up. This softens the soil for easier digging.
Trim back the chives to about four inches tall, and perhaps use the trimmings in a batch of oven fries with lemony green dressing and gruyere with this recipe from our sister site, Foodal.
Using a pitchfork, gently loosen the soil around the clump of chives you wish to transplant.
Dig at least three inches deep, to avoid damaging the roots. Slide the pitchfork under the roots of the clump and gently lift it away.
Transplant the clump into a container filled with light, high-quality potting mix, spacing as described above.
Start from Seed
Chives can also be grown from seed. Start them indoors about eight to 10 weeks before the first frost if you plan to move your pots outside, or any time for an indoor herb garden.
If you’re eager to enjoy your harvest right away, keep in mind that this won’t be your best option.
It can take up to a full year for your seed-grown plants to reach a mature enough stature that they’re ready to harvest.
Read more about how to start chives from seed here.
Care and Harvest
Water your newly planted chives well, and place the pot in an area that gets at least six hours of sun daily.
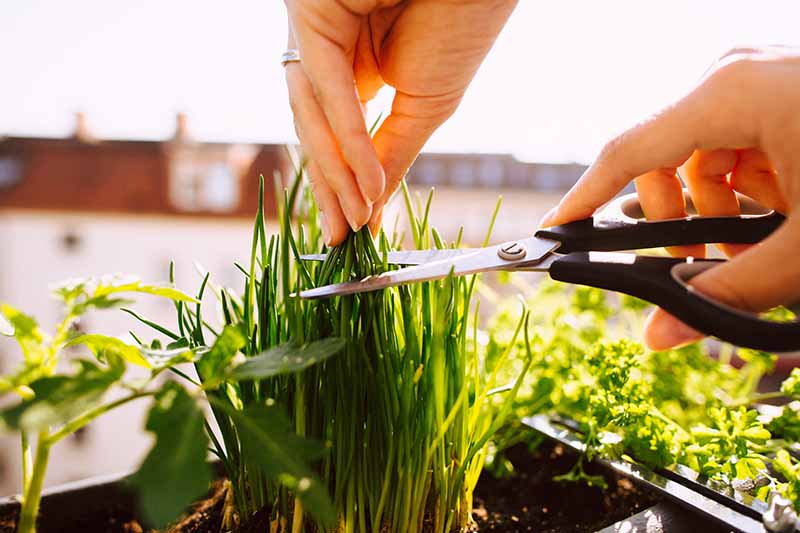
You may begin harvesting chives when the blades grow to be at least six inches tall. Be sure to leave at least two inches of the plant intact – the blades will rapidly grow longer again.
You might want to plant two or three pots of chives, so that when you harvest one, the others are still growing and will be ready when you need them.

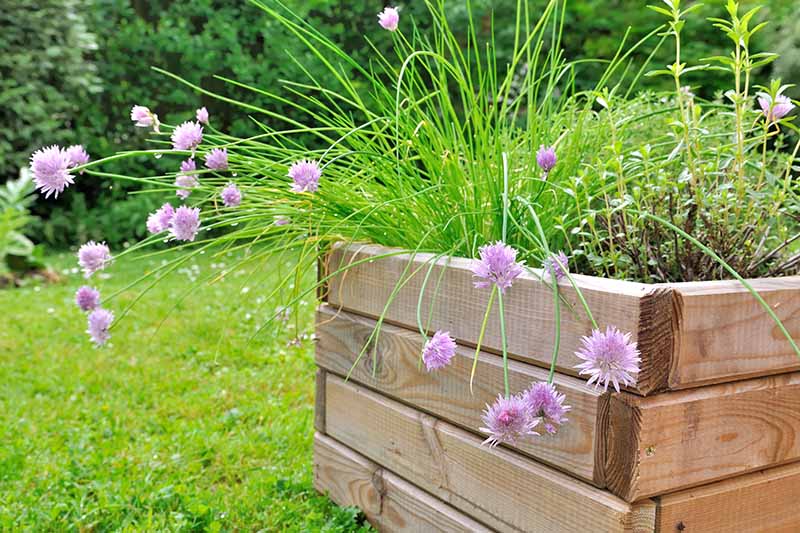
Chives make an attractive centerpiece in a container planted with a variety of herbs.
Some gardeners opt to let one pot of chives go to flower, as the plant produces attractive round, purple flower heads that are also edible.
Keep chive plants moist, but not waterlogged, and fertilize with a liquid fertilizer diluted to half strength every four to six weeks.
Easy and Convenient
Growing chives in containers offers many advantages.
Proximity to the kitchen is probably chief among these benefits, but the ability to enjoy the attractive, homegrown, grasslike spikes of the plant’s leaves in your cooking is certainly reason for a happy dance as well.
Because the soil in containers tends to dry out quickly, you’ll want to ensure your pots are kept moist, and you may need to apply fertilizer from time to time.
Snip as needed, leaving a couple of inches of blades to regrow, and you’ll have plenty of delicious herbs for seasoning soups, salads, and baked potatoes!
Have you grown chives in containers? Let us know in the comments section below and share your tips!
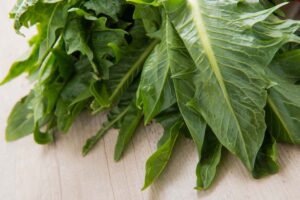
If you’d like more information about growing herbs in containers, check out these articles next:
- How to Grow Herbs in Containers
- Tips for Growing Caraway in Containers
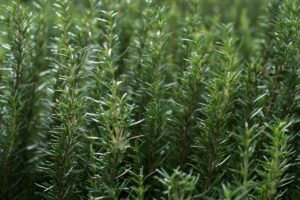
- How to Grow Rosemary in Pots and Containers
© Ask the Experts, LLC. ALL RIGHTS RESERVED. See our TOS for more details. Uncredited photos: Shutterstock. With additional writing and editing by Allison Sidhu and Clare Groom.

Great info!
Thanks ????