Growing vegetables from seed always feels like a magical feat, and carrots are no exception. Once you grow your own, there’s no going back.
And once your seedlings are coming along nicely, you’ll want to make sure you know how and when to best harvest these tasty Umbellifers.
You have a few options as to when you can pick these veggies, but when it comes to how you pick them, you want to make sure you follow our recommended procedures.

We link to vendors to help you find relevant products. If you buy from one of our links, we may earn a commission.
I’ll get down to the nitty-gritty shortly. First, here’s a quick overview of what I’ll cover:
What You’ll Learn
How to Harvest
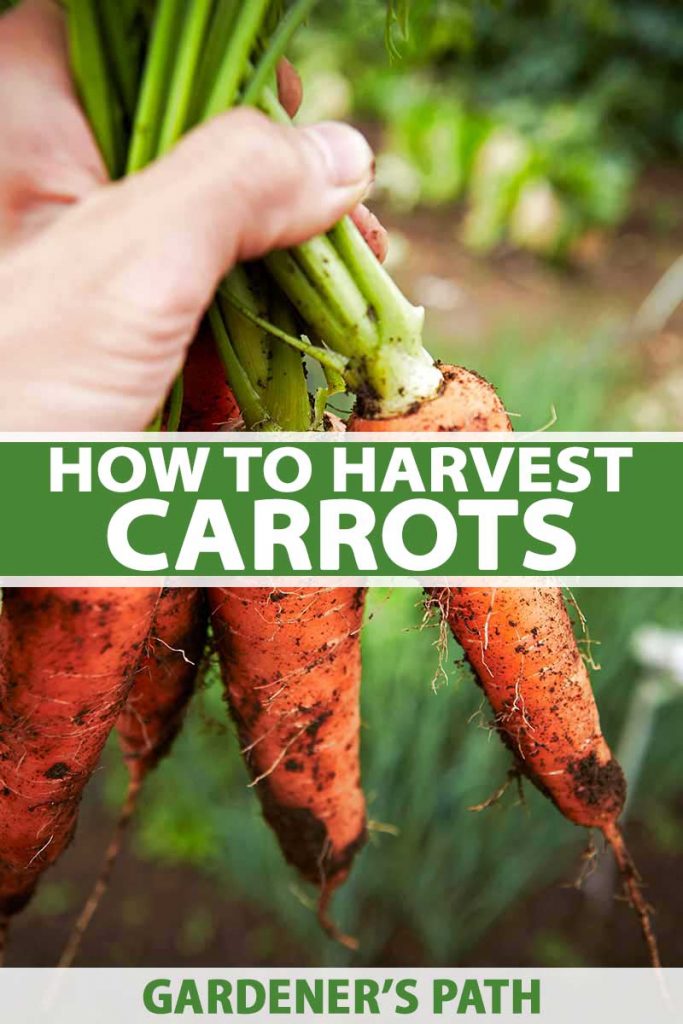
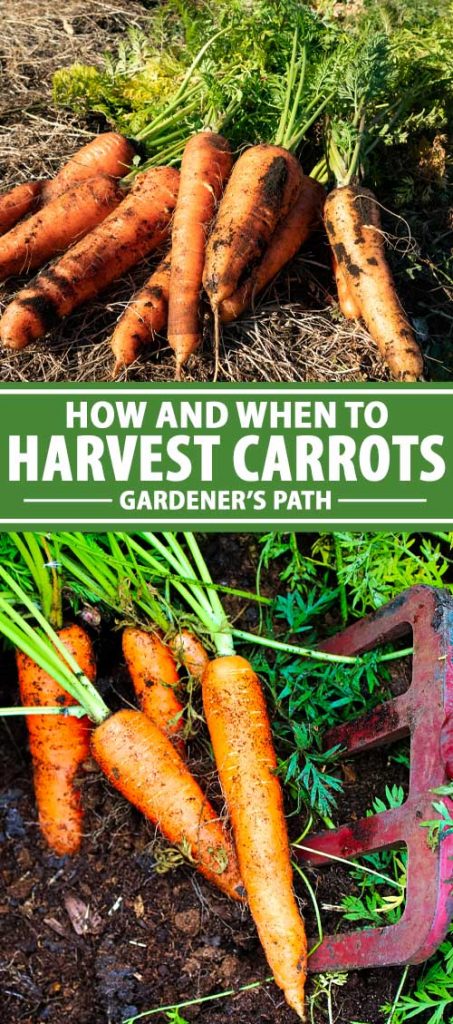
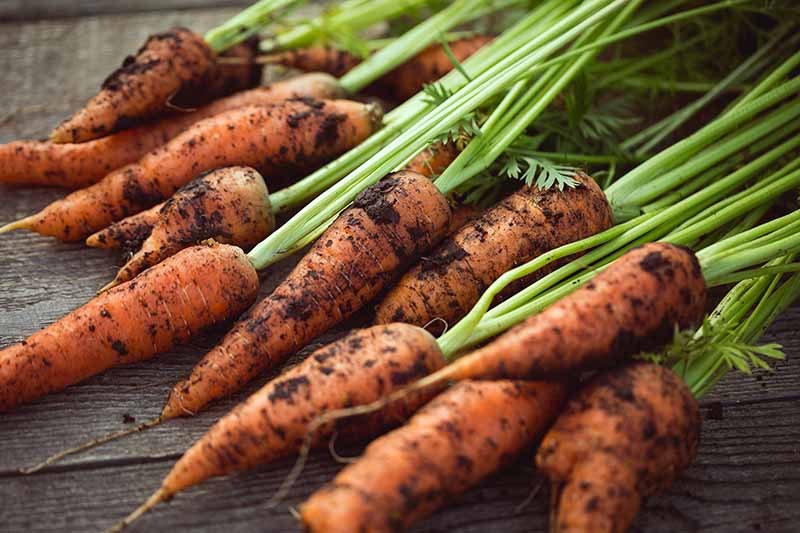
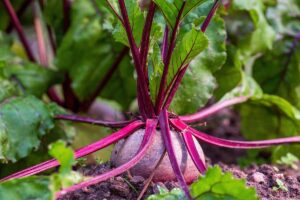
Once you’ve taken all the necessary measures to grow a great carrot crop, harvesting involves a few additional steps: checking to make sure the roots are the right size, loosening the soil in your beds, moistening the soil, pulling them up, cutting off the greens, and storing them properly.
1. Check the Root Diameter
Most varieties are ready to pick in 70-100 days, but this varies greatly from one cultivar to the next.
While the days to maturity on your seed packet can be a big help towards knowing when to expect harvestable roots, these numbers are averages.
You’ll also have to use your powers of observation to decide the best time to harvest your crop.
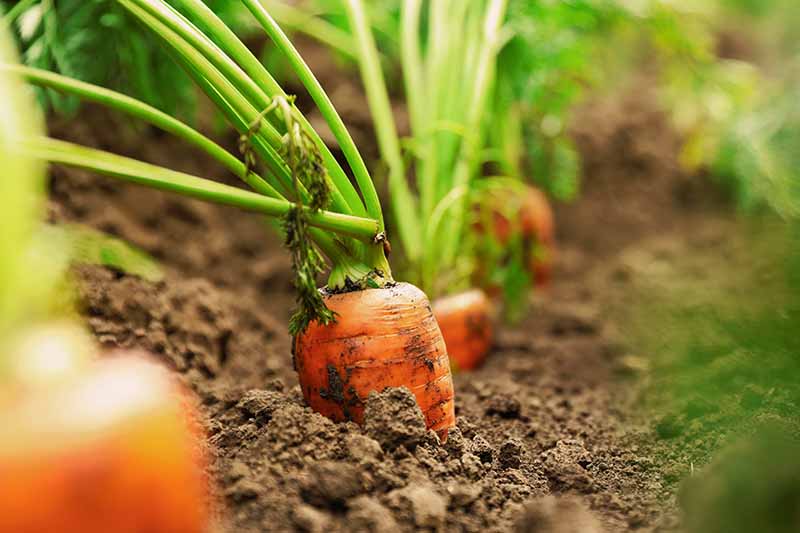
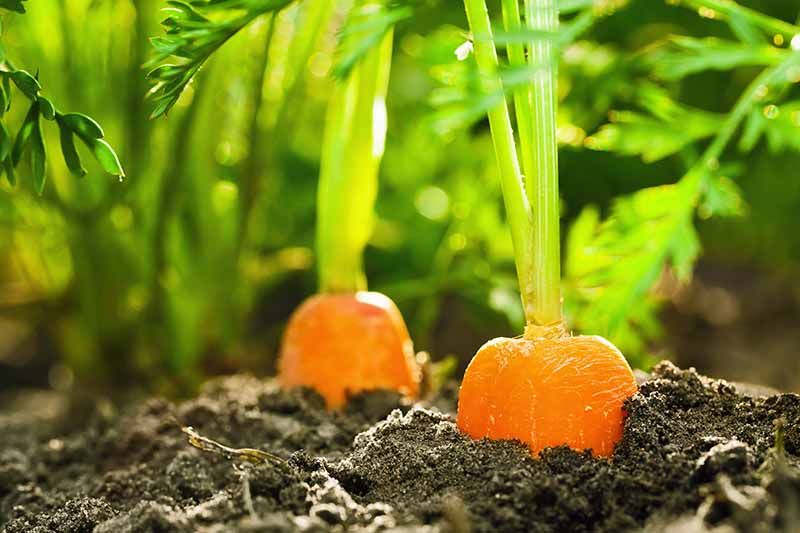
This means checking the size.
You can usually tell how big the roots are because they tend to bulge up out of the ground.
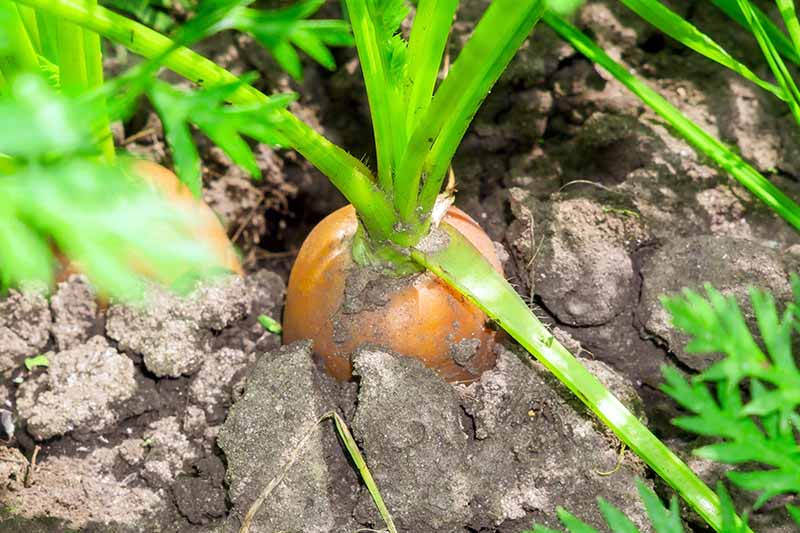
If you don’t see the roots bulging above the surface of the soil, you can brush some of the soil away from the tops to see how big around they are.
You can pick your carrots at any stage, but folks generally wait until they are about 1/2 inch in diameter to get decent-sized roots.
2. Irrigate First
You might wonder whether it’s better to have dry or damp soil when harvesting your crop.
Jill MacKenzie at the University of Minnesota Extension recommends making sure these veggies are properly hydrated before picking.
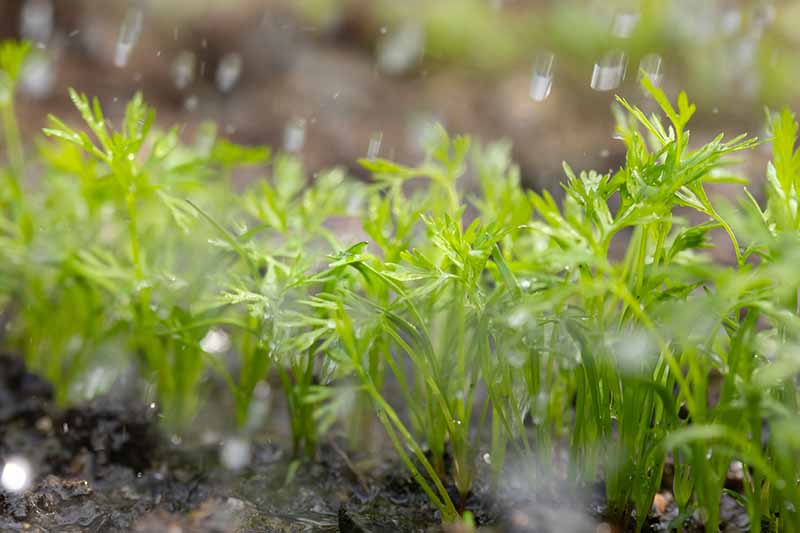
To do so, she advises planning your harvest for the day after you’ve received some rain, or the day after irrigating your crop.
So, for nice, well-hydrated roots, make sure your soil is moist – but not soggy, as this will make digging them up and removing them messier.
3. Loosen the Soil
Once you are satisfied that they are a harvestable size and your soil is moist, it’s time to loosen the soil in your carrot bed.
Use a hand cultivator, shovel, or hori hori knife to loosen the soil around your roots, freeing them.
This is an important step to ensure that the roots don’t break off in the soil – which is likely to happen if you attempt to pull them straight out of unloosened earth.
During this process, keep your garden tool far enough away from the roots to prevent inadvertently slicing, poking, or severing them.
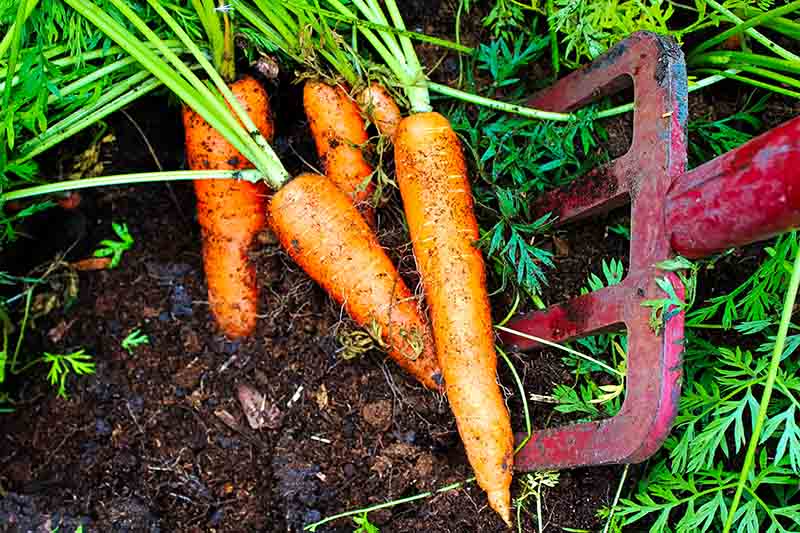
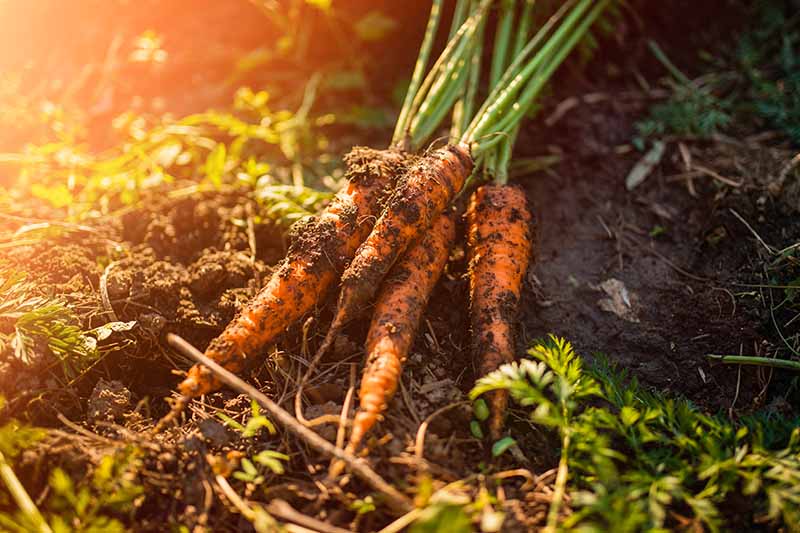
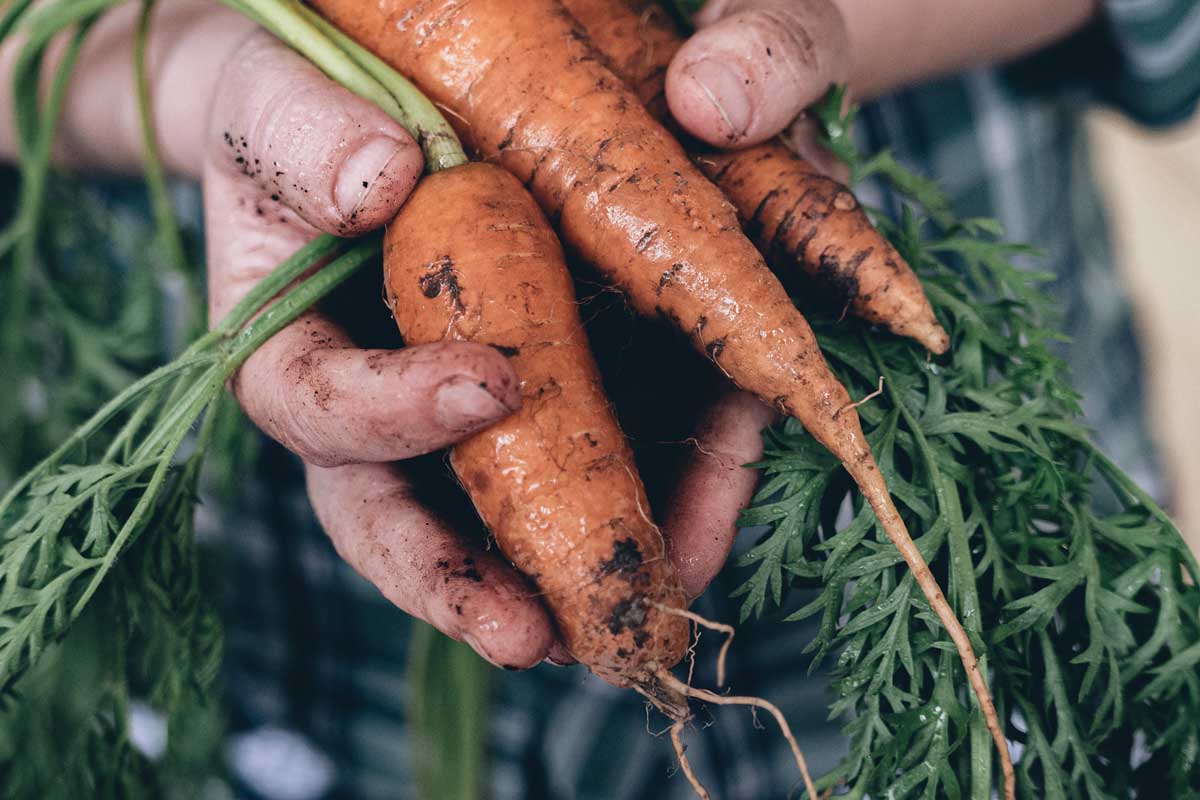
4. Pull Up the Roots
Now that your soil is nice and loose, your carrots should easily slide out of the ground.
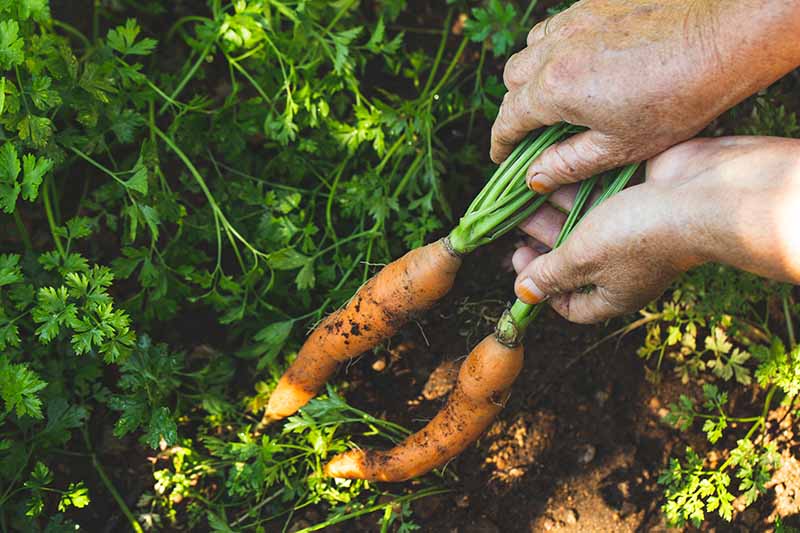
If they resist your efforts to pull them up, use your chosen garden tool to loosen the soil a bit more.
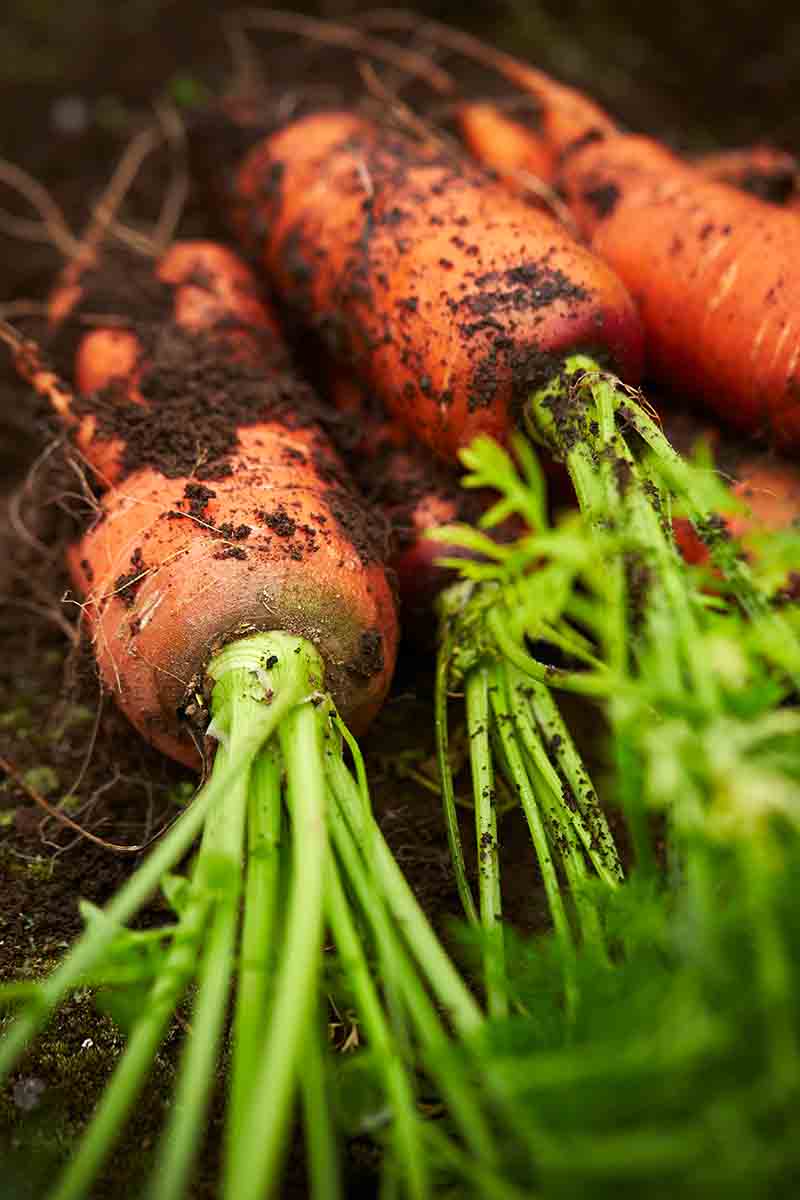
Once you have pulled them out of the ground, don’t wash them unless you plan to eat your entire crop within the next few weeks.
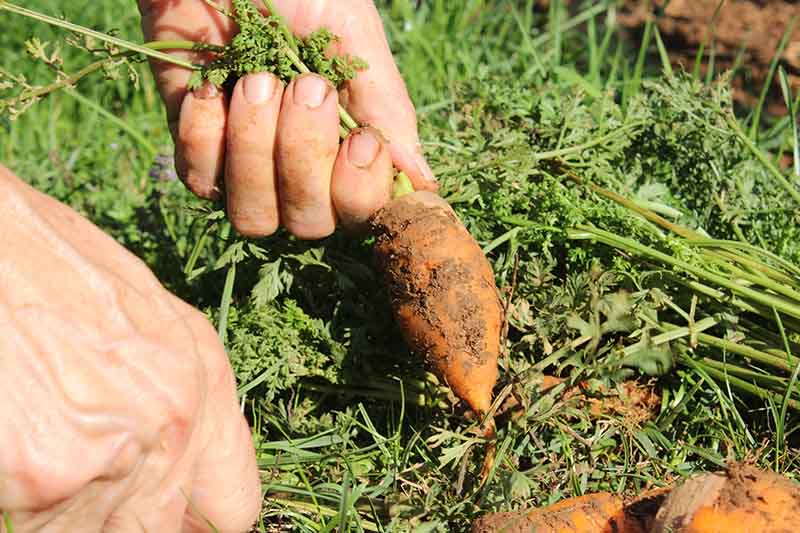
Instead, just brush off the excess soil, mud, or sand in preparation for storage.
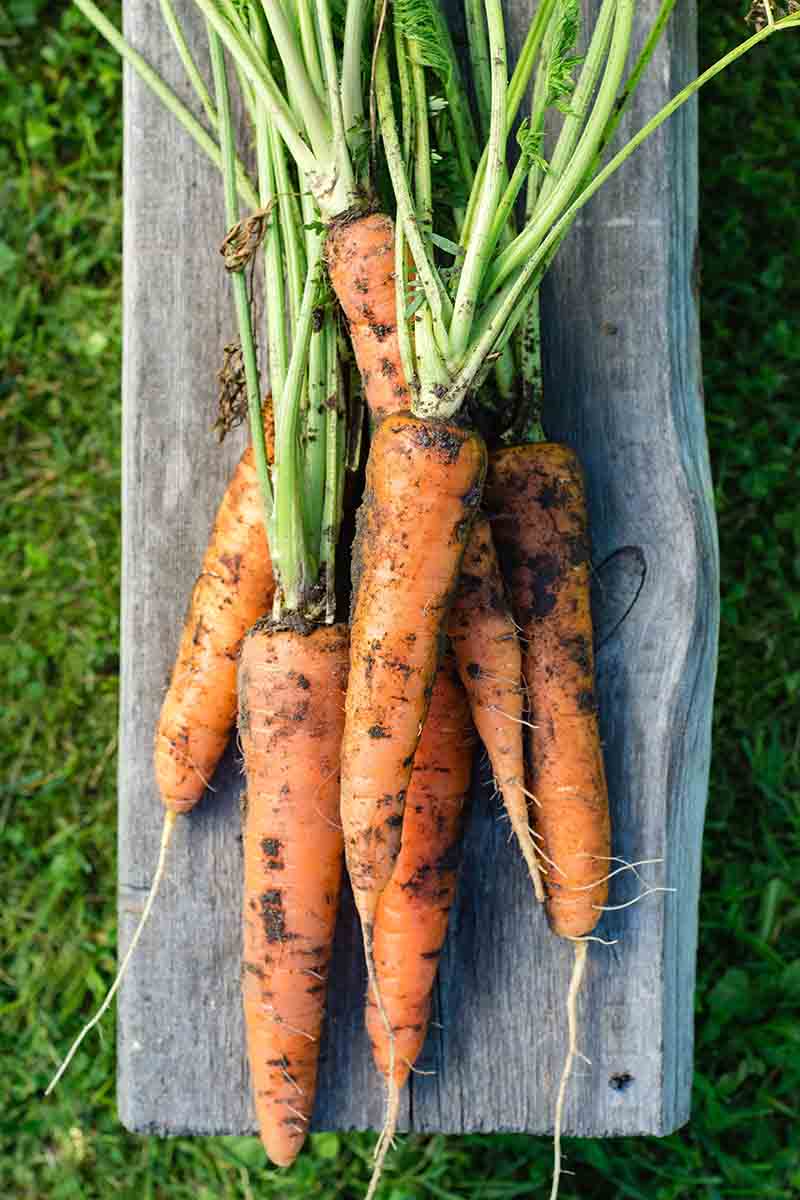
5. Remove Tops
Before you store your crop, you will want to cut the green tops off.
Trim the greens, leaving 1 inch of the top on each still attached.
You can do this either with the serrated edge of your hori hori knife or garden pruners, or a sharp kitchen knife.
Even though fresh carrots look beautiful with their tops still attached, leaving the greens on will leech delicious sugars from the roots.
And if you’re planning for long term storage, the greens can rot, potentially contaminating your harvest and causing them to spoil.
So just cut them off, and either compost them or wash and use them in the kitchen – I like to use my greens to make pesto.
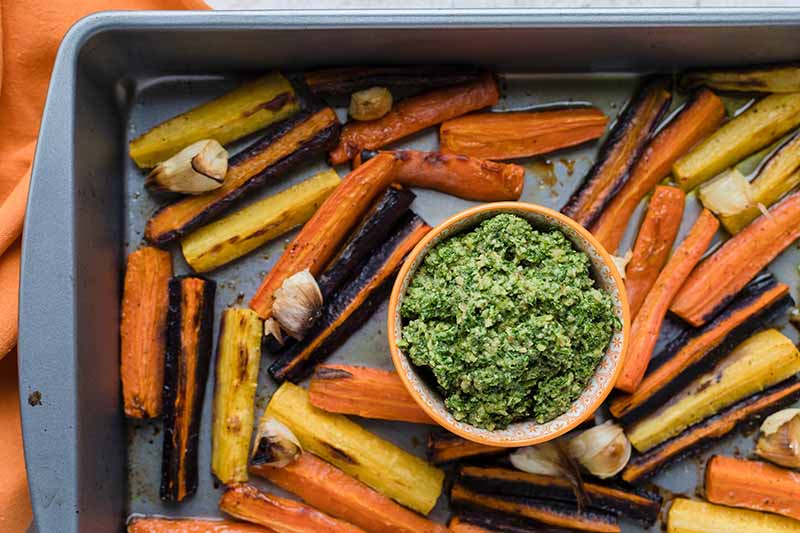
You can find some delicious pesto recipes on our sister site, Foodal.
6. Store in a Cool Location
So, you now have a pile or two of unearthed roots, still slightly dirty but not caked in mud, with their tops removed.
If your crop is small enough that you plan to eat it right away – say, within the next month or so – you can go ahead and give them all a thorough cleaning.
I like to do this outside, so that dirt and sand doesn’t clog up my kitchen sink pipes.
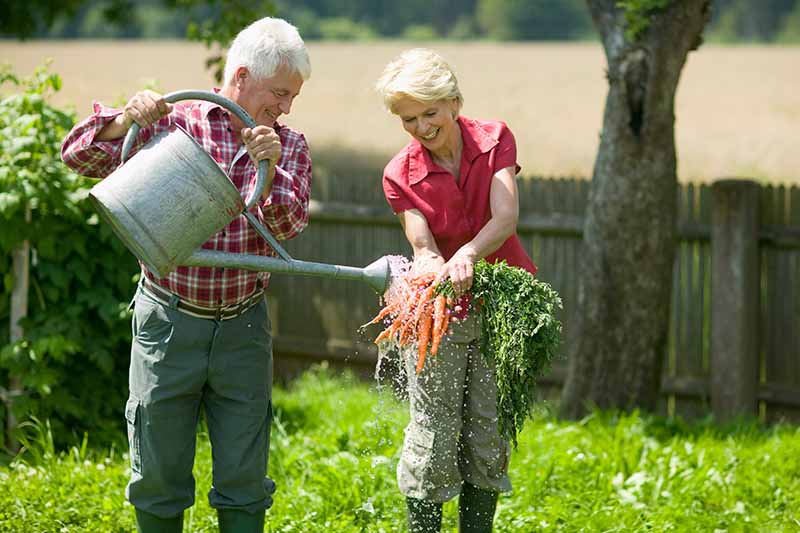
When your clean roots are dry, store them in a perforated plastic bag in the produce drawer of your fridge.
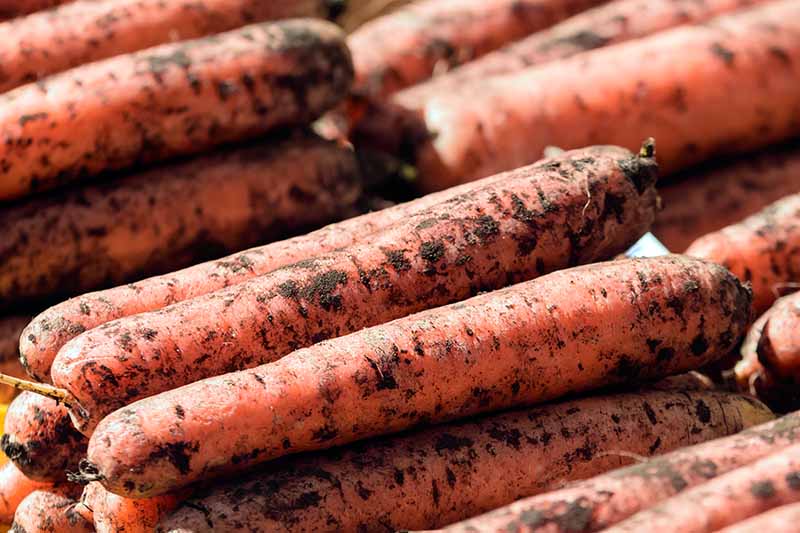
If you are keeping some of your crop for long term storage, forego this thorough cleaning. A little dirt and a lack of added moisture will help it to last longer in storage.
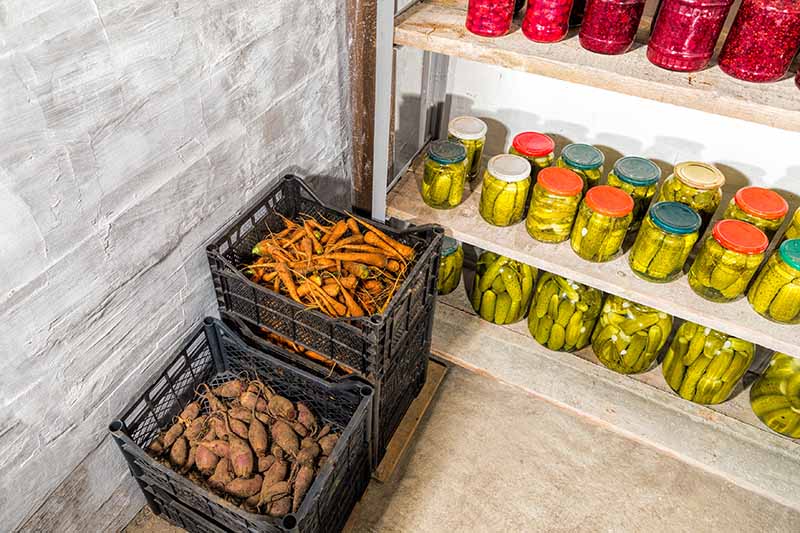
Carrots store well at around 32°F with high relative humidity. Pack them in moist sand in a crate, and store it in a cool basement or root cellar.
They should last 4-6 months, though it’s a good idea to check on them occasionally and remove any that show any signs of rot.
When to Harvest
You have options as to when to pick your crop, since these veggies grow well in cool weather and are fairly cold hardy.
Most importantly, you’ll want to make sure you pick them before they go to seed – I’ll get to that just a little later.
For now, it’s up to you to decide – when do you want to eat your carrots?
Summer
If you want to nibble on your carrots throughout the summer, make sure you plant them in early spring, and then pick whenever they are big enough for your liking.
If you plan to pick only some of your crop during the summer, at the baby stage, and leave some for the fall, make sure to pull the roots up carefully.
The same applies if you are succession planting, or growing more than one cultivar with different times to maturity.
While carrots look pretty sturdy, they are very sensitive to being disturbed while they are growing.
Fall
Autumn is the best time to harvest these veggies, because that’s when they tend to be the sweetest, after temperatures dip below freezing.
Picking your veggies after a couple of frosts will make them taste sweeter – lower temperatures will tell the plant to start storing sugar in its roots instead of its greens.
Winter
Some gardeners prefer to store our carrots in the ground during winter, using the earth as a form of outdoor refrigeration.
If you opt for this method, you can dig your crops up at any time during the winter, until your soil freezes solid – just make sure to dig them up before temperatures start to warm up in spring.
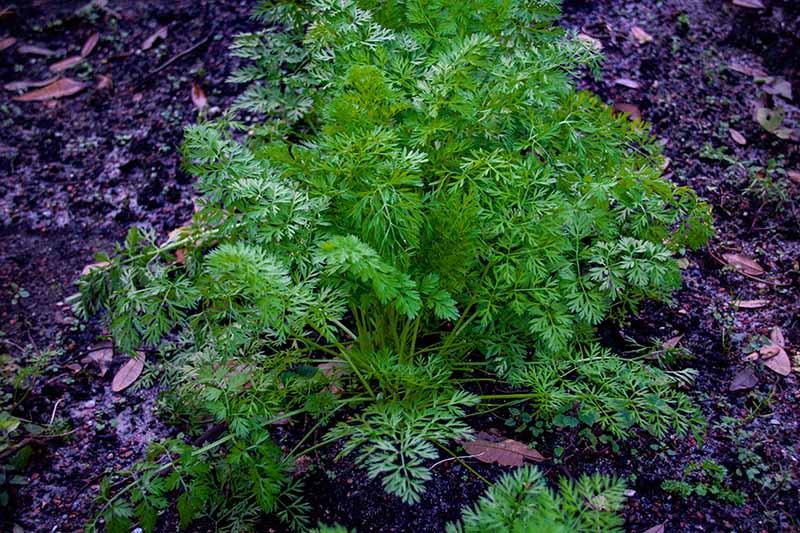
Once your carrots start growing their tops back at the end of winter, this means they are taking sugar back up from the roots, and diverting it toward leaf and seed production.
This is great if you want them to produce seeds that you can store and replant, but not so good if you want sweet, edible roots.
So if you leave your crop in the garden over winter, dig them up in late winter or early spring – before new top growth emerges.
The Root of the Matter
You now have a plan for harvesting your homegrown carrots!
Refer to your seed packets for time to maturity, check the tops of your crop to make sure they are the size you want them to be, pick them from the ground carefully, trim the greens, and store them properly.
Decide if you want to munch on fresh carrots throughout the summer, or keep them as a winter food supply.
So, what’s it going to be? Will you use your crop as a summertime source of fresh food, or will you store it for the winter? And what will you do with those fresh, green tops? Let us know in the comments.
And for more information about growing carrots in your garden, you’ll need these guides next:

Thank you, this has opened me and my friend’s eyes to the ways of growing and storing carrots.
Wonderful! Thanks so much for taking the time to let me know you appreciated the article. Happy gardening – and carrot eating!
So much good info! Thanks for the great article. I love your writing – it inspires me to garden more! ????
Laura,
Thank you so much for the kind words. You made my day! And I’m so happy to have contributed to your enthusiasm for gardening.
Best of luck with your future gardening adventures!
I raise Black Swallowtail butterflies. The caterpillars like eating the carrot tops. If I run out of the other types of food I have for the caterpillars, I always know I have a backup in my vegetable garden. In the meantime, I look forward to enjoying the carrots and am happy to learn how to take care of them. I should have looked this up first. I’ll know better for next year. Luckily I did not pick them all yet.
Hi Kay,
What a wonderful use for your carrot crop! If you need any further info, you may want to check out our complete guide to growing carrots, right here.
Wishing you best of luck with both your butterflies and your carrots!
Can I cut off tops and leave carrots in ground till Dec? I live in SW ohio
Hi Kay,
Yes you can – in fact, we have an article about overwintering carrots in the ground right here, if you’d like some guidance for this process.
Hope this helps!
So thankful I found this site. Discovered several things we have been doing incorrectly with our carrot crops over the past two years. One question I do have is when we harvest our carrots they feel firm, but within a day or two, they are pliable. Help!
Hi Wendy,
I’m glad you’re enjoying Gardener’s Path! Are you putting your carrots into the fridge soon after you pick them? If you leave them out at room temperature, they will definitely get limp instead of staying crisp.
Hopefully this solves the mystery, but if not, let us know!
Happy gardening!