
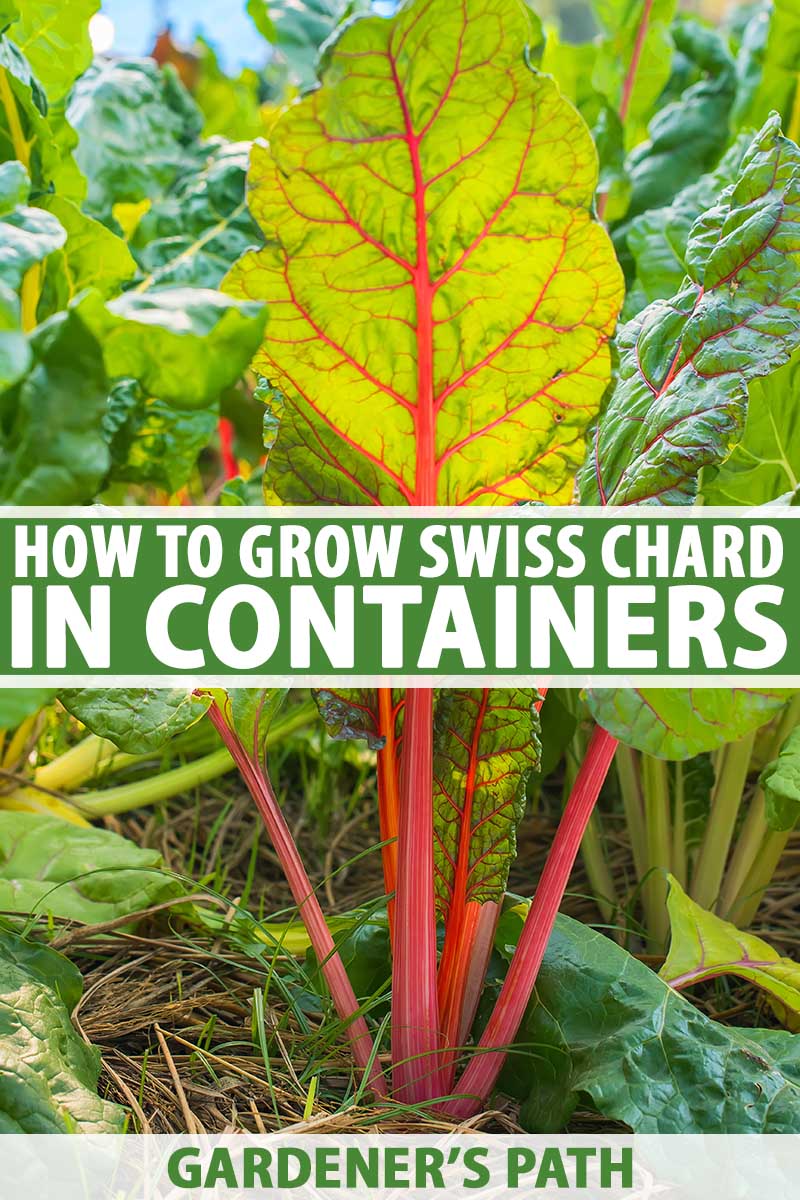
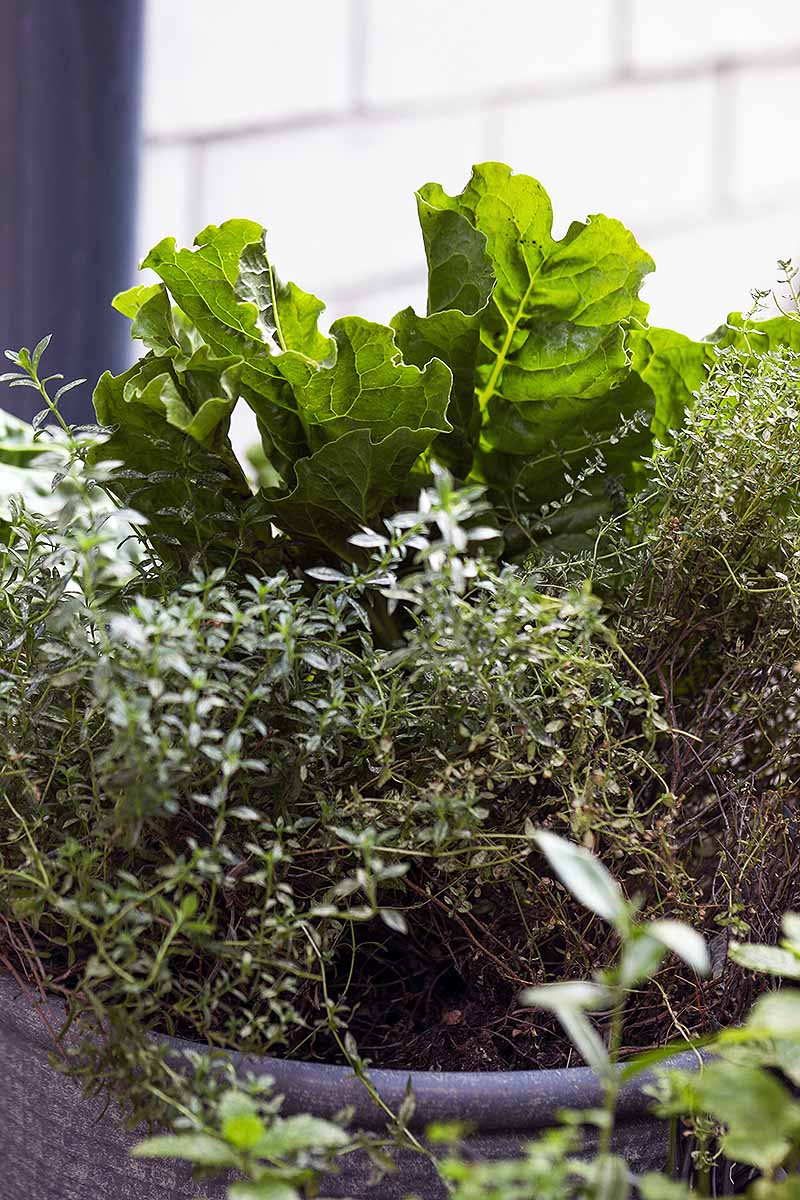
Do you have a patio garden? Swiss chard is one of those plants that seems positively made for growing in containers in small spaces.
It doesn’t mind being a little rootbound, and it isn’t too fussy.
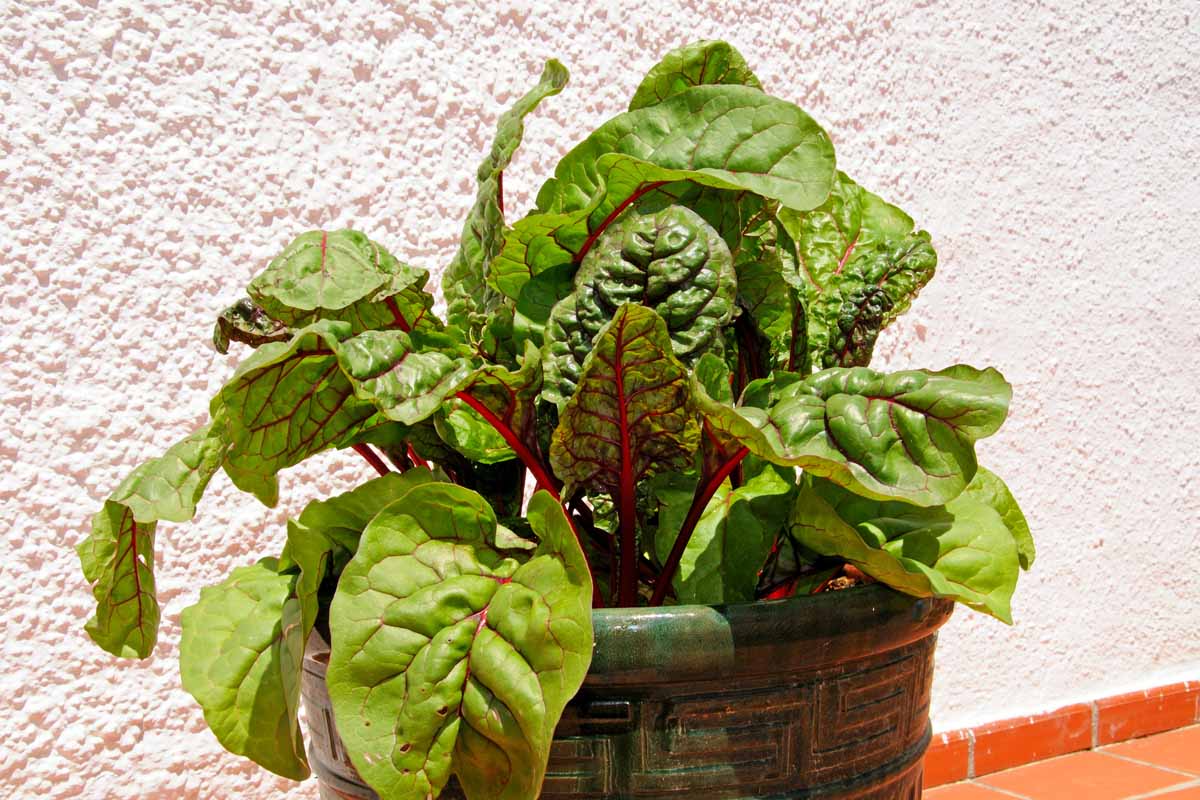
On top of that, if you like having edibles that are ripe for the picking all over your yard, but you don’t want to offend any neighbors or the HOA, Swiss chard is your plant. The vibrant stalks and big leafy foliage are as pretty to look at as they are tasty.
Plant them as a leafy centerpiece with some low-growing edible flowers or a few trailing herbs, and you have a stunning container with ornamental appeal that no one will suspect doubles as part of your kitchen garden.
We link to vendors to help you find relevant products. If you buy from one of our links, we may earn a commission.
That’s enough to make any container gardener salivate. But guess what?
You can also grow these veggies indoors. As long as you have a container that’s large enough, and enough light, you can produce full-sized greens.
Don’t have a ton of light or a sizable indoor spot? Grow them as microgreens instead! Talk about a versatile plant.
Here’s what I’ll cover in the guide ahead to get you started on your Swiss chard adventure:
What You’ll Learn
Pull out your potting soil, we’re about to get dirty.
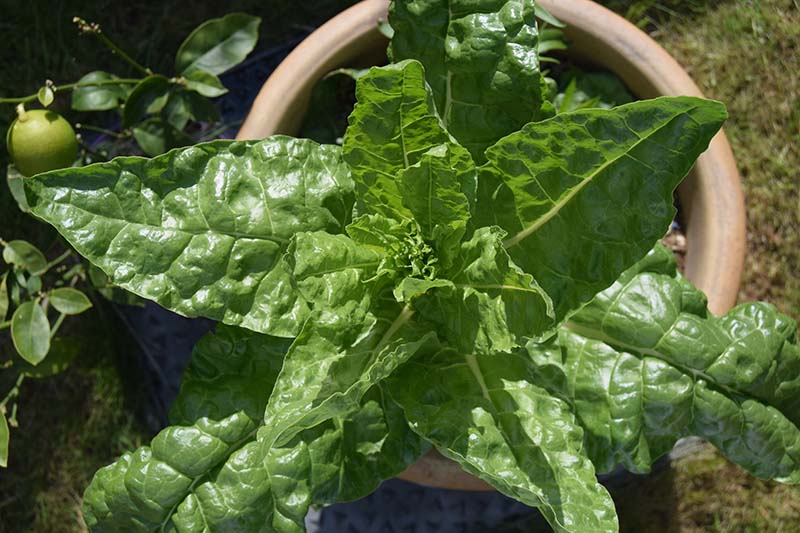
Choosing a Container
Swiss chard doesn’t have deep roots, so the container that you select doesn’t need to be too deep. Eight inches should be plenty.
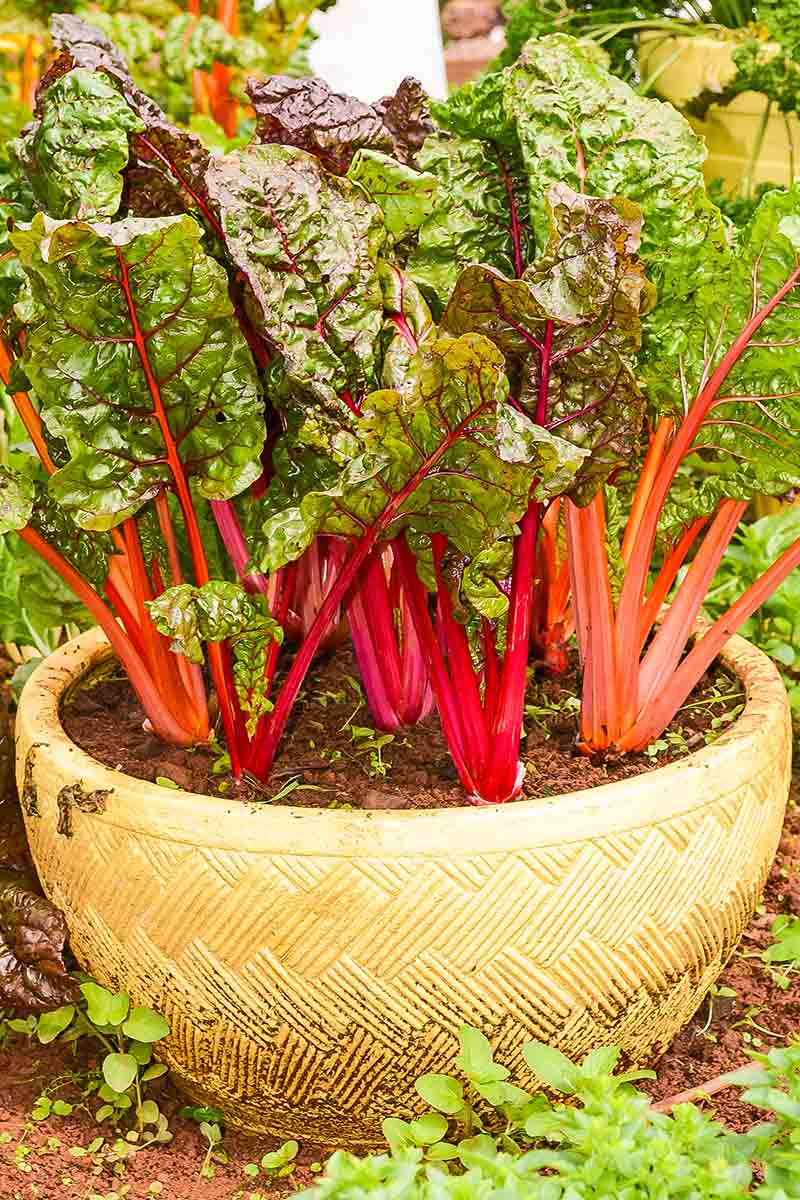
However, you don’t want the container to tip over or crowd those shallow roots, so make sure it’s at least 12 inches wide as well. A five-gallon container – per plant – is ideal.
If you don’t mind smaller leaves and stems you can grow two plants in a five-gallon pot.
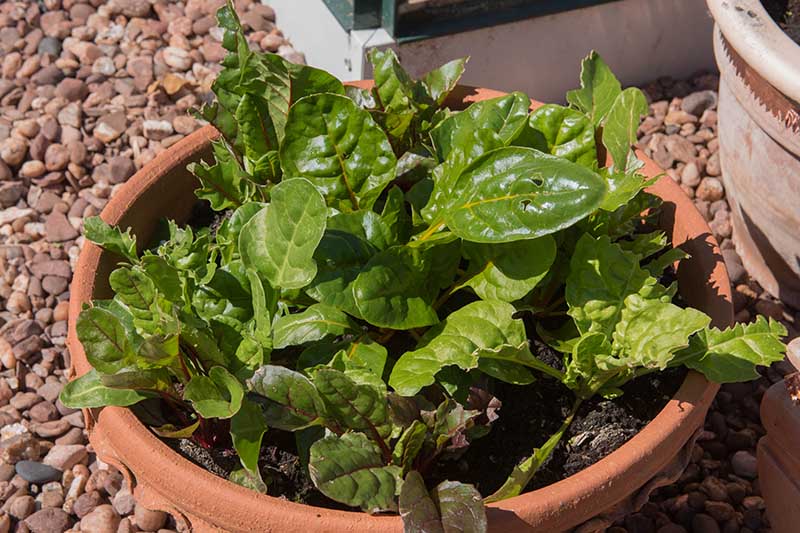
The material that you select isn’t as important as the size. Terra cotta tends to dry out a little bit faster than cement or plastic, so you’ll need to be more attentive with watering if you select it.
You could always use a drip irrigation system or self-watering planter if you aren’t perfect at checking on your patio plants (something I’m guilty of!).
You should also keep mobility in mind. If you want to take your plants indoors in advance of the winter, during hot summer conditions, or move your pots to follow the sun, you’ll need to be sure you can lift them.
Plastic tends to be the lightest option, with cement and clay being heavier.
Whatever you choose, it should have plenty of drainage holes in the bottom to ensure that the roots don’t get waterlogged.
You want about three to four half-inch holes per every square foot of surface area on the base of your pot. Or one drainage hole for every one to two gallons of potting soil.
If you’re planning to grow microgreens, small trays that are one to two inches deep are ideal.
Purchase one that’s wide enough to hold however many greens you hope to harvest. Keep in mind that you should aim to plant about 20 seeds per square inch.
I like to use a tray that’s about 12 inches by eight inches to feed one to two people, and I keep several of them on rotation.
Varieties to Select
Good news: you can’t go wrong when selecting your favorite chard varieties for a container. They all do well.
Barese
‘Barese’ is a top pick, however, because it’s extremely compact. It only grows to be about nine inches tall, compared to the average height of around 18 inches for other cultivars.
Plus, you can harvest the baby leaves after about three weeks, and the mature leaves take just 45 days to grow.
Grab yourself a packet of ‘Barese’ from Everwilde Farms via Amazon.
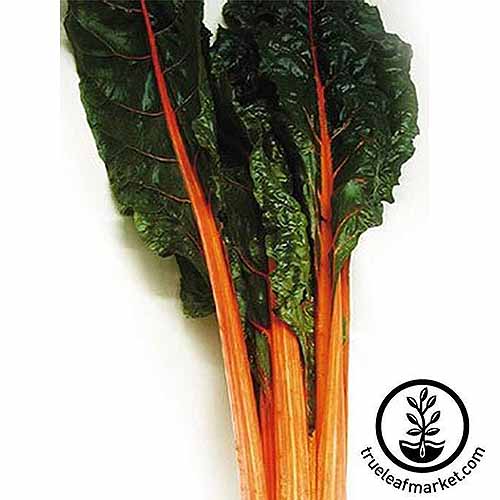
Bright Lights
If you want to add some color to your containers, ‘Bright Lights’ offers a vibrant mix of gold, pink, and red stems, with the occasional surprise of an orange, purple, or white stem.
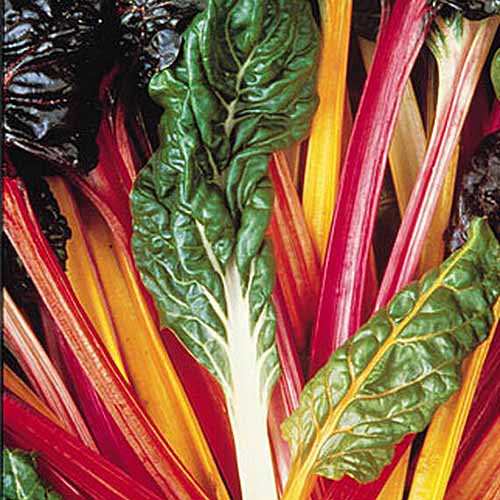
Compact plants stay around 12 inches tall at maturity.
You can find seeds available at Burpee.
Fordhook Giant
‘Fordhook Giant’ is a large variety, reaching up to 18 inches tall, with dark green leaves and creamy-white stems.
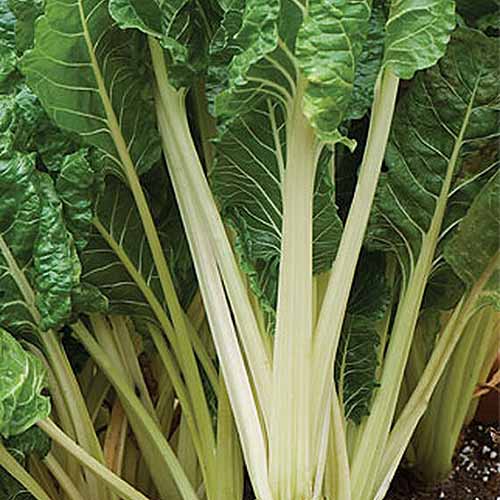
For that reason, it requires a bigger container than some of your shrimpier cultivars. But it’s more heat tolerant than other varieties, so if you live in a warm area, it’s worth the trouble of planting a big container.
Sound good? You can find ‘Fordhook Giant’ seeds available at Burpee.
Magenta Sunset
‘Magenta Sunset’ is perfect if you want a variety that is a feast for the eyes, and the palate.

The intense magenta leaves are out of this world, and really stand out in a container garden. And the mature leaves are ready to harvest in just over two months.
Seeds are available at True Leaf Market.
Orange
If you prefer orange to magenta, check out ‘Orange.’ It has a bright orange stalk with elegant, deep green, crinkled leaves.
Mature leaves will be ready to harvest in around 65 days.
You can find seeds available at True Leaf Market.
How to Plant
You can soak chard seeds for 24 hours before planting, but it isn’t necessary to get them to germinate. This just speeds the process along a bit.
We’ll cover microgreens a little later.
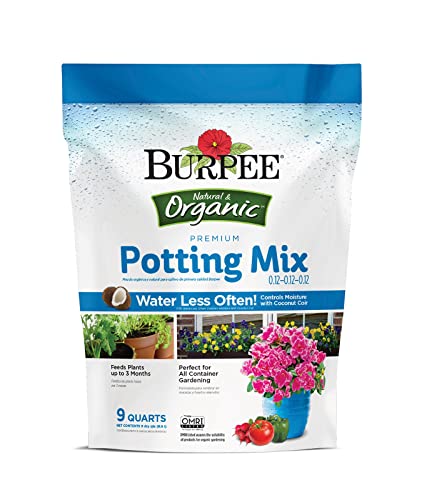
For homegrown harvests of baby and mature leaves, fill your chosen container with an all-purpose potting soil, such as Burpee’s organic potting mix.
Sow seeds six to 12 inches apart and press them into the soil about 1/4-inch deep.
Moisten the soil, using the rain attachment on your hose or a watering can with finely-spaced holes.
If you don’t have either of these, you can use a colander to shower your plants with fine droplets of water, or a spray bottle.
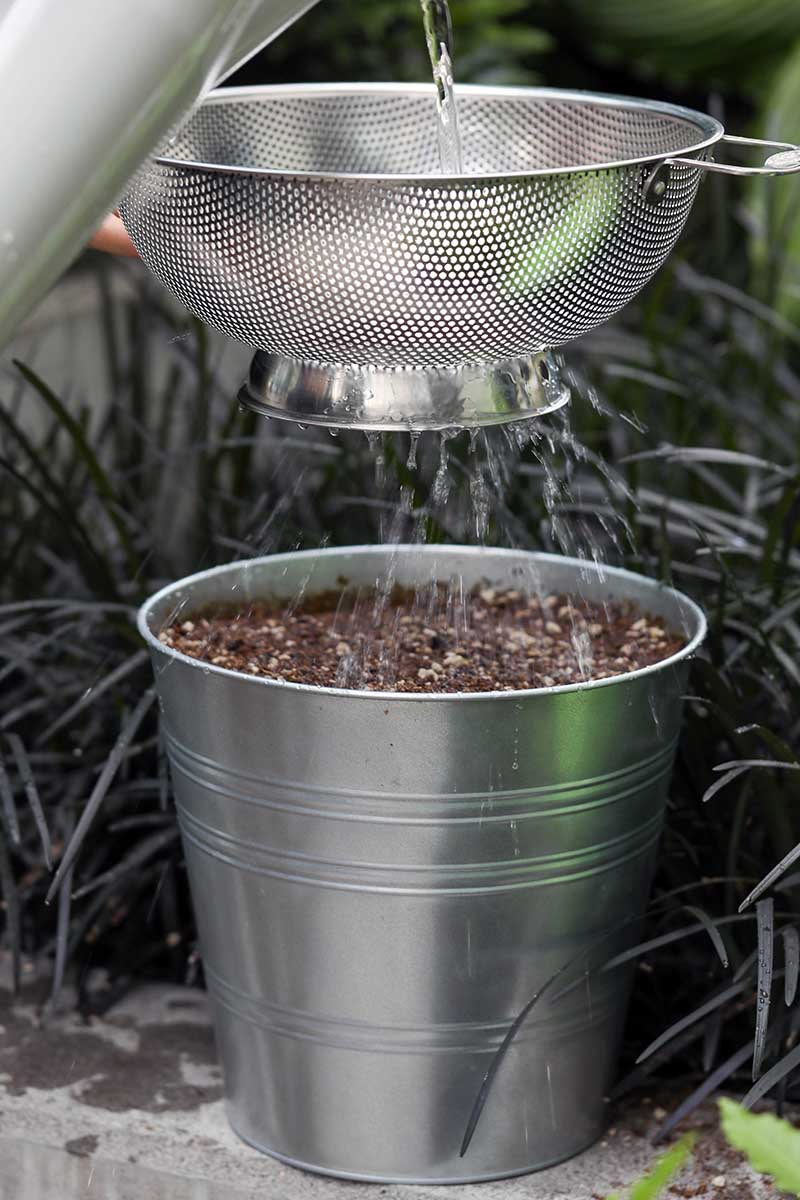
The goal is to avoid disturbing the soil while giving the seeds the moisture they need.
Keep the soil moist until the seeds sprout. This will take about a week.
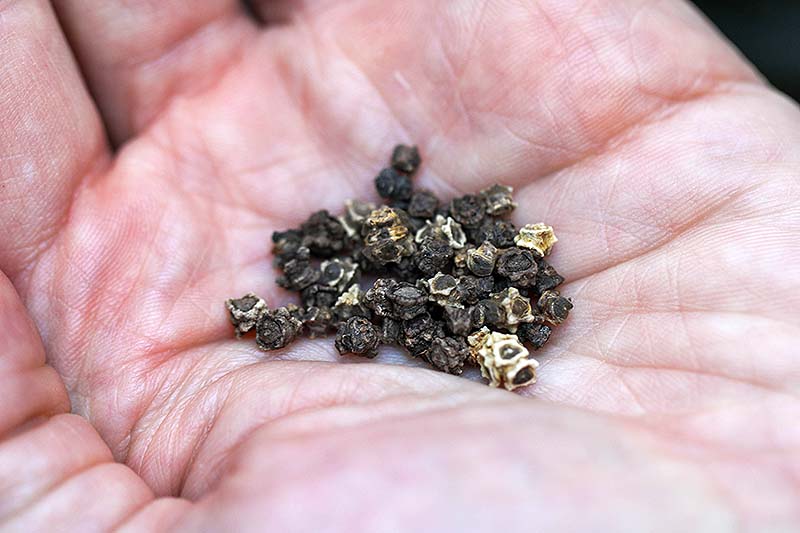
Thin seedlings to six to 12 inches apart when they have two sets of true leaves. Chard “seeds” are actually small pods that contain multiple seeds, so each one that you plant will likely sprout more than one seedling.
If you’ve purchased nursery starts, fill your pot with soil and make a hole the depth and twice the width of the container that the plant came in.
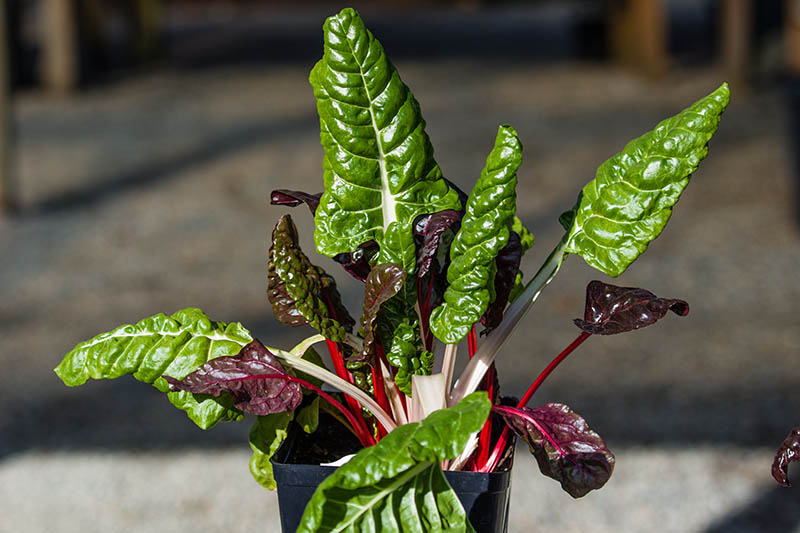
Gently place each one in the soil and fill in around the roots with potting soil.
Transplants should be placed six to 12 inches apart. The further apart they are, the larger the stalks and leaves will grow.
Water well and keep a close eye on the soil while the plants are young. You don’t want to ever let it dry out completely. Mature plants are a little more tolerant of dry soil.

If you like the idea of creating a collection of plants in your selected container, put chard with friends that have the same growing requirements, such as kale, chives, marigolds, lavender, or mint.
You can read more about the best companion plants for Swiss chard here.
For an edible ornamental display, try putting Swiss chard in the center of the pot with small nasturtiums and some sweet alyssum on the outside.
Container Care
I won’t lie, Swiss chard will tolerate some abuse, but don’t let that turn you into a neglectful plant parent.
Crowding won’t bother it, and it won’t bolt as easily as some other plants if you forget to water it.
Imperfect soil won’t stress it out too much either. It will be happy in standard potting soil. Just don’t scoop up whatever soil you find outside and expect it to thrive.
Soil that you might have available to dig up outside typically compacts much more easily than potting soil, and it also doesn’t usually hold water as well.
On top of that, it can contain fungi, bacteria, or insects that can wreak havoc on your plants.
Keep in mind that while chard doesn’t ask for too much, ideally it needs regular moisture. That can be a challenge in containers. Shallow pots, in particular, need more attention because they have a greater surface area for water to evaporate from.
Plants will likely need about one and a half inches of water each week. If you get that from whatever rain falls, then no extra work is necessary.
Otherwise, provide additional water, but take care to water at the base of plants to avoid wetting the foliage.
Typically, if the soil is moist to two inches deep, your plant will be happy. When I say moist, what I mean is: imagine the texture of a well-wrung out sponge. That’s what you’re aiming for.
If you need a little help in the water-retention department, some straw mulch can help to maintain more moisture in the soil.
Indoors, the care requirements are the same, though you’ll be entirely in charge of making sure your Swiss chard gets enough water. No help from the rain here.
Plants also need at least four hours of direct sunlight or illumination provided by a supplemental grow light each day to thrive.
To harvest, you can cut the leaves as they reach your preferred size and allow the plant to continue to grow new leaves. Or, you can slice everything off all at once.
Once the first hard frost arrives, you can harvest the entire plant, or bring your pot indoors to overwinter. Get more tips on harvesting here.
How to Grow Microgreens
If you want to grow chard microgreens in a container, soak the seeds in cold water for 24 hours before planting to help speed up germination.
Next, drain the water and pat them dry on a cloth towel. Drying makes it easier to spread them evenly into the soil.

Again, this isn’t necessary. But one of the great things about microgreens is how quickly they go from seeds that you planted to sprouts you can munch on.
Fill your container with a seed starting mix. Sprinkle the seeds over the soil 1/8 to 1/4 inches apart and then cover with a 1/4-inch layer of additional soil.
You want to use about an ounce of seeds for every 10 inch by five inch tray. Your tray only needs to be about an inch or two deep, so don’t worry about wasting a bunch of soil in a deep container.
Then, place a humidity dome or clear plastic over the top of the container, covering the seeds, like a clear lid. Your goal is to create a miniature greenhouse effect to help keep the moisture levels steady until germination.
If you wish, you can place the tray on a heat mat set to 75°F until germination.
Keep the container in a sunny window or under grow lights where the seedlings will receive light for four hours or more a day.
Check the seeds every few days and add water with a spray bottle if it looks like the soil is drying out.
As soon as the sprouts emerge, take off the covering, but continue to keep the soil moist. Snip the leaves once they reach the size you’re aiming for.
I prefer to harvest mine when they’re about two inches tall because that’s the perfect bite-size portion.
Troubleshooting Tips
Swiss chard isn’t too troubled by pests or diseases, but here are a few things to watch out for when you’re tending to your crop.
Patches of Discoloration in Your Leaves
Leaf miners are one of those pests that mostly do cosmetic damage, but when your goal is to eat the foliage, that kind of destruction can be devastating.
The damage in this case is caused by the larvae of miner flies. There are numerous different kinds, but chard is generally bothered by Pegomya betae and P. hyoscyami.
These pests chew tunnels into the leaves of your plant, which is unsightly (and kind of gross, if you bite into a leaf and imagine the little wigglers once crawling inside).
You can place netting over your containers in the spring and early summer when the pests emerge and start to feed, or you can keep your plants indoors. If you’re growing in the fall and winter, you don’t need to worry about this particular problem.
Read more about controlling leaf miners here.
Entire Leaves or Chunks Missing
Slugs attack so many different types of plants in the garden, and they won’t be deterred by a container. They’ll just climb up and in.
The good news is, it’s a little easier to control slugs in container gardens since the area you need to patrol is usually a bit more, ahem, contained.
First, check under your pots and pick and smoosh any slimy creatures you come across. Do this regularly. You can also place a slug trap in or near your container garden.
Read more about dealing with slugs in the garden here.
Flowers Forming
Bolting happens when the weather gets too warm or too cold, particularly if you aren’t diligent about watering.
Swiss chard prefers cooler temperatures, so once the thermometer climbs up past 75°F or drops below freezing, your plants may bolt. That said, chard tends to resist bolting much better than other leafy greens like spinach.
The beauty of growing yours in a container is that you can move it to a cooler spot to prevent this. If things heat up in an unexpected heatwave, some afternoon shade will go a long way towards extending the life of your plant.
Are you experiencing a serious blast of heat? Bring your plants indoors for a bit.
Indoor Plant Problems
It’s a sad fact that many plants grown indoors are often attacked by aphids and spider mites. Chard isn’t free from this problem.
Aphids, from the family Aphididae, are familiar to most gardeners. These tiny insects suck the sap out of your plant and leave a sweet residue called honeydew behind.
The 1/8th-inch red, black, tan, brown, orange, or yellow pests like to hang out on the undersides of leaves, and if you see ants visiting your containers, it’s a likely sign that you have aphids, since ants love that honeydew.
I like to stick my container in the bathtub and use the shower head to blast my chard leaves to knock the bugs loose. Then, rinse them down the drain. Do this a few times and your aphid problem will be over.
Spider mites usually scuttle around on plants unnoticed until you see the fine webbing that they weave. The two-spotted spider mite (Tetranychus urticae) is the one that most gardeners encounter.
While you can look for the tiny black and tan arachnids, if you see the webbing, it’s time to take action. An infestation can rapidly ruin your foliage and kill your plants as they suck the juices out.
You might have to prune away any heavily infested or web-covered leaves. Then, spray plants with water in the same way you would do for aphids.
Since spider mites are a little tougher to get rid of, you can turn to the big guns if you can’t get rid of them.
Once a week, treat plants with neem oil, which you can find at Arbico Organics.
You just mix the product with some water according to package instructions in a spray bottle and apply it to the foliage of your chard.
Remember that you should wait at least a day after spraying to eat your harvest, and you should be sure to rinse the leaves well before digging in.
You Don’t Need a Big Garden to Grow Swiss Chard
It’s nice to know that even if you don’t have a massive garden, you can still grow some veggies to feed yourself. In fact, with some types like chard, you don’t even need outdoor space.
Still, even if you do have plenty of garden space, Swiss chard is practically begging to be a focal point in a potted display.
It’s one of those plants that can be too pretty to relegate to some forgotten garden corner.
Have you grown chard in containers? Let us know in the comments below!
And for more information about growing Swiss chard in your garden, check out these guides next:
Neighbors and HOA’s should never be a reason not to grow vegetables in your garden. If they bother you, take them to court for harassment.