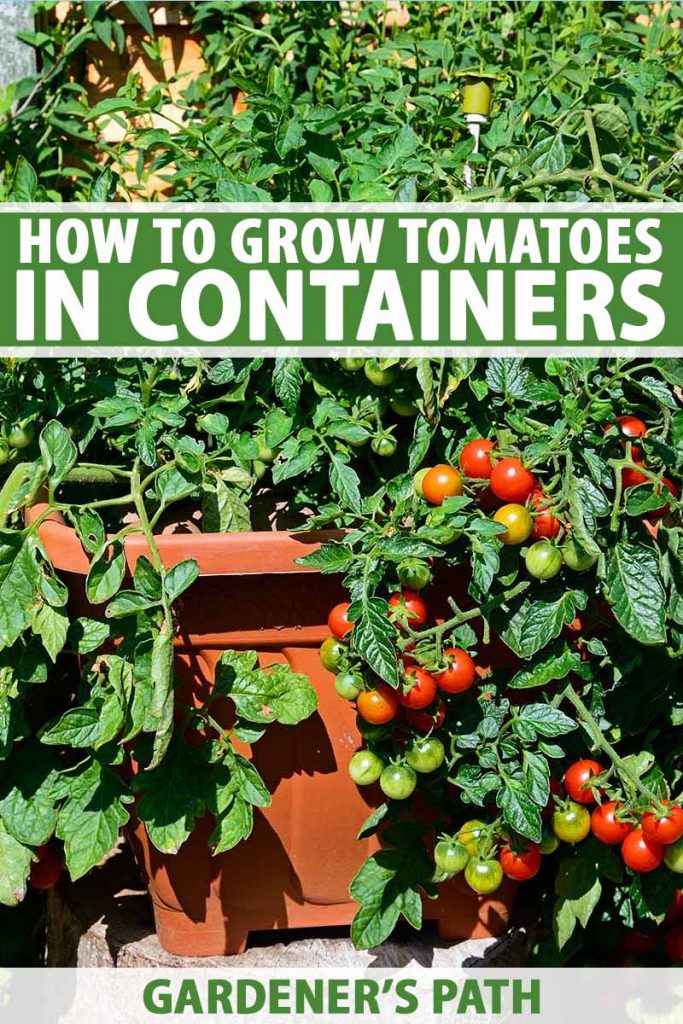
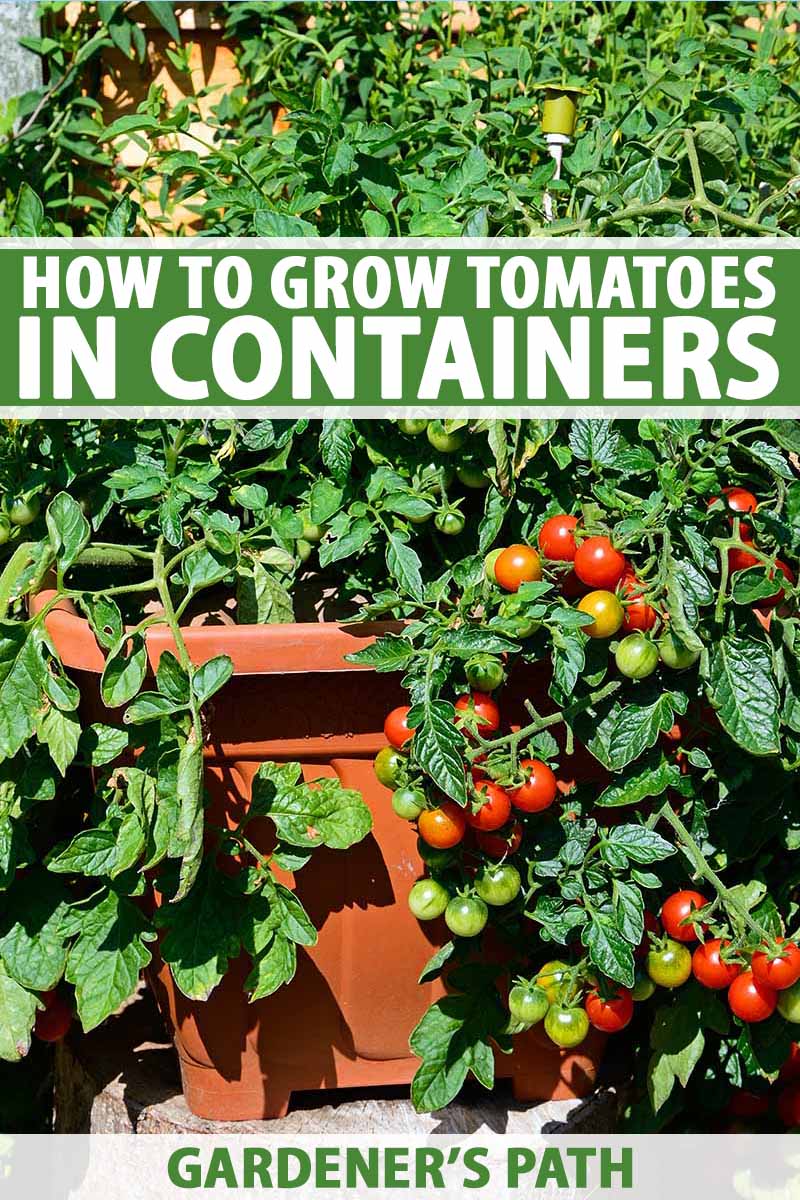
Do you have a hankering for the taste of homegrown tomatoes, but lack the real estate for a garden plot?
Well, there’s no need for despair. You can have your own tasty crop without the back forty, because technically, a garden isn’t even necessary!
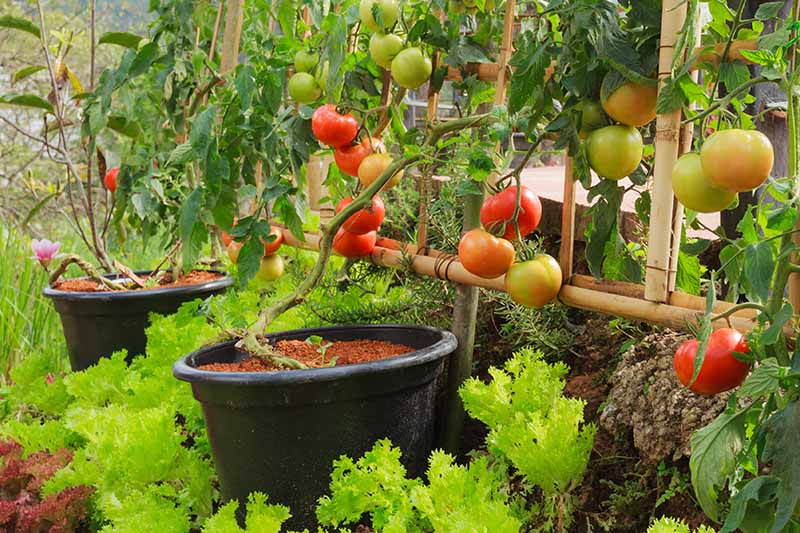
That’s because tomatoes, Solanum lycopersicum, are wonderfully easy to grow in containers and pots – if you have the right setup.
These are prolific and naturally hearty plants that produce heavy yields of fruit, given the right growing conditions. And there’s a tomato plant suitable for any sunny location.
We link to vendors to help you find relevant products. If you buy from one of our links, we may earn a commission.
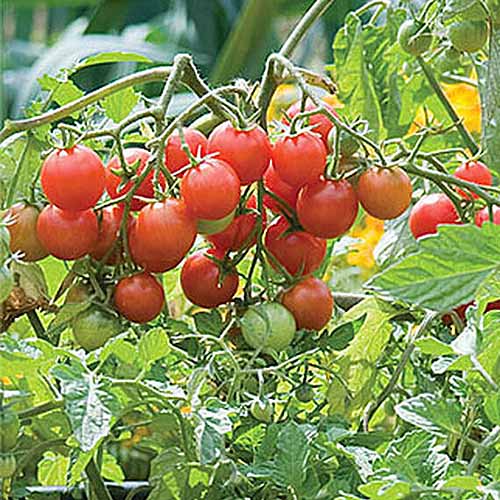
Whether you fancy heirloom beefsteaks for burger season, bite-sized cherries for snacking, or piquant paste varieties for canning and sauces, they’re all well-adapted to cultivation in pots.
Even if you only have room for a single plant, you can still enjoy a bounty of beautiful, flavorful fruit.
Just follow our tips on how to grow tomatoes in containers and pots to enjoy your own homegrown harvest.
Here’s what I’ll cover:
What You’ll Learn
Choose Your Location
Tomatoes are sun-loving plants and require a location where they can receive at least six hours of full sun each day.
And because they need regular watering, you’ll also want to set up your containers close to a water source, like drip irrigation or a garden hose.
Plants can be grouped together, but not so close that the leaves brush against each other. This helps to avoid plant-to-plant transmission of disease and pests.
Also, if you plan on collecting seeds from heirloom cultivars, keep them at least 10 feet away from other varieties to prevent inadvertent cross pollination.
Varieties to Select
It’s a good idea to decide on the types of tomato you’d like to grow before you head out to the garden center.
For size considerations, determinate varieties, with their limited growth, are always a good choice for containers.
But indeterminate ones work too, provided they have room to grow – and they’ll need ample support as well.
You can find more information on the difference between determinate and indeterminate varieties in this guide.
Next, look for your favorite features in the three main categories of paste, snacking, and slicing.
Here are a few reliable recommendations from each category to get you started.
Canning, Pastes, and Sauces
Paste tomatoes have meaty flesh, low moisture levels, few seeds, and a terrific taste.
And it’s these features that make them the go-to choice for canning, dehydrating, juice, ketchup, pastes, purees, and sauces.
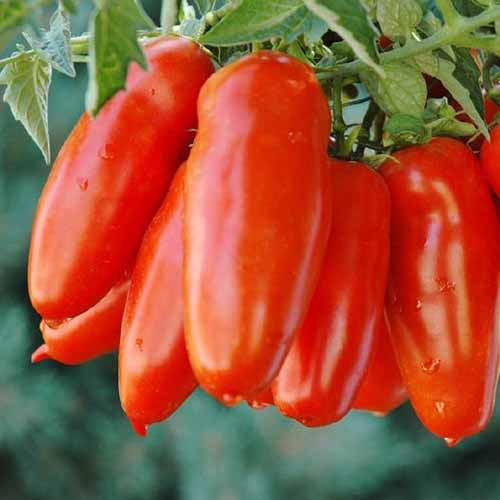
Amish Paste
‘Amish Paste’ is an indeterminate heirloom variety with six-ounce, teardrop-shaped fruit that are ideal for putting up delicious preserves.
Fruits mature in 85 days.
Seeds are available at True Leaf Market.
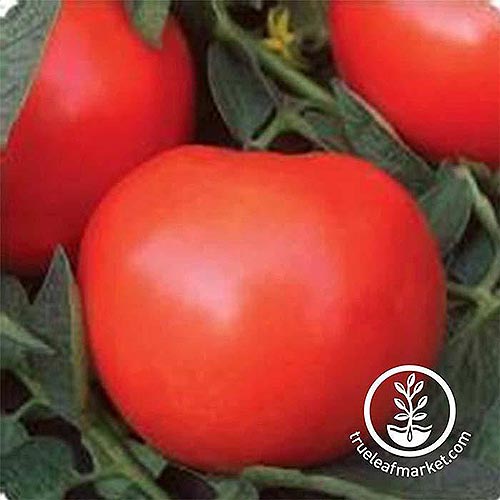
Fresh Salsa
‘Fresh Salsa’ is a determinate hybrid cultivar with firm flesh that doesn’t drip or squish when chopped – perfect for bruschetta and salsa.
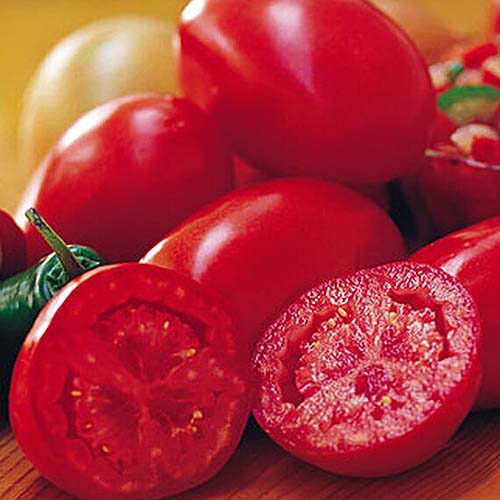
Fruits are ready to harvest in 65-70 days.
Plants are available exclusively at Burpee.
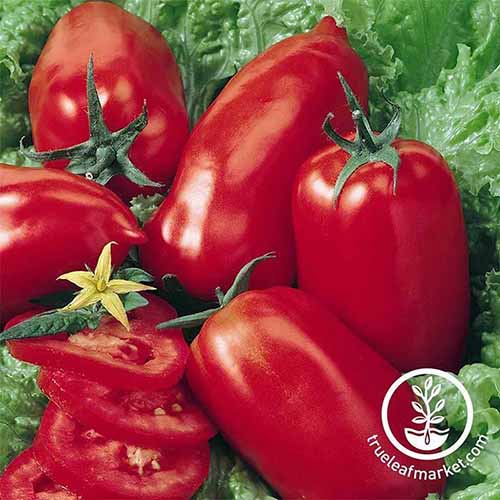
San Marzano
‘San Marzano’ is an indeterminate heirloom, beloved for the rich, deep flavor they give to tomato sauces.
Plants mature in 85 days.
Seeds are available in a variety of packet sizes and can be purchased at Eden Brothers.
You can get tips on growing ‘San Marzano’ here.
And be check out our guide to 15 of the best canning tomatoes for even more suggestions.
Sandwiches and Slicing
Sandwich and slicing tomatoes are medium to large sized fruit with a bold flavor, plenty of juice, and a meaty texture.
These are the perfect complement to burgers or sandwiches and sliced into salads.
Brandywine
‘Brandywine’ is an indeterminate heirloom beefsteak, beloved for its big, brawny fruits and full flavor.
Fruit is ready to harvest in 85 days. Organic seeds are available at Eden Brothers.
Read more about growing Brandywine here.
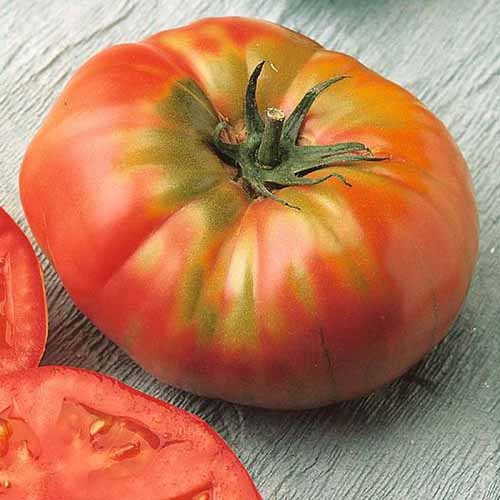
Cherokee Purple
‘Cherokee Purple’ is another indeterminate heirloom cultivar and features large, deep maroon fruits with a sweet taste.
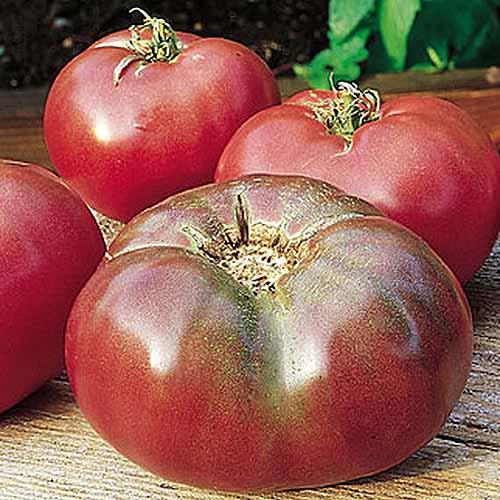
Seeds and plants are available at Burpee.
You can read more about growing them here.
Phoenix
‘Phoenix’ is a hybrid, determinate, bush-type cultivar bred to withstand extreme heat that reliably produces a heavy yield of tangy, baseball-sized fruits after 75 days.
Seeds in a variety of packet sizes are available at True Leaf Market.
Want more sandwich and slicing options? Be sure to take a look at our “23 of the Best Slicing Tomatoes to Grow in Your Garden.“
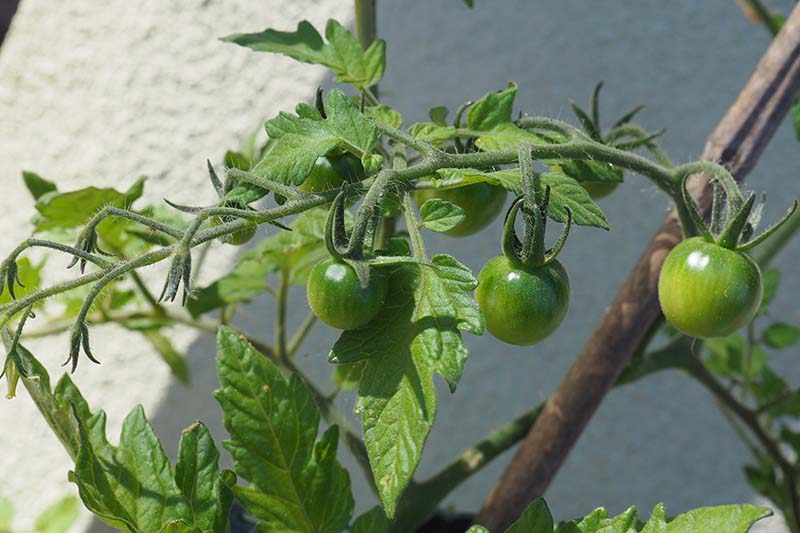
Snacking
Tumblers – types with a trailing habit perfectly suited to hanging baskets – and cherry tomatoes are the first to ripen and make the perfect bite-sized snack.
Black Cherry
‘Black Cherry’ is a prolific indeterminate heirloom cultivar with a deep mahogany color and rich flavor that’s perfect for an exotic salsa.
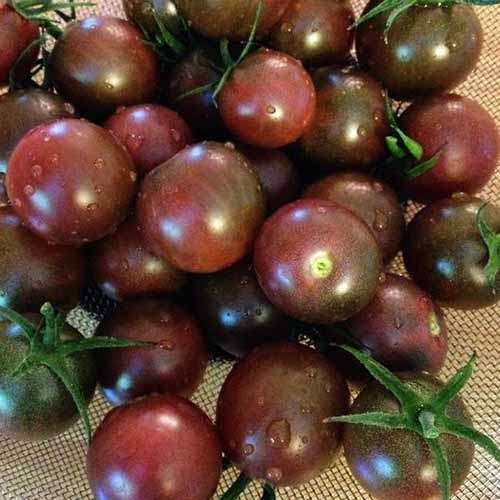
Fruits are ready for harvest after 85 days.
Seeds are available at Eden Brothers.
Sungold
‘Sungold’ produces an abundance of sweetly-tart, tropical flavored fruits on indeterminate vines after only 57 days.
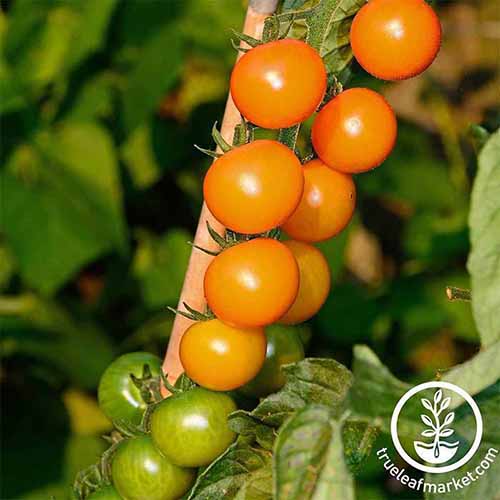
Seeds can be purchased at True Leaf Market.
Sweetheart of the Patio
‘Sweetheart of the Patio’ is sweetly delicious and produces a superior yield on semi-determinate vines. This cultivar has a draping growth habit that’s ideal for hanging baskets.
Fruits are ready to pick in 65 days.
Seeds and plants are available at Burpee.
For more ideas, be sure to read our roundup of the best cherry tomatoes to plant in your garden.
Preparation for Planting
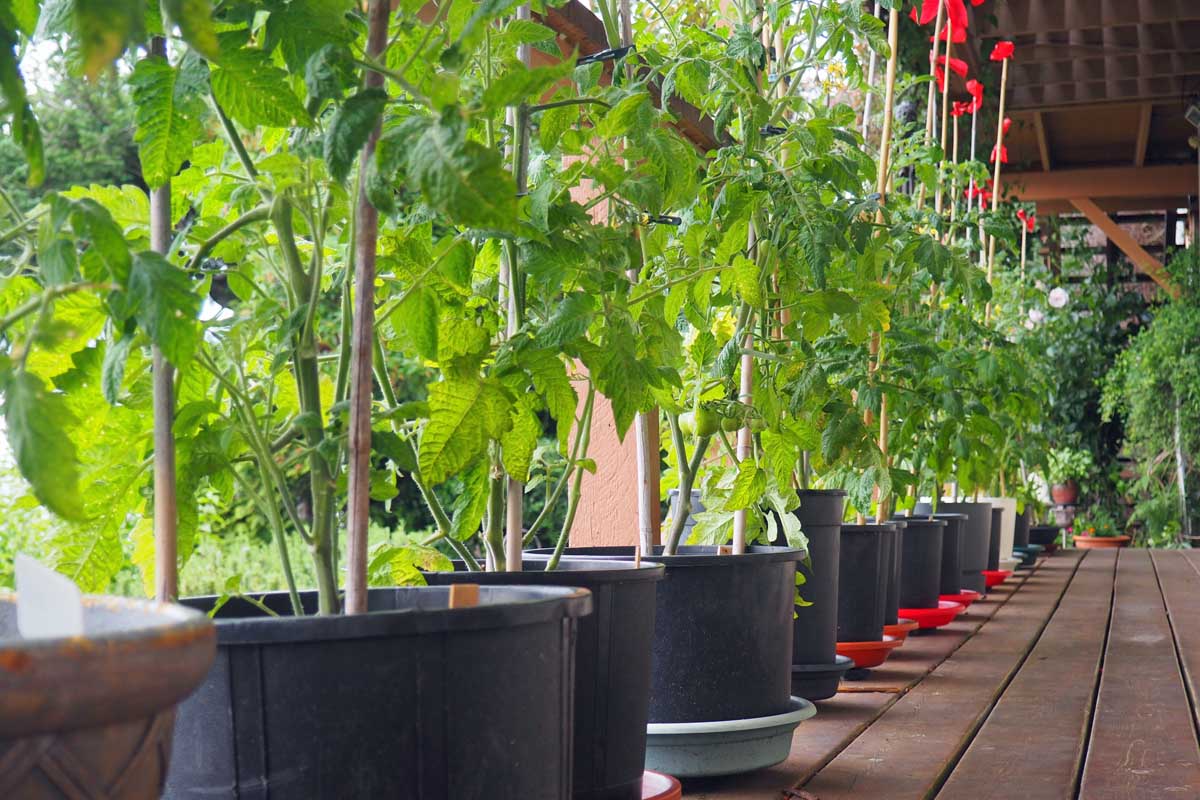
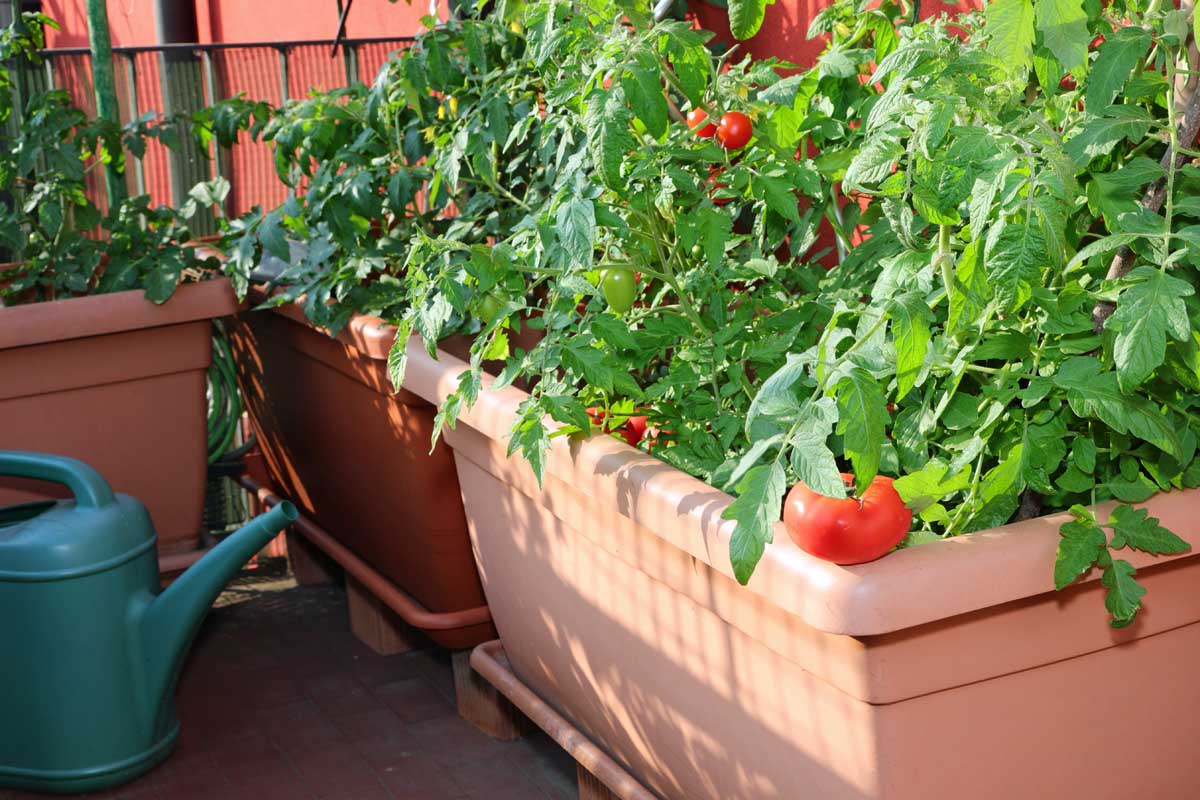
The minimum container size should be 12 inches high and 12 inches in diameter, or a five gallon capacity. This is a good size for bush, determinate, dwarf, or patio vines.
Large indeterminate vines require more space and do best in larger containers with a diameter of 18 to 24 inches and a similar height.
All pots require drainage holes to ensure water flows freely away from the roots. Problems like root rot arise when water is allowed to collect in the bottom of the container.
And because harmful pathogens and pests can overwinter in the soil, containers should be sanitized before use.
Spray or swish the interiors with a solution of chlorine bleach and water – 10 percent bleach to 90 percent water. Wipe down and allow to air dry before storing for the winter or planting in spring.
To ensure free-flowing drainage and healthy roots, add a layer of drainage material to the bottom of your pots. Materials such as coconut coir, pebbles, or broken pottery are suitable.
Use Top Quality Soil
To avoid crop contamination from overwintering pathogens and pests like blight, leaf miners, and nematodes, container-grown edibles should always start with fresh soil.
But not just any old soil.
Garden soil is too heavy for pots. It compacts quickly, causing water to run down the interior walls and out of the drainage holes before the roots can drink it in.
Soil compaction also cuts off airflow to the roots, another key element for healthy growth.
It’s also important to remember that container soil dries out much quicker than garden beds do. In addition, tomatoes are heavy feeders that require organically-rich soil.
The ideal blend is a mix of healthy soil enriched with organic material, and amended with a moisture-retentive material. This creates a nutrient-rich base with a light, fluffy texture that absorbs water and retains moisture around the roots.
Here’s a recipe if you’re starting from scratch:
- 2 parts clean garden soil
- 1 part organic material such as aged compost or well-rotted manure
- 1 part moisture-locking material such as coconut coir, peat moss, perlite, or vermiculite
Mix the ingredients together on a tarp or in a large storage bin.
Or, for a more convenient ready-made option, you can always pick up pre-mixed soil at your local garden center or online.
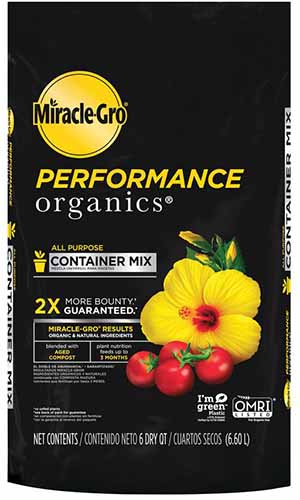
Miracle-Gro Performance Organics Container Mix
I like this organic container mix from Miracle-Gro, since it’s blended with aged compost.
You can find six-quart bags at Home Depot.
Container Care
Seedlings can be planted up and moved outdoors when all risk of frost has passed.
Fill vessels with container potting mix to within three to four inches from the top. This allows room to side dress with compost during the growing season or to add a layer of mulch.
Ensure the root hole is deep enough to bury the root ball plus two-thirds of the stem, and mix in a teaspoon of bone meal and a tablespoon of Epsom salt.
The bone meal aids strong root growth and Epsom salt helps with plant formation and to prevent blossom end rot.
Burying two-thirds of the stem also promotes new root growth. To accommodate the stem depth, snip or pinch off the lowest two sets of leaves when planting.
Add two to three inches of straw mulch, if desired, to help retain moisture and keep weeds down.
Provide Support
After planting, add supports in the form of cages, stakes, or trellises.
This can look a little disproportionate with a small seedling, but it’s best to add them at planting time to avoid damaging growing roots later on.
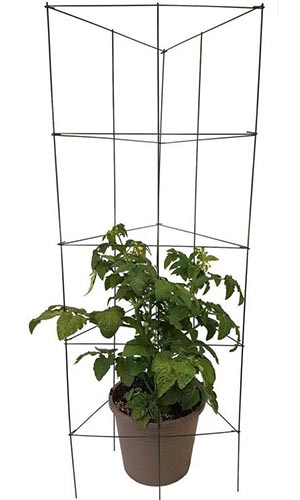
Galvanized Steel Plant Supports
Collapsible cages made of galvanized steel are available at Wayfair.
If space is an issue, choose dwarf or patio varieties.
These are typically determinate and bred for compact growth, and staking is often optional. Check your seed packets or plant tags for mature sizes and support requirements.
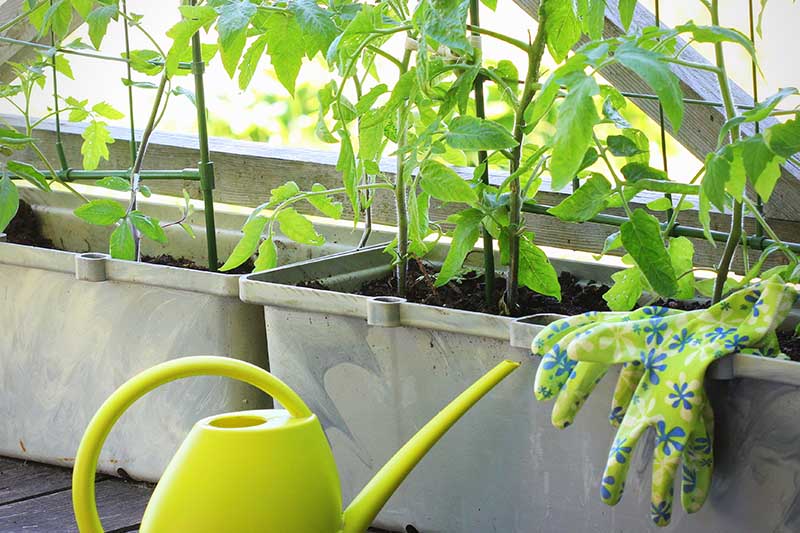
Water Deeply and Regularly
Proper watering is a key factor to successful container-grown tomatoes.
Pots dry out from the sun and wind faster than the soil in garden beds, and consistent moisture is crucial for well-formed, healthy fruit.
Irregular or shallow watering can lead to problems like blossom end rot and cracked skins.
For the healthiest plants, encourage deep rooting by keeping the soil consistently moist, but not saturated.
When the top inch of soil is dry to the touch, give plants a slow, deep drink so that the entire root system gets water.
And in the heat of summer, you may need to do this every day for large plants.
Use a saucer beneath each pot to catch any water overflow.
This allows plants to absorb moisture back up through the roots during the day and also protects decking and patios from moisture and stains.
If you plan on growing a large crop, a drip irrigation system is an economical way to free up watering time and ensure your plants are watered regularly.
Fertilize Frequently
Healthy, rich soil gives your plants a nutritious foundation, but they’ll need supplemental feeding during the growing season as well.
When the flowers appear, top dress plants with a one to two-inch layer of organic compost and work in one to two tablespoons of Epsom salt at the same time.
Once fruit appears, feed every 10 to 14 days with a water soluble fertilizer such as fish emulsion, a balanced N-P-K blend (10-10-10), or a tomato and vegetable blend of 18-18-21.
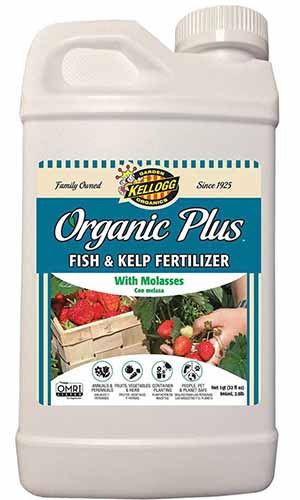
Kellogg Organic Alaska Fish Emulsion Fertilizer
Kellogg Organic Plus fish and kelp fertilizer is available at Home Depot.
Disposal and Cleanup
After your harvest is complete, remove spent plants from their pots and dispose of healthy ones in your compost pile. Any diseased plants should be burned or thrown out with the trash.
Discard the soil, rinse out the pots, then sanitize by spraying or swishing with a 1:10 solution of bleach and water.
Store them upside down over the winter.
Container Convenience
Growing tomatoes in containers and pots is a fun and convenient way to enjoy your own harvest – even if you don’t have a garden!
Remember the key elements of full sun, consistent and deep watering, and regular feeding for strong, robust plants, and they’ll reward you with a bountiful crop of fresh, delicious fruits in no time.
What are your favorite tomatoes for containers? Drop us a line in the comments below.
And to learn more about growing tomatoes, check out these guides next:

Thank you for sharing. I’m looking forward to growing too many tomatoes this upcoming summer.
What a great article, thank you! I’ve been starting a deck gardening project last year, and I’ve looked around A LOT for information, and this is one of the best articles I’ve ever read on the subject! Also, thank you for answering my question (from another thread, but I’ll share it for readers here, too.) about disinfecting rinsed, dried, containers by spraying them with rubbing alcohol instead of a bleach spray. I’m glad that’s an option for those of us that are allergic to bleach. ???? I’ve had a heavy case of mildew on my container cucumber and “possibly” a… Read more »
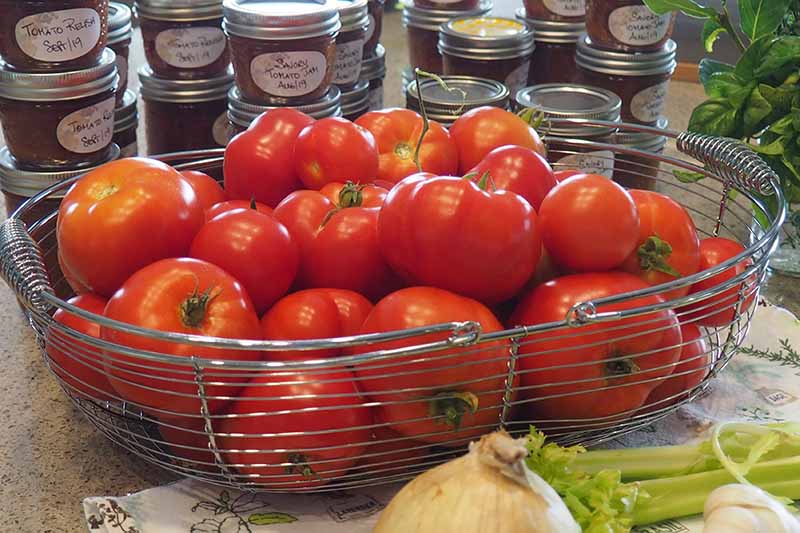
Do we really have to toss ALL the soil used? (not talking about soil from diseased plants). It’s a lot of money every year (see picture). I must have about $200 or more worth of container soil in there (luckily, I actually bought the miracle grow container mix you recommend). I was planning on new soil for the big tomato plants, but not for everything.
Can’t we recondition by adding about a third of compost and sprinkling with nutrients, like Neptune’s lobster shells, kelp, and bone meal, and re-use it?
Hey Menolly, beautiful garden! And sterilizing your gear is always a smart idea to help your plants as the alcohol takes care of many pathogens. And yes, you can recycle your used soil, provided the previous plants were healthy with no diesase issues. Unfortunately with diseased plants, the soil can hold unfriendly pathogens that can live on from season to season. To refresh your non-diseased but depleted soil, mix with one-third to one-half compost or rotted manure and further amend with the additives you mentioned over the growing season – bone meal, kelp, crushed shells, and so on are all… Read more »
I’ve always lived in desert areas, and they say that tomatoes stop flowering above 95° F.
That’s correct Pattie, pollination and fruit set are negatively impacted once temperatures hit 95 degrees F and higher.
But there are heat-resistant varieties you might want to try such as ‘Heatmaster’, ‘Pheonix’, ‘Solar Fire’, and ‘Summer Sun’ – all bred for hot climates.
Also, it’s helpful to keep your plants away from materials that reflect heat, such as fences or siding, and plant where they’re receive afternoon sun.
Hope that helps, thanks for asking!
I use Earthboxes and you have a constant water supply makes a great container