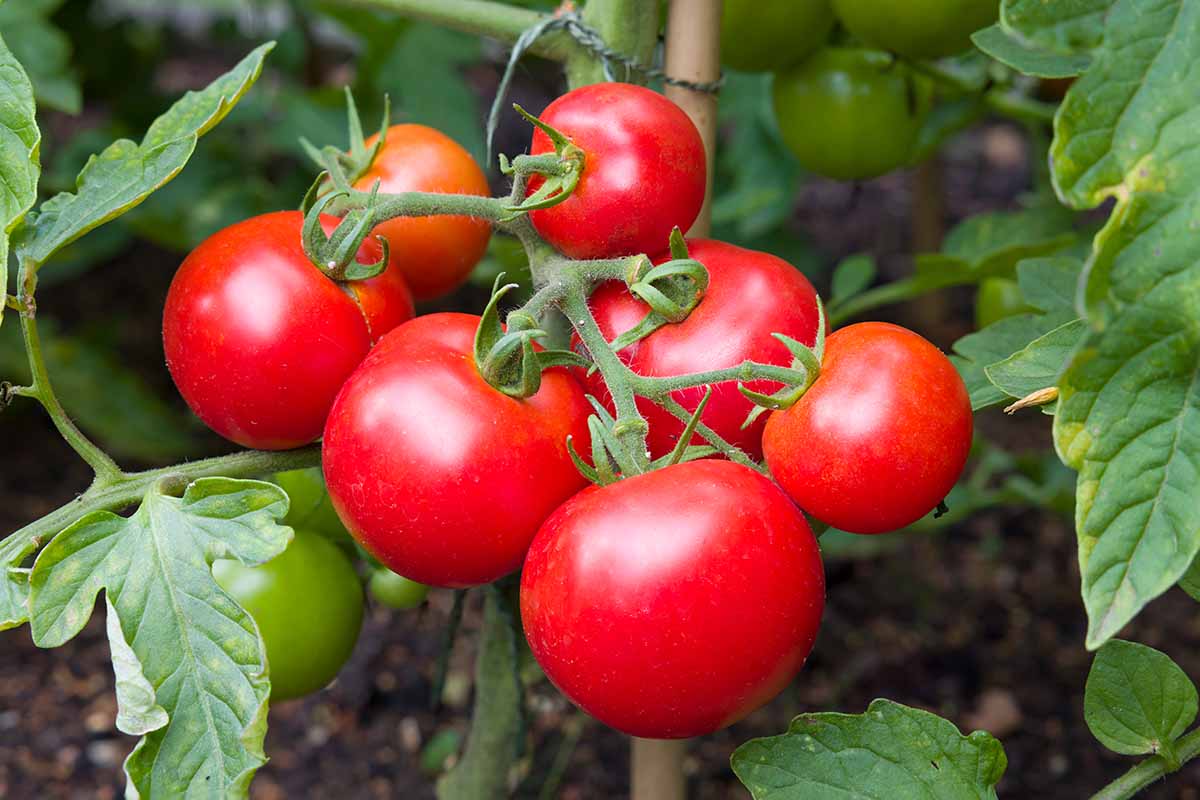
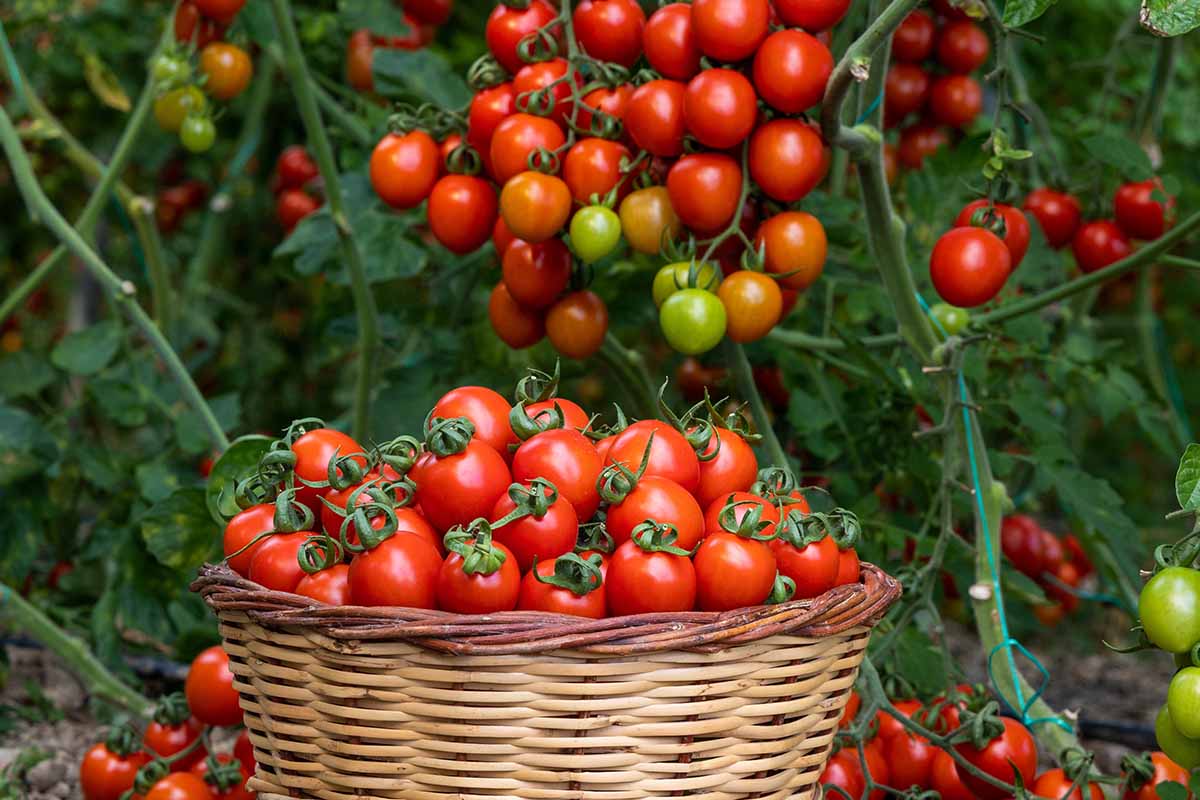
You waged a winning battle against marauding pests. You warded off nasty diseases. You watered, pruned, fertilized, and propped those vines up.
Now it’s harvest time, and you have tomatoes coming out of your ears.
Success!
We link to vendors to help you find relevant products. If you buy from one of our links, we may earn a commission.
There’s just one little problem, if you can call it that. There’s only so much chili sauce, pasta sauce, soup, and ketchup you can make. Eventually, you get tired of canning.
And let’s be honest. How many tomato-based sandwiches or salads can you eat?
Drying is an excellent way of preserving tomatoes in a way that still leaves them versatile and flavorful. When dried slowly, the fruit retains its flavor but lasts much, much longer than a fresh one.
A dried tomato has around 15 percent of its original weight, and achieving this can be done in several ways. You can harness the power of the sun, toss them in an oven, or, if you’re fancy, use a dehydrator.
We’ll explain all three methods and how to store the resulting food. Here’s what we’re going to cover:
How to Dehydrate Tomatoes
Dehydrating extends the life of foods like tomatoes by removing moisture, to deny microorganisms that need moisture the ability to reproduce and spread.
It also creates a barrier on the exterior that stops microorganisms from getting in.
I have friends who swear they can’t tell the difference between the various methods that we’ll go over here when they’re done right.
Personally, I think the sun-drying method or using a dehydrator retains more of the flavor and creates a better texture than using the oven, because you have more control and the slow process allows the food to retain the components better.
It’s really hard to regulate the texture of the slices in the oven. One minute they’re too wet, and the next, they’re too dry.
But if an oven is all you have, then that’s what we’ll work with. And we’ll help you master all three options. Let’s start with the prep work.
Prepare Them
Any tomato can be dried, but Roma or paste types tend to work best. Anything meaty with few seeds is going to rock. Juicy, seedy types take a bit more time, but they’re still doable.
Smaller types, like cherry tomatoes, can be dried whole. Look for firm, ripe fruits, and don’t refrigerate them while they’re waiting for their turn in the heat.
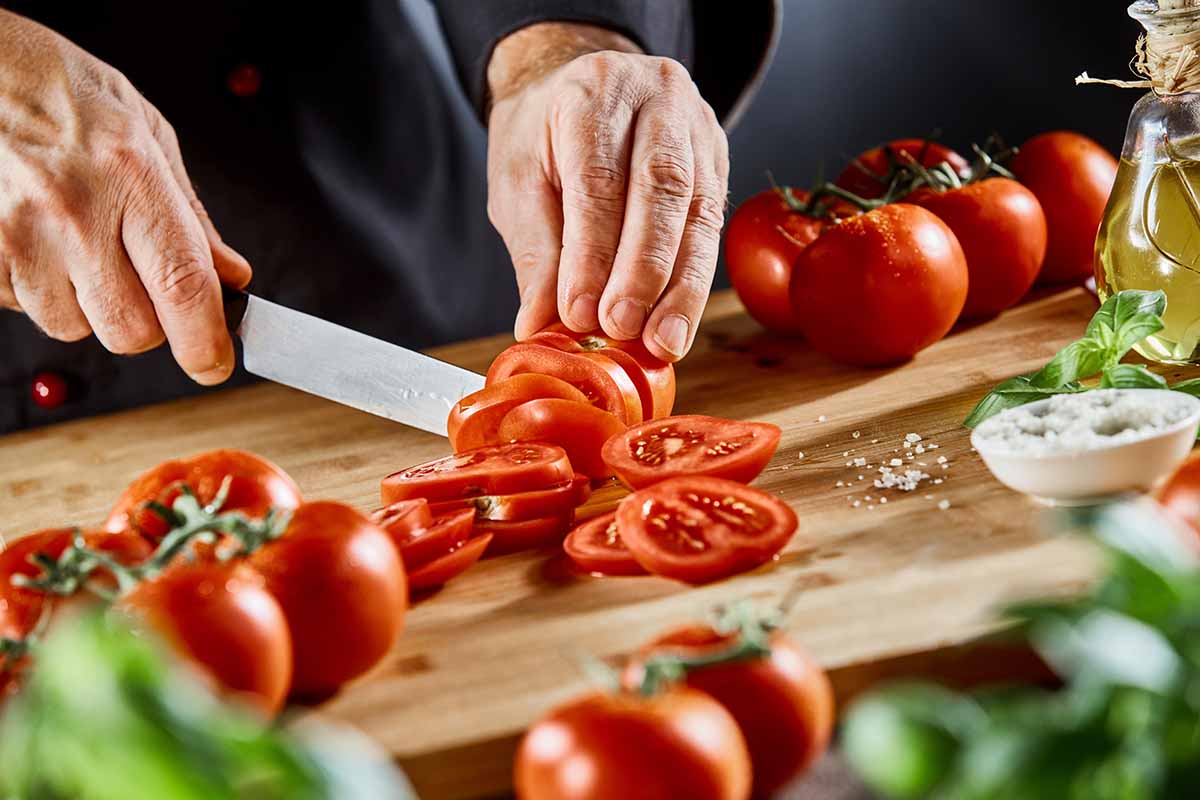
Slice the fruits to speed up the drying process. There’s no rule about how thin to slice them.
If you like paper-thin wafers, go for it. Prefer something a bit more meaty? An inch-thick slice is totally cool. You can even go for wedges or chunks if you’re feeling like it.
It takes longer to dry thicker pieces, though, and you might want to use a dehydrator or oven to speed things up rather than relying on the sun.
Whichever way you go, make the pieces as uniform as possible. If they’re uneven, the pieces won’t dry uniformly, and you’ll have crispy pieces here and under-dried pieces there.
Wash the skins well and allow the fruits to dry before slicing.
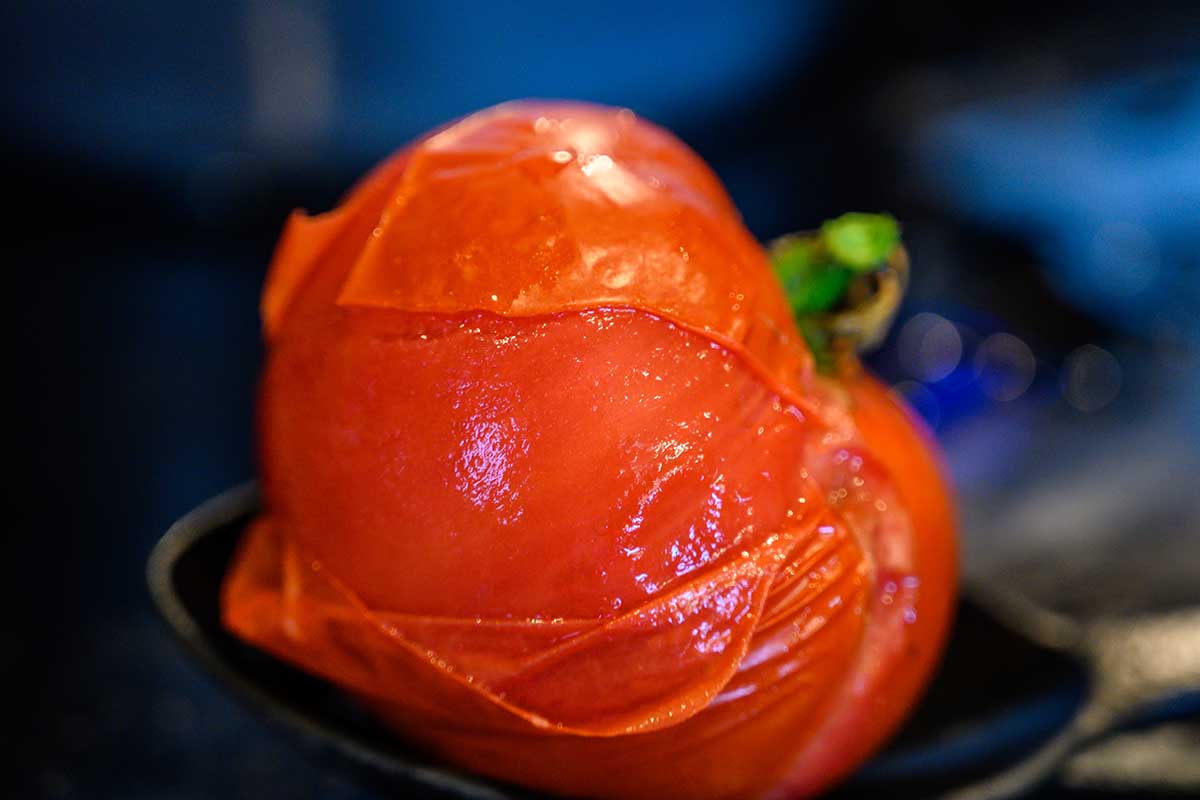
If you don’t want to keep the skin on your tomatoes, score the skin without going any deeper by cutting a cross into the end opposite the stem, dip them in boiling water for 15 to 30 seconds, and then immediately submerge them in ice water.
Peel the skin off.
If you have larger types with a thick core, cut the core out before drying.
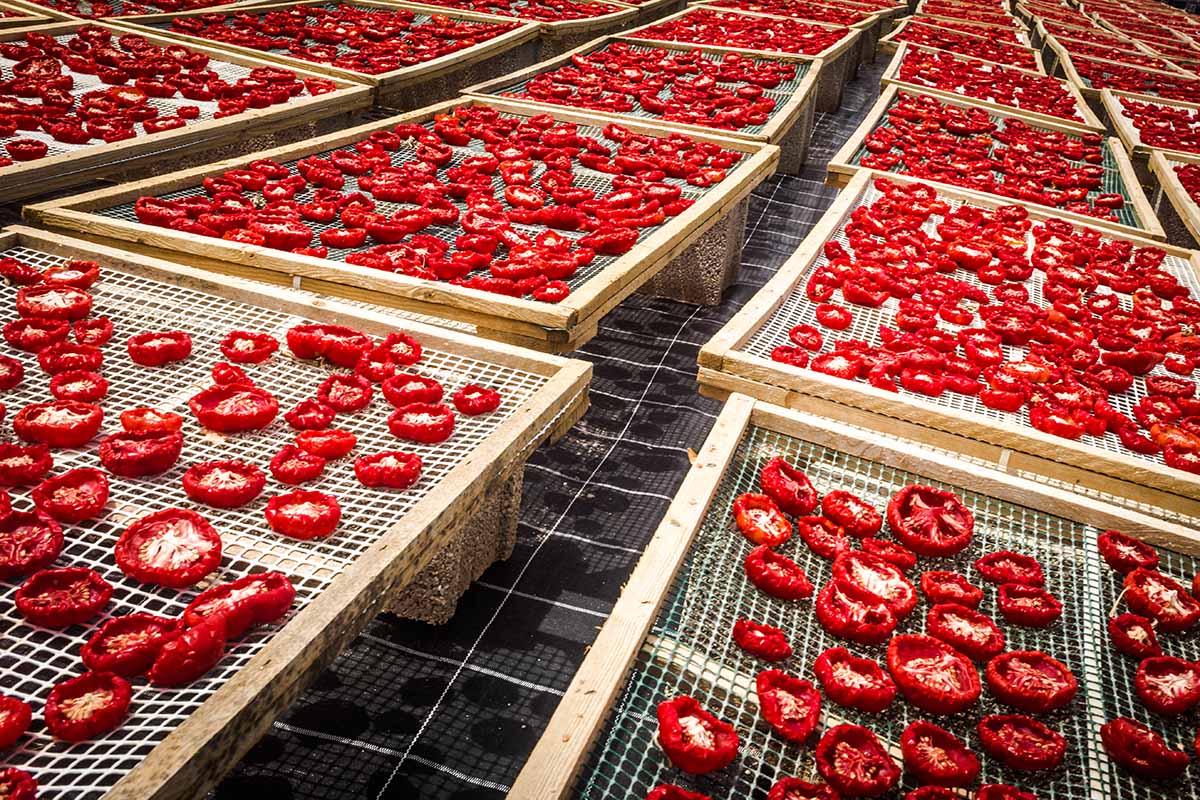
Sun-Drying
There’s something special about sun-dried tomatoes.
The way the process concentrates the sugars while retaining the tomato essence, all with that chewy, semi-soft texture. It’s heaven in a bite.
Truly sun-dried tomatoes taste different than those dried in a dehydrator or oven, and they’re also stupid expensive. Most “sun-dried” products on the market aren’t truly made the old-fashioned way.
Sun drying takes time, and it can be challenging if you have inconsistent weather.
It needs to be consistently warm, dry, and sunny, or you’re better off doing the job in a dehydrator or the oven. Don’t even try sun drying if it’s humid out.
You’ll also have to deal with bugs. They want a chance at those fruits as much as you do.
You can lay cheesecloth over the slices or place raised screens over the area to help keep pests away. If you’re using a table, place the legs in buckets of water to prevent crawling insects from climbing up the legs.
Lay slices on a baking sheet or screen and allow them to dry in direct sunlight.
Or you can go the traditional method and lay the slices out on your ceramic rooftop. You might want to give it a good scrub before you do.
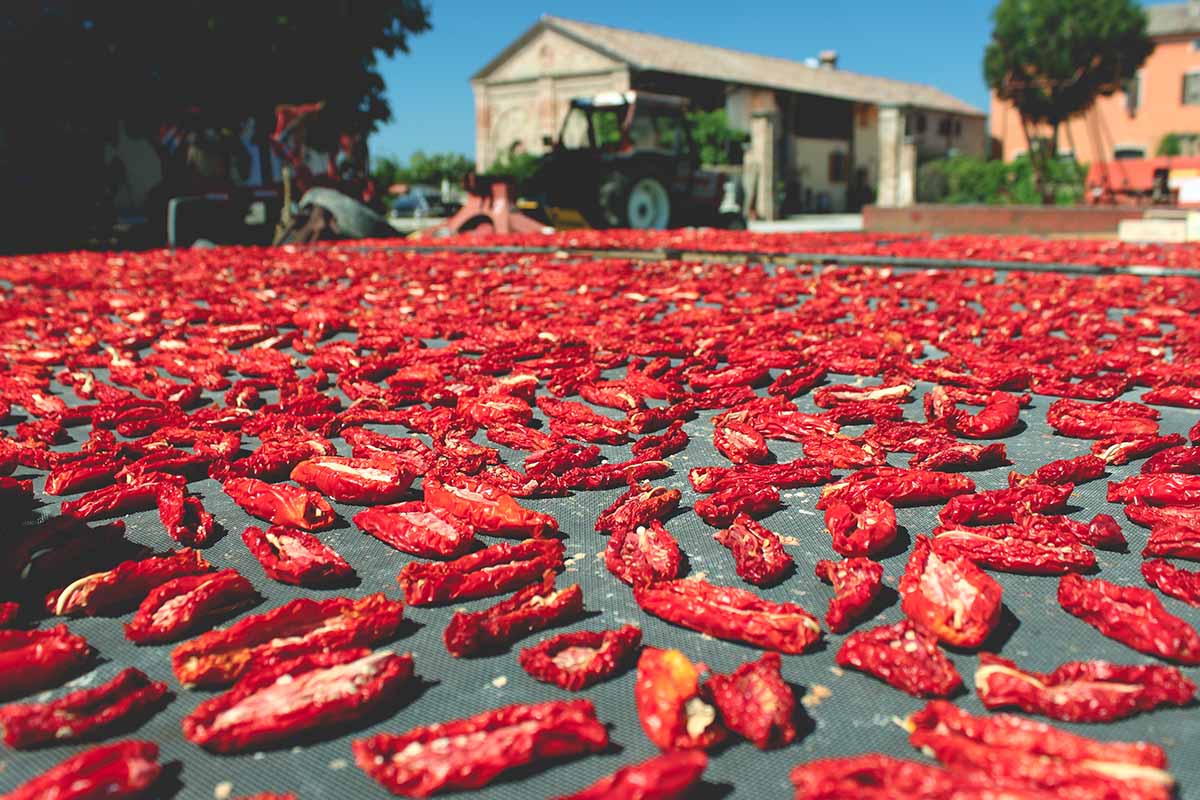
It’s not necessary, but you may opt to do as the Aztecs did and sprinkle some salt on the pieces.
You can also transfer the pieces to a shady spot after they feel about two-thirds dry. This enhances the leathery texture, whereas leaving them in the sun to finish the process can cause them to crisp up.
This method can take several weeks, depending on the weather and the size of your pieces.
The longer it takes, the higher the chance of mold forming, so turn the slices regularly and watch carefully for any signs of mold. Bring them in at night.
Drying in the Oven
Drying in the oven is faster and easier to control than sun drying. You can potentially go from slicing to dining in just a few hours.
Plus, you don’t have to worry about bugs and animals trying to dine on your tomatoes.
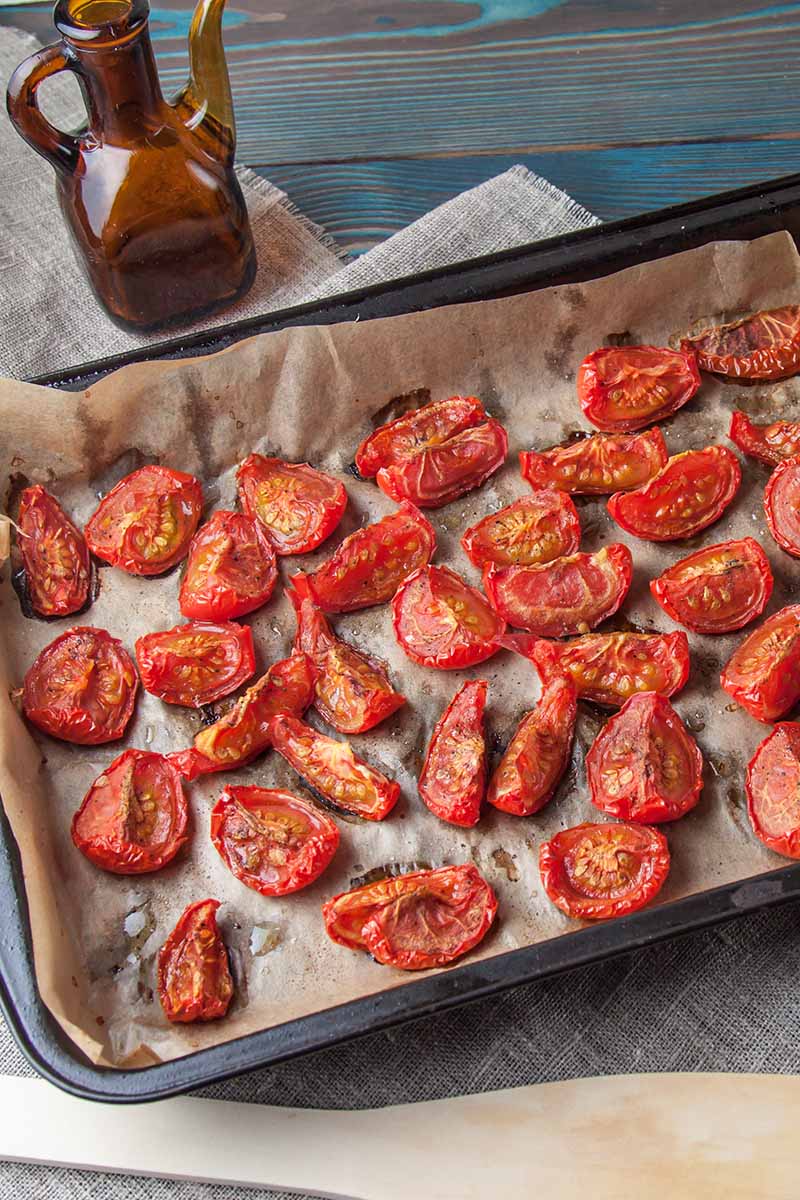
Thin slices might be done in a few hours, but thicker or whole tomato might take days.
Lay the slices or chunks on a baking sheet, either lined with parchment or bare. You can sprinkle salt onto the slices, but it’s totally optional.
I skip salt when I use this method, but I’m using flavorful homegrown tomatoes. If you’re using bland store-bought tomatoes, salt will improve the flavor.
Place them in the oven on the center rack with the temperature at the lowest setting, which will generally be about 170 to 180°F. If you have an air setting on your oven, use it.
Unless your oven is the world’s most evenly heating appliance, you’ll need to flip the slices and rotate the sheet every couple of hours or so.
My oven heats so unevenly that I have to change racks occasionally, too. The longer you dry the fruits, the more you’ll need to flip and adjust things.
Curious about hot spots? You can learn more about understanding your oven on our sister site, Foodal.
You might have better luck turning the oven to about 200°F and cracking the door, rather than relying on the lowest setting and your oven’s uneven heating proclivities.
This method has certainly worked better for me.
Unless you graduated from the Culinary Institute of America and can cut the slices perfectly even, you’ll probably have to pull out some pieces earlier than others as they reach the right consistency.
Drying in a Dehydrator
Drying in the dehydrator is a little slower than the oven, but it retains more of the flavor. It’s like a nice compromise between sun drying and oven drying.
Set the dehydrator to 135°F and place the slices or your whole fruit on the trays.
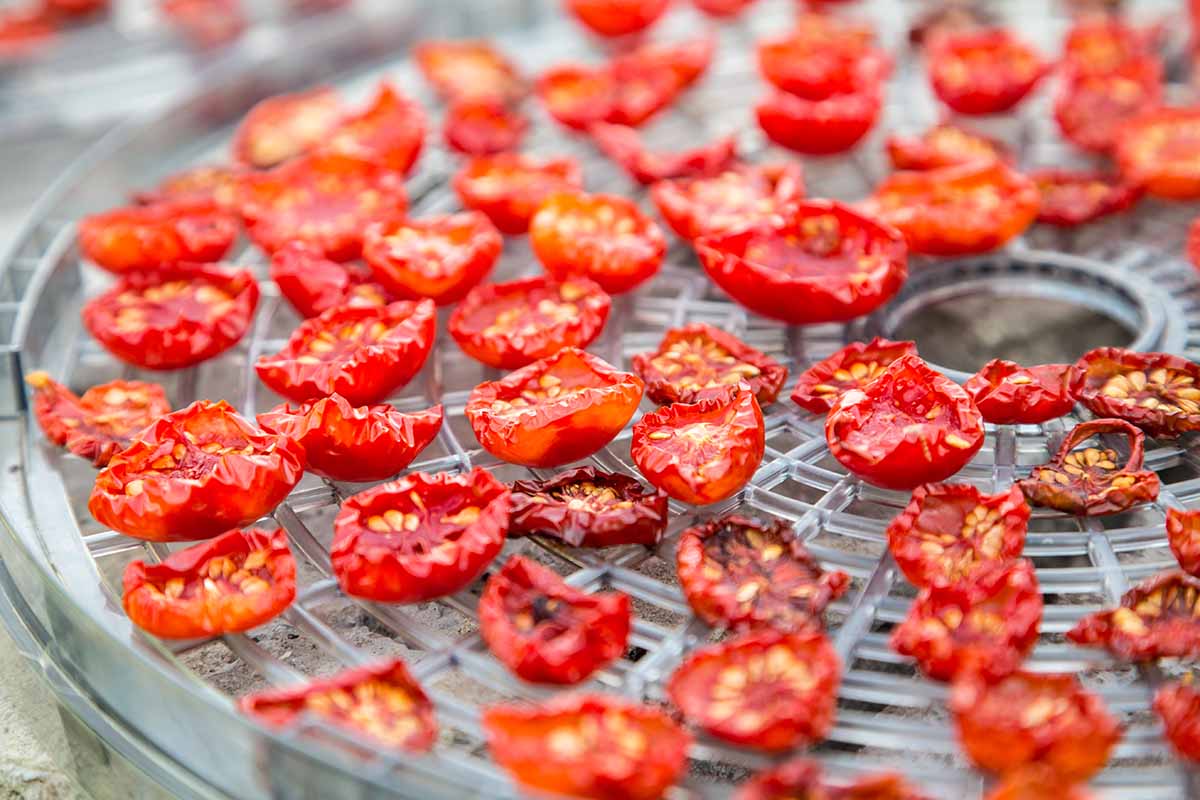
Sprinkle with salt if desired. It will take anywhere from nine to 18 hours, depending on your model and the thickness of the pieces.
Looking for a dehydrator to add to your collection of kitchen appliances? Discover top-rated models on Foodal.
You can leave the temperature at the same level throughout the drying process, but I find you can achieve that perfectly soft, but not too soft, texture if you turn the heat down after eight or nine hours. I usually dry mine at about 100°F for the final hours.
Where to Keep Your Dried Tomatoes
Dehydrating is done once the pieces feel dry but not crispy. You should be able to bend the pieces without them breaking.
If they feel sticky or if they don’t resist when you bend them, dry them a bit longer.
You’re aiming for a leathery texture.
There are lots of ways to store the pieces for future use. The most straightforward is to stick them in resealable jars or bags, but this is also the option with the shortest lifespan.
If you want to vacuum seal them, they can last a much longer time.
What’s that, you say? You don’t have a vacuum sealer at home? Foodal can help you to pick the perfect one!
Kept in an airtight container, they will last about six months. An airtight bag is good for up to a year.
You can also keep the pieces in the refrigerator or freezer for up to 18 months, but they will lose some flavor.
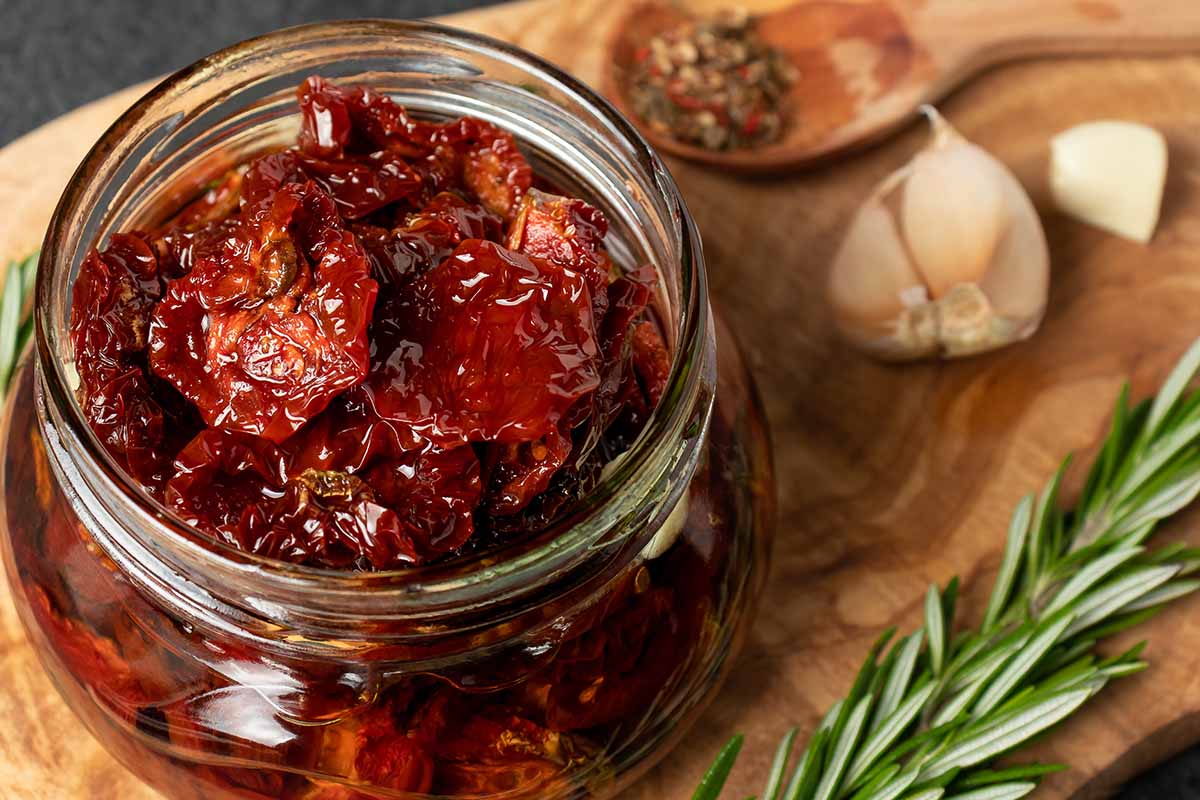
For something a little different, put them in a jar with olive oil.
Pack the dried tomatoes into a jar, add any herbs or spices that are calling your name, and cover everything with olive oil. Place this in the refrigerator and use it within two months.
Note that garlic should not be added, as storage in oil poses a risk of botulism.
You can also grind the tomatoes into dust in a food processor and store the powder in an airtight jar on your spice rack.
Learn more methods of storing homegrown tomatoes in our guide.
Using Dried Tomatoes
The tomatoes can be used dry or rehydrated by soaking them in water or oil. Or you can use them as is.

I toss a few chunks into pasta sauce as I’m cooking so they can rehydrate and add an extra bop (not a real culinary term) of texture and flavor.
They’re fabulous on pizza or pasta. Add them to salads or sandwiches or chop them into dips. They can be used to make pesto, salsa, and soups.
If your mouth isn’t watering already, check out the fabulous flavor-packed Mediterranean steaks with spinach, feta, and sun-dried tomato pasta at our sister site, Foodal.
Savor Those Flavors
An abundant harvest is something to celebrate. And the best way to do that, of course, is with a big old feast!
Invite everyone over for heaps of pizza, pasta, and dip. Whichever method you use, those fruits are going to be fantastic.
What do you plan to do with your treats? Do you have a killer recipe you’d like to share? Give us the good stuff in the comments!
Even though I’m sure you had piles of tomatoes to harvest this year, if you want to grow even bigger, healthier plants, these guides might be useful:


An excellent comprehensive discussion of tomato drying. My dehydrator is the bottom of the line that only has one heat level–which is higher than you recommend..But I am awash with tomatoes right now and drying sounds so much more interesting than any other method!! I am off to appropriately chop up the latest haul in the kitchen!! Thanks soo much!!!
Hi Janey, so glad we could help. I’m sure they’ll be fine even on a higher heat. Enjoy and let us know how you use them!
Hi! This year my garden suffered from triple digit heat (Hello New Mexico, now called the Front Porch of Hell), no rain to speak of, and oh, the well died in Aug. I lost all but 3 Heirloom tomato plants. I was able to keep them going by using the grey water from washing dishes. They did the best they could. Once the heat abated and the new well was drilled they sprang to life! I am running an experiment in my small greenhouse. I have pulled the 3 plants what were covered in semi ripe and green heirloom cherry… Read more »
Oh my, it sounds like you had one hell of a summer. So long as the tomatoes are able to dry fast enough before they can rot, it sounds like a great idea. Let us know how it goes!