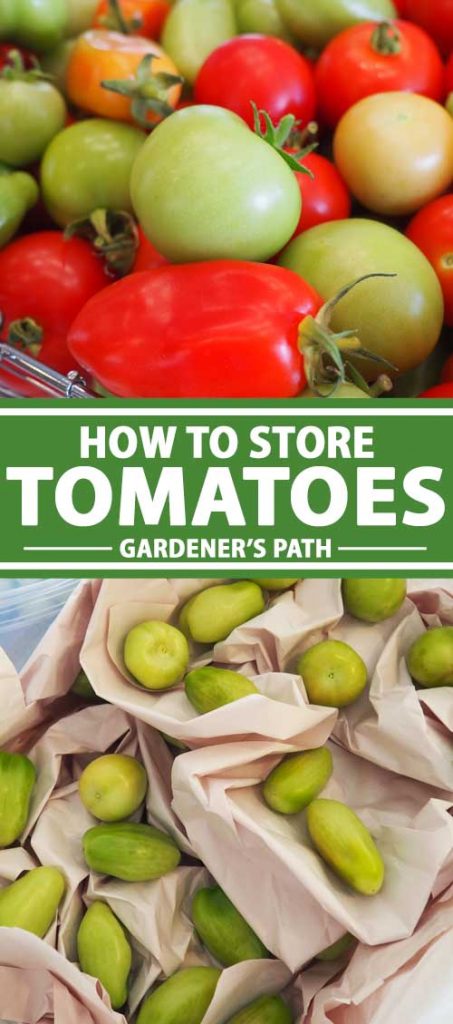
At summer’s end, we’re often left with a surplus of produce from the veggie patch that needs to be picked and stored before inclement weather sets in – like tomatoes.
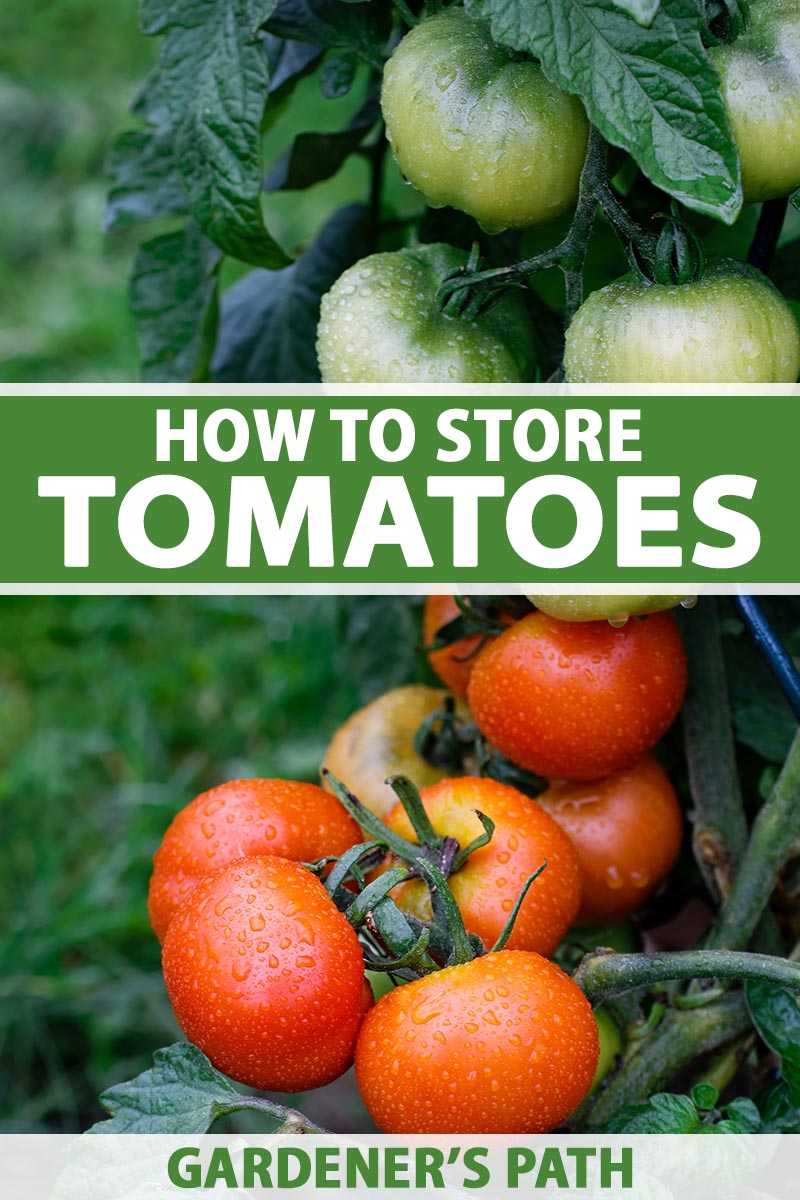
We enjoy their ripe red fruit from midsummer on, but they don’t fare well when there’s a chill in the air. Toward the end of the growing season, vine ripening slows and then stops.
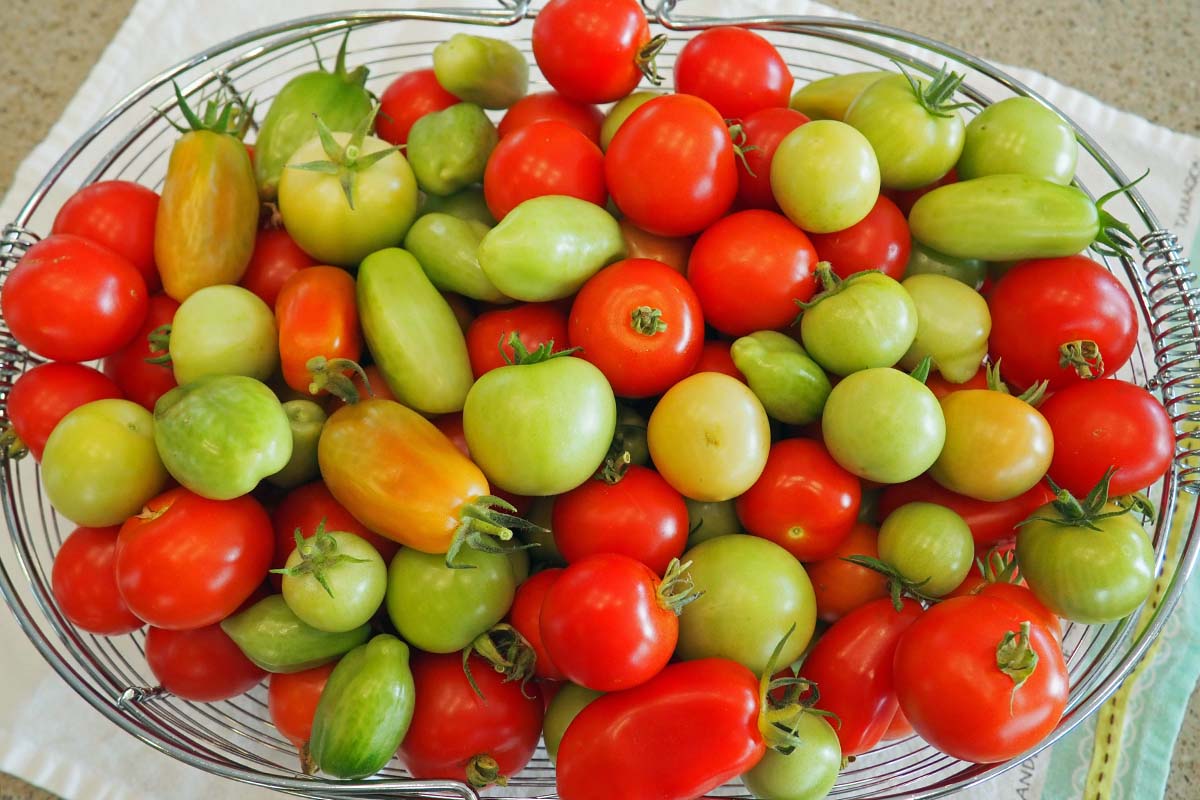
And while the vines can look spindly at this point, there’s often still lots of fruit in place – green ones, orangey half-ripe ones, and ripe red ones, all at the same time.
We link to vendors to help you find relevant products. If you buy from one of our links, we may earn a commission.
Luckily, there are plenty of ways to keep and preserve their delicious flavor for months to come.
Box storage is a good option to slowly ripen green ones, and nicely extends the season for fresh fruit.
Other options – like canning, dehydrating, and freezing – make smart choices when your crop’s just too large to use it all fresh.
Here’s what you need to learn about on how to store your homegrown tomatoes!
What You’ll Learn
Ripening Basics
Being able to ripen tomatoes that you’ve picked depends a good deal on the temperature.
And that means how you choose to stow them will be determined in large part on their level of ripeness at harvest time.
Typically, green fruits ripen in about two weeks at temperatures of 65 to 70°F.
But they’ll take up to four weeks at temperatures of 55 to 60°F.
And at 55°F and below, fruits go into stasis with no further ripening.
Very ripe fruits can go into the fridge to halt the process, but they should be brought back to room temperature before consuming for the best flavor.
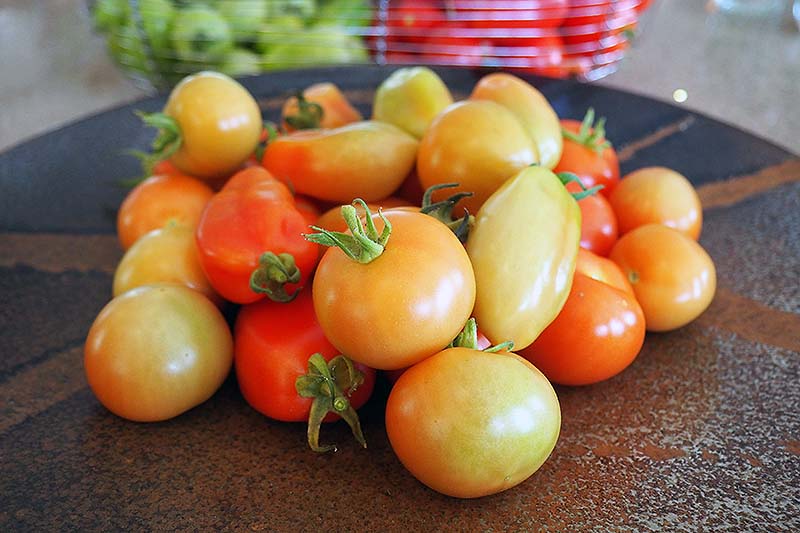
If you only have a handful of green tomatoes, they can ripen in a bowl on the kitchen counter.
Keep them out of direct sunlight and they’ll gradually change color in a couple of weeks.
If desired, adding a ripe apple or banana to your box or bowl of fruit will also accelerate ripening, since these will release ethylene gas. Replace the apple or banana weekly.
For more ripening details, read this article on how to make homegrown tomatoes turn red.
Boxed Storage
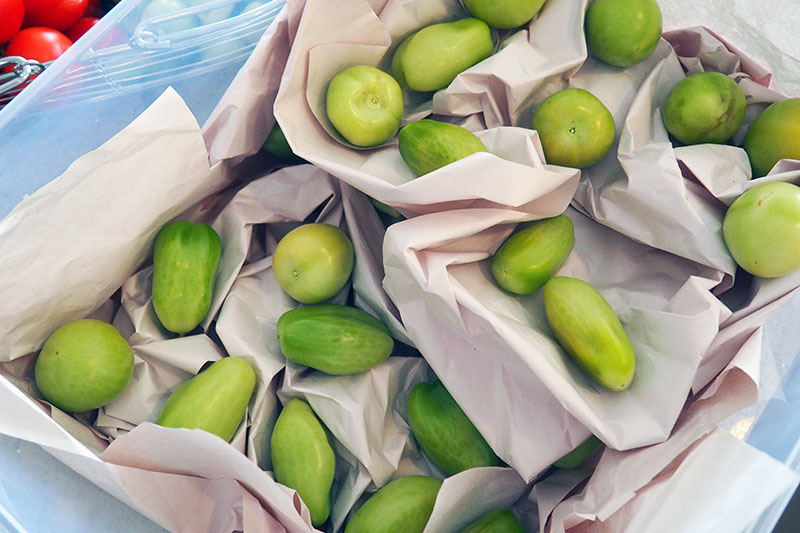
An open bin or box is a convenient and effective storage receptacle in which to keep green fruit as they ripen and turn red.
Here’s what you need to do:
- Wash fruit in cool water, and remove any leaves and stems. Dry gently with a clean towel.
- Line a box with lightly crumpled newsprint and arrange the fruit on top in a single layer. Nestle the fruit into the paper and ensure they aren’t touching.
- Add a second layer of newsprint and a second layer of fruit.
- For small fruits like salad slicers and Romas, a third layer can be added. But maintain a maximum of two layers for heavier fruits such as beefsteaks – the lower level can bruise from the weight.
- Add a final layer of newsprint to cover the top. Place the box in a cool location with moderate humidity and out of direct sunlight. Avoid areas with high humidity.
- Check weekly and turn fruit as needed for even ripening. Discard any fruits that become discolored, soft, or moldy.
- Pick out ripening fruit for the kitchen as they change color and redden.
The cooler the temperature is in your storage area, the longer the fruit will take to ripen.
Suitable locations include cool or unheated basements, cellars, garages, pantries, and shaded porches.
Given the right conditions, boxed green fruit can be kept for up to six months.
Dehydrating the Harvest
Dehydrating your crop is another delicious and easy way to store both green and red fruit.
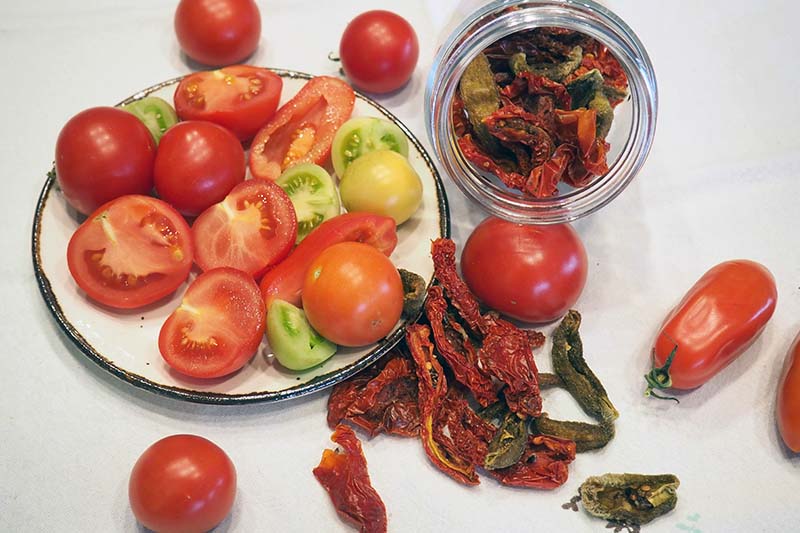
Drying concentrates the flavors to an intense depth, retains most nutrients, and develops a satisfying, chewy texture.
Tomatoes can be sun-dried, or dried in an electric countertop dehydrator using the following basic process:
- Wash fruit in cool water. Dry gently with a clean towel.
- Slice fruit in half lengthwise and scoop out the gelatinous center and seeds. For large fruit, slice the skin shallowly on the back side of each half.
- Lay halves on drying trays scooped side up. Sprinkle lightly with salt to help draw out moisture.
- Set your food dehydrator to 135°F and load the trays.
- Use tongs to turn the pieces after three or four hours and rotate trays as needed.
- Remove the pieces when they are dry and reduced to a leather-like texture that’s slightly soft and pliable, but not brittle.
If you don’t have a food dehydrator, fruit can be dried in the oven as well.
To do this, set your oven to 150°F or the lowest setting and place the washed, sliced, scooped-out fruit on a baking tray lined with parchment paper.
Watch closely during the last hour of cooking. Check for doneness every 15 minutes to ensure they don’t become crispy.
Store dehydrated pieces in an airtight glass jar or resealable container.
Dried pieces have a rich flavor and texture as is. But they can also be plumped up and softened by rehydrating in hot water or tomato juice for 20 minutes.
Keep in airtight containers in a cool, dark cabinet or cupboard for up to six months, or store in the freezer for up to one year.
Learn more about how to dehydrate tomatoes here.
Fresh Sauces and Canning Preserves
Canning preserves or making fresh sauces for the freezer are great ways to store your surplus harvest that provides many options.
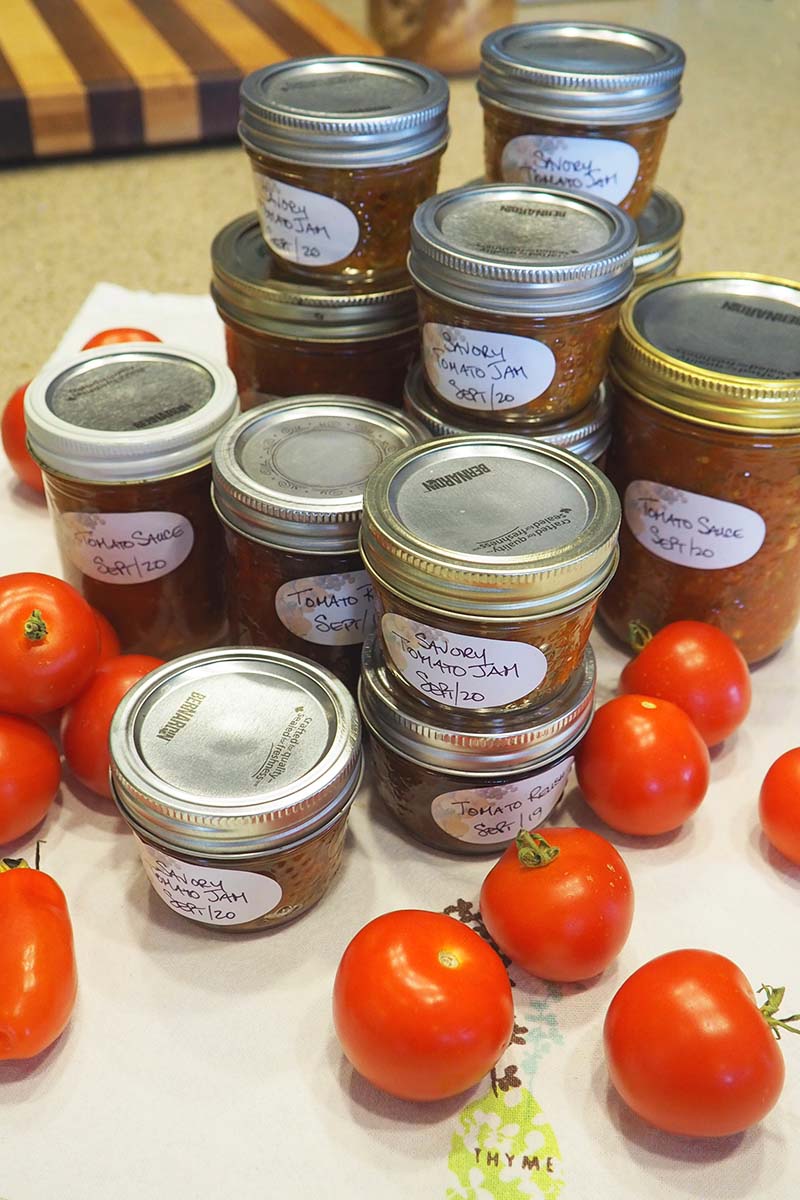
Use ripe red fruit to make chutney, jam, juice, ketchup, paste, sauce, or stewed whole fruit.
Green ones add a tangy bite to chutney, pickles, or relish, and make a lively salsa verde! Try this zesty recipe for salsa verde using your green fruit instead of tomatillos from our sister site, Foodal.
Or please the kids with this recipe for the tastiest ketchup you can make at home, also from Foodal.
Fresh sauces can be stored in the freezer for three to four months.
Canned tomato preserves retain their best quality for up to 18 months when stored in a cool, dry, and dark cupboard.
Be sure to always can tomatoes using appropriate canning techniques for a water bath or pressure canner. Sterilize jars and assure the acidity of canned products containing tomatoes according to the manufacturer’s directions.
If you like the idea of canning, you’ll want to check out this article on 15 of the best canning tomatoes to grow. Plan ahead for a big crop next year!
Freezing
Freezing is another effective way to preserve your harvest.
And although the texture changes with freezing (you won’t want to serve them sliced on a salad or sandwich!), they make an excellent addition to cooked dishes such as sauces, soups, and stews.
You may freeze your excess harvest one of four ways:
- Whole with skins on. The fastest and easiest method, but whole fruit takes a while to thaw and you may need to to fish out the skins later when they come off during cooking.
- Sliced with skins on. The fruit is cut into thick slices before freezing, which makes them thaw faster.
- Whole with skins removed. The whole fruit is blanched and peeled before freezing, making their addition to cooked foods easier. Large ones can be slow to thaw.
- Peeled and chopped. The fruit is blanched and peeled, then chopped coarsely before freezing. This method involves the most work initially, but it’s the most convenient for cooking later.
Hanging Plants
Another option is to uproot the entire plant at the end of the growing season, rather than picking the fruit.
Simply pull up the plants and brush off excess soil from the roots.
Hang them upside down in a cool, sheltered location out of direct light to ripen. Plants can also be laid on shelves or in shallow bins.
Check weekly and pick fruit as it ripens.
Just so you know, this method is fast and easy but it can be quite messy – you can expect there will be plenty of dead plant debris to clean up after!
Stretch Out the Goodness
Tomatoes have exceptional flavor and outstanding nutrients that we all love. And even though ripe fruit has a short shelf life, we can still stretch out the goodness of a homegrown harvest.
Ripen green fruit in boxed storage or try one of the preservation methods described for long-term storage – and long-term enjoyment!
And why not visit our sister site, Foodal for more recipe inspiration?
Do you have any favorite ways to store tomatoes? Drop us a note in the comments below and share your tips.
And for more tomato knowledge, check out these articles next: