Most practitioners I know think pruning and shaping is the most fun part of the art of bonsai. It’s certainly the most creative.
It’s the time when you play an active role in molding your chosen plant into the artistic vision that you hold in your mind.
If only it were as easy as grabbing a pair of clippers and just going to town. But there are a lot of things to know when pruning bonsai, from which tools to use and when to trim to determining how to achieve the shape you want.
We link to vendors to help you find relevant products. If you buy from one of our links, we may earn a commission.
Pruning the wrong way can have some seriously devastating consequences. If you botch removing a branch from a massive tree, no biggie. But one wrong move can completely destroy your miniature work of art.
Now that I’ve thoroughly scared you, don’t worry! A little confidence, an artistic vision, and this guide will get you through it. Here’s what we’re discussing coming up:
What You’ll Learn
Itching to get to work? Here we go!
Necessary Tools
You can get away with using a basic pair of scissors most of the time for young plants, but if you want to create smooth cuts that won’t mar the look of your plant, you’ll want to invest in a few special pruning tools.
Artisans have worked hard to create tools that make the job of shaping your plant easy and increase its beauty. Take advantage of that expertise. It costs more up front, but it will make the job easier and your plant will absolutely look better in the end.
If you can only buy one thing, make it a pair of concave pruners. Many online retailers carry specialized concave pruners that are the right size for cutting bonsai. An eight-inch pair is the standard.
Wazakura Hand Forged Concave Pruners
Amazon carries Wazakura carbon steel concave pruners, which are perfect for the job. They’re an indispensable part of my bonsai toolkit.
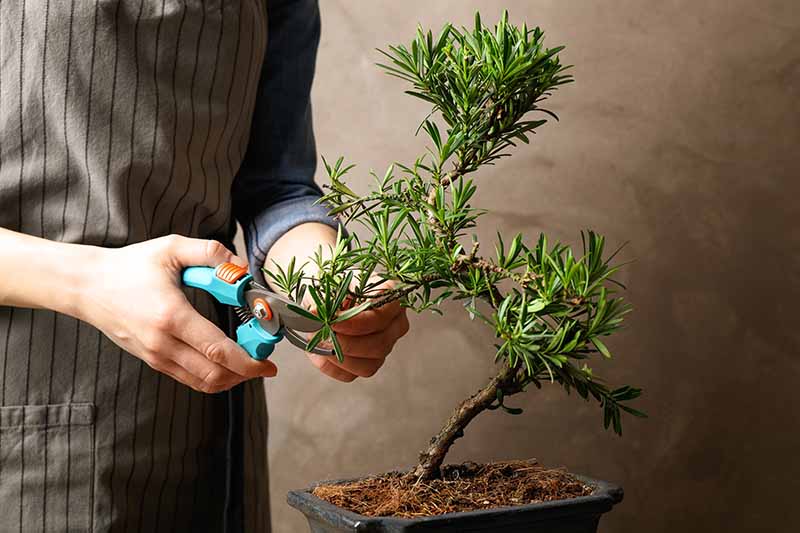
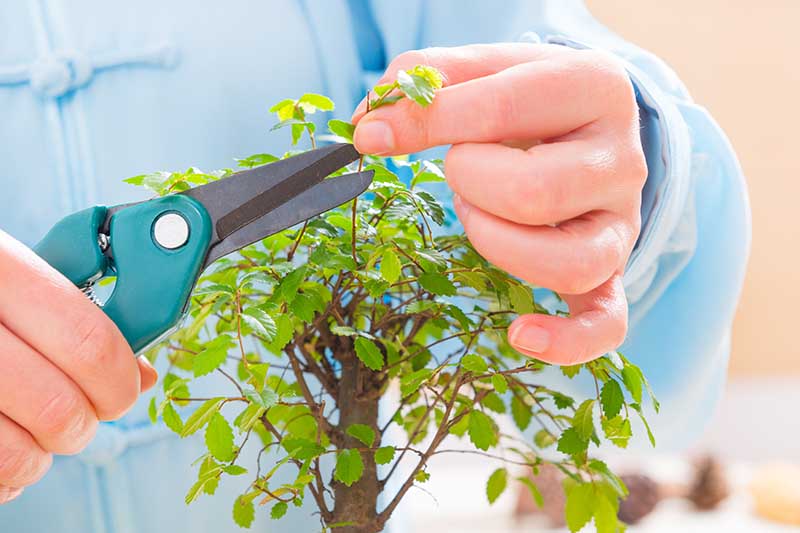
Next, you’ll want a small pair of shears for pruning away tiny shoots or individual leaves.

Bonsai Boy sells a traditional-looking pair that is both functional and, I think, a beautiful display element for a gardening shelf.
For wiring, purchase some soft, flexible wire in multiple gauges. At a minimum, you’ll probably need 1.0- 2.0-, and 3.0-millimeter gauge wire.
Aluminum and copper are standard. Avoid steel unless it is coated, because it rusts. This doesn’t harm the tree, but it’s messy and compromises the structure. Copper is stronger, so it works better for conifers.
You can find kits with a variety of gauges and a pair of snips to make things easier.
For instance, Amazon carries a bonsai kit by Leaves and Soul with five gauges of aluminum wire in 160-foot lengths, plus a pair of wire cutters and a canvas storage bag to hold everything.
Leaves and Soul Tree Training Wire Kit
Get your hands on some raffia, as well. Many specialty bonsai retailers carry raffia, but you can also use the stuff that you find at party or craft stores.
Just don’t buy colored or dyed raffia – it makes a mess, and the color may bleed when it gets wet.
Finally, if you plan to dramatically change the shape of a branch, or if you’re working with thick branches, you might want to invest in a bending or jacking tool.
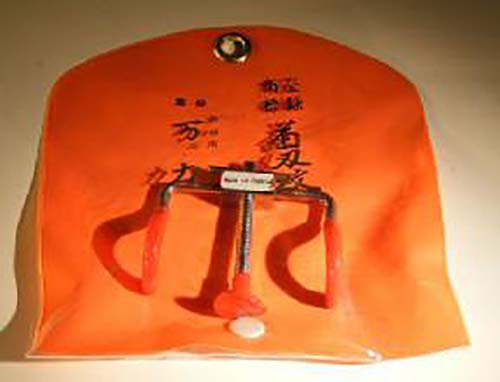
These come in different sizes, but the smallest option is typically a good size for the beginner.
The Basic Goal of Shaping
Obviously, shaping is done to make your plant look the way you want it to. But there’s more to think about than that.
The basic goal of pruning and shaping is to make the plant appear as it would in nature. That means ultimately your shaping choices should ultimately be made with the goal of looking as though you never interfered at all in mind.
Now, that doesn’t mean your tree needs to grow straight up and down (this is known as formal upright style). In fact, few trees in nature look that way.
Look around at the trees that are growing near you. Most tilt slightly as they reach for sunlight or are pushed by the prevailing winds. They may have longer or denser branches on one side.
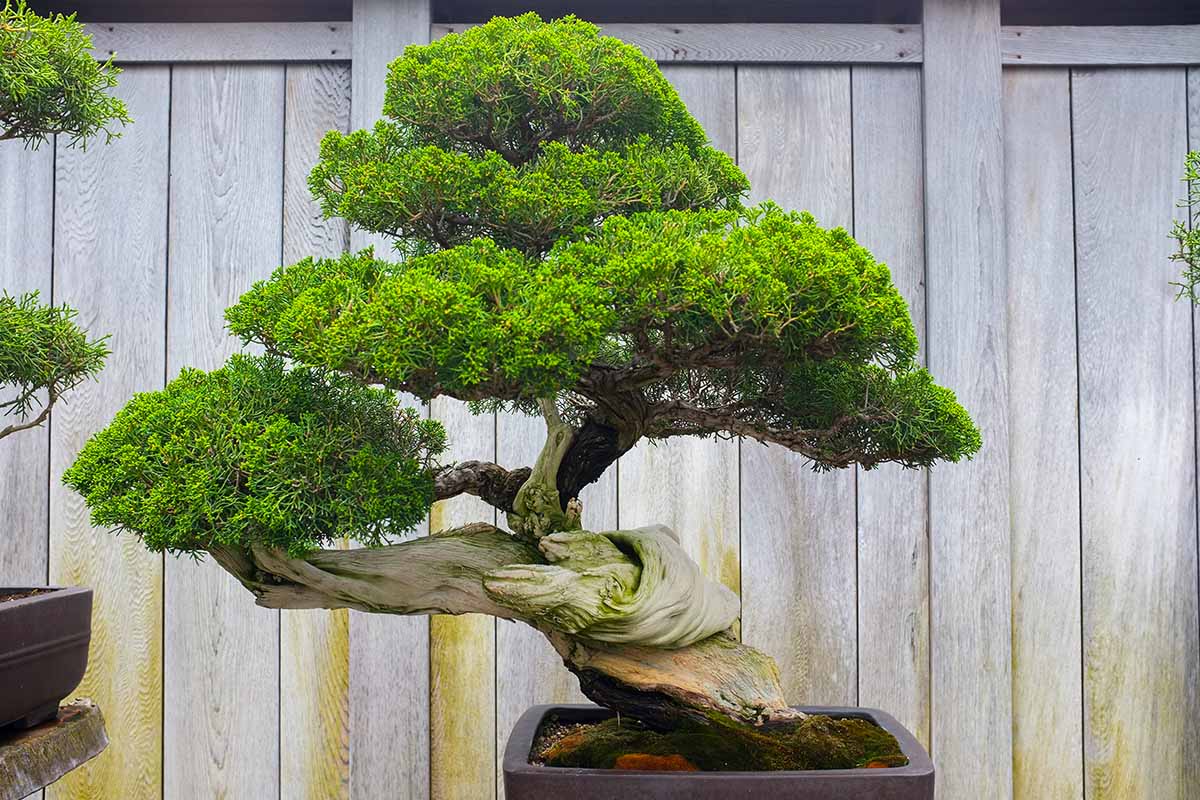
Some trees are even more dramatically altered by the environment, and this is reflected in cascading or windswept styles.
For a full rundown of the various categories of shapes and styles, read the “Styles” section of our intro to bonsai trees.
When you make your cuts, you don’t want to leave any evidence of this behind. That’s why we use concave pruners. These are more likely to leave behind a smooth cut that will eventually heal over.
As time goes on, you’ll only need to do limited pruning. The most dramatic shaping is primarily finished after the initial phase. After that, you focus on maintenance.
Picking a Shape
Deciding whether or not to remove or re-shape a branch is totally subjective. This is, after all, an art form.
Just as no one can tell you whether or not to add a brushstroke to a painting, no one can dictate whether a branch should stay in place or not, or whether it should curve or be straight.
But there are a few things that can help guide you.
The most important thing is to remember that you’re trying to recreate how a tree would appear in nature, only in miniature.
That’s what sets bonsai apart from just growing a dwarf citrus, or another type of miniature plant in a container.
To that end, if there are long and thick branches at the apex of the tree, remove them. This is something that rarely happens in nature.
The same goes for strangely twisted or turning branches. They do appear sometimes in nature, but you’ll usually want to remove these unless they contribute to the overall effect you’re going for.
In order to create a visually appealing tree, most bonsai practitioners remove branches that appear at the same height on the tree.
This is contrary to natural growth in a full-size specimen, but because you’re working in a limited space, it looks better to the viewer. It simplifies the appearance and creates visual interest.
Most bonsai styles call for alternating branches that appear at differing heights. This is where the element of art comes in. It creates a balanced composition that deviates from what happens in the natural environment.
Finally, remember that there is always a “front” angle that you want viewers to look at your bonsai from.
Even though a tree is multi-dimensional, once it is on display, it should be shaped so that viewers see it from the ideal perspective.
Deciding What to Cut
Once you’ve decided on the artistic elements of your tree, it’s time to start the actual work.
Before you start snipping, we need to have a quick tree anatomy lesson:
- The outer part of the stems and branches is the periderm – the cork, or bark.
- Inside that is cambium layer, followed by the sapwood. Sapwood isn’t alive, but it’s where the sap moves through, and this is where the xylem is found, or the tissue that transports water and nutrients through the plant.
- Finally, you reach the heartwood, which acts as the sort of hard skeleton center of the tree.
If you cut through the cambium layer into the xylem, the tree can’t produce new cork in that spot. It will always be visibly injured. That’s why we take care to create cuts that will heal cleanly.
Before you make each cut, picture your selected species as it appears in nature. Broadly, you can say that most trees grow in one of a few standard shapes, in the absence of any dramatic environmental influences.
These shapes are:
- Columnar
- Funnel-shaped
- Oval
- Round
- Triangular (conical)
- Umbrella-shaped
If you choose a species that typically grows in a triangle shape (think: many conifers) you want to stick with that shape.
On the other hand, a weeping willow is naturally quite round, so a willow bonsai trained into a triangle shape is going to look a little odd.
Nonetheless, you have a wide latitude to play with this. Say you’re growing a pine that typically has a triangular shape.
You can tilt the tree dramatically to the side as though it has been buffeted by wind while still maintaining that overall shape that’s larger at the bottom and pointed at the apex.
Also note whether your chosen species has alternating, whorled, or opposite branching, and try to honor this natural growth pattern. Though many bonsai styles prune to create alternating branches, this isn’t always the case.
Be sure to remove any rubbing, crossing, or awkward branches, just as you would with full-sized plants. Branches that are out of proportion (too thick, too long, and so on) should also be removed.
Pruning isn’t just about subtraction, and it doesn’t “force” the tree to remain small. The constricted roots in the container do that. Crown pruning is about creating a nice shape.
The most important thing to keep in mind is that you want the tree to look natural.
There are lots of “rules” out there that people practicing bonsai try to follow, but trees in nature don’t necessarily follow the same rules. Let nature be your guide.
It’s also important to note that you don’t need to achieve everything all in one go. This process takes years, and you simply won’t be able to trim and shape your tree in a year and be done with it in most cases.
It might look strange at first. It might even look odd. Just hold your ultimate vision in your mind, have patience, and watch as your beautiful work of art appears before your eyes.
Making the Cut
Ready to grab those pruners? Here’s how to proceed.
But not so fast! Before you get to it, make sure your tools are sharp and clean. That way, there’s less chance of harming the tree or making a bad cut.
Never pinch new growth using your fingers, tempting as it may be. Always use a sharp, clean tool like scissors or trimmers.
To start, you do not want to make a flush concave cut because these rarely heal over well. Instead, the first step is to get the majority of the branch out of your way. Cut the branch back to a stub that is about as long as the branch is thick at the base.
Now you have access to the stub, and you can make a more precise cut.
Remove all of the wood to the branch collar, but no further. This will need to be done at an angle because the branch collar emerges from the trunk at an angle.
That means the top of your cut will touch the trunk, while the bottom of the cut will be further out from the trunk.
Yes, this will leave behind a little bump. But it will heal and still look natural, and the tree won’t be injured as it would be with a flush or concave cut.
When it comes to frequency, keep in mind that certain species and some individual plants don’t do well with frequent pruning. It reduces photosynthesis, shocks the tree, and can introduce disease.
Conifers in particular shouldn’t be pruned more than once every few years.
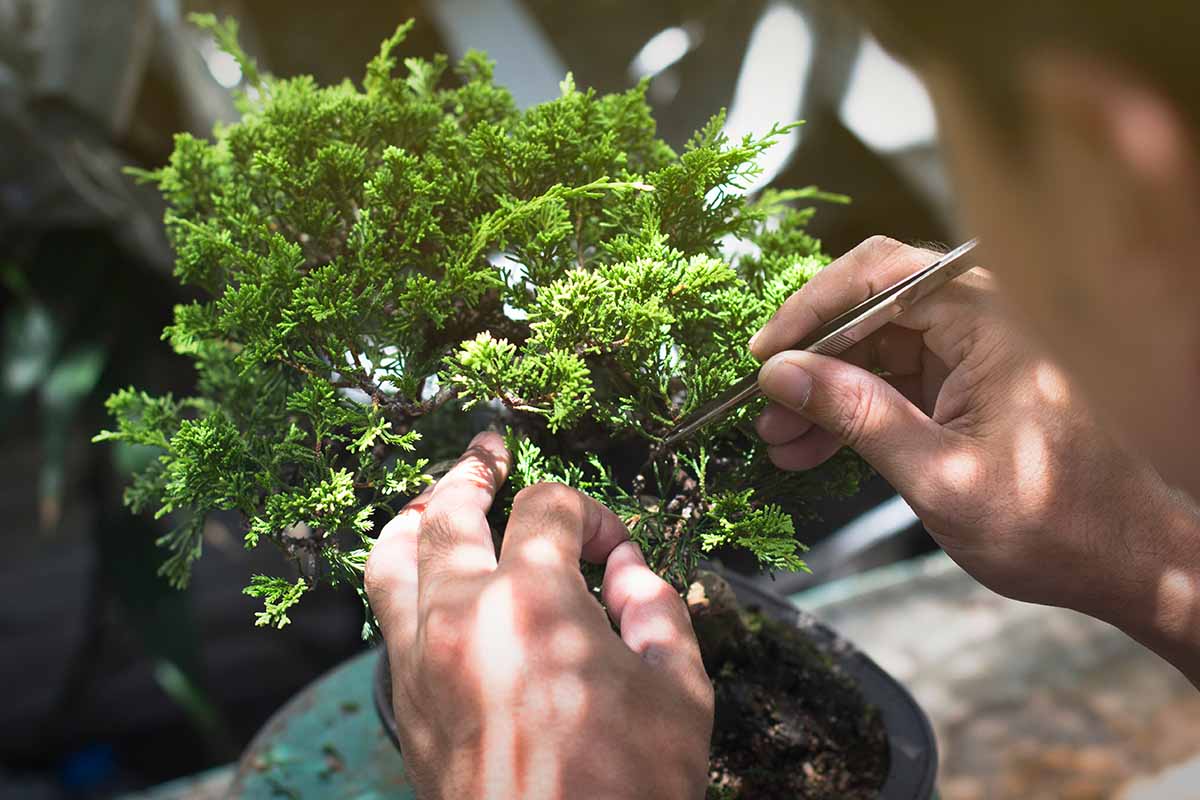
If you have multiple cuts to make in one area, take your time, and spread them out over a few years.
For smaller cuts, you can trim the branch above a node to encourage branching on deciduous trees. For evergreens, remove new shoots to the point of another outward-facing branch.
If you mess up, don’t worry. There are numerous bonsai specimens out there that were fashioned around a pruning mistake that ended up winning awards.
How to Shape with Wire
Wiring is done to refine the lines and shape of the tree. If you have a branch that is growing at an unusual angle or the trunk is bending in a way that you don’t like, wiring can fix it.
Older branches have more heartwood than younger branches, so they are more difficult to manipulate and take a longer time to shape. It’s much easier to work with younger wood. Raffia is particularly helpful for wiring older branches because it provides extra support.
A few hours before you wire, thoroughly water the plant. This improves its flexibility so there’s less of a chance of snapping the wood.
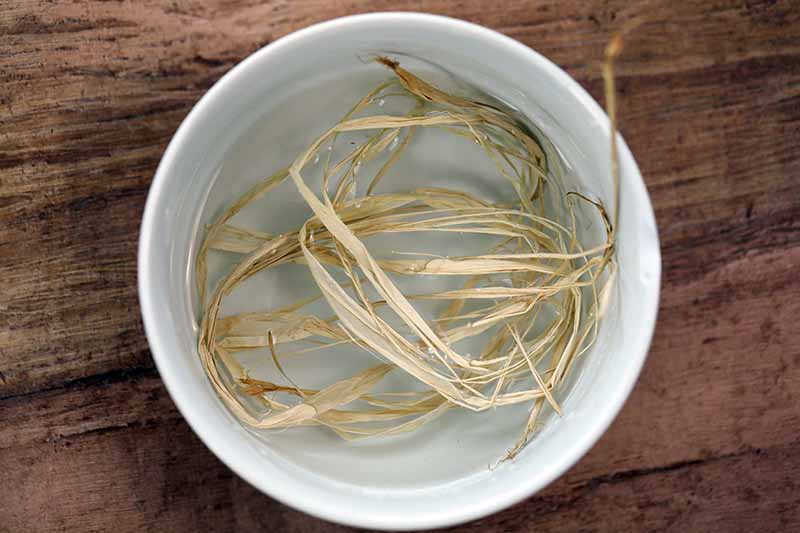
To wire, wet some raffia if you’re using it. After it has soaked for 30 minutes or so, take it out of the water and whip it back and forth to remove the excess. Do this outside unless you want to clean up a big, wet mess.
Wrap the raffia around the branch you intend to shape, leaving any offshoots and leaves exposed. The raffia should be snug, not loose. As it dries, it will shrink and create extra support, as well as protecting the branch.

If you have two branches next to each other that you plan to shape, use a single piece of wire. This creates extra strength and support.
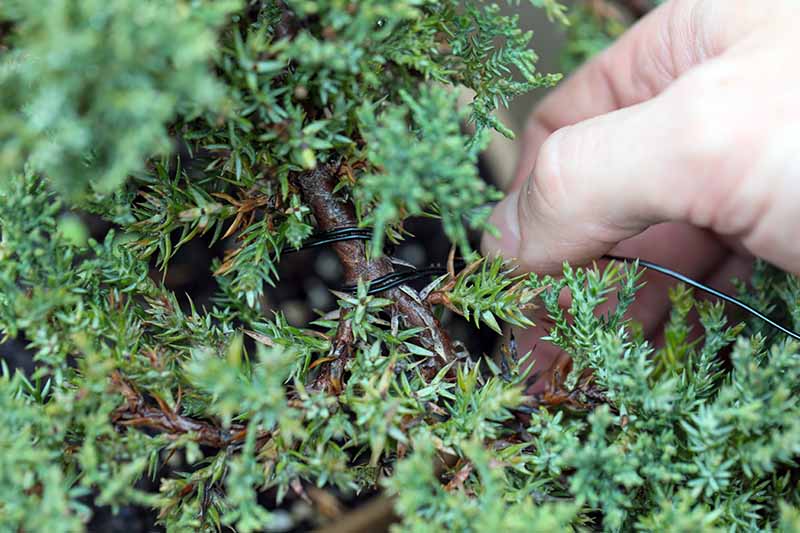
Wrap the wire around the trunk at least twice before proceeding to the branch or branches you’re shaping.
If you’re bending a branch down, bring the wire off of the trunk from below the branch. If you’re wiring a branch upwards, come from above the branch.
Continue down the branch at about a 45-degree angle. Deciding how far apart the wire needs to be wound depends on how firm the branch is.
Wire used on a tender, young branch can be spaced further apart than it can be on a thicker, older branch. Though it happens sometimes, try to avoid crossing the wires.
If you have a particularly thick or stubborn branch to shape, you can double up the wire.
Now you can start to bend the branch into the shape that you want. Don’t try to bend too much all at once, though, or you’ll risk breaking the branch.
Use your thumb to apply pressure to one side and your fingers to mold the opposite side.
If you want to bend a stubborn branch or make a more extreme change, whip out the branch bender. These all differ slightly in their application, so follow the manufacturer’s directions.
Typically, you hook the two hooks over one side of the branch or trunk and use the cupped or flat piece to press on the opposite side.
To separate a fork in a branch, wedge a piece of wood in between before wrapping it with wire.
Raffia is also helpful here because the moisture and extra support help to prevent splitting or cracking as you bend the wood. Once again, be sure to bend branches slowly over time.
Really – don’t try to bend a branch too much all at once, or you’ll be disappointed.
Raffia can only be left in place for a few months at most. Because it completely covers the branch, it prevents photosynthesis from taking place in that area.
Wire, on the other hand, can stay in place a bit longer. But you must remove it every so often, or you run the risk of the branch growing into the wire, which can cause unsightly marks or even kill the tree.
So, how often do you need to check?
It depends on the age and type of the tree that you’re growing. A young deciduous tree will probably need to be checked and rewired every few weeks, while an older evergreen is probably going to be just fine for up to a year.
When you remove the wire, don’t unwind it. Each time you wind or unwind the wire, it stresses and damages the tree. It’s better to carefully clip off the wire using wire snips instead.
Fixing Mistakes
Don’t panic if things go wrong. While you can’t replace a branch that you removed in error, if you happen to partially girdle a branch or if you otherwise damage the tree, you can help the tree to repair things as well.
Wrap the damaged part of the tree in moistened sphagnum moss and cover it with black plastic. Every month or so, check for new bark growth. Once it has formed, remove the bandage.
If a branch begins to crack as you bend it, stop bending it and finish the wiring. Don’t cover the crack. The tree will repair itself so long as you don’t damage the spot further.
Don’t worry, you will make mistakes. You will have unexpected damage. It’s all good. This is a living, breathing work of art.
Express Your Creativity
Pruning is the part of raising bonsai where you really are able to show your creativity.
For the most part, you can just follow your artistic instincts to create a pleasing display. The most important thing to know is how to make your cuts so you don’t damage the plant.
What shape are you aiming for? Do you have a lovely weeping specimen? Or maybe you’re creating an elegant, sweeping juniper? Let us know in the comments!
This guide aims to arm you with the basic knowledge you need to shape your plant into what you envision.
If you feel like you are better equipped to trim your work of art now, you might be interested in a few of our other bonsai topics, such as:
This was a great article and has given me the confidence to start my raspberry bonsai thank you!
I’m so glad we could help! Enjoy the process, it’s a lot of fun.