Asplenium spp.
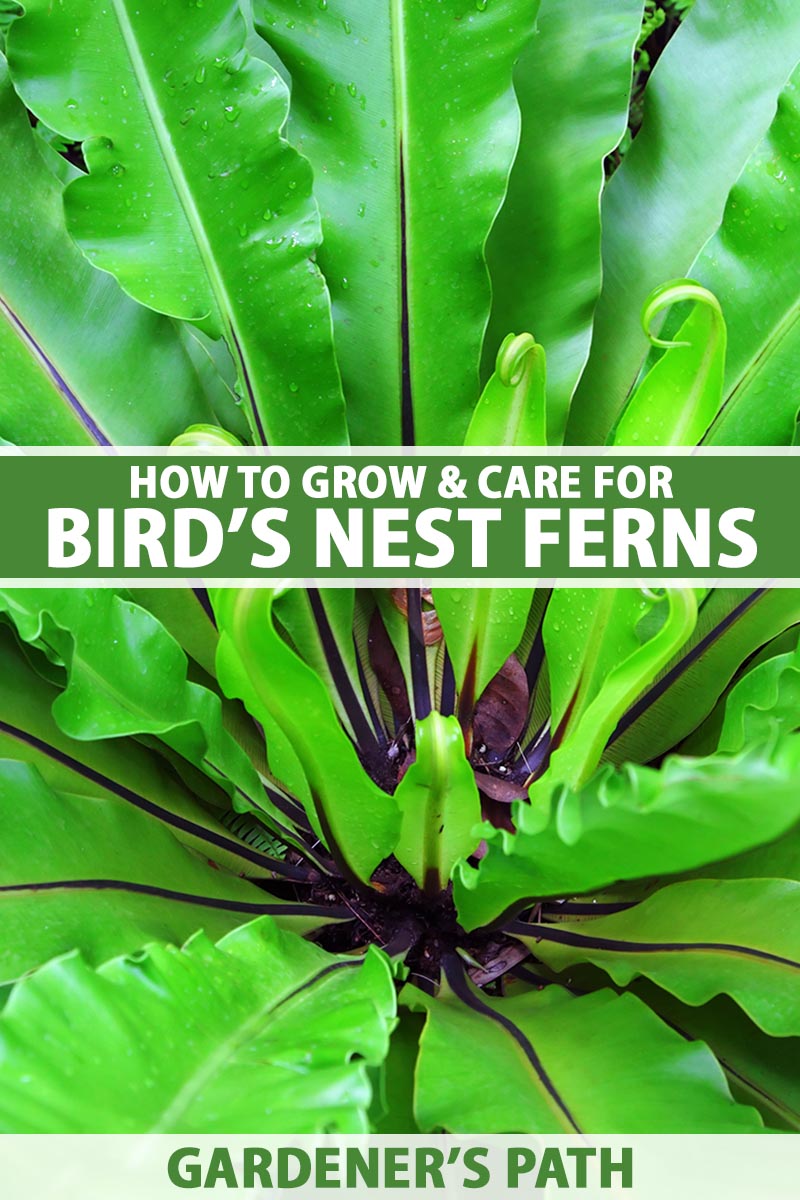
There’s so much to love about the bird’s nest fern.
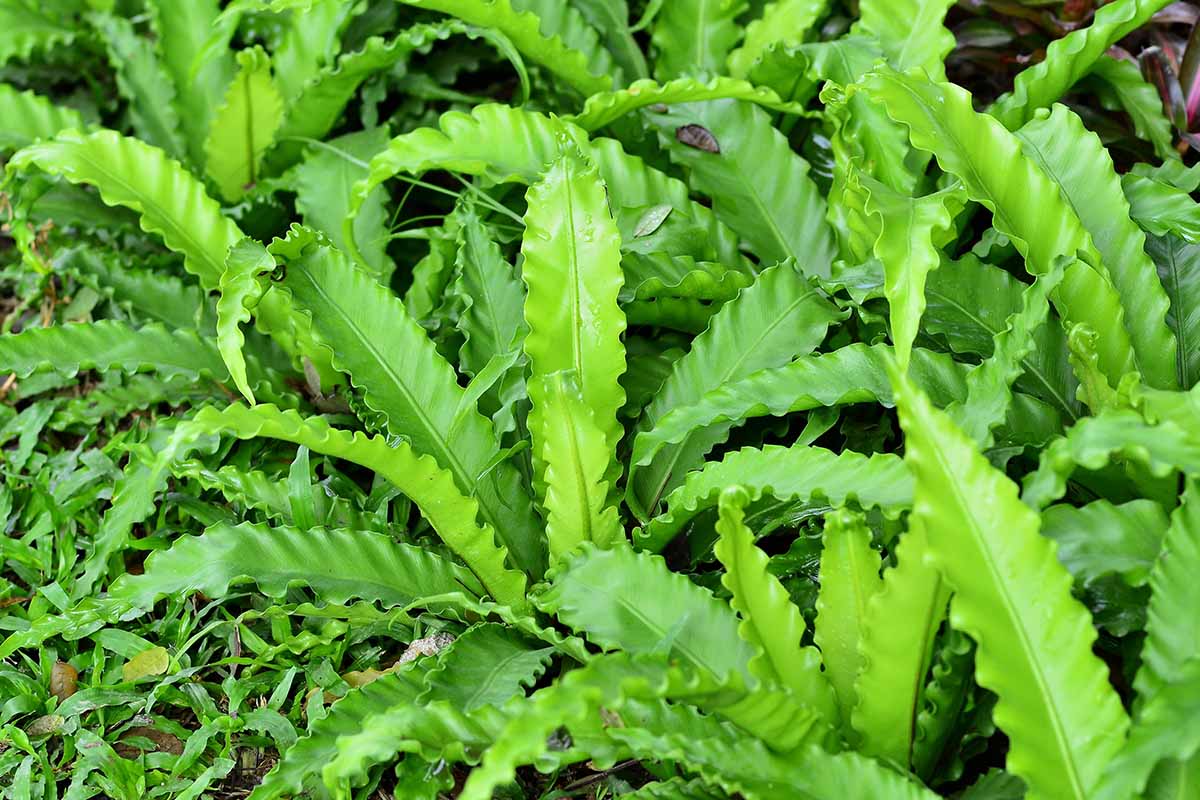
The large, rippling, bright green fronds that create a rosette of foliage with a charming “nest” in the middle. It’s easygoing nature that won’t have you constantly fussing with it.
It’s the perfect fern for those who are just starting out in the world of Polypodiopsida.
We link to vendors to help you find relevant products. If you buy from one of our links, we may earn a commission.
The Victorians were absolutely obsessed with ferns. They even had a name for it: Pteridomania.
Bird’s nest was one of the most popular ferns during that time, thriving in the typically dark interior of the Victorian home without needing a lot of care, and with a unique appearance that no other houseplant could match.
Lots of plants popular during Victorian times have since fallen out of fashion, but bird’s nest ferns have continued to capture our hearts.
If you’re ready to bring this beauty into your home, this guide can help you find success. Here’s what we’ll go over:
What You’ll Learn
Great news, pet lovers. Bird’s nest fern is safe for pets (and humans) because it’s nontoxic. In fact, it’s edible. That, and lots more fun facts, coming right up:
What Are Bird’s Nest Ferns?
There are about 700 species in the Asplenium genus, and many of these are commonly referred to as bird’s nest ferns since they share a similar morphology, but it’s A. nidus specifically that most people have in mind.
All species in the genus are epiphytes that can adapt to life in the soil as well.
In their natural habitat they typically grow in palm trees, but can thrive as terrestrial plants in loose, humus-rich soil.
They have a shallow rhizome that allows them to anchor onto trees, deadwood, mossy rocks, or in the earth.
All species can grow outdoors in Zones 10 to 12.
A. nidus is indigenous to eastern Africa, Indonesia, Japan, Malaysia, the Philippines, Taiwan, Thailand, Australia, and the Pacific Islands, where it grows in warm, tropical climates.
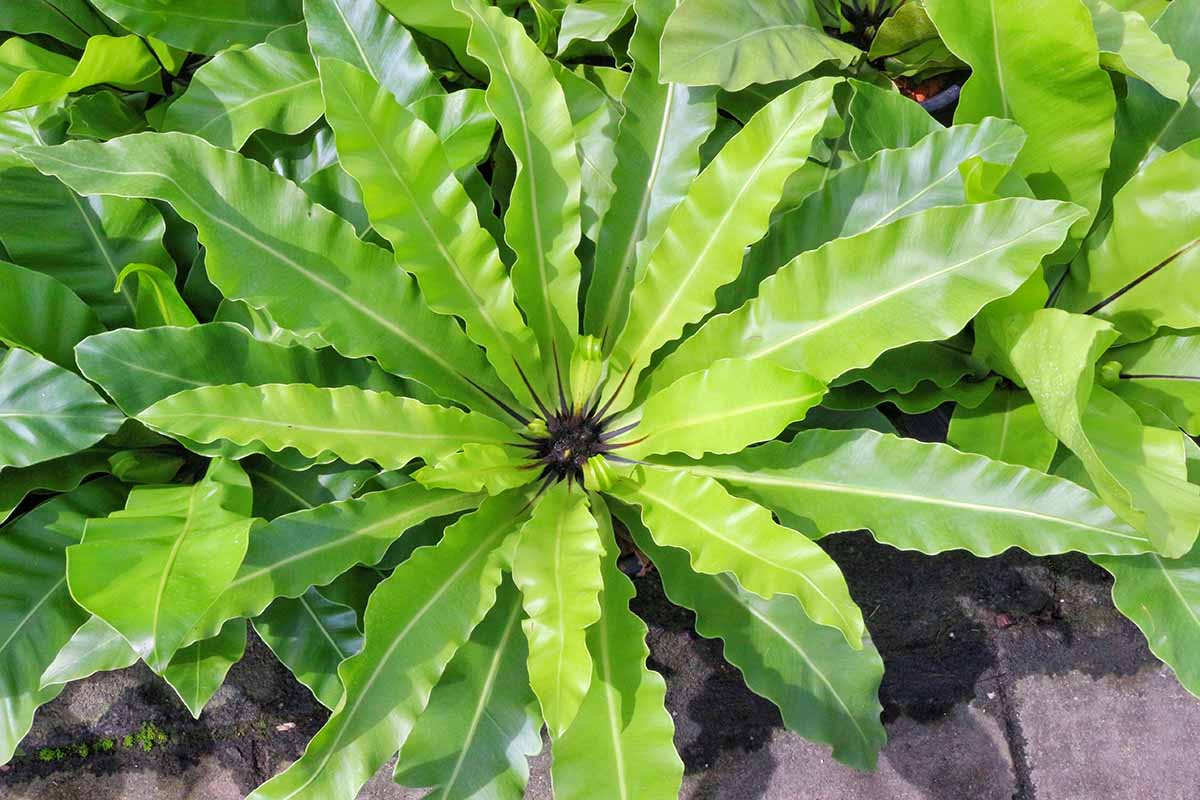
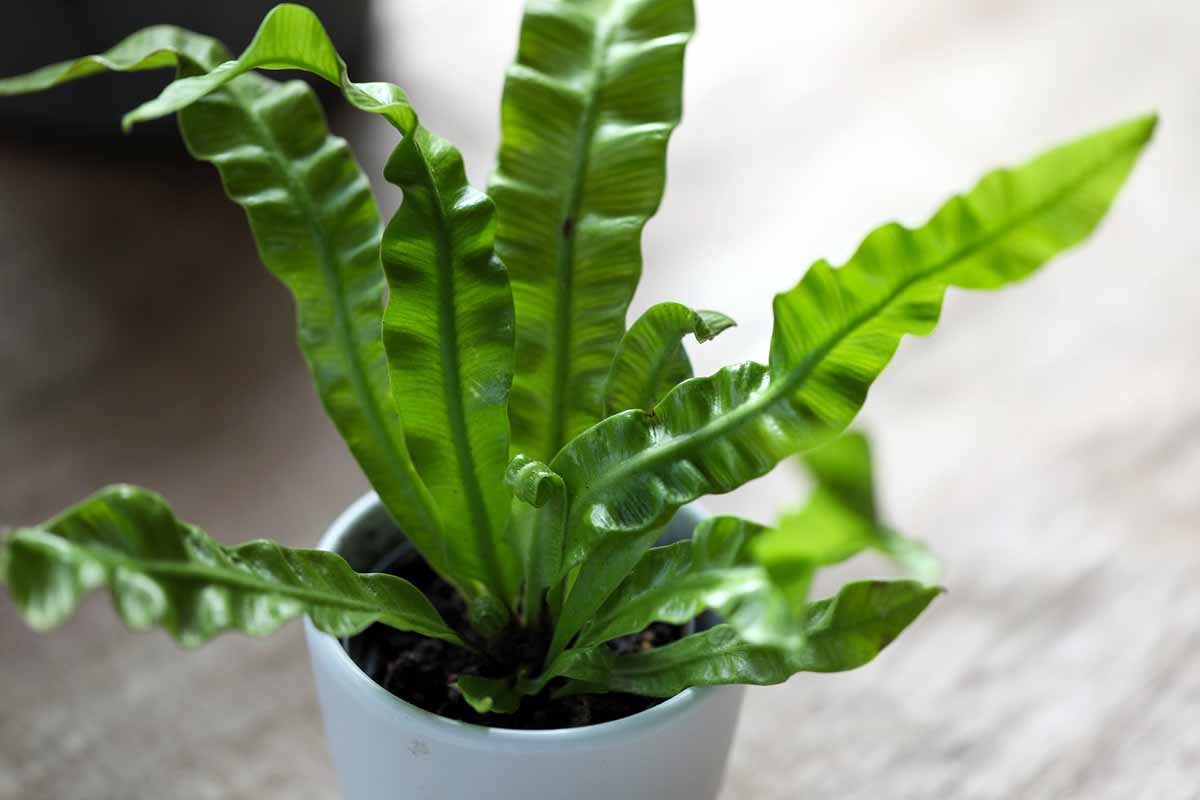
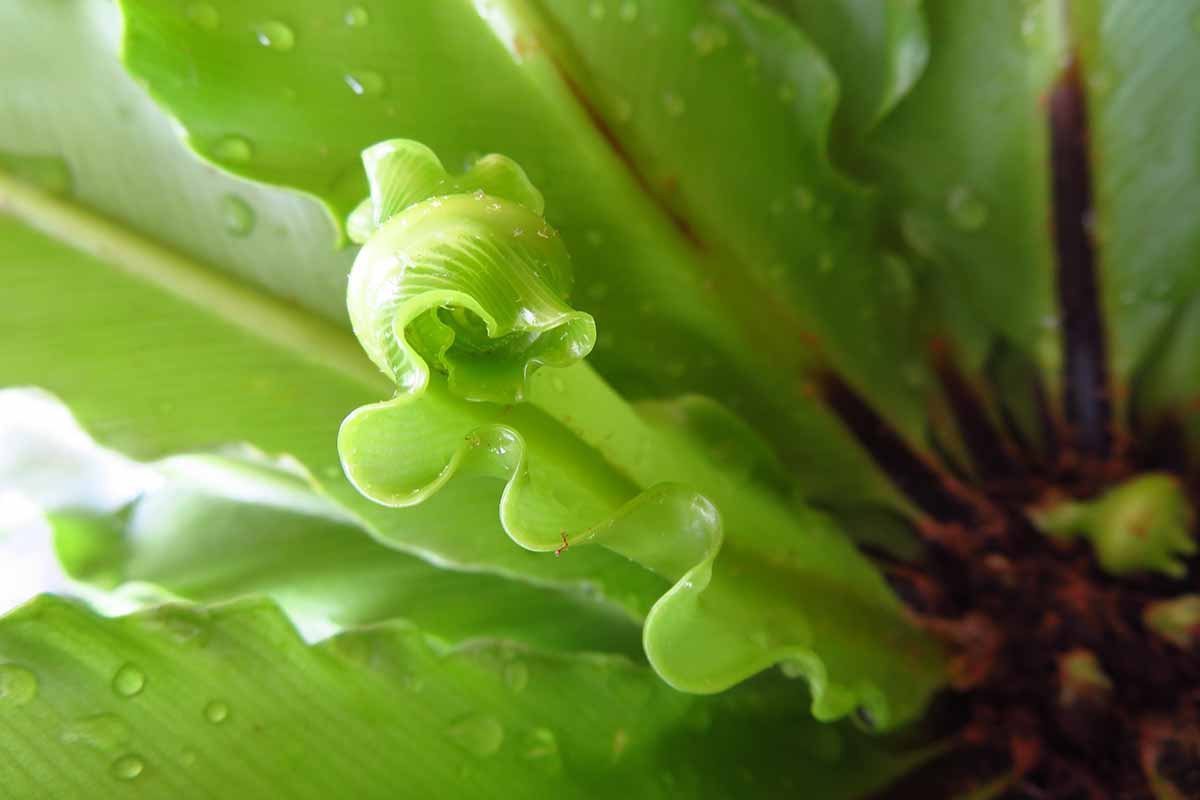
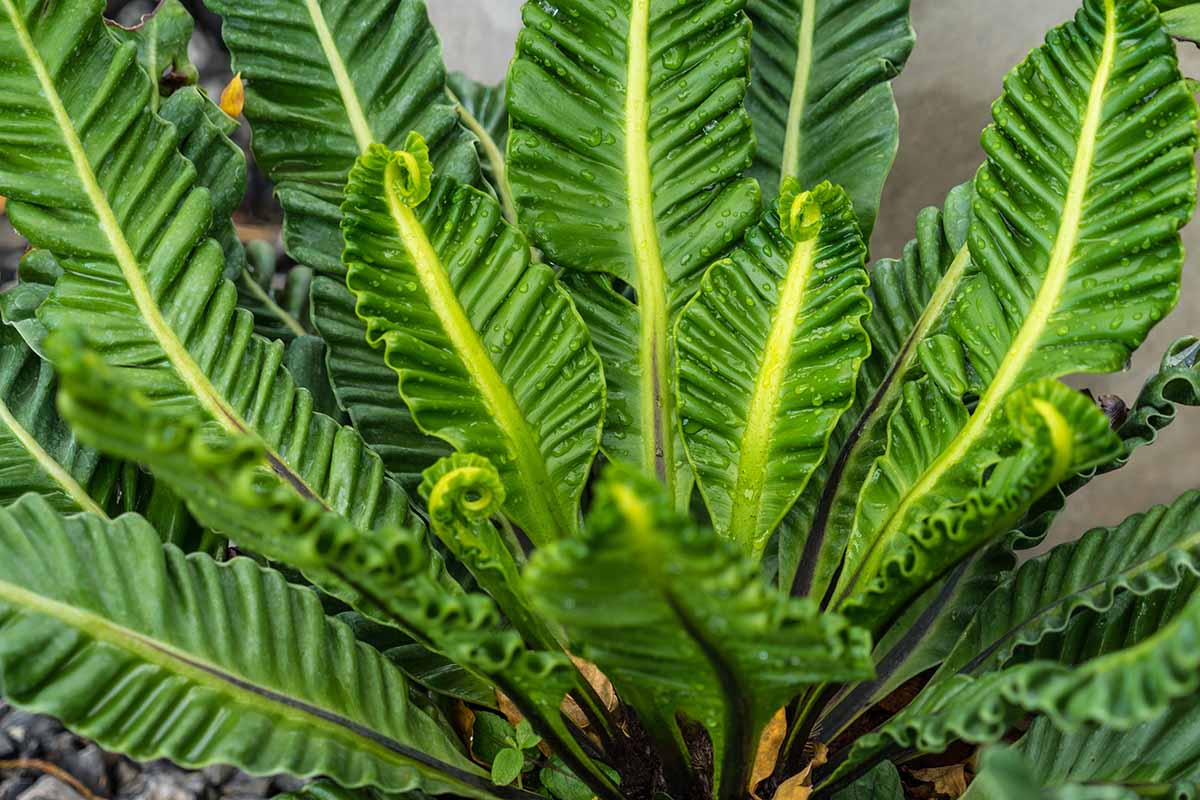
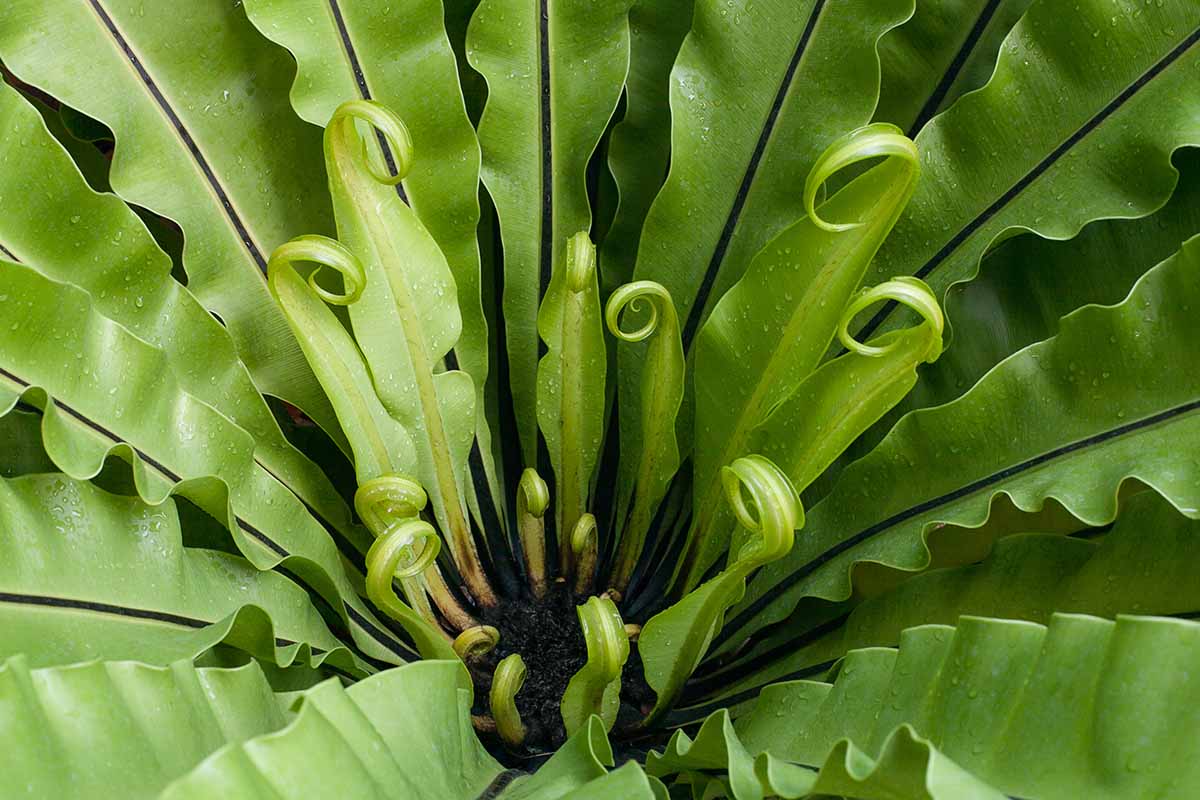
The plant has a basal rosette of long, narrow leaves that form a dense cluster at the center. This center area is where the “nest” moniker comes from. Debris and moisture fall into this nest and decompose into a rich humus that the plant uses as its food source.
The fronds also curl back and turn brown as they age, further developing the central nest-like appearance.
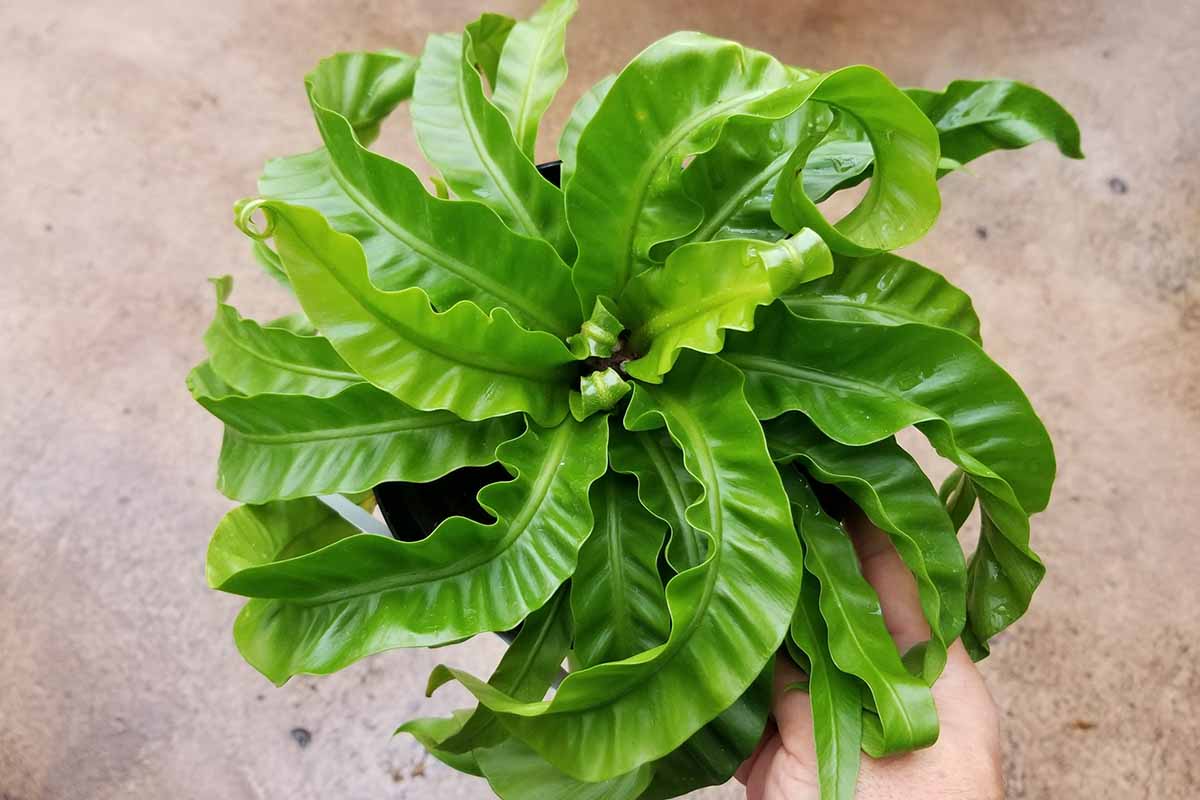
Each leaf can grow over three feet long, and the plant can be up to six feet across. The central rosette can become so rich and dense that other plants and animals use it as a nest.
As a true fern, the plant reproduces by developing sporangia on the undersides of the fronds. These brown sporophores open and disperse into the wind, sending them far and wide.
A. australasicum is the most common bird’s nest fern species available for purchase in stores, and it’s likely that unless the seller specifically calls out which species it is, those in North America are usually coming home with A. australasicum.
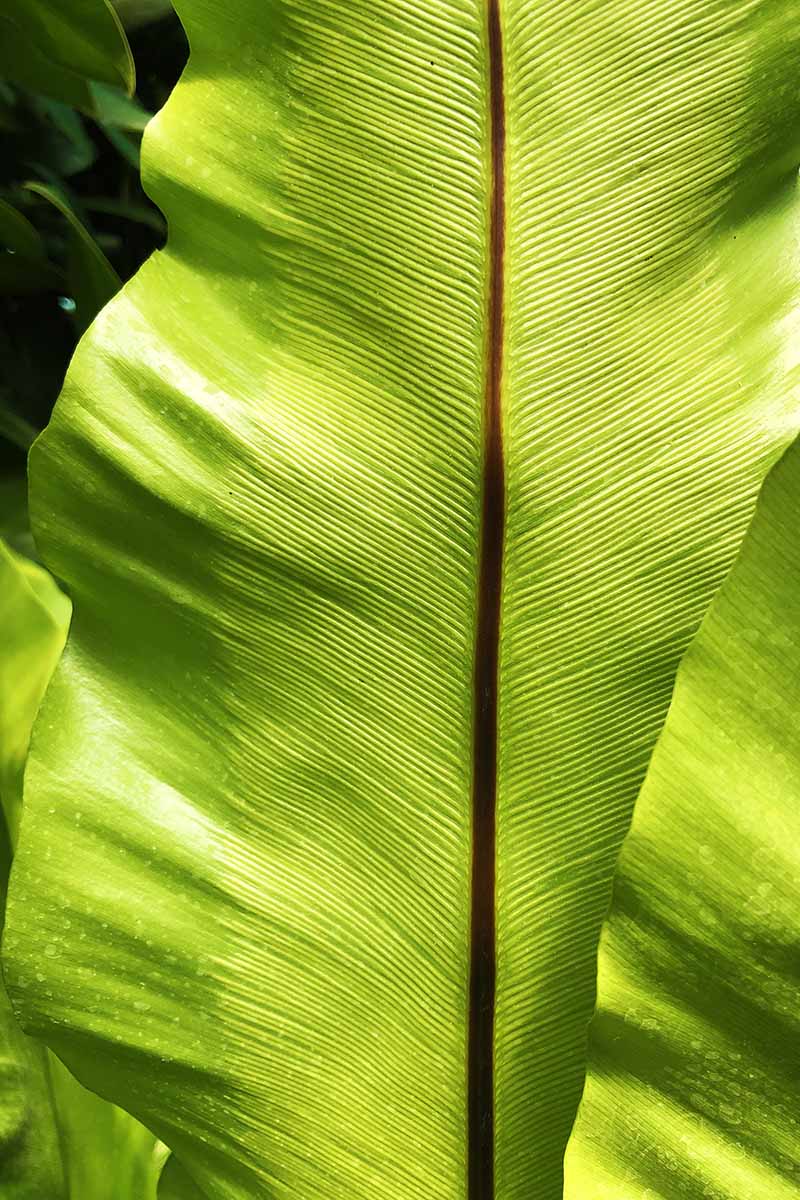
You can tell the difference between A. australasicum and A. nidus by looking for the prominent midrib that runs along the underside of the fronds. The leaf folds inward slightly from this prominent central ridge, which is lacking in A. nidus.
This species is indigenous to Australia, where it grows as an epiphyte. Because it’s not as well-adapted to terrestrial life as A. nidus, it’s especially sensitive to wet roots and needs excellent drainage.
The other common bird’s nest fern species is A. antiquum, which is sometimes differentiated as Japanese bird’s nest fern or ō-tani-watari in Japan.
You can tell this one apart from the other two by its fronds, which are all a uniform width – the other species taper from the middle of the leaf.
Native to Japan, Taiwan, Korea, and China, it grows about 40 inches tall. Like A. australasicum, it needs extremely light, well-draining soil.
Cultivation and History
This plant isn’t just a looker, though the long leaves are attractive. It’s also a source of food for people in Polynesia, Malaysia, and Taiwan. The young fronds and shoots are eaten as vegetables.

Traditionally, ferns were thought to be able to heal the spleen, which is immortalized in the common name “spleenwort,” a term given to many fern genera considered beneficial for the spleen.
Bird’s nest ferns really gained attention during the Victorian era, as did many houseplants that we still know and love today.
They were such popular plants that in the US, the cultivar A. nidus ‘Victoria’ was one of the first fern cultivars to be patented.
Bird’s Nest Fern Propagation
Bird’s nest ferns are easier to propagate than some other fern species, especially if you grow them from cuttings.
But you also have the option to start them from spores, or you can just purchase a plant from a nursery. Most places that specialize in houseplants will carry bird’s nest ferns.
From Spores
It’s possible, though challenging, to propagate bird’s nest ferns from the spores that they produce on the undersides of the leaves.

It’s a time-consuming process, but if you do it right, you can produce hundreds of baby plants from the spores collected from just one frond.
Learn about this process in our guide to growing ferns from spores.
From Cuttings
Bird’s nest ferns are readily propagated via cuttings.
Start by filling a small pot with half vermiculite and half soilless potting medium – don’t use a medium that contains soil. Moisten the medium.
Pull or cut off a large frond, taking care to include a bit of stem at the base.

Insert the leaf into the potting medium at least an inch deep and firm the medium up around the base.
Place it in an area with bright, indirect light and keep the medium moist. After a few weeks, the leaf will likely begin to develop roots.
If it doesn’t start to droop or turn brown, then you can safely keep waiting for as long as the leaf looks healthy.
If you’re curious how things are developing underground, you can stick your hands into the soil and wiggle them a few inches below the base of the leaf. Gently lift it up and look for roots.
Transplanting
If you bring home a potted plant from a nursery, or you start your own from cuttings or spores, eventually you’re going to need to move the plant into a different container.
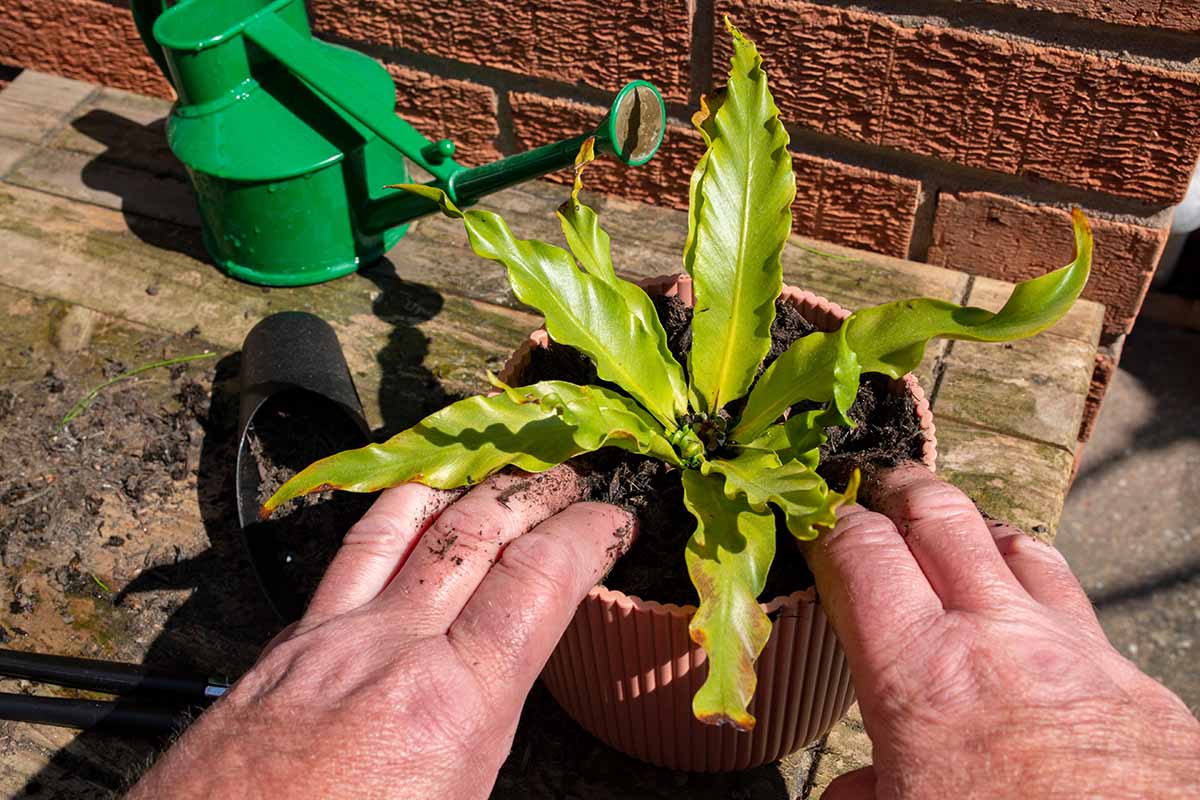
To do this, put a layer of potting medium in the bottom of the new container. Gently remove the plant from its growing container and loosen up the roots a little.
Hold the plant in place so it will sit at the same height in the new pot and fill in around it with fresh potting soil.
Be careful not to bury the plant deeper than the “nest.” Water the potting soil and add a little more if it settles.
How to Grow Bird’s Nest Ferns
This plant is made in the shade. It won’t tolerate full or even partial sunlight. Anything over five hours of direct light per day will eventually kill it, though a little morning light is tolerated.
That means indoors you want it where it will be in about 60 to 85 percent shade – the kind of light you’d find if you were standing under a deciduous tree.
That would translate to an area completely out of direct light but not so dim that it is in complete darkness. If you look at the ground, it’s bright enough to cast a vague, indistinct shadow.
Choose a spot near a north-facing window or several feet away from a south-, east-, or west-facing window. A south-facing window covered with sheer curtains would be perfect.
If the plant is exposed to too much light, it may stop growing and the leaves will become deformed and eventually die.
While they will be fine in any standard potting mix, Asplenium species prefer a slightly acidic soil with a pH of 5.5 to 6.5.
Most commercial potting mixes are slightly acidic to neutral, but they rarely spell out the pH.
You can either look for a product that lists the pH on the packaging or choose a mix with sphagnum moss added, which creates a slightly more acidic environment.
My favorite option is FoxFarm Ocean Forest Potting Mix, which contains earthworm castings, bat guano, fish meal, humus, and sphagnum peat moss. All things that epiphytic houseplants love.
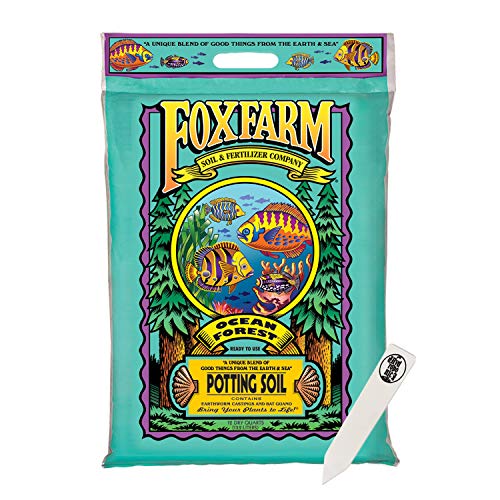
FoxFarm Ocean Forest Potting Mix
Pick some up at Amazon in 12-quart bags.
A product with good drainage, lots of aeration, and water retention is perfect.
Keep the potting medium moist at all times. The very surface of the soil can dry out, but no more.
If you stick your finger in the soil, it should feel like a well-wrung-out sponge. Any soggier, and you risk root rot.
When you water, be sure to water at the soil level and not on the leaves – don’t allow any water to get into the central rosette or “nest.”
You can also mount the plant, which is a great way to avoid root rot, since it’s difficult to overwater mounted plants.
Mounting involves wrapping the roots in moss and securing this to a wire or wood support.
Fertilize twice a year with a mild, balanced food. If you feed these plants too much and too often, it can result in stunted growth and the fronds may thicken and become deformed – or the tips of the fronds may turn brown and die.
Once in the spring and once in the summer is plenty. Look for a food that is formulated for houseplants. These are usually mild and have a balanced NPK ratio.
For example, Dr. Earth’s Pump & Grow House Plant food comes in a convenient pump container and has a 1-1-1 NPK ratio.

Dr. Earth Pump and Grow Fertilizer
I love the pump container because you can apply it directly to the potting medium or add it to a watering can with no muss, no fuss. Grab a 16-ounce container at Arbico Organics.
Avoid exposing the plants to temperatures below 65 and above 90°F – they can’t survive below 50°F.
Your bird’s nest fern won’t truly look its best unless you provide it with high humidity. Aim for a relative humidity of about 60 percent. It can certainly survive in lower humidity, but you might see brown leaf tips.
Grouping plants together can help raise the relative humidity around them, as can growing in a bathroom or next to the kitchen sink.
You can learn more about growing ferns indoors in our guide.
Growing Tips
- Grow in bright, indirect light. Avoid direct light.
- Keep the soil moist but not wet.
- Feed twice a year with a houseplant-specific food.
Maintenance
Remember all that talk about its easygoing nature? You don’t need to prune or otherwise maintain these plants except to remove any fronds that are dead, diseased, or deformed.
If a frond breaks, go ahead and remove it. Turns yellow? Snip it off.
You can gently pull the frond away or cut it as close to the base as you can with scissors or pruners. Make sure they’re clean!
As the plant ages, you will need to repot into a larger container as it outgrows its current home.
When the base of the leaves start reaching within an inch of the pot edges, it’s time for an upgrade.
Choose a container one size up, fill it with potting soil, and place the old plant in it at the same level as it was in the previous container. Fill in around the roots with more potting soil.
Bird’s Nest Fern Species and Cultivars to Select
A. antiquum and A. nidus are the two most common species you’ll see called out by name in stores.
If there isn’t a species name and the plant is simply listed as “bird’s nest fern,” it’s likely to be A. australasicum.
Campio
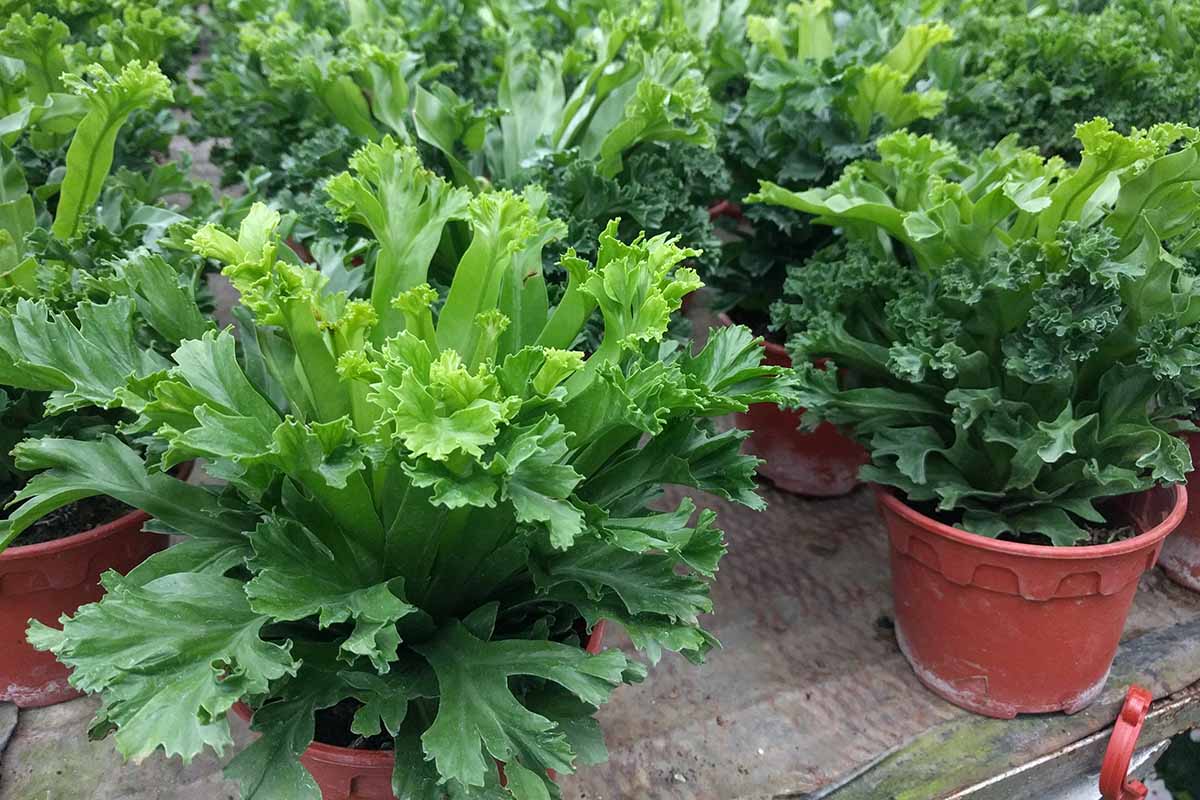
‘Campio’ has the classic growth habit of its A. nidus parent, but has lobed, fringed, ruffled leaves that have the lacy look we usually associate with ferns.
The long fronds are just a bit wider than those of the species.
Home Depot carries this charming cultivar in a six inch pot.
Crissie
This A. antiquum cultivar has a more open growth habit and grows larger than the species, with fronds reaching up to 60 inches long.
The leaves have an interesting forked tip, like a snake’s tongue.

Snag one in a four-inch pot from Wekiva Foliage via Amazon.
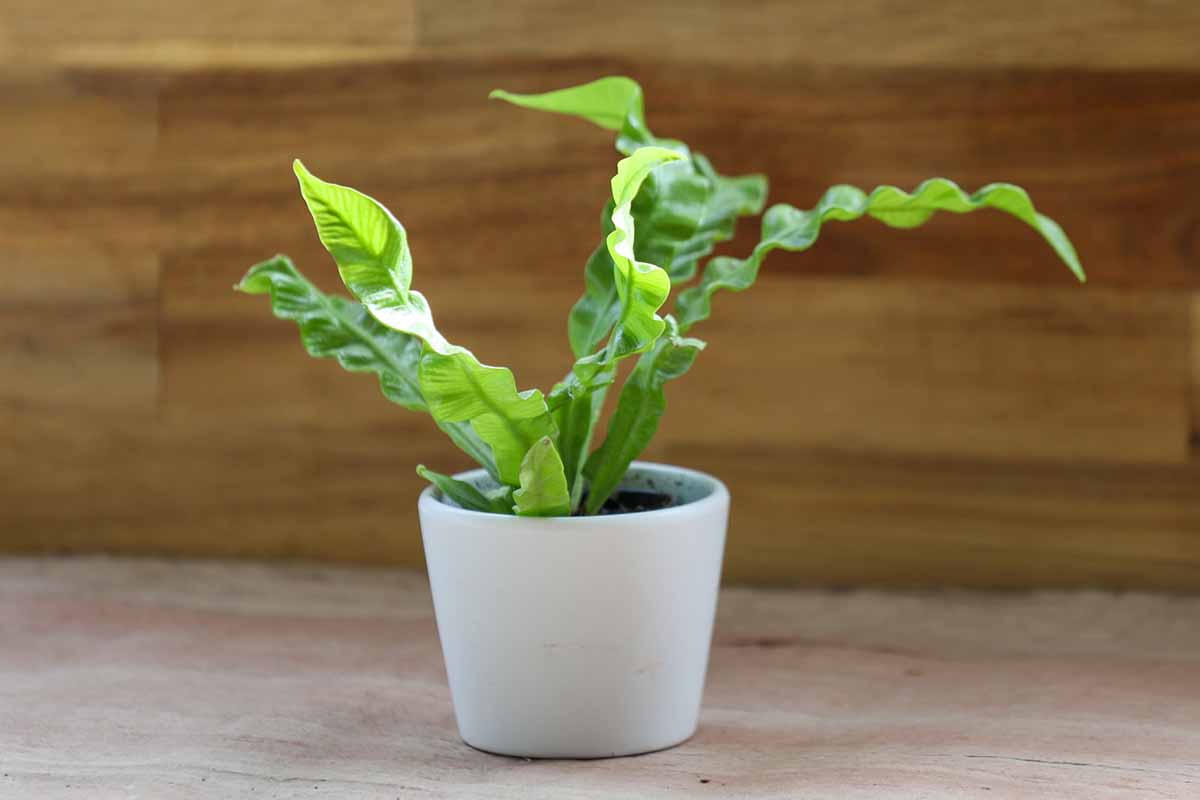
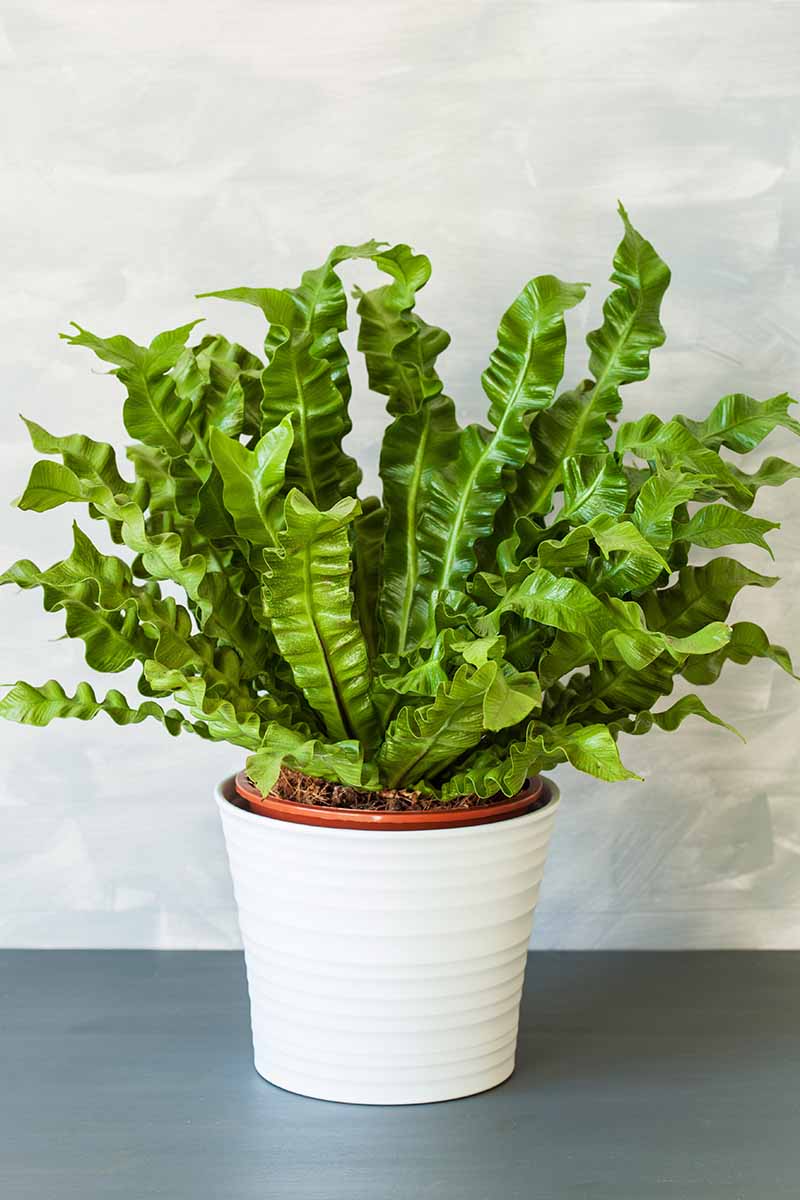
Crispy Wave
A. nidus ‘Crispy Wave’ is one of my favorites because of its wavy, wrinkled leaves. They look like green ribbons rippling in the breeze.
The plant stays about the same size as the species, it’s just the wavy fronds that make it stand out.
Hurricane
A. antiquum ‘Vitasphur’ aka hurricane fern is a stand-out option.
The leaves truly look like they’re being whipped around in the wind of a hurricane.
The fronds curl and twist around in a clockwise direction on this newer cultivar, which was bred in 2013 by Henk van Duijnhoven in Mariahout, the Netherlands.

Invite the storm to your space, and grab one in a six-inch pot from BubbleBlooms via Amazon.
Leslie
You can be forgiven for thinking you’re looking at a pot filled with some kind of funky lettuce when you first set eyes on this A. antiquum cultivar.
‘Leslie’ has a more upright shape than the species, with rippling fronds capped with wavy, forked ends. It’s an appealing and eye-catching plant.
Visit Home Depot to grab a live plant in a four-inch hanging basket.
Osaka
‘Osaka’ is an A. nidus cultivar known for being more cold-hardy than the species, tolerating temperatures down to around 40°F.
It also has slightly wavy edges on the fronds, further setting it apart from the species.
It’s a good option if your house tends to be cold or if you want to grow yours outdoors in areas that don’t drop below 40°F.
Victoria
One look at A. nidus ‘Victoria’ and you’ll be in love. It has leaves with ruffled and crinkled edges. It’s attractive without being ostentatious.
Visit Home Depot to pick up ‘Victoria’ in a four-inch hanging pot.
Managing Pests and Disease
Provided that you water at the soil level, quarantine your new plants before bringing them into the home, and regularly examine your specimens for pests, the chances are low that you’ll have any trouble with your bird’s nest ferns.
Of course, no plant is completely immune to issues, so here are some to watch for:
Insects
There are two insects that will frequently feed on Asplenium species, and they’re closely related.
Mealybugs
Mealybugs are oval, flat, sap-sucking insects that use their sucking mouthparts to draw the sap out of plants.
They’re covered in a waxy gray or white coating, and they tend to cluster together and move slowly. It’s easy to mistake them for a white fungal disease rather than pests.
If you see them hanging out on the undersides of the fronds or on the stems, you can address the issue by wiping them with a cotton swab dipped in isopropyl alcohol.
This removes their protective coating and leaves them exposed.
Beyond that, we have a few other tips for dealing with mealybugs in our guide.
Scale
Closely related to mealybugs, these insects look and act in a similar manner, except that they’re brown and don’t have a fuzzy coating.
You can deal with them the same way. We also have a guide to help you address an infestation.
Disease
Translucent, water-soaked spots on the fronds are indicative of bacterial blight, which is a disease caused by Pseudomonas cichorii or P. gladioli.
As the spots age, the centers turn brick red with purple margins. In the right conditions – hot and humid – the spots can merge, and the whole leaf will die.
There isn’t an effective treatment so avoiding infection in the first place is crucial. Don’t allow water to splash on the foliage, instead, be sure to water at the soil level.
Don’t forget about root rot, as well. This isn’t a disease, but a physiological issue caused by overwatering, which drowns the roots and deprives them of oxygen.
Reduce watering if you suspect root rot, which shows up as drooping, soggy brown fronds.
Best Uses for Bird’s Nest Ferns
As an epiphyte, you can grow this plant mounted on wood or bamboo.
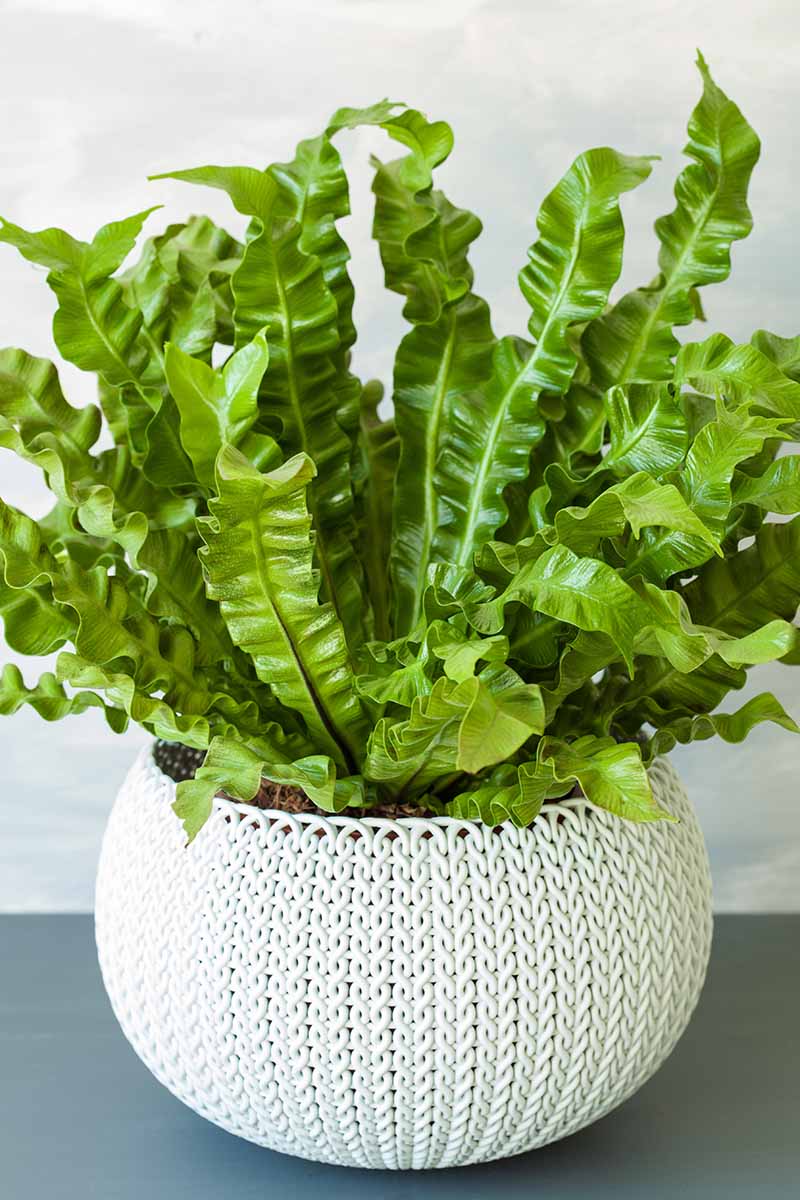
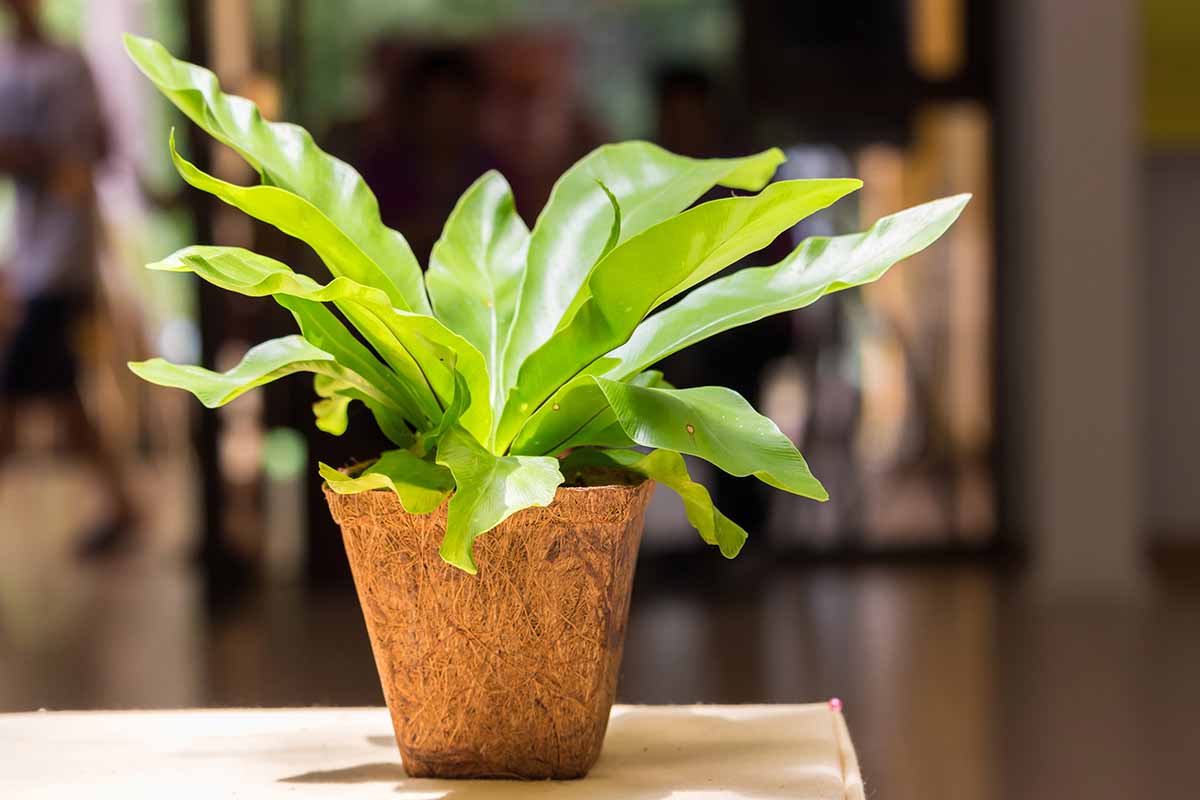
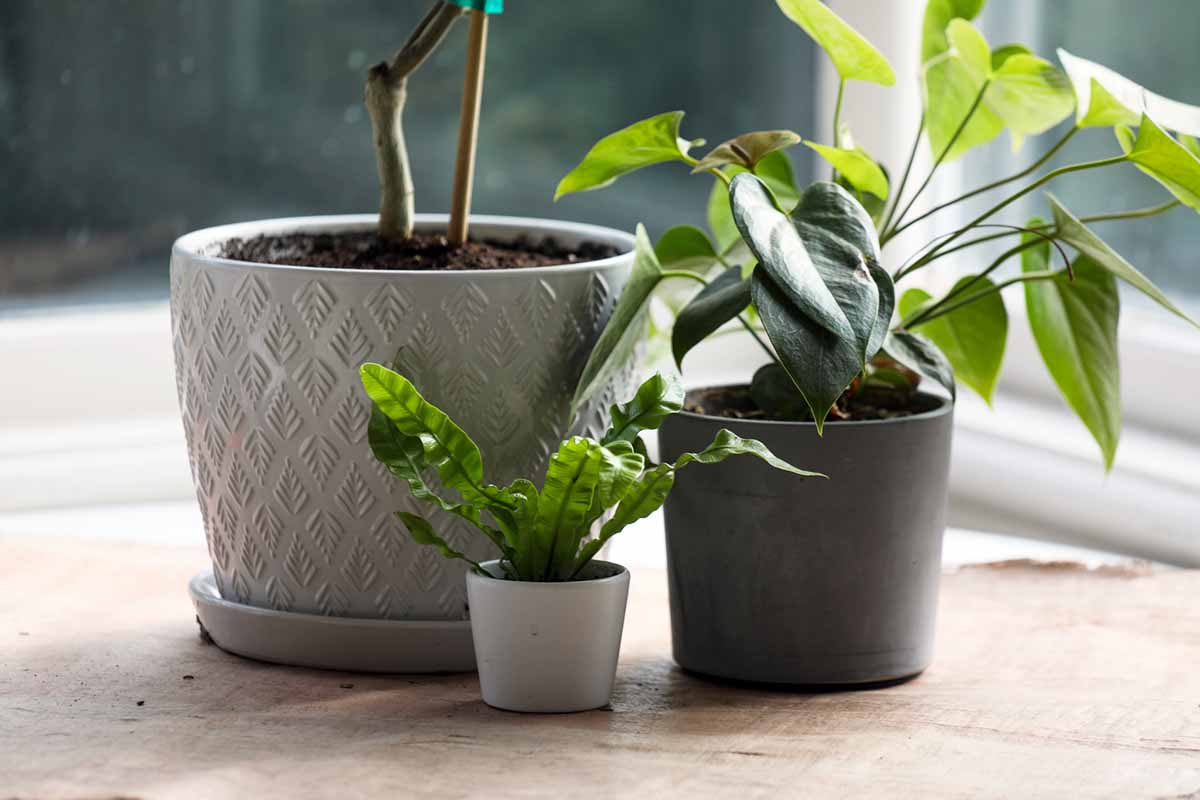
Bird’s nest ferns are beautiful houseplants and because they can tolerate cramped conditions, they are ideal if you want to fill up small, interesting pots.
Many houseplants need large pots, but these ferns can grow in those small, funky, often impractical pots you often see at garden stores.
Quick Reference Growing Guide
| Plant Type: | Evergreen fern | Foliage Color: | Green |
| Native to: | Africa, Australia, Indonesia, Japan, Malaysia, the Pacific Islands, the Philippines, Taiwan, Thailand | Tolerance: | Some shade/low light |
| Hardiness (USDA Zone): | 10-12 | Maintenance | Low |
| Exposure: | Bright, indirect light | Soil Type: | Loose, humus-rich |
| Time to Maturity: | 2 years | Soil pH: | 5.5-6.5 |
| Planting Depth: | Crown slightly above soil | Soil Drainage: | Well-draining |
| Height: | Up to 3 foot | Uses: | Specimen, mounting |
| Spread: | Up to 3 foot | Family: | Aspleniaceae |
| Water Needs: | Moderate | Genus: | Asplenium |
| Common Pests and Diseases: | Mealybugs, scale; bacterial blight, root rot | Species: | Antiquum, australasicum, nidus |
The Fern for Everyone
Ferns can be a challenge to grow indoors, but bird’s nest is the perfect option for new growers who want to dip their toe in the fern-growing waters.
They’re a beautiful option for more advanced growers too, so don’t overlook them even if you have mastered the art of growing the more challenging species.
Are you growing bird’s nest ferns? Let us know in the comments section below!
And for more information about growing other types of ferns, check out these guides next:

I am trying my best with birds nest fern
Let us know if you need any help, Linda!
Do you deliver from Aus, not overseas?
Hi Sarah we don’t sell plants 🙂