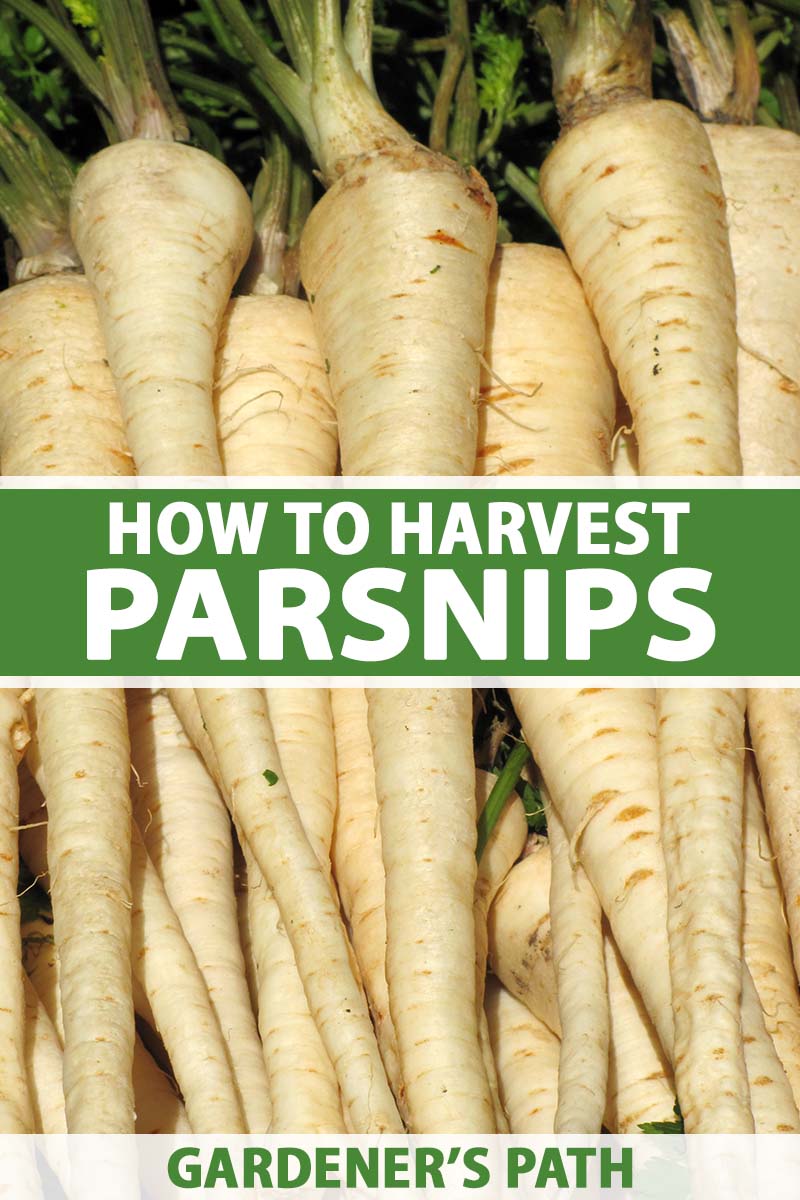
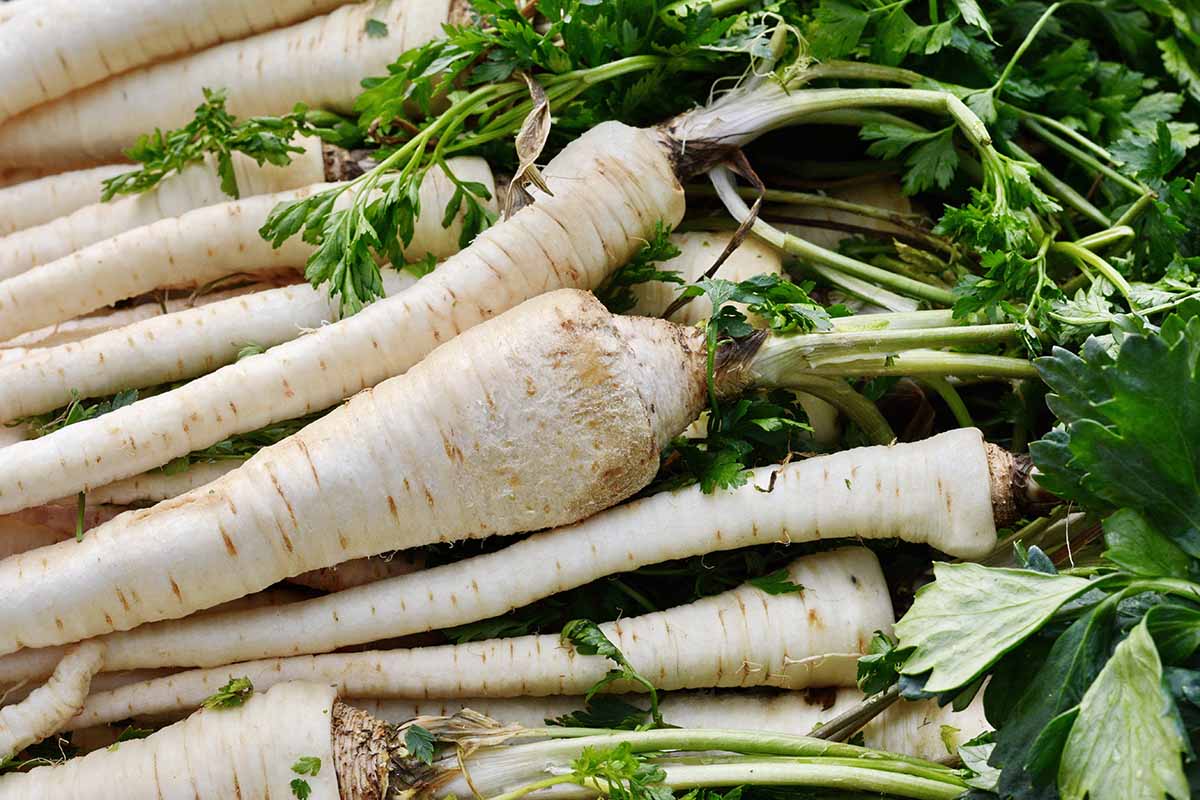
The parsnip, Pastinaca sativa, is a biennial root vegetable in the Umbellifer family that is usually grown as an annual, with a harvest at the first season’s end.
It looks like a white carrot, but is sweeter and richer in heart-healthy folate.
If it is not harvested, the plant flowers in the second year and sets seed, which can be collected and stored for planting the following growing season.
We link to vendors to help you find relevant products. If you buy from one of our links, we may earn a commission.
Our parsnip growing guide has all you need to know to raise your own crop, and our article on the health benefits of parsnips zeroes in on this root vegetable’s nutrient content.
In this article, you’ll find all you need to know about when and how to dig up mature, ready-to-eat parsnips.
What You’ll Learn
Add A Little Frost for Flavor
The earliest time when you should plan to harvest parsnips is in the fall, after they have undergone a few light freezes over a period of about several weeks.
Why wait so long, when these root veggies are often a foot long and two inches in diameter by late summer?
The answer is simple: flavor.
The parsnip is a starchy vegetable, and when it undergoes a period of frost exposure, the starch converts to sugar for the sweetest taste possible.
Use Your Knife and Fork
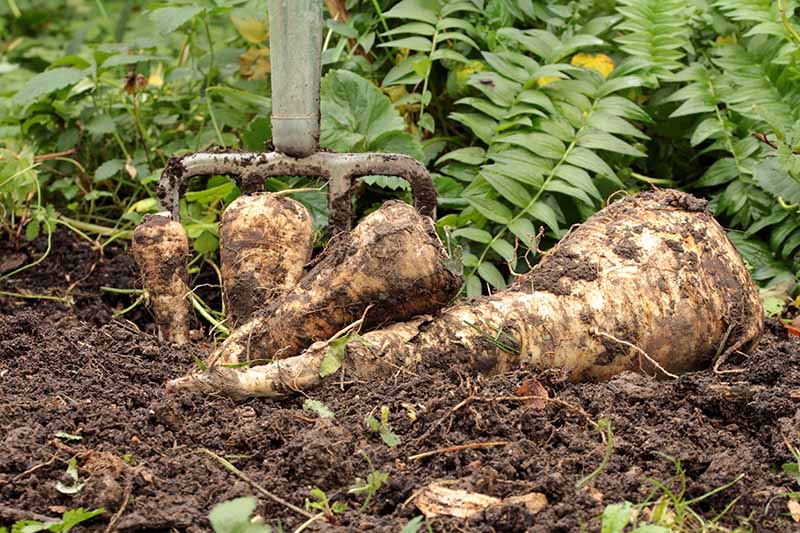
When your parsnips have been sweetened by one or more light frosts, you can dig them up. The key word here is “dig,” as pulling them by their green tops will likely result in breakage.
Be sure to wear gardening gloves, as some folks may react to contact with parsnip foliage, although the wild parsnip is generally the culprit, as opposed to cultivated varieties.
The condition contracted is called phytophotodermatitis, and it has to do with a combination of sap, moisture, and sunlight that cause blistering, burning, and/or itching of the skin in sensitive people.
That being said, take care, and dig crops on a dry day. On wet days, your shoes are more likely to spread plant pathogens around the garden, and the moisture may actually cause harvested crops to begin to decay prematurely.
Head out with a clean utility knife and either a handheld or long-handled garden fork.
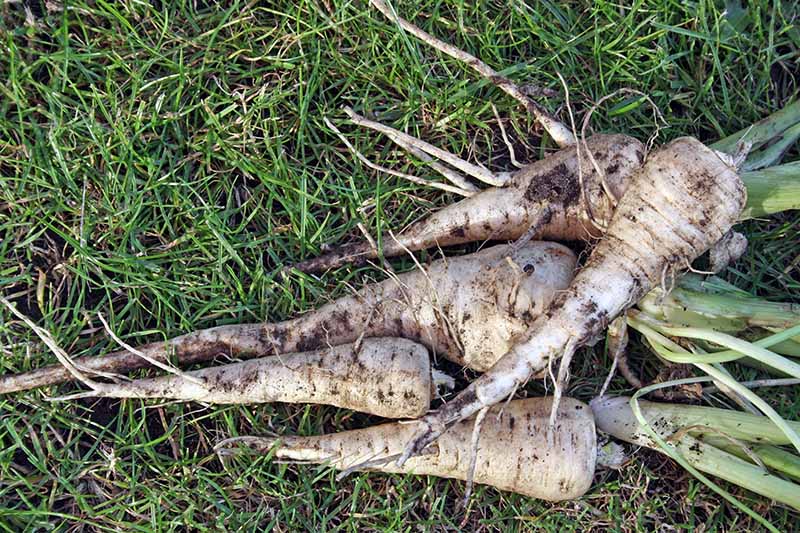
Use the fork to carefully unearth one or several roots. Brush off any loose soil.
Cut the foliage off at a point about one inch above the top of the vegetable.
You can collect an entire crop, but there are other options available to you as well.
Save Some for Later
One of the best features of root vegetables is that they can be gathered and stored for use through the winter, a time when fresh vegetables were once hard to come by.
In addition to opting to enjoy a complete fall harvest, you can allow some or all of your parsnips to remain in the ground right through the winter, and lift them as needed on days when the ground isn’t frozen solid.
Just remember to mark the patch so you can find and dig them even after the greens have wilted, withered, and vanished.
You can also leave all or a portion of your crop in the ground until the following spring, provided you collect all remaining roots before new growth appears.
It’s well worth the wait, as wintered-over crops are the sweetest. However, don’t wait too long, because once the foliage grows, you’ll find the roots have turned woody, stringy, and bland.
When you harvest more than you need at the moment, you’ll have to store the excess. Let’s find out how.
Stay Chilled and Ready
If you find yourself with a bountiful harvest, you’re bound to need to store at least a portion of it at some point.
A root cellar is ideal.
Cut the green tops off and store the unwashed roots in a container filled with moist sand and covered with a loose-fitting lid. The roots should not touch one another. They should last this way for up to six months.
You can also store unwashed whole roots with one-inch stems attached in the vegetable bin of the refrigerator for up to two weeks.
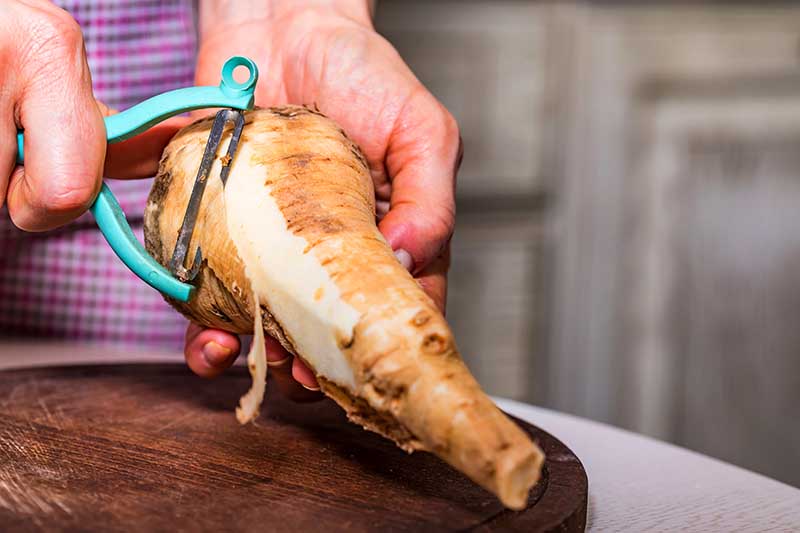
Or, parboil washed and peeled half-inch “coins” for three minutes in boiling water, submerge them in an ice bath to cool, dry them thoroughly, and store them in zippered plastic bags in the freezer for up to nine months.
Pressure canning is another excellent storage method. Get instructions now from our sister site, Foodal.
And if you have a dehydrator, you may want to shred and dry washed and peeled parsnips to add to savory stews and soups as needed.
If you find that your parsnips have gotten quite large and developed tough woody cores, you can make them more palatable by cutting the cores out before further preparation or storage.
Bolt and Gather
As I mentioned, the parsnip is a biennial, meaning it completes its life in two years, unless the root is harvested in the first year.
If you are a seed saver, and would like to collect some seeds for planting the following year, simply allow several plants to remain unharvested into year two, when they will flower and run to seed, a process that is called bolting.
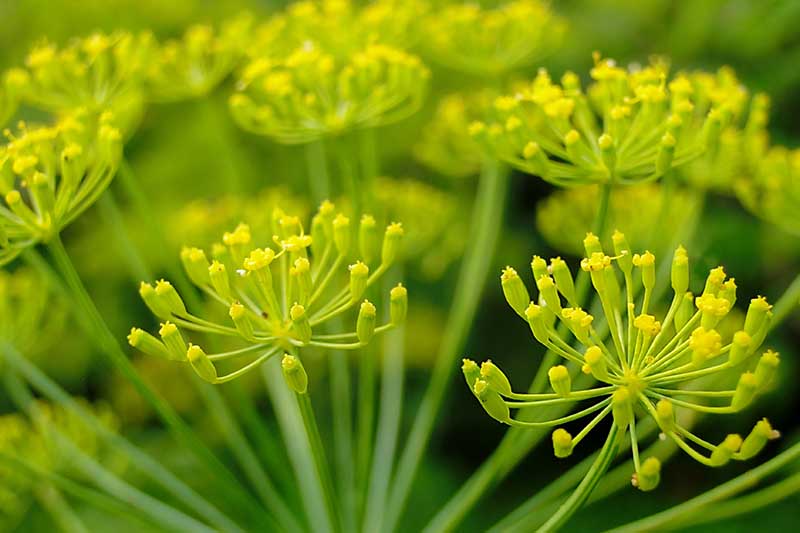
The flower heads are flattened clusters of tiny yellow blossoms. Once they fade and set seed, hold a bag beneath them, and rub the pods to release and collect the dry seeds within.
Remove the chaff and store the seeds in an airtight jar out of direct sunlight.
Use the seeds the following season if you can, because after a year or two, they may no longer be viable. It can be hard to tell, because this long-season veggie can take a month to germinate.
The Persnickety Parsnip
Without a doubt, the parsnip is a garden diva.
You have to start early in the spring to have time for 100 days of maturation, and then wait even longer if you want to enjoy frost-kissed sweetness.
And you don’t want to start seeds indoors, because transplanting can damage the fragile taproots.
You devotedly sift the stones out of the soil so there are no forked roots, which are perfectly edible, but oh, so unsightly.
Then there’s the composting and sowing of seeds you can barely see, watering and waiting up to a month for germination, thinning, more watering, weeding, and mulching to keep the precious roots warm.
But catering to this queen of the root vegetables is well worth the effort, when you taste that first homegrown bite, and savor the tender, nutty sweetness you’ve been waiting to enjoy.
Do you grow parsnips? Would you like to share your tips in the comments section below?
If you’ve enjoyed this article and seek more practical information on growing parsnips, we recommend the following:

Wonderful post. Thanks for sharing these tips. I had tiny (seedlings) parsnip plants in the fall and let them stay through the winter. They all started growing in the spring! A couple bolted, but a couple grew beautifully! We’re really looking forward to seeing if those that didn’t bolt will be any good this fall. Cheers!
Thank you Rob! Glad you enjoyed the article!