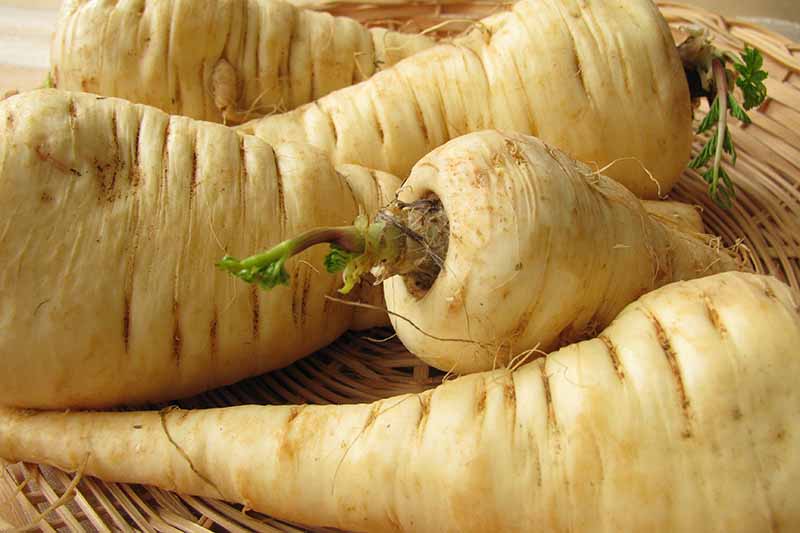
I don’t know why parsnips aren’t more popular. Their cousin, the colorful carrot, is a kitchen garden must-have. But when you mention parsnips, it tends to elicit looks of confusion (if not disgust).
I don’t get it. It can’t be the taste. They’re sweeter than carrots (they were once used to make sugar!) but with an earthy nuttiness and just a hint of a bitter bite. And they’re every bit as versatile as potatoes.
Even better is the fact that these undemanding veggies are one of the few things that we gardeners can harvest in the dead of winter.
When everyone else has put away the trowels and gloves and is pining for the days of fresh produce straight from the garden, parsnip lovers are dining on these freshly plucked treats.

We link to vendors to help you find relevant products. If you buy from one of our links, we may earn a commission.
When I say the dead of winter, I mean it. Pastinaca sativa doesn’t just tolerate freezing weather – it needs it. It tastes best after it has lived through a few weeks of some seriously chilly temps.
The alchemy of cold temperatures turns the parsnip from tasty to terrific.
Seems like what these root vegetables need is a better PR team, if you ask me.
If you’ve never grown parsnips before, you should check out our fantastic guide to growing this underappreciated root crop for harvest in the spring or fall.
But if you’re craving something fresh in the winter, this guide will help you to grow a crop that’s ready for harvest when the weather is downright hostile out there.
Ready to start your winter garden adventure? Here is what we’ll talk about in this guide:
What You’ll Learn
If you’re mourning the end of the growing season, don’t lose hope. Parsnips are ready for their moment in the limelight. Let’s go!
Parsnip Growing Basics
Before we plant our seeds, let’s talk about what these plants need to survive.
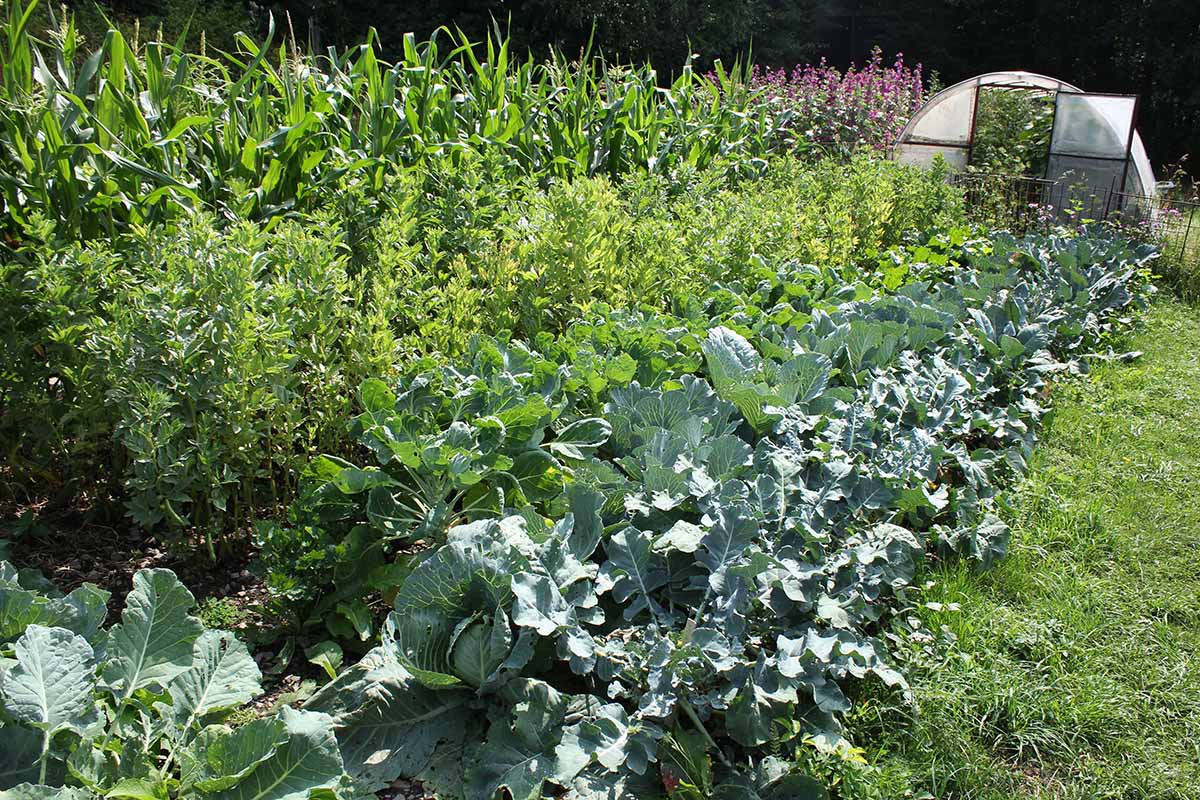
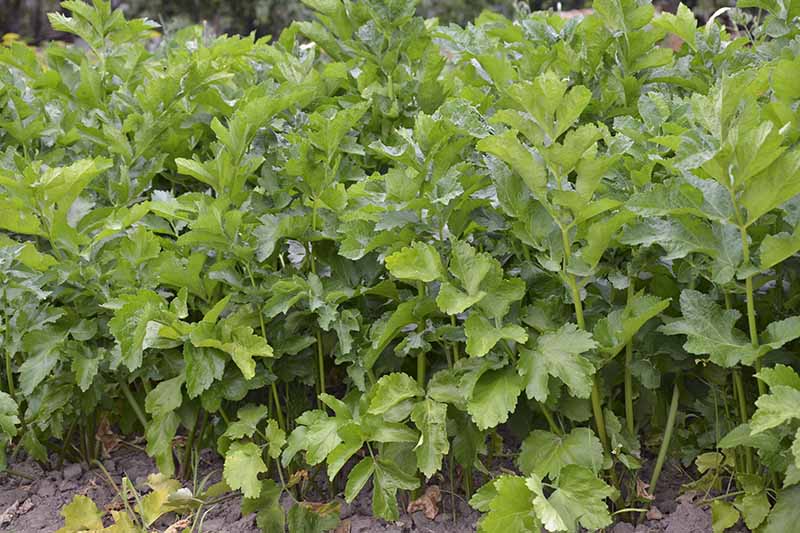
These root veggies are biennials in the Umbellifer family, which also includes carrots, parsley, and dill. They’re typically grown as annuals for their sweet, nutty roots.
They prefer cool weather. Anything above 75°F is bad news, so save the warmer part of the year for those veggies that like it hot.
They need fairly moist soil, but if you want nice, long roots, you should water less frequently and more deeply.
When to Plant
To figure out when to plant them, you’re going to need to do a little math. Most take around four months to mature, and they need a few weeks of near-freezing temperatures for the best flavor.
Look at your region’s first predicted frost date in the fall. Count back from that date by three months, and that’s when you want to have your seeds in the ground.

In my neck of the woods, first frost happens in the first week of November. I put my seeds in the soil around the first or second week of September.
You have a little wiggle room here, because as long as you can work the soil, you can harvest parsnips.
If the ground hasn’t frozen solid by the first of December in your region, you could plant in the first week of October if you wanted.
You could even heap straw on the ground and buy yourself a few extra weeks (we’ll talk about this coming up). That means you can be eating fresh veggies into January or beyond if you do the work.
The one thing to keep in mind is that you don’t want to put the seeds in the ground until the average daily high temperature is below 75°F, with temps between 55 and 65°F being ideal.
Parsnip seeds already tend to germinate slowly and unreliably, so you want to give them the best conditions possible.
You can also plant in the fall and let your parsnips stay in the ground until the soil can be worked in the spring.
Propagating Winter Parsnips
Parsnips grow best from seed, but don’t try to use leftover seeds from last year. The seeds stop germinating reliably after about a year, so buy a fresh batch each year.
It’s easiest to start your seeds outside right in the soil, but the weather doesn’t always cooperate. That’s particularly true if you’re aiming for a winter harvest, since it means starting them in the late summer or early fall.
Because they have long taproots that are easily damaged during transplanting, starting them outdoors is typically recommended.
But in this case, you might need to start them indoors since the weather might be too warm for parsnips to get a healthy start. If this is true for you, I recommend that you start them in compostable pots to ease the transition.
Soak the seeds in room temperature water for 24 hours before planting to speed up germination.
Outdoors, seeds should be planted in well-draining, rich, loose, slightly sandy soil. They need a spot in full sun planted half an inch deep.
The soil should be kept moist until the seeds germinate, and then the top inch can dry out between watering. Seeds should be spaced about six inches apart.
To learn more about planting parsnip seeds, take a look at our comprehensive guide.
To start seeds indoors, plant two or three per four-inch compostable pot filled with a seed starting medium.
Place them in a window or under grow lights so they receive at least six hours of sun per day, but preferably eight or more. Keep the soil moist until the seeds germinate, but not soaking wet.
Now it’s time to work on being patient. Just when you’re ready to give up, the seeds will sprout. We’re talking around three weeks.
Transplant outdoors after you see two true leaves, but keep in mind that you can wait until the weather is right.
The main thing to watch out for is to avoid letting the root grow too long before you transplant. If the root bumps into the bottom of the container, it will start growing sideways, and you will end up with some funky-looking roots.

The root will be a little bit longer than the tops of the plant, so if the top is two-thirds the height of the pot, it’s best to put them in the garden straight away. Harden the plants off for a week before you put them in their permanent home outdoors.
You can do this by putting the plant in a protected spot for an hour and then bringing it back inside. The next day, put it out for two hours. On day three, three hours outdoors before bringing it in, and so on.
Gently cut away the base of the pot when you put it in the ground.
How to Grow
Let the top inch of soil dry out between watering. And when you do water, give the plant a nice, long soak.
Toss some mulch or soil over the crowns of the plants once temps regularly drop below 40°F.
Applying mulch over the crown also helps to prevent the shoulders from turning green.
Keep weeds away at all times. Parsnips aren’t good at competing with weeds for moisture and nutrients.
You should try your best to nab any weeds when they’re tiny. The older weeds become, the deeper the roots grow. When you pull them up, they can disturb the roots of your parsnips.
These veggies need regular applications of fertilizer, but don’t overdo the nitrogen. Too much causes the roots to grow unpleasant hairs.
If the weather starts to take a turn and the ground is likely to freeze up in the harsh cold, heap an inch or more of straw on the ground around the plants.
This will help to keep the soil warm, buying you an extra week or so before harvest. Straw mulch also helps to suppress weeds.
Harvest Tips
When it comes time to harvest, you want to do it before the soil starts to harden in the winter. Once the ground freezes, you’ll have to wait until the spring to pull the roots.
Don’t worry, it’s not the end of the world if this happens, and they’ll still taste delicious. In fact, many growers plant in the fall and overwinter their roots intending to pick them as soon as the thaw arrives in early spring!
Just be sure to pull them up before the tops show any new growth. Once new growth starts, the roots become hard and grainy in texture.
Wear gloves when it’s picking time, since the greens can sometimes cause skin irritation.
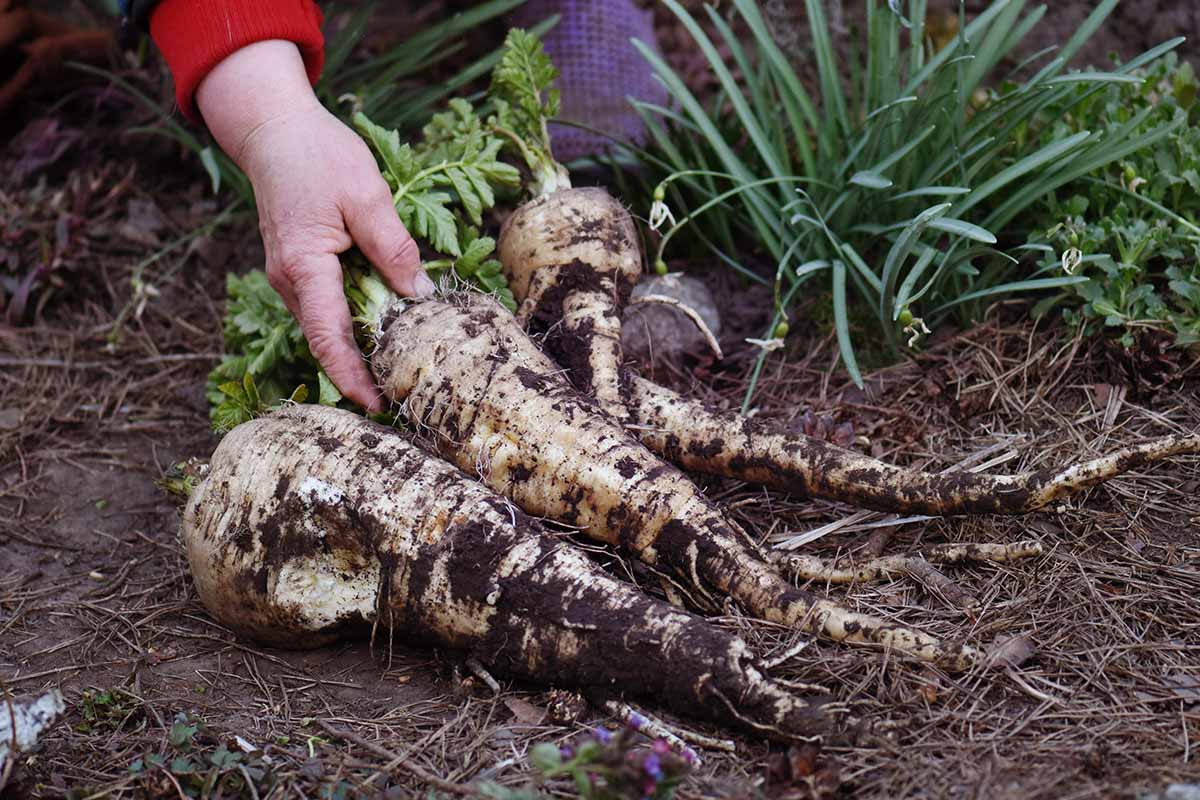
To harvest, dig down next to the root. Be careful not to hit the root when you dig, because parsnips bruise easily, and when they bruise they begin to oxidize.
Then, wiggle the spade or garden fork and gently tug and pull the root out of the ground.
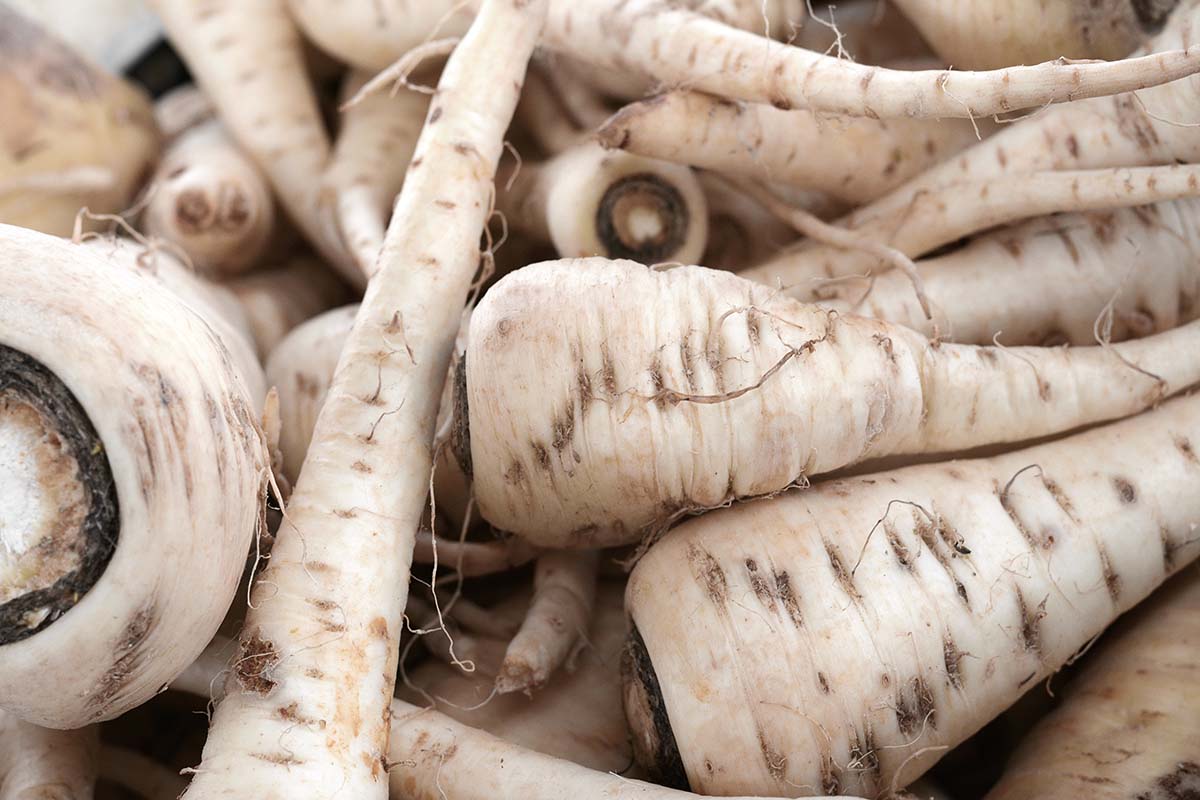
Smaller parsnips are tastier. Once they grow large, they start to lose their flavor.
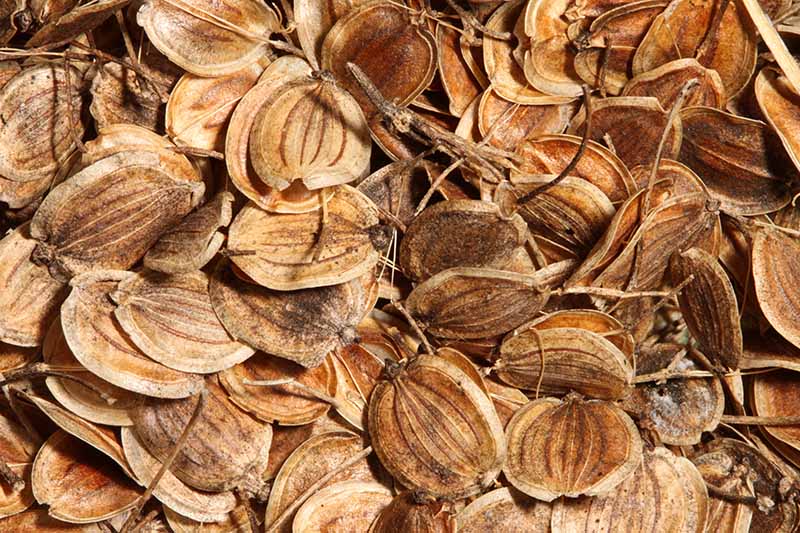
If you keep a few in the ground too long, you can also opt to let them mature over the spring and flower, so you can harvest the seeds for planting in the coming fall.
For more tips, check out our guide to harvesting parsnips.
Parsnips Provide a Fresh Winter Bounty
It’s always a treat and provides a sense of accomplishment when you pull your harvest out of the ground, but even more so when you’re bundled up in your winter gear with the threat of snow on the horizon.
Plus, these veggies are such a great source of fresh nutrition in the winter months.
I can’t wait to hear about how you will use your first winter harvest. Be sure to tell us in the comments section below!
And for more information about growing parsnips in your garden, have a read of these guides next: