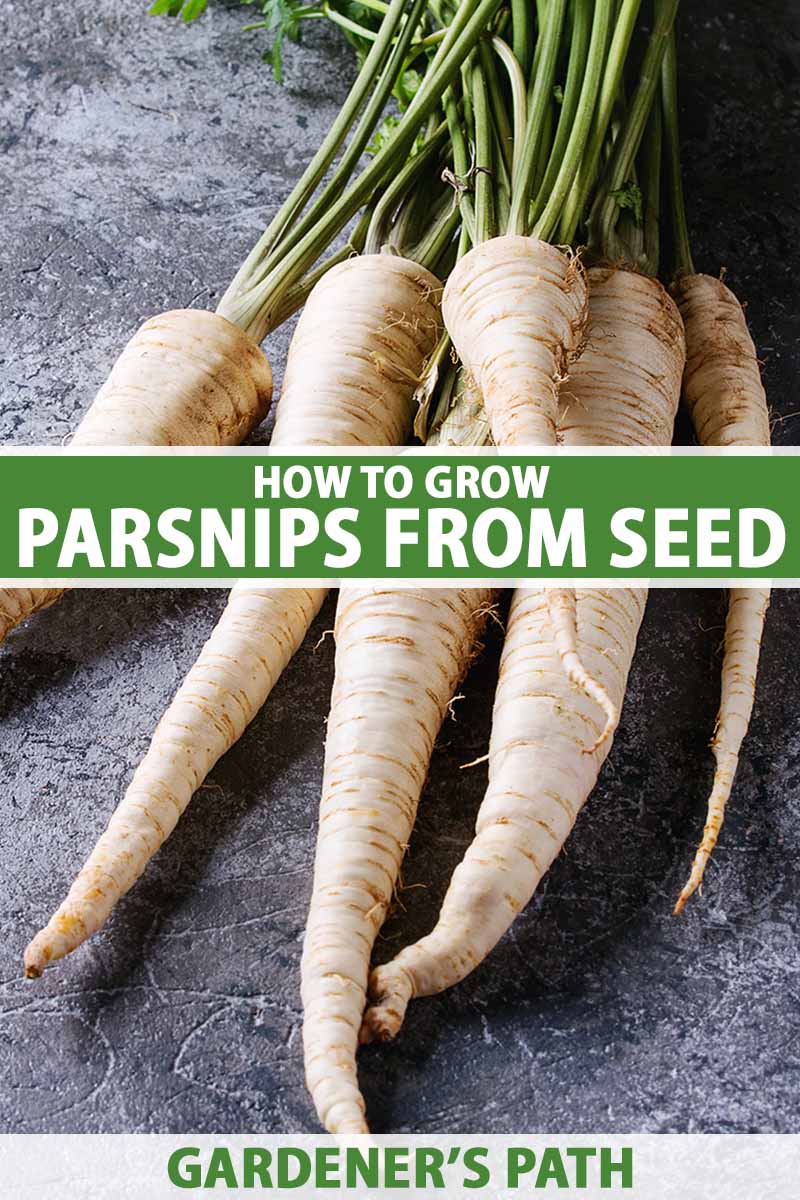
There are some plants out there that I just won’t grow from seed. But not parsnips.
These exceptional root veggies are fairly straightforward to start (no stratifying needed here) once you know what to do.
And because they have long taproots that don’t like to be disturbed, they practically beg to be started from seed.
Now, all that being said, there are a few tricks to getting the job done.
A lot of gardeners will tell you that these veggies are fussy when grown from seed and that germination rates are low.
We link to vendors to help you find relevant products. If you buy from one of our links, we may earn a commission.
That used to be my experience, as well. But then a few years ago I started changing up the way I did things, and now I have parsnips popping up all over the place.
To help you reliably start your parsnips from seed, here’s what we’ll cover:
What You’ll Learn
Ready to learn the tricks of the trade, as they say? Let’s go!
Getting to Know Parsnips
If you’ve never grown parsnips from seed before, you’re in for a treat.
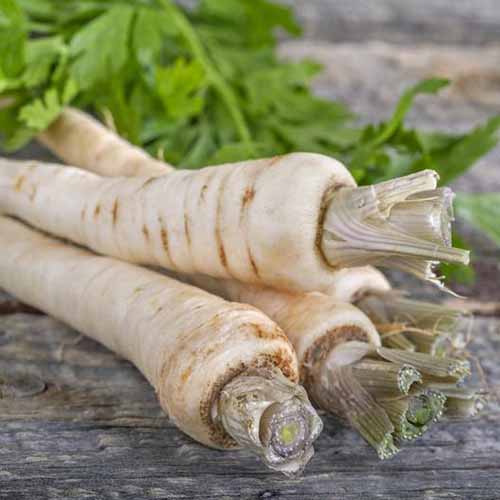
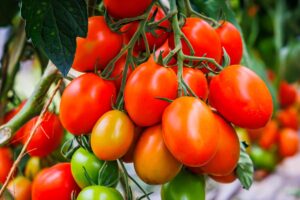
This cold weather-loving root vegetable comes from the same family (Umbelliferae or Apiaceae) as carrots and parsley, and you could easily mistake it for a white carrot. But the flavor is something else entirely.
They have the texture of a sweet potato with a flavor that is like an earthier, nuttier carrot.
They grow readily from seed, and do well in downright chilly weather when all of your other plants are still asleep.
Sourcing Seeds
If I could only give you one tip on how to grow parsnips from seed, it would be to find fresh seeds to start with.
Parsnip seeds don’t germinate well after a year in storage, so if you bought a packet last year and didn’t use them all up, toss them.
Don’t try to squeeze a second season out of your seed packet. I think this is where most people go wrong.
You should also make sure you’re buying seeds from a reputable source. Look for a retailer who lists the harvest and/or expiration date of the seeds on the package, and who has good reviews.
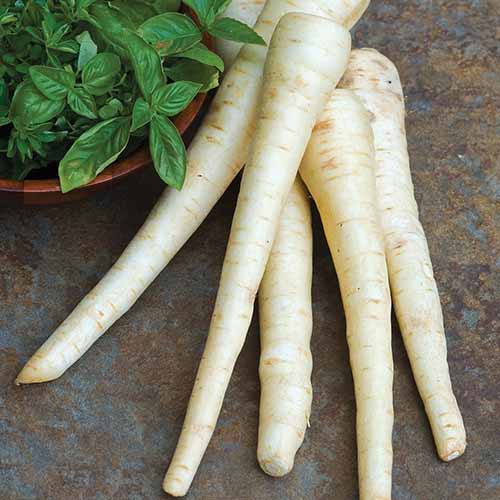
Burpee is a well-known option, and they carry a delicious cultivar known as ‘Hollow Crown’ in packs of 550 seeds.
Eden Brothers is another tried-and-true retailer.
They carry ‘Harris Model’ in single packets, one ounce, or quarter-pound packages. This cultivar is a delicious heirloom that is one of the most reliable producers I’ve ever grown.
How to Start Indoors
Planting indoors is smart if you don’t have a huge window of time available for growing parsnips.
Remember that these can take months to mature, and they don’t like hot weather. Their long growing season means you might not be able to start them outside without encountering some heat, depending on where you live.
Don’t worry, that doesn’t mean you’re out of the parsnip-growing-from-seed race.
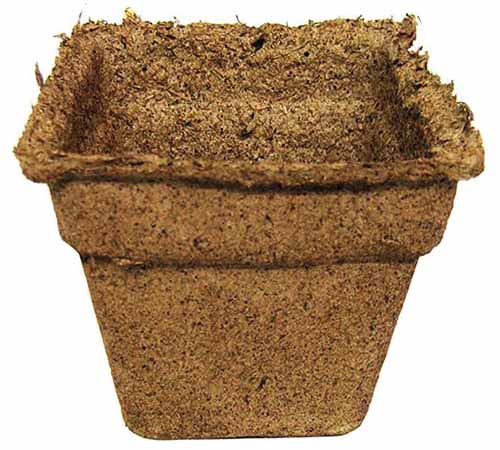
You can start the seeds indoors and transplant them outdoors when the timing is right, but make things easier on yourself and use compostable pots like those made out of peat or cow manure.
This reduces the chances of shocking or stressing the root when you transplant it because you don’t have to remove it from a container, you simply put the container in the ground.
I prefer CowPots because they’re made from a renewable resource – cow poop! The #4-sized pot is ideal for your parsnip growing purposes.
Grab a pack of 12, 180, or 450 at Arbico Organics.
Fill the pots with a seed starting mix and then soak your seeds in water for 24 hours. Place two seeds in each pot, and cover with a quarter-inch of soil.
Soak the medium with a spray bottle and keep the soil moist. You don’t want it to be soaking wet, but it shouldn’t ever dry out either.
Place the pots somewhere that they will receive at least six hours of sunlight per day, or put them under a grow light.
Then, find a good book you’ve been meaning to read or start a new hobby, because this next part takes a while. Parsnip seeds are slow to germinate.
Three weeks is not unusual. But don’t lose hope! I’ve found that right when I think I must have a bad batch of seeds, that’s when they pop their leafy heads out to say hello. And I think this is another place where people mess up.
Before the plants begin to mature, you have to make some tough decisions. If more than one parsnip seed sprouted per container, you’ll need to get rid of the weaker of the two.
Snip it off with a pair of scissors. If you want, you can try to gently pull the seedling out and put it in its own pot, but this is pretty hit and miss, so don’t feel bad if you lose your little transplant.
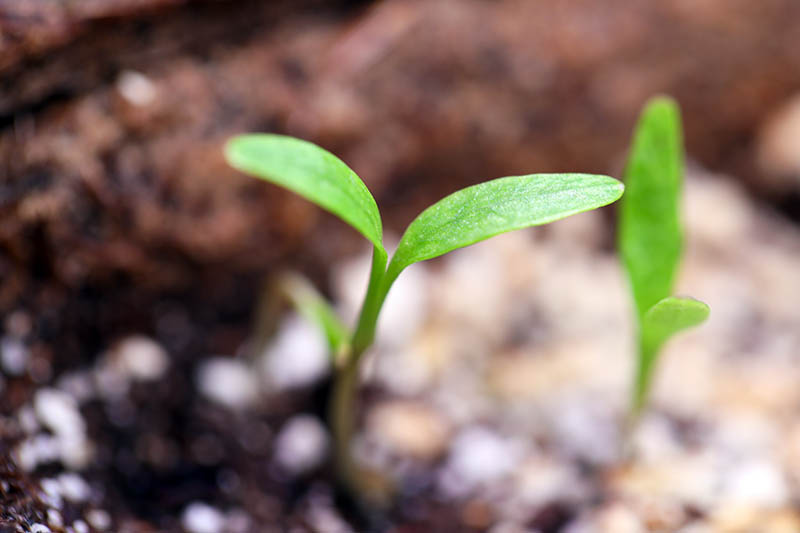
After another week or so, you’ll find that your parsnips have formed one or two true leaves. Now it’s time to start introducing them to the great outdoors.
That means taking your pots outside and placing them in a protected spot where they will receive an hour of direct sunlight. Then, scoop them back up and put them inside again.
The next day, give the seedlings two hours outside. On the third day, bring them out for three hours, and so on until they can be outside for a full eight hours.
Now you can plant them in the soil. For tips on prepping your soil, check out the section on outdoor growing below.
If you used compostable pots, this is easy. Just dig a hole the same size as the pot and plop it in the hole.
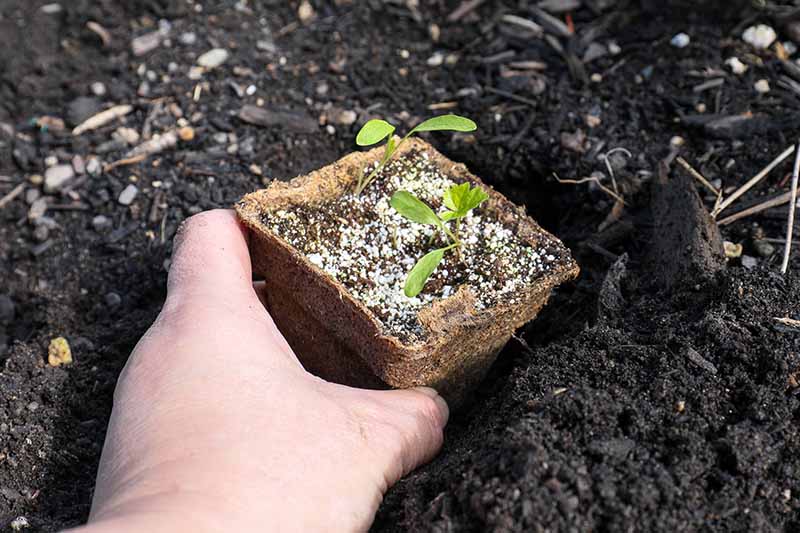
If you used non-compostable pots, you’ll need to use extra caution. Dig a hole the size of the pot and very gently wiggle the seedling, soil and all, out of the container.
Place it gently in the hole, doing your very best to not disturb the root.
Give the seedling a good drink of water and add more soil on top if it settles too much.
How to Start Outdoors
The easiest way to start parsnips from seed is to put them straight into the prepared garden bed outside.
Parsnips do best in soil that is well-draining, loose, and rich. Heavy clay definitely won’t work. Even loamy soil might be a bit too heavy.
Ideally, the soil should be on the sandy side of loamy. Work some sand and well-rotted compost into your soil if it isn’t already the right texture.
Regardless of your soil texture, you might want to work in lots of well-rotted compost as well, to ensure your soil is full of nutrients. My gardening philosophy is that a little extra compost never hurts things.
Parsnips are greedily hungry, and they need lots of food. Soil pH isn’t as important as drainage. Anything between 6.0 and 6.8 is perfect, but a pH slightly outside of this range is fine.
Make sure the soil is amended (if needed) at least two feet down. Raised beds should be at least two feet deep.
Before you plant, you should also check your soil’s drainage.
The simplest way to do this is to dig a hole that is a foot deep and a foot wide. Fill it with water to the top and then let it drain.
Come back in an hour. If there is still water in the hole, you need to improve drainage with more sand and compost.
A day before you intend to plant, soak your seeds in lukewarm water.
Sow the seeds in full sun when the soil temperature is over 40°F, and note that parsnips grow best when air temperatures are between 40 and 75°F.
Anything above that, and they’ll bolt and go to seed. That means you need to find the sweet spot of when the soil can be worked and before the days get hot.
For most people, that means early spring or early fall. Once the roots have developed, the plants can handle intense cold. In fact, the roots taste better once they’ve been exposed to freezing temps for a few weeks.
Plant seeds about half an inch deep and about six inches apart. You can squeeze them in a little closer if you prefer, since small parsnips taste better than large ones.
Since parsnip seeds don’t always germinate at high rates, you might want to plant two seeds in each spot and get rid of one of them if both sprout.
That said, this year I sowed four seeds per spot, and every single one germinated, so you never know. If you do things right, you might have excellent results!
Regardless, don’t pull any unwanted seedlings, because you might disturb the root of the nearby seedling that you’re keeping. Just snip each one that you’re thinning out with a pair of scissors.
Care Tips
Work in a side dressing of compost every three weeks as the plants develop and grow. You can also use a balanced fertilizer such as Starter Mix by Down To Earth.
This fertilizer comes in a compostable box and has the right combination of nutrients to keep your young parsnips happy.
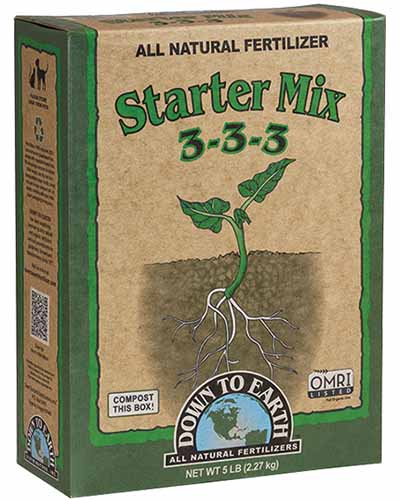
Arbico Organics carries this useful product in one- or five-pound boxes.
Watering is essential for a good harvest.
You have to find the right balance between too much water and not enough because the first causes hairy, tough roots, and the latter causes stunted growth. Wet and dry fluctuations also cause forking and root splitting.
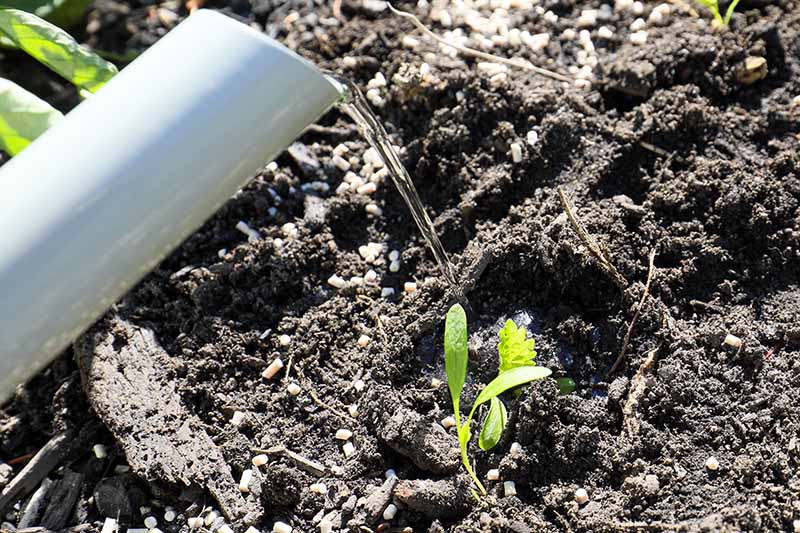
These veggies need anywhere from one to two inches of water each week, but it depends on your soil composition.
The easiest way to tell if it’s time to water is to stick a finger in the soil. The top inch can dry out between watering, but no more. The soil should feel like a well-wrung-out sponge when it is moist.
An inch-thick layer of compost placed on top of the soil can help retain moisture and add nutrients. You can also use straw or leaves as mulch.
Keep weeds out of the garden. Young parsnips can’t compete with weedy interlopers.
Heap mulch over the base of the plants a few weeks before harvest to prevent green shoulders.
Cover the crowns entirely with mulch in the winter if you intend to let them stay in the ground until spring. Straw or leaves are good options.
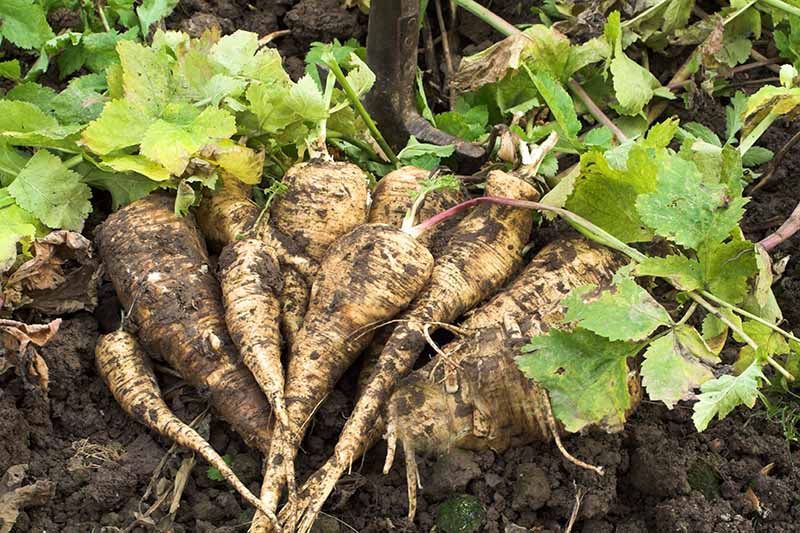
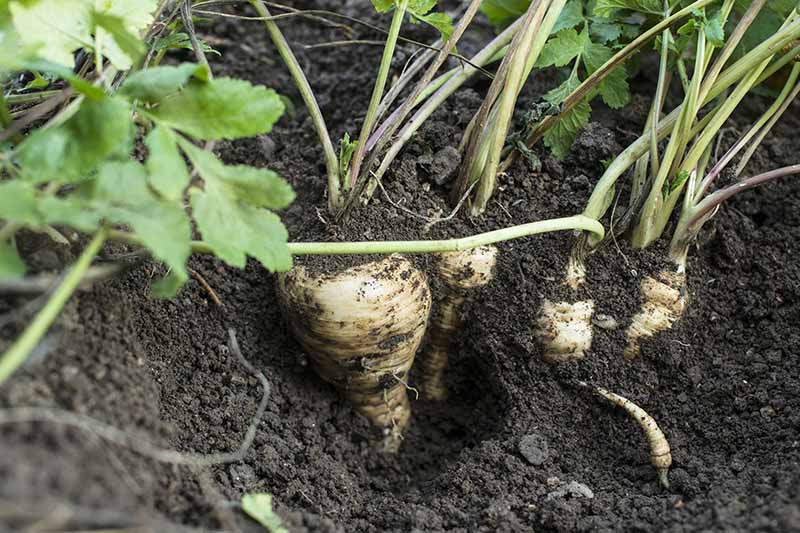
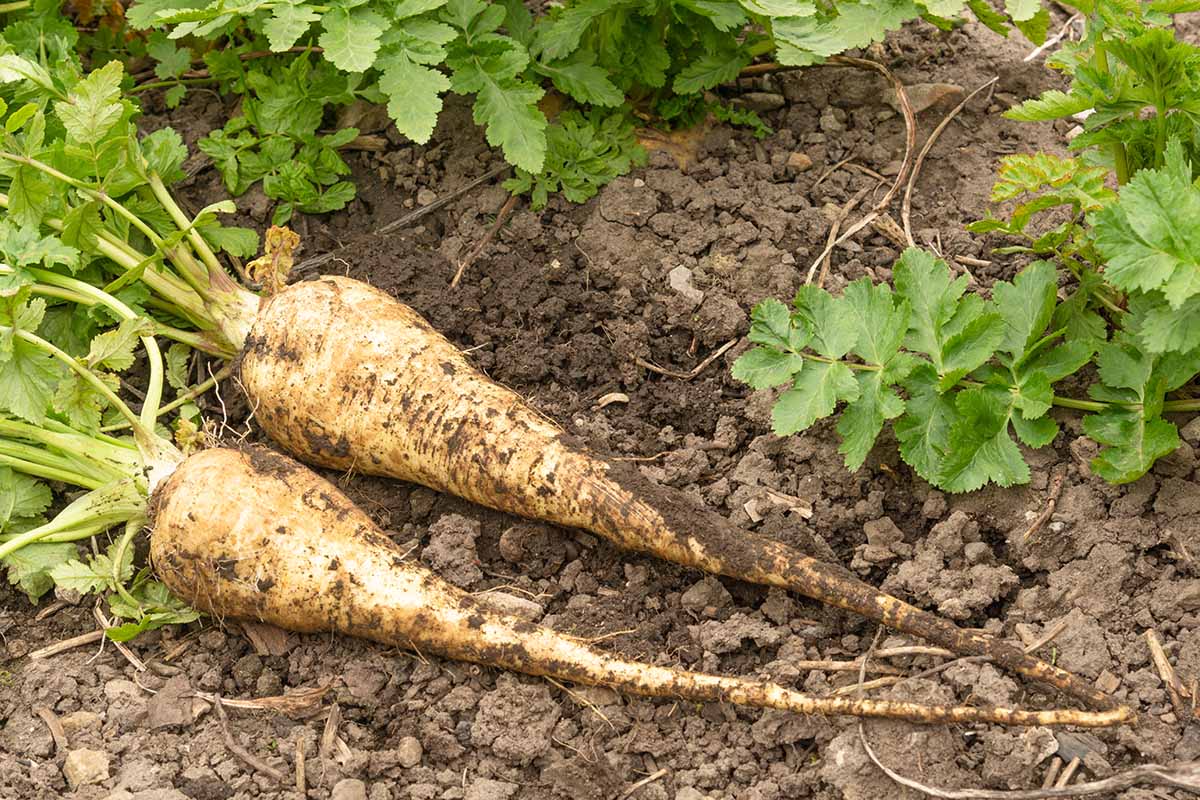
To harvest, dig down about a foot with a garden fork and gently loosen the root out of the soil. Try not to nick or bump into the roots because they bruise easily. Once they bruise, like potatoes, they begin to oxidize.
If you leave the roots in the ground over the winter, harvest them before new growth emerges in the spring.
Read more about harvesting parsnips here.
Troubleshooting
I’ve mentioned that parsnips have a reputation for not being prolific germinators, right?
Set yourself up for success by using fresh seeds and by making sure the temperatures are right. Don’t plant too early or too late in the season. Also, be sure to keep the soil moist.

One other important thing to remember is to be patient. A lot of people assume their seeds are duds, when in reality, parsnips just take a long time to pop up.
If it has been three weeks since you planted the seeds and you don’t see anything, you might be out of luck. But don’t give up hope. I’ve had seeds take a month to germinate.
Parsnip Seeds are Easy to Grow If You Know the Right Tricks
Parsnips are as versatile as potatoes, as delicious as carrots, and far superior as a winter crop to either of those popular root veggies.
Growing them from seed is a cinch, so long as you know the secrets to success – and now, hopefully you do!
I’m always looking for fantastic parsnip recipes, so if you have a favorite way to use up your crop, be sure to come back and let us know how in the comments. Me? I love garlic and parsley parsnip “fries” roasted with butter in the oven.
If you’re hungry for more info on these underappreciated veggies, we have some other helpful parsnip guides you might be interested in:
Want to know why do my Parsnips grow above ground but roots are small?
Hi Leslie, there are a few things that can cause this. Rocky or compact soil is the most common cause. I grow my parsnips (and other root veggies) in soil conditioner because it’s so loose. I use FoxFarm’s Happy Frog, but any loose, light medium will work. I’ve had trouble growing large roots in potting soil because I find it’s too heavy.
Too much nitrogen can encourage top growth but not root growth.
How old are your plants? It might just be that they concentrated on the tops first and the roots are still developing.
Kristine, This was a great article on one of our very favorite vegetables. You really helped me out by including a clear photo of what a juvenile parsnip seedling looks like. I thought my crop was doomed until I took a copy of the seedling you posted out to the garden and found that they have started to germinate. I have a lot of weeding to do, but I am now hopeful of a good crop! Thank you!
Hi Ray, thank you for your comment! You aren’t alone. I can’t tell you how many times I’ve planted seedlings and then wasn’t sure if they were germinating or if I was carefully watering weeds every day. I hope you’re enjoying big, delicious parsnips soon.