If you’ve never grown root vegetables in containers, now’s the time to try.
Parsnips are in the Apiaceae family, just like carrots and parsley – and they’re often overlooked in favor of their bright-orange cousin. But they shouldn’t be.
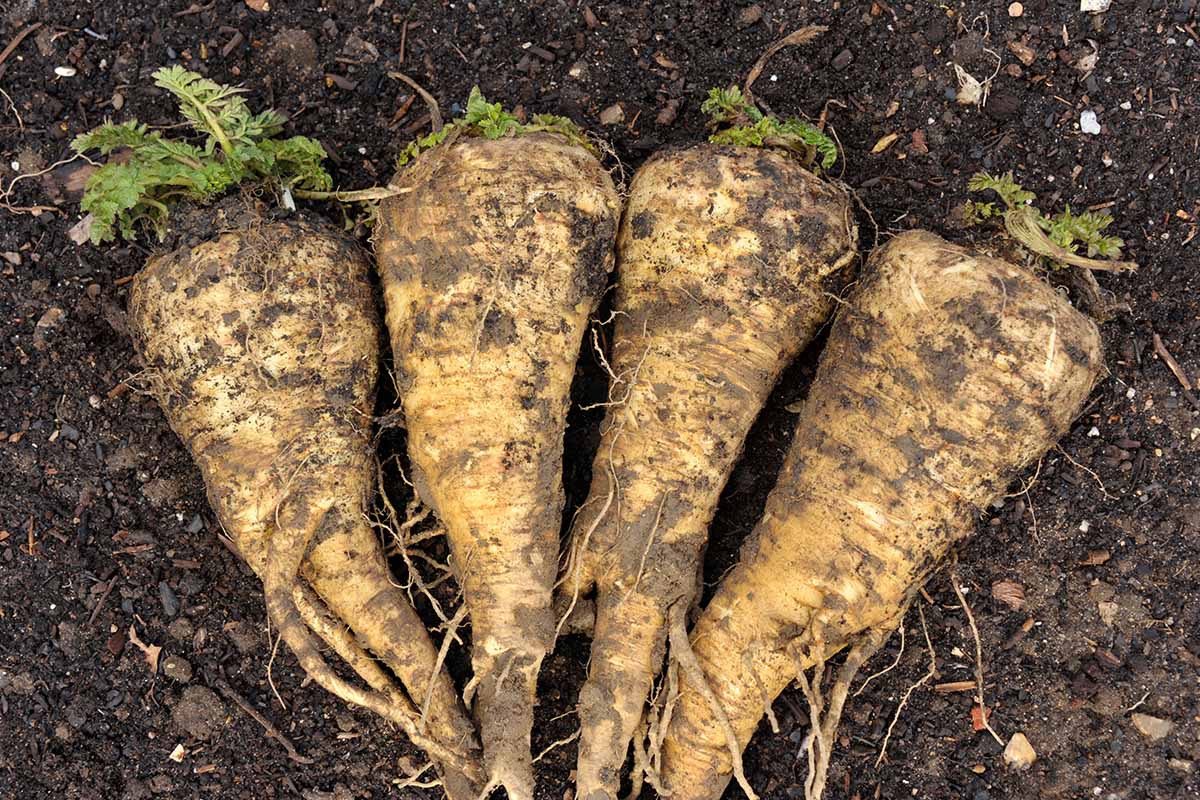
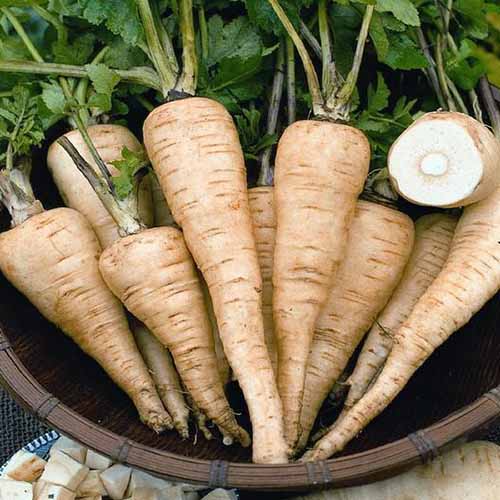
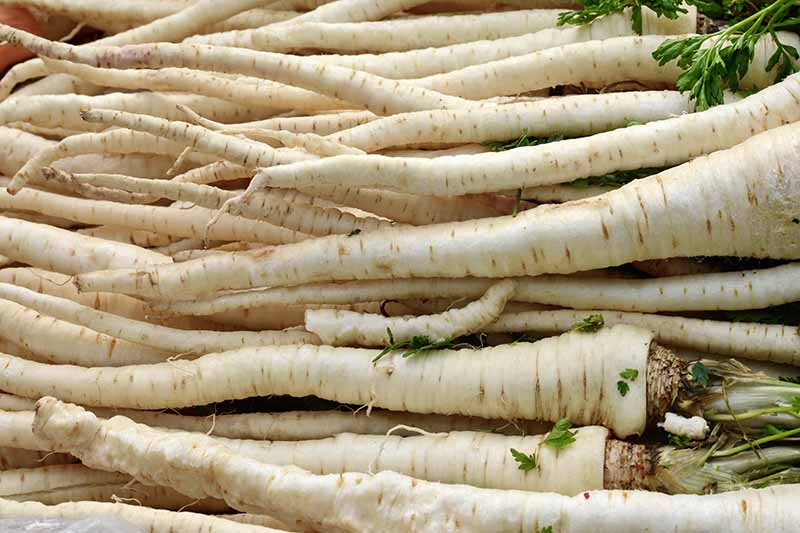
As with carrots, we eat the taproot of the parsnip plant, Pastinaca sativa. Parsnips have an earthy, sweet flavor that pretty much tastes like the encapsulation of autumn, if you ask me.
We link to vendors to help you find relevant products. If you buy from one of our links, we may earn a commission.
Our guide to growing parsnips covers all the details of how to cultivate this root vegetable in your garden.
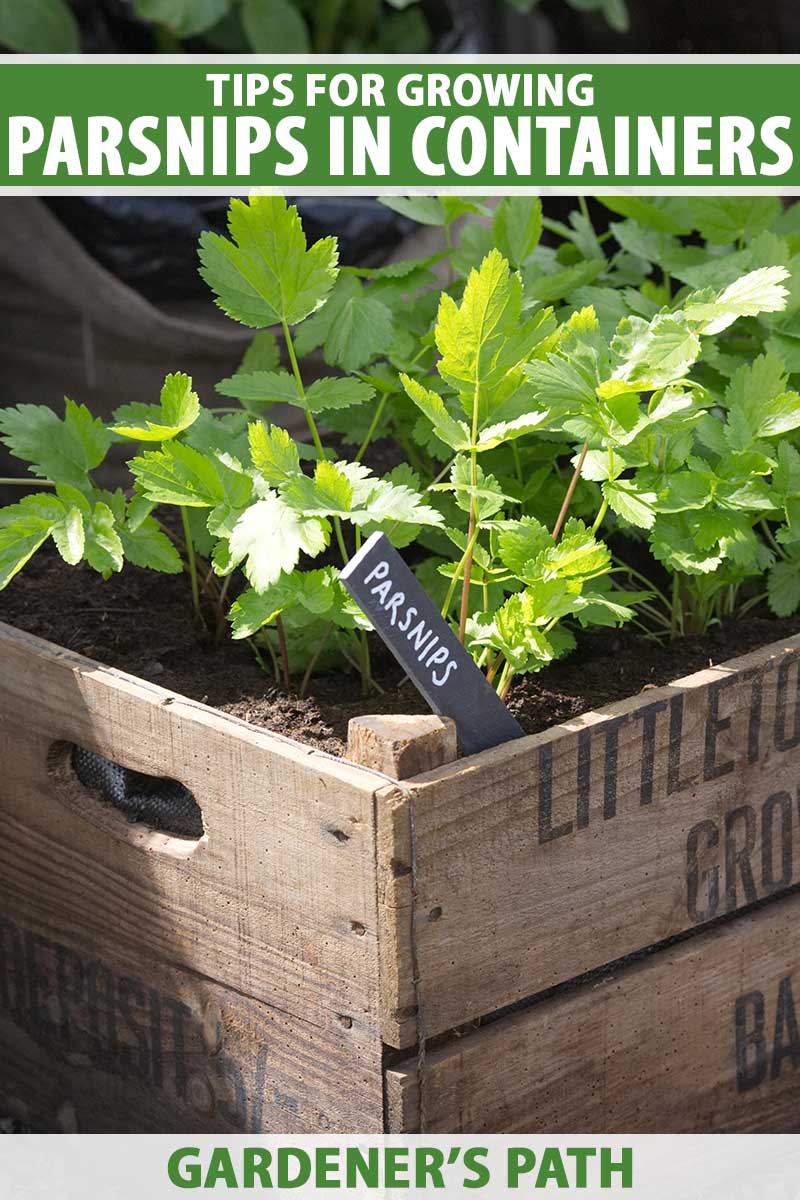
In this guide, we’ll talk about all things container growing when it comes to this biennial, which is usually raised as an annual.
Want to save space in your yard and grow this delicious veggie? Let’s get started.
Here’s what I’ll cover:
What You’ll Learn
A Bit About Parsnips
Parsnips are suited to growing in USDA Hardiness Zones 2 through 9. They prefer a soil pH between 6.0 and 7.0, and like loose, loamy soil.
When grown as an annual, a single parsnip plant only spreads up to eight inches and grows 10 to 15 inches tall. The taproot can be 12 to 15 inches long and around one to four inches in diameter, or sometimes larger, but smaller ones tend to taste sweeter.
Most plants develop tasty, dinner-ready taproots in 95 to 120 days. These veggies are highly nutritious, too – check out our guide to all the health benefits of parsnips for more information!
This root vegetable has been around since antiquity and probably originated somewhere in Europe or Asia. The wild, uncultivated species grows freely along roadsides in Great Britain, Europe, North America, and Asia.
Both wild and cultivated parsnips contain sap in their foliage that can cause phytophotodermatitis, a condition that makes the skin extra sensitive to sunlight. Always wear gloves when handling parsnip tops as phytophotodermatitis can cause redness, swelling, and blistering of the skin.
It’s best not to forage parsnips in the wild as the plants are considered invasive in some states, and may be confused with the highly toxic poison hemlock.
To grow your own in containers, be sure to source seeds from a reliable nursery.
Why Grow in a Container?
The biggest benefit to growing these root veggies in containers is that they don’t have to take up space in the garden. Maybe you have a small yard and a traditional garden isn’t feasible – but a container garden can be set up on your patio, deck, or apartment balcony.

Another advantage of growing veggies in containers is that it’s easy to control the makeup of the soil. Parsnips don’t grow well in compacted, clay, or rocky soil, so you can rest assured that in a container, your roots will grow straight. They won’t have to navigate around rocks, and get all twisty and turny.
Finally, I don’t know about you, but if I don’t carefully tend to my garden, weeds sprout up spectacularly quickly. Planting parsnip seeds from a purchased packet in a container makes weeding a lot less time consuming.
Choosing the Right Container
Since the taproots can grow 12 to 15 inches long, or longer with some varieties, parsnips will grow best in containers that are at least 15 to 20 inches deep. We recommend only selecting varieties that reach a maximum of 15 inches long.
Parsnips will grow well in containers made from a variety of materials: wood, resin, and stone are a few options. The choice all depends on your style and weight preference. You could use terra cotta planters but these can have a tendency to crack when exposed to frost.
Aside from the depth of the container, the most important thing is that your chosen pot should have drainage holes, so the taproots don’t get soggy and develop fungal issues.
And be sure to choose a wide container, to give multiple roots enough space to grow and spread. Square or rectangular planters work well for maximizing the number of plants you can grow in one container.
As an example, a square pot that’s 20 inches by 20 inches can potentially support 16 plants. Be sure to provide more space for thicker cultivars.
Planting Your Parsnips
Parsnips are cool-weather crops that grow well when outdoor temperatures are between 45 and 65°F, although they can tolerate temperatures up to about 75°.
Excessively hot weather will slow their growth and may result in bitter, tough roots.
The seeds require soil temperatures between 59 and 77°F to germinate. Make sure you use a new packet of seeds each time you plant parsnips – they only remain viable for one year.
For those in Zones 2 through 6, parsnips are best planted in the spring after the danger of frost has passed. You can sow them indoors ahead of your average last frost date if you desire.
In Zones 7 through 9, sow seeds outdoors in September or early October for a harvest in late winter or early spring. You might even be able to do this if you live in Zone 10 and you plant the seeds outdoors in late November or early December.
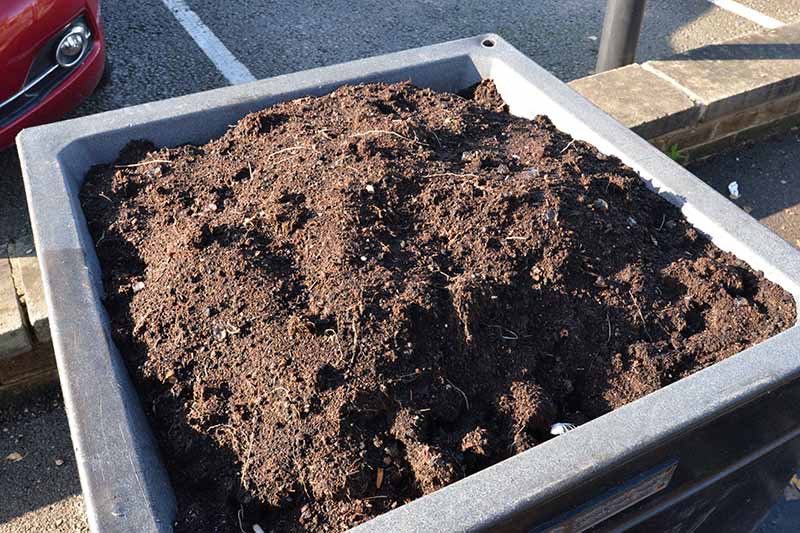
Make sure the soil is loose and well-draining. Fill your chosen container with a commercial potting soil or a mixture of one-third topsoil, one-third well-rotted manure, and one-third peat moss. Leave at least one inch of space between the soil line and the top of your container.
To sow the seeds, poke half-inch-deep holes in the potting medium, spaced about four inches apart, and drop two to three seeds inside.
Parsnip seeds have a notoriously iffy germination rate, and this can help to improve your chances of success without taking up too much space in your container.
Or, you can broadcast seeds on the surface of the soil, pushing them down about half an inch. You’ll need to thin them to about four inches apart later on.
Water them in, and keep the soil evenly moist until germination occurs. These seeds can take a long time to germinate, so don’t lose hope if you don’t see any signs of life right away. Seedlings can take up to three weeks to poke out of the soil!
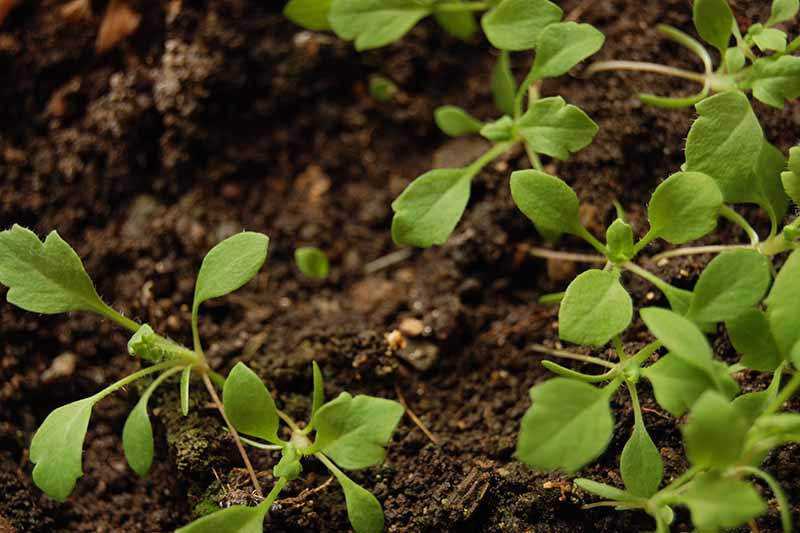
Once the seedlings are up, it’s time to move the container into an area that receives full sun if you haven’t done this already.
After the seedlings are four inches tall and have at least one set of true leaves, thin them so they all have three to four inches of space between them.
If multiple seedlings emerged from each hole, pinch or snip off the smaller, weaker seedling. Do not pull it out, as this can disturb the developing taproot.
How to Grow
Parsnips like to stay moist but the soil shouldn’t be waterlogged.
Give them at least one deep watering a week in the absence of rain, making sure that water comes out the bottom of the container. Avoid overhead watering to keep the foliage as dry as possible.
Every few days, check the soil moisture level with your finger. If it feels dry one inch down, it’s time for another deep watering. Remember: soil in containers tends to dry out more quickly than dirt in a traditional garden in the ground.
Alternatively, use a moisture meter for a more accurate reading.
You can add a layer of organic mulch around the plants to help retain moisture.
Fertilize with a balanced or low-nitrogen fertilizer about two months after germination. Excess nitrogen can result in plentiful leafy tops paired with weak or underdeveloped roots.
Dr Earth Tomato, Vegetable, and Herb Fertilizer
I like to use this 4-6-3 NPK fertilizer from Dr. Earth, available from the Home Depot.
Make sure to remove any weeds that find their way inside your planter, as they will compete for nutrients and water.
Growing Tips
- Water deeply at least once a week in the absence of rain, and check moisture every few days.
- Mulch to help retain moisture.
- Fertilize two months after germination.
Cultivars to Select
Here are a few of our favorite varieties that fit well in containers. None of the roots on these three varieties grow longer than 15 inches.
All American
For a sweet, thick veggie with creamy white flesh that matures in just 95 to 105 days, try ‘All American.’
This parsnip grows up to 12 inches long – ideal for your 15-to 20-inch-deep container – with a diameter of two to three inches at the shoulder and about one inch at the pointed tip of the root.
You can find packets of heirloom seeds available from Eden Brothers.
Hollow Crown
This heirloom garden favorite features crisp, white flesh on roots that grow up to 15 inches long, and two to three inches across at the shoulder.
‘Hollow Crown’ matures in about 105 to 115 days and is said by some growers to be one of the most “parsnip-tasting” varieties of all.
You can find packets of 550 seeds available from Burpee.
Turga
Known for its generous size, off-white ‘Turga’ produces nutty, lightly sweet roots that grow 10 to 12 inches long, and up to a whopping five inches in diameter. They mature in 100 to 110 days.
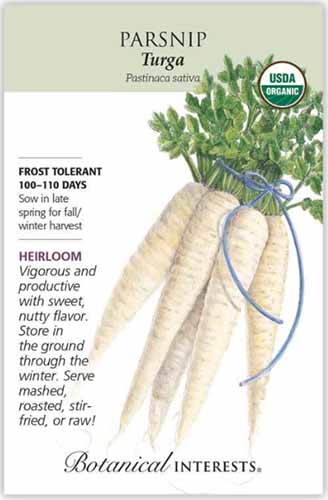
Make sure you allow at least eight inches between each plant to accommodate the larger root size.
You can find packets of 170 heirloom seeds online from Botanical Interests.
Managing Pests and Disease
These veggies aren’t typically bothered by many types of pests or diseases, although there are a couple of culprits to watch out for.
First, swallowtail butterfly larvae (Papilionidae) like to feed on many members of the carrot family. The bright green, black-striped caterpillars are hard to miss.
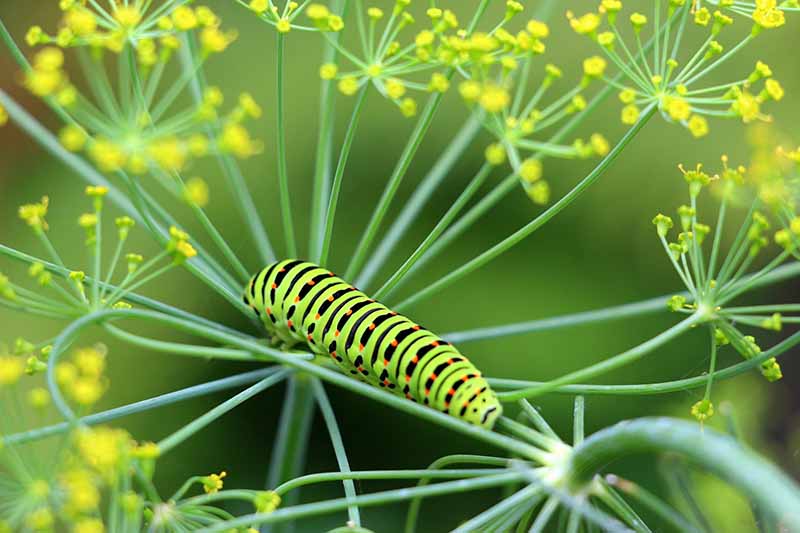
Thankfully, you don’t have to kill them – just hand pick them off the foliage and give them a new home on the other side of your yard or in a local park.
They don’t tend to do that much damage in small numbers, according to experts at the University of Illinois Extension.
Second, you’ll want to keep an eye out for the parsnip fly, Psila rosae, which is also known as the “carrot rust fly.” This worrisome, blackish-orange creature is one-quarter of an inch long.
It deposits eggs in the soil around parsnip plants, and then the small white maggots tunnel down into the root and leave behind a mushy rust.
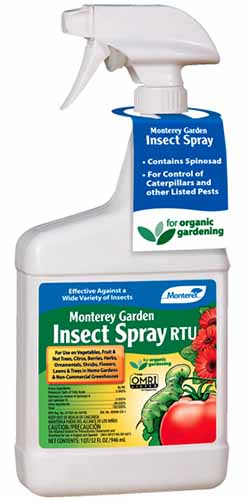
If you see flies, or notice the small maggots when you water or weed, spray the plants with this organic, ready-to-use Monterey Garden Insect Spray, available at Arbico Organics, which can help to control carrot rust fly populations.
When it comes to diseases, keep an eye out for fungal leaf blights, which tend to develop on foliage that gets wet often or stays damp for long periods of time.
As plants growing in containers are typically spaced a bit closer together than they would be in the garden, the lack of airflow can contribute to damp, humid conditions around the foliage.
Root rots are generally caused by overly wet soil with poor drainage. A copper fungicide can help keep these fungal issues under control.
You should be able to avoid most of the parsnip’s worst problems by providing ideal soil conditions at planting time, carefully watering your veggies at the soil level rather than sprinkling the foliage, and weeding as needed.
Harvesting and Preserving
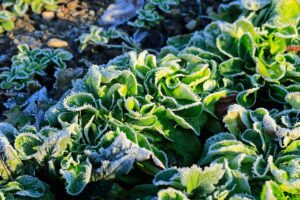
If you want your veggies to have a sweet, full flavor, wait until they have been exposed to at least one light frost before harvesting them.
Even better if you leave them in the planters for two or three frosts or a week or two of freezing temperatures: the cold causes the starch in the roots to convert to sugar for an extra delicious flavor.
They’ll be ready to harvest 95 to 115 days after germination, depending on the variety. You’ll find this information on your seed packet.
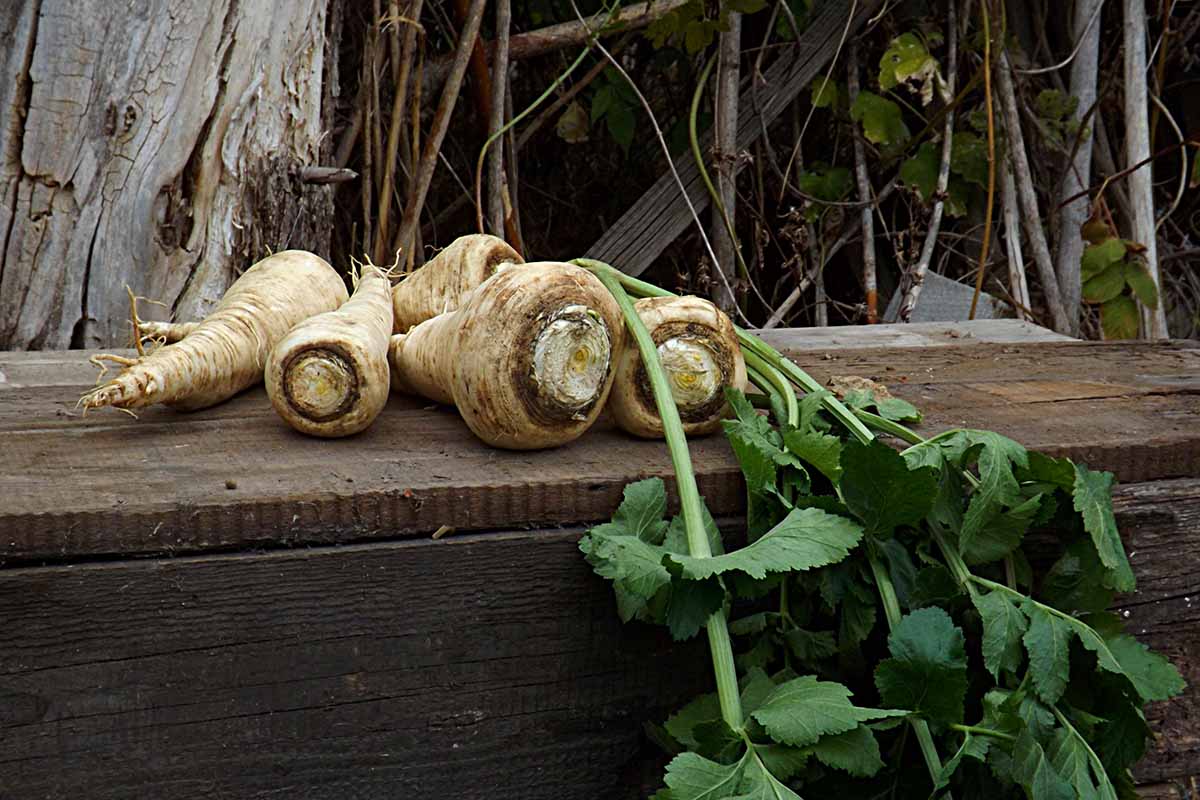
To harvest your tasty roots, put on gloves and a long-sleeved shirt to protect your skin from the sap in the foliage.
Cut off the tops, leaving an inch or two of foliage, and dispose of the leaves. Use your fingers or a garden knife to loosen the soil around each parsnip. Grasp the top of the root and gently ease it out of the soil.
Brush the dirt off each root, place them in a large plastic bag, and set it in your crisper drawer in the refrigerator where they will keep for up to three weeks.
Or, freeze the roots by peeling and cutting them into the desired shape, flash-boiling for three minutes, shocking the pieces in an ice bath so that they stop cooking, and draining them.
Then place them in a single layer on a cookie sheet and freeze them for three hours. Transfer the frozen pieces into zip-top freezer bags and store in the freezer for up to one year.
Read more about harvesting parsnips here.
Recipes and Cooking Ideas
You can eat parsnips fresh or substitute them in many recipes that feature carrots or sweet potatoes.
Or, since your container-grown harvest will likely be smaller than someone with significant acreage for their veggie crop might be able to pull in, you might like to cook a bevy of root veggies together with a few homegrown parsnips for an earthy, delicious side dish!

I love making these root veggie chips from our sister site, Foodal. They’re the perfect autumn snack.
You can even boil and mash the roots for a sweeter twist on mashed potatoes, or slice them into French fry shapes and fry them in oil for a unique spin on America’s favorite snack.
If you’re looking for a delicious soup to enjoy on a cold day, try this roasted carrot soup from Foodal, but add parsnips.
Nothing Snippy About Them
If you’ve never grown these unique root vegetables before, I hope your mouth is watering in anticipation right now.
Growing parsnips in containers saves space in the garden and allows you to provide them with the right soil conditions to produce those sweet, flavorful roots.
Have you ever grown these root vegetables before? We’d love to hear your questions and stories in the comments below.
And remember to check out these guides to growing root vegetables next: