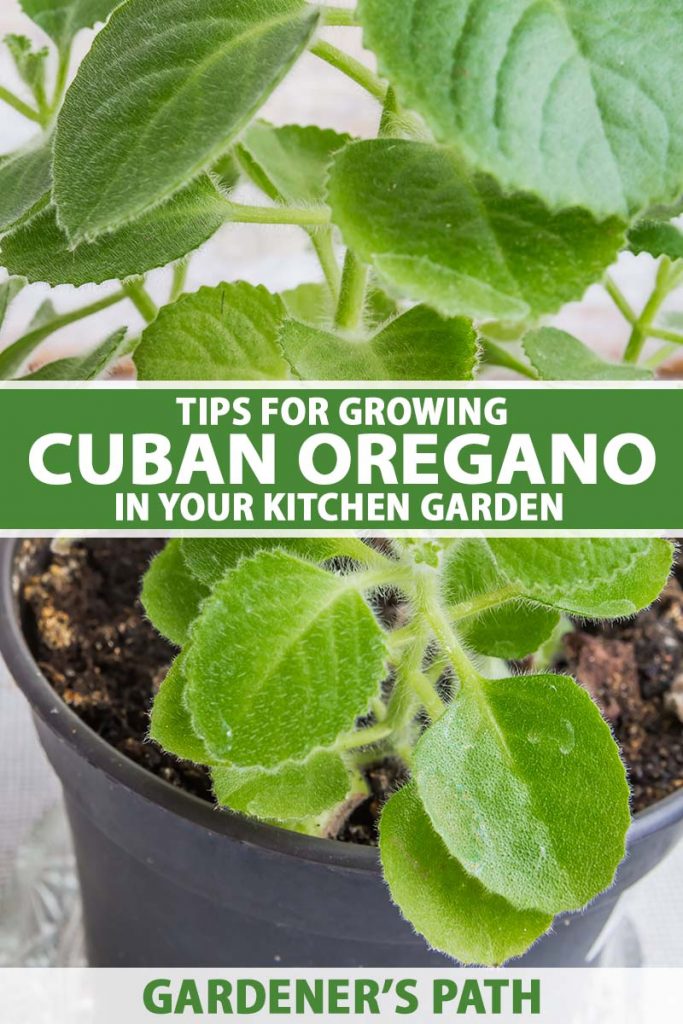
Cuban oregano is one of those special plants that adds year-round beauty to your home and flavor to your dishes.
Outdoors, it will grow as a perennial only in USDA Hardiness Zones 9-11, which makes it an ideal addition to your indoor kitchen garden if you don’t happen to live in those parts of the US.
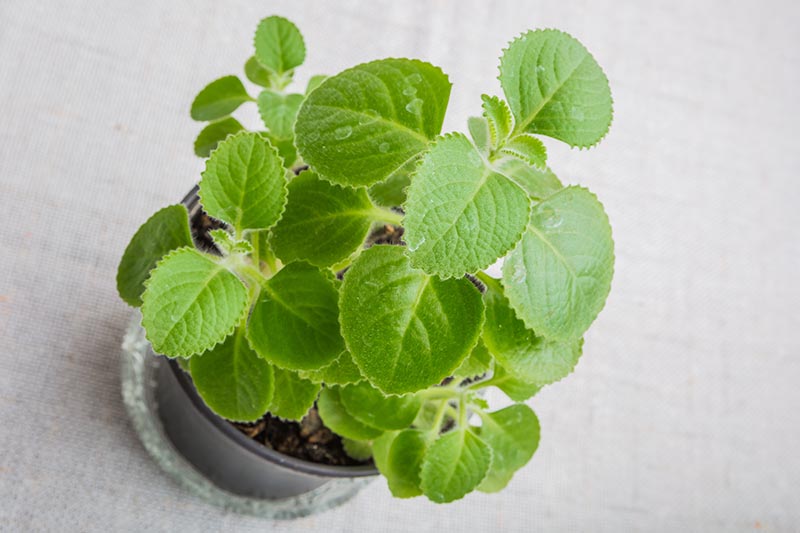
A perennial semi-succulent herb in the mint family, Lamiaceae, Cuban oregano (Coleus amboinicus) also goes by the names Mexican mint, Spanish thyme, and Indian borage, to name a few.

We link to vendors to help you find relevant products. If you buy from one of our links, we may earn a commission.
But while it’s related to true oregano (Origanum vulgare) and thyme (Thymus vulgaris), it’s actually a species of coleus.
Its strong flavor is deeply reminiscent of common oregano, though, hence the name. Except its flavor is about twice as strong.
Cooks around the world use it in everything from black bean soup to pasta sauce to pulled pork dishes.
If you’re lucky enough to live in a balmy clime, check out our complete guide to growing Cuban oregano to learn how to grow it outdoors.
Are you ready to learn how to grow this delicious herb in your kitchen garden?
Here’s what we’ll cover:
What You’ll Learn
Getting Started
Cuban oregano is thought to have originated in the “Spice Islands” in Indonesia – or in India, or perhaps somewhere on the African continent.
It has naturalized in each of the aforementioned places, and in tropical and subtropical areas across the globe.
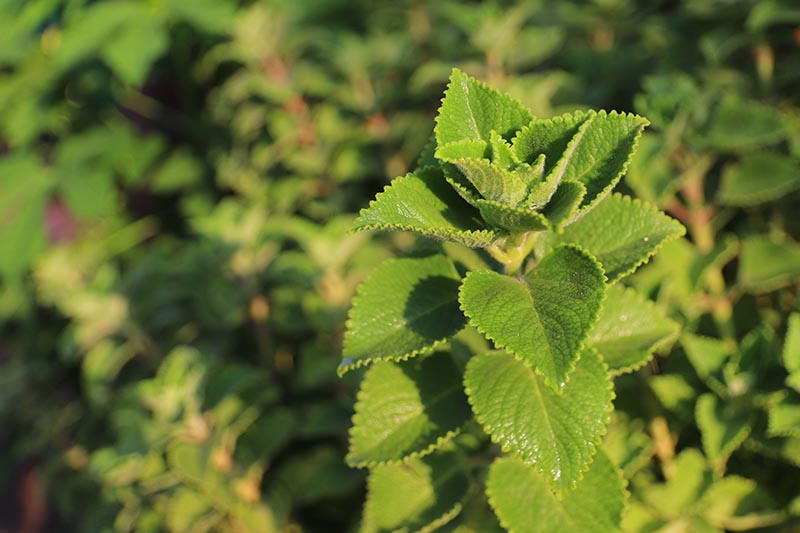
The semi-succulent grows to between one and three feet tall and spreads about two to three feet, although it might not grow as quickly indoors as it would outside.
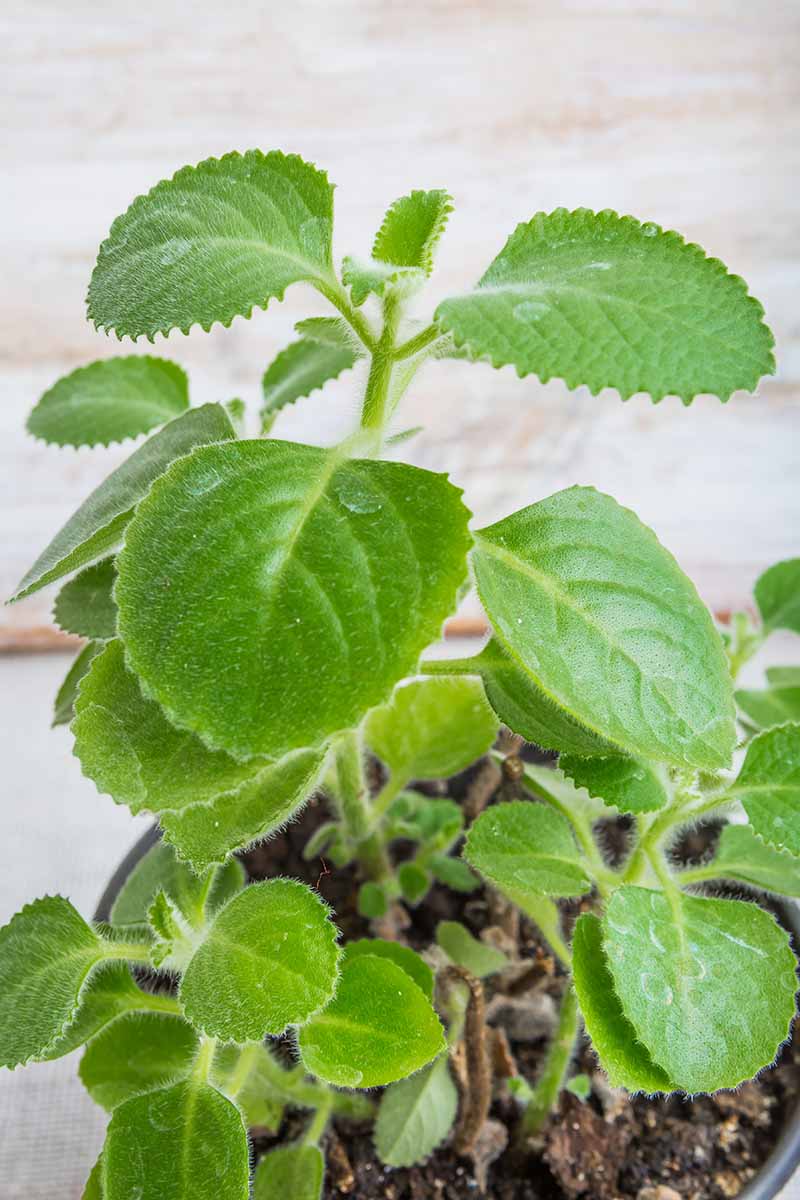
C. amboinicus thrives in low light conditions, preferring just four to six hours of sunlight a day, and tolerating less.
That’s why it’s a perfect option for your kitchen windowsill or countertop.
First, find a plant at your local nursery or you can start with a cutting from a friend’s plant that you’ve rooted.
For a small plant, choose a pot that’s at least eight to 12 inches wide and deep, with drainage holes and a dish to catch excess water.
Fill it with an organically rich, well-draining potting mix. A cactus and succulent mix is a great choice. Just make sure whatever potting mix you use has a pH between 6.0 and 7.5.
Make a hole in the mix that’s as deep and wide as the root ball you’re about to transplant. Gently remove the plant from its container and place it inside the waiting pot. Backfill with soil, covering the entire root ball.
If the plant is a rooted cutting, cover all the roots and two to three inches of stem, above where the roots have formed. But if you’re transplanting an established C. amboinicus from a nursery, only cover the root ball, not the stem.
Give the new transplant a deep watering, allowing the liquid to drain out of the bottom of the pot.
Find a spot in a windowsill that receives about four to six hours of indirect sunlight, or even a nook on a countertop that gets about the same amount of bright, indirect light.
Then, sit back and gaze at your beautiful new addition to your kitchen garden.
Transplanting from Outdoors
If you don’t live in Zones 9-11 and you are growing C. amboinicus outdoors as an annual, you can transplant it indoors before it dies of the cold, to keep it going through the winter months.
Fill an eight to 12-inch container that has drainage holes and a drainage dish with well-draining potting mix.
In the yard or garden, find the central stem of your Cuban oregano plant and mark a spot in the soil about six inches away from the stem. With a hand trowel, mark a circle in the soil in a six-inch-radius around the plant.
Carefully begin digging down at this six-inch mark, all the way around the circle and about six inches down, until your plant begins to come loose.
Use the trowel to lift the root ball out. It’s okay if some of the longer roots are severed – this robust plant will keep growing just fine.
Make a hole in the potting mix about the size of the root ball you’ve dug up. Place the plant in the pot, backfill with soil, and water. But don’t rush to bring it inside just yet.
Instead, leave it outdoors for a full day in its new pot. Then, begin bringing it indoors for an hour in the morning, and then two hours the next day, and so on until the plant is spending six or more hours inside.
Check the plant for insects each time you move it into the house to make sure you aren’t bringing in any unwanted pests.
This reverse hardening-off will help ensure that your C. amboinicus doesn’t receive a shock with the sudden change in its growing spot and conditions.
Caring for Your Plant
If you have kids or grandkids who want to get into indoor gardening, C. amboinicus is an ideal starter plant because it’s so easy to care for.
Plus, whether it’s grown indoors or out, its potent oils help to protect it from many pests and diseases.
Keep in mind that C. amboinicus likes the temperature to stay between 65 and 95°F, so if your window sills get extra cold in the winter at night, find a spot for your plants in a warmer area, like a countertop that receives four to six hours of indirect sunlight.
Once a week, you’ll want to slowly water your plant, until liquid runs out the bottom of the pot. Allow the top inch of soil to dry out between waterings, and you’ll have a happy plant.
In the spring and summer, which is Cuban oregano’s typical active growing season when grown outdoors, add a 5-5-5 NPK slow-release fertilizer every three to four weeks according to package instructions.
Take cuttings from the central stem whenever you feel like adding this flavorful herb to your dishes.
A good general rule of thumb is to cut about half of the main stem off, enjoying those leaves in your cooking. This will encourage bushy growth instead of tall, leggy, potentially unstable growth.
As lateral stems grow, you can cut off one-third to one-half of each stem at a time, taking care not to remove too many stem portions at once. Always leave a good two-thirds of the plant intact and let it grow unfettered for two weeks in between major cuttings.
If after a year or more you notice that the roots begin to poke out of the drainage holes in the bottom of your container, it’s time to repot into a larger container.
Choose one that’s at least two sizes larger than whatever you’re currently growing it in. Alternatively, you can trim the roots back a bit and repot the herb in the same container.
The latter option might be a better choice since a kitchen garden only has so much room. Unless you are one of those lucky people blessed with scads of counter space!
Why do you have to repot it? A very rootbound plant may not use water and nutrients as efficiently, resulting in poor health and stress.
To trim the root ball, remove the herb from its container. Over your sink or a few layers of newspaper, remove as much potting mix as you can, exposing the root ball. Using a sharp pair of pruning shears, cut away the bottom third of root tissue.
You can also trim the sides by cutting the root ball from the bottom to about one-third of the way up toward the plant.
Refill your original pot with fresh potting mix, make a hole for your newly shorn root ball, and replace it. Backfill with soil and water slowly until liquid runs out of the drainage holes.
Keep an eye out for crowded-looking roots every year or two, and repot or trim roots as necessary.
Growing Tips
- Water about once a week, allowing the top inch of soil to dry out in between
- Fertilize every 3-4 weeks in spring and summer with slow-release 5-5-5 (NPK) fertilizer
- Take cuttings from the main stem to encourage bushy growth
- Repot or trim roots every 1-2 years
Recipes and Cooking Ideas
Whenever you’re in need of some pungent, oregano-like flavor, snip a cutting from the Cuban oregano in your kitchen garden to use fresh in any recipe that calls for oregano.
Just keep in mind that since C. amboinicus has a stronger flavor than O. vulgare, you’ll want to go light on this herb, taste-testing along the way to make sure it doesn’t overpower your dish.

I love to chop up a few leaves to sprinkle over top of spaghetti dishes, like this scrumptious spaghetti bolognese recipe from our sister site, Foodal.
You can also replace the oregano in this recipe with chopped fresh or dried C. amboinicus.
Use about half the amount the recipe calls for, and then do a taste test before deciding whether to add more!
Or, try it at half strength in place of the oregano in this recipe for slow cooker beef short ribs, also from Foodal.
Move Aside, Regular Oregano
Are you growing this delicious, perennial, semi-succulent herb in your kitchen garden? If not, now’s the time to start.
We’d love to know your favorite ways to enjoy it. And if you need help getting started or caring for your C. amboinicus plant, drop us a line in the comments below!
In the meantime, check out these articles for more suggestions of herbs that will make perfect additions to your kitchen garden:


I have four clippings that I’m rooting. How many can you put in a 12-inch pot? Currently I have 2 plants in 3-inch pots.
One plant per 6-inch pot is usually best, to give them room to grow and spread their roots. You may be able to start two plants per 12-inch pot.
Hi, is this the same as Mexican oregano? I live in N. Texas and I use to grow that all year round and I LOVED IT!! This Cuban sounds wonderful too! I live way out in the country now so can I purchase this online?
thanks for all the great info!!, Cathy
Hi Cathy, This plant is sometimes referred to as Mexican mint- maybe that’s what you’re thinking of? Mexican oregano is actually a different species, Lippia graveolens. You can read more about it in our guide.
Rooted Cuban oregano cuttings are available for shipment by mail via Amazon – see the varieties to select section in this article.