When you go through as much garlic as I do, it’s wise to set aside some garden space to grow your own bulbs.
And I always plant a few extras with the sole purpose of saving and planting the cloves the following fall.
We link to vendors to help you find relevant products. If you buy from one of our links, we may earn a commission.
As you grow your garlic, you’ll discover varieties that have a flavor you adore and those that let you down a little.
You can choose to continue growing your favorites and roast up the ones that miss the mark. It’s a tough job, but somebody has to do it.
If you’ve ever grown Allium sativum before, the process is not much harder than curing the bulbs after you harvest them. If you haven’t, read our guide to growing garlic to get started!
But even if this is your first time around, it’s not difficult to save cloves for planting – we’ll walk you through all the steps.
What You’ll Learn
I bet those bulbs are just waiting to come out of the ground, so let’s dig in.
Harvesting Garlic for Future Planting
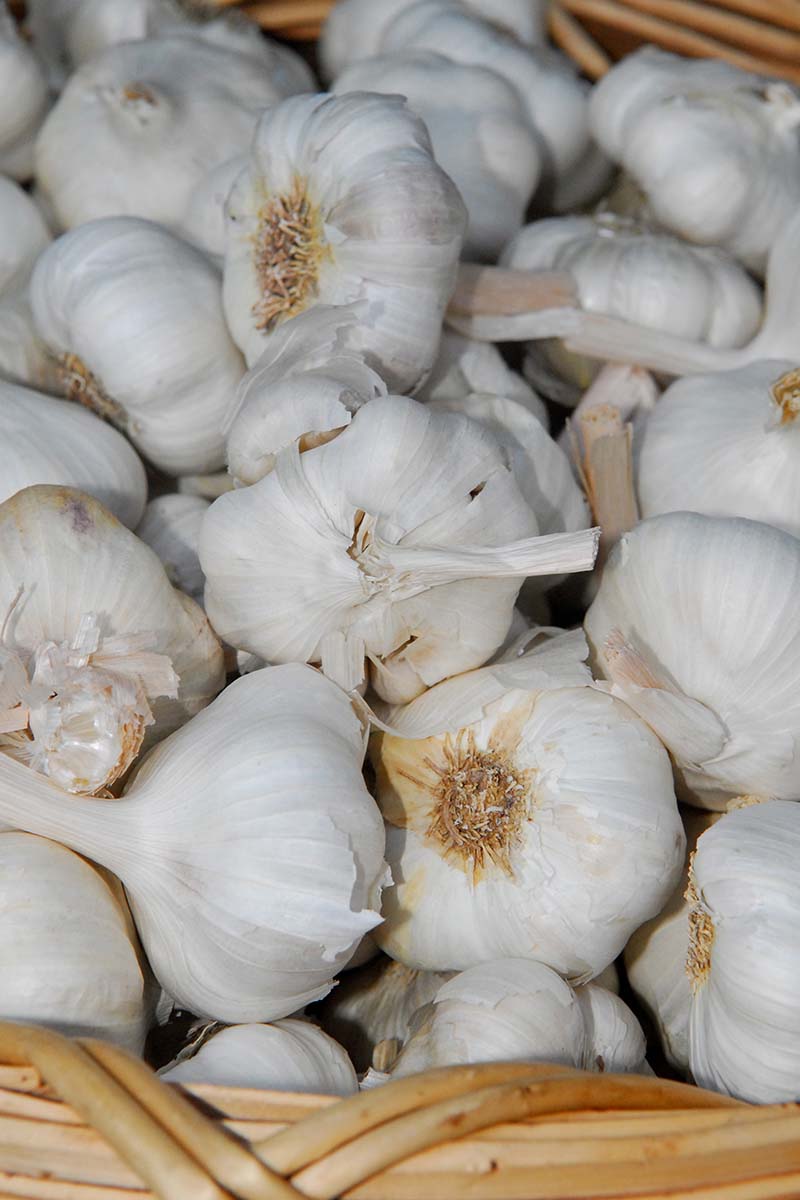
The first step to storing seed garlic is, of course, getting your hands on all those bulbs.
To harvest them, wait until they mature and dig down with a garden fork or knife.
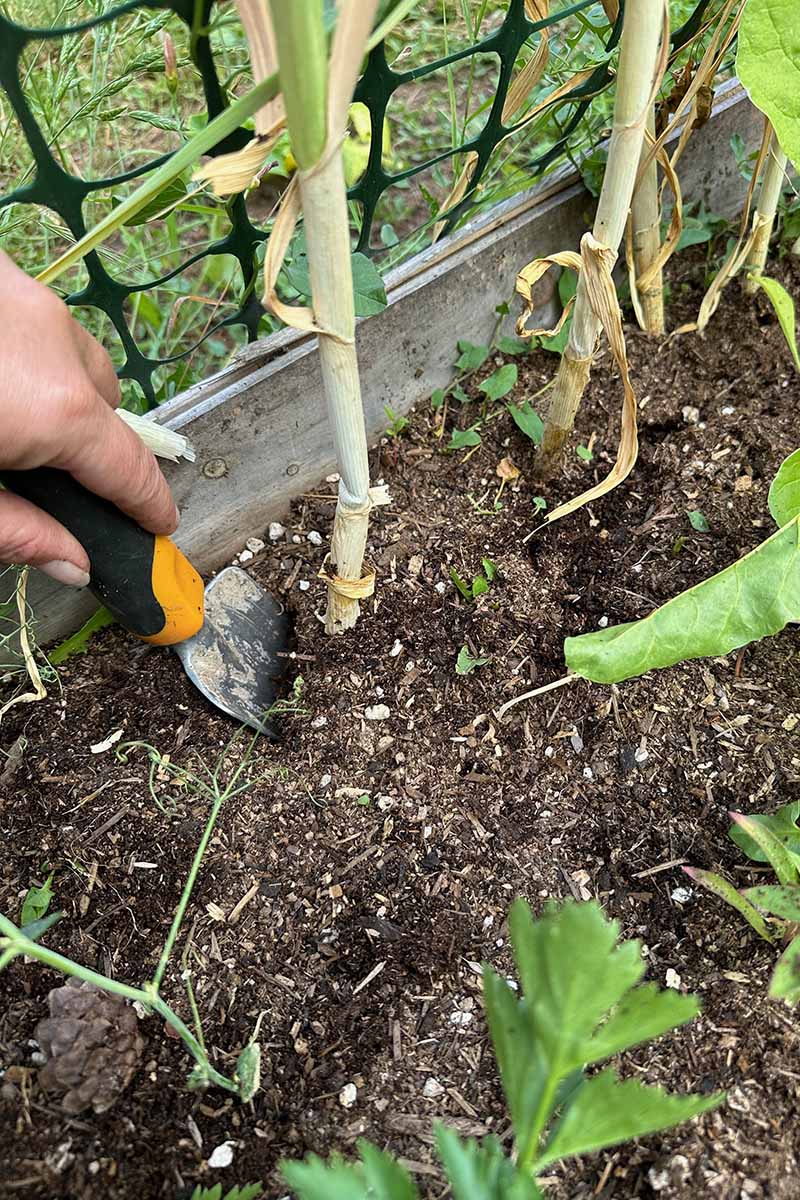
Gently leverage the bulb up and out of the ground. If this is your first time harvesting and you don’t know what to look for, visit our guide to harvesting garlic for tips.
When you’re ready, grip the greens as close to the base as possible and pull gently as you do this, while at the same time lifting with the fork or trowel from below.
Be extra careful not to puncture or bruise the bulbs. If you do happen to damage any, set those aside to be used in cooking right away.
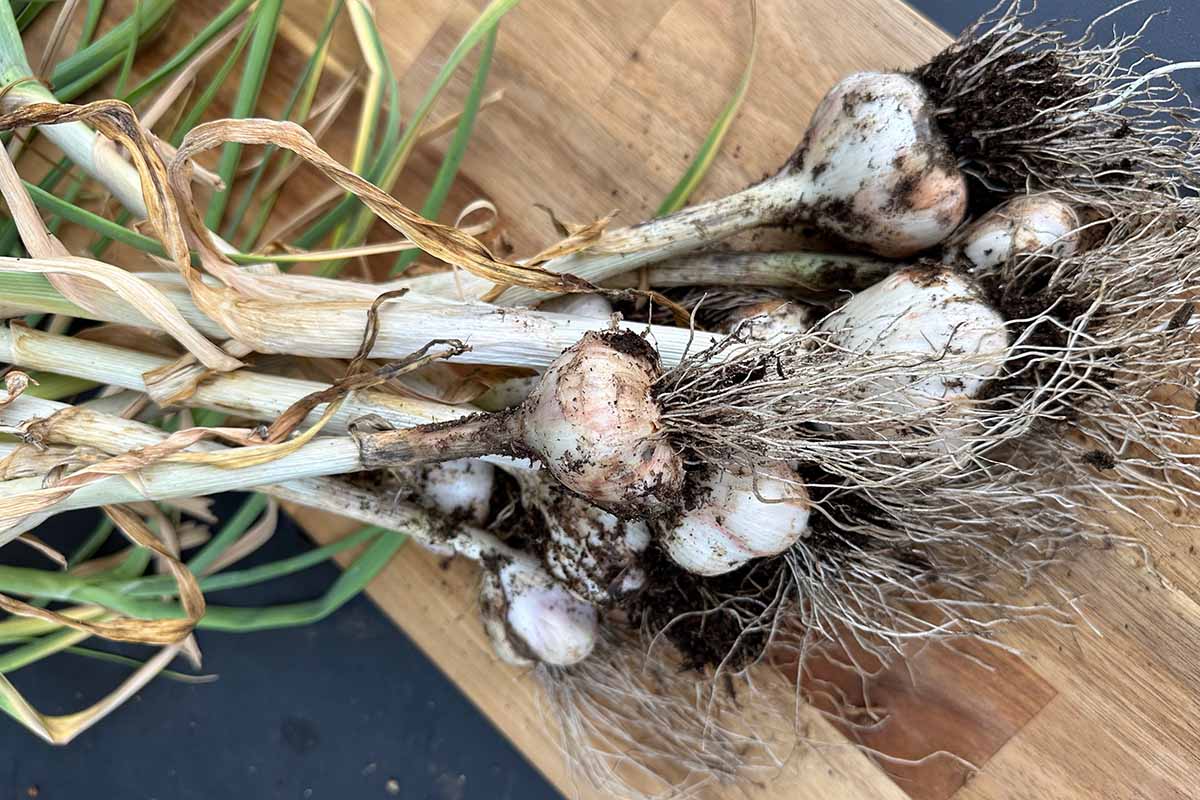
If you’re growing softneck types, you’ll need to be extra careful. The necks aren’t as sturdy as hardneck types, and if you pull too hard, you’ll separate the bulb from the greens.
Eat any that become separated right away and only store those that came out with the greens attached.

Gently brush away any loose dirt on the heads, but don’t worry if there’s some left. It will dry off and come away easily after the bulbs have cured.
Curing
Don’t even try to store the bulbs before you cure them for at least three weeks, or preferably twice that.
To cure, lay the garlic out after you harvest it for just a few days in a cool area with good air circulation.
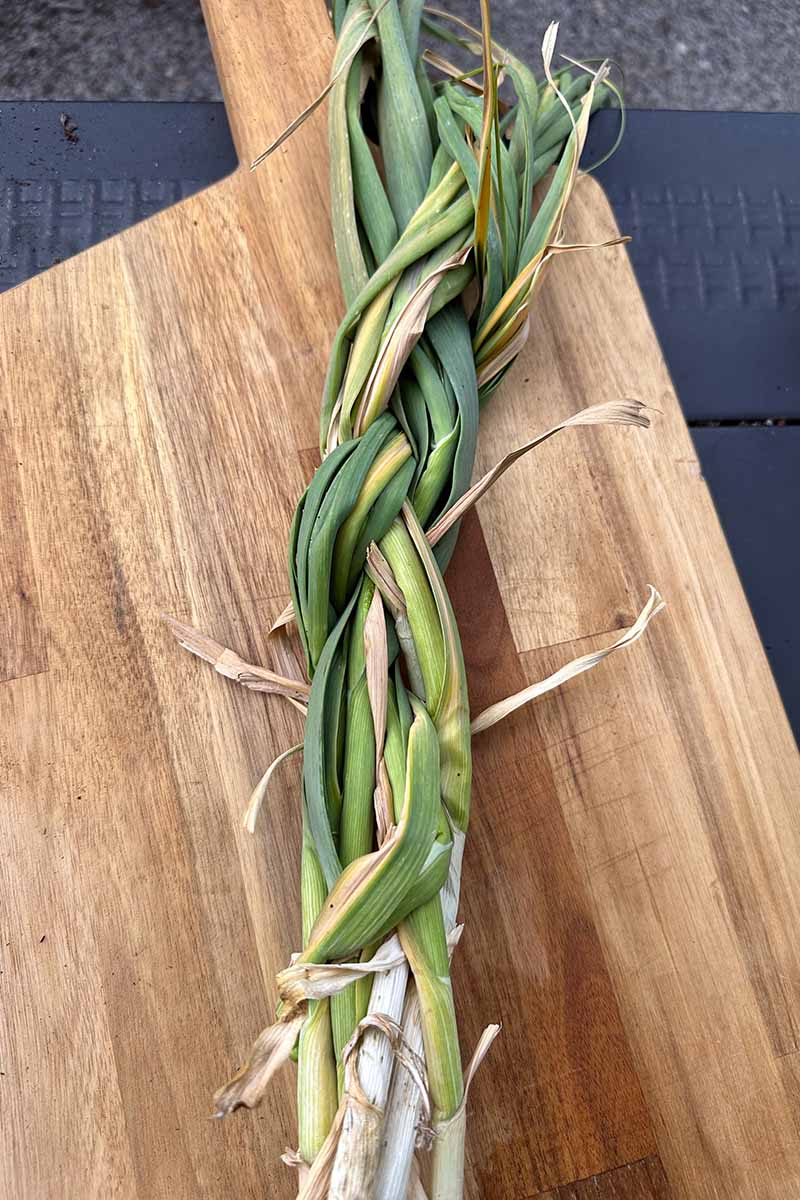
You can also hang them immediately, but I like to let them sit out for just a few days first so the greens can dry and shrink a bit before I braid them.
Trim off the roots near the base.
Take bundles of four to 10 plants and secure the leaves together. Braiding is an easy option, but you can also secure rubber bands, twine, or rope around the bundles.
Hang them in a cool, dry area out of direct sun. Let them hang there for up to six weeks until the skin is dry and wrinkled.
Once they’ve cured, cut off any roots you missed and remove the leafy tops. Brush off any remaining dirt.
Storage Conditions
Temperature plays a huge factor in how long your seed garlic will last in storage. Bulbs stored in a dry, unheated room that is about 47 to 65°F will usually last long enough to be planted.

Anything below 47°F will shorten its lifespan, and freezing will kill it.
I know that may seem counterintuitive since a garlic bulb growing in the ground can survive a freeze, but that’s because it’s emerged from dormancy and actively growing, and insulated by the soil.
Anything above 65°F and you’ll get premature sprouting.

Don’t place your seed garlic anywhere warm, like on top of a refrigerator, near a heat vent, next to a window, or in a hot kitchen. Don’t refrigerate the bulbs, as this causes sprouting as well.
If you’re curious, storage changes the ratio of isoalliin and cycloalliin, which subtly alters the flavor.
Cooler conditions have a more positive effect on the changes in the cloves over warmer conditions in that there are fewer changes in the levels of cycloalliin and an increase in isoalliin.
That’s why fresh cloves tend to be much spicier than those that have been cured and stored for a while.
While you probably aren’t eating your cloves, unless you do as I do and adopt a “one for me, one for the ground” growing policy, it’s interesting to know.
Avoid areas with relative humidity over 50 percent.
Only store the highest quality bulbs. If you spot any signs of disease or damage, don’t keep that garlic for planting.
Storage Container Options
Brown paper is the perfect storage material. If you have brown paper bags available, use those. You can also use butcher paper or cardboard.
Place a few cured bulbs in each bag or place the bulbs in cardboard boxes just a few layers deep.
You can place thick paper or cardboard between the layers, but that’s not necessary. Baskets work too, if you’re fancy.
Air circulation is the most vital part of storage after temperature, so if you have the room, place only as many bulbs together as you can while still leaving a bit of air space between them.
Avoid plastic or anything that is airtight.
How Long to Store Seed Garlic
Most bulbs will last about six months in storage. There are some varieties that can even last for nine months to a year in the right conditions.
Some of the best storers include ‘Chesnok Red,’ Creole types, ‘Georgian Crystal,’ ‘Porcelain,’ ‘Romanian Red,’ silverskin types, and ‘Thermadrone.’ All of these will last up to a year.
But really, almost any type of cured garlic, particularly hardnecks like German White or ‘Persian Star,’ will last up to six months.
Assuming you harvested in the summer and are planting in late fall, that should be plenty of time.
Note that bulbs purchased from the grocery store has been cured, but it is typically heat treated and unsuitable for planting in the garden.
When you’re ready to plant your seed stock, remove the bulbs from your bags or boxes.
Gently peel off the outer paper to separate the cloves inside each bulb, leaving their individual wrappings intact. You’re ready to get to sowing!
Keep the Goodness Going
Garlic is such an easy plant to propagate. If you can grow it, it only takes a few extra steps to save some to plant and start all over again.

You’ll be rolling in garlicky pasta, bread, and soup in no time.
Speaking of, what types are you growing, and how do you plan to use them? Share with us in the comments.
The garlic journey doesn’t end here. These plants are endlessly interesting and there are lots of ways to play with them.
Here are a few guides that might catch your interest if you’ve been bit by the allium bug:


Thanks for u’re education,
I want to know how time will be already for planting or if there is a simple way to make garlic to be already do planting.
Hi David, depending on the type of garlic, you can plant bulbs in the spring or fall. We cover this in more detail in our guide to growing garlic. We also have a guide to growing garlic bulbils, if that’s an avenue you’re interested in exploring.
I’m confused about the difference between curing the bulbs for planting and for storage for later. The process looks the same to me. What am I missing? (This is my first harvest.) Thanks
Hi Elayne, the process is the same! Either way, you’re curing the bulbs so that they’ll store well until you’re ready to plant (or eat) them.