Garlic is beloved in the kitchen as a flavor intensive in a wide range of dishes.
With a delightfully pungent taste and fantastic aroma, regular consumption of the stinking rose also has numerous health benefits.
Plus, cultivating your own is easy. And it’s wonderful to have your own supply of heritage bulbs in your winter storage cupboard.
We link to vendors to help you find relevant products. If you buy from one of our links, we may earn a commission.
But, being underground bulbs, there can be some understandable confusion about exactly when they’re ready to harvest. Without x-ray vision, you can’t tell when they’ve reached that perfect stage of plump maturity!
Dig them up too early and you have small bulbs, barely more than a clove. But wait too long, and the bulbs can split and separate in the ground.
So, how do you know when they’re ready to be dug up?
The answer is in the leaves.
That’s right. To reap your crop at the optimal time, you must become adept at reading the leaves, because the correct ratio of brown to green leaves is the best way to predict when ripe bulbs need to be lifted.
To hone your fortune-telling skills, let’s dig in and learn all about the best time to harvest garlic bulbs!
These are the topics we’ll cover:
What You’ll Learn
Know Your Varieties
Garlic, Allium sativum, belongs to the Allium genus, a large group with numerous species that include chives, leeks, onions, scallions, and shallots.
For the home garden, there are two subspecies to know about, which contain all 10 of the culinary types.
Hardneck
Hardnecks, A. sativum var. ophioscorodon – also known as ophio, stiffneck, or topneck varieties – include the Asiatic, Creole, Glazed Purple Stripe, Marble Purple Stripe, Porcelain, Purple Stripe, Rocambole, and Turban types.
These families or sub-varietal groups contain all of the different hardneck cultivars that you may find in nurseries and catalogs.
Hardnecks feature flavorful, easy-to-peel bulbs that are typically planted in the fall in regions with cold winters. Plants develop a rigid seed stalk, or scape, and bolt in late spring to set aerial seeds called bulbils.
But for the largest bulbs, scapes should be removed before the flowers open, cutting them close to the stem base.
This redirects the last of the season’s energy into enlarging bulbs before they’re dug up.
Until recently, Asiatic, Creole, and Turban types were considered softneck subspecies. But since 2003, they’ve been reclassified as incomplete or weakly bolting hardnecks that can produce soft-stemmed scapes.
Softneck
Softnecks, A. sativum var. sativum, are non-bolting types and are best cultivated in areas with mild winters for fall planting, or they can be planted in early spring.
The two softneck types are Artichoke and Silverskin.
They lack the rigid center stem of hardnecks, and their soft foliage tends to flop as plants mature – which also makes them easier to braid for storage.
Softnecks are the type most often found in grocery stores, because they have the best storage life.
It’s helpful to know which type you’re growing, because reading the leaves is slightly different for each group.
Consider the Time of Year
Garlic plants are triggered to set bulbs by warm weather and are typically harvested in early summer, from mid-June to August, depending on your region and the varieties you are growing.

However, in areas with mild winters like the southern United States, lifting can begin as early as May.
The calendar gives a general guideline, but maturity is more dependent on location and weather conditions.
Variations in the spring emergence of shoots, summer temperatures, and moisture levels all play important roles in bulb maturation, and harvest times can vary by a week or two from year to year.
Plus, the types of varieties grown can make a difference in harvest time as well, with some taking longer to mature than others.
As a rule of thumb, Asiatic and Turban types reach maturity first, followed by Artichoke, Creole, and Rocambole varieties.
Glazed Purple, Marbled Purple, and Purple Stripes are next, with Porcelain and Silverskin cultivars being the last to ripen.
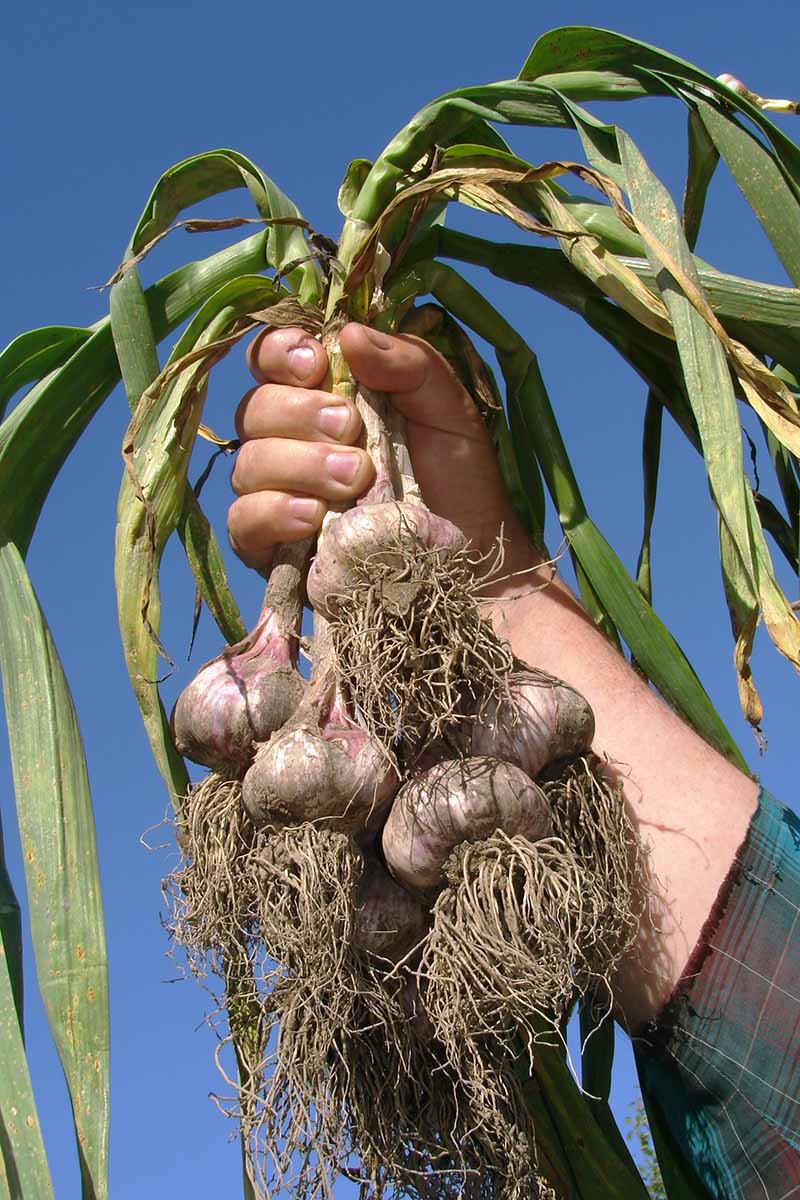
How to Read the Leaves
And now it’s time to channel your inner clairvoyant with a leaf reading…
In truth, there’s no need for a crystal ball! Knowing when to harvest garlic is as simple as watching the leaves die off, first turning yellow and then light brown.
For hardnecks, wait three to four weeks after the scapes have been removed and the brown-to-green leaf ratio is half and half, or two-thirds to one-third.
But don’t allow more than two-thirds of the leaves to yellow and brown.
This is because each leaf is a potential layer for the papery tunic that wraps around the bulb.
Well-developed, intact tunics are what retains flavor and fragrance. Plus, they provide a defense against pests and disease, retain moisture, and improve the bulb’s storage capacity by increasing shelf life.
However, as the leaves brown and die, so does the corresponding papery layer.
And if all the leaves have died, the tunic will be thin and patchy. This can prompt the cloves to split and separate, exposing them to moisture loss, pests, and a shorter storage life.
Softneck varieties have tighter, more stable wrappers that can better handle the stress of dying and drying leaves.
This means they can cope with a few more dead leaves and still retain well-formed tunics.
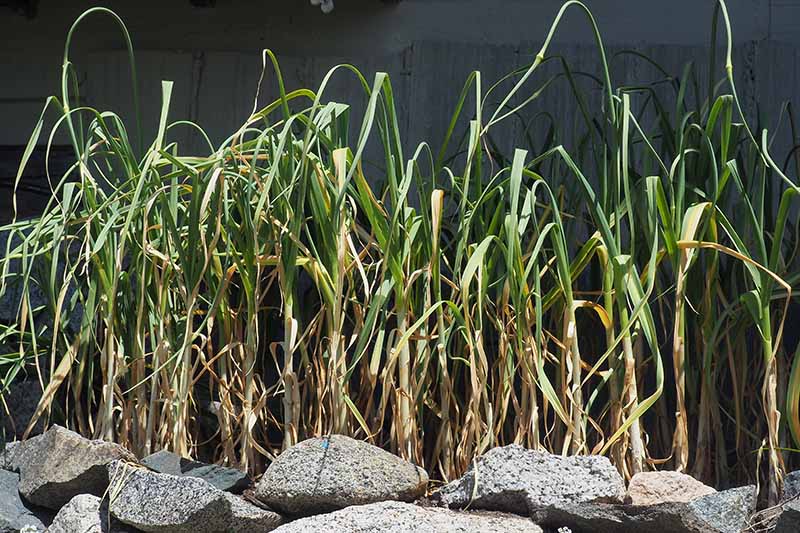
Softnecks are best dug up after the foliage has flopped, and one-half to three-quarters of the leaves have yellowed. But again, the wise grower lifts before all the foliage has died back.
Bulb Harvest Tips
Water your plants deeply and evenly until most of your crop has reached maturity, or when one-half of the lower leaves are brown and the softnecks have flopped.
As you approach the right mix of green and brown leaves, stop watering about one week prior to lifting bulbs. This starts the curing process in the ground, which helps to prevent rot.
And it’s also easier to lift bulbs when the soil is dry and crumbly rather than heavy and wet.
To lift, loosen the soil around and under the roots with a garden fork or hand trowel.
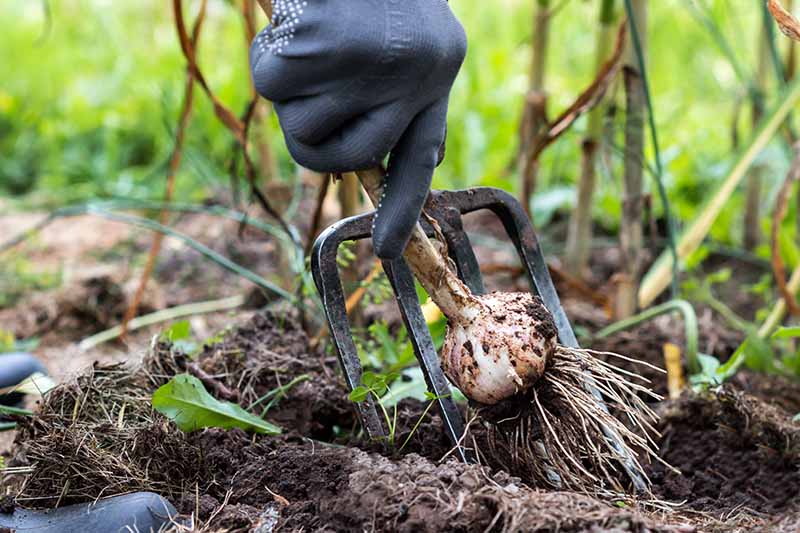
Provide up to six inches of ease out space from the plant stem, and take care to avoid damaging the bulbs or tunics. Any bruises, cuts, or nicks can have a negative impact on the longevity of your harvest.
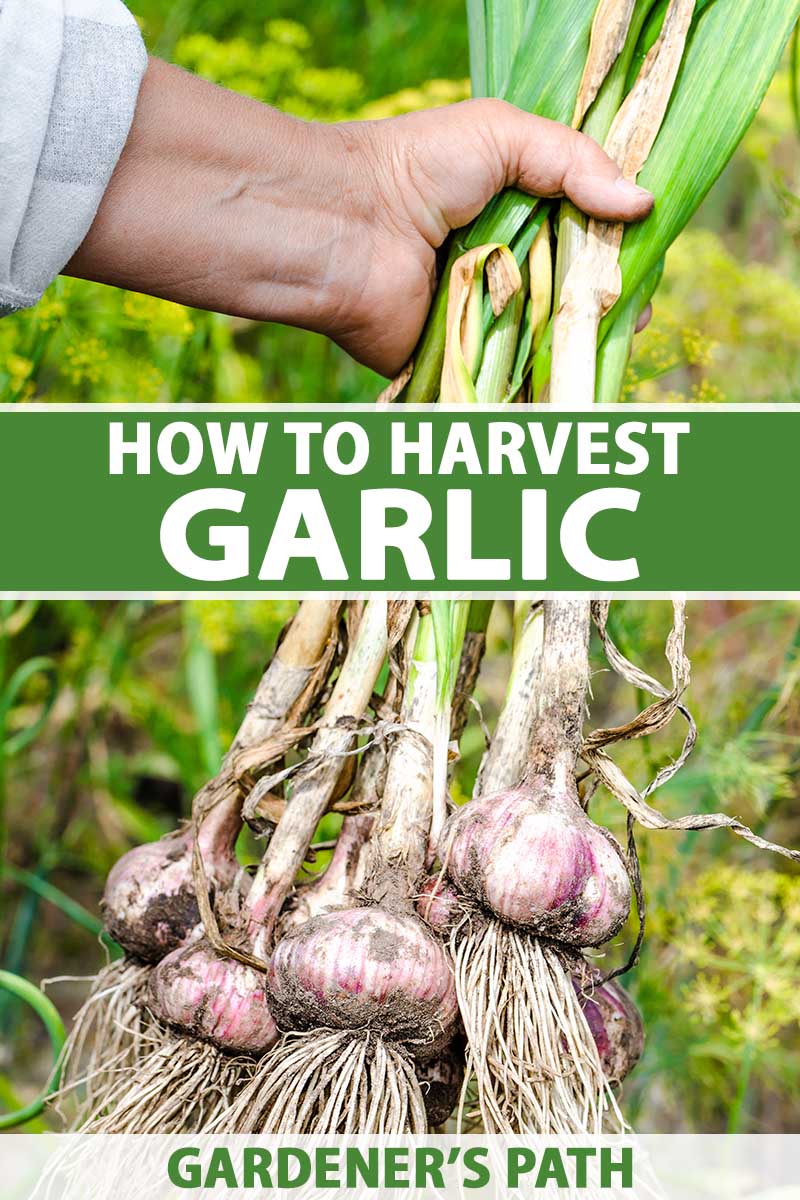
After loosening the soil, lightly grasp the neck of each plant close to the bulb, and gently work it out of the soil.
Avoid pulling hard on the leaves if the bulbs are resistant. Instead, work your fingers under the base of the bulb and lift firmly but gently to release the roots.
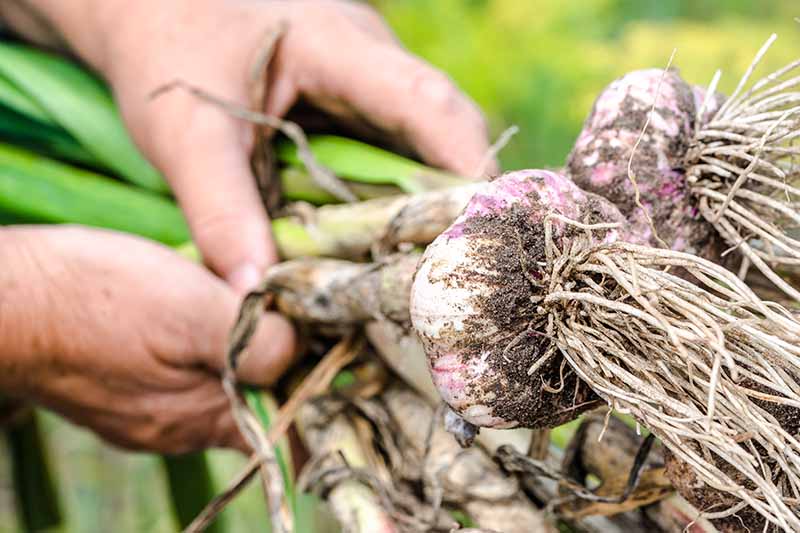
Lightly brush off any soil, but leave the papery tunics intact. Any soil that sticks to the outer tunic will dry and can easily be removed after curing.
Clip the roots close to the base of the bulbs to prepare for curing and storage.
Do not wash the bulbs. This can trap moisture inside the tunic, which can lead to fungal infections or rot.
Now is also a good time to identify and separate the best-looking, healthiest, and largest bulbs.
These are the ones best suited to use as seed stock for next year’s crop, because they’re most likely to produce a harvest with similar qualities – large, healthy bulbs.
After curing, use smaller ones for cooking, but set aside the biggest and best to keep for future propagation in the garden.
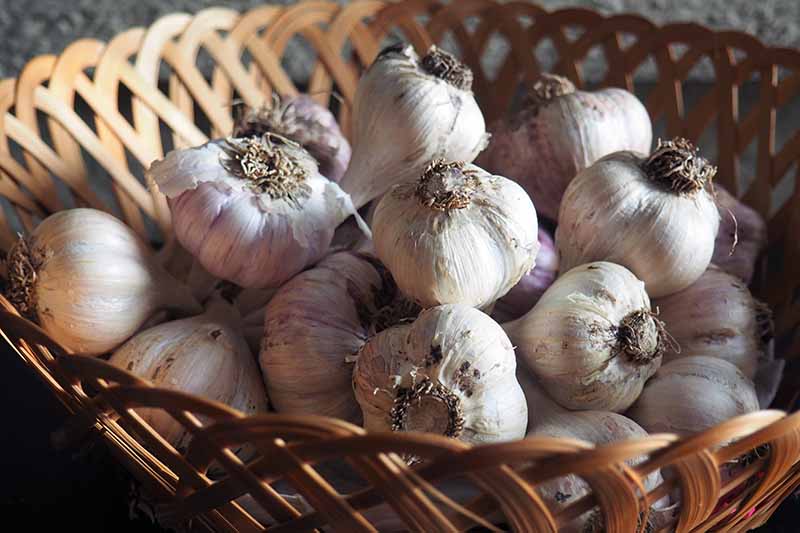
Curing and Storing
After the harvest, garlic needs a curing period before going into storage. Curing draws out excess moisture, and also helps flavors to settle and mature.
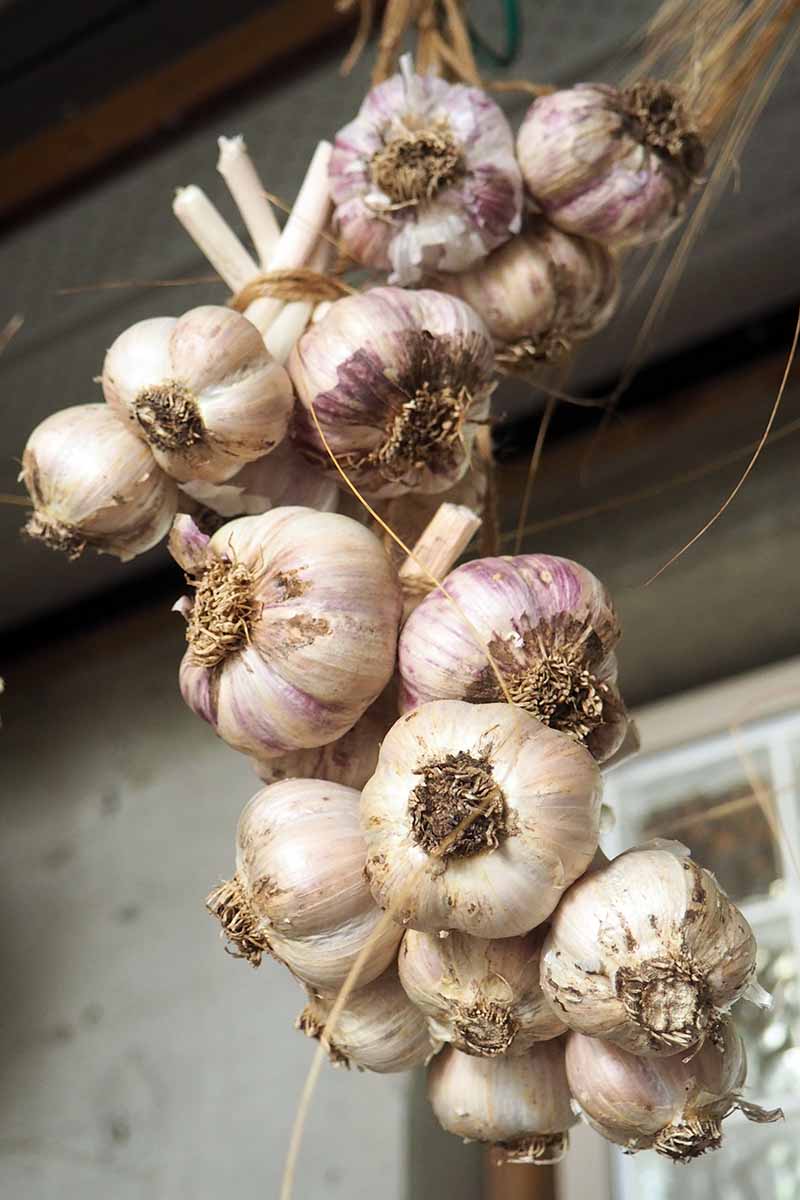
Softneck varieties store for six to eight months, and hardnecks for three to five months, at temperatures of 55 to 60°F in a cool, dark, and dry environment.
Hardnecks can last for up to seven months when stored at temperatures a few degrees above freezing.
But you’ll need a naturally cold spot in an unheated garage or shed, not in a refrigerator, which has too much humidity for proper storage.
For detailed instructions on these steps, check our guide on how to cure and store garlic.
Harvesting Scapes
As the growing season starts to wind down, scapes appear on hardneck varieties, usually in early to mid-June.
These are flower stems that can be straight or curled, with clusters of pink to purple blossoms at the tip that will form aerial seeds or bulbils.
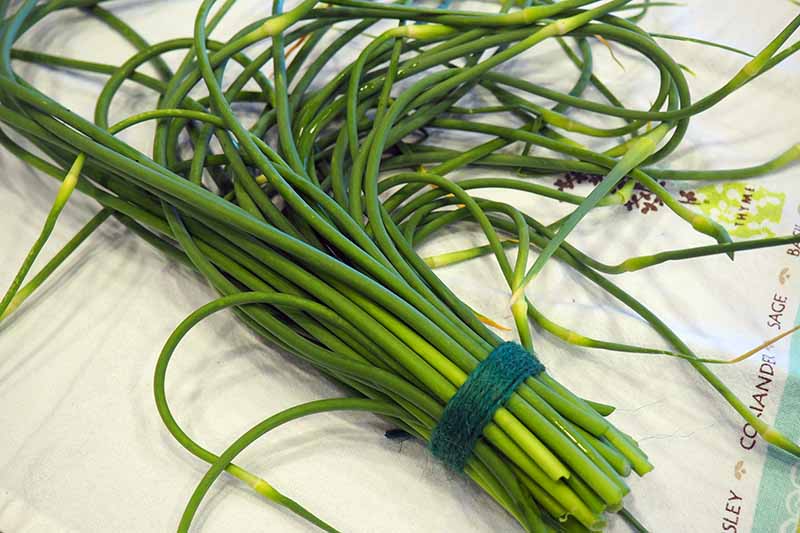
To remove scapes, wait until the seed stalk shoots above the leaves and curls or spirals. Cut the center stalk as low as possible without removing any leaves. Repeat for a couple of weeks until all plants are scape-free.
But don’t dispose of your scapes! They’re quite delicious to eat, with a light, green flavor and a texture similar to young asparagus.
For a side dish, blanch for one minute, pat dry, then lightly saute in olive oil and season with salt and pepper – magnificent!
Or give them a try in this unique garlic scape pesto – it’s wonderful with pasta, and you can find the easy recipe at our sister site, Foodal.
Find our complete guide to growing and harvesting scapes here.
Harvesting Spring Garlic
Immature bulbs – also known as baby, green, or spring garlic – are lifted early for their zesty leaves, which have sharp, scallion-like flavors.
The small bulbs are also used in cooking and have the same sharp flavor, but at this early stage, they’re only the size of a single clove.
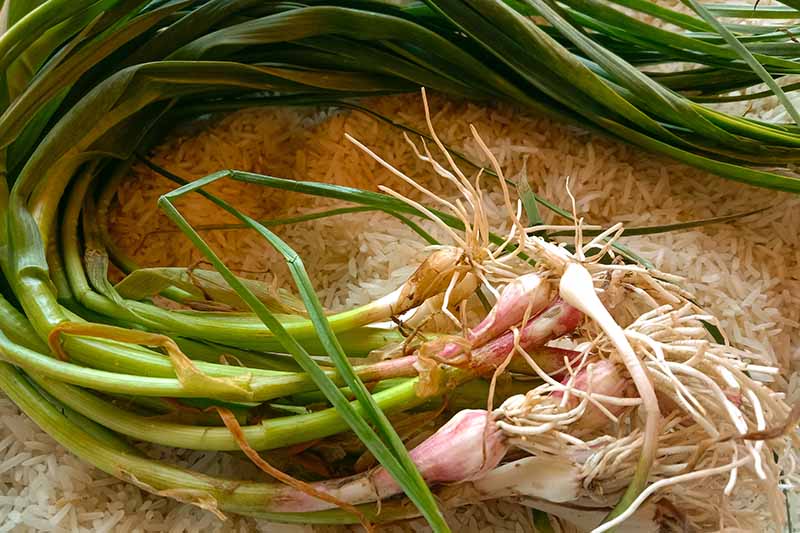
For an early spring green harvest, plant fall-sown bulbs much closer, one to two inches apart.
To harvest, thin the plants in early spring while the foliage is still green, tender, and flavorful, and when the bulb hasn’t yet divided into cloves. Lift the entire plant, including the immature bulb.
Trim away the roots before using in the kitchen. No curing is required, but note that these won’t store well for long periods.
Leave the remaining crop in the ground to mature until summer.
Reap the Rewards
Now that you’ve learned how to read leaves and can spot the best time to harvest garlic bulbs, will you be planting some in your garden this year?
A must-have for the kitchen, a winter stash of your own sweetly pungent bulbs for cooking, plus seed stock for next year’s crop, is also highly satisfying and rewarding.
Remember to remove hardneck scapes about a month before lifting, wait for the softnecks to flop, then watch the leaves to pick the perfect time to dig for fully mature bulbs – and reap the rewards!
Have you brought in a bountiful garlic harvest? What tips do you have to share? Please reach out to us in the comments section below.
And for more garlic-growing knowledge, be sure to read these guides next: