
Summer’s end can bring a twinge of sadness.
But it’s also when we get to reap the fruits of our gardening labor – a task guaranteed to chase away the blues!
And part of the reaping process is choosing how you’re going to preserve your harvest.
Like with garlic. After you’ve dug up your crop of tangy bulbs, anything that you’re not going to use right away should go into long-term storage.

We link to vendors to help you find relevant products. If you buy from one of our links, we may earn a commission.
But you can’t tuck them away for winter just yet.
First, they need to cure. That’s when excess moisture is removed to improve the bulb’s shelf life. At the same time, flavors calm down and mellow, making them more palatable.
Then, how you store it depends a good deal on how you want to use it.
Along with the rustic method of hanging braids from a rafter, there are several other tasty ways to preserve your crop – like dehydrating, freezing, and even pickling!
Plus, you might want to set some aside for planting next season as well.
So, hang around, and I’ll tell you all about how to cure and store garlic from the garden. Here’s what’s ahead:
How to Cure and Store Homegrown Garlic
Curing
Freshly dug bulbs can be used right away, but the odor and flavor of these is going to be powerfully pungent.
You’ve been warned!
Curing is the process that takes place immediately after harvest.
The purpose is to remove excess moisture for an extended storage life. And flavors improve during this time as well, blending and softening.
This makes them more palatable, both cooked and raw.
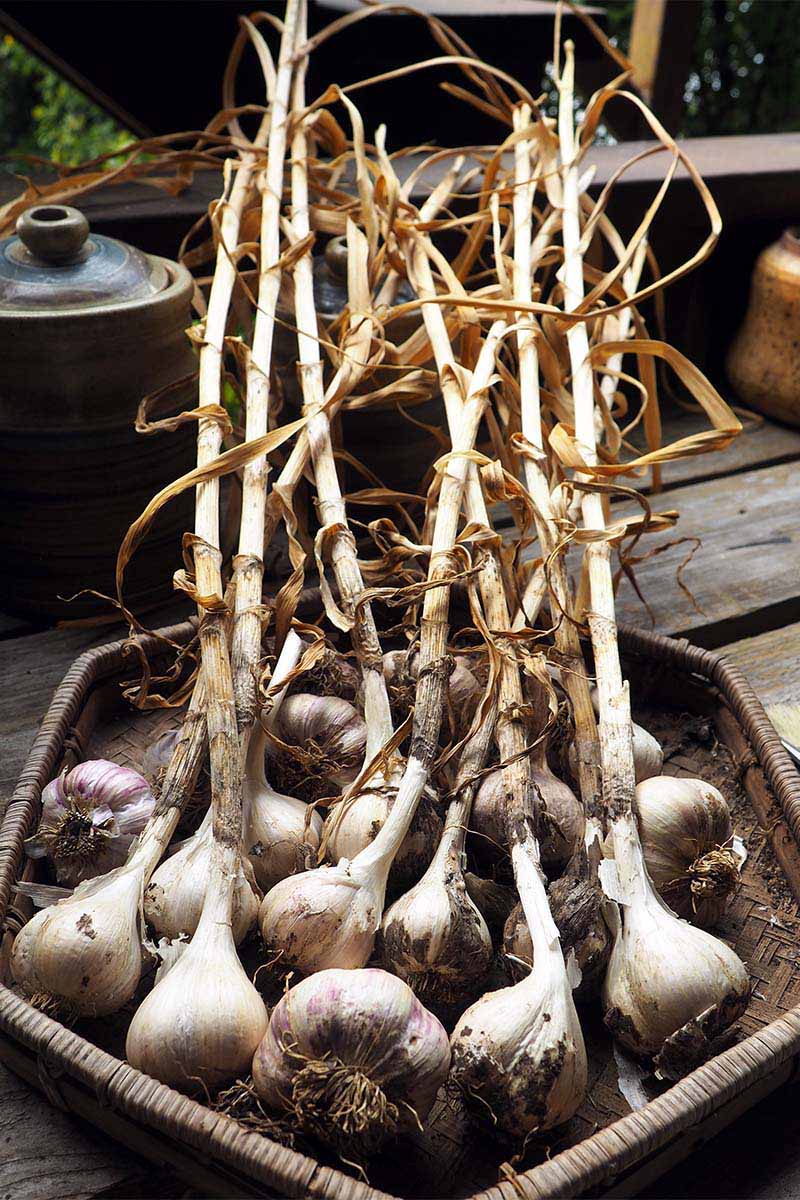
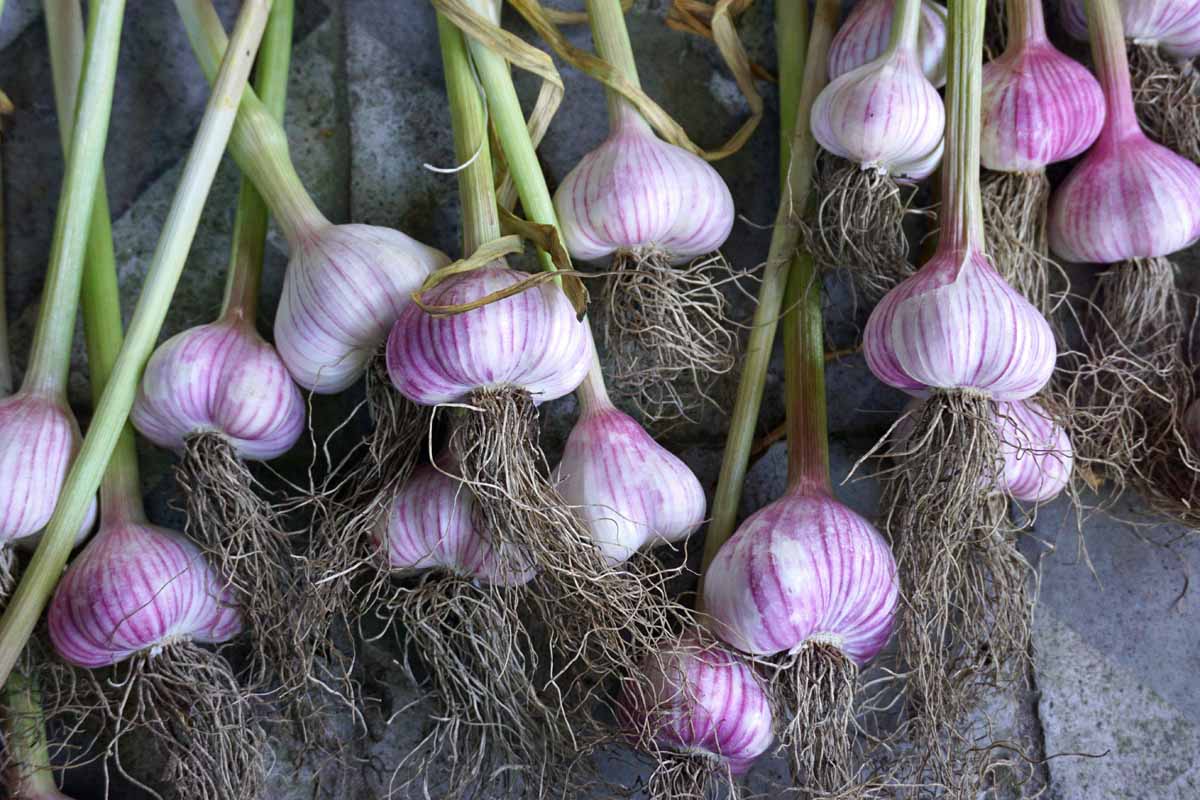
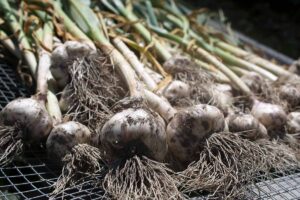
To cure, layer plants on a tray or screen, keeping the leaves, roots, and stalk intact to concentrate their energies into the drying bulb.
Place the tray in a dry, warm location out of direction sunlight and with good air circulation.
Turn the bulbs once a day for three to six weeks, depending on how much moisture is present in the plant tissue.
Once all the green leaves have turned completely brown and the stems are no longer pliant, the bulbs may be considered cured, and ready for storage.
Well, just about ready. Let’s see what’s next…
Cleaning and Prepping the Bulbs
After curing, the bulbs need to be cleaned and trimmed before stowing them away.
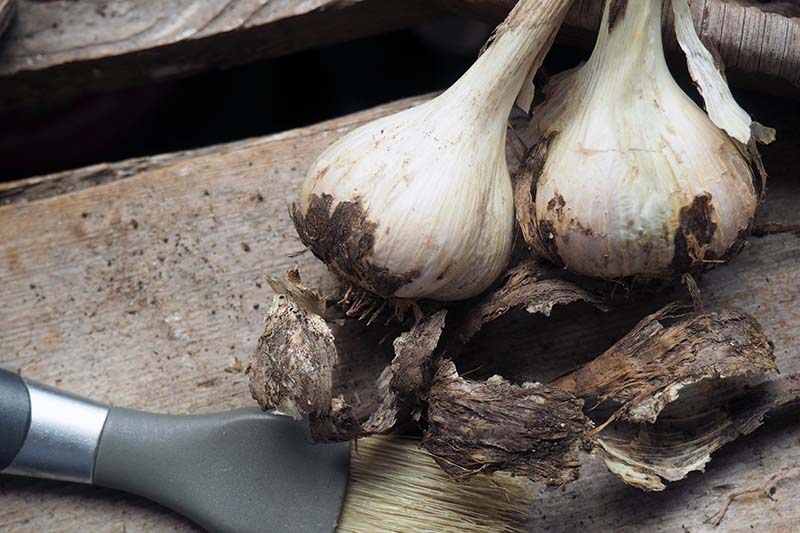
With garden snips or scissors, trim the roots close to the end of each bulb.
Using a small soft-bristled brush, gently wipe away any remaining soil.
Remove any loose tunic material and set aside any thin-skinned or damaged bulbs. These won’t last as well over the long-term and should be brought into the kitchen to be used first.
For hardnecks, trim the stem to three to six inches in length from the top of the head.
Leaving some of the stem attached helps to wick away any remaining moisture, and also makes cracking open the bulb easier. Plus, you need some stem for bundling if you want to hang them. I’ll go into that in a little more detail later, so keep reading!
Softneck stems can be trimmed as well, if you don’t plan to braid or bundle them for hanging.
If you do plan to braid softnecks for storage, this should be done before curing. (See the section on Bundling or Braiding and Hanging below.)
Also, if you’re happy with the results of the variety you grew, it’s a great idea to set some aside for planting.
Choose the largest, plumpest, and best-looking bulbs for seed stock – they’ll pass their genes on to the next generation for bigger, better bulbs. I’ll explain this in a bit more detail later in the article as well.
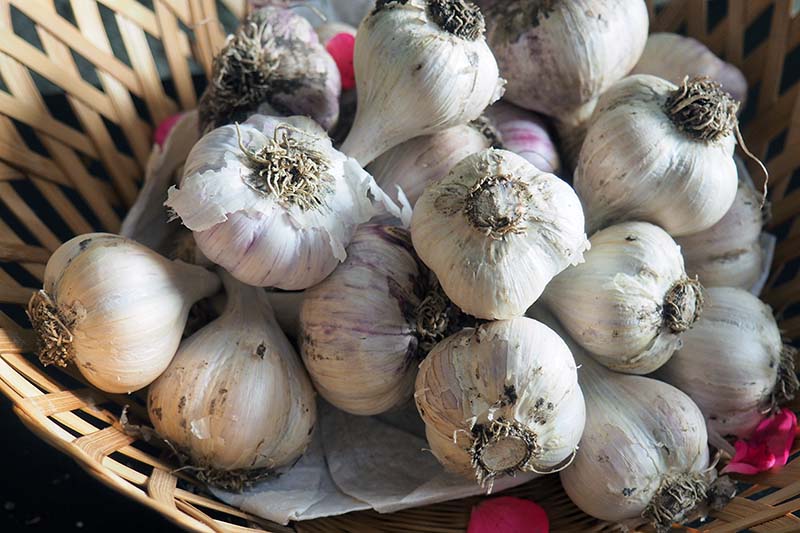
Best Storage Conditions
The ideal storage environment is a location that’s between 55 and 60°F, dark, dry, and with good air circulation.
Bulbs should not be kept in the refrigerator. The combination of light and moisture doesn’t make a suitable environment and can cause them to become moldy or sprout.
Cured bulbs can be kept in an open wicker or wire basket, horticultural boxes, egg cartons, netting, or an open paper bag – or you may use one of the following storage methods.
And don’t store damaged bulbs. They spoil easily, so use them up first, or toss them on the compost pile.
If you have a surplus, use the good cloves from damaged bulbs for dehydrating, freezing, or pickles.
Dehydrating for Powder and Salts
Dehydration provides the longest shelf life.
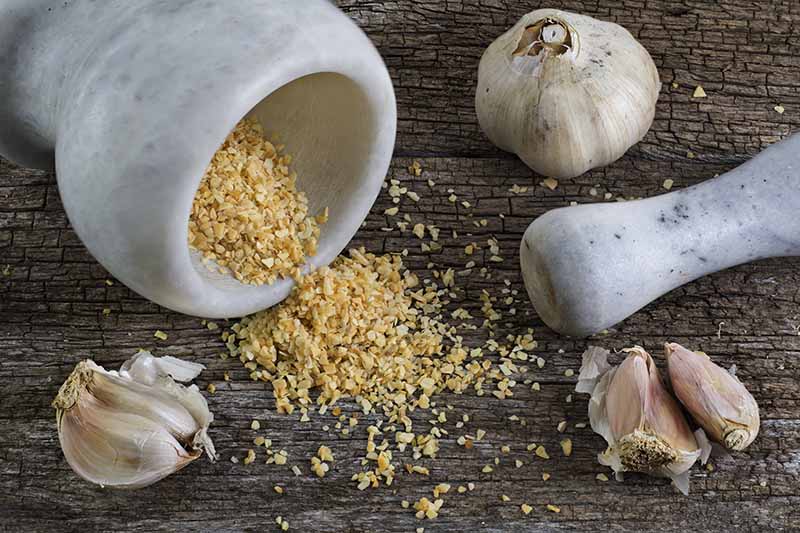
Halved pieces can be stowed as is, or finely ground for garlic powder and flavoring salt.
Dried pieces, powder, and flavored salts may be used in a variety of flavoring ingredients and dishes such as dry rubs, casseroles, dressings, marinades, grilled meats, roasted veggies, one-pot meals, sauces, soups, and stews.
Here’s what to do:
- Peel cloves and cut in half lengthwise, then layer on drying trays cut side up.
- Dry at 140°F for the first two hours, then turn the pieces and finish at 130°F until completely dry. The texture will be crisp when the halves are dry.
- Remove from trays and allow to cool completely on wire racks before packaging.
- Pack in glass containers with a tight-fitting lid and keep in a cool, dry cupboard.
Time-Saving Tip: Use a Food Dehydrator for Preserving Bumper Crops
If you constantly find yourself with a bumper crop, a dehydrator is a smart, economical way to preserve berries, fruit, herbs, and vegetables.
For more details, check out the best food dehydrators on the market today at our sister site, Foodal.
Use a mortar and pestle to grind small amounts for powder.
If you are processing a lot of cloves, a spice mill or small coffee grinder makes quick work of an otherwise tedious process.
Check out this guide to affordably priced blade grinders at our sister site, Foodal – they’re actually coffee grinders, but do the exact same job as higher-priced spice mills!
This is a handy gadget to have if you like to dry a lot of herbs and alliums.
You can quickly make garlic salt from the powder as well. Just add four parts sea salt to one part powder and stir to blend thoroughly.
Keep dehydrated pieces, powder, and flavored salts in airtight containers in a cool, dry cupboard out of direct light for up to four years.
Find more tips on drying herbs here.
Freezing
Freezing is another viable option for storing surplus cloves.
The color and texture can change once frozen, but they still add plenty of flavor to dishes such as casseroles, dressings, sauces, stews, and soups.
Here are three ways to freeze garlic:
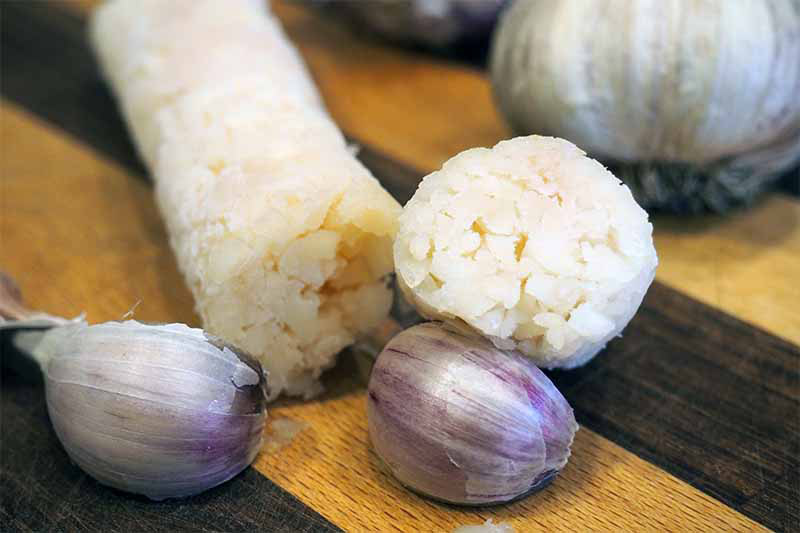
- Peel and chop cloves. Place the minced garlic in the bottom of a freezer bag, and roll it tightly into a log before sealing the bag. Freeze until solid then break off, chop, or grate as much as you need.
- Freeze whole bulbs with the paper tunics intact and pack into freezer bags or containers. Remove individual cloves as needed.
- Peel and blend cloves in a food processor with a small amount of olive oil, about one part garlic to one part oil. Freeze in ice cube trays, then transfer to airtight freezer bags or containers for storage. Remove individual cubes as needed.
Your garlic should store for up to 12 months in the freezer.
Making Flavored Oils
If this is what you aim to do, proceed with caution!
According to Linda J. Harris, a specialist in microbial food safety at the Cooperative Extension at UC Davis, extreme caution should be exercised when storing fresh garlic in oil.
Peeled cloves can be placed in oil and safely frozen for several months. (See the Freezing section above for details.)
But in the refrigerator, whole or chopped cloves stored in oil should be discarded after four days to prevent the formation of toxins. And oils left sitting at room temperature should be discarded after two hours.
Garlic is considered a low-acid vegetable, with a pH that ranges from 5.3 to 6.3. And in oil, it has the right conditions (low acid and lack of oxygen) to support the growth of Clostridium botulinum – the bacteria that cause botulism.
To be safe, label your oil blends with both the preparation date and a discard date as well. When in doubt, throw it out!
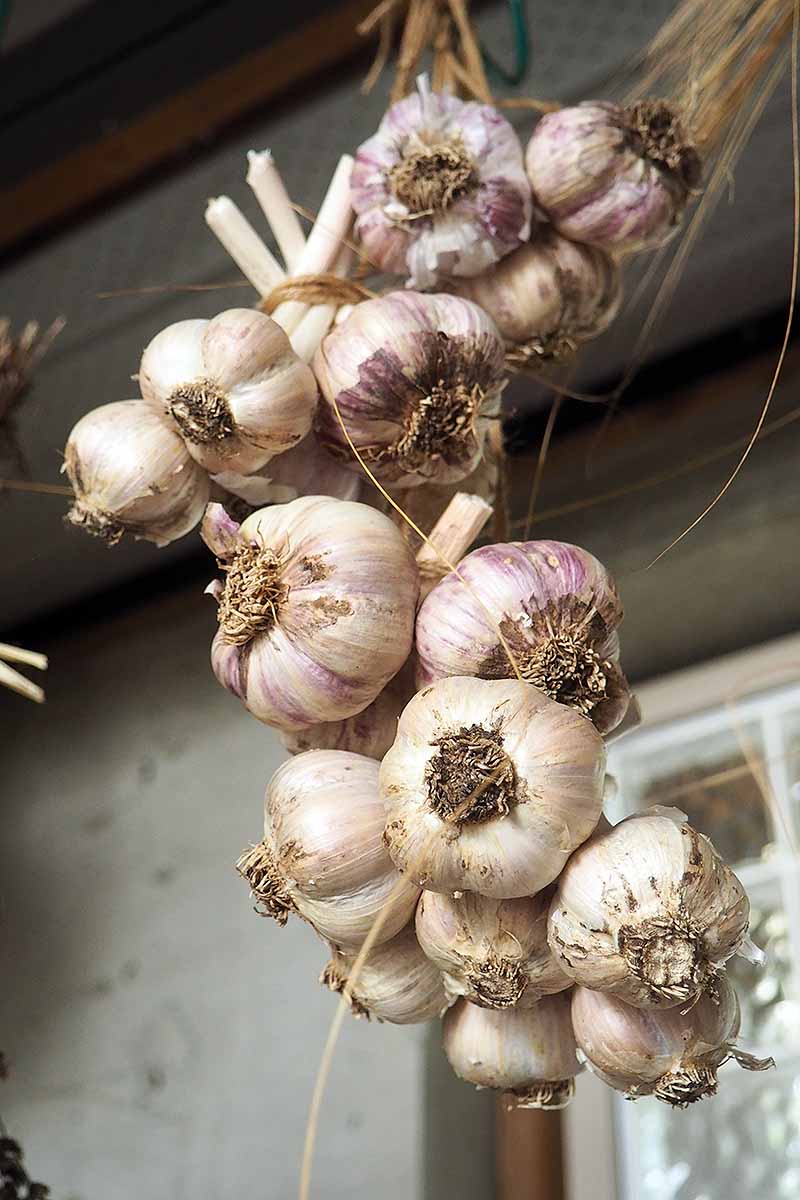
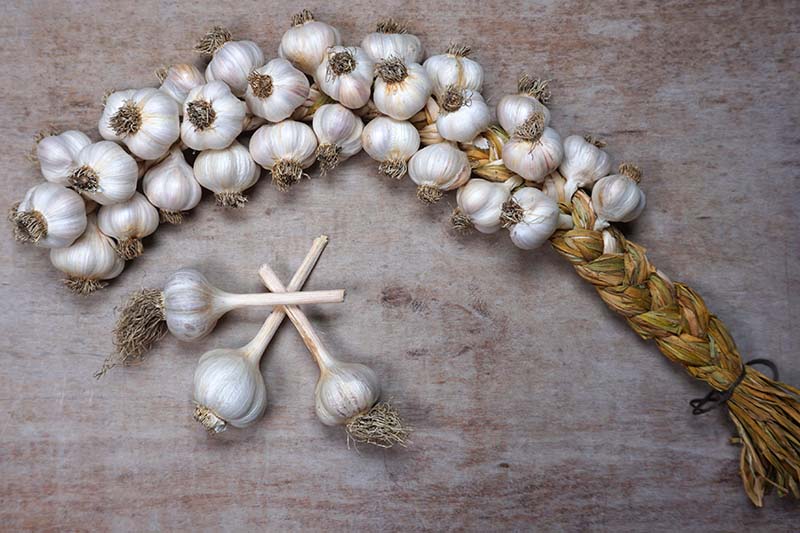
Bundling or Braiding and Hanging
Easy and effective, hanging from hooks or rafters provides maximum air circulation to the entire bulb, keeping them dry and dormant.
Hardneck bulbs can be tied into bundles of six to 12, while tresses of softnecks are typically braided for hanging.

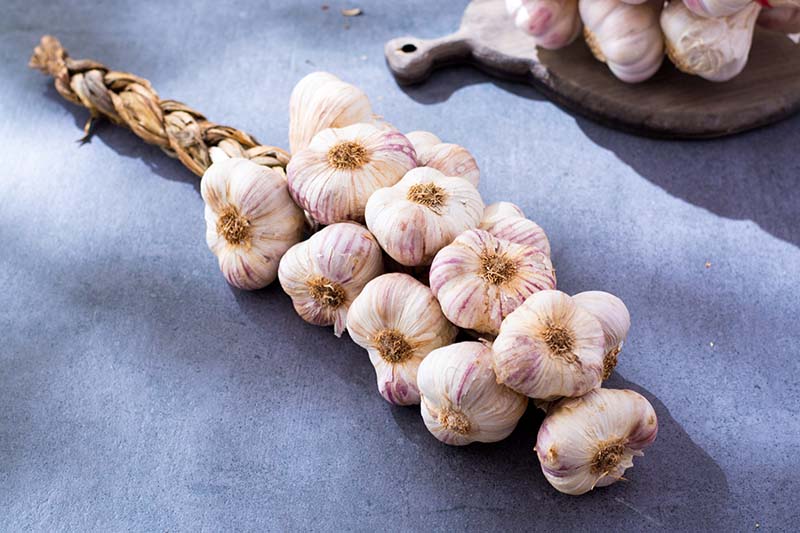
To plait or braid softnecks, it’s best to work with them right after harvest and before curing. The leaves will still be partially green, which makes braiding much easier.
- Tie three bulbs together where the bulbs meet the stem with a short piece of twine, and arrange them on a clean work surface with the stems facing down.
- You’ll have three plant stems – left, center, and right.
- Now add a fourth bulb to the middle, laying its stem beside or on top of the center stem.
- Cross the rightmost stem over the two center stems, just like you would for a regular braid.
- Add another bulb in the middle, again laying the stem down the center.
- Cross over the two center stems with the left stem.
- Keep adding another bulb to the center and repeat each crossover until finished.
- When you have finished adding bulbs, braid the remaining stems to the end.
- Trim and tie off the loose tips into a loop for hanging.
Hang your braided garlic in a cool, dry location with good air circulation.
Pickling in Brine, Vinegar, or Wine
Pickling is another tasty option that mellows out the flavor. And the resulting mild, nutty taste is welcome on antipasto and charcuterie platters or in salads.
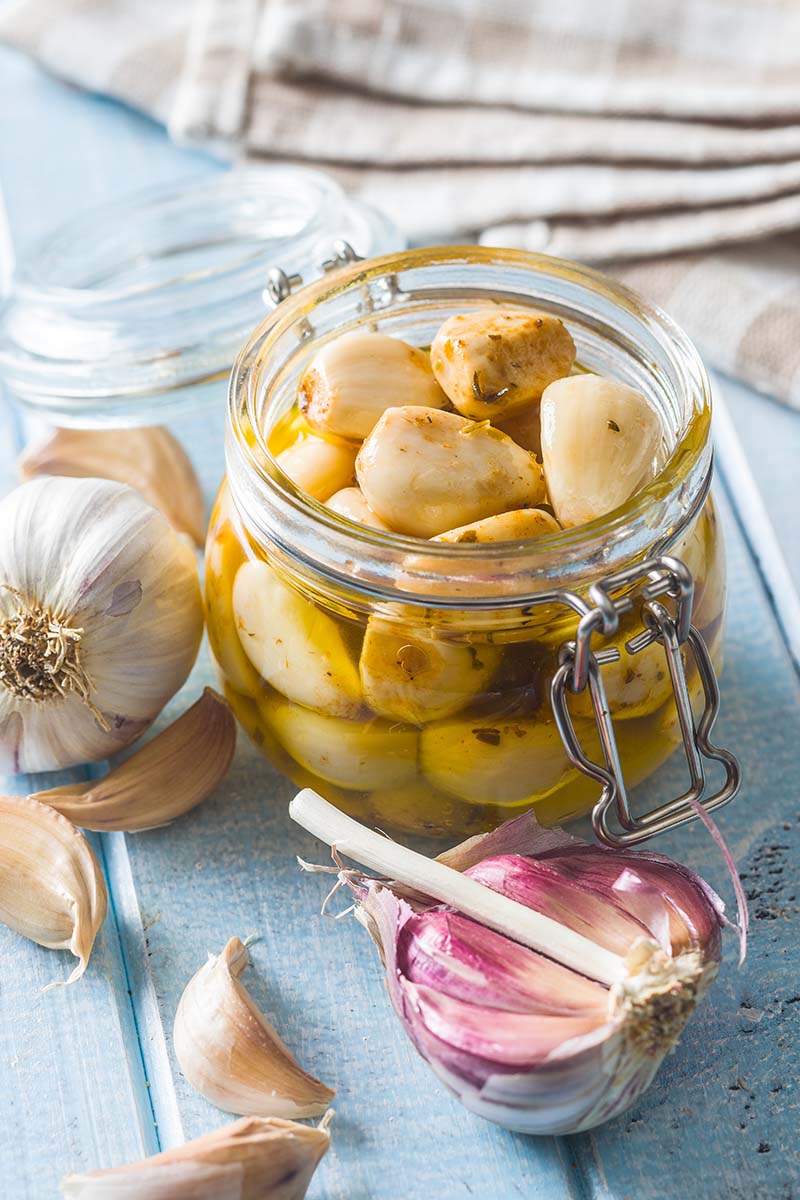
Use your favorite pickling recipe, such as this one from our sister site, Foodal, and pack cleaned, peeled cloves into sterilized jars, then process in a hot water bath for the required time.
As mentioned previously, garlic is a low-acid vegetable, so it’s very important that the pickling recipe you use is high in acid to prevent the growth of bacteria. If in doubt, store your canned pickles in the refrigerator.
Label and date the jars with the pickling and best before dates.
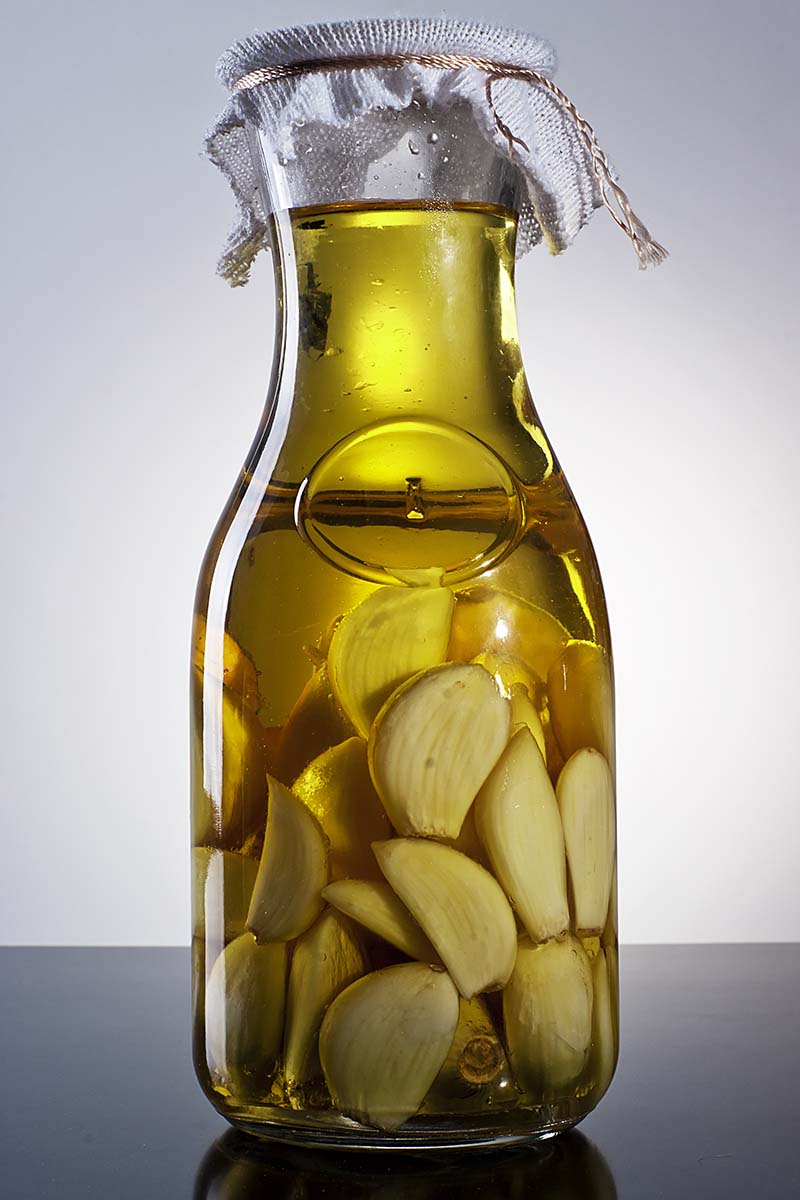
Or you can make easy refrigerator pickles with wine or vinegar.
Simply add clean, peeled cloves to a jar, then top with your favorite vinegar or a dry red or white wine.
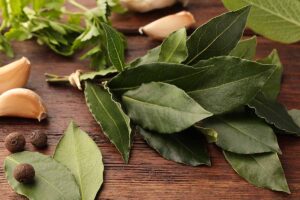
Add a couple of bay leaves to improve the crunch factor. If desired, flavor with your favorite pickling spices such as allspice berries, bay leaves, celery seed, chili flakes, cumin, mustard seed, peppercorns, sea salt, and so on.
Refrigerator pickles will last up to four months in the fridge, if they are kept submerged in the liquid.
A Note of Caution: Canning’s a No-Go
For preserving, canning is not recommended for garlic.
To safely process the low-acid cloves, a pressure canner is required. And unfortunately, this destroys most of the flavor.
As such, acceptable processing times have not been determined.
Seems it’s best to give canning a pass.
Saving for Seed Stock
To keep some of your harvest for seed stock, choose plump, healthy, and fully mature bulbs.
Stow the bulbs in baskets or open paper bags in a cool, dark, well-ventilated location with moderate humidity until you’re ready to plant.
Learn more about how to propagate garlic in this guide.
Ensuring a Dependable Shelf Life
Have you decided how you’re going to store your garlic harvest this year? There are plenty of great options to choose from!
After you save a few heads for planting next season, or braid your softnecks for storage, be sure to give your harvest a thorough curing period for a long, dependable shelf life.
Then keep them in the freezer, process your dehydrated cloves into powder, or make flavored salt so you’ll always have some on hand to enjoy the distinctive, rich flavor.
And remember, don’t stow those lightly damaged or thin-skinned bulbs – use them first in the kitchen, or whip up a batch of refrigerator pickles!
Are you a garlic fanatic? Tell us how you like to store yours and share your top tips in the comments section below.
And be sure to check out these guides for more garlic-growing knowledge next:
Hi Lorna,
Sheer here from Lahore (Pakistan),
happy to find your Writings about Garlic Curing. Watching time to time Video and details written knowledge about Garlic Growing, Harwesting and Curing garlic methods.
Thanks for your method of Garlic Curing
Thanks for reading Sheer!
Hello Lorna!
Thank you for the interesting articles! I’m from Upstate NY and have been growing garlic for several years now. A couple of ways I use some of my garlic is to ferment it. I ferment it both in honey, and using very low heat over several days, called black garlic. Both are loaded with amazing health benefits. The black garlic tastes like sweet garlic gummies. I think you’d enjoy making both of these!
Hey Tammy, thanks for the input, and I agree that black garlic is delicious!
However, there are some safety concerns regarding the germination of Clostridium botulinum spores when garlic is stored in anaerobic conditions.
And due to the low acidity of garlic, the variability of honey’s acidity, and a slow cookers low temperatures (temperatures of 240 to 250°F are needed to kill C. botulinum), these aren’t methods I feel comfortable recommending for home storage.
Thanks for your thoughts, and for reading!