Garlic is such a phenomenal bulb that there’s an entire California restaurant devoted to it. The original location is in San Francisco and it’s called, The Stinking Rose: A Garlic Restaurant.
I’ve walked past its aromatic doors many times but did not have the chance to partake of the “garlic, seasoned with food” as the restaurant’s motto proclaims.
At this particular restaurant, you can enjoy anything from a garlic martini to garlic ice cream. If you care to try these adventurous dishes at home – or something a little tamer – rejoice!
It’s astonishingly easy to propagate cloves and bulbils at home. It’s also possible to grow it from seed – but it’s very difficult, and I’ll explain why.

We link to vendors to help you find relevant products. If you buy from one of our links, we may earn a commission.
In this article, you’ll learn the most common way to propagate the fragrant herb – plus a less common but no less thrilling way to grow your own garlic.
Here’s what you’ll discover:
What You’ll Learn
Two Types of Garlic
It’s easy to tell who else is in the same family as garlic.
Just take a sniff around the garden and it’ll be clear that leeks, onions, shallots, chives, and scallions are all part of the Allium genus of the Amaryllidaceae family, just like our star herb.
For a detailed history of this fragrant Allium, check out our guide to growing garlic.
Before we get started, all you need to know is that there are two types grown by home gardeners:
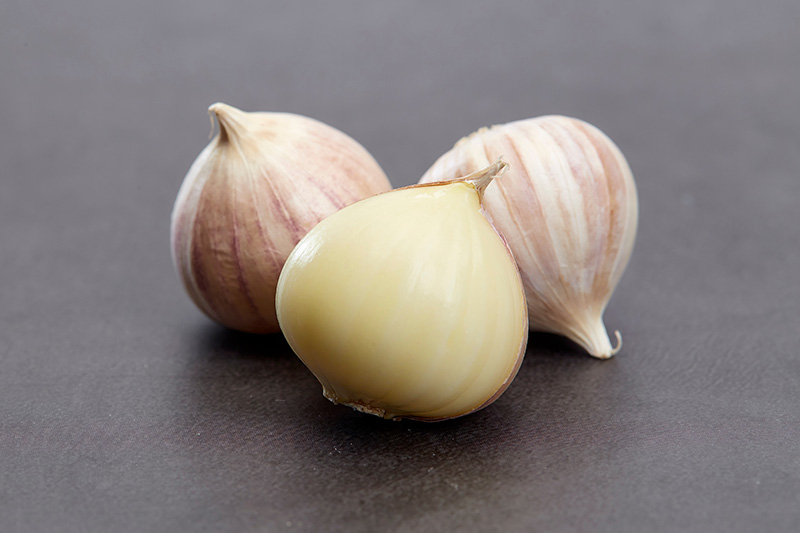
- A. sativum, the softneck variety, which boasts a six to eight month shelf life and is commonly sold in grocery stores.
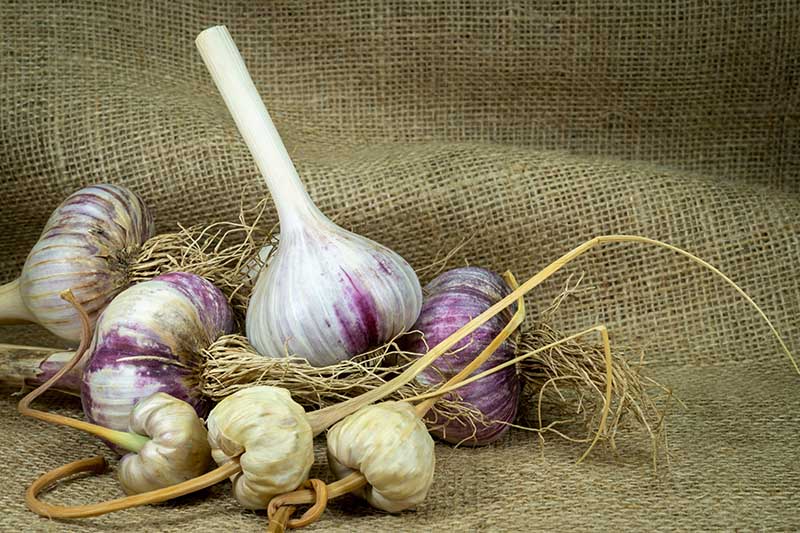
- A. sativum var. ophioscorodon, the hardneck type, which grows a rigid, flowering stem and features larger cloves with complex flavors.
These differences come into play when you’re selecting a propagation method. Keep reading to find out why!
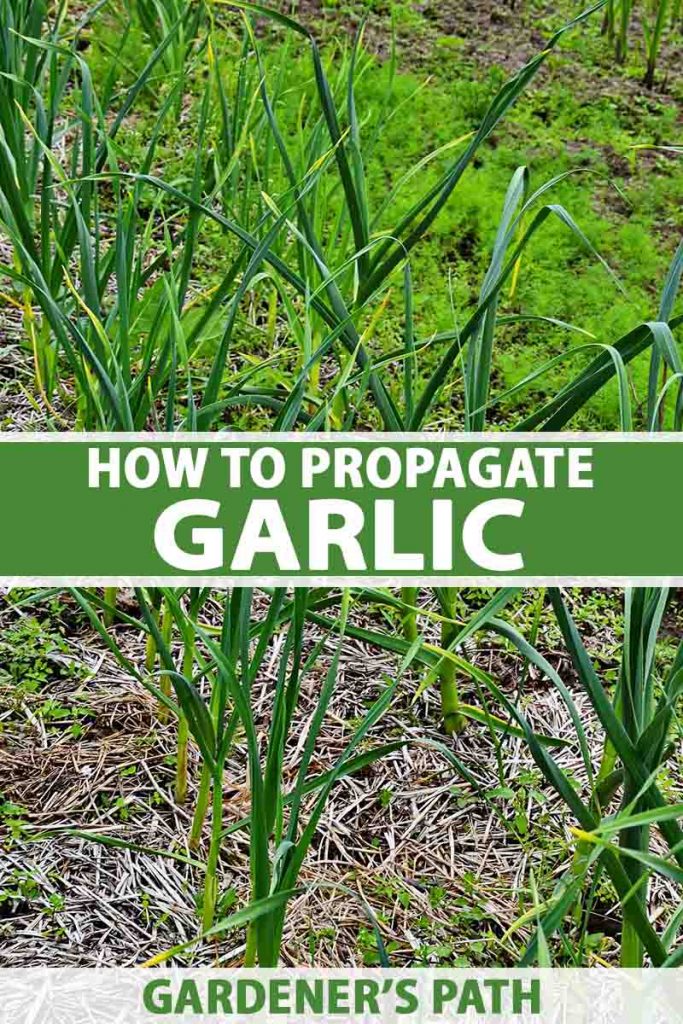
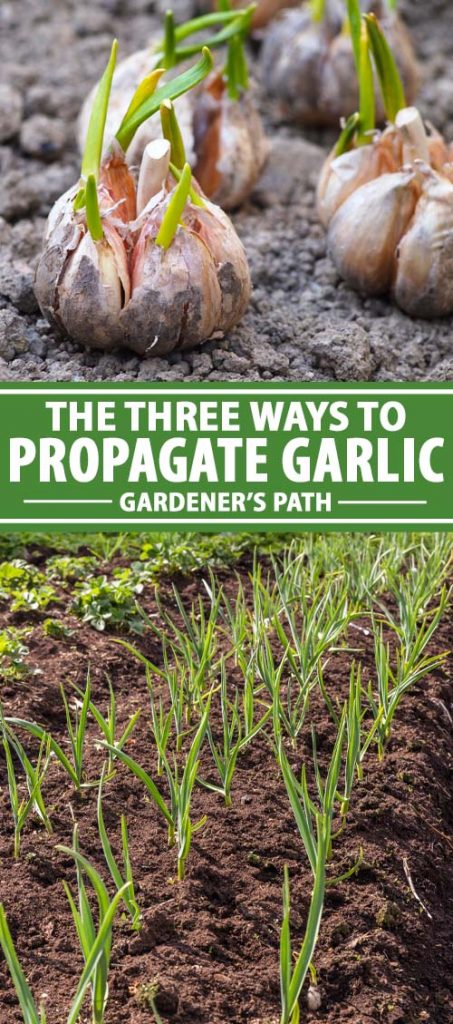
Three Ways to Propagate
There are two main ways to propagate garlic at home. The third way is a bit more complicated.
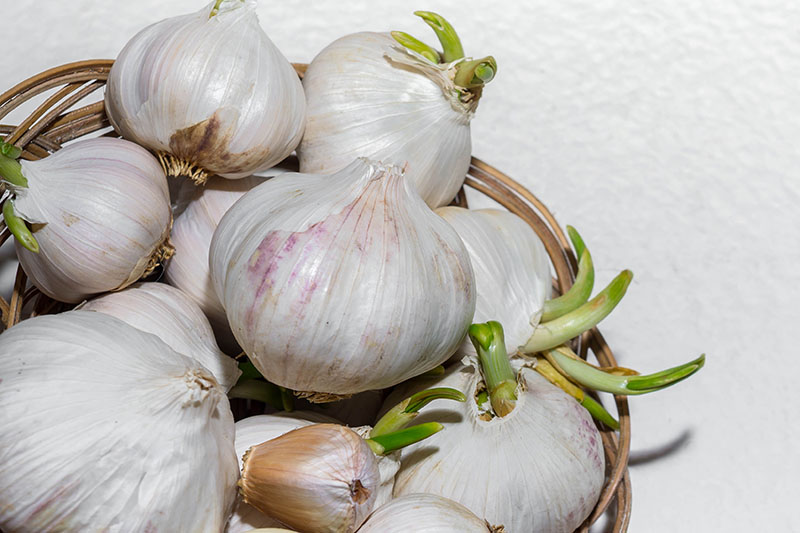
The first and most common is to remove cloves from an existing bulb and plant them individually.
You can do this with bulbs from the organic section of the grocery store or from bulbs purchased from a nursery.
This method is successful with both softneck and hardneck types.
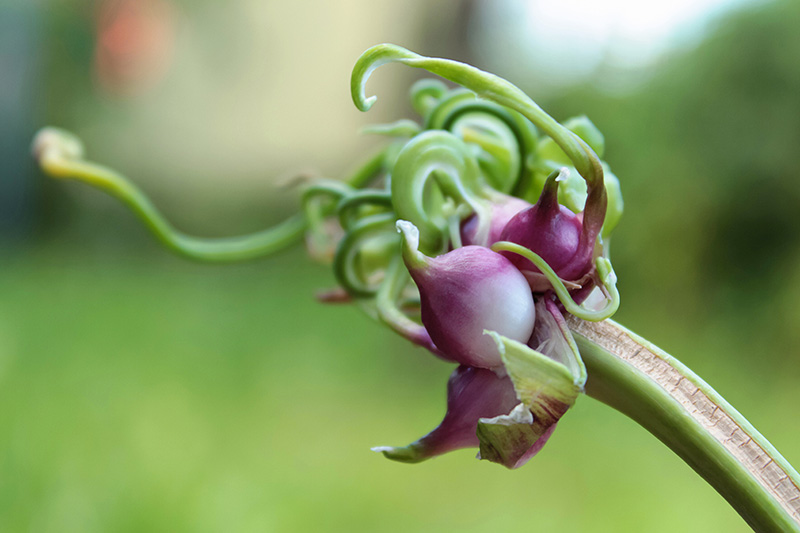
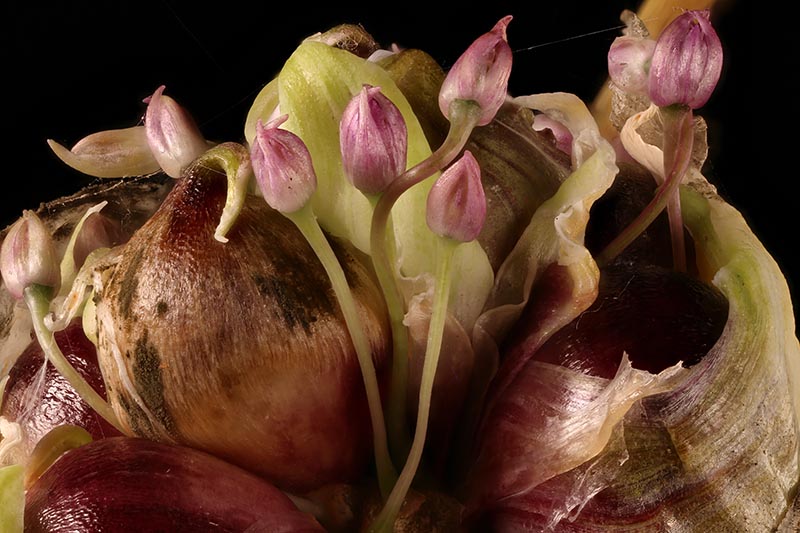
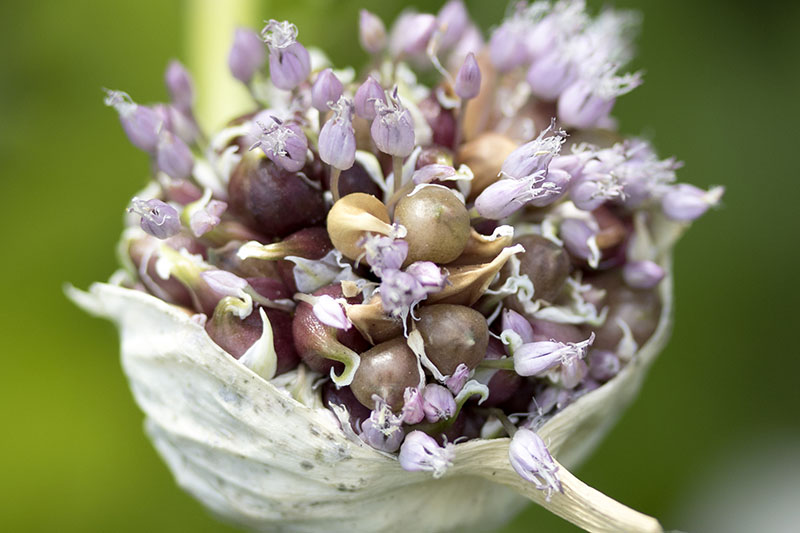
The second, and less common way to propagate, is by using bulbils. “Bulbil” is the darling and utterly fitting name for the tiny mini-cloves that develop in amongst the flowers of hardneck garlic.
They’re actually also found occasionally at the top of softneck bulbs, but at a much less reliable rate because softneck types don’t tend to bolt.
Hardneck varieties, on the other hand, almost always bolt if they are allowed to.
So if you grow hardneck garlic in the garden and allow just one of your plants to grow scapes, flower, and go to seed, you can harvest the bulbils in the late summer and plant them that fall.
Propagating garlic from seed is technically possible, although it’s very difficult to do so – and it’s almost impossible to get hold of seeds unless you collect your own.
And for that you need to be growing a hardneck variety.
We’ll cover all three of these methods of propagation here. Let’s get started!
1. From Cloves
The nice thing about cloves is that they’re a lot easier to find in nurseries than bulbils.
Most nurseries will sell you a set of four to six entire garlic bulbs, which you will then need to separate into cloves for planting.
Here’s how it works.
First, you’ll want to ensure that the soil you use has a pH of between 6.0 and 7.5.
You also need to make sure the soil is loose and well-draining, as waterlogged cloves can spell disaster for your harvest.
You also need to make sure there’s plenty of sun shining down on your plants.
If you grow garlic indoors in containers, you may need to use a grow light. Or, if you’ve got an extra-sunny window, that’ll work too.
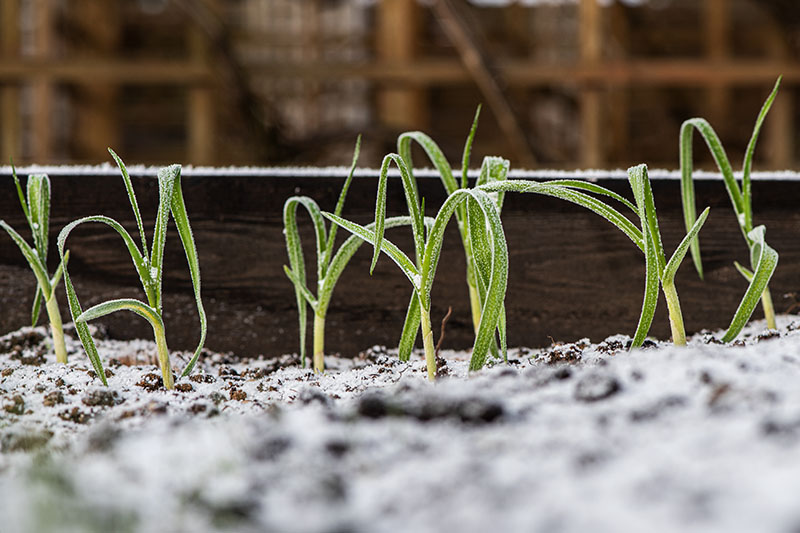
The best time to plant this herb outdoors is either the fall or the spring.
Keep in mind that softneck varieties grow best in USDA Hardiness Zones 8 and up, while hardneck types prefer the cooler weather of Zones 7 and below.
If you plan to plant hardneck varieties in the fall, they will get their required vernalization time – six to eight weeks of winter chill time, at a temperature of 40-45°F.
For a spring planting, you’ll need to refrigerate your bulbs for 6-8 weeks before planting, or buy pre-chilled bulbs.
Amend your soil with 10-10-10 NPK fertilizer, according to package directions.
Or, if you’re using garden soil, filter it with wire mesh to remove rocks and clumps of dirt and add well rotted manure.
Now, the easy part: planting.
It takes four simple steps.
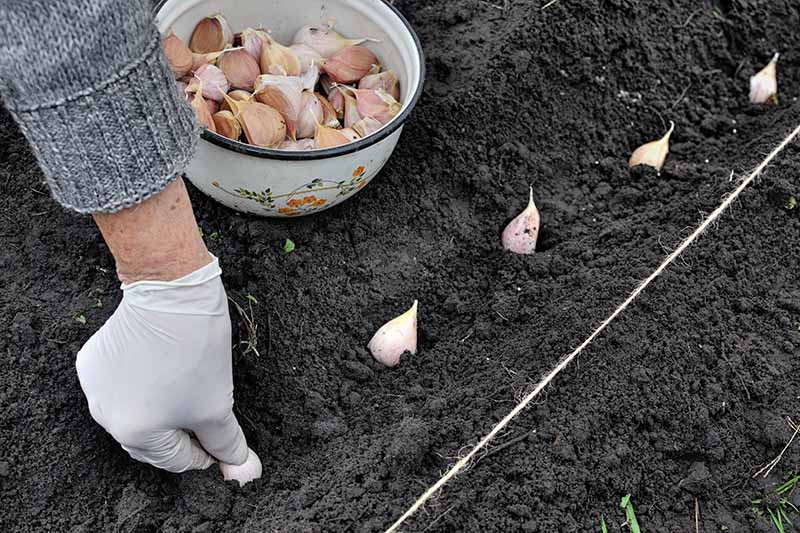
- Carefully separate the bulb into individual cloves, taking care to leave the wrapper on each one, to provide protection against pests and disease.
- Dig a small hole the same size as the clove. For multiple cloves, ensure that each hole is four to six inches apart. Rows should be about eight to twelve inches apart.
- Place the clove in the hole, pointy side up. Shoots will quickly grow out of this part, while roots will develop from the bottom.
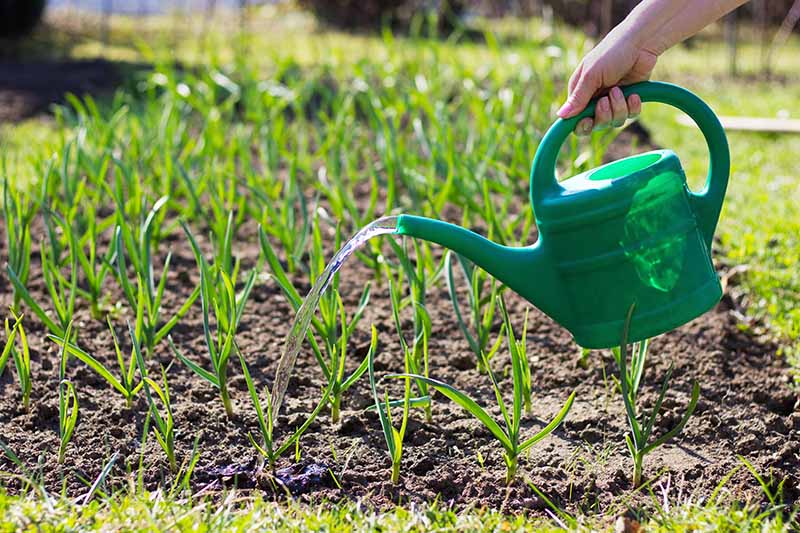
- Cover with dirt and water thoroughly (about one to two inches).
Continue to water deeply every time the soil dries out.
To check how moist the soil is, dig about four inches down next to – but not too close to – the planted clove. If you feel moisture, there’s no need to water. If the earth is dry, go ahead and water.
You’ll be able to enjoy small spring-planted bulbs in about three months. Fall-planted bulbs will be ready to harvest 240 days after planting – around late summer.
While you have to wait longer with fall planting, you’ll also enjoy larger bulbs and cloves.
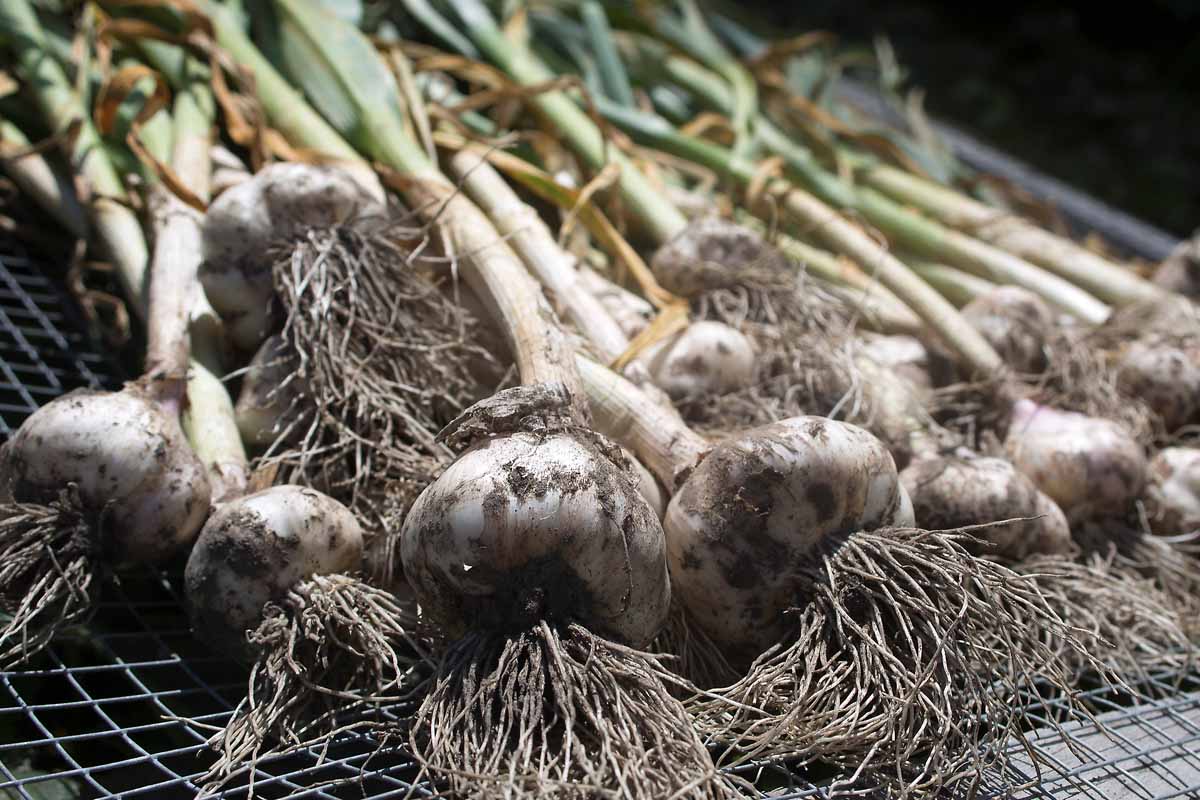
Once the tops start turning brown, stop watering. In the next two weeks, one-third of the plant should look dried out.
Now’s the time to harvest. And don’t forget to dry out, or cure, your bulbs for two to three weeks before eating.
Learn more about storing garlic cloves for planting.
2. From Bulbils
Did you let one of your existing hardneck garlic plants develop a scape? Then you’ll get to harvest double the delight in late July or August.
While allowing your plant to flower diverts energy away from the bulb forming below, it doesn’t completely halt its growth.
You’ll still get to harvest a bulb, albeit a smaller one than if you’d cut the scapes off. But you’ll also get to harvest bulbils from the top of the plant.
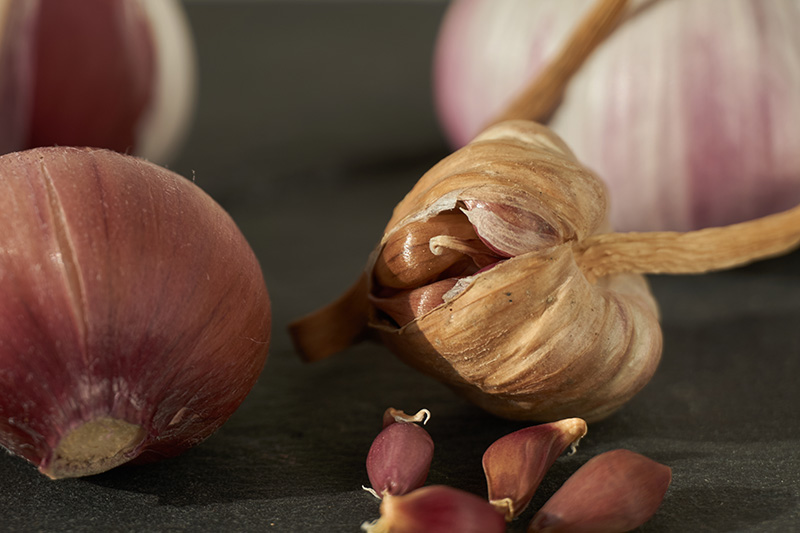
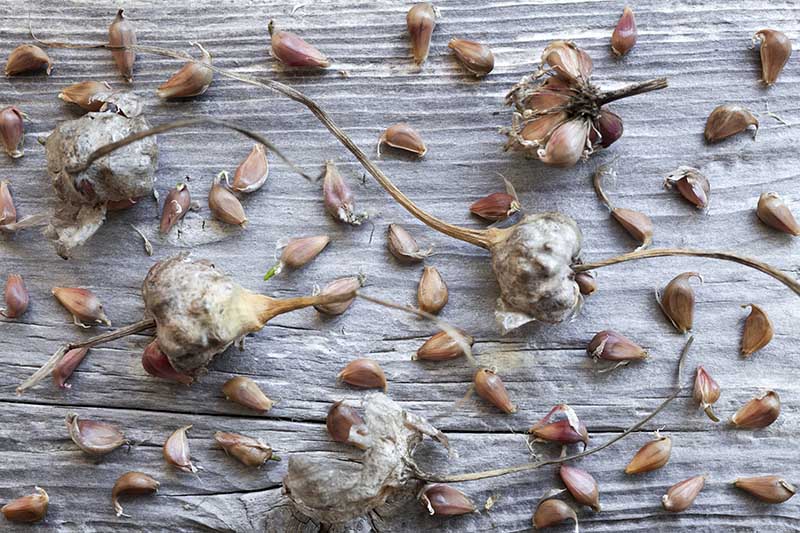
The outer layer of skin on the bulbil pod will have cracked, revealing anywhere from ten to a hundred tiny bulbs inside.
Cut the entire scape and flower head off and hang it somewhere to dry, curing it in the same way as you would the harvested garlic bulbs.
When you rub them with your finger, and the bulbils easily drop off the pod, they’re ready to be planted.
You can plant them immediately or store them in a cool, dry location for up to six months.
But why should you consider planting bulbils in the first place?
One of the most important reasons is that bulbils have a much lower chance of carrying soil-borne diseases than cloves do.
They developed entirely above the ground but are made of the exact same genetic material as the underground bulbs.
Another reason? They’re inexpensive. Let one plant go to seed and you’ll get at least ten, if not a hundred, more plants out of it.
You’ll want the exact same growing conditions as those you need for growing from cloves: loose, well-draining soil amended with fertilizer or manure and a sunny area. Bulbils should also be planted in the fall.
Or, if you’re planting them in containers, sow them anytime but make sure they receive six to eight weeks of vernalization in a cool basement (45°F or below), the refrigerator, or outdoors. Bulbils, like the hardneck variety that created them, grow best in Zones 7 and below.
Here’s how to plant them:
- Make sure each bulbil still has its wrapper. This is easier to ensure with the smaller bulbs because you don’t have to break them apart. They’re not in a tightly wrapped head like mature garlic.
- Dig a hole the size of each bulbil and plant it pointy-side up. Bulbils should be six inches apart, with rows also six inches apart.
- Cover with soil and give a deep watering, but keep the amount of water to about 1/2 to one inch every week – or water only when the soil dries out.
In 240 or so days (the following summer), the bulbils will have grown into medium-sized plants. Gently but firmly grasp the base of these plants and pull them up and out of the earth.
On the end of the plant, in the root area, you’ll see a little garlic round. This won’t have formed bulbs yet, but it’ll have a tasty garlic flavor that you can use in your cooking if you want to.
But that would thwart your growing process, so I encourage you to keep going!
You’ll now need to dry out the round for two to three weeks and then plant it pointy-side up in the fall. In another 240 days, harvest this bulb.
And voila! You, the angel of patience, will have grown your own cloves all the way from bulbils.
Find more tips for growing garlic from bulbils here.
3. From Seed
As I mentioned earlier, growing garlic from seed is a difficult and time consuming process.
To collect the tiny seeds from a hardneck variety growing in your garden, you would need to first remove the bulbils and allow the actual flower to develop.
Removing the bulbils without cutting off the scape and drying them first can be especially tricky – I recommend using tweezers so you don’t cause damage to the tiny flowers.
Once the bulbils are removed, the next step is to pollinate the flowers.
Unfortunately, the flowers are not capable of fertilizing themselves, but pollination can occur between two or more flowers in the same inflorescence – on the same plant.
Garlic flowers are usually pollinated by insects. Approximately 45-60 days after pollination, the seeds are ready to harvest.
For best results, leave the seed heads to dry on the plant, before harvest.
Most garlic seeds have a very low germination rate, often as low as 10%.
After harvest, seeds should be placed in the refrigerator for four weeks, as they have a period of dormancy, so should not be sown directly after harvest.
Seeds can be sown in either a sterile seed starting mix or ordinary potting soil. If they are viable, they should germinate within 6-8 days. But, as mentioned earlier, germination rates are very low.
Find more tips on growing garlic from seed here.
No Matter Which Way You Plant ‘Em, Garlic Cloves Are A Tasty Treat
Whether you propagate your garlic from bulbils or cloves, you’re sure to enjoy the deliciously aromatic flavors once you harvest and cure your home-grown bulbs.
You can then enjoy all sorts of delicious recipes.
Like this recipe for garlic-ginger tacos from our sister site, Foodal. Or this broccoli and garlic pasta sauce recipe, also from Foodal.
There are so many ways to enjoy this aromatic herb. You can even be brave like the chefs at The Stinking Rose and try your hand at garlic ice cream!
What’s your favorite garlicky recipe? Let us know in the comments!
And don’t forget to check out our other guides on growing garlic in your garden:


Useful