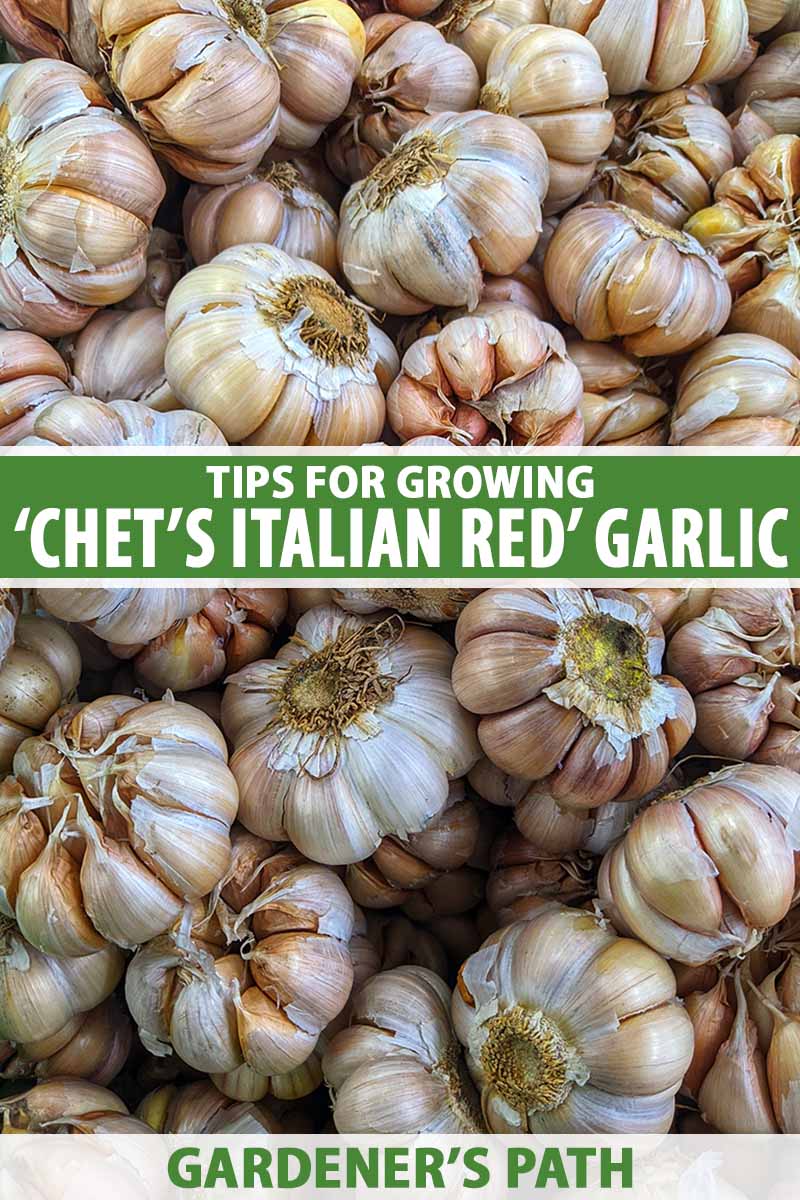
Allium sativum var. sativum ‘Chet’s Italian Red’
‘Chet’s Italian Red’ is a heirloom variety of softneck garlic native to the Pacific Northwest.
Known for its subtle, mild flavor this low maintenance cultivar is perfect for home gardeners. If you haven’t heard of this niche garlic, don’t fret. I’ll teach you all you need to know.
We link to vendors to help you find relevant products. If you buy from one of our links, we may earn a commission.
I lived in Oregon when I was in my 20s. Back then, I spent less time gardening and more time skiing, hiking, eating, and drinking.
The Okanagan Valley sat just north of where I lived, starting in Washington and extending up into British Columbia, and I visited this area often while on many of my active and culinary adventures.
When I think of the Okanagan Valley in relation to edible resources, I think of apples, pears, peaches, and grapes. This region is famous for its luscious and plump orchard fruits – sweet and lovely, ripe and abundant, easy to find if you live nearby.
And yes, I also think of wine. Who doesn’t? But one thing I did not expect the Okanagan Valley to be known for is garlic. I’m not surprised, though – the conditions are perfect for it!
‘Chet’s Italian Red’ is a highlight of the region and the star of this article. Why is it so special?
Compared to many other kinds of garlic, this variety is loved by many because it has a pleasant and mild flavor, even when consumed raw.
Interestingly, when exposed to colder growing conditions, you might be startled by a stronger taste!
If you’re curious about growing this variety in your own garden, read on to learn more about ‘Chet’s Italian Red’ garlic!
Here’s what I’ll be covering:
What You’ll Learn
Now that you know what’s ahead, let’s jump in.
Cultivation and History
A. sativum var. sativum ‘Chet’s Italian Red,’ also called ‘Chet’s Italian Purple’ or ‘Chet’s Red,’ is a softneck cultivar.
Softneck types are typically divided into two categories: silverskin or artichoke. ‘Chet’s Red’ is an heirloom variety that falls into the artichoke group.
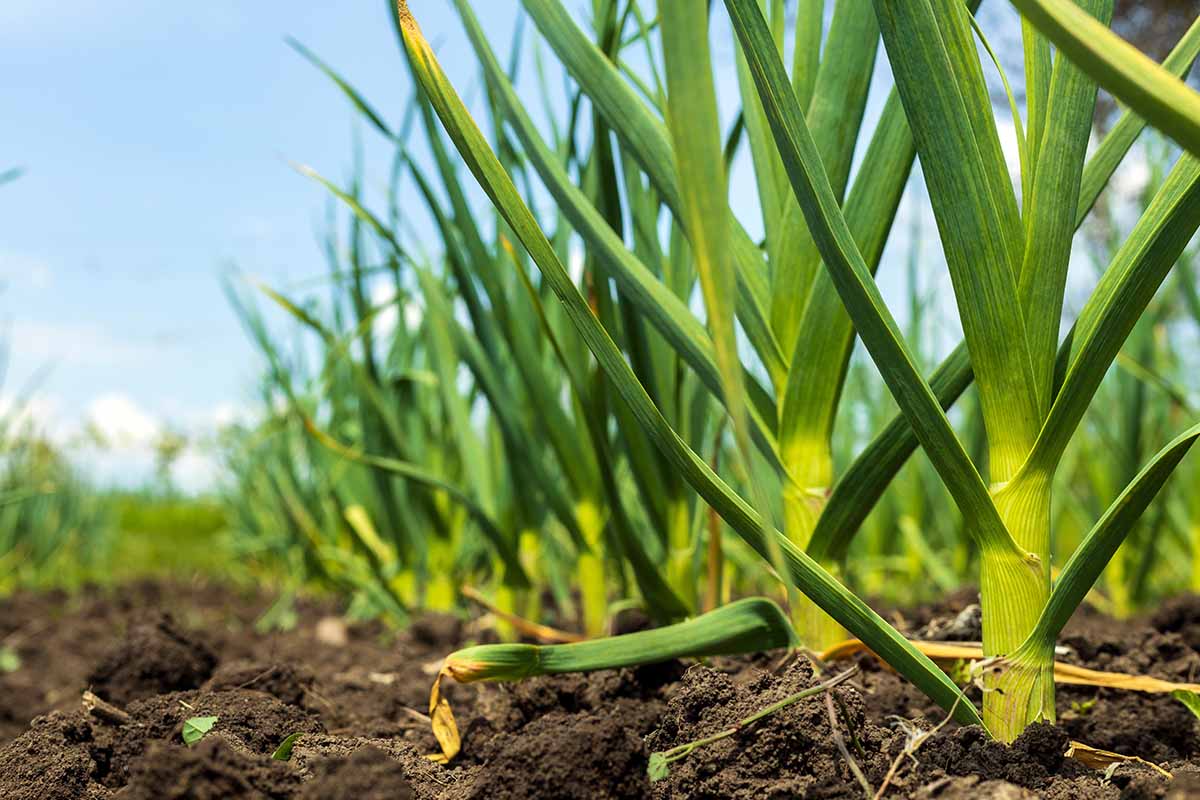
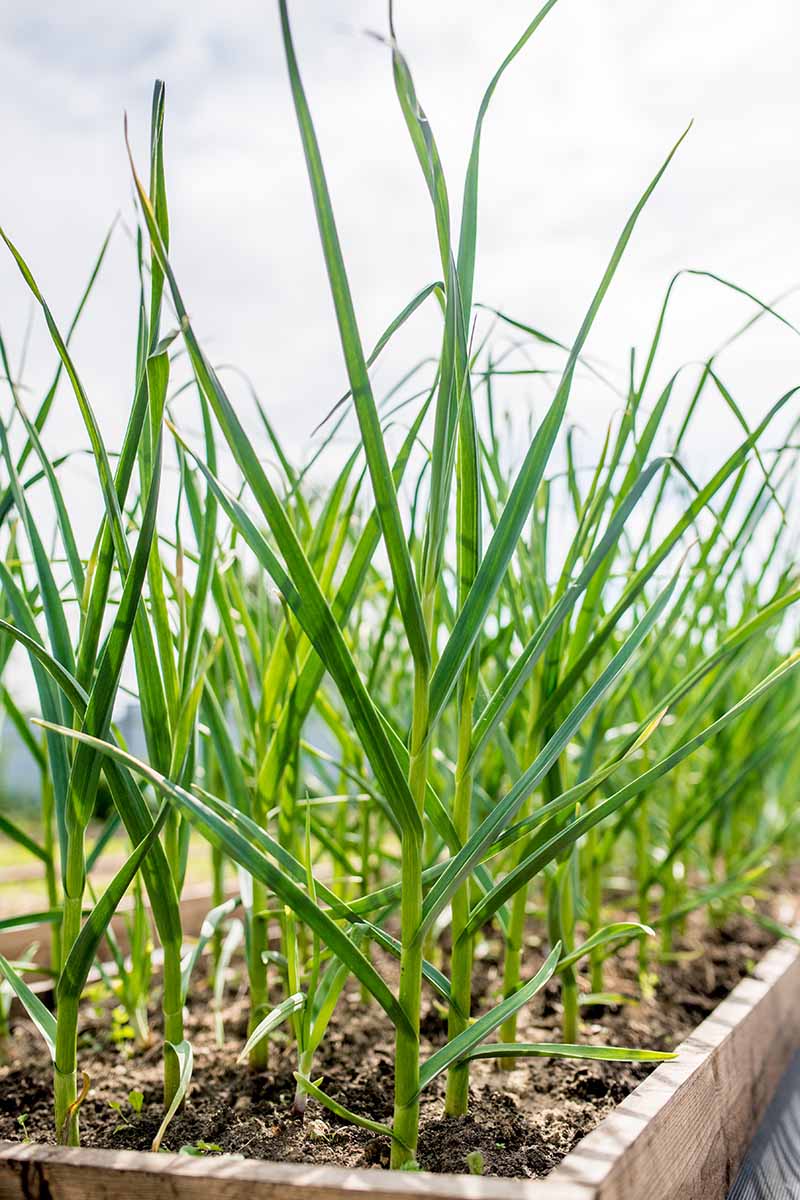
Common and easy to grow, softneck artichoke garlic is vigorous and productive. The plants attain a shorter height than hardneck varieties, and their dark green, broad leaves spread out wide rather than upright.
As they grow, cloves form a pattern that resembles their namesake, the artichoke, consisting of an outer row of large cloves and multiple smaller inner cloves.
For a better understanding of the different varieties, check out our guide to 10 garlic families to learn more.
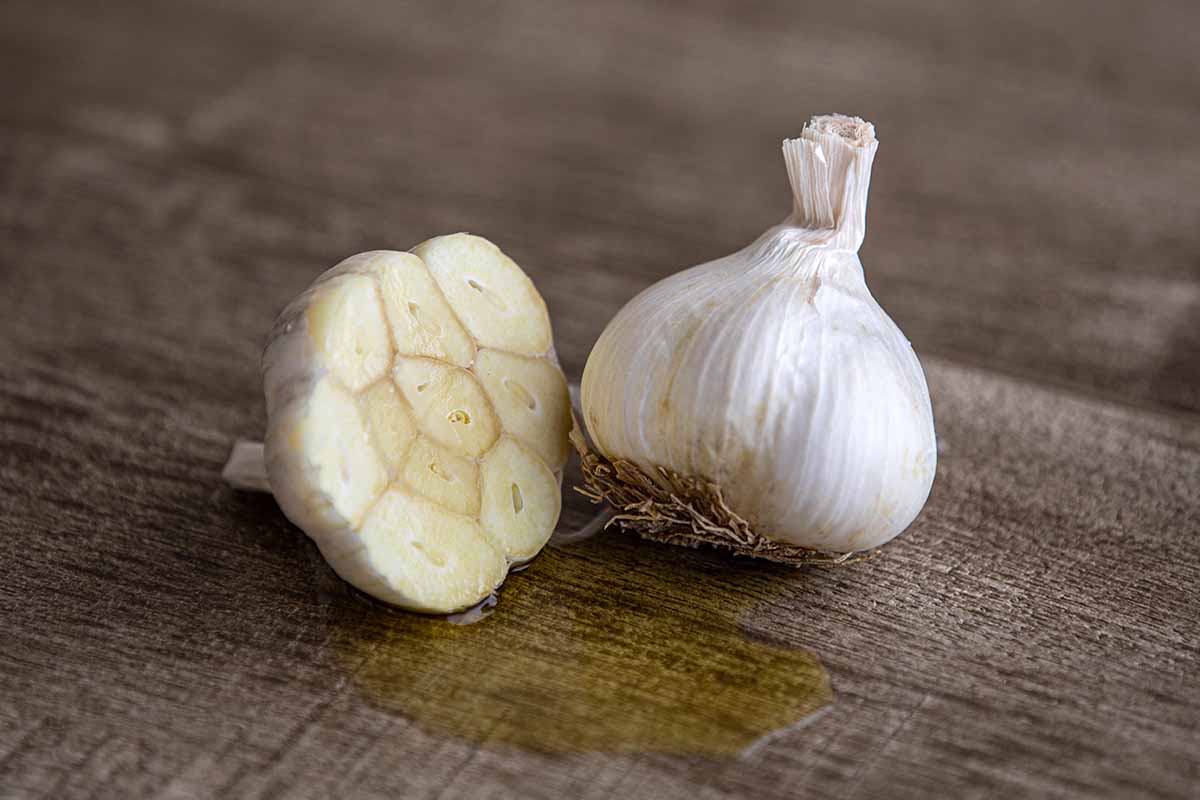
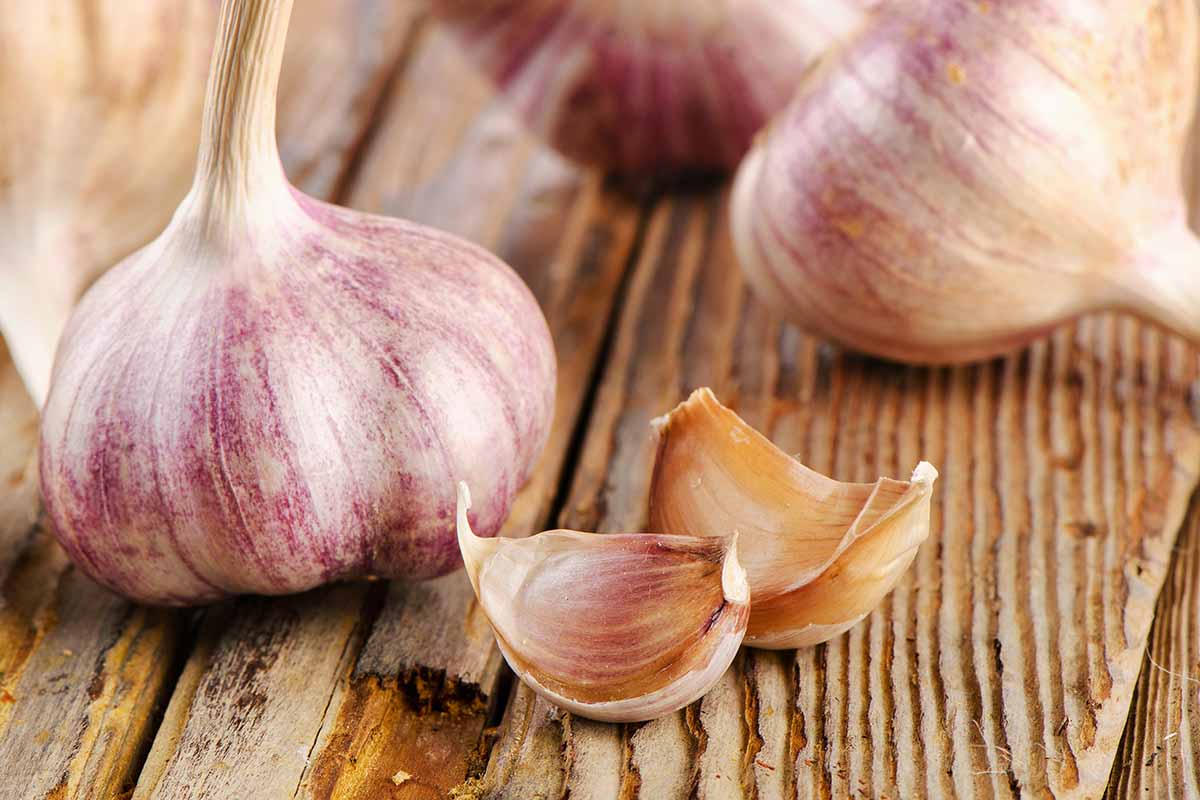
The skins of ‘Chet’s Italian Red’ are milk white or slightly yellow. Grown in ideal conditions, each large, mature bulb typically forms four clove layers. Each bulb can produce 10 to 20 cloves, weighing in at 65 to 75 cloves per pound.
The clove skins adhere fairly tightly, resulting in a longer storage life. This might also make them trickier to peel. The bulb wrappers are coarse and thick, sometimes showing faint purple or yellow staining.
‘Chet’s Red’ was discovered in the 1960s by Chet Stevenson in an abandoned garden in Tonasket, Washington. Some think this variety could be related to ‘Oregon Blue’ and ‘Early Italian Red,’ also originating nearby.
Boasting rich soils and a diverse climate, Washington is one of the top agricultural-producing states in the US.
Situated in North Okanagan County, USDA Zone 6b in the Pacific Northwest, Tonasket is an agricultural hub known for its garlic. In fact, this small town hosts an annual garlic festival to celebrate its bounty!
These plants are successful in Zones 3 to 8, with some success reported as far south as Zone 10.
It’s important to note, however, that if you’re thinking of growing ‘Chet’s Red’ in colder climates, the bulbs will develop more heat in their flavor profile. As the plant moves further from its original roots in Zone 6b, the bulb takes on slightly different characteristics.
You see, certain growing conditions are unique to the Okanagan region, with relatively mild winters, hot summers, moderate rainfall, and fertile soil. These conditions helped ‘Chet’s Italian Red’ become its own unique variety.
Outside of Zone 6b, you can grow this variety in your garden. But because of its geographic origin and its popularity in the Pacific Northwest, much of this guide is geared to growing conditions in that region.
Does ‘Chet’s Red’ garlic sound like something you’d like to grow? Read on to discover more.
‘Chet’s Italian Red’ Garlic Propagation
Growing garlic is fairly simple, and this variety is no different. For best results, start with healthy, firm, unblemished cloves.
Under the ground, each clove planted will magically transform and yield one new, full bulb.
Well, it’s not magic. It’s science. But nature is quite magical, don’t you think?
While it’s true that there are different methods to grow garlic, for this special cultivar, I suggest using newly procured cloves. Here’s why:
Although I’ve replanted cloves from subsequent harvests, if you’re just starting out I recommend purchasing seed cloves from a reputable source such as a purveyor with a seed catalog, trusted online vendor, or local garden center.
This way, you can be sure you’re growing exactly what you intend to.
And please don’t try to use supermarket garlic if you’re able to find this variety.
Though anything sourced directly from the farmers market is probably alright – and you can consult directly with the source at these venues! – supermarket bulbs are usually treated to prevent sprouting.
Garlic bulbs used for seed are chosen carefully for their vigor and are stored properly to achieve best results.
For maximum yields, plan to plant in the fall, somewhere between mid-September to late October depending on your USDA Hardiness Zone and current seasonal conditions. Aim for about four to six weeks before the ground freezes.
Softneck varieties generally survive winters in Zones 3 to 8, but sometimes extreme cold can result in poor results the next spring. Spring planting is possible but expect lower yields.
Prior to planting, you can add micronutrients to your soil via compost or aged manure to boost production.
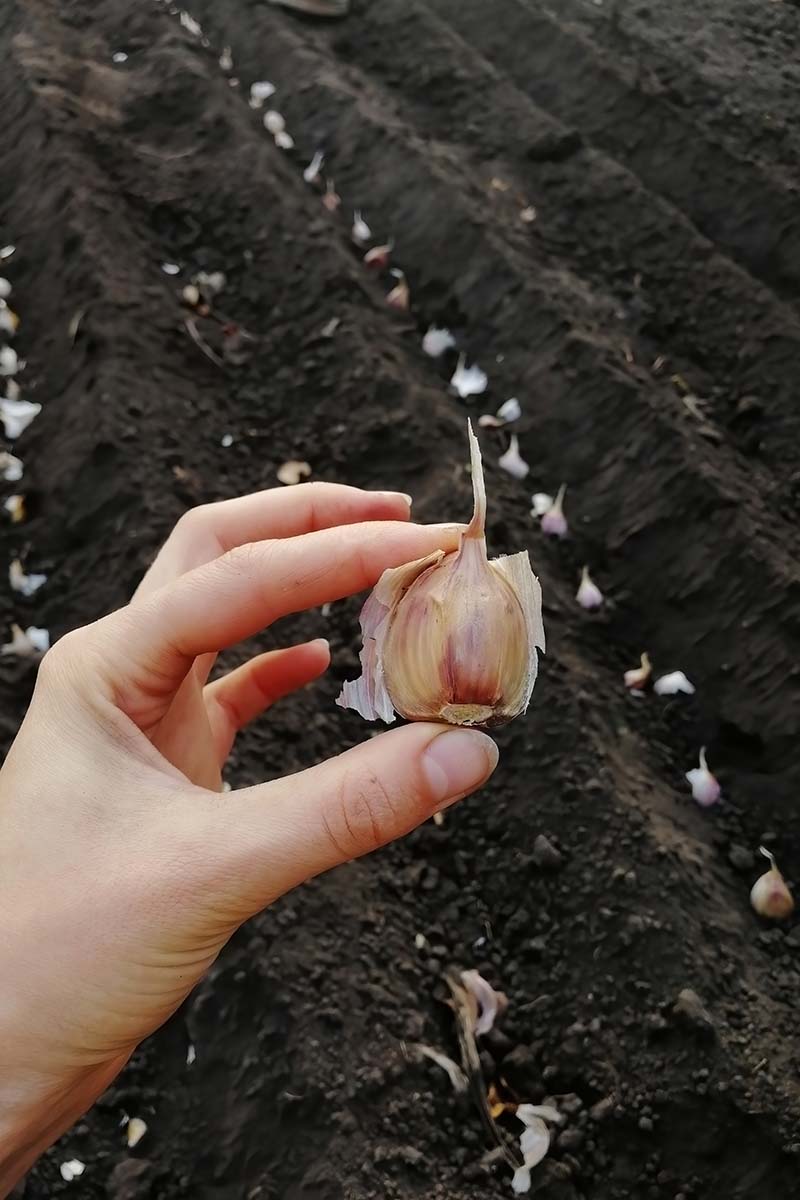
Ideally, you should wait to “crack” the seed bulbs into separate cloves until a few days before planting. You can do this gently by hand to avoid damaging the cloves. Leave the skins on the cloves.
You’ll likely notice that the cloves will be different sizes. That’s okay! You can plant all of them, but if your space is limited, pick the biggest ones as they’ll produce the largest new garlic plants.
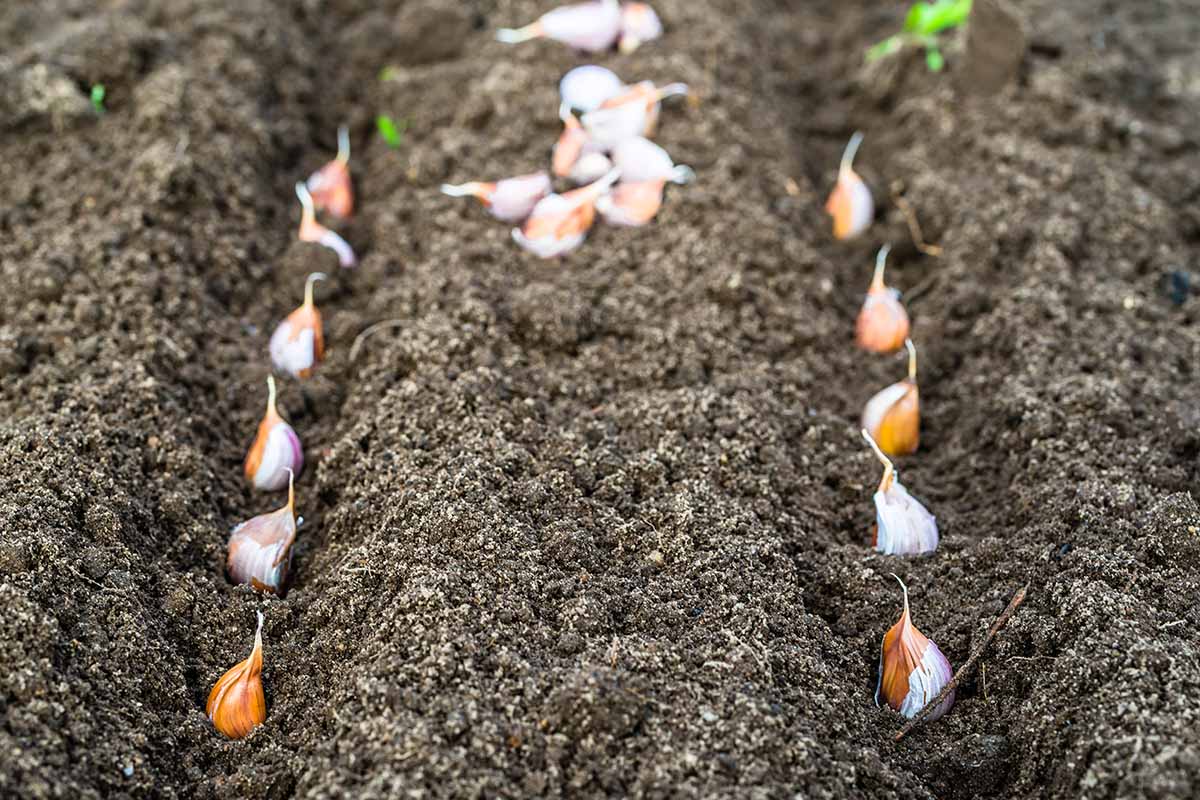
For best results, plant each clove vertically, with the basal root plate (the part where it was attached) facing down. Position the cloves two to three inches deep, spaced two to four inches apart.
To give the plants more room to grow, you can space them in rows about 12 inches apart. If you’ve got good aeration and air circulation on your site, this isn’t imperative.
Plants in my garlic bed are as close as four to six inches and they do just fine!
Read our guide to propagating garlic for a more in-depth lesson.
How to Grow ‘Chet’s Red’ Garlic
Planting garlic is fairly straightforward, and so is growing it. It’s not too complicated, so it’s an easy food crop for beginners.
But because garlic needs about nine months to mature, it does require some patience.
The maintenance these plants will require is minor, but before I walk you through that, let’s touch on the basic needs of these plants, like soil, sun, water, and feeding.
Sun and Soil
Garlic prefers to grow in areas of mostly sun. So look for a warm, exposed spot that receives at least eight hours of sunlight per day.
The key to healthy bulb development is good drainage. Heavy clay and ground that is on the sandier side should be avoided. A good solution for this is to try planting in raised beds. You can even try growing garlic in containers!
As long as there is proper drainage, plants will tolerate nutrient-poor soil in comparison to other garden vegetables.
But you’ll have much better yields if your soil is healthy, with plenty of organic matter. Add and work in compost or aged manure prior to planting.
If you want to dive deeper into your soil’s specifics, test for pH and nutrients. The ideal pH for garlic is between 6.5 and 7.0.
If you need to pick up some pH strips, check out these made by Garden Tutor at Amazon.
Luster Leaf Rapitest Soil Test Kit
I use a simple kit called Rapitest Soil Test Kit by Luster Leaf, also available from Amazon. It’s not fancy, but it does the trick!
Read more about soil test kits in our guide.
Garlic prefers a balance of the major macronutrients. If you need to amend with nitrogen (N), phosphorus (P), or potassium (K), consider doing so before planting in the fall.
I’ll review fertilizer recommendations later on in this article.
Water Needs
As with most other garden vegetables, garlic needs about an inch of water per week during the vigorous spring growth period.
If you haven’t received rain, supplement with your favorite watering method using a sprinkler, drip irrigation, or a hose. Better yet, practice responsible conservation and use water collected in your rain barrels!
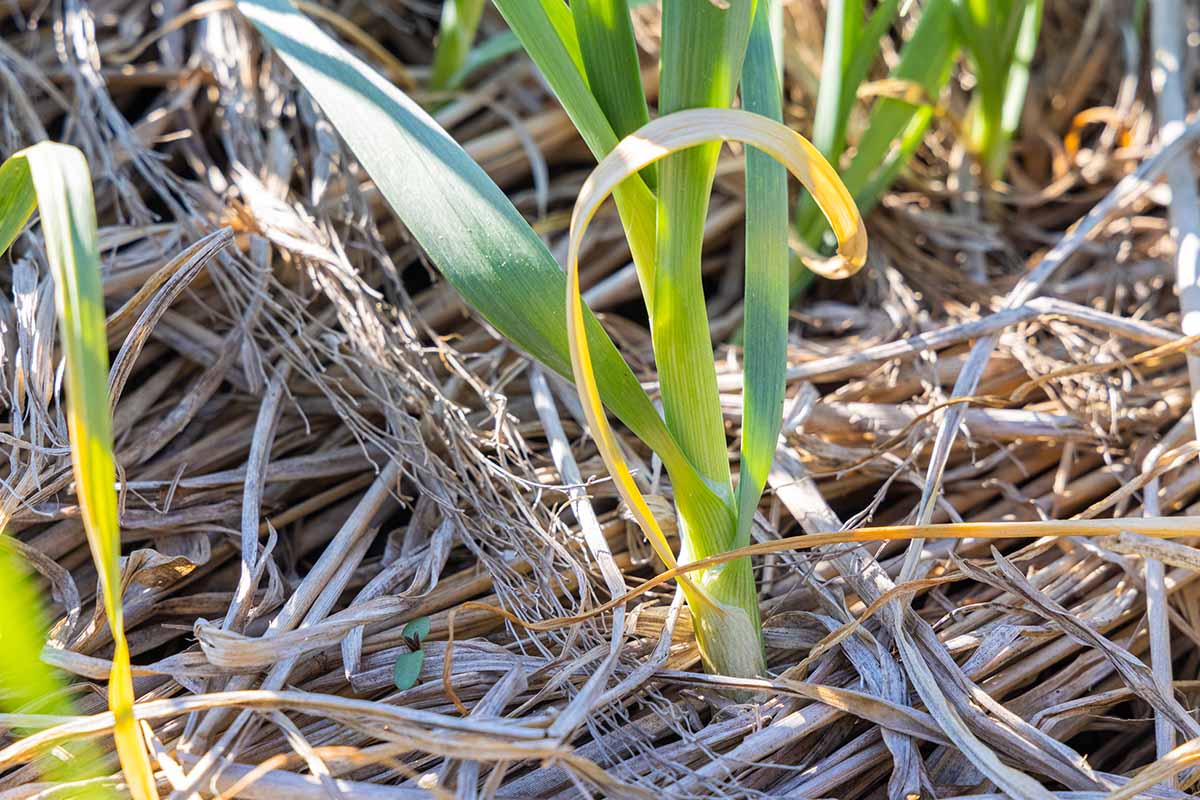
Garlic has a shallow root system, so mulching can help retain moisture and conserve water usage.
Remember to stop or limit watering your plants about a month before harvest. You’ll notice the leaves begin to turn yellow.
Reducing moisture at this time helps the papery skins to dry and form around the bulbs below the surface, which helps to prevent rotting and splitting.
Fertilizing
Garlic grows in most soil conditions, but to grow the best bulbs possible, plan to fortify your soil with fertilizer that contains nitrogen, phosphorus, and potassium.
A general recommendation is to apply three pounds per 100 square feet of a balanced granular 10-10-10 or 5-5-5 fertilizer in the spring after shoots appear above ground.
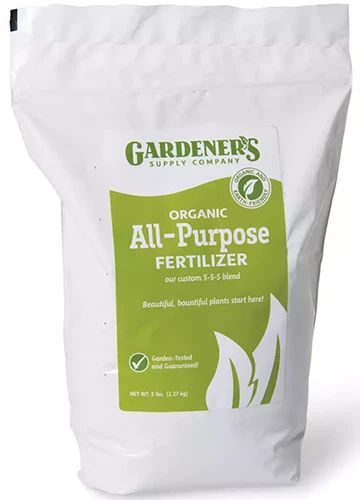
I like this Gardener’s Best All Purpose Organic Fertilizer from Gardener’s Supply Company. This is a granular, slow-release fertilizer.
Growing Tips
- Plant in the fall, four to six weeks before the first hard frost.
- Grow in a full sun location.
- Provide an inch of water per week starting in spring.
Maintenance
In the home garden, these plants require little regular maintenance. The biggest concern is weeds.
If allowed to grow out of control, weeds can directly affect garlic production. Competition for nutrients, water, and bulb-growing space in the soil are all of significant concern.
Plus, large weeds can inhibit air circulation, which raises the risk of diseases and pest infestations. Weeds can even slow the end-of-season drying process needed to complete the bulb production cycle.
For these reasons, pay attention to weed growth, develop a regular weeding schedule, put your gloves on, and yank those pesky unwanted plants out!
And remember that mulching not only conserves ground moisture but also slows the development of most common weeds.
Now might also be a good time to talk about garlic scapes. Many people often wonder if scape removal is a necessary task or not. Well, with this variety there’s no need to decide. Softneck artichoke varieties don’t produce scapes.
Where to Buy
If you want to consume this special garlic and you can’t find it locally, your only option is to grow it yourself!
But purchasing ‘Chet’s Italian Red’ may be tricky depending on the time of year and your location.
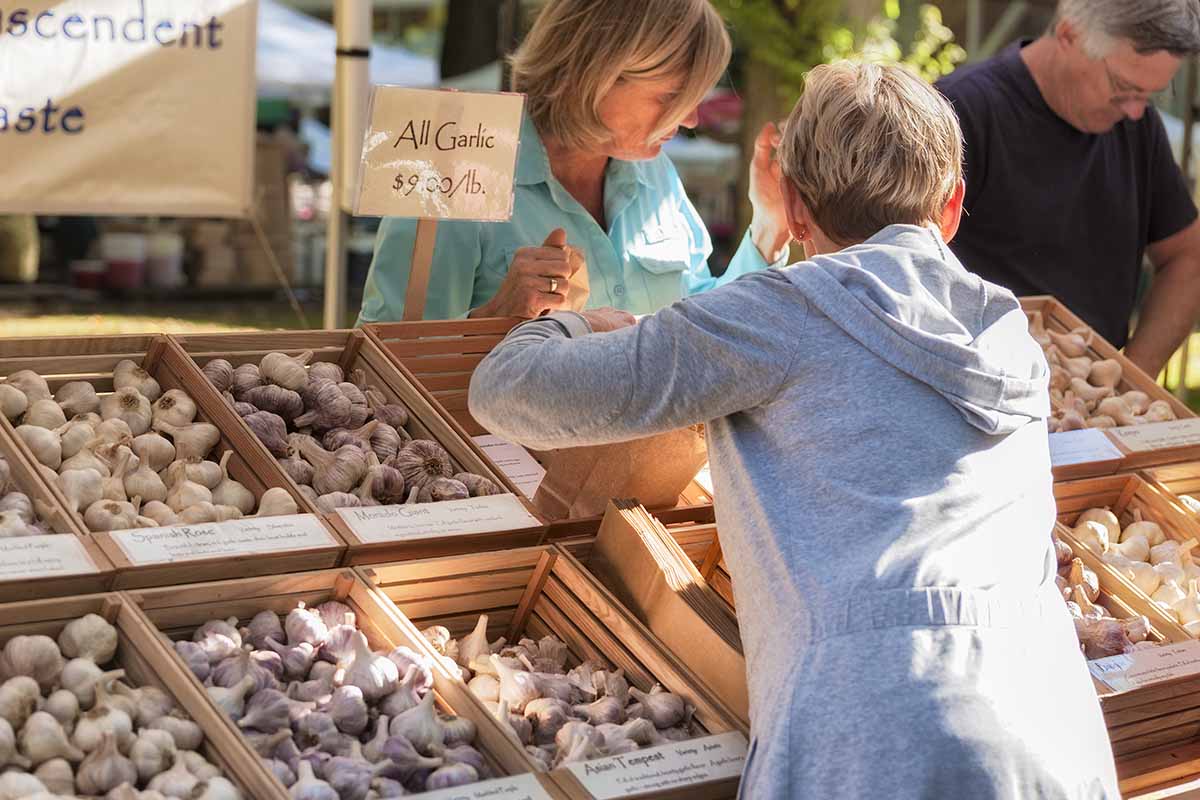
For planting, you’re most likely to find seed garlic bulbs of this variety from farms and other purveyors in the Pacific Northwest. Take a weekend drive and make a day of it! Visit farmers markets, and explore specialty markets.
If you’re near the Okanagan Valley, ask around – someone is sure to point you in the right direction. If you live outside the region, you’ll find a few farms selling ‘Chet’s Red’ online.
Managing Pests and Disease
Garlic is known for its natural resistance to insects, diseases, and vampires. And there is a scientific explanation for this.
It contains a secret weapon – a compound called allicin which helps it fight off the bad guys.
It works so well that garlic has even been used in pesticides. And most plant-loving animals that ordinarily feast in your garden will commonly avoid garlic.
But despite this natural protection, garlic is still susceptible to a few bugs and diseases – here, we’ll review some common ones.
In general, the threat of pests and diseases can be minimized by choosing healthy seed garlic, and by practicing proper growing methods including crop rotation and good sanitation.
Keep your soil healthy and maintain proper moisture levels and you should have less to worry about.
Pests
For the most part, home gardeners need not be overly concerned about pests, but it’s good to know which ones to watch out for just in case. This way, you’ll be ready to react if you notice something out of the ordinary.
Pests have the potential to introduce disease-causing organisms to your plants, so if you notice irregular growth or signs of distress, it’s important to address these problems straight away.
Some good practices for prevention include crop rotation, maintaining healthy soil, and proper sanitation. Control of large pest populations may necessitate further steps like using pesticides.
Some possible threats to ‘Chet’s Red’ are maggots, mites, nematodes, thrips, and wireworms. Let’s take a closer look.
Bulb Mites
These shiny little cream-colored arachnids from the Rhizoglyphus and Aceria genera feed on various plants including those in the onion family.
They can travel in on infested cloves and sustain themselves on garden waste. Their damage can stunt growth and promote rot in stored bulbs.
Onion Maggots
Adult onion maggots (Delia antiqua) look like small house flies. They lay eggs at the bases of plants and these hatch into maggots.
The slender white maggots move through several/various stages of development, feeding on garlic bulbs while causing destruction to the tissue.
Stem and Bulb Nematodes
A specific kind of nematode, called Ditylenchus dipsaci, attacks the stems and bulbs of garlic. It’s been identified in Washington, so take heed with ‘Chet’s Red’ if you’re planting in this state.
These tiny parasites are microscopic roundworms. They usually spread via infected planting material, living in stored tissue for several years. The good news is they usually die off in soil without a host, so they should die off once the infested crop is harvested.
Diseased cloves generally show no symptoms, but plants will be stunted and dry early, affecting production. In an effort to avoid chemicals, strive for crop rotation and careful seed sourcing.
Thrips
These small, thin bugs are pale yellow to light brown, with feathery wings. They enjoy hot, dry weather and they cause more damage in these conditions.
They mostly feed on the foliage of plants, but if the damage is severe it can affect production.
Read more about identifying and controlling thrips in our guide.
Wireworms
Wireworms (Limonius spp.) are common to Washington, the original home of ‘Chet’s Italian Red’ garlic. Once introduced, larvae can survive in soil for several years, feeding on bulbs and destroying crops.
The larvae are about an inch long and light brown in color. Some people call the adults click beetles, but once at adult stage they don’t cause as much harm.
For a more in-depth look at these pests and how to control them, take a look at our comprehensive guide to controlling pests on garlic.
Disease
Disease issues can be more common with garlic when conditions are wet, so if you live in areas like the Pacific Northwest that receive regular rainfall, this might be helpful to know.
Here’s a quick look at some potential diseases, including basal rot, blue mold rot, leaf blight, neck rot, white rot, and viruses.
Basal Rot
This disease is caused by a fungus found in soil called Fusarium culmorum.
It enters the plant through the stem plate, so leaves may not show early symptoms. Stem plates and storage leaves might decay in the ground, later in the season.
The fungi can survive indefinitely in soil, so crop rotation is important. Proper curing and storage can also help to inhibit growth and transmission back to the soil if saving your own cloves for planting in future seasons, and chemicals are rarely used to treat this fungus.
Blue Mold Rot
Blue mold rot is caused by various species of Penicillium. It commonly develops during storage of garlic and doesn’t last long in the soil.
You’ll recognize this fungus by the blue-green spores covering the bulb and filling the cloves.
This fungus is usually transmitted on seed cloves and can be avoided through careful sourcing of seed, as well as harvesting, and proper drying and curing. Chemicals are usually unnecessary to control blue mold.
Leaf Blight
This fungal disease is caused by Botrytis squamosa, and might show its face later in the season during periods of high humidity or excessive moisture.
Because the Pacific Northwest is known for rainy weather and humidity, leaf blight is one to watch for with ‘Chet’s.’
The fungus can survive winter in the soil and in waste piles, and spores can spread by wind. Leaves will show white or gray spots that enlarge as infections become more severe.
Crop rotation and moisture control are usually enough to control this fungus without the need for chemical fungicides.
Neck Rot
This disease is caused by various fungal organisms like Botyrytis porri and B. aclada.
Infection enters through the neck tissue of plants or wounds. The fungi can live through winter on infected bulbs that have been placed in storage, as well as on decaying plant pieces left in the soil.
Watch for signs of infection in the spring. You might see a water-logged neck area and then a gray mold will develop, turning black as it grows. Plants will likely die before reaching maturity.
Moisture control is important, so remove weeds to promote air circulation. Also, avoid excessive nitrogen fertilization and cure properly before storing. These measures will help you to avoid the use of chemicals.
White Rot
White rot is caused by a fungal pathogen called Sclerotium cepivorum. It’s a major concern to commercial growers in the Pacific Northwest because once it arrives, it can remain in the soil for 20 to 30 years even without a host.
Symptoms are leaf yellowing, wilting, leaf decay, collapsing plants, and rotted roots. White, fluffy mycelium may be present on the bulb and roots, and you might notice small black spots as well.
Chemicals are rarely used to combat this fungus due to poor results and repercussions in future plantings. If fungicides are overused, it can lead to resistance.
The best control is prevention. Practice good sanitation and only use healthy seed cloves.
Viruses
This can be an issue particularly for gardeners in the Pacific Northwest. There are a few different viruses to look out for, like onion yellow dwarf virus and garlic mosaic.
Thrips might actually transmit these viruses, and because these pests are quite common you should be aware of symptoms.
Infections are usually mild, so viruses shouldn’t be a huge concern for home gardeners. Watch for anything above ground on the plant like abnormal color changes, striping and leaf distortion.
Plants that are stunted and underdeveloped without another explanation may be the victim of a virus.
Use only healthy cloves for planting and keep your soil healthy. Maintain proper moisture levels and good sanitation overall to avoid viruses.
Learn more about diseases that can infect garlic here.
Harvesting
Garlic can typically be harvested in three forms: scape, green, and bulb. Let’s review them together.
In the spring, hardneck types will produce scapes. But with ‘Chet’s Red,’ there’s no need to think about this because this variety doesn’t produce a scape.
Green garlic is immature and harvested early. If you choose to harvest green garlic, use it like green onions when you’re cooking, and be sure to use it up quickly as it doesn’t have a long shelf life.
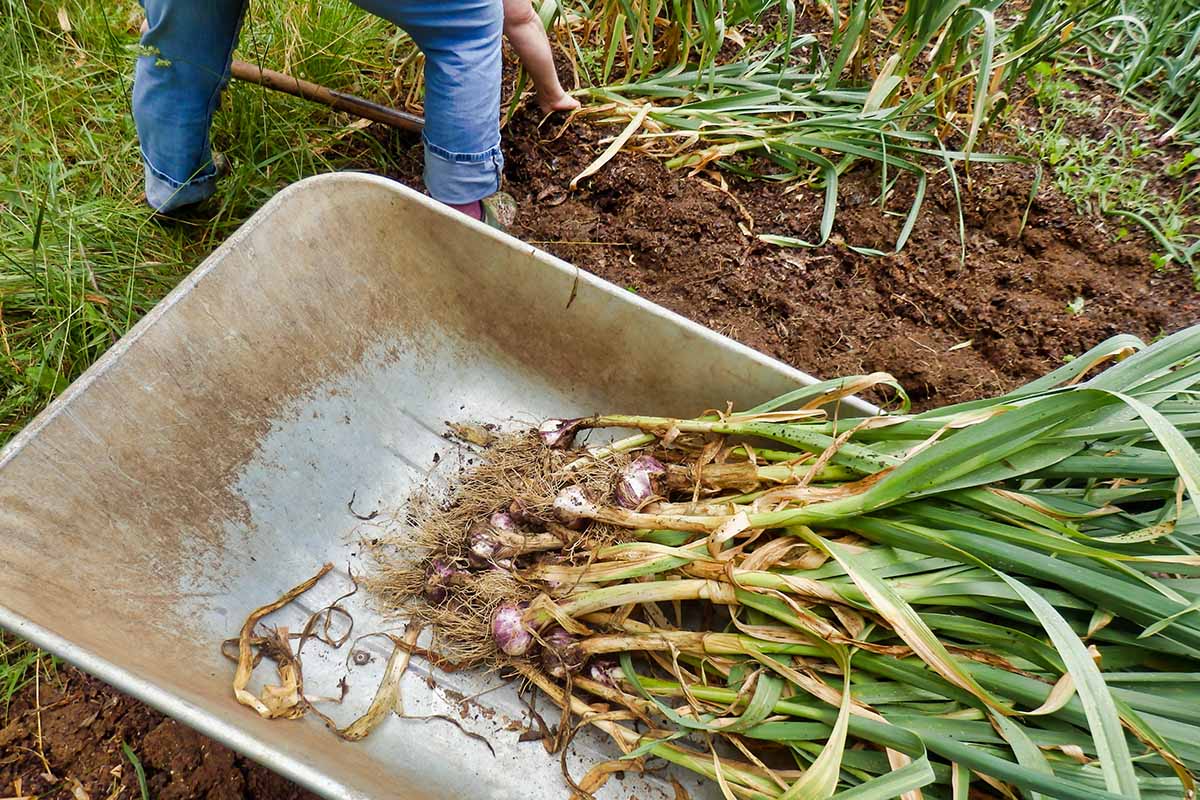
As garlic matures, the leaves begin to dry out and turn yellow or brown, and the plant starts to tip over.
The opportune time to harvest is when about half the leaves are still green on the plant. If you wait too long, the bulbs will begin to break apart under the soil.
Softnecks usually mature faster, usually about 270 days, so they’re often ready to harvest before hardnecks. Choose a dry, sunny day to harvest if you can.
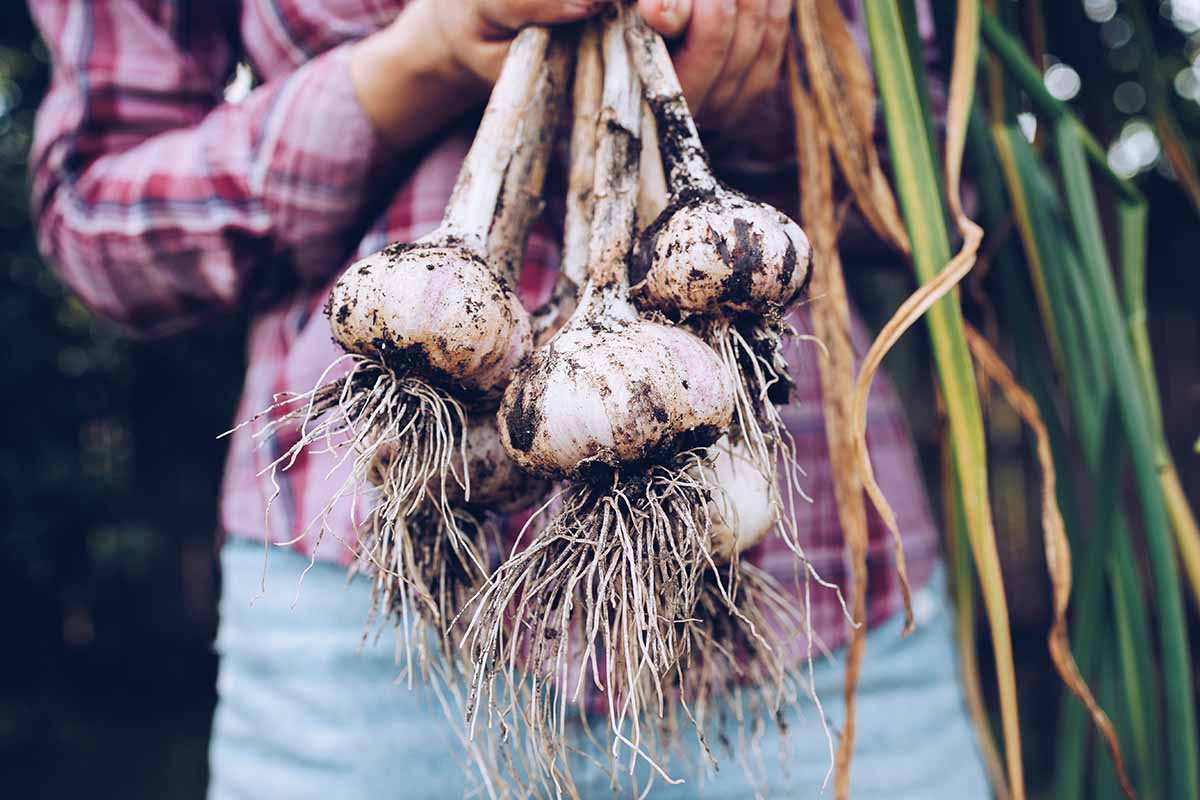
To harvest, loosen up the soil surrounding the bulb.
With what seems to be a built-in handle, the leaves, it might be tempting just to pull them out of the ground, but please avoid doing this.
Instead, try to dig under each bulb – either with a small shovel, a fork, or by hand – and lift them out gently.
Shake off most of the dirt, taking care to leave the paper-like wrapper intact. Don’t wash your bulbs! This can invite rot and fungal growth.
If you’re looking for more information about harvesting garlic, check out our full guide for details.
Now that the bulbs are safely out of the ground, we can move on to how to cure and store them.
Curing and Storing
The best way to preserve garlic for later use is by curing it. This is an important step. Curing also enhances the flavor.
There are different ways to cure garlic, so you may have read or heard about variations of the way I’m about to describe. And for more information, you can read our comprehensive guide to curing and storing garlic.
Starting with the garlic you’ve just removed from the garden, gently shake off most of the dirt. Avoid damaging the skin and leave the leaves intact.
Tie the garlic in bunches with some twine or string and hang in a cool, dry, and well-ventilated space for four to six weeks.
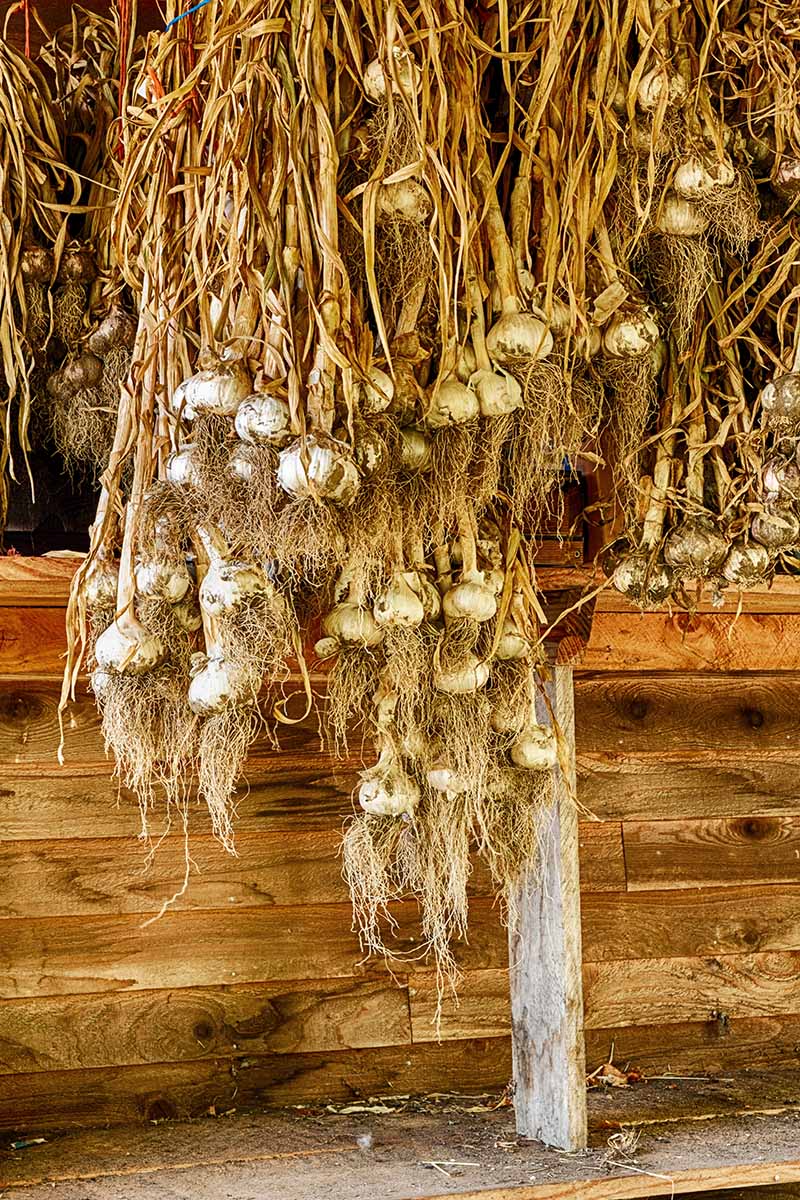
Once the bulbs are dry, carefully trim the roots with sterilized, sharp shears. Leave the fine outer skins in place.
Gently brush away any dry, loose soil left on the outside and trim the leaf stalks to about one to two inches above the bulbs.
Store bulbs at 32 to 35°F with 65 to 70 percent relative humidity . Properly cured bulbs can be kept in storage for up to 12 months.
At some point, you might notice green sprouts beginning to peek out of your garlic. This means the bulbs have broken dormancy.
If you don’t use them right away, pathogens may begin to develop, so they’re best to toss out.
Quick Reference Growing Guide
| Plant Type: | Bulb, allium vegetable | Water Needs: | Moderate |
| Native to: | Washington State, USA | Maintenance: | Low |
| Hardiness (USDA Zone): | 3-8 | Soil Type: | Loamy, loose |
| Season: | Fall-summer | Soil pH: | 6.0-7.5 |
| Exposure: | Full sun | Soil Drainage: | Well-draining |
| Time to Maturity: | 270 days | Companion Planting: | Beets, brassicas, celery, lettuce, potatoes, strawberries, and tomatoes. |
| Spacing: | 3-9 inches | Avoid Planting With: | Other alliums, legumes |
| Planting Depth: | 2-3 inches | Family: | Amaryllidaceae |
| Height: | 12-18 inches | Genus: | Allium |
| Spread: | 6-9 inches | Species: | Sativum |
| Tolerance: | Deer, black walnut juglone | Variety: | Sativum |
| Common Pests and Disease: | Bulb mites, nematodes, onion maggots, thrips, wireworms; basal rot, blue mold rot, leaf blight, neck rot, viruses, white rot | Cultivar: | 'Chet's Italian Red' (aka 'Chet's Red,' 'Chet's Italian Purple') |
Road Trip to Tonasket
All this talk of ‘Chet’s Italian Red’ garlic has me feeling a little nostalgic for my youth. I’m planning a road trip west!
There will be good hiking, a little wine tasting, and plenty of eating. And before I hit the road home, the back of my car will be loaded with garlic!
I’ve covered everything you need to know about ‘Chet’s Italian Red’ garlic – its origin, how to grow and care for it, pests and disease to watch out for, and how to harvest, cure, and store it.
Have you tried growing this heirloom artichoke softneck variety or another close relative of ‘Chet’s Red’? Have a recommendation for us to try? Share your favorite in the comments below.
If you like growing garlic, check out some of our other guides for inspiration: