

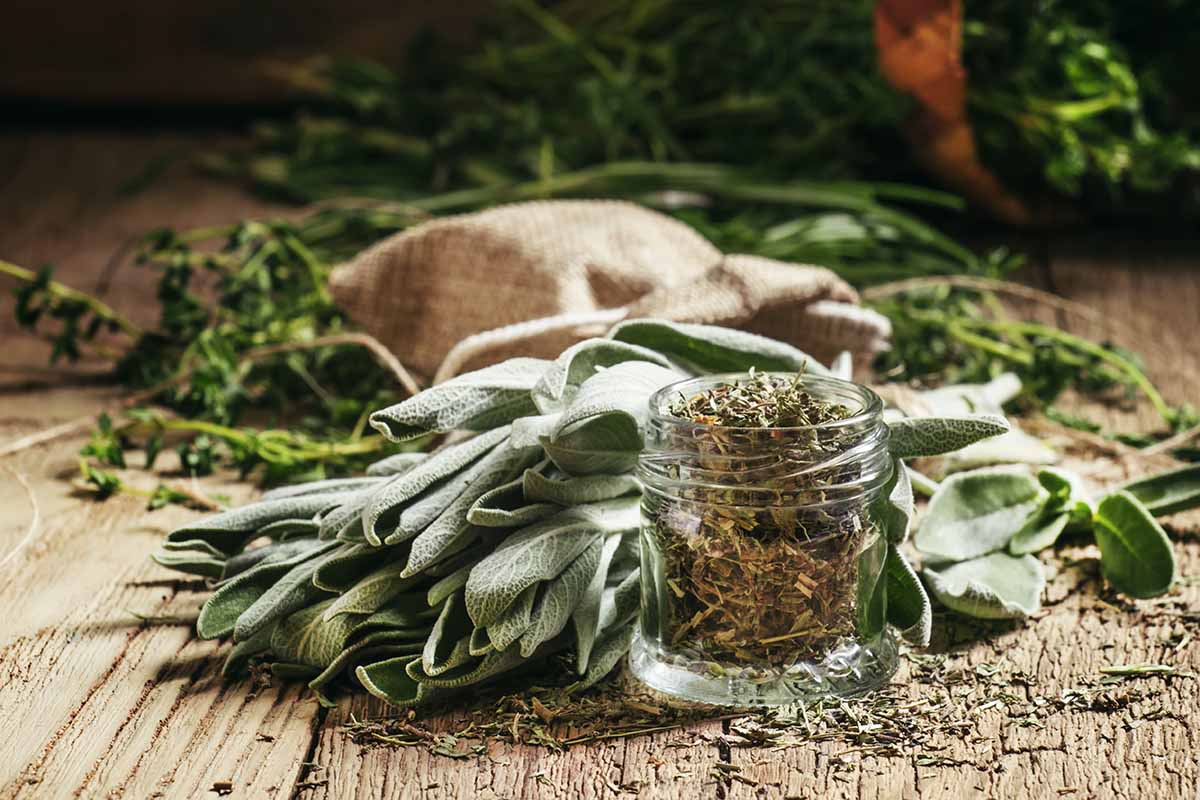
Congratulations! You had a bumper crop of sage this year! Or maybe you found a baker’s dozen of potted basil plants on clearance at your grocery store.
Whatever the reason, you have more herbs than you’re able to use fresh and you need to figure out a way to make them last.
Drying herbs to preserve them is a practice that has been around for as long as cultivation has been a part of human civilization.

The concept of drying is extremely simple.
You just want to expose as much of the surface area of the plant to the air as you can so the moisture evaporates – the quicker, the better. But as with many things that are conceptually simple, the execution requires a little more nuance.
To help you save those herbs, we’re going to discuss the many methods of dehydrating. Here’s what to expect, coming right up:
What You’ll Learn
Almost any herb can be dried, so long as you understand the various methods available and when to use them.
The flavor of the plants comes from the oils stored inside their cells. Dehydrating concentrates these oils while removing the moisture that can cause herbs to spoil.
Get your screens, hangers, or dehydrators ready. Those herbs aren’t going to dry themselves!
Methods of Drying
There are many ways to dry herbs. Some work faster than others, and some are better for larger or thicker plants, but all of them will work if you’re patient.
Air drying has the distinct advantage of being free. However, it takes much more time and it usually takes up more space than other methods.
You can do this by hanging harvested plants or laying them out. Bonus points if you can lay them out on a screen.
Dehydrators usually take up less room and they’re much, much faster than air drying. They’re also more expensive than the air method and unless you have a monster-sized dehydrator, you can only process small batches at a time.
The biggest advantage to this option is that you can dry the leaves quickly but at a controlled, low temperature, retaining the flavor better than other methods as a result.
You can also often use your oven, though this method isn’t always effective for those that must be dried on low heat. Most ovens can’t go below about 175°F or so, and most herbs should ideally be dehydrated at around 90 to 110°F.
Some microwaves are also good for drying herbs, depending on the available wattage.
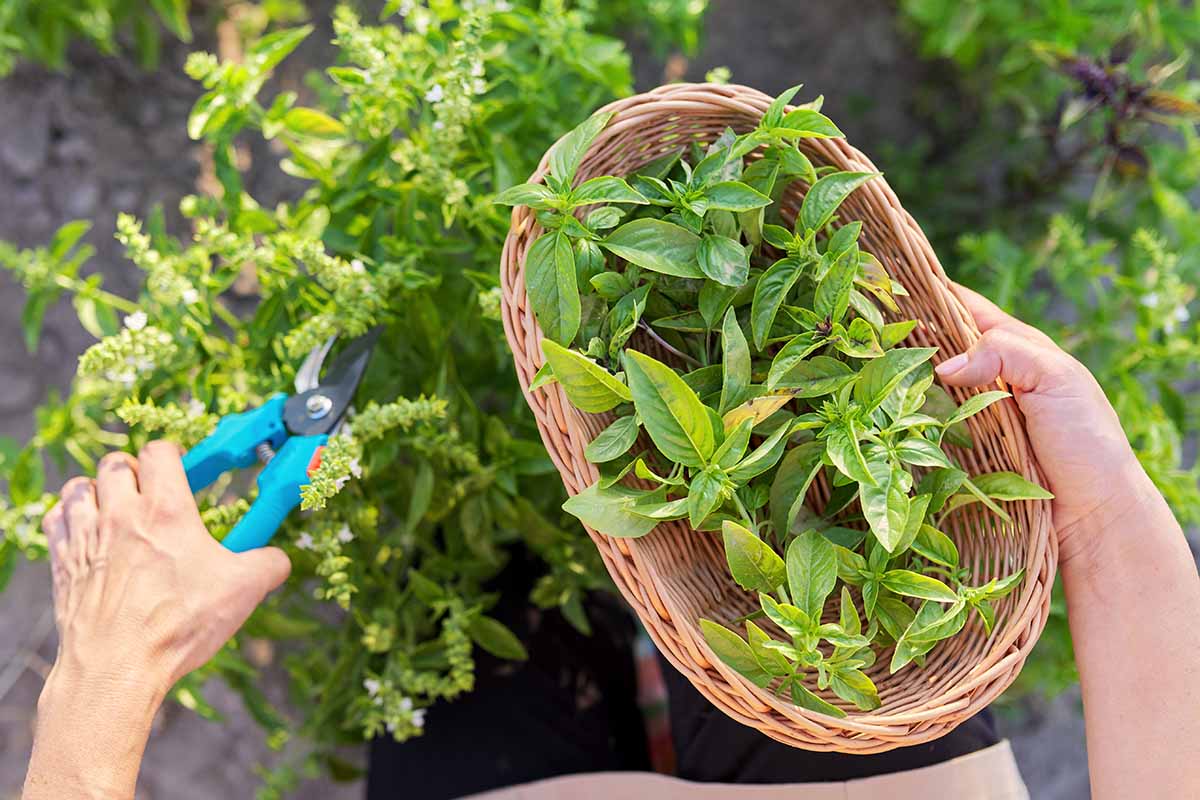
How to Harvest Herbs for Drying
Harvesting starts the day before you intend to do the work. Water the soil well and then spray the plants with water to remove any debris, pollen, sprays you’ve applied, or dirt.
While every herb is different, most should be harvested in the morning while the plants are full of moisture, but after the dew has evaporated. Whenever possible, harvest entire stems rather than individual leaves.
Most are best harvested before or just as they start to flower. Of course, this doesn’t apply to plants that you want to dry to harvest the seeds.
With herbs, we’re generally talking specifically about the edible leaves, as opposed to the seeds, bark, or roots, which would classically be described as spices.
The younger leaves toward the end of the stems usually have the most flavor, with the highest concentration of oils.
You can leave behind a six-inch length of stem when you harvest, and most will regenerate new growth.
Use a sharp pair of scissors to snip the parts you intend to use. Pulling or twisting bruises the plant and causes it to deteriorate more quickly.
Immediately after harvesting, place what you’ve picked in a cool, sheltered spot until you can process it for drying. Even better, place the stems in a glass of water as you would a bouquet. Don’t leave harvested stems in direct sunlight.
Once you arrive indoors, or wherever you intend to prep your harvest, trim off and discard any damaged leaves.
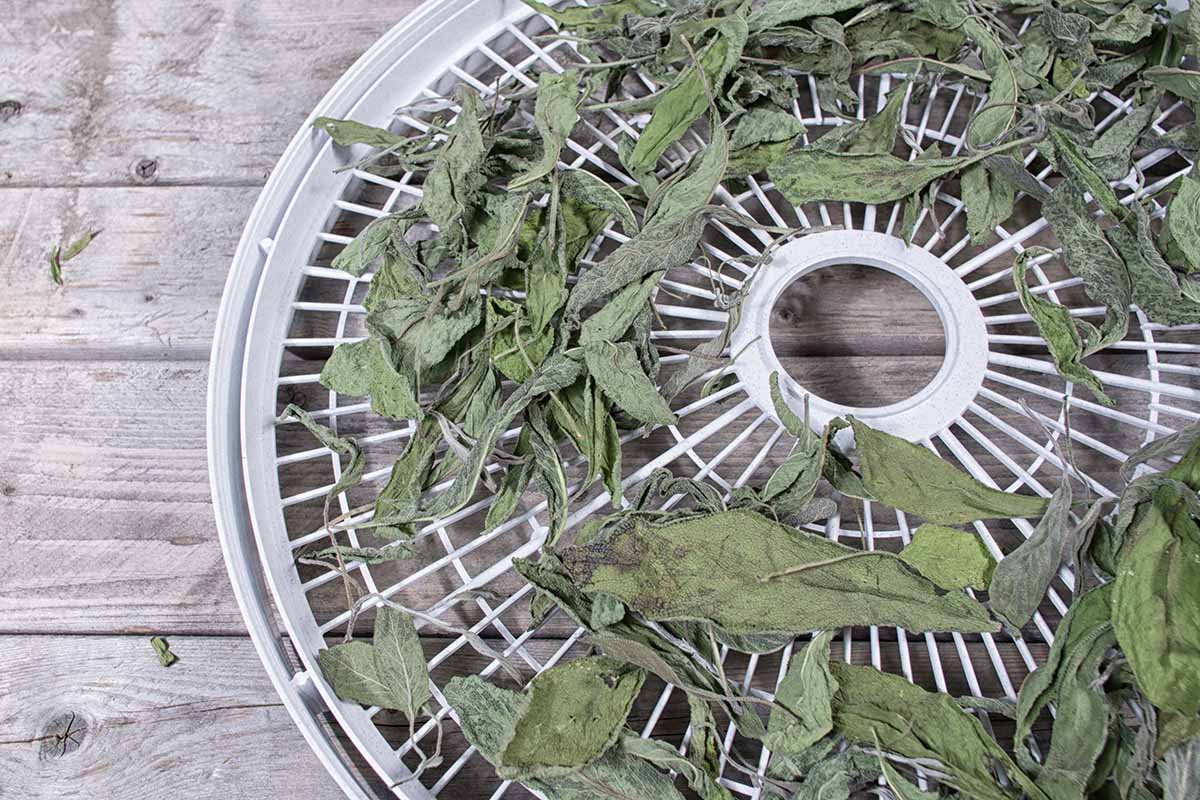
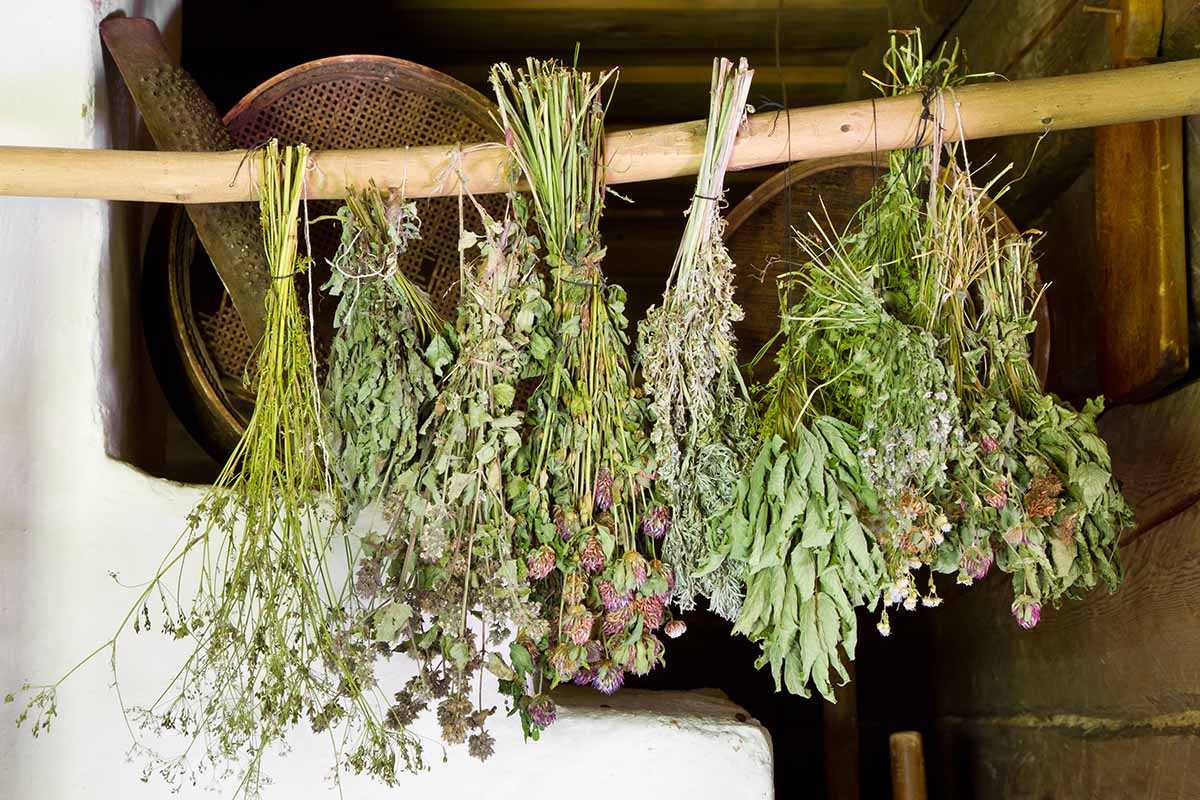
Air Drying
When air drying, the ideal spot is indoors in a warm, sheltered space with good air circulation. You can also do this outdoors, but try to find an area that’s well protected from sun, insects, and wind.
Hanging works best for plants with woody or firm stems. Think rosemary, sage, lemon verbena, and the like.

For flimsier, more tender types like basil and parsley, lay the harvest out on a screen.
To bundle herbs for hanging, loosely secure a handful of stems towards the lower, cut end with a rubber band or string. You don’t want to create a bundle that is too large or you run the risk of mold forming.
Then, hang the bundles singly with a few inches between each one.
I like to suspend a few bundles on a hanger in my attic, basement, or covered patio, depending on the time of year. But you can use anything really, from a clothesline to nails over a doorway.
Be aware that as the stems dry, they shrink, which means some may fall out of the bundle. Experienced air dryers often use rubber bands to avoid this problem, because the bands usually tighten up as the bundle dries.
If you want to collect the seeds from whatever plant you’ve harvested, fasten paper bags over the heads to collect the seeds as they fall.
To dry flat, use a screen, mesh, or wire to lay the herbs in a single layer. If you don’t have any of those available, use a baking sheet with a few layers of newspaper or paper towels on top.
Try to keep the herbs from touching, if possible. You can leave the leaves on the stems if you want, but things will go faster if you strip the leaves from the stem if you go with this option.
Whether you hang them or lay them flat, location is important. It should be as dark as possible, with good air circulation and fairly warm temperatures around 70°F.
Avoid the bathroom, laundry room, areas near the sink or dishwasher, or any other place that has high moisture. Don’t hang them in front of a window, even though that looks awfully pretty.
Hanging can take a week or more, while laying flat takes a bit longer.
Using a Dehydrator
A dehydrator is ideal for plants that have a high moisture content. Basil, mint, tarragon, sage, thyme, and parsley are common ones to preserve this way. These plants need to dry quickly or they risk developing mold.
Use leaves of a similar size and place them in a single layer. The leaves shouldn’t be touching.
Set your dehydrator to 90 to 110°F and run it for as long as necessary to remove all of the moisture from the leaves so they’re dry and crumbly. This should take anywhere from one to three hours.
If you notice that it seems to be taking a long time to dry the leaves, turn the dehydrator up a few degrees. Feel free to flip or shift the leaves or trays around, for even heating.
If you live in an area with high humidity, you can dry all the way up to 125°F, but remember that lower temperatures are always better.
Don’t have a dehydrator? No problem! Check out this roundup of some of the best models on our sister site, Foodal.
Drying in the Oven
Oven drying isn’t ideal. Most ovens can’t hold a low enough temperature to dehydrate the plant matter rather than cooking it, and that means you lose nutrients and flavor.
Remember how we talked about the flavor of an herb coming from the concentrated oils that it contains? If you use too high of a temperature, you lose some of those oils – and the flavor as well.
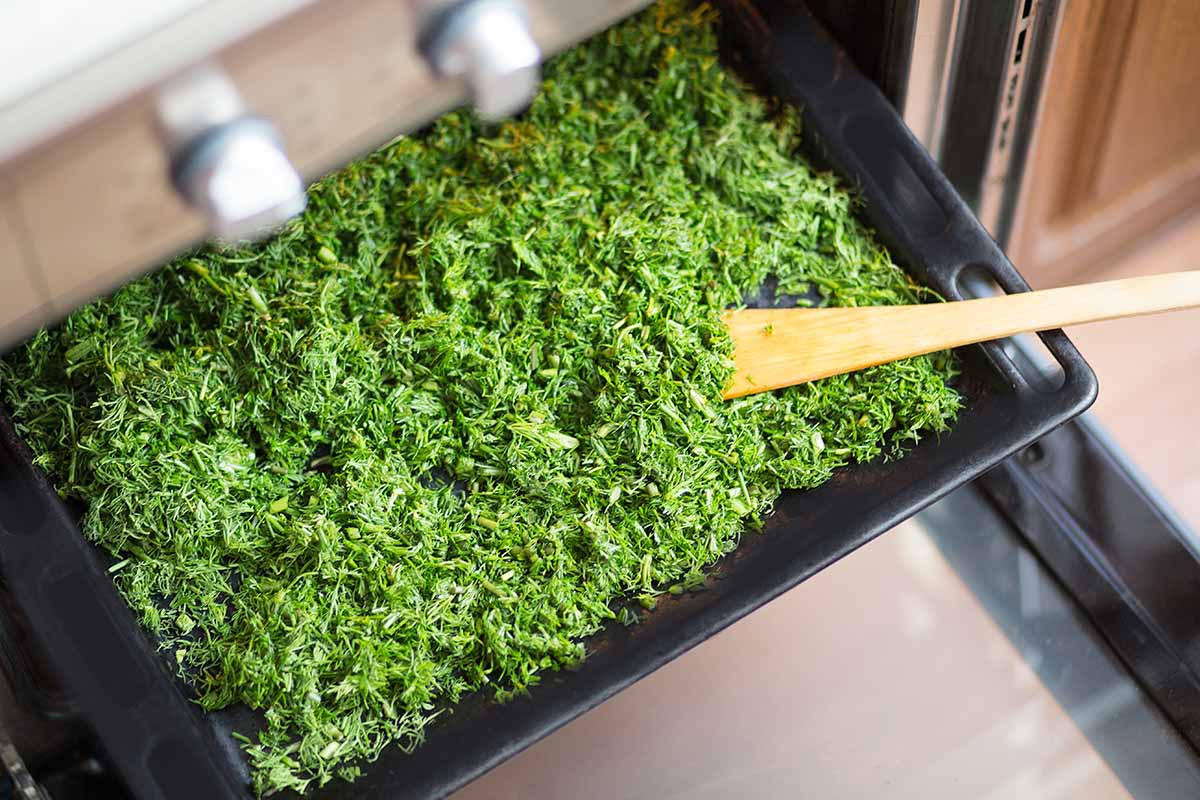
To dry, turn your oven on as low as it can go, and place the leaves in a single layer on a baking sheet. If your oven doesn’t go as low as 125°F, leave the door open a bit to reduce the heat level inside.
This is a terrible waste of energy, but it works in a pinch if you need to dry some herbs quickly.
It helps to flip them and turn the trays every 20 minutes or so. Depending on the temperature and the amount of plant matter in the oven, it will take an hour or two to completely dry the leaves.
As with the other methods on this list, you’ll know the plants are done when you can crumble the leaves between your fingers. Don’t let them bake for too long or the leaves will burn.
Using the Microwave
You might curse your low-wattage (1000 or below) microwave when you’re trying to heat up a big pot of soup, but that low power is a big plus when it comes to drying herbs.
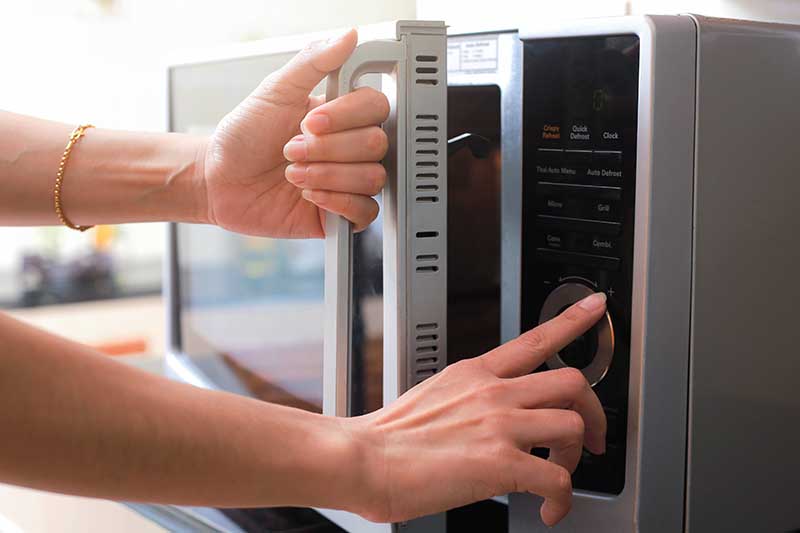
Place a single layer of leaves between two paper towels. Set the microwave to defrost or the lowest heat setting and run it for two to three minutes, depending on the thickness of the leaves.
Flip the paper towels and cook for another few minutes. Continue doing this until the leaves are dry and crumbly.
Do not leave the microwave unattended during this process. The paper towels can catch on fire, particularly if you don’t have enough leaves in the microwave.
Also, never use recycled paper towels because they can contain metal, and we all know how well metal and microwaves get along.
Storage
Regardless of which method you choose, you can be sure the leaves are dry when they crumble easily between your fingers. This is important, because you don’t want them to get moldy in storage.
Fully dried leaves should be stored in airtight containers in a cool, dark place. Don’t expose them to light or high heat.
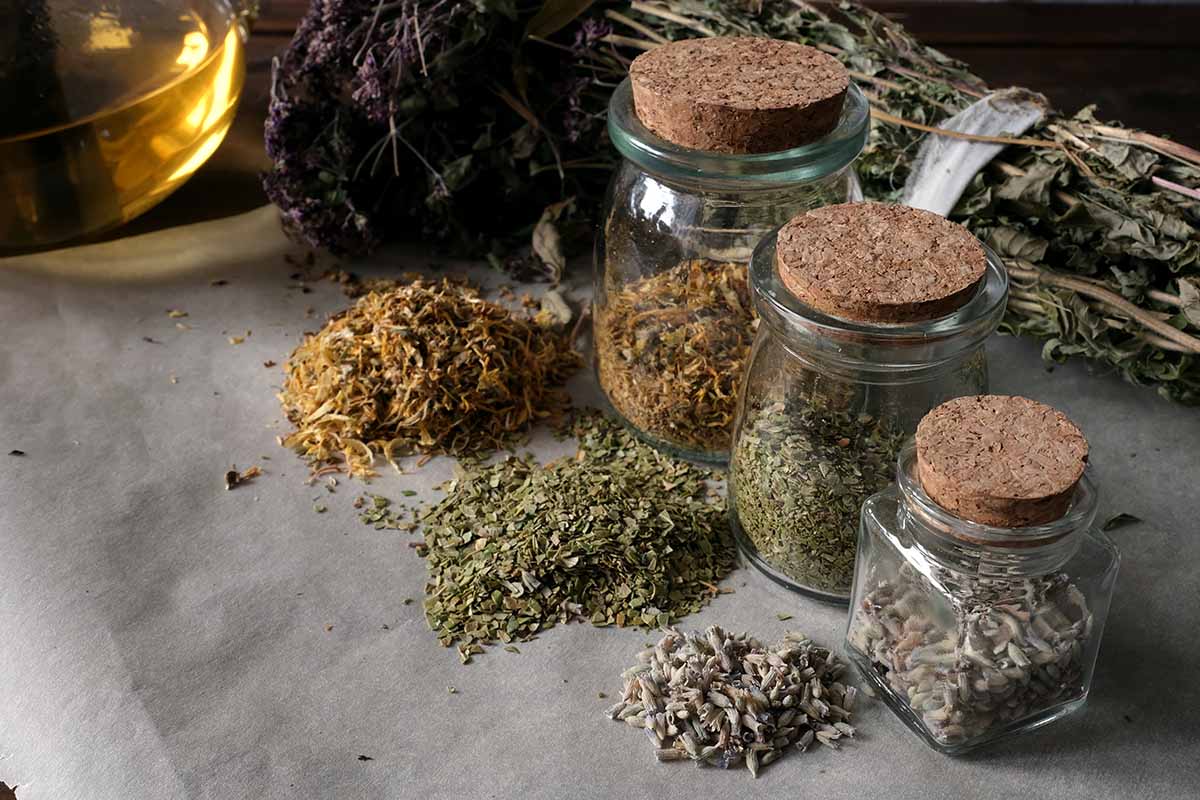
If you’ve been processing your harvest in a warm kitchen, leave the lids off when you move them to the cooler storage area. Once the jars have cooled, put the lids in place. This process helps to avoid condensation inside the jars.
Don’t forget to label the jars. You’d be surprised how much dry herbs can look alike and it can be hard to tell the difference even if you smell them.
Most herbs can be stored for up to a year. When using, keep in mind that dried herbs are typically twice as strong (or more!) than fresh ones.
Savor the Flavor of Your Herbs
Drying is a classic choice of preserving for a reason. It’s incredibly easy and it works.
You don’t need fancy tools or equipment, though having a food dehydrator is a real advantage. Don’t stress if you don’t have one, though. There are lots of other methods to choose from.
Which method are you using? Which herbs are you drying? Fill us in via the comments below!
Hopefully, this guide gave you the confidence to fill your cupboard with herbs galore! And for more information about growing and using herbs, check out these guides next:


Very helpful information!
Thanks for reading Stephanie, glad to hear it was helpful!
Hi Kristine I wanted to share one more method for drying herbs. I typically freeze dry my herbs. They lose less of their nutrition (people forget the nutrition part sometimes) and they retain more of their color. Today, for instance, I bottled up organic Greek Oregano, Sweet and Purple Basil, Onion Powder, Celery Leaves, Dill and Lemon Verbena. The Lemon Verbena I’ll actually store in unbleached tea bags. I also grow different types of peppers and have been producing Mulberry Tea and Sweet and Smoked Paprika for the past two summers. All were freeze dried. With more and more people… Read more »