Do you enjoy growing herbs indoors? You’re in for a treat!
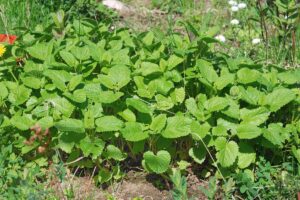
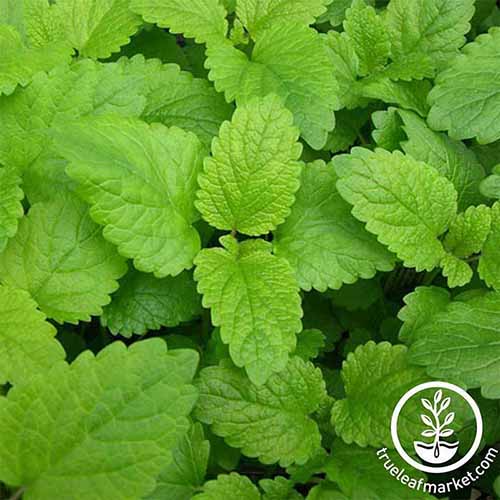
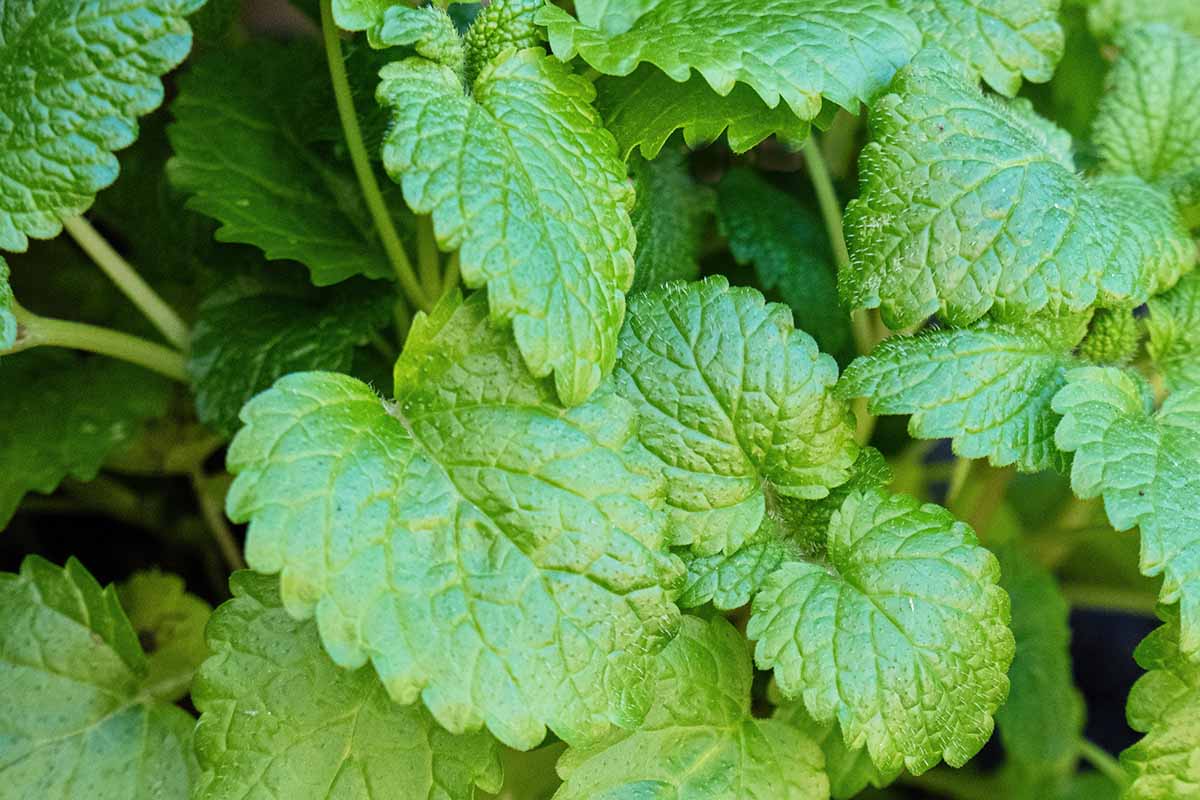
Lemon balm, Melissa officinalis, is known for its vibrant aroma, delightful flavor, and both culinary and medicinal uses. This herb is an excellent choice for beginner growers, thanks to its easy cultivation.
The best part? You can grow this lemony-scented plant indoors year-round.

We link to vendors to help you find relevant products. If you buy from one of our links, we may earn a commission.
You can learn more about how to grow lemon balm outdoors in our guide.
In this guide, we’ll look into some helpful tips that can help you with your indoor growing journey.
Here’s what I’ll cover:
What You’ll Learn
Lemon Balm 101
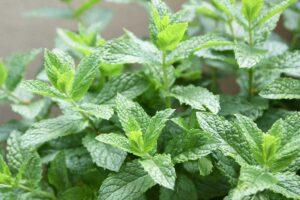
Lemon balm is a citrus-scented herb in the genus Melissa, part of the Lamiaceae (mint) family.
If you have ever grown mint, you’ll find that these two plants share many of the same growing requirements, so it’s kind of cool to think of them as cousins.
This fast-growing herbaceous perennial has an upright growth habit of up to four feet tall in ideal conditions. Now, that’s as tall as my six-year-old!
These plants also produce small charming clusters of white or pale yellow flowers that will bloom in the spring, summer, or fall.
This herb typically thrives in USDA Hardiness Zones 3 to 7 when cultivated outdoors. However, our focus in this guide is on indoor cultivation, where these agricultural facts won’t hinder you from having this delightful herb at your fingertips year-round.
Growing this herb indoors is a wonderful choice, due to its aggressive tendencies. When grown outdoors, each plant can spread up to two feet wide via underground rhizomes. Growing in containers can definitely keep that spreading in check!
This herb grows well in well-draining, moist – but not wet – soil, with an ideal pH of 4.5 to 7.6. However, it can tolerate soil of all types.
When grown indoors these plants thrive when they receive at least five hours of direct sunlight or bright, indirect light.
In terms of temperature, this herb thrives in a range of approximately 65 to 70°F during the day, with overnight temperatures of around 55 to 60°F.
As a herbalist, over the years of growing herbs for medicinal and culinary use, I’ve learned that many species don’t require a lot of fertilizing or pampering in general, when compared with some vegetable crops or fruit trees.
This herb specifically is undemanding when it comes to fertilizer, but when grown in a container indoors, the requirements change a bit. We will speak on this more on that in a bit!
Overall, this plant is pretty low maintenance and doesn’t require a lot of effort or attention.
Getting Started
Lemon balm care can differ slightly when growing outside in the ground versus inside in a container.
Before you get started, you’ll need to choose a suitable container and soil for your plants.
Choosing a Container
If you are reusing a container, make sure to properly clean and sanitize it to prevent the spread of unwanted pathogens.
You can start this process by washing it out with soapy water, and then follow up with disinfection. To disinfect, mix one part bleach with nine parts water to create a 10 percent solution and wipe the inside of the pot.
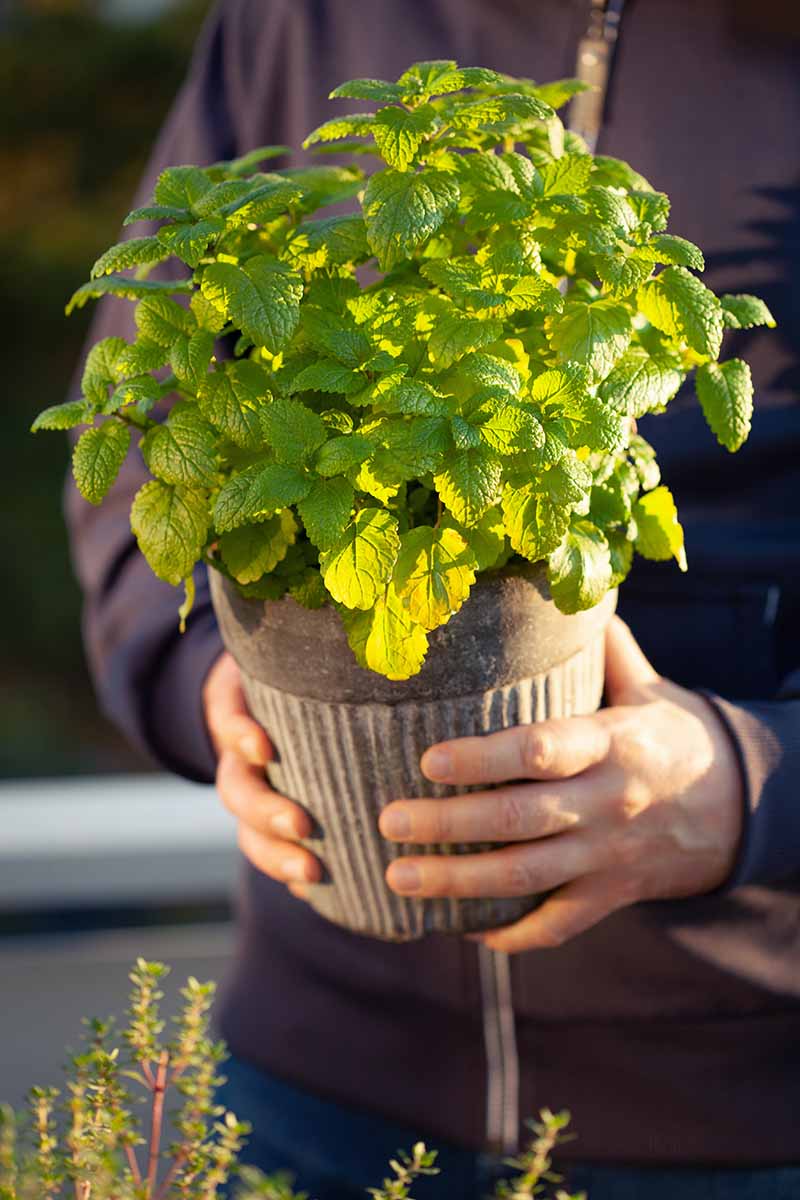
I prefer to grow this herb in a large container. A container of about 12 to 18 inches in diameter and at least six to eight inches deep, equipped with one or more drainage holes at the base, is a suitable size.
However, it’s worth noting that it can thrive in a smaller container of six to eight inches in diameter if space is at a premium.
I recommend using clay pots, as they tend to dry out a lot quicker than plastic. This herb can’t stand wet feet and waterlogged roots.
I am also a big fan of unglazed clay pots as they are sturdy – I am a pretty clumsy gardener, so sturdiness is the best for me!
While clay pots work for me, you may have different preferences when it comes to your container style, and that’s perfectly fine, too. So long as the pot has adequate drainage holes in the bottom, lemon balm will be happy.
Soil
Container soil must have excellent drainage to prevent waterlogged roots. Although this plant is tolerant of a variety of growing conditions, it isn’t too fond of standing water.
Choose a commercial potting mix labeled for vegetables or herbs, which often contain ingredients like perlite or vermiculite to improve drainage.
The potting mix should also be light and aerated to prevent compaction and root suffocation. Mixes with peat moss or coconut coir can help maintain good aeration.
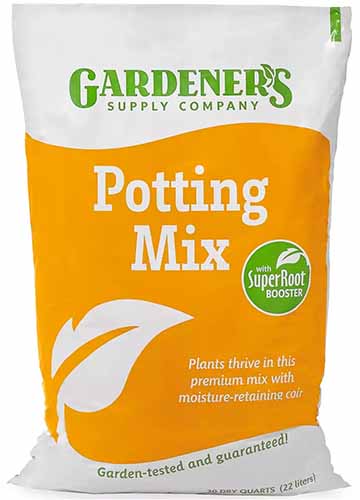
If you need a recommendation, Gardener’s Supply Company sells 20-quart bags of potting mix that’s ideal for lemon balm.
Lemon Balm Propagation Tips
Like many herbs in the mint family, lemon balm can be propagated from seeds, via cuttings, or by purchasing nursery starts.
Let’s go over each method briefly.
From Seed
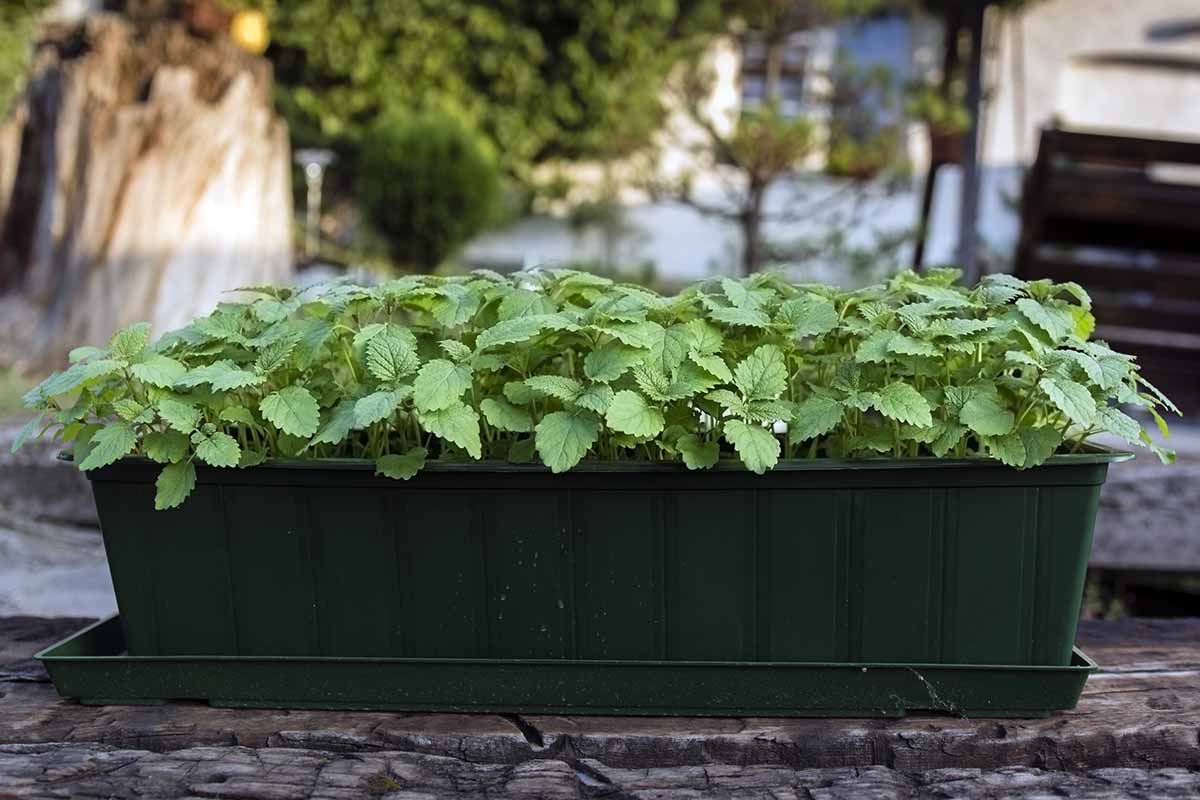
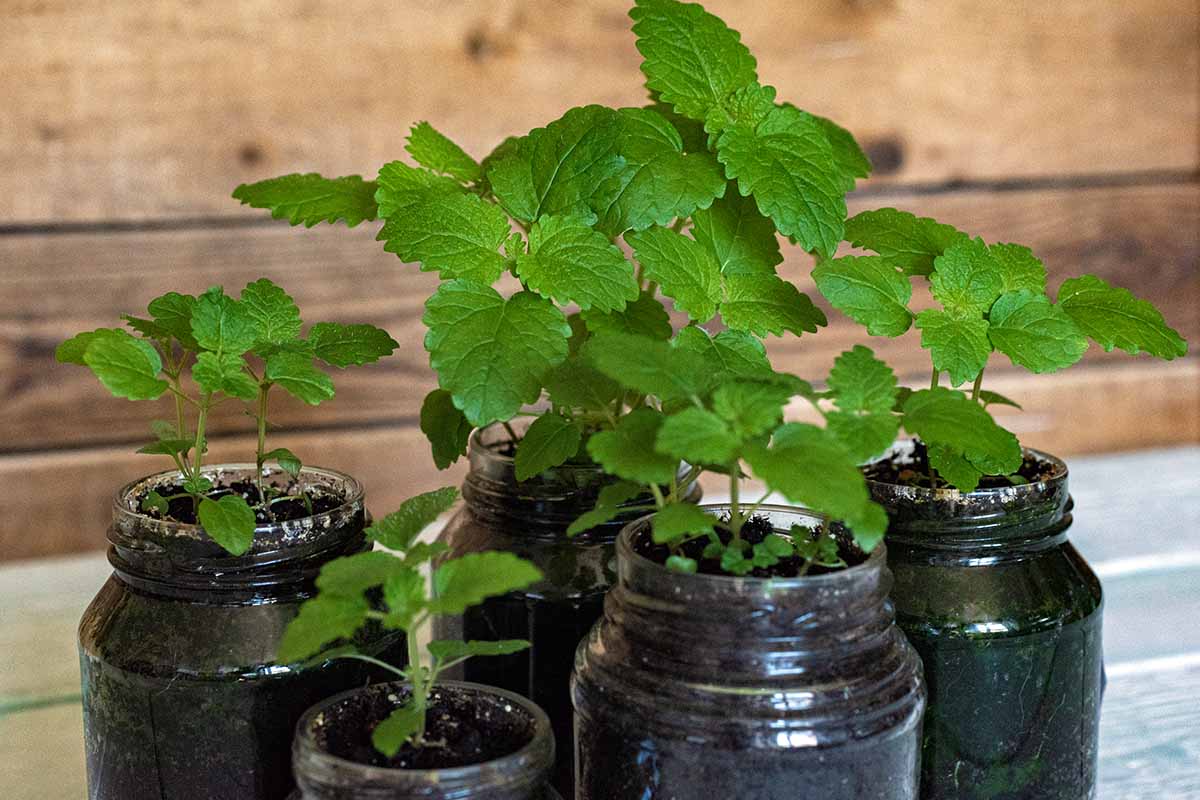
When growing lemon balm from seed, you have the option to start the seeds directly in your chosen container or to use seed cells or smaller pots and transplant later. The choice completely depends on your preference.
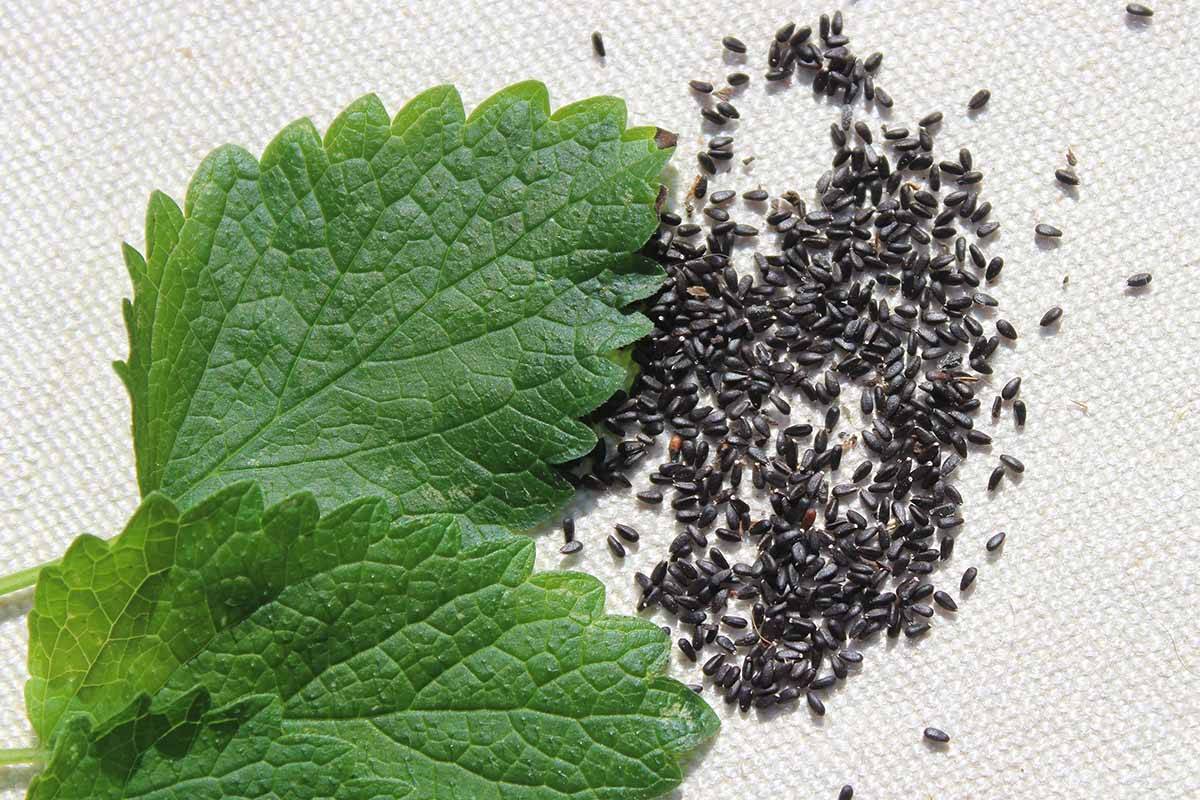
Whether you opt for seed trays or containers as your initial planting choice, the first step is consistent: sow the seeds approximately a quarter of an inch below the soil surface.
In seed trays, it’s recommended to plant two seeds per cell, while in containers, you can comfortably plant four to six seeds. To ensure successful germination, maintain a consistent temperature of around 70°F.
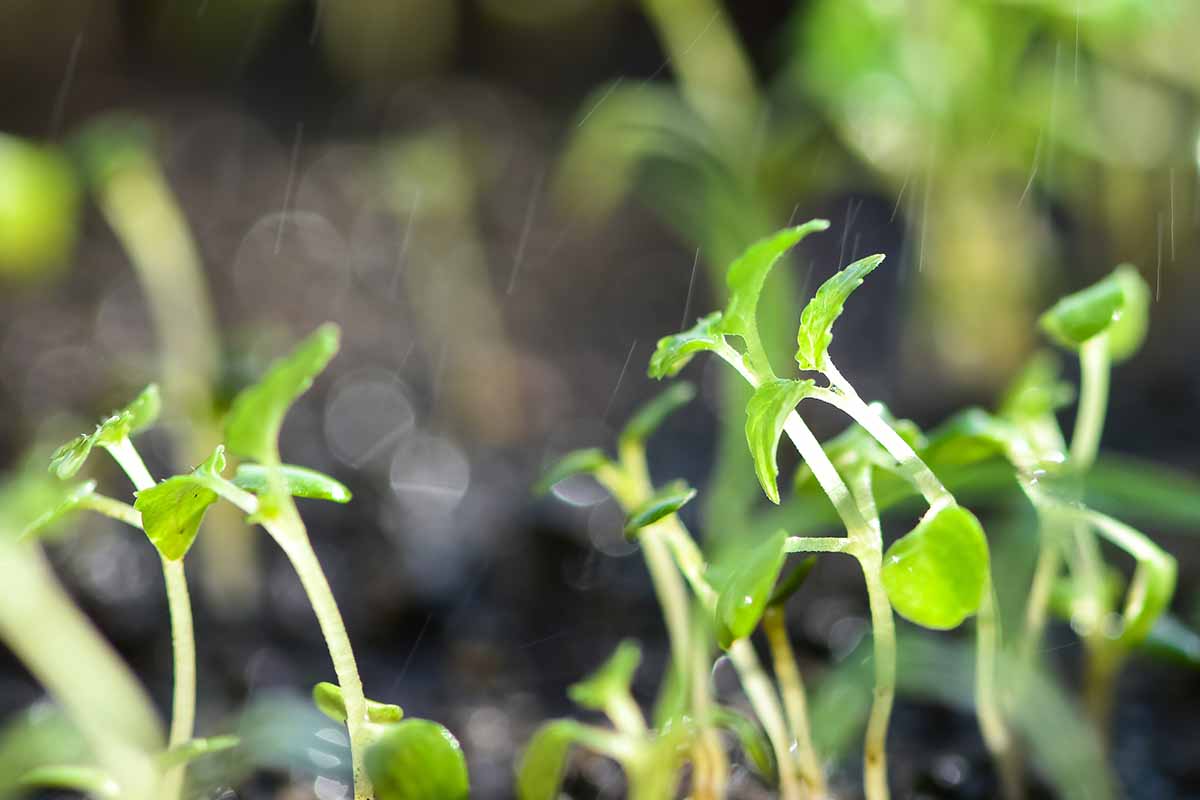
As your seedlings mature, you’ll eventually need to thin them out to maintain an ideal spacing of at least four to six inches.
Thin to one plant per cell, or two to three plants per container, depending on the size. This thinning process is essential to provide each seedling with the room it needs to flourish and develop.
In four to six weeks, when your seedlings have at least two pairs of true leaves, they are strong enough to be transplanted into their main container homes.
Need some lemon balm seeds?
You can find packets in a variety of sizes available at True Leaf Market.
From Cuttings
Just like with seeds, you have the option of setting your cuttings directly in your chosen container or using smaller pots for rooting and then transplanting later on.
To get started, you’ll need a healthy plant that will serve as the source for your cuttings.
When you take a cutting, select a healthy stem, and be sure to cut just below a leaf node, which is the point where leaves emerge from the stem.
Aim for a cutting that is approximately three to five inches in length.
Next, remove the leaves from the lower two-thirds of the cutting.
While it’s optional, I like to dip the cut end in powdered rooting hormone. This works to boost the chances of successful rooting.
You can plant multiple cuttings in the same pot, but be sure to provide about two to three inches of space between them. Alternatively, you can start each cutting in a two to three inch pot and transplant them to larger pots later.
To create a favorable environment for root development, I like to cover the cuttings and pots with a clear plastic bag or plastic wrap, leaving some air space inside for the cuttings. This will create your own mini greenhouse effect.
Just before putting on the plastic, insert a few small stakes or supports into your potting mix. This step ensures that the plastic does not touch the cuttings directly and the stakes can also help to keep your cuttings upright.
To prevent the plastic from blowing away or shifting, you can secure it in place with rubber bands or twine around the rim of the pot or by gently securing the plastic with clips or ties.
Over the next few weeks, once the cuttings have developed strong roots and new growth, they will be ready to be transplanted into their permanent containers.
You can test if your cuttings have rooted by giving them a gentle tug. If there is a bit of resistance, it’s a sign that they have established good root systems.
From Nursery Starts or Seedlings
Once you have your nursery starts or seedlings ready, it’s time to prepare the container.
To transplant your seedlings or nursery starts into their permanent container, begin by filling it with your chosen potting mix, leaving about an inch of space from the top of the pot to allow for watering.
Before transplanting, it’s wise to water the nursery starts or seedlings a few hours in advance. This helps reduce transplant shock.
Gently remove the plants from their original containers, being careful not to disturb the root system too much.
If you find the roots tightly bound, consider using a knife to score the root ball gently. This makes it easier for the roots to spread out and establish themselves in their new home.
Create a suitable planting hole in the potting mix of the prepared container. Make sure the hole is slightly larger than the root ball of each plant.
Place the plant in the hole at the same depth it was previously growing. Fill the hole with potting mix, gently firming it around the root ball to eliminate air pockets.
Thoroughly water the transplanted herb to help it settle into its new environment.
Place the container in its intended location, providing the appropriate amount of light.
Growing Lemon Balm Indoors
Whether you’re short on space or have ample room to spare, you are sure to find an ideal spot for your indoor-grown herb.
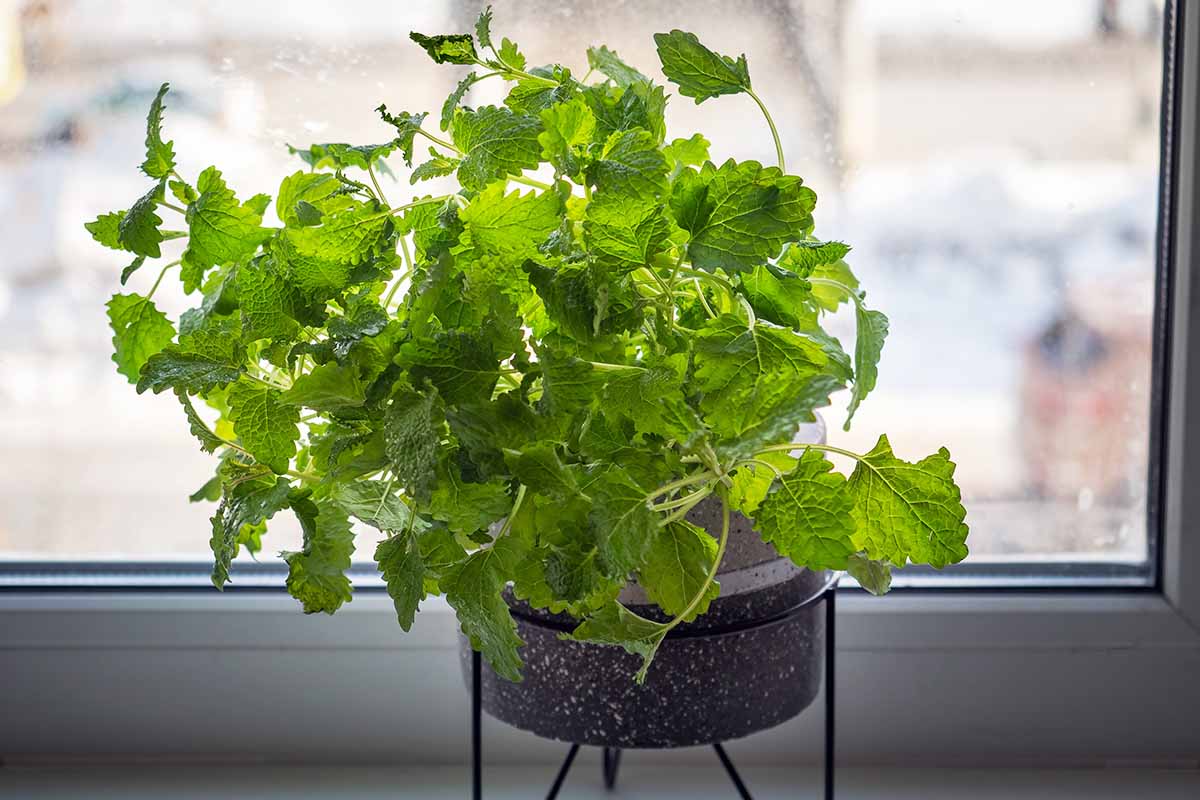
You can position the herb near a south-, southwest-, or east-facing window to ensure it receives a good amount of sunlight.
You can also set it on a sunny windowsill, making the most of available natural light. Alternatively, use a plant stand or elevate it on a plant shelf.
For those who love cooking with fresh herbs, the kitchen countertop is a convenient choice, ensuring easy access to its fragrant leaves. Consider a hanging planter to save space, or if you have a sunroom or glass-enclosed space, that’s perfect too.
When it comes to watering, wait until the top inch of the soil feels dry to the touch before adding moisture.
When cultivating this aromatic herb indoors, it’s best to water the soil at the base of the plant and avoid getting the foliage wet. Damp leaves can create conditions conducive to pests and diseases.
Fertilizing
Lemon balm growing in the ground will rarely need fertilizing, but when grown in a container indoors, this changes slightly.
You can opt for a general purpose liquid fertilizer, or use fish emulsion. Dilute to half-strength and apply every four to six weeks.
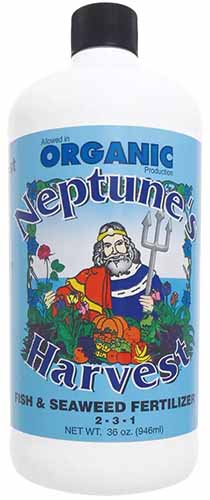
Neptune’s Harvest Fish and Seaweed Fertilizer
You can find one-quart bottles of Neptune’s Harvest fish and seaweed fertilizer available from Gardener’s Supply Company.
Repotting and Dividing
While dividing is usually done in the spring or summer, indoor container-grown plants are a lot more flexible when it comes to timing.
If your herb has outgrown its container, you can divide your herbs into multiple pots at any time when overcrowding becomes apparent. Alternatively, you can simply repot your plant into a larger container to accommodate its growth.
Container-grown herbs can often benefit from division when they become rootbound or when you want to create new plants.
You can read our complete guide to dividing perennials here.
Pests and Disease
While lemon balm is generally unbothered by pests and diseases, there are some insects that can be prevalent in indoor settings.
Aphids, mealybugs and spider mites may occasionally infest your plant. Fortunately, you can address these by thoroughly rinsing the plant with water using your sink or shower, as a means of dislodging the pests.
Although less common in indoor situations, disease is not impossible, especially when the conditions are just right. An example of this would be wet leaves, hot and humid days, warm temperature and cold nights.
Powdery mildew is a fungal disease that manifests as a white powdery coating on the leaves. It tends to thrive in regions with hot, humid days and cool nights. To prevent powdery mildew, ensure good air circulation and avoid overwatering.
Regular pruning and harvesting can help prevent this infection. You can consider opting for the mildew-resistant cultivar ‘Citronella’ to avoid this issue altogether.
Along with powdery mildew, lemon balm can also fall victim to Septoria leaf spot, a fungal infection characterized by dark brown or black angular leaf spots.
This disease is more likely to occur in warm, humid conditions.
If you are ever in need of a fungal treatment for your plants, neem oil is a powerhouse at controlling these diseases, and it can help to eradicate the aforementioned pests as well.
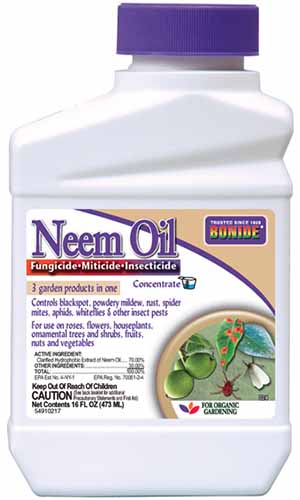
You can find Bonide neem oil available in quart- or gallon-sized ready-to-spray bottles, or as a concentrate available at Arbico Organics.
Harvesting and Preserving Lemon Balm
When grown indoors, you can enjoy fresh, aromatic leaves throughout the year.
Before harvesting, wait until your plant reaches a height of at least six inches and displays a lush, healthy appearance with numerous leaves.
Avoid harvesting from very young or stressed plants, as this can hinder their growth.
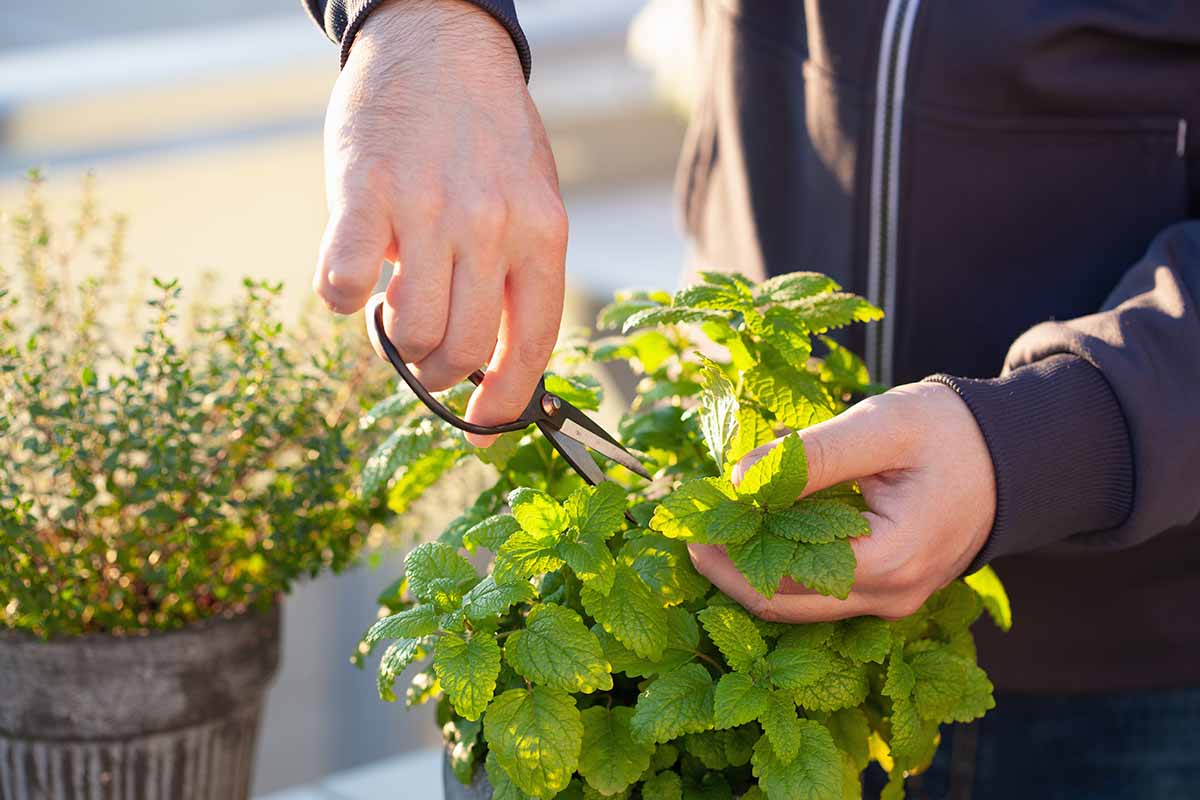
Remember the “one-third rule” for indoor plants as well – never harvest more than one-third of the plant’s total foliage at a time to encourage ongoing growth and vitality.
Opting for selective picking by harvesting individual leaves or pruning off stem sections, allows for them to continue producing new growth as well as help prevent legginess when needed.
To maximize the flavor and aroma, it’s still good practice to harvest in the morning when the essential oils tend to be more concentrated.
To enjoy year-round, consider preserving your lemon balm harvest.
You can learn more about how to dry herbs in our guide.
Alternatively, freezing is a convenient preservation method. Refer to our guide to freezing herbs for detailed instructions.
Lemon Zest in a Pot
Growing lemon balm indoors can be a rewarding and aromatic experience.
While outdoor gardening is often season-dependent, your indoor plant allows you to savor its citrus-scented goodness regardless of the weather or the time of year.
Are you growing this herb indoors? Let us know in the comments section below!
And for more information about lemon balm, check out these guides next: