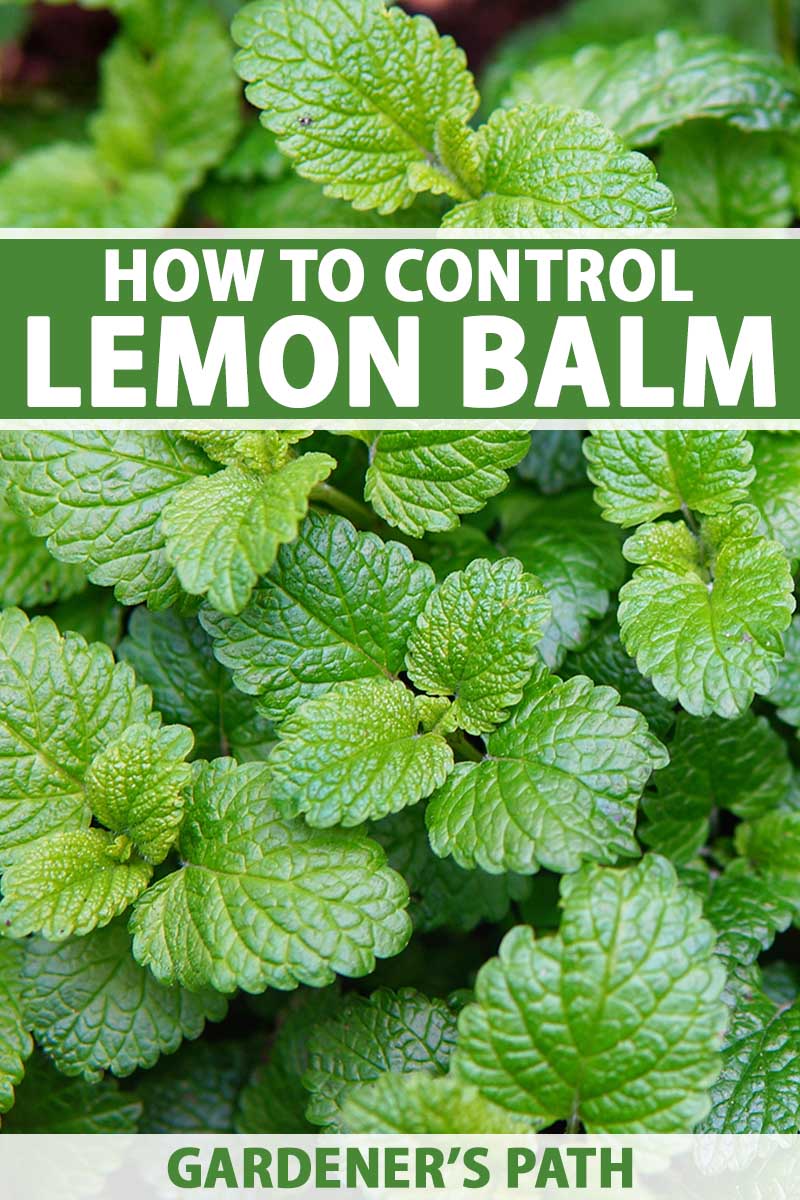
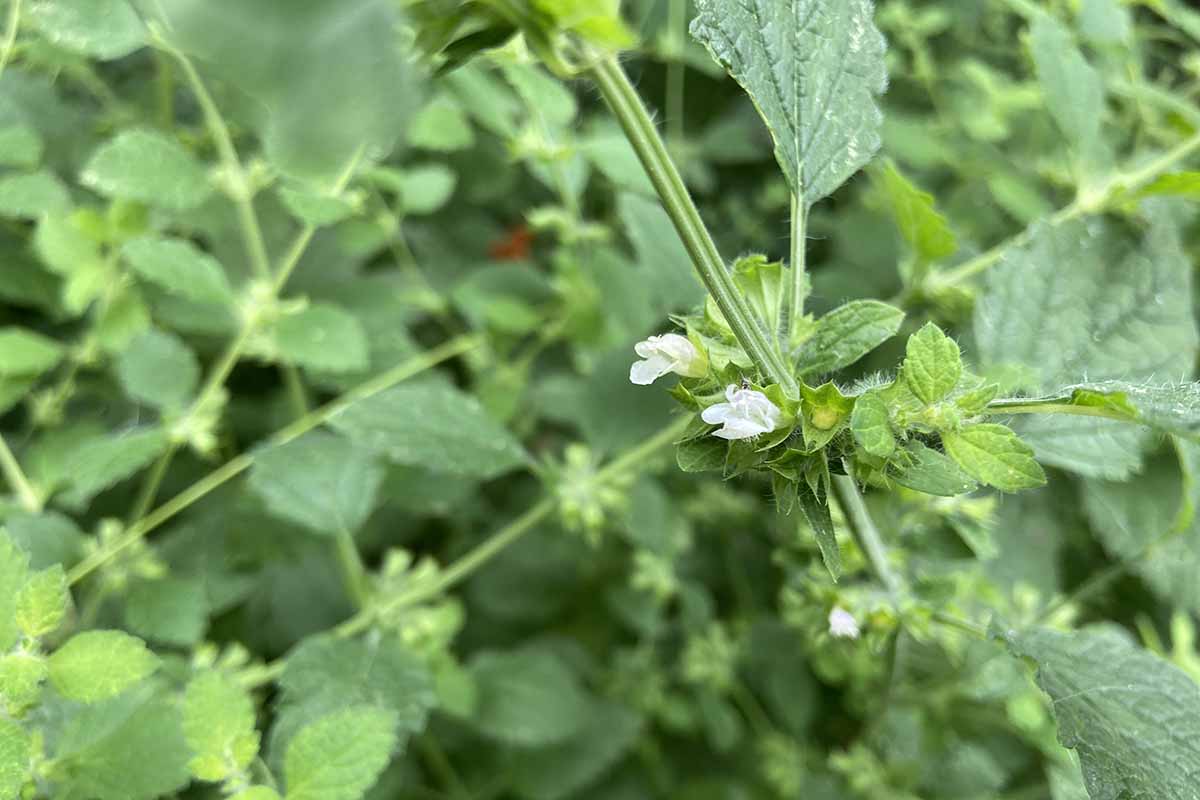
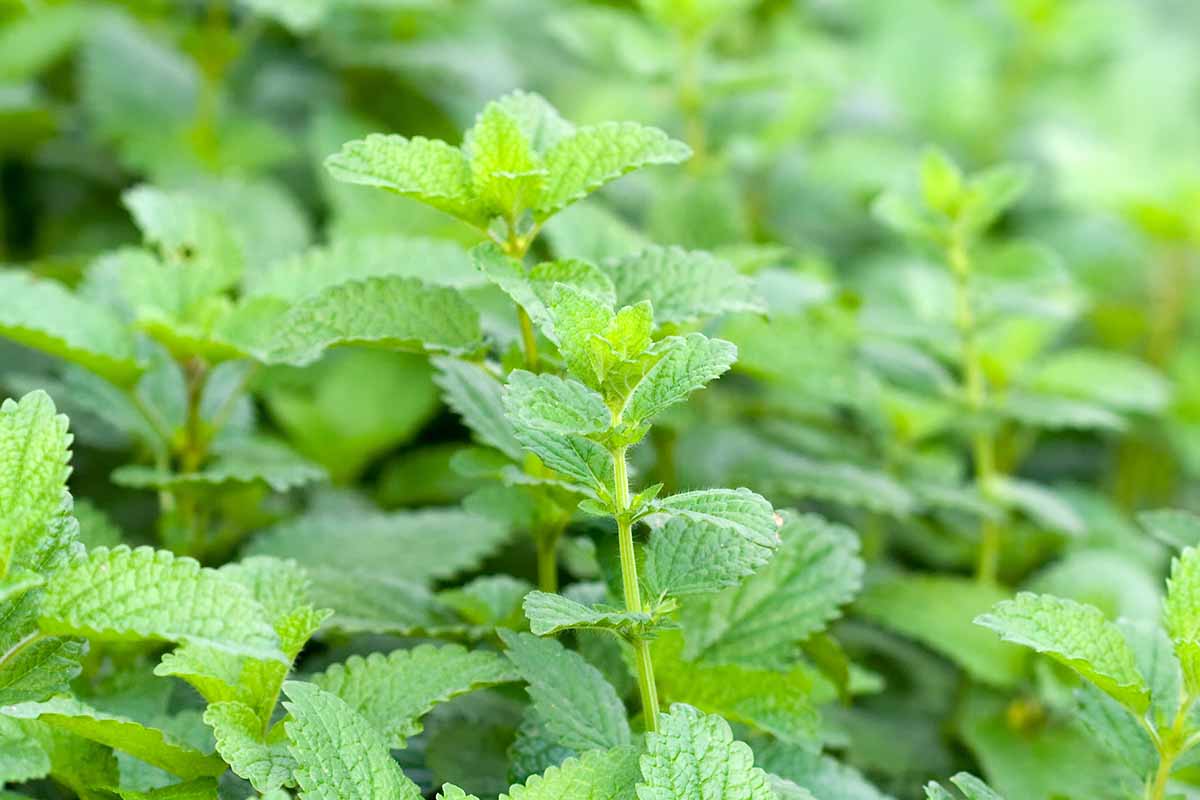
Lemon balm, Melissa officinalis, is one of my favorite aromatic garden herbs because it’s so simple to grow – and it’s available almost year round here in Southern California.
We link to vendors to help you find relevant products. If you buy from one of our links, we may earn a commission.
If you’re thinking of adding lemon balm to your garden, it’s essential to know that, like mint, this herb can spread rapidly.
With a few simple steps, you can keep it under control and enjoy its delightful fragrance without it taking over your space.
I’ll share some tips on avoiding a lemon balm takeover and managing it if it gets a little too enthusiastic in its growth.
What You’ll Learn
Proactive Prevention
By taking preventative measures, you won’t have to tackle an overgrowth of lemon balm in the future.
This herb spreads through seed and runners. A runner, in botany, is more formally known as a stolon.
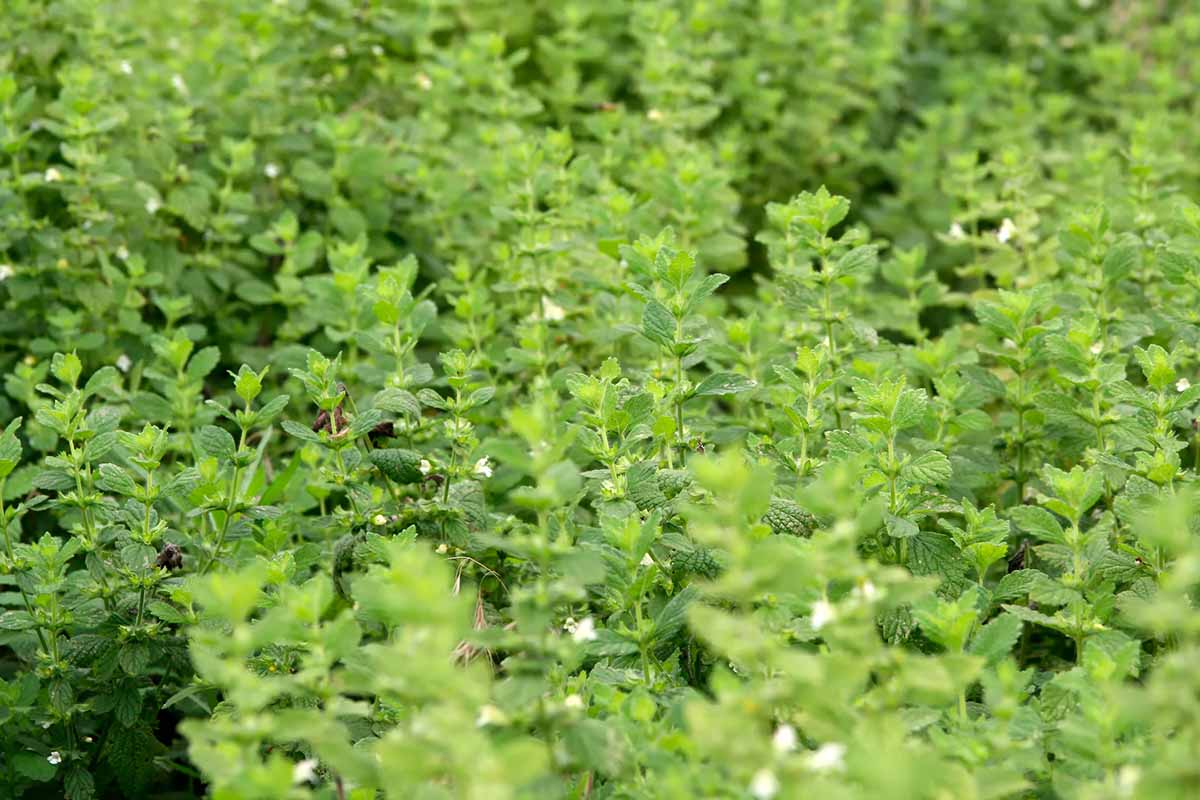
The stolon is a horizontally creeping stem that extends from the main plant and develops roots at specific points that can grow into new plants.
These new plants are often called “daughter plants,” and they grow from what some call the “mother plant.”
I appreciate the opportunistic behavior of this mint relative and will make the most out of its abundance when met with the opportunity.
There are four simple methods that I’ve found to be most supportive in controlling M. officinalis. Check them out below.
Container Garden
You can grow your lemon balm in a spacious container to prevent it from spreading through runners.
However, remember that the plant can still self-seed and spread to other planters or bare soil.
I like these Gardener’s Best® Universal Grow Bags. They’re affordable and come in various vibrant colors!
The handles make it easy to move them around your patio or garden.
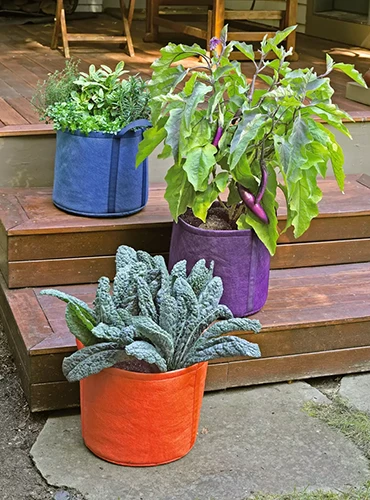
Gardener’s Best Universal Grow Bags
You can find them at Gardener’s Supply Co.
Mulch
Applying and maintaining a thick layer of mulch is recommended to help prevent lemon balm seeds from growing in unwanted areas.
While this method can effectively prevent seed germination, it may not entirely stop runners from growing through the mulch.
The optimal time to mulch is before the wet season, typically in early fall where I live. When applying mulch, lay at least one to two inches down spaced one foot away from the plant’s crown.
As the mulch breaks down over the seasons, it nourishes your soil. In a few years, you’ll want to build up your mulch layer again.
Learn more about mulching in our guide.
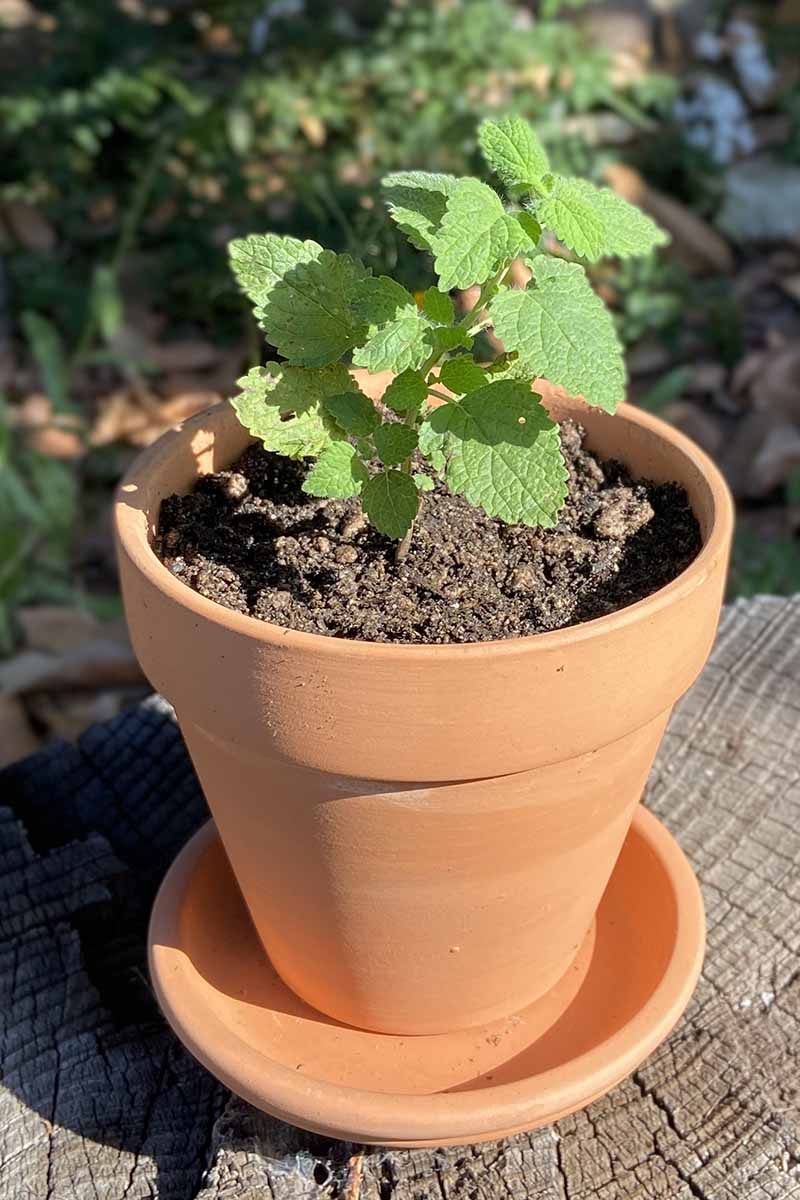
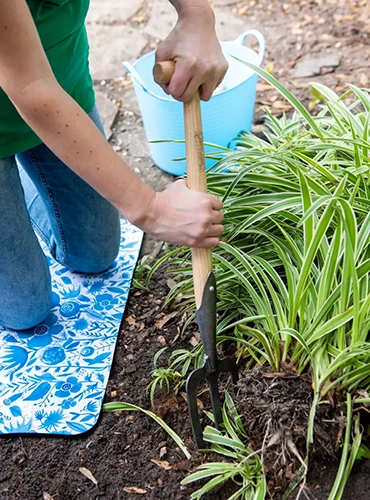
Divide
It’s incredible how easy it is to divide and transplant lemon balm.
I always look forward to late winter or early spring when I can divide the herb by carefully uprooting some and planting the divisions in new homes. The abundance of plants is a plus!
I always prioritize the timing of when I divide plants to give them ample time to establish themselves before the hot summer.
If I can’t get to this by late spring, I make sure to grow them in containers so I can move them around, which helps me better accommodate their growing conditions through summertime. I’ll transplant them from the container between late fall and early spring.
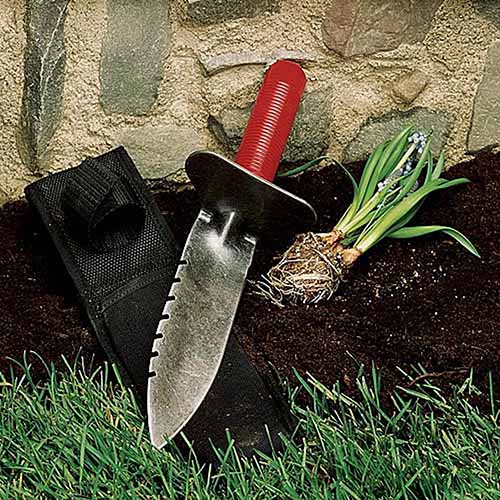
First, dig up the lemon balm plants, including their roots, using a trowel or a professional gardener’s digging tool like this one that you can get from Garrett Wade.
Gently lift the plant out of the ground.
Depending on the root system’s size, use a knife or garden shears to divide the plant into smaller sections. Each section should have at least one healthy stem and a robust root system.
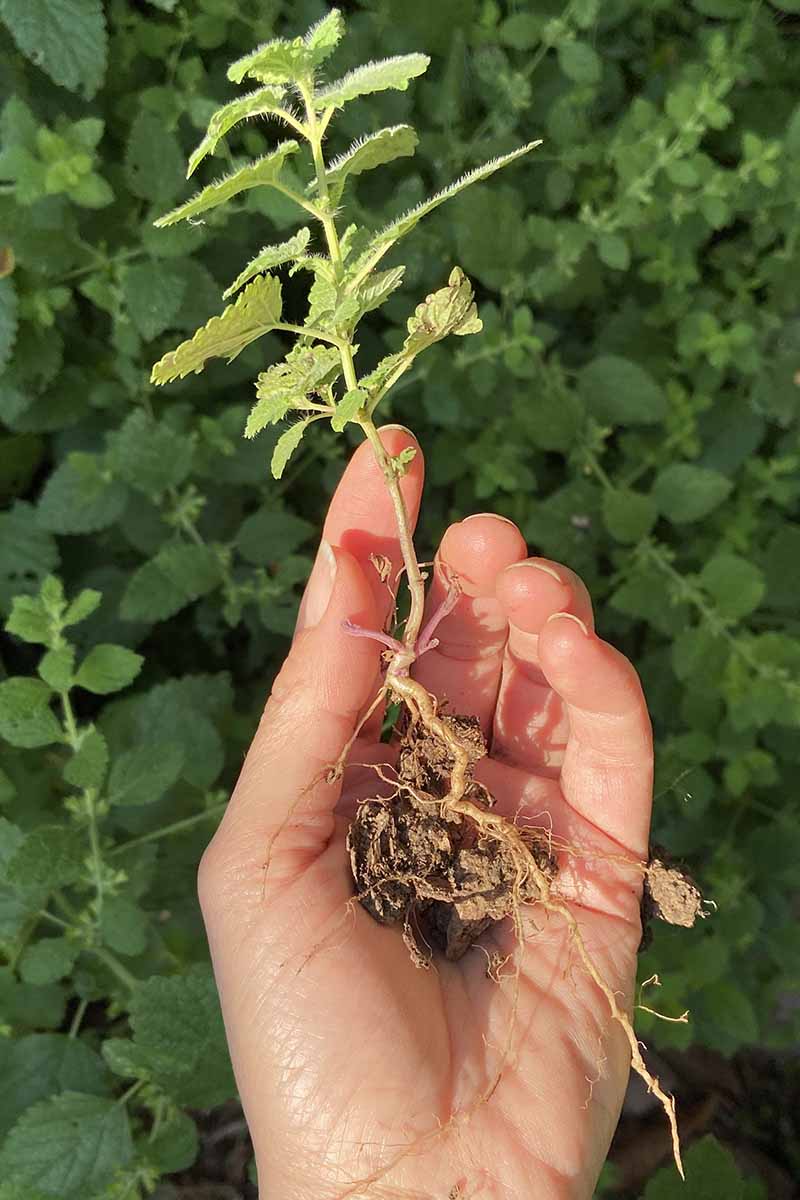
Be sure to replant each section in a well-draining soil mix and water thoroughly after planting. Lemon balm plants prefer moist, well-drained soil and partial shade.
Prune Regularly
Trimming off the flowers before they start to turn into seed is crucial to managing lemon balm’s growth. You can prune the herb all the way back, and it will produce new and lush leaf growth.
I like placing my flowering Melissa cuttings in a vase to freshen indoor spaces with their vibrant lemony scent! You could also save some by drying and storing the herb to enjoy later as an infusion.
If you’re curious about this mint’s healing properties and why you should make infusions with the herb, then you’ll be inspired by reading our lemon balm tea guide.
Remediation Measures
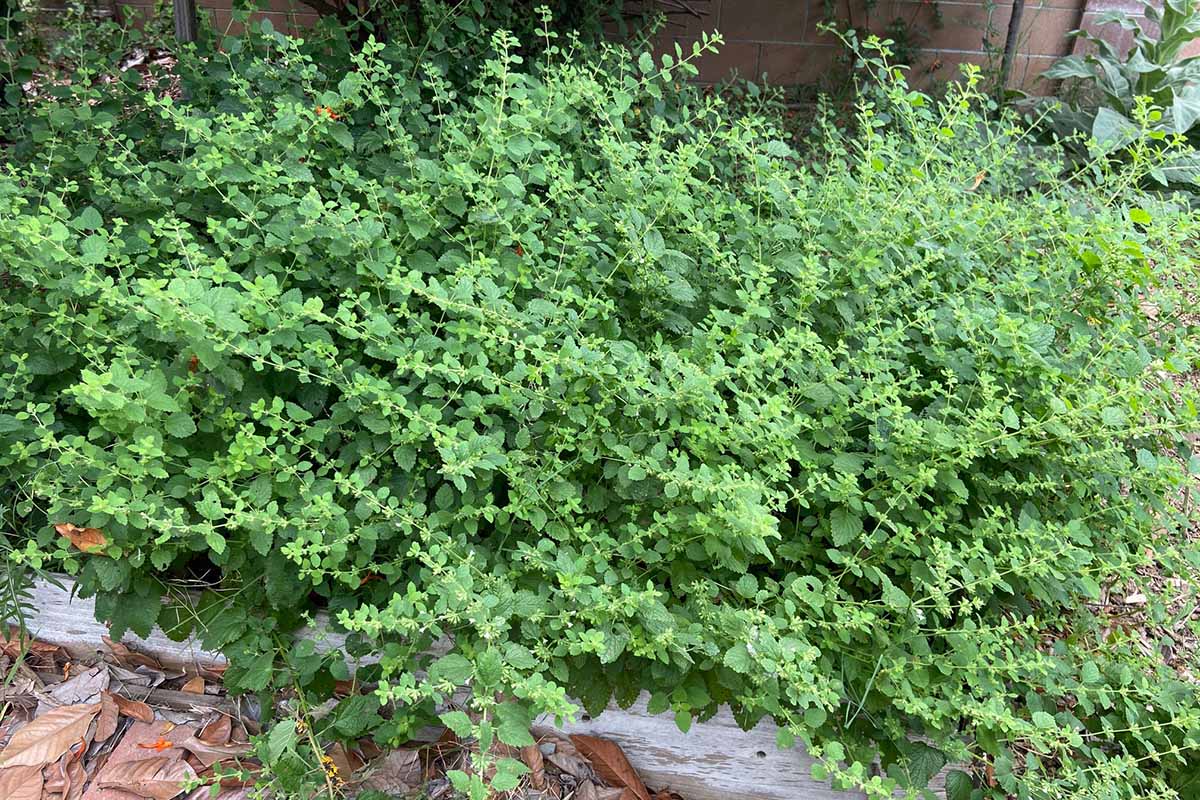
The longer you grow lemon balm, the greater the potential for experiencing this stage where you must start managing vigorous growth, or else it will take over.
Controlling runners and digging up seedlings before they establish themselves will help balance populations. I’ll share details below on how to accomplish this and when to act.
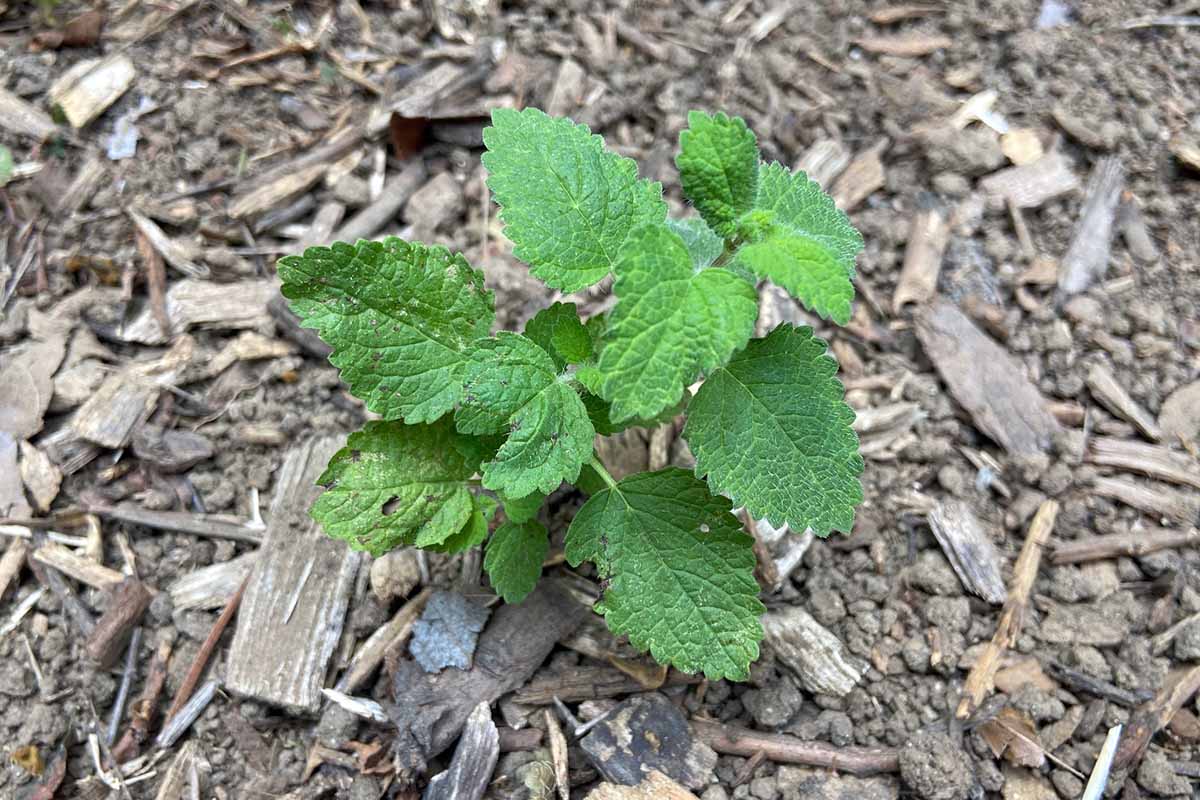
Weed Out
In early spring, you may notice baby lemon balms that have started from seed. If the soil is moist and they’re not growing from runners, they’re easy to uproot with your hands.
I like using a glove that feels like I’m not wearing anything so I can get as close to the base of the plant to pull up all of the roots.
These second-skin garden gloves available from Terrain are perfect for the job!

Or you can discover even more gardening gloves that are sure to become your favorites in our roundup.
If the lemon balm has matured and the soil has dried up, it will be difficult to weed them out with your hands. Timing is critical here to make this method simple and easy.
The next step is the final measure of removing unwanted plants.
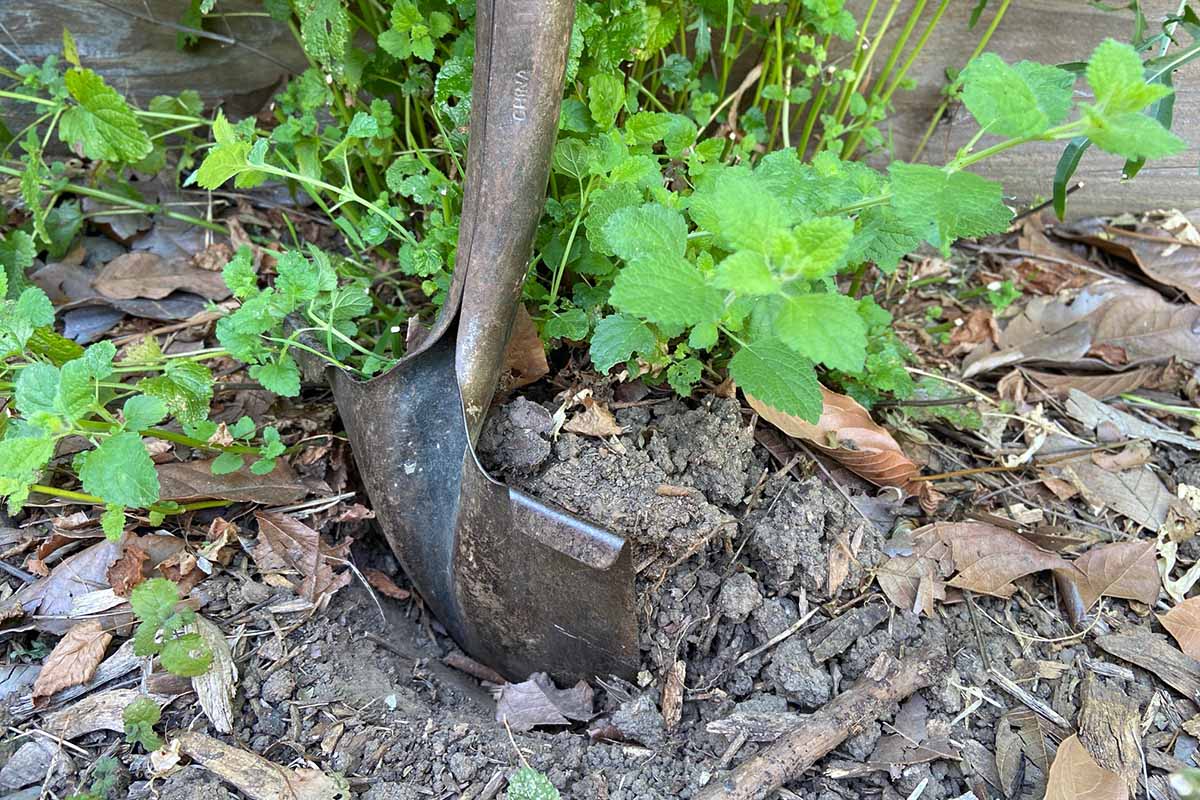
Dig Up
This final step can be viewed as another form of dividing plants, but in this remediation section,
I’m referring to larger plants that have already taken up more space than what you hoped or planned for.
When it’s reached this point, I reach for trusty garden tools.
Using a shovel or a tool like the Gardener’s Lifetime Perennial Fork from Gardener’s Supply Co. that has a short, hand-forged, ergonomic T-handle can do the trick.
Gardener’s Lifetime Perennial Fork
Before I go in at an angle about six inches around the plant to loosen the soil, and to get an idea of where all the roots are, I’ll trim some leaves back so I can see the center of the plant.
I then lift it up with a shovel or fork.
If the soil is extremely compacted, I’ll use a pitch axe to break up the soil around the herb using the chisel side, and then I’ll lift the plant up using the pick side.
If you want to save some of these pieces of lemon balm by transplanting them, I recommend digging them up gently as described in the division section above, so you don’t cause too much harm to the root system.
Discarded portions can also be shared with other gardeners, or composted.
When Life Gives You Lemon Balm…
Thanks to this herb’s many benefits, being faced with preventing and controlling its aggressive behavior is an excellent problem to encounter in the garden.
Don’t let its growth intimidate, but rather, let it inspire you!
Maintaining a garden where this mint can flourish is possible with the tips shared in this guide. Feel free to share your stories and any questions you may have in the comments below.
And for more information about growing herbs in your garden, have a read of these guides next: