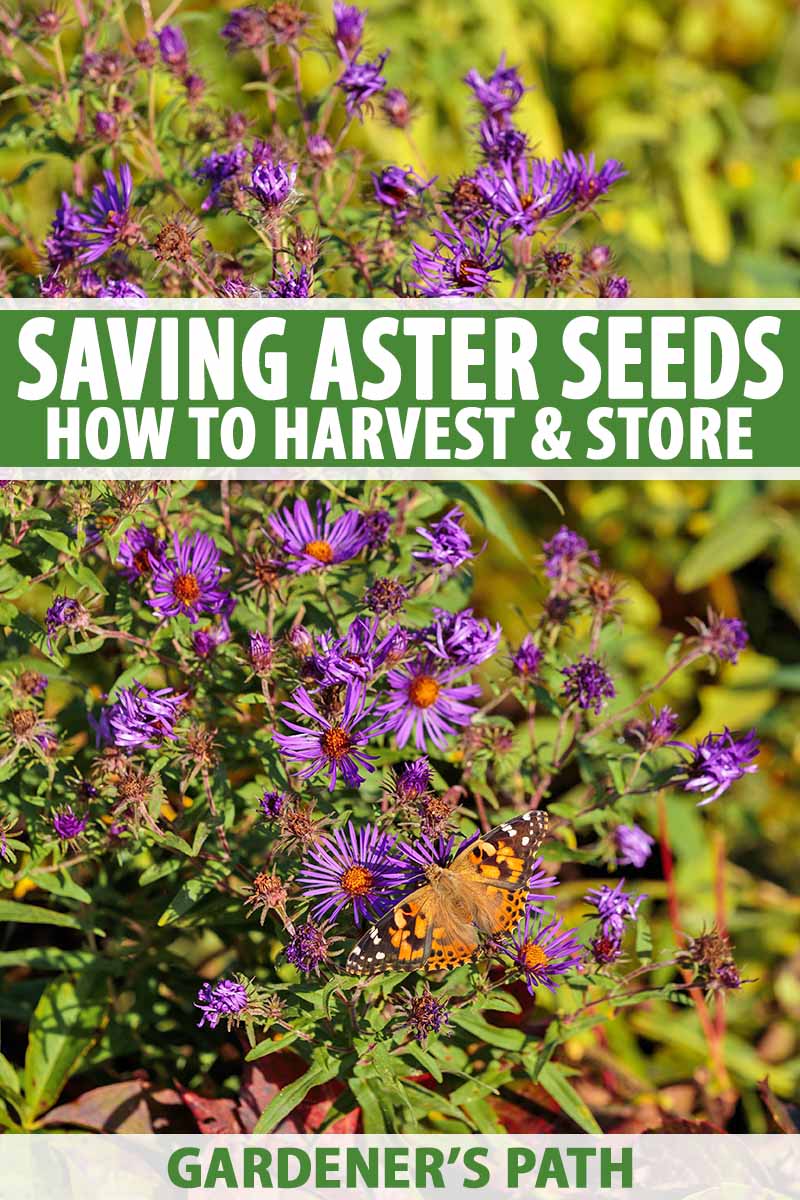
Native aster species like New England and New York burst into masses of tiny blossoms from mid-summer to first frost.
And while they spread by vigorous root systems and self-sowing, you can increase your aster’s garden footprint to an even greater degree by collecting seed and sowing it wherever you like.
We link to vendors to help you find relevant products. If you buy from one of our links, we may earn a commission.
In this article, you will learn the signs of seed readiness and methods for harvest and storage, plus an overview on understanding the differences between propagating native and non-native varieties.
How to Save Aster Seeds
Why Native Species?
The first rule of seed saving is that only true species produce true to seed.
Um, what?
Let me explain. This simply means that if a plant has been manipulated in any way, cross-bred with another, for example, its seeds might not produce “true” replicas of the parent plant.
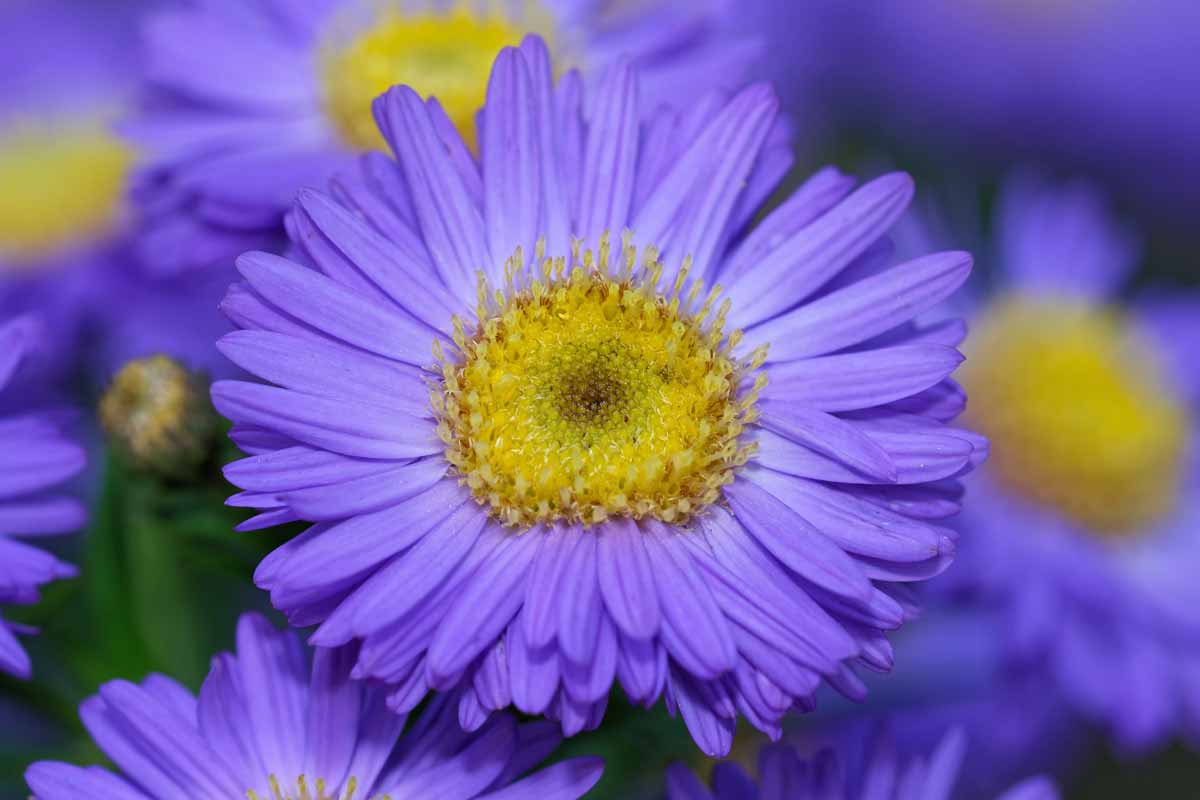
Hybrids are cultivated varieties created by crossing two or more different plants. Their seeds may produce the characteristics of either plant – or may not be viable at all – but they won’t replicate the hybrid’s characteristics.
So, if you’ve got native plants, you can be certain of the characteristics you’ll get with the seeds you gather. Otherwise, there might be surprises.
Cultivated varieties are propagated by dividing or cutting.
Dividing is slicing straight down through the roots, removing the separated section, and establishing a new plant. You can read more about it here.
A cutting is made by snipping off new growth, dipping it in rooting hormone, then placing it in a container of potting medium. Eventually, it will form roots of its own.
How do you know if your plants are native or cultivated?
Excellent question!
Generally speaking, native varieties are more “weedy.” They tend to get quite tall, have branching clusters of small flowers, and spread easily. If your plants are well-behaved, chances are they’re hybrids!
The Time Is Right
Knowing when to harvest is easy. You’ll see them starting to dry out as the first frost date approaches. After each flower blooms, its petals dry, fade, and drift away. When the once-golden center disk turns brown, the seed head has formed, and you can begin.
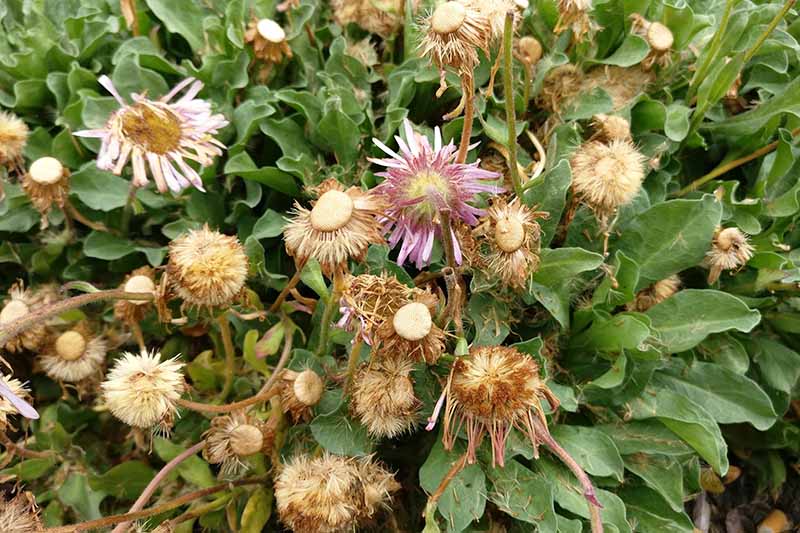
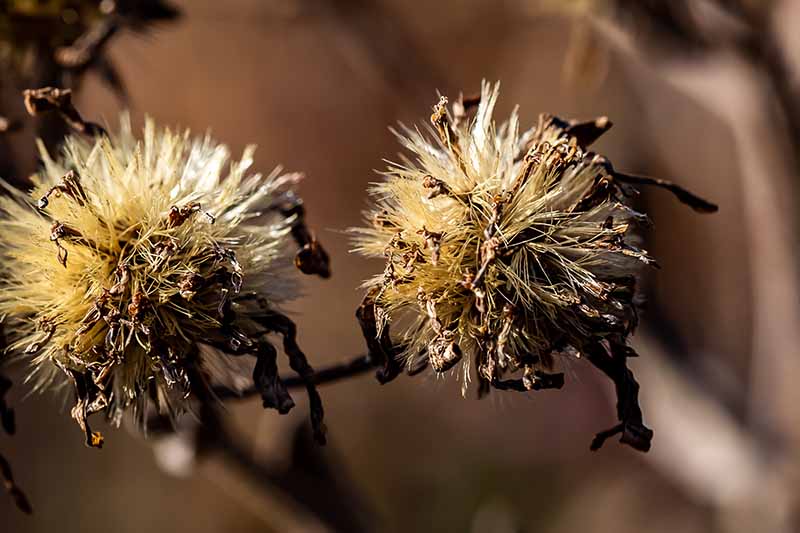
After a while, the head starts to disintegrate, resembling fluffy tufts of cotton. The fibrous wisps help the seeds to take flight on the first breeze, to self sow wherever they land.
Ways to Collect
There are three preferred methods for aster seed collecting:
- Stalk Harvesting
- Flower Head Snipping
- Seed Head Crumbling
I recommend wearing gloves, because no one knows if they’re allergic to a plant until a tell-tale rash appears. It’s always best to err on the side of caution.
Stalk Harvesting
The first method is to cut entire stalks bearing clusters of blossoms. This is an excellent choice for when frost is predicted and you don’t want your plants to turn to mush before you have a chance to harvest.
It’s also beneficial when not all flower heads have gone to seed, because the fresh ones continue to dry on the harvested stalks.
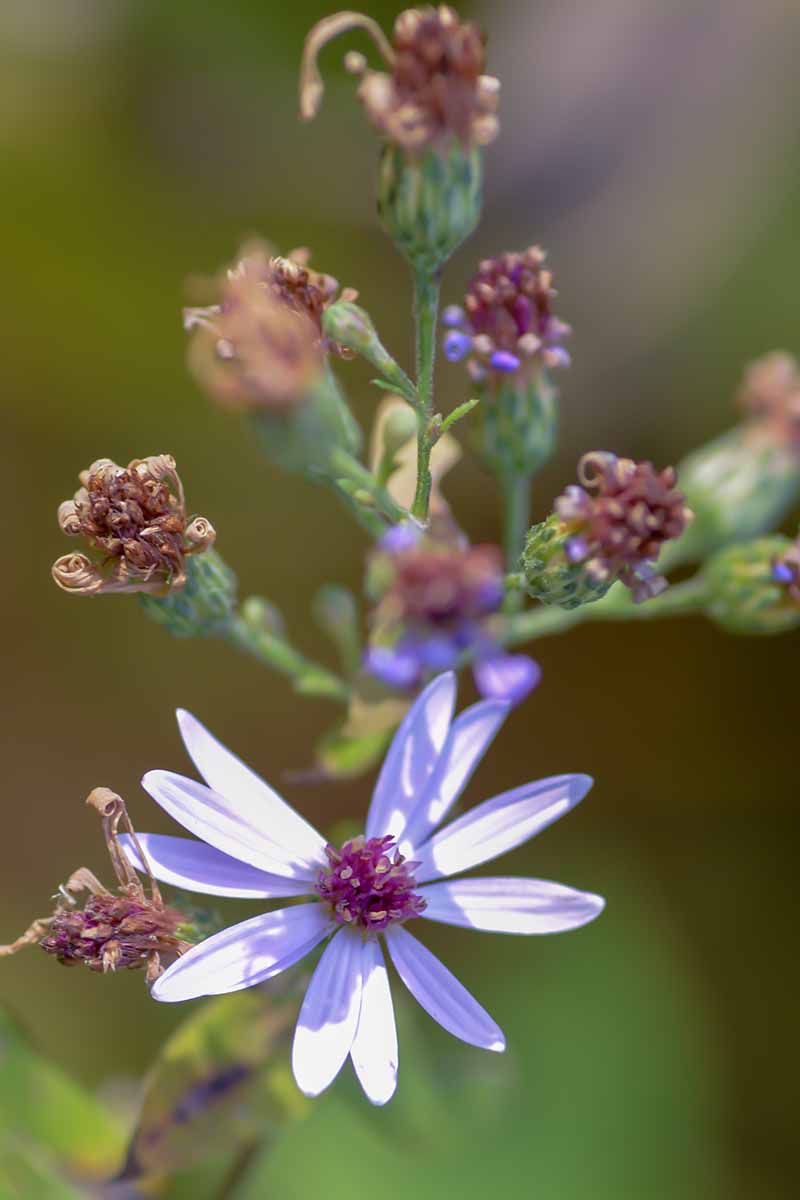
Some folks with large expanses of flowers like to wait until the entire garden looks dried up, and the asters are all cottony. The advantage of this is “one fell swoop” gathering.
The disadvantages are the possibility of missing quite a few that have already sailed away, and waiting too long and potentially losing all of them to frost.
Flower Head Snipping
The second is to collect individual flower heads by holding a paper grocery bag beneath a plant with one hand, and snipping off individual dry flower heads with the other.
Gardeners with smaller plots often pluck the dried heads as they appear. The upside is that self sowing is kept to a minimum, but this requires an exercise in vigilance many would likely find tedious.
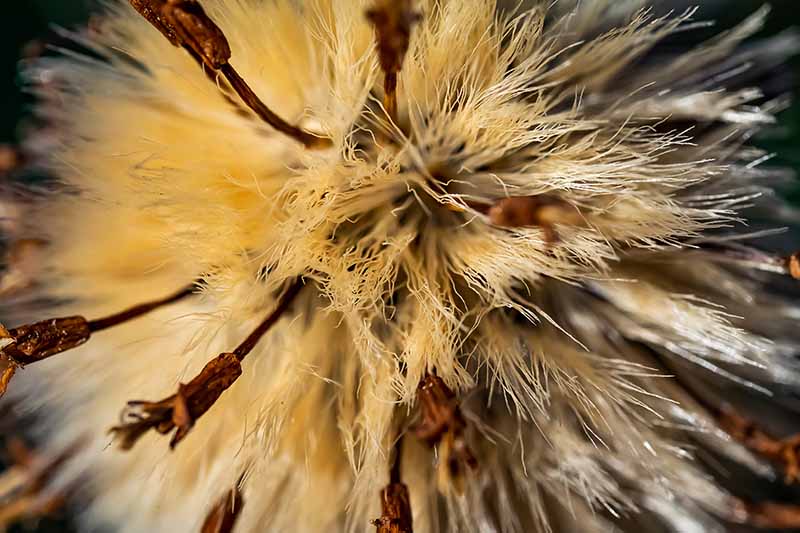
This can be a periodic task, in which you remove dry heads as they appear, or an end-of-season event, in which you collect both dry and fresh heads in anticipation of a frost.
By leaving the stalks intact, your garden will still have some winter interest and places for wildlife to shelter.
Seed Head Crumbling
The third method is my favorite. I don’t mind some self seeding, so I wait until I see quite a few brown heads, harvest what I want, and let the rest go.
I take a paper grocery bag, hold it under a plant, and rub the dry heads between my thumb and fingers until they loosen and fall in. You can do this periodically, leaving fresh blooms alone, or at season’s end.
Once gathered, it’s time to prepare them for storage.
Seed Saving
First of all discard any heads that are damp or moldy.
The following steps will help to ensure that your harvested seed will be fresh next season, and ready for planting:
- Drying
- Debris Removal
- Airtight Storage
Drying
Flower heads that have gone to seed may look brown and dry on the outside, but might still be moist with life on the inside. To make sure they are completely dry before storage, you’ll need to find a cool, dry location with good air circulation, where they will be undisturbed for one week.
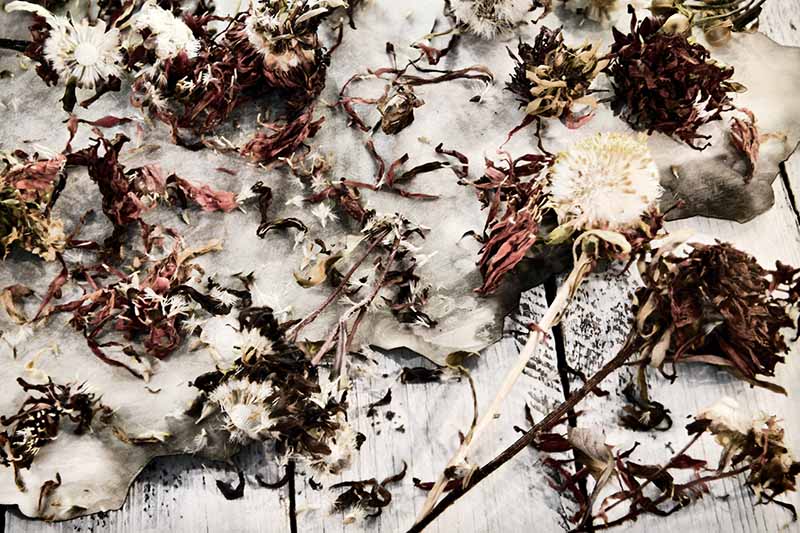
Let’s return to our three collection methods and see how to proceed:
For harvested stalks, simply bind them together with twine, like bouquets, and suspend them upside-down from nails, hooks, etc. Place newspaper or a clean cloth below to catch loose seed.
You can also bind a paper bag around the stalks to catch them, however, this inhibits air circulation, and may increase the drying time.
For snipped flower heads and crumbled heads, lay out newspaper and spread the contents of your bag(s) over it in a single layer, so all parts receive maximum contact with cool, dry air.
Debris Removal
After a week, the heads should be dry and ready for the next step. They’ll probably have the cottony fluff we mentioned still attached, as well as pieces of dry stem and leaf. In other words, it’s a hot mess.
If you find the pieces have not all dried, either allow more time, or discard any material that is still soft, and/or moist.
If you did stalk harvesting, here’s what to do now:
- Take down each stalk “bouquet,” hold it over the newspaper, and rub the seed heads between your thumb and fingers to release the seeds.
- Discard the stalks.
- Crumble the fallen seed and remove as much debris (aka “chaff”) as possible, gently blowing across the newspaper to lift off the lightest fluff.
For snipped flower heads and crumbled heads:
- Rub the seed heads between your thumbs and fingers, removing as much debris as possible as you go along.
- Gently blow across the paper to remove remaining fluff.
Airtight Storage
Once you have removed the excess debris, it’s time to put the seeds away for next season.
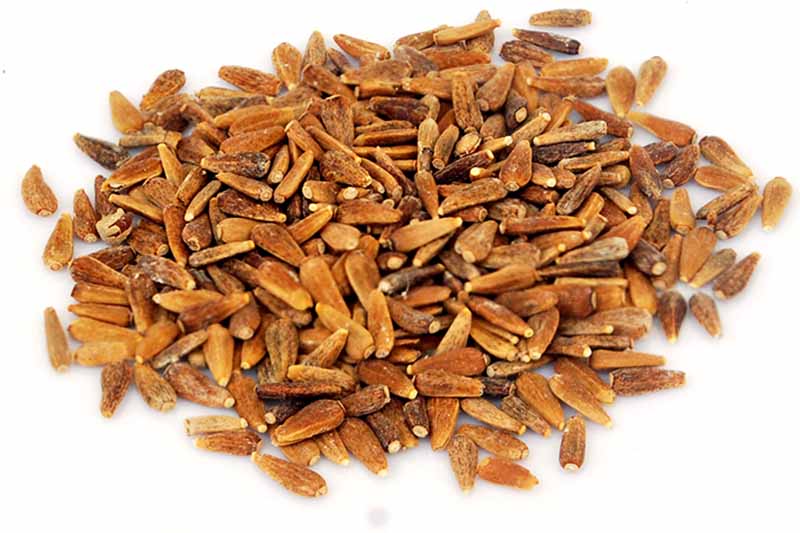
What’s the best way to store them?
In airtight containers in a cool, dry location, like a shed or basement. Beware of recommendations to store them in a refrigerator, as it might be too moist.
There are a variety of options, including:
- Envelopes
- Glass jars
- Metal tins
- Zippered plastic bags
Let’s evaluate each.
Envelopes
My experience with envelopes has taught me that they are great for indoor storage, where the mice can’t get them. I like that they are opaque, easy to label, and slim to store.
However, even when I used sticky tape instead of sealing them shut, they were hard to open and close as needed. If you like to use just a few at a time in a smaller garden rather than planting the whole lot at once, this might not be the best option for you.
On the other hand, envelopes make a fantastic container for those who wish to give their saved seed as gifts to friends and neighbors.
Glass Jars
I’ve always liked to use old baby food jars for storing small seeds. I can identify the contents by marking the lid, see at a glance how many I have, and open and close them as often as needed. They are impervious to insects and rodents, and are inexpensive.
However, as they are clear, I have to keep them inside a cabinet in my shed, instead of on the potting bench near the window. In addition, if I drop one – yikes! Breakable options certainly aren’t for everyone.
Metal Tins
If you’re a fan of fancy teas, empty tins may be the perfect choice. They’re opaque, easily labeled with a marker, and seal tightly.
All that and cost effective too? What’s not to love?
Zippered Plastic Bags
I’m a fan of zip bags. I wash mine out and reuse them over and over for household storage. They come in sizes ranging from minute to ginormous, so there’s always one that’s just perfect.
The tight seal and ability to squeeze out excess air for compact storage make these a useful option.
But, the clear quality of the plastic makes it necessary to store in a dark place. Also, the bags are slippery, and unless you like a challenge, they can be hard to manage when you’re wearing garden gloves.
Plan to use harvested seeds the following growing season for best results. And if you’ve got way more than you need but just hate to see them go to waste, package them attractively for hostess gifts or party favors for your gardening friends.
Irresistible Asters for All
Perennial native asters are dynamic plants that readily naturalize. By collecting the seeds that would otherwise disperse, you can grow them wherever you choose.
Save seeds to sow along walls and fences for late season swaths of color, height, and texture.
And if you have gorgeous asters that aren’t native, no worries. Remember, you can propagate them by division or cutting instead.
Asters are so easy to grow, if you don’t already have some, it’s time to add them to this year’s garden planner. And who knows, aster propagation via saving your own seed may become a lifelong hobby you never even imagined!
Have you had success harvesting and saving your own seeds for planting in the spring? Share your stories and let us know if you have any questions in the comments below – we love hearing from you!
If you found this article useful, you might enjoy reading more about growing these lovely flowers including:
Do aster seeds need to be cold stratified?
Hi Kristin –
Native aster species require moist cold stratification. By sowing them in late summer/early fall, they receive it naturally. Alternatively, you may store seeds in the fridge in moist sand or potting medium for 30 days prior to sowing in the spring.
This was very informative because I have not had luck with aster seeds as far as only getting a few to grow out of a lot of seeds and from different places.
I had no idea they needed cold stratification. I have been planting them in early summer and on top of that I’m in South Florida yet interestingly enough a few out of countless did flower.
Now I will use the ziploc bag in fridge cold stratification method before planting.
Hi Joe –
We’re happy you found the article useful. Wow! Maybe one of the rare cold snaps did the trick. Thanks for sharing.
Thank you so much Nan, your method of propagating Asters was excellent. I am so happy the way you explained it simply & step by step. It’s Autumn in Australia & I shall promptly get onto the job. Thank you again. xx
I’ve dried my seeds and have started crumbling them. Can I store indoors in yogurt containers then sow outdoors in spring?
Hi Nan, great in-depth and practical article, thanks! Was looking for how other people did this for some time!
I cut off all stalks with dried fluff last fall hoping to sow in a large area this spring. It’s just so much that I can’t hand rub each little flower. I think I’ll try rubbing it between a brick and the base of my wheelbarrow and then rake out all twigs.
Thanks for the inspiration.
Hi Leo –
We’re glad you found the article informative. When separating the seeds from the chaff, take care not to damage the seeds, as injury may cause a failure to germinate.
It would be far more helpful if you were blunt when bluntness is called for. A brick and a wheelbarrow “rub”? “Take care” is far too passive. “No. Not in a million years.” – now that would be instructive. The seeds are tiny and fragile. And as to this guy’s concerns about stems – the seeds won’t care if there are stems.
Thanks for the feedback. We like to provide the information, not judge how people choose to use it!
A brick? Of course you would damage the seeds.
Would it be better to store the seeds indoors in an airtight container and sow them in the spring, or sow them outdoors in the autumn?
Hi Virginia –
It’s best to start seeds in the spring, either indoors about four weeks before the last average frost date, or outdoors after the date has passed. Storing them in an airtight container will ensure optimal viability when you sow them next year.
thanks for the information!
You’re welcome Krystal 🙂
Loved the Asters propogation. Mine were double petalled pink & purple on my balcony ! Gorgeous.
Hi Sarita –
We’re so glad. Your flowers sound lovely!
I live in Southern Wisconsin. I have a tall Aster in purple. How do I know what kind I have. Like Native Aster or other. I have taken off the fluff and seeds. They are mixed together. Can I store them like that, or do I have to separate the seeds from the fluff. I don’t have a cool basement. We have heating in the floor. Do I keep my seeds in the refreigerator until next Spring, or leave them in a sealed can.
Hi Sandy –
Great questions!
Native asters are generally very tall, three to six feet, with somewhat weedy growth and small flowers.
You should try to remove as much chaff as you can to inhibit mold growth during seed storage.
A sealed can is fine for storage. Because refrigerators are moist places, it’s better to store the can on a shelf or in a cabinet away from direct light and heat.