
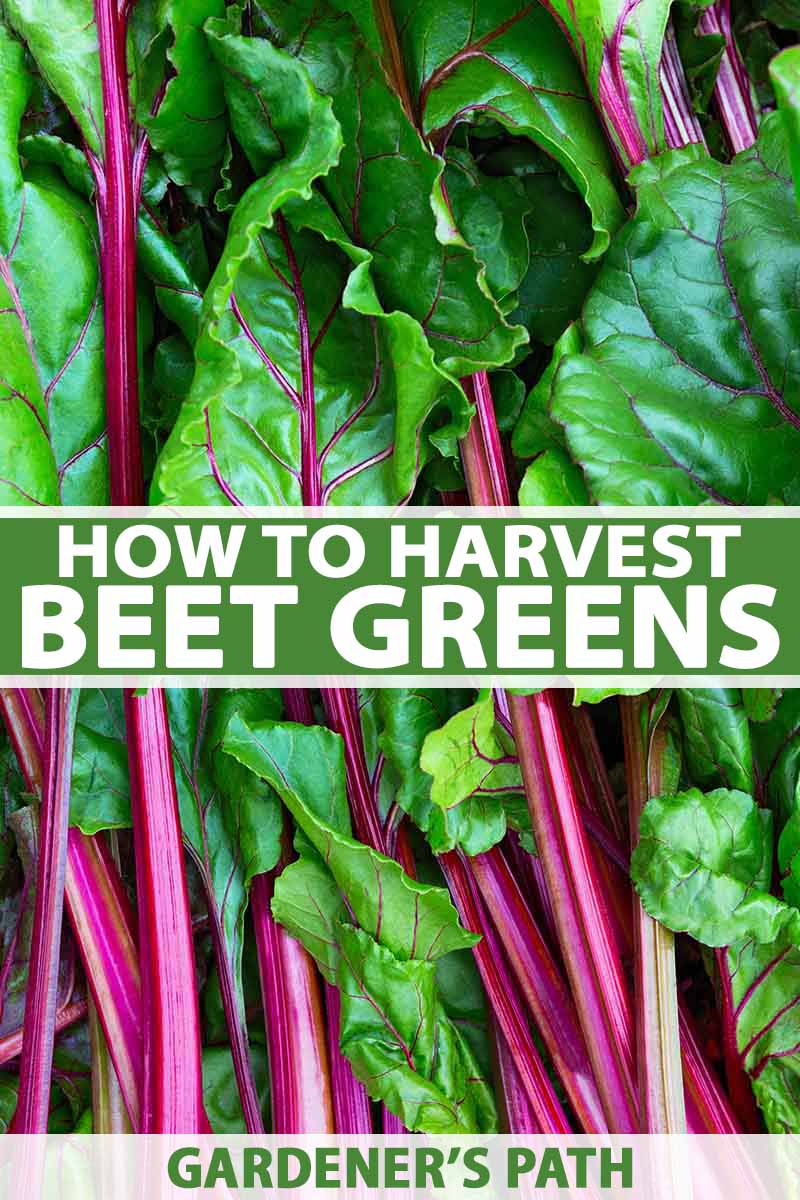
Beet greens, the leaves that grow from beet roots, are tasty and nutritious.
Sure, you can compost them, but why do that when you could eat this often wasted leafy vegetable that’s packed with vitamin A and calcium?
Using them in the kitchen is a great way to reduce food waste, and it’s just as easy as cooking with Swiss chard.
They can be steamed, stir-fried with a bit of butter and garlic, or added to soups and stews. Young leaves can make a tasty and colorful addition to salads.
We link to vendors to help you find relevant products. If you buy from one of our links, we may earn a commission.
I’ll take you through the process of harvesting this leafy goodness, from the garden to the kitchen.
What You’ll Learn
Why Harvest Beet Greens
Have you ever noticed that beet tops and Swiss chard leaves look an awful lot alike?
That’s because, amazingly enough, these two plants are actually the same species, Beta vulgaris, which means that there are a lot fewer than six degrees of separation between these two garden veggies – they are just two of several B. vulgaris subspecies.
Both are members of the Amaranthaceae family – which now includes the goosefoot family, Chenopodiaceae, – the main difference being that the chard varieties are grown for their greens, and beets for the root crop.
Depending on the variety of beet you are growing, there may be more or less foliage available for harvest.
They also have similar uses in the kitchen, you can use the greens from the beet tops in the same recipes that call for Swiss chard.
Getting back to the root of the issue, while you impatiently wait all summer long to bring in a hefty harvest of your root crop, now you can tide yourself over by nibbling on the leaves from these root vegetables.
Harvesting Beet Greens
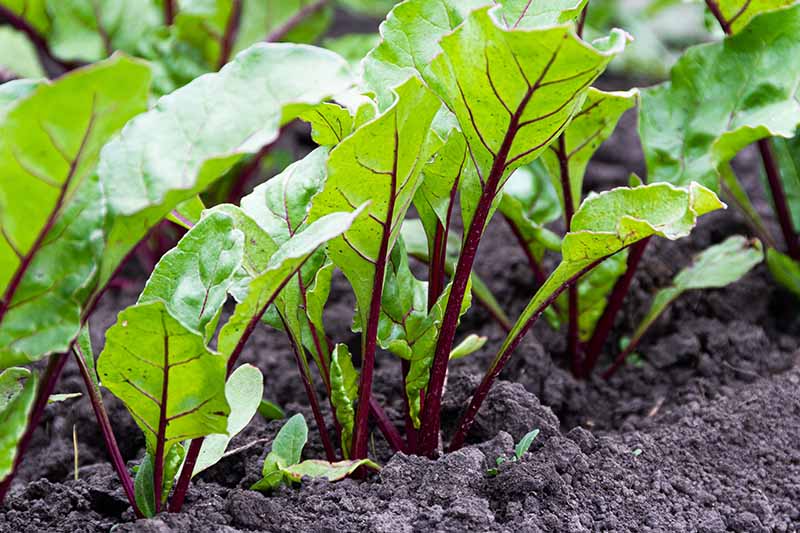
While the roots are growing, the tops can be harvested throughout the growing season, as well as when you bring in your mature root crop.
While Thinning
After you’ve sown your seeds, the seedlings for these garden veggies will come up very thickly, even if you don’t sow heavily. That’s because each seed in your seed packet is actually a calyx or pod, containing several seeds within it.

Young seedlings should always be thinned to give developing roots the space they need to grow – and this is an excellent time to start harvesting the leafy tops.
To thin your seedlings, gently pull the smallest plants from the soil, leaving the largest, strongest seedlings in the ground.
Extension horticulturist Richard Jauron and organizational advancement officer Willy Klein at the Iowa State University Extension and Outreach recommend thinning seedlings when they are 3-4 inches tall, and leaving remaining plants 3-4 inches apart.
As you thin your patch, collect the thinned seedlings in a bowl to carry into the kitchen when you’re done.
If you’re doing this in the hot sun, you might try adding some cold water to your bowl to keep your mini-harvest cool.
You can use both the leaves from these thinned plants as well as the underdeveloped roots for cooking.
From a Maturing Crop
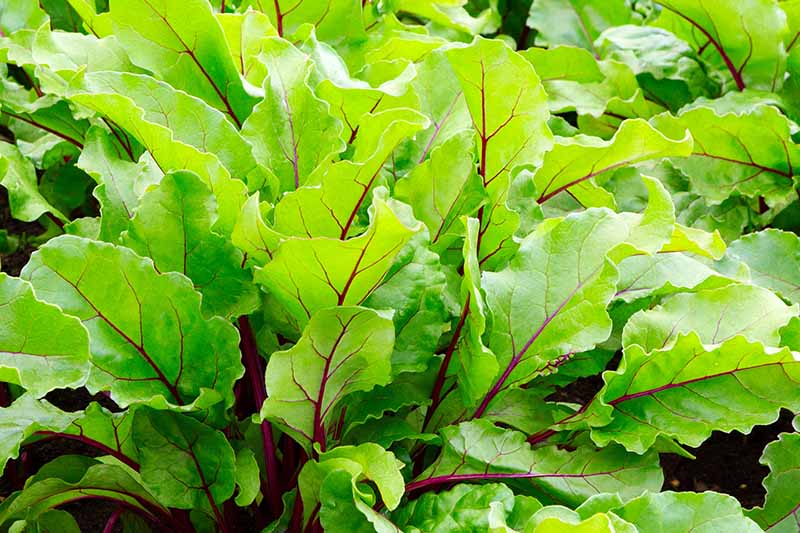
You can use the tops from your plants throughout the growing season, between thinning and harvesting your root crop.
Just make sure not to pick too many, since the plant needs the energy produced by its leaves to keep growing and for the roots to mature.
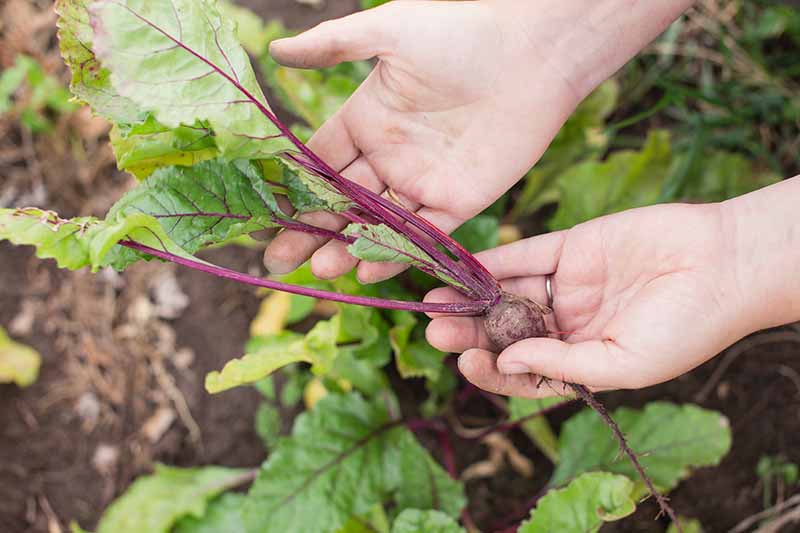
For the best taste, beet greens should be cut fresh, when you are ready to use them.
Using a sharp knife, cut one or or two of the outer leaves from each plant, slicing through the stem an inch or two above the soil level.
Always make sure that the inner leaves are left intact.
As more leaves grow, you can continue to harvest the greens in this way.
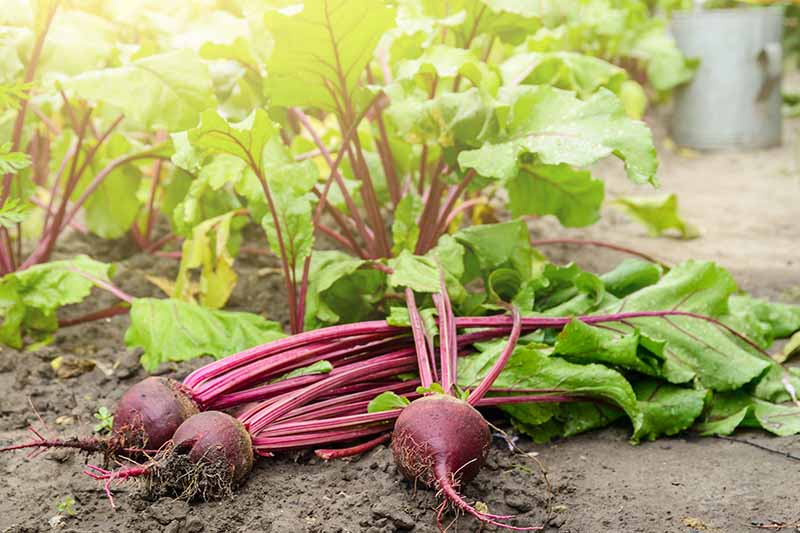
When harvest time comes in fall, this is the time for a leafy bumper crop.
Along with your root crop, the leaves from these mature plants can also be used in the kitchen. These older leaves may be a bit tougher than the tender shoots you picked earlier in the season.
Before you harvest your root crop, trimming the tops off before you start pulling them up will keep the leaves cleaner.
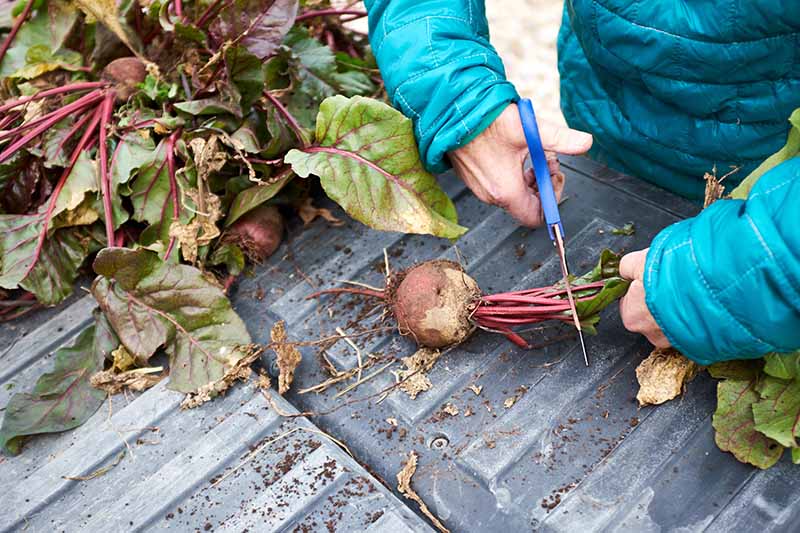
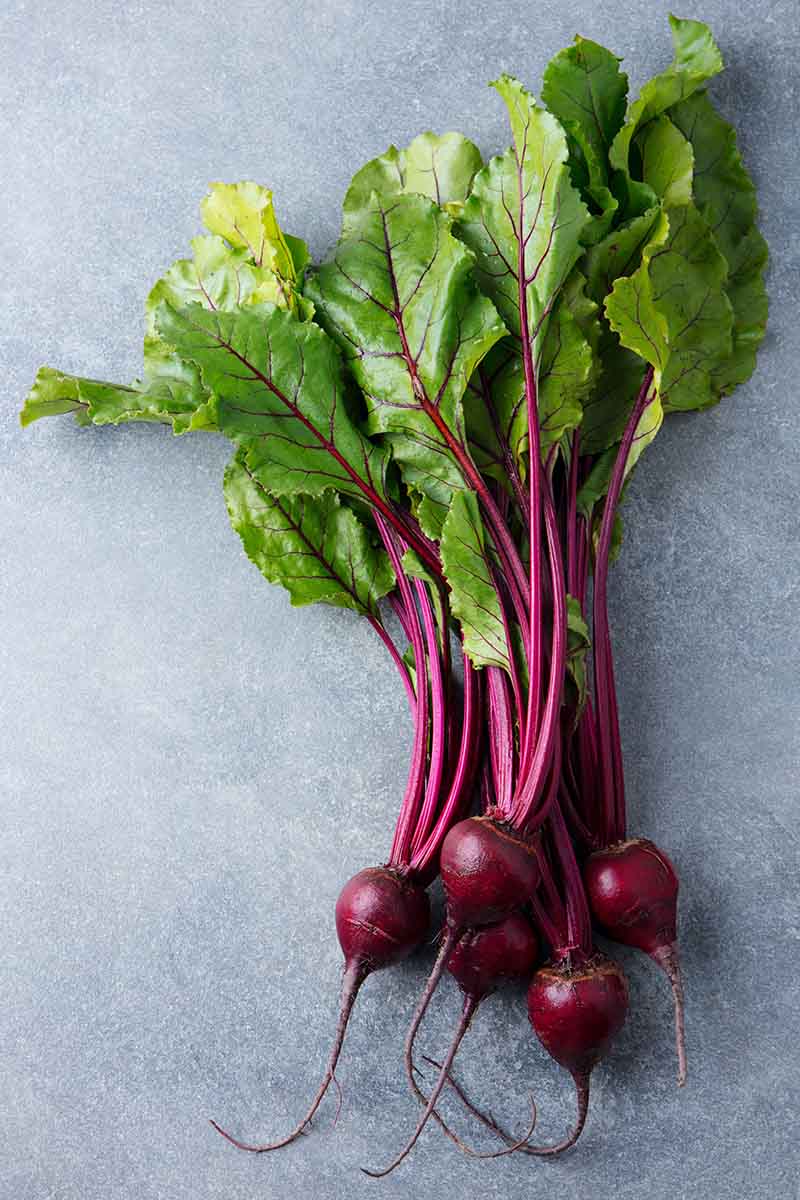
Sort through the greens and separate out any that are dried out or damaged, keeping the best looking leaves for use in the kitchen.
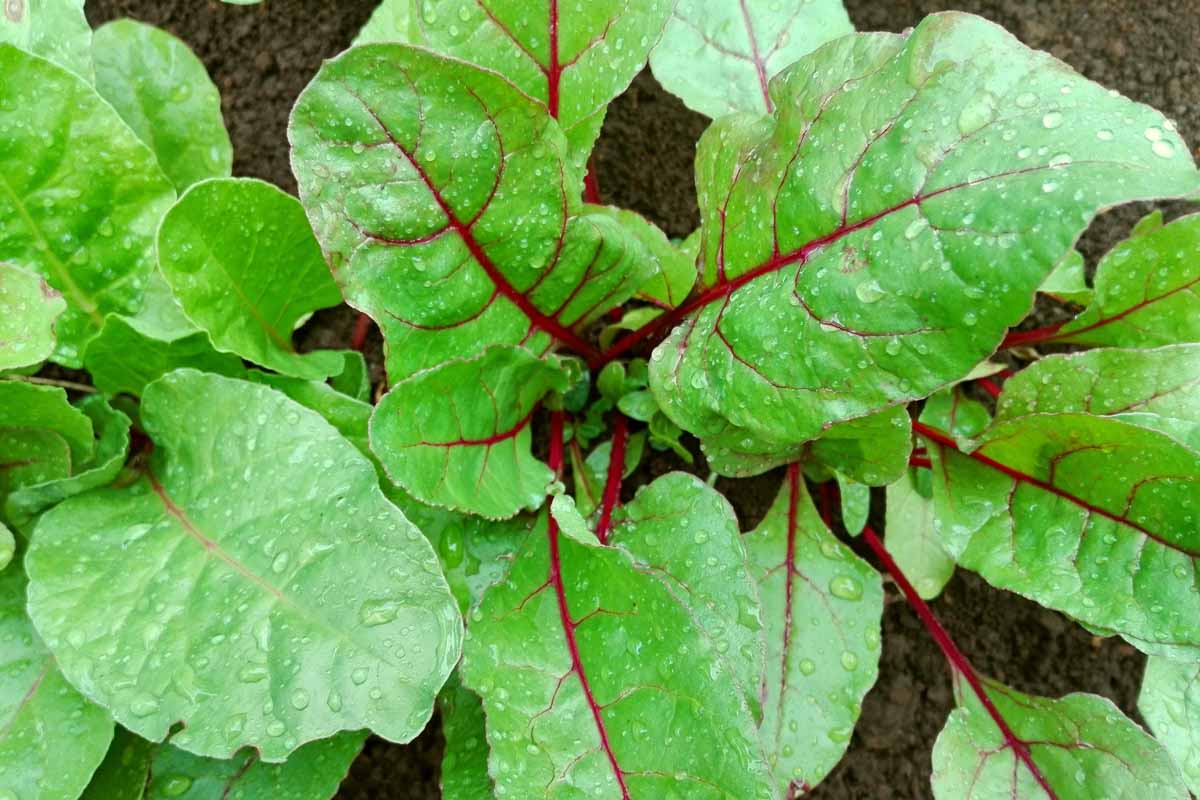
Meet Your Greens
Reduce food waste and enjoy delicious meals made with this often overlooked source of fresh green vegetables.
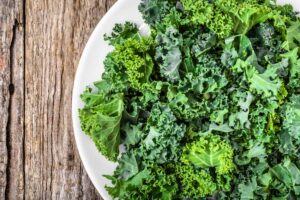
It is very easy to interchange one leafy vegetable for another, so you can use beet leaves in most recipes that call for spinach, kale, and most definitely Swiss chard, its closest relative.
How are you planning to cook your beet tops? Make us drool – let us know your culinary plans in the comments.
Ready to grow more leafy green vegetables in your garden? Check out these other articles next:

Great looking beets & informative article. First year with beets & they stayed on the smaller side but good. I’m from Western ND, been dry this summer, but watered?! What do you think happened? Wanted to make beet pickles!
Hi Mary, Glad you enjoyed the article! And congrats on your first time growing beets! Don’t give up. Here are some ideas that might help: First of all, if you haven’t harvested all your beet crop yet, you can let them keep growing. They will continue to grow and then sweeten up more when the weather gets cold. You can harvest them after you’ve had a couple of frosts. Beets are tolerant of even heavy frosts. You’ll just want to dig them up before your soil freezes. As far as watering goes… how often are you watering? I’m in the… Read more »
How do you store the extra leaves in the refrigerator? How long will they keep?
Hi Phyllis, I try to get them cooked up right away, but when I can’t, I wash them and store them in a salad spinner in the fridge. Another option would be to place them in a large lidded container with a paper towel below the greens and on top of them to absorb excess moisture. How long they will hold up in the fridge can vary depending on things like how wilted or fresh they were when picked. They will start to rot when they’re going bad, so you’ll know when they’ve been in there too long. I wouldn’t… Read more »