There are many advantages to using a greenhouse and very few – if any – disadvantages.
A greenhouse allows you to start seeds at any time, extends the growing season, and offers opportunities for growing vegetables during the winter months.
The structure also protects your plants from hungry herbivores and you can use it to grow species that you wouldn’t otherwise be able to in your USDA Hardiness Zone.
We link to vendors to help you find relevant products. If you buy from one of our links, we may earn a commission.
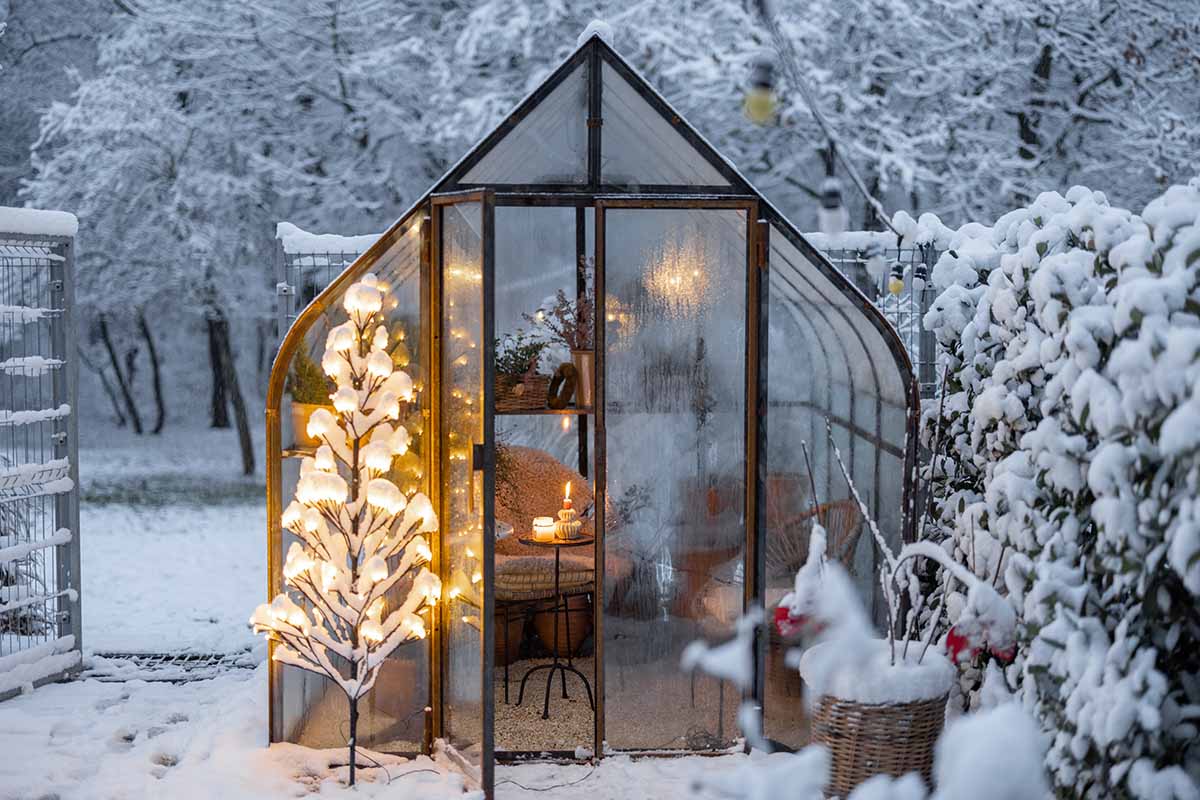
There are lots of other less conventional reasons, too. For me, the greenhouse is a spot where I can hang out with a book and a cup of coffee and listen to the rain during the winter while still getting my UV rays.
Now that I think about it, how did I ever survive without one?
Do you feel like you need a greenhouse in your life? Maybe you received one as a gift for the holidays?
Before you jump into your first greenhouse adventure, there are some fundamentals you need to understand. That’s what we’ll cover in this guide. Here’s the lineup:
What You’ll Learn
It’s inevitable that you are going to make some mistakes with your greenhouse. Ask me about the time I left the vents closed on the hottest day of the year.
I lost more than one plant to the sauna-like conditions. But this guide should set you on the path and help you avoid some of the biggest problems beginners face.
Before you dive into this list, you might want to go over some of the common mistakes and how to avoid them in our guide.
With that out of the way, let’s get started.
What Is a Greenhouse?
A greenhouse, sometimes called a glasshouse, is a building designed to house plants and protect them from excessive cold and heat.
The structures are usually made out of glass or clear plastic supported by a timber, metal, or brick framing to allow sun to enter while protecting the plants inside from the elements.
Some people argue that in order to qualify as a greenhouse, the structure must have some sort of climate control. I’d argue that being able to open a door for ventilation or covering it with shade cloth is climate control.
These structures might have heating, roof ventilation, and other amenities, or they might be constructed simply with just a single door to enter and exit through.
Greenhouse Styles and Sizes
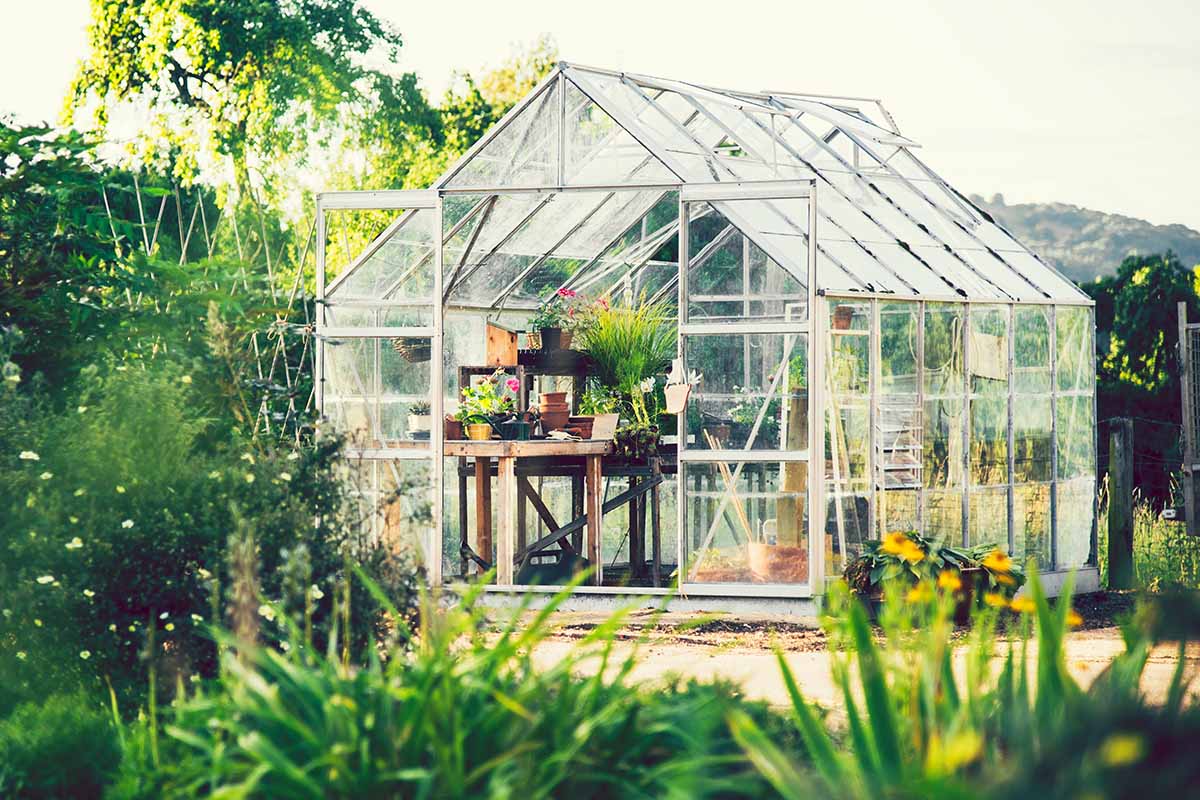
When it comes to the actual shape, most greenhouses sit on the ground or a foundation and have an A-frame, shed, gambrel, or gabled roof with four straight walls.
A sloped roof sheds water and is better angled to let light in than a flat roof.
There are also sunken styles known as walipini, pit, and Chinese. The walipini style is primarily underground with just the roof and a small portion of the wall aboveground. This provides a lot of insulation and heat retention.
Pit styles look like a typical greenhouse sunk a few feet into the ground, with just a few steps down into the main structure. Chinese types have three walls that are buried, often into a hillside, with one clear wall facing the southern exposure.
If you’d like to find out more about sunken styles, please check out our guide.
Some structures have a rounded shape. Heck, you could make yours into a big glass triangle like the Louvre pyramid if you wanted!
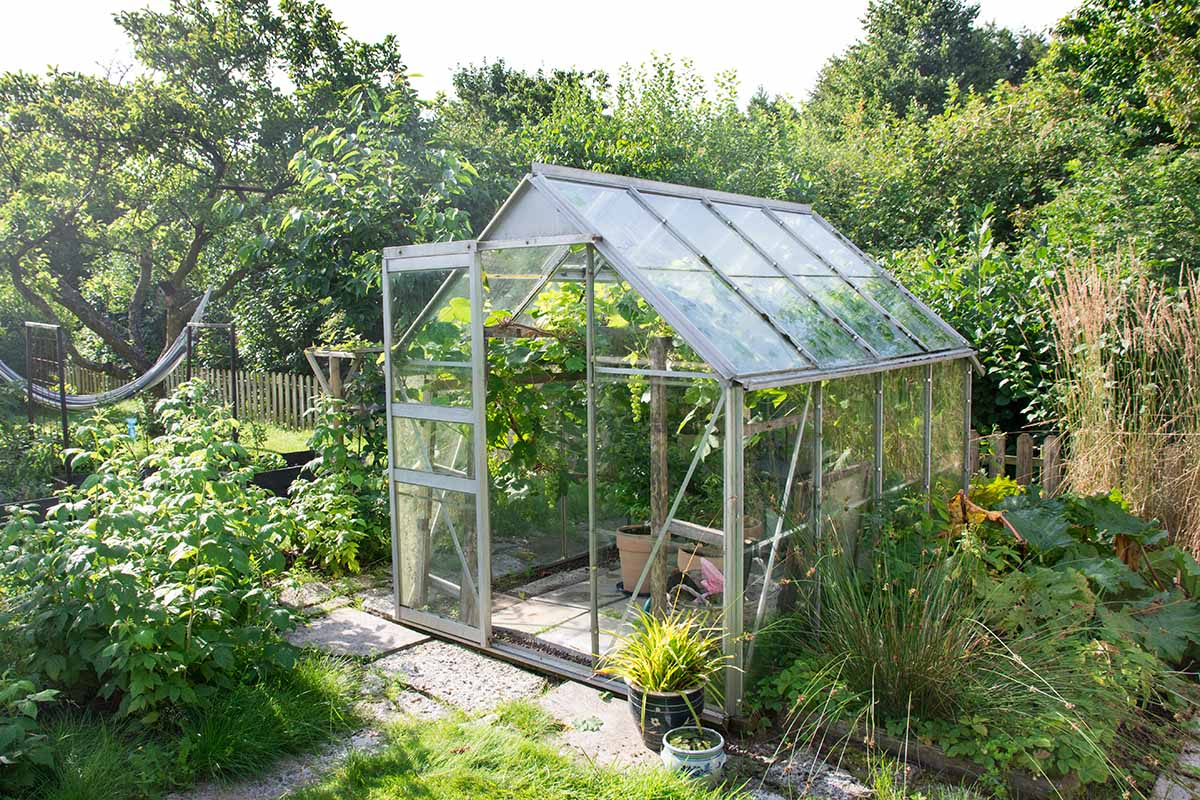
Greenhouses can be as simple as a primitive wood or plastic frame with thick, translucent material secured over it on a dirt floor, or they can be as elaborate as a two-story home with glass walls and elegant metal framing.

Many beginners opt for small, pre-built structures that don’t cost an arm and a leg, or they simply secure clear plastic over a frame. That’s how I made my first one.
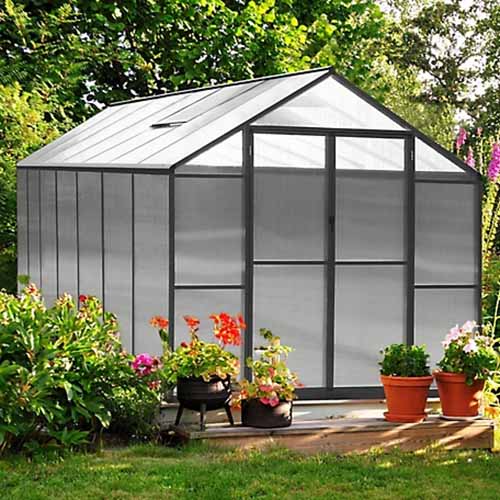
Something like this Canopia by Palram Harmony Greenhouse, which comes in two sizes – six-by-four or six-by-eight feet – is ideal for beginners.
The steel and aluminum frame is covered with panels that let in 90 percent of sunlight and it features a swinging door that is magnetized to stay shut. It also has a roof vent and gutters.
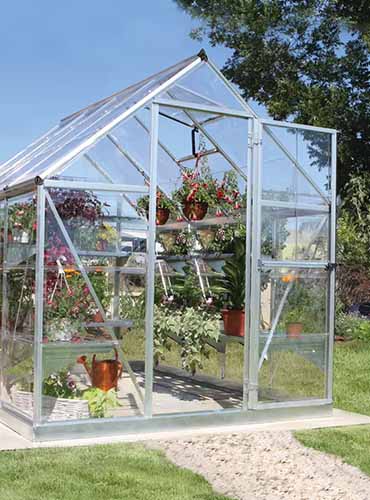
Canopia Palram Harmony Greenhouse
If you’re looking for a ready-made starter option, pick up one at Gardener’s Supply Company.
Of course, you don’t have to spend a fortune building a dream structure.
You can make a perfectly serviceable and good-looking option from free pallet racking and other repurposed materials. Our guide explains how.
Or learn about 10 DIY greenhouse and cold frame ideas for additional affordable plans.
If all that seems like a lot of work, you could just go with a Sunbubble Greenhouse, which is a dome-shaped tent with clear walls that gives you nine feet in diameter to work with.
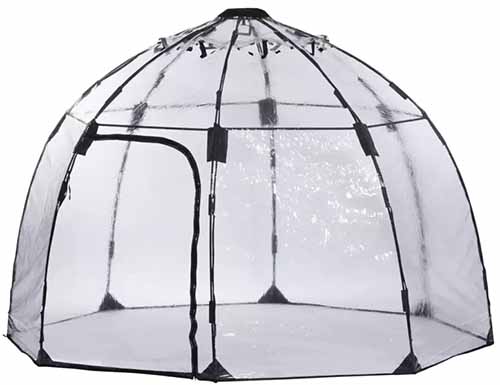
It’s perfect if you just have a few plants you want to grow and aren’t ready to commit to a permanent structure. Find one at Gardener’s Supply Company.
The size you choose is determined by your budget, space, and needs. One of the smaller options could grow enough food for one or two people to supplement their diet.
If you have more mouths to feed or you want to grow fruit trees or ornamentals in addition to herbs and vegetables, choose something a bit larger.
Veikous makes an eight-by-14-foot greenhouse with dual locking doors and an adjustable roof vent.
The corrugated plastic moderates the light intensity, trapping heat while still allowing enough light to enter for the plants to thrive.
Walk-In Greenhouse with Built-In Vents
Visit Tractor Supply Company to bring one home.
I will say that when it comes to size, you’re probably going to find that you want more space than you think.
At the beginning, you might envision yourself just growing a handful of herbs, some greens, and a few different brassicas in a small structure.
But fast forward a season or two, and you’re experimenting with new cultivars and species, stacking plants on shelves up the walls, and even hanging plants from the roof to squeeze a few more in.
I’ve never known anyone who couldn’t find a way to use their available space, but I’ve known lots of people who ended up needing more space than they initially thought.
What Can You Grow in a Greenhouse?
You can grow just about anything in a greenhouse, depending on the size, climate control, and your gardening experience. If your goal is to grow piles of delicious veggies, I can’t think of a single species that can’t be grown in a greenhouse.
Of course, some do better outside or are so cold-hardy that it’s almost a waste of space to put them in a greenhouse.
Vegetables like kale, onions, brussels sprouts, and cabbage are totally fine in the freezing cold. But it’s your garden and your choice, so you can grow them inside if you want.
You can use your greenhouse during the winter even if you don’t have a heating system.
Of course, you can grow a wider range of plants if you have heating, but don’t let cold weather hold you back.
Crops like beets, carrots, kale, mizuna, peas, and turnips will all thrive even when temperatures are below freezing outside.
Visit our guide to learn about 35 plants to put in your winter greenhouse.
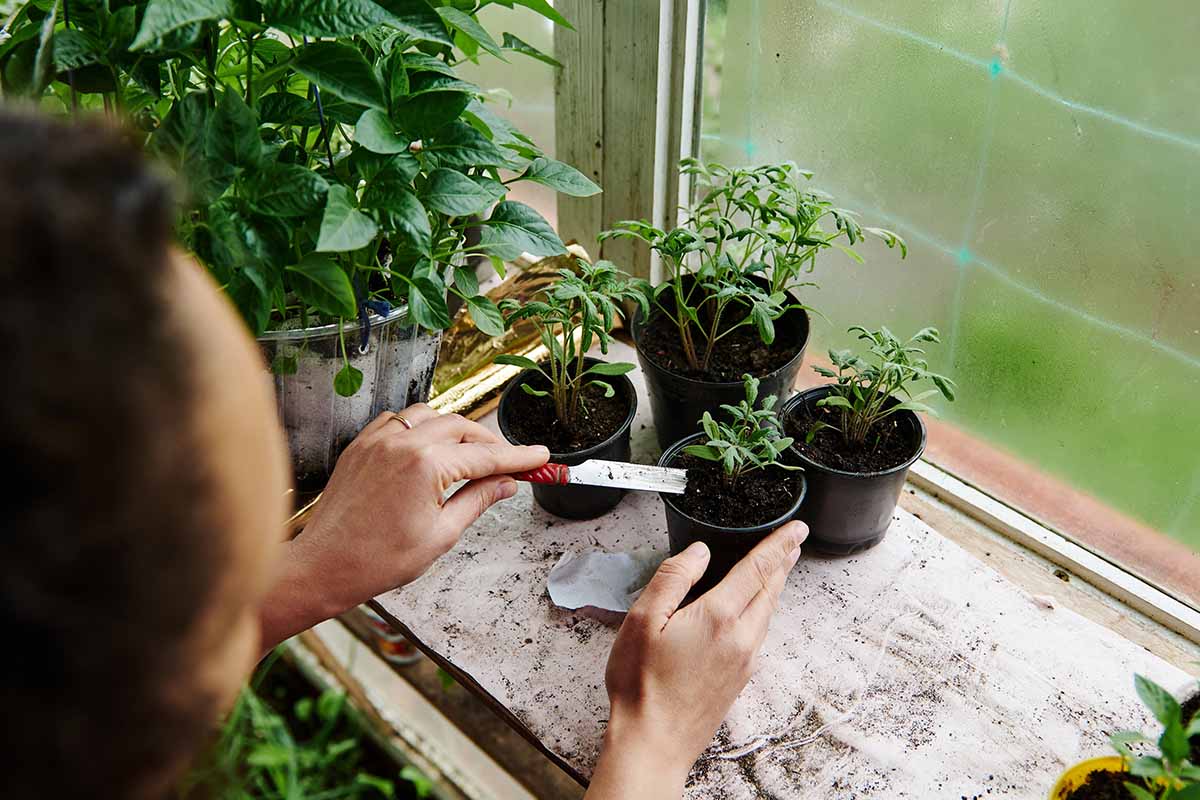
Herbs are some of the easiest plants to begin with.
Herbs
If you are an absolute beginner to growing in a greenhouse, start with herbs.
You’ll have a ready-made supply of goodies for the kitchen, and most of them are happy in pots, forgiving about neglect, and tolerant of less-than-ideal temperatures.
Read our guide to growing herbs in a greenhouse for all you need to know.
Fruit Trees
There is nothing more magical than savoring an orange that you grew yourself in the middle of winter when you don’t live somewhere warm and tropical.

I can totally see why wealthy northern Europeans created orangeries to house their citrus fruits. It’s like a tropical vacation in your own yard.
We have a guide to growing fruit trees in a greenhouse here.
Succulents
If you love your succulents, but you live somewhere outside of their preferred climate, your greenhouse will be invaluable.
You can keep your succulents in there during the chilliest months and bring them back out for the warmer weather.
Check out our guide for tips and tricks to growing succulents in a greenhouse.
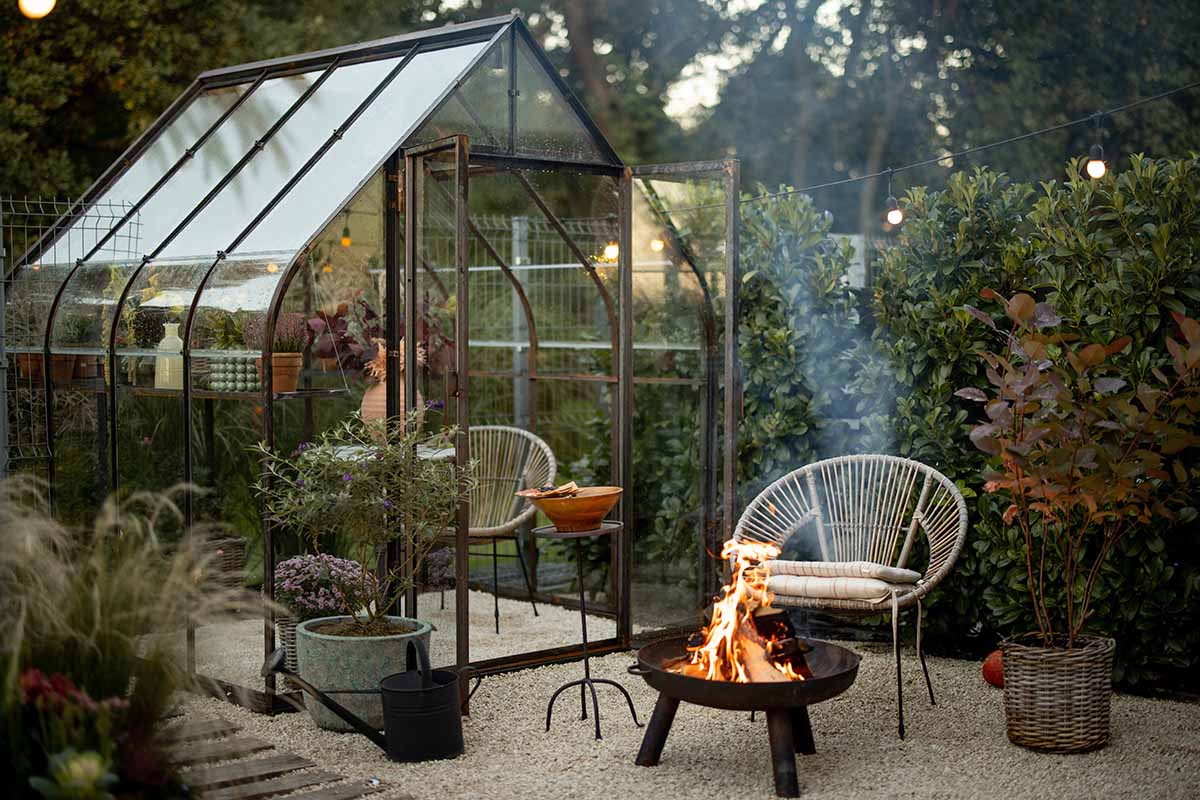
Location
It’s hard to overstate how important it is to choose the right site.
A greenhouse on the north side of a tall building is only going to be good for growing shade-loving species. There go your lemon tree dreams.
Ideally, you would place the greenhouse far enough away from any buildings or tall trees so it receives full sun all day long. We don’t all have such luxury, so a spot on the south side of any building is ideal, with east or west being next best.
In my yard, my greenhouse is situated to the east of my house, but it’s the best spot because it isn’t in the shade of any buildings, so it receives sun right up until the early evening.
If you live somewhere with extremely hot summers and you plan to use your greenhouse during the hottest time of year, you might benefit from some afternoon shade. But those who want to grow in winter will always want full sun.
Deciduous trees will drop their leaves, so a spot with afternoon sun in the summer might be in full sun during winter.
If you live somewhere that experiences extreme storms, choose a spot that will provide some protection from strong wind. South of a building or fence would be perfect. You’ll also want to securely anchor the structure, which is something we’ll talk about shortly.
Some people prefer to situate the greenhouse close to their home for ease of use, access to water and power, and level ground.
Others like the structures to be further away to create some distance from the smell, lights, and sounds. That decision is entirely up to you.
Flooring and Foundation
Depending on the material of your structure, you can set your greenhouse directly on the ground or give it a wood, rock, brick, concrete, or sand foundation.
Treated lumber, metal, and plastic frames can sit directly on the ground, though I would encourage you to properly level the ground before plopping the structure in place.
Leveling is optional if you have a light, temporary, or small structure like the bubble design we discussed above, but it’s non-negotiable with larger structures.
An unlevel surface will, over time, compromise the integrity of the greenhouse.
The same goes for creating a foundation. Smaller, lighter structures don’t necessarily need one, though it will help. But larger, heavier structures absolutely require a foundation.
If you experience a massive storm, your building is much more likely to be unaffected if you give it a good foundation.
At a bare minimum, you can compact the soil to create a foundation, but this doesn’t work well on sloping ground or in areas with heavy, frequent rain.

The next step up is to create a footing, which secures the greenhouse. This can be as simple as four pieces of treated lumber or some sunken bricks.
If you experience serious storms in your area, you’ll need to anchor the greenhouse into the ground, not just onto the wood.
A long-lasting footing can be constructed out of concrete or cinder blocks.
A slab or deck is the top-tier option. Concrete, stone, brick, wood, or compacted sand can create a solid, long-lasting surface for your building to stand on.
Stone, concrete, brick, and sand have the added bonus of providing extra insulation. Wood, on the other hand, does not.
You can also extend the foundation larger than the footprint of the building if you’d like to place pots, shelves, or furniture outside of the structure.
Inside, you need to consider flooring. Again, you can just rely on the soil for small or temporary structures, but your feet and laundry bill will thank you if you put in flooring.
Plus, weeds grow like… well, weeds in a greenhouse. They love the warm, moist conditions. Consider at least putting down a layer of weed-blocking fabric.
Greenhouses can rapidly become mucky, muddy messes as you spill soil, spray everything with water, and track mud in from outside.
Gravel works well for greenhouses set on the ground or on footings. Or, take it up a notch and place sand on the bottom, quarter minus construction aggregate on top, and lay rubber mats on top of that.
If your building is on a foundation, you can simply use that or put rubber mats on top of the flooring. If I sound like I’m really selling the rubber mats idea, it’s because that’s what I prefer.

They provide foot relief, drain well, can be hosed off, and are fairly affordable. You can purchase a four-pack of 19.7 square interlocking mats at Tractor Supply Company.
Plus, if one gets damaged somehow, you can just pull it up and replace it.
You can also use manufactured locking flooring tiles, treated lumber, or stone tiles.
Equipment
You’ve sorted the actual building, the flooring, and the foundation.
Now, let’s talk about the equipment you’ll need. At a minimum, you’ll need a trowel and containers – unless you plant directly in the ground.
But you’ve already come this far, so you might as well invest in some of the items that will make your life easier, like shelving, seed labels, and some shading.
Speaking of shelving, vertical growing is a clever way to expand your growing capabilities.
Trellises, shelves, and hanging baskets give you the ability to grow more plants in the same square footage.
For a run-down on all the essentials that will make greenhouse growing easier, visit our guide.
Climate Control
Not all greenhouses have climate control beyond the ability to open the door to provide ventilation, but it sure is useful.
You want to keep the temperature steady, without major swings between the highs and lows.
Heating is incredibly beneficial if you live in a cold area or you want to grow vegetables during the winter.
Learn all about how to heat your greenhouse in our guide.
If you decide against installing heating, you still have lots of options. Our guide to growing in an unheated greenhouse covers what you need to know.
It’s not just about heat, though. You might also have periods where you need to cool the structure down.
There are several options for reducing the temperature. The first is to increase the ventilation. Just like it helps to open a window in your house when it’s cooler outside than inside, opening a door or roof and side vents can allow heat to dissipate.
Openings that are across from each other are ideal because the movement of air creates a cross-breeze.
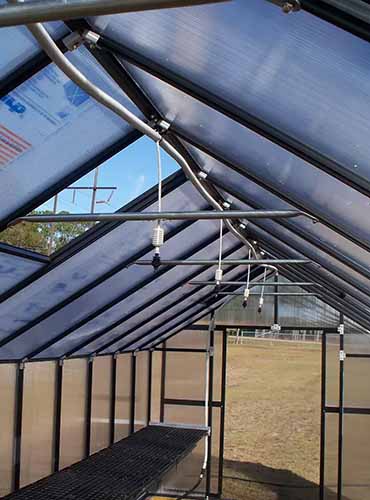
If your building doesn’t have built-in ventilation, you can buy kits and install them yourself.
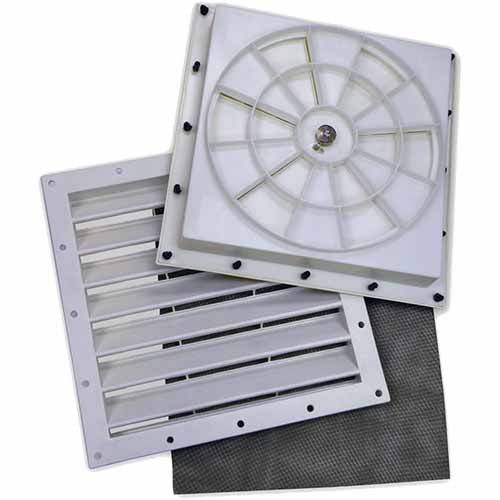
Some even include automatic fans to create a breeze, like this option from Shelter Logic.
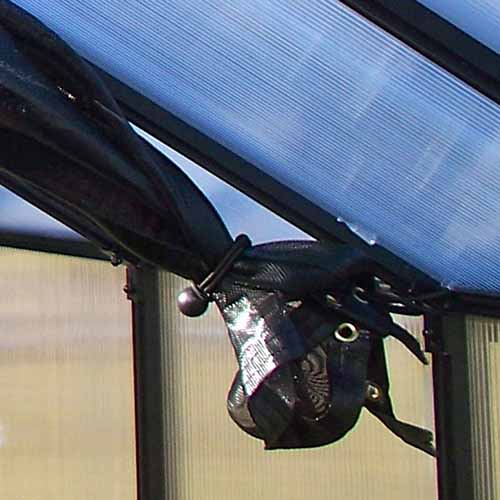
That’s not always enough, though. The next option is to use shade cloth. You can drape shade cloth over the top of the structure or build it into the ceiling to be unfurled when necessary.
You can use shade cloth to block the direct sunlight during the hottest part of the day. Combined with ventilation, this can lower the interior temperature significantly.
Shade cloth comes in many different materials, sizes, and strengths. There are also specially designed woven cloths made specifically for hanging inside your structure.
For a larger building, this eight-by-16-foot internal shade by MONT would be perfect. You can find it at Gardener’s Supply Company.
The company also makes a smaller size at eight-by-eight, also available at Gardener’s Supply Company.
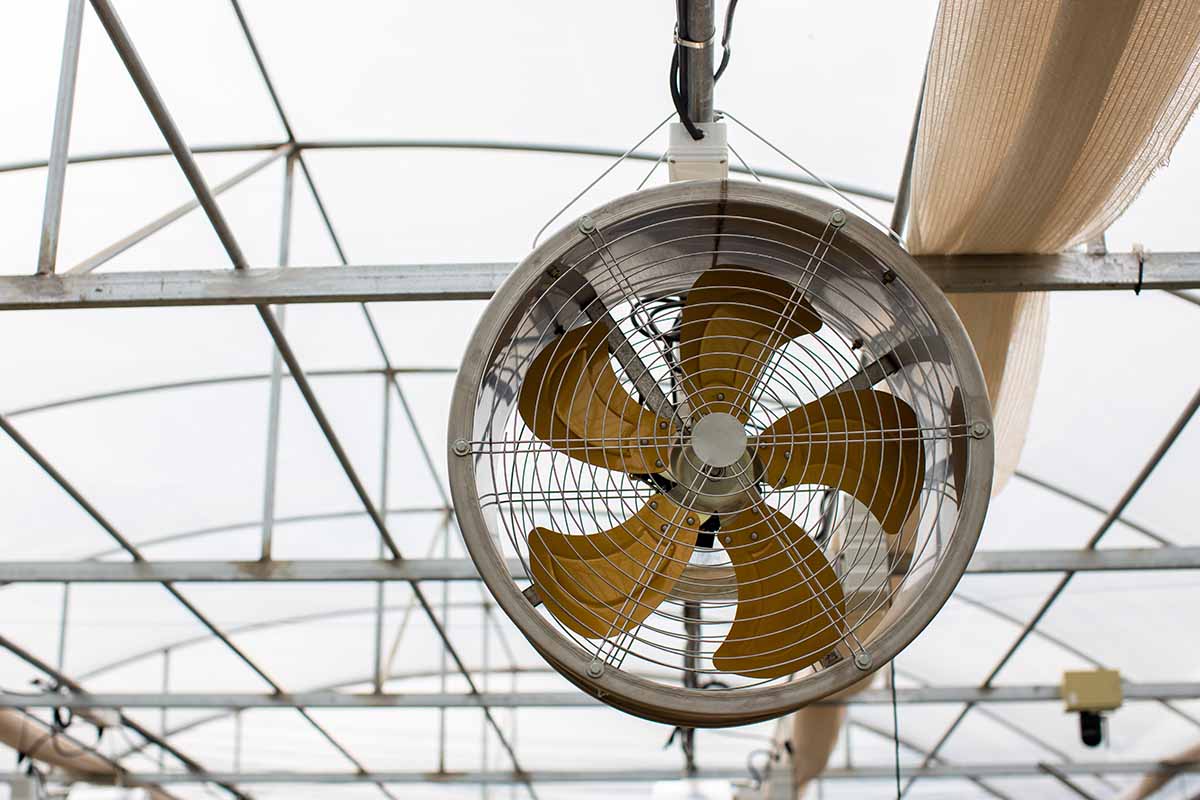
If you want to take things up a notch, you can install a fan or two. Actually, you could just set a water-safe fan inside the building, open a door, and call it a day.
But ceiling-mounted options free up your floor space and are better suited to move the air throughout the space.

Tractor Supply Company carries a 24-inch fan with a 10-foot cord that attaches to a wall or ceiling.
Finally, you can also sprinkle the floor and walls of the greenhouse with water to cool it off. This is known as damping down.
Light and Water
You don’t need supplemental lighting if your greenhouse is sited in full sun.
But if it’s situated somewhere with some shade or you want to grow in the winter when the days are short, get yourself some grow lights.
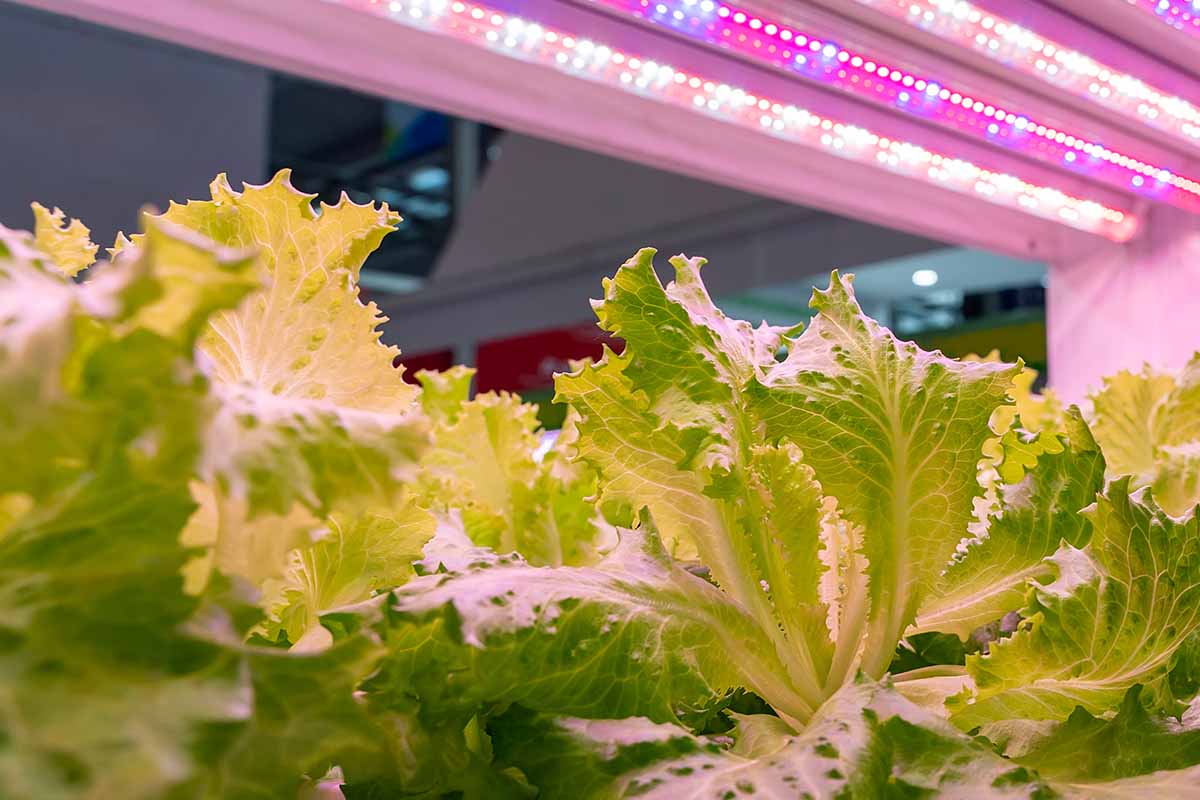
You can illuminate the entire building with grow lights or opt to light just one area for starting seeds or growing plants that need a bright location.
Something like the BoostGro 225-watt LED light would be an excellent option for lighting a table.
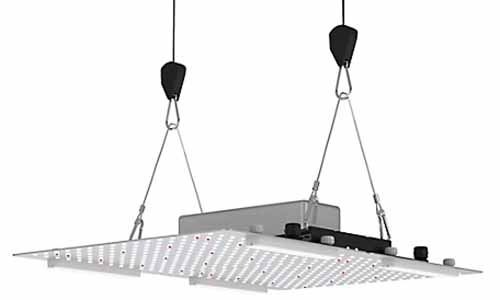
Pick up one at Tractor Supply Company. Or buy several and use them to light your entire space.
How much lighting you need depends on a number of factors, including what types of plants you are growing and how much natural light your structure receives.
When it comes to irrigation, you have a few options. You can water from above, below, or directly onto the soil. If you have a hose or you’re using watering cans, apply the water to the soil, not to the foliage.
I’m always a proponent of watering at soil level using options like drip irrigation because that’s the best way to avoid diseases, but capillary mats that bring up water from below are excellent, too.
Overhead watering is often the cheapest irrigation method, but it’s indiscriminate and can promote fungal issues.
That said, it’s pretty much the industry standard and is highly effective, especially for larger structures.
If you decide to go with a more efficient and automated method of watering than dragging in a hose or watering can, you can pick up a 16-foot watering system at Gardener’s Supply Company.
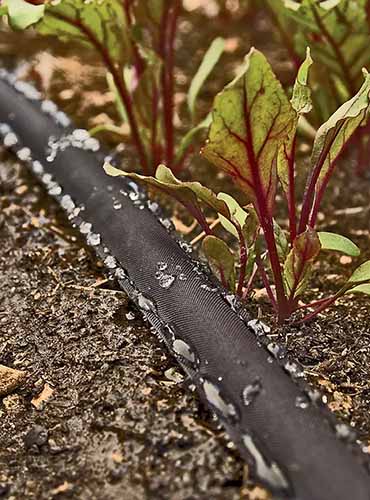
Or grab 25, 50, or 75 feet of flat soaker hoses for watering at soil level at Gardener’s Supply Company. These would be effective for a smallish area.
Managing Pests and Disease
Some pests and diseases are more common inside a greenhouse than out, and others are encountered less frequently.
As there are usually no natural predators inside the structure, common pests have the time to proliferate.
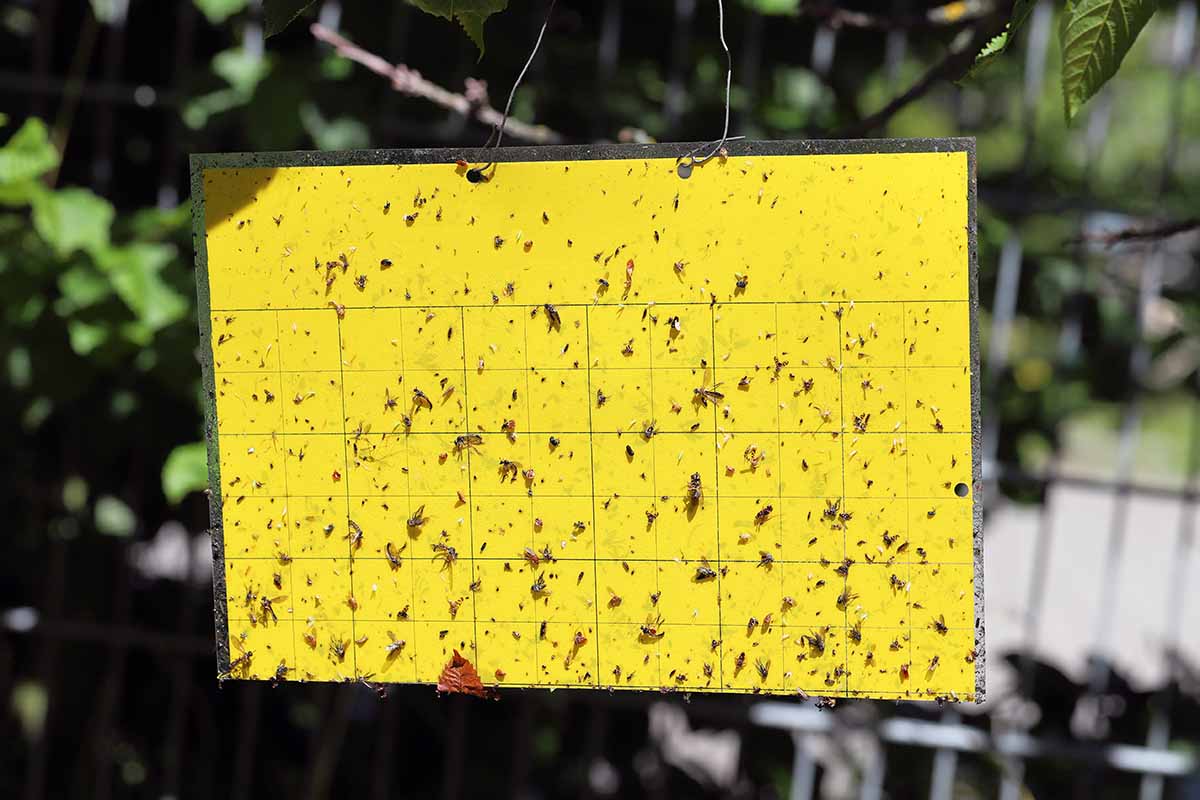
Aphids, fungus gnats, leaf miners, mealybugs, spider mites, thrips, and whiteflies are all common sights in the greenhouse.
Our guide to greenhouse pests has more information.
Greenhouses tend to have higher humidity levels than the outdoors, and many pathogens thrive in these conditions.
Botrytis, crown rot, downy mildew, fusarium, powdery mildew, root rot, rust, and viruses are all pretty common in greenhouses.
Using clean soil and tools, quarantining new plants, treating or buying disease-free seeds, appropriate spacing, and watering the soil rather than the foliage are all practices that help prevent the spread of disease.
Greenhouses are as Good as Gold
They usually cost a bit to set up, but greenhouses are worth their weight in gold over time.

Giving you the ability to extend the growing season, raise species you wouldn’t be able to otherwise, and protect your plants is invaluable.
Sitting in a greenhouse and listening to the rain or indulging in your favorite hobby when the weather has driven everyone else indoors is a sublime experience.
What will you be growing in your new greenhouse? Fill us in on all your plans in the comments section below.
And for more information about extending the growing season, have a read of these guides next: