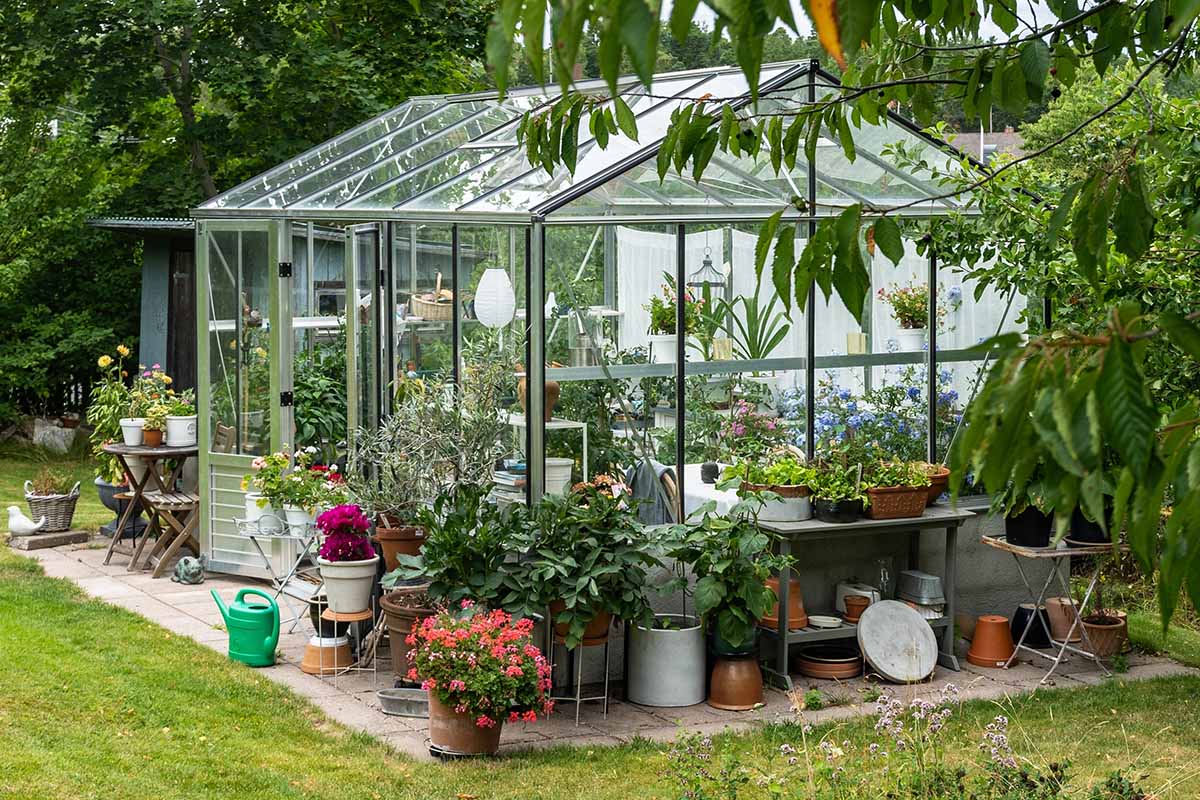
A greenhouse is one of the most versatile and useful gardening tools available, in my opinion.
These structures dramatically increase the length of the growing season and are indispensable for starting seeds.
We link to vendors to help you find relevant products. If you buy from one of our links, we may earn a commission.
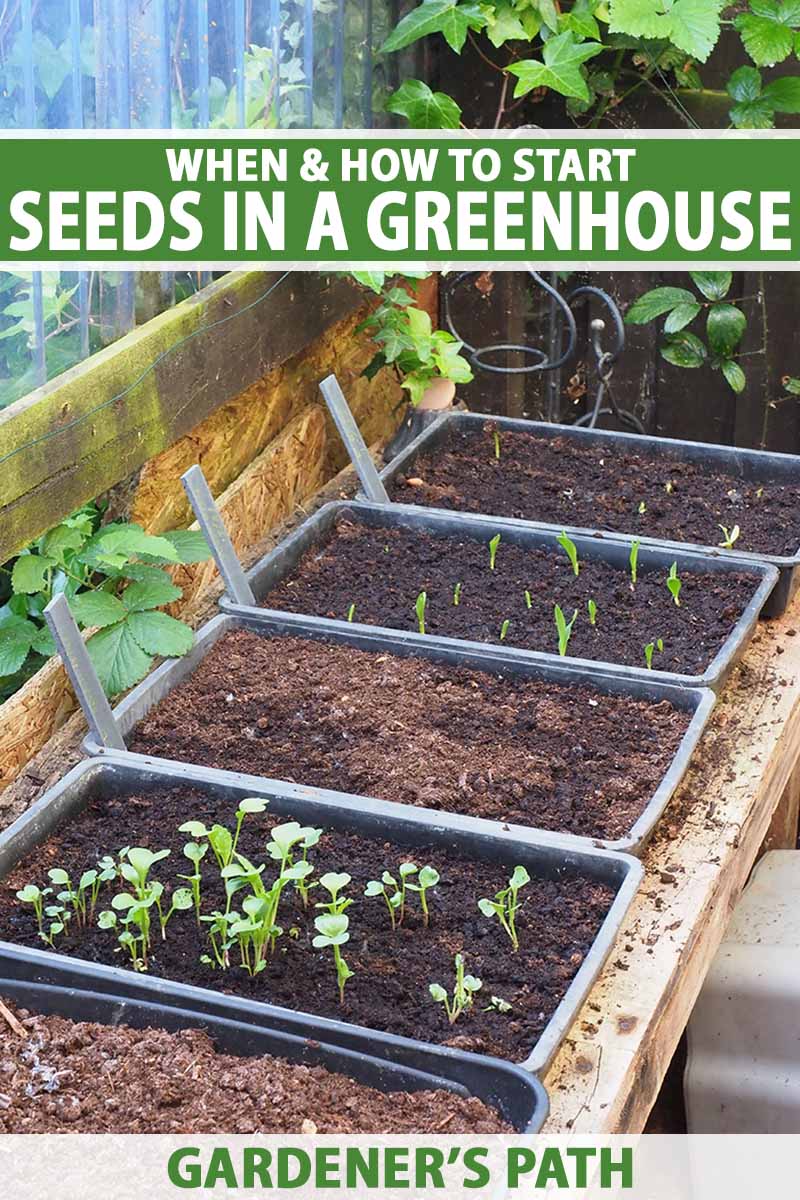
A greenhouse provides the perfect conditions for seed starting, including higher humidity, brighter light, and increased warmth than you would have otherwise.
Whether you are new to growing from seed or you’re an old hand who is starting out with a greenhouse, this guide has you covered with the following topics:
Starting Seeds in a Greenhouse
If you can’t wait to get started, let’s jump right in.
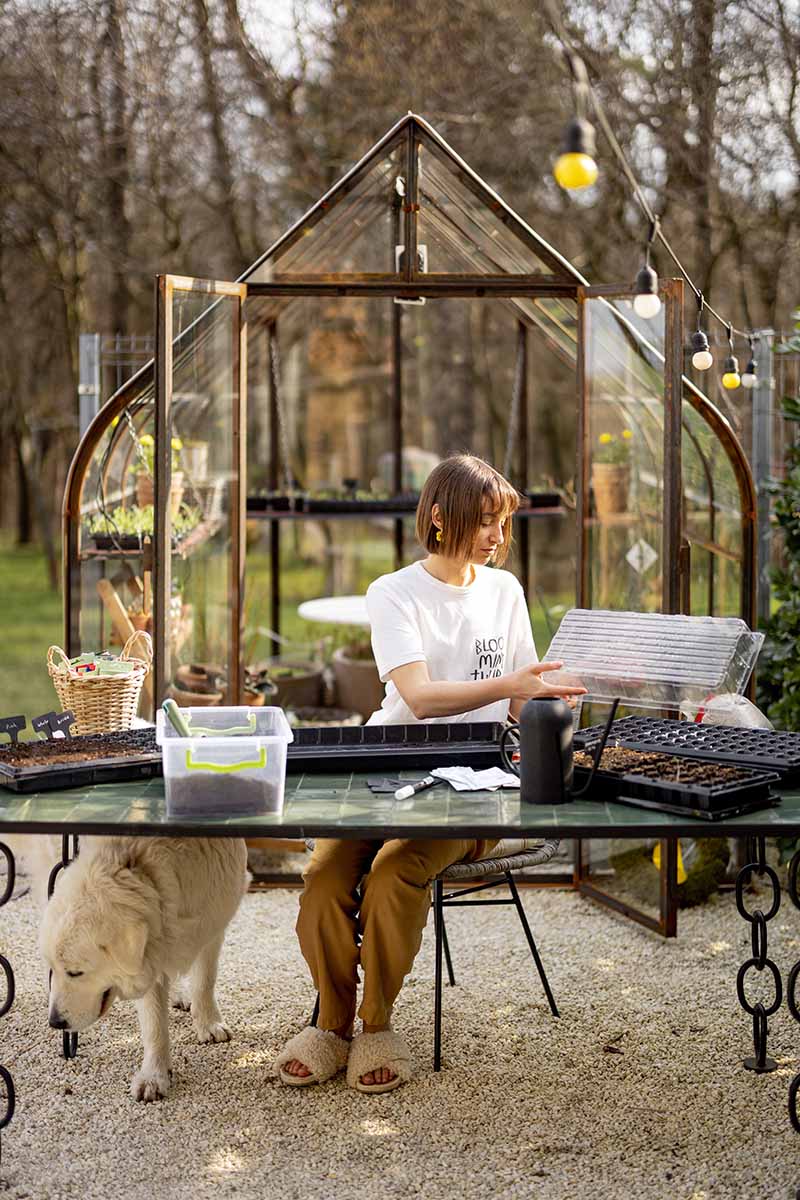
When to Start Seeds in a Greenhouse
Technically, you can start the propagation process in your greenhouse any time you want, provided you either live in a warm enough region or have supplemental heating.
What you need to keep in mind is how large the seedlings will become before you can put them in the ground.
More than once, I’ve gotten too excited and started seedlings way too early. They had outgrown their pots weeks before it was time to transplant out into the garden.
Find out the recommended start time for the species you wish to grow and go with that – this information is typically listed on your seed packet.
For example, hot peppers should be started about two months before you plan to put them out.
Of course, none of this applies if you are going to keep your plants in the greenhouse for the duration of the growing season.
If that’s the case, start them whenever you want, so long as it’s warm enough inside and there is enough light.
Choosing Containers and Soil
Most seeds are better off started in a soilless potting mix than regular potting soil.
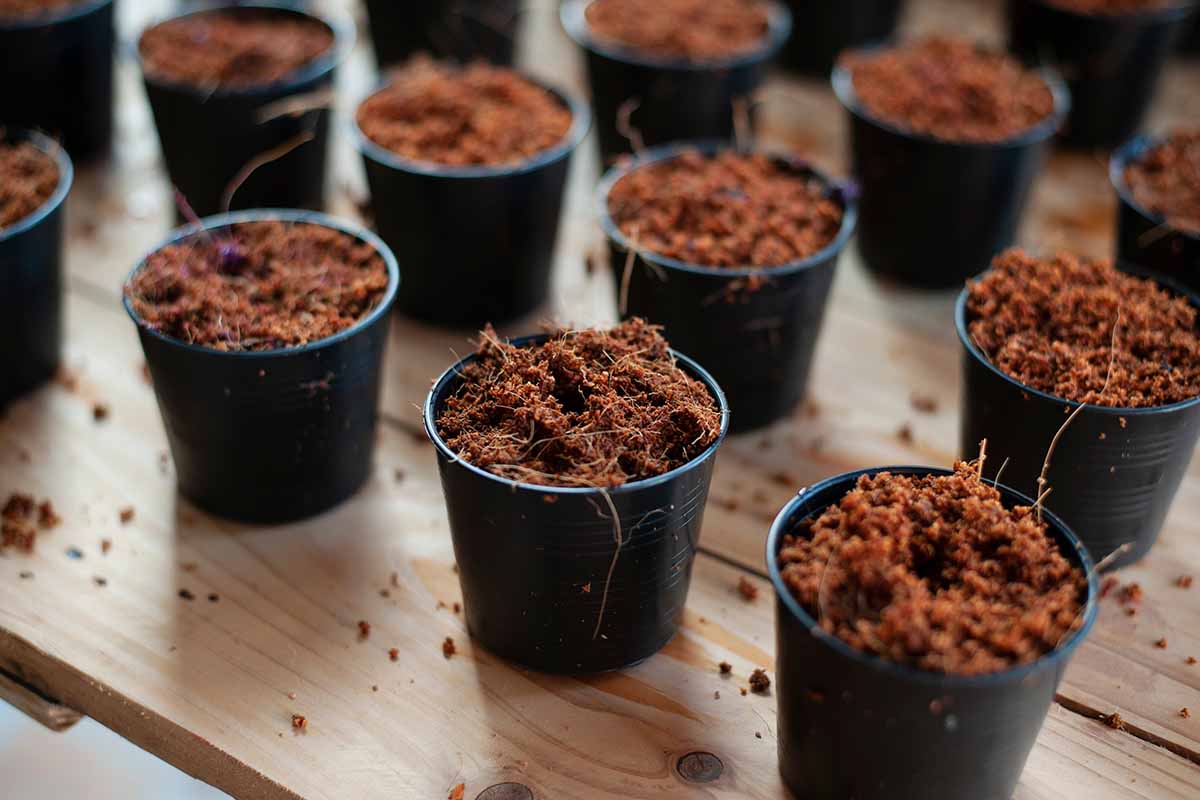
These mixes offer a good balance of air, drainage, and water retention, which is what most seeds and seedlings need to thrive.
These products are typically sterile so they don’t contain any pathogens or critters that could make your seedlings sick.
Tank’s Pro-Lite Seeding and Potting Mix is perfect for seed starting, with a blend of compost, coconut coir, and perlite. It’s available at Arbico Organics in 16-quart bags.
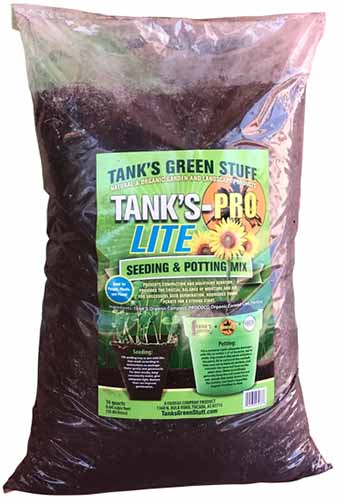
Tank’s Pro-Lite Seeding and Potting Mix
You also need containers for starting your seeds.
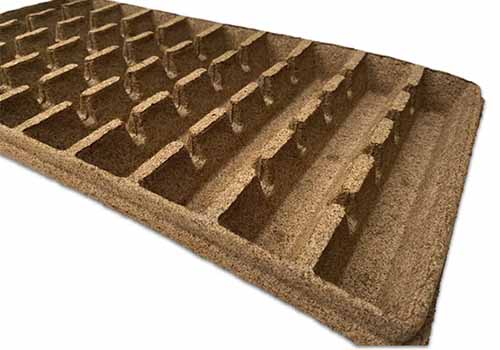
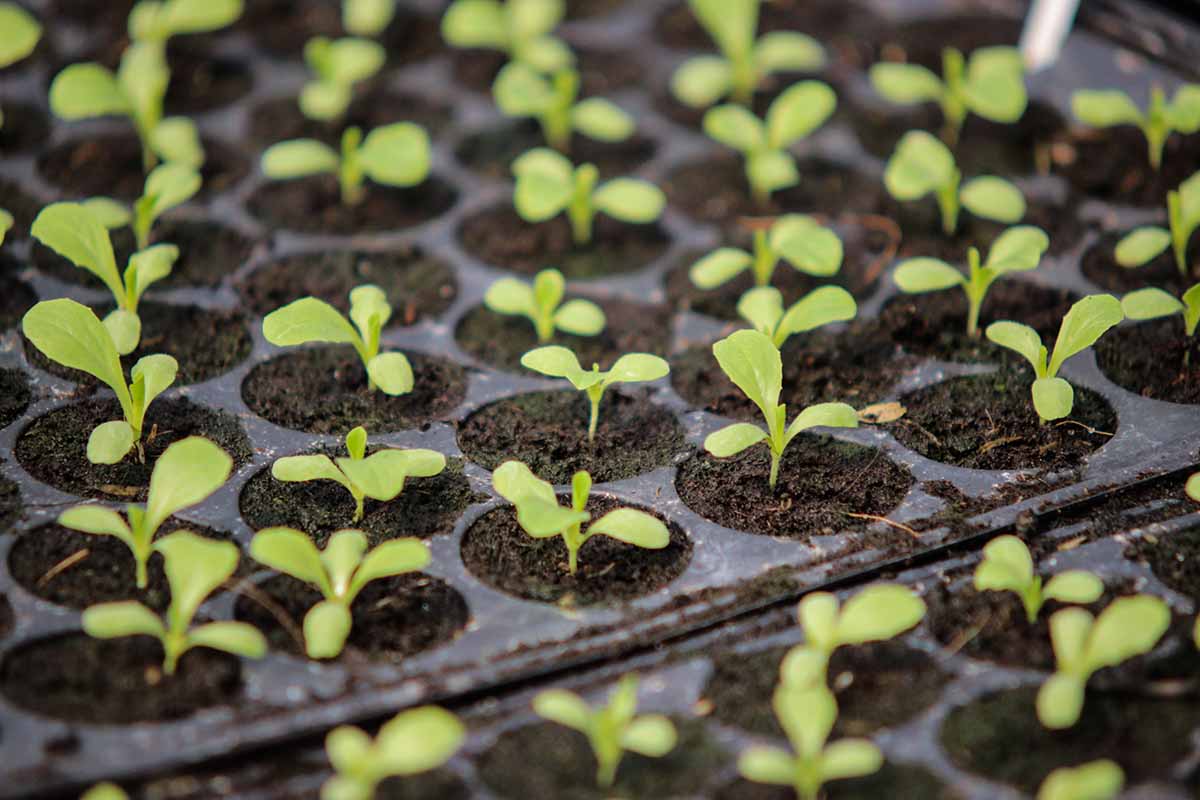
If you want to start a large number of seeds, particularly of smaller species like lettuce, cilantro, or parsley, a seed tray works well.
It’s best to choose something robust because you don’t want it falling apart when you’re moving or working with it.
This large tray from Gardener’s Supply Company has reinforced sides and is made out of 1.8-millimeter-thick plastic.

I like to use biodegradable pots because they’re better for the environment and they cause less root disturbance when you transplant, since you bury the entire pot in the ground.
For plants with long taproots or those that struggle with transplanting, like carrots, parsnips, or spinach, a biodegradable pot is a must-have.
CowPots make their pots out of cow poop, which is the ultimate renewable resource, and I highly recommend them.
If you have a lot of seed starting to do, pick up 10-row trays in a case of 18 at Arbico Organics.
When you’re ready to transplant seedlings in biodegradable pots, just cut the individual section away and plant it. Or, for herbs or other small species, you can plant the entire tray.
For plants that you want to be able to separate that aren’t fussy about transplanting, a pot with separate cells may be easier to work with.
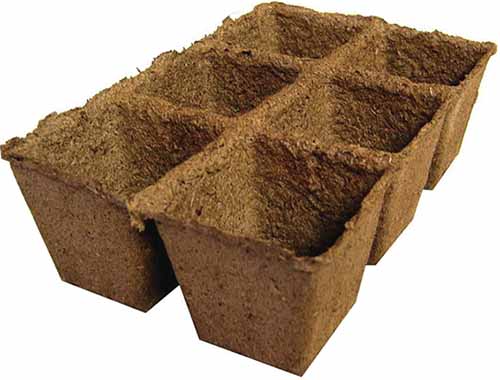
Grab a #3 six-cell, which has six separate cells, each three inches wide, from Arbico Organics.
Finally, you might want to go with a larger pot if you’re growing bigger plants, such as melons, brussels sprouts, artichokes, or lavender.
I find four-inch pots are a must-have for things like peppers and tomatoes.
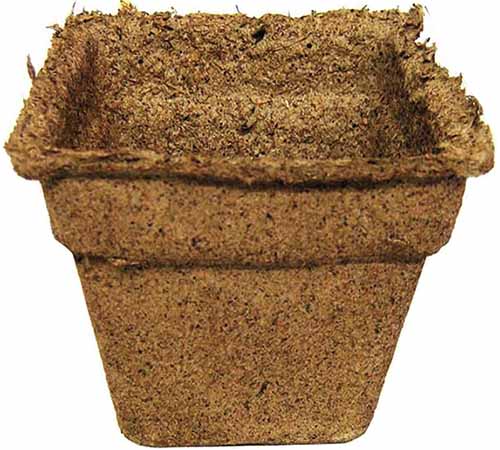
Biodegradable square pots from CowPots can be found at Arbico Organics in quantities of 12, 180, and 450.
Preparation
Before you sow your seeds, be sure to understand the needs of the species that you’re growing.
Some seeds need stratification or scarification before you can sow them. Others benefit from being soaked for 24 hours or so ahead of time.
If an individual seed is particularly large or thick-walled, it’s a good bet that it’ll need some preparation before sowing.
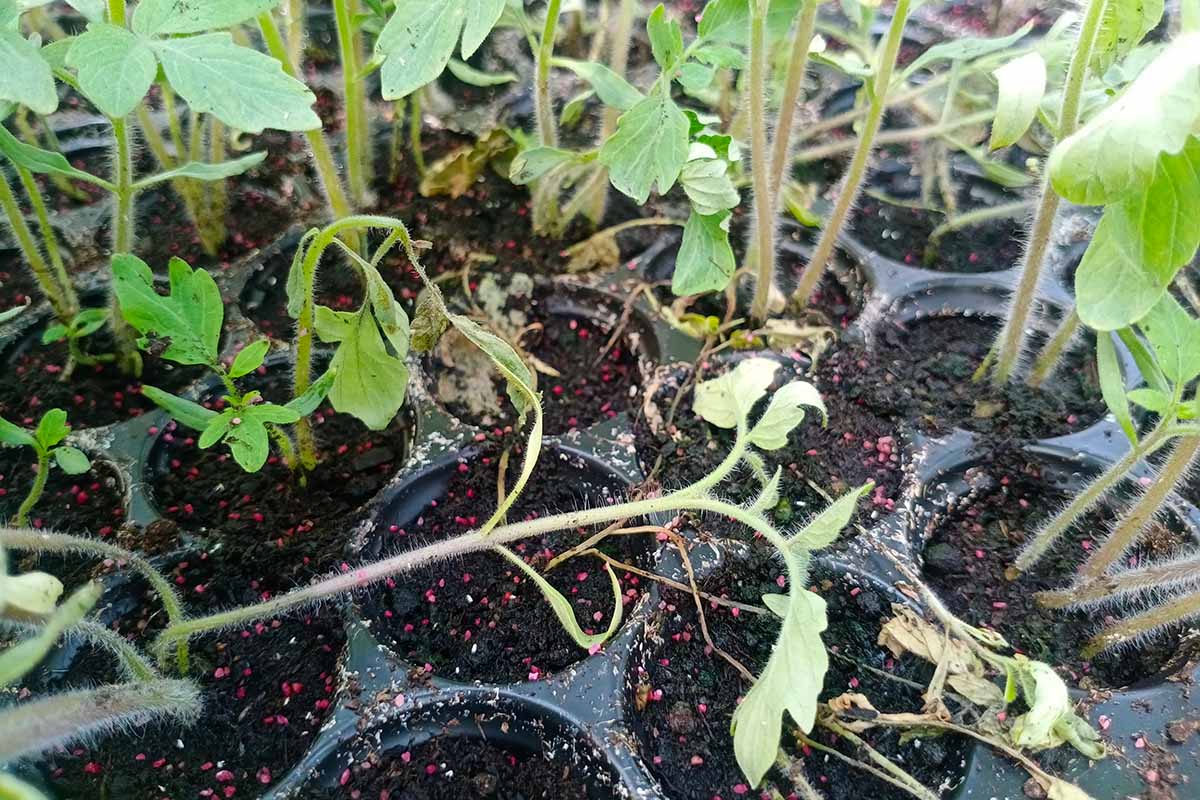
Species that are susceptible to damping off, which is a devastating disease caused by water molds Pythium and Phytophthora, and fungi like Rhizoctonia and Alternaria, can be soaked in a fungicide prior to sowing.
Lettuce, nightshades, pansies, and many other herbaceous species are prone to damping off.
I’ve found that the incidence of damping off has been drastically reduced since I’ve started soaking my seeds in Mycostop before I sow them in clean soil.
Mycostop is also an effective treatment for fungal diseases in plants. It harnesses the power of the beneficial bacterium Streptomyces Strain K61 to kill pathogens.
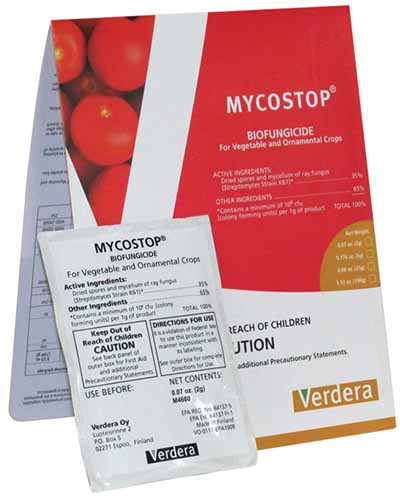
Five- or 25-gram packets are available at Arbico Organics.
Products containing Bacillus subtilis or Trichoderma species can also be effective.
Be sure to check the expiration dates on your seed packets and dispose of any that are out of date.
Or, if you save your own seeds, think about how old they are and toss out any that are too old. You can research the seed viability of the particular species you’re working with.
Some species can be tested for viability by putting them in water to see which ones float and which sink. Floating seeds should be discarded.
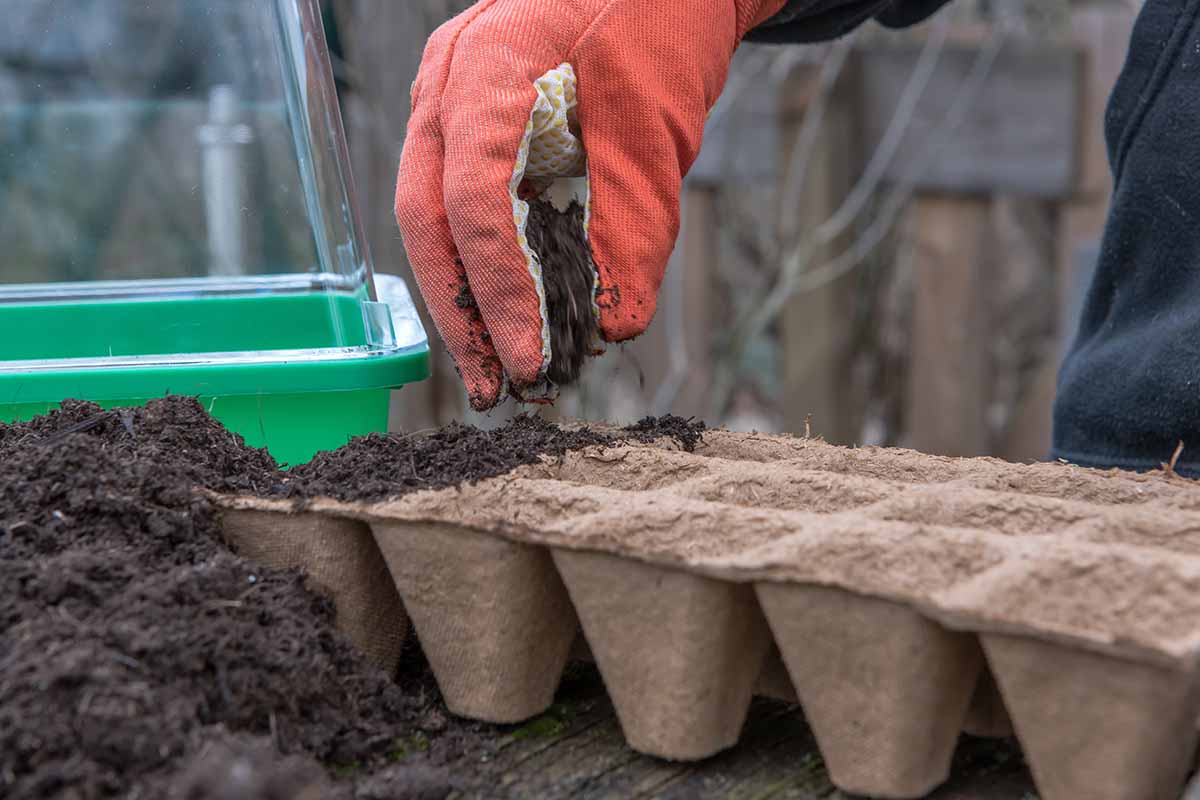
Sowing Seeds
To sow, fill your pots or trays with your chosen potting mix and pre-moisten the soil – this reduces the risk of disturbing the seeds when you water.
When you fill the pots or trays in preparation for sowing, don’t pack or tamp the medium down.
Simply pour the medium into the pot and scrape the excess off the top. Don’t set the pots inside each other to carry them once you’ve added the soil, as this can compact the potting medium.
If you compact the soil, it will reduce germination and make it more difficult for the roots to stretch out.
When you water the soil initially, take a little potting medium out and ball it up in your hand.
If it falls apart, the mixture is too dry. If it leaks when you squeeze it, it’s too wet. It should stay together, but you shouldn’t be able to squeeze out any water – a bit like a well-wrung-out sponge.

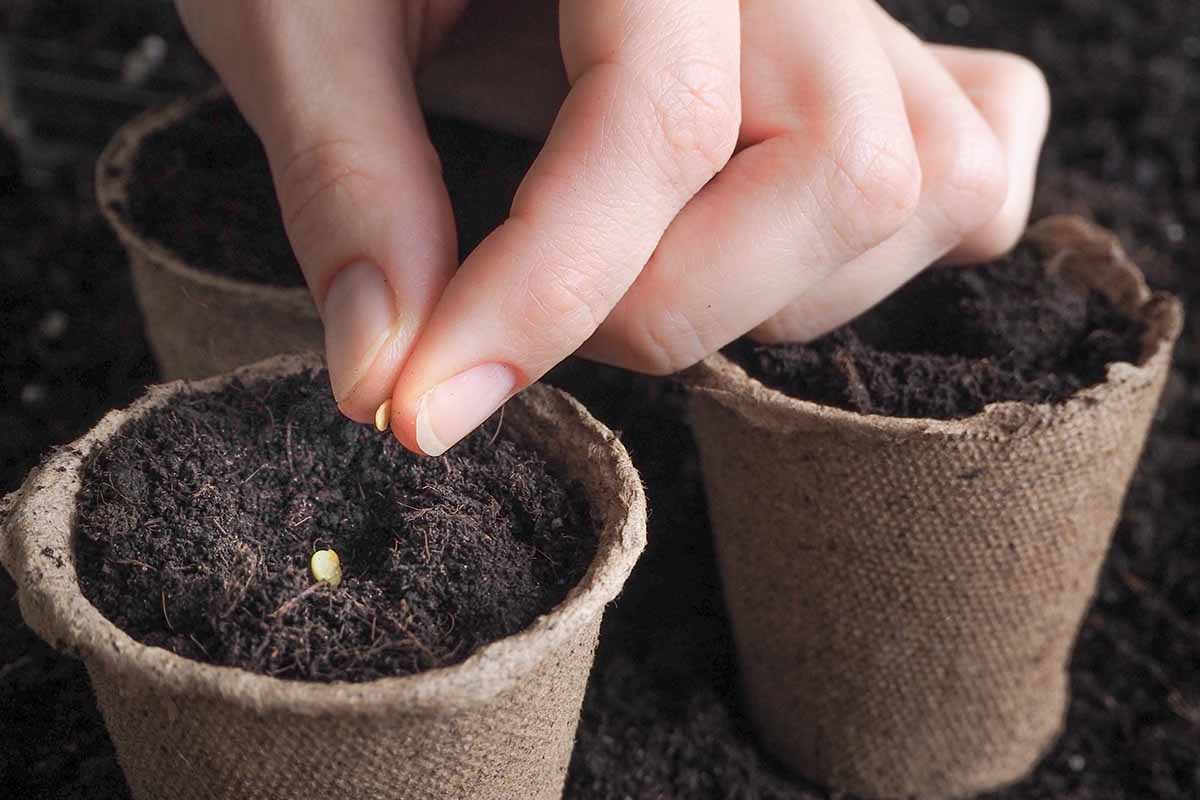
Poke holes in the soil for larger seeds, or just scatter smaller seeds over the soil.
Some need to be buried and others should be on the surface of the soil so they can access the light they need to germinate, so be sure to understand the needs of the species you’re growing.
After sowing, you can add additional moisture and help surface-sown seeds “stick” by spraying them with a fine mist.
Try to sow at the center of the plug or pot. Those sown on the edges of the pot tend to dry out rapidly.
Seed and Seedling Care
Depending on the time of year, the species you’re growing, and how much light your greenhouse receives, you might need to provide supplemental lighting.
If you go with lighting in your greenhouse, you’ll need to keep them on anywhere from eight to 16 hours a day, depending on the light requirements of the plants you are growing.
Heating mats can also be useful, particularly in an unheated greenhouse.
Tender species like peppers, tomatoes, corn, or eggplants will often need additional heat to promote germination.
Heating mats aren’t only about providing extra warmth. They also help keep the temperature more even throughout the day, in a greenhouse or not.
Big swings between the daytime and nighttime temperatures in your greenhouse can slow or even stop germination in some species.
I use VIVOSUN’s waterproof 10 by 20 inch mat and it has always done the job for me. You can pick one up at Amazon in a variety of different sizes.
Other than light and temperature, your other big job is watering. Seeds and seedlings generally need consistent moisture.
There are very few that should ever be allowed to dry out. This is especially important for those that are sown on the surface of the soil.
There are many ways to water, from overhead watering to lugging a watering can into your greenhouse.
We talk about setting up the right watering system for your needs in our beginner’s guide to greenhouses.
Generally speaking, drip irrigation or soaker hoses work best if you don’t want to manually water using a can, hose, or mister and the pots are large enough to accommodate them.
Although there are outlier species, you generally don’t need to feed seedlings until the first set of true leaves have opened.
When you do feed, use something mild and close to balanced, or choose something formulated for seedlings like Dr. Earth’s Root Zone Starter Fertilizer.
It contains organic ingredients that include fish bone and humus with an NPK of 2-4-2 to encourage healthy growth.
Dr. Earth Root Zone Starter Fertilizer
Find it in one or four pound bags at Arbico Organics.
Finally, monitor the humidity in your greenhouse. Sometimes, it’s as easy as opening up the door to let in some air circulation.
Other times, you might need to turn on some fans. Each species is different in how much humidity it prefers, but too much moisture in the air is a quick way to promote fungal diseases.
Transplanting
When it’s time to transplant your seeds, you’ll need to harden them off to accustom them to the outdoor growing conditions which are different from the environment in the greenhouse.
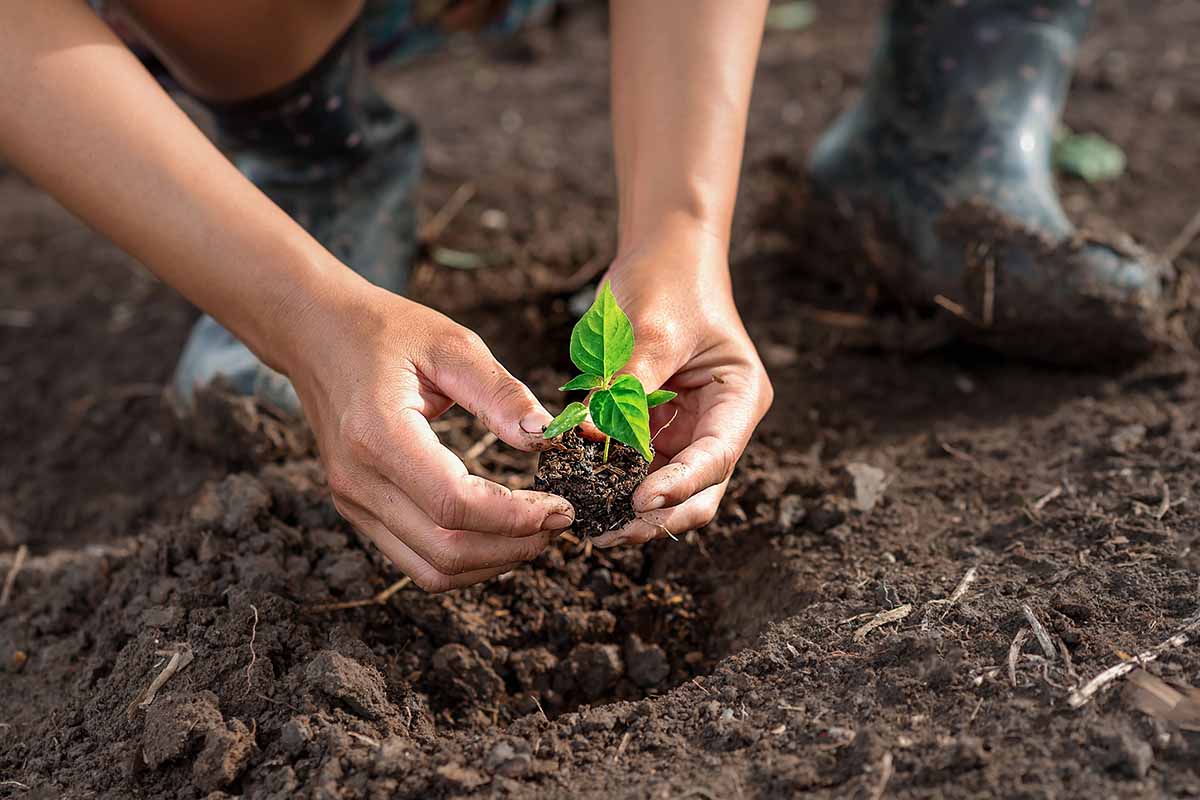
Hardening off can take about a week or two, so plan ahead. You can start the process as soon as the weather is warm enough for the species that you’re growing.
Take the plants outdoors and set them in the location where you intend to transplant. Leave them there for between 30 minutes to an hour.
Then, take the plants back into the greenhouse. The next day, add another 30 minutes to an hour. Keep doing this for a week or two until the plants can go in the ground.
I do this over a longer period of time for tender plants like tomatoes and chilis, or those that I don’t want to risk losing.
For tough plants like kale and Swiss chard, I might rush the process a little more. Take a cue from your plants.
If they don’t show any signs of stress, like wilting or yellowing leaves, you’re doing fine.
Put Your Greenhouse to Work
Although they might be one of the pricier tools in the gardening toolkit, I think greenhouses are one of the most useful.
Starting seeds in a greenhouse puts you ahead of the game and gives you a strong start to the growing season.
Which seeds are you starting in your greenhouse this year? Let us know about your growing plans in the comments section below.
And for more information about using greenhouses, we have a few other guides to help you out. Check these out yet:
First year starting seeds in a greenhouse so this was a nice read
Thanks for stopping by and I wish you the best of luck this year!
This is the first year I’m using my greenhouse after starting the build for it last year. I’m excited to watch my new seedlings grow in the greenhouse though I am somewhat new to greenhouse gardening. So I hope I do well as I had a beautiful garden last year with seeds and plants.
Good luck on your new adventure! A greenhouse is such a valuable tool to have in the garden, I’m sure you’ll get the hang of it in no time.