Cucumis melo var. reticulatus
If you’re a fan of muskmelons, you probably think biting into a slice is the best taste of summer.
Their juicy, nutritious, and sometimes brightly colored flesh is the perfect addition to the picnic table, adding flavors that make your mouth water when you’re craving a cool, sweet treat after a barbecue or alongside a buffet of grilled foods.
We link to vendors to help you find relevant products. If you buy from one of our links, we may earn a commission.
Muskmelons are often thought of interchangeably with cantaloupe, and, even though cantaloupes are in fact muskmelons, not all muskmelons are cantaloupes. Some types look and taste very different.
You might ask what the true difference is between these – so we’ll cover that, as well as how to plant, grow, and care for these essential summer fruits.
Here’s everything we’ll cover up ahead:
What You’ll Learn
It seems opinions are a bit polarized among gardeners and consumers – they either love muskmelons and grow them every year, or don’t enjoy their flavor – or supposed lack thereof – and want nothing to do with them.
In my own home, we’re divided about this! But if you or others in your home enjoy them, they’re some of the easiest vine fruits to grow, and you can find cultivars in a range of sizes and flavors.
What Is a Muskmelon?
Muskmelons, Cucumis melo var. reticulatus, are part of the Cucurbitaceae family, along with cucumbers, pumpkins, zucchini, Mexican sour gherkins, and even watermelons.
It’s a huge family that encompasses thousands of known species and cultivars, the majority of which produce scrambling, trailing, or climbing vines.
The species Cucumis melo is divided into seven botanical variants: cantalupensis, reticulatus, inodorus, flexuosus, conomon, chito, and dudaim.
Only the indorus and reticulatus types are commonly grown as a commercial food source in the United States.
Although a broader category of melons are often referred to commonly as muskmelons, in this guide we will focus on those that technically qualify as muskmelons: the reticulatus group.
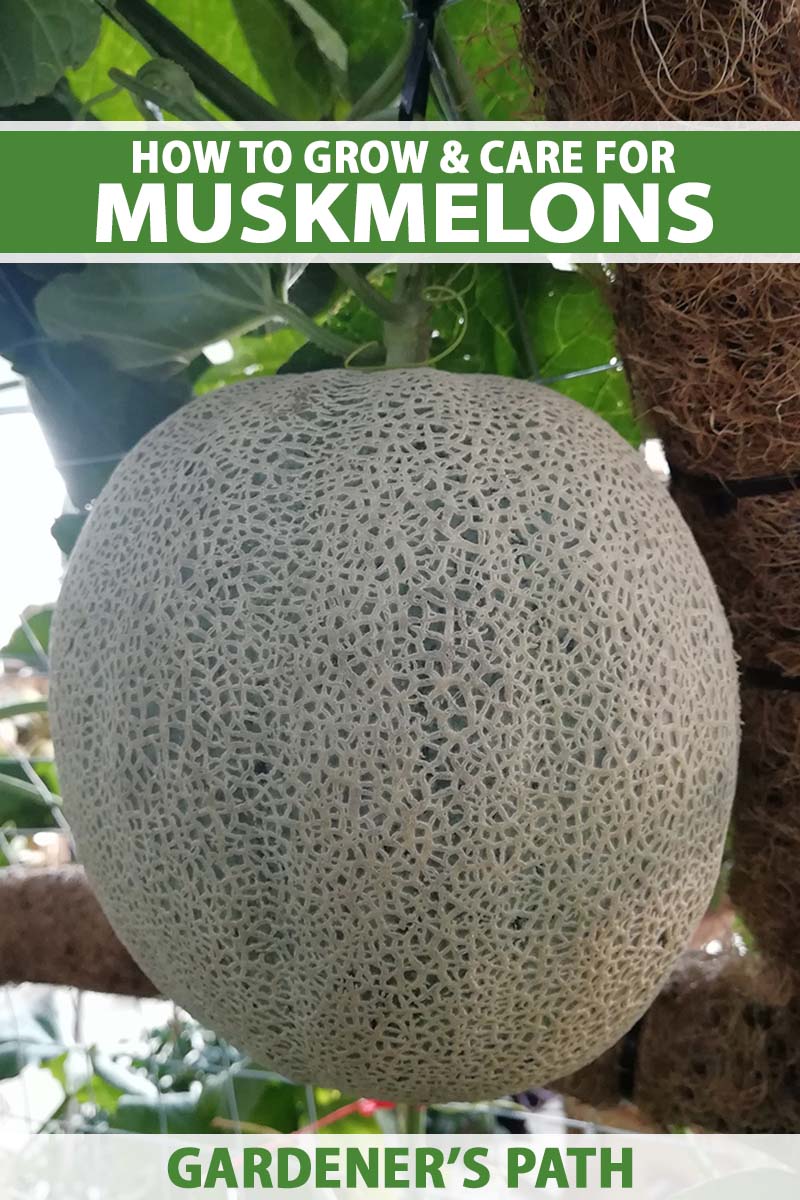
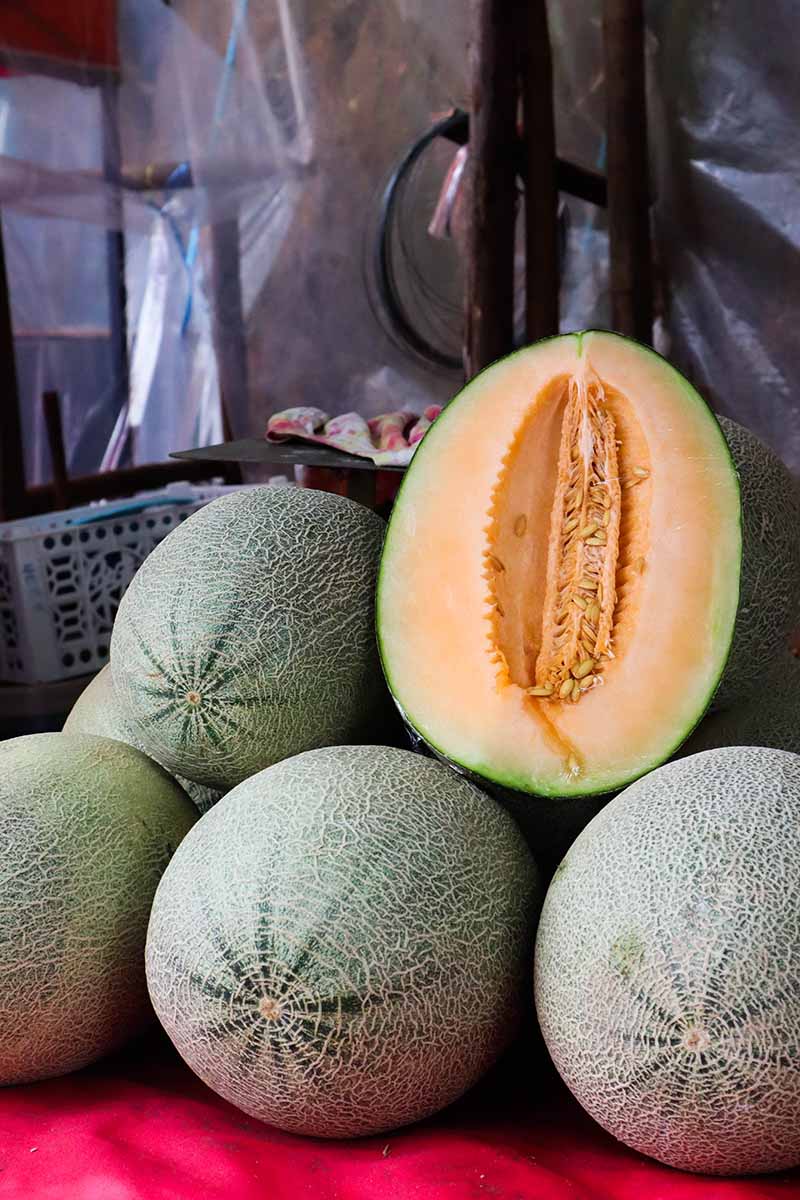
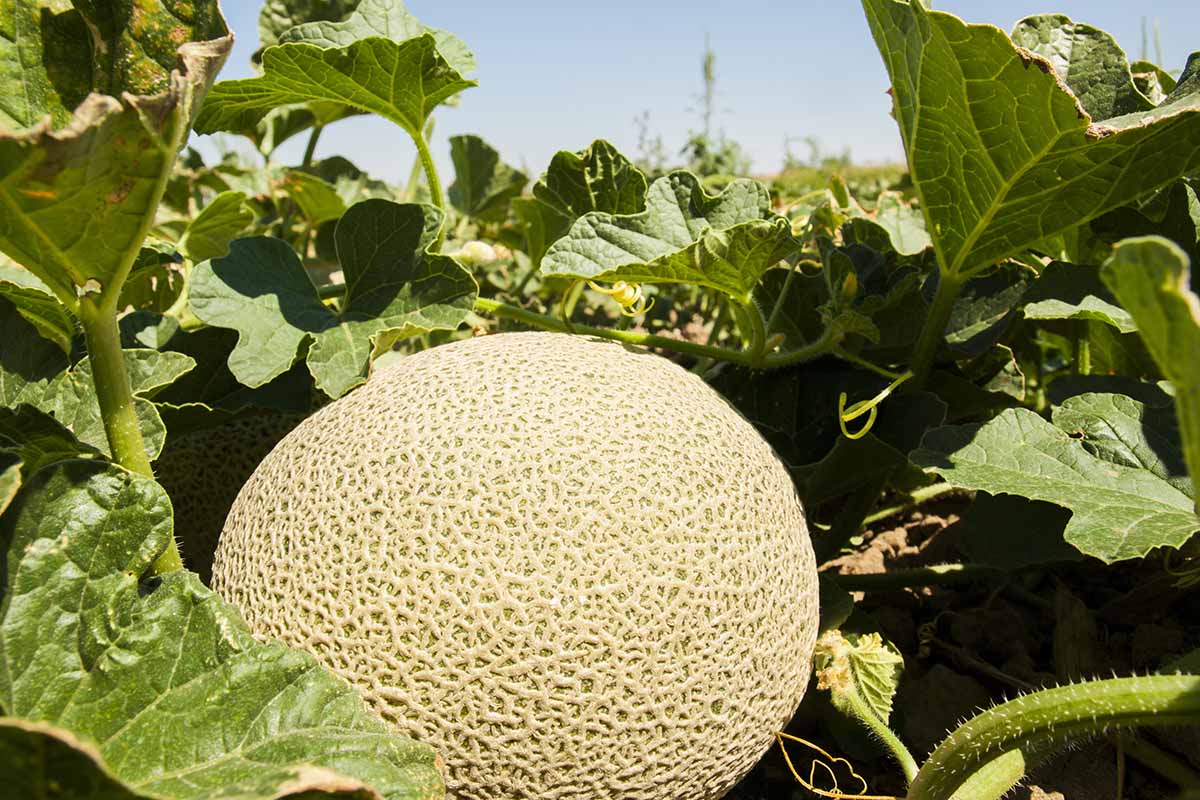
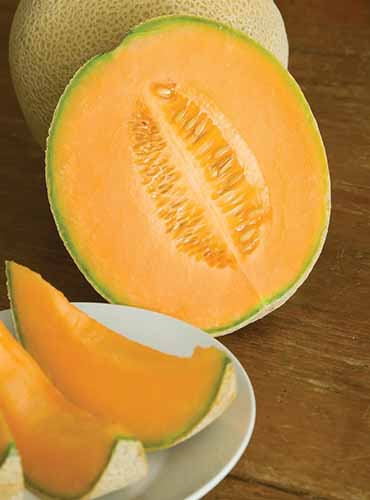
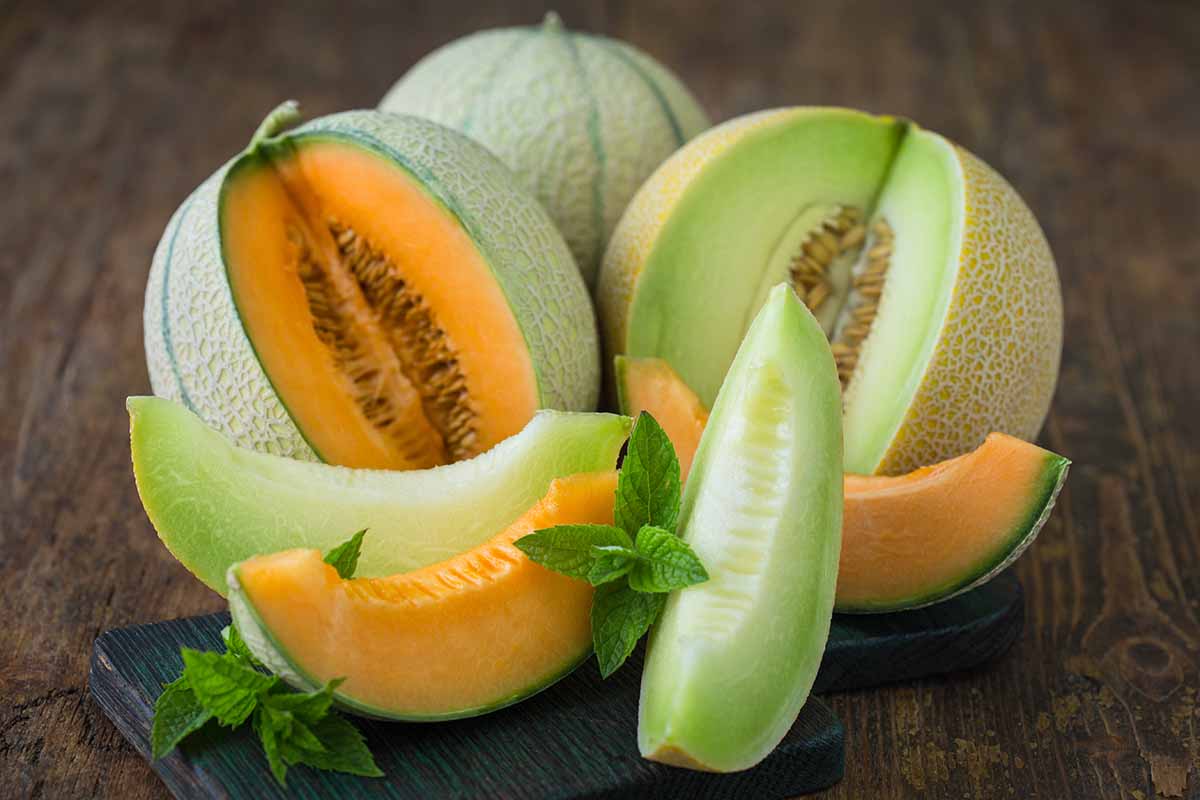
Muskmelons feature netted rinds and the interior flesh may be pale green to white, orange, or pink.
They are generally rounded or oblong and range in size from six to nine inches in length with a weight of four to eight pounds on average.
Interior seeds are narrow and off-white, and referred to in Hindi as kharbuja magaj. In parts of India, it’s commonplace to eat them raw, roasted, or steamed much like pumpkin seeds.
Seeds are enclosed in a chamber inside the melon, sometimes by the hundreds. While the leaves are also technically edible, most are not preferred for consumption.
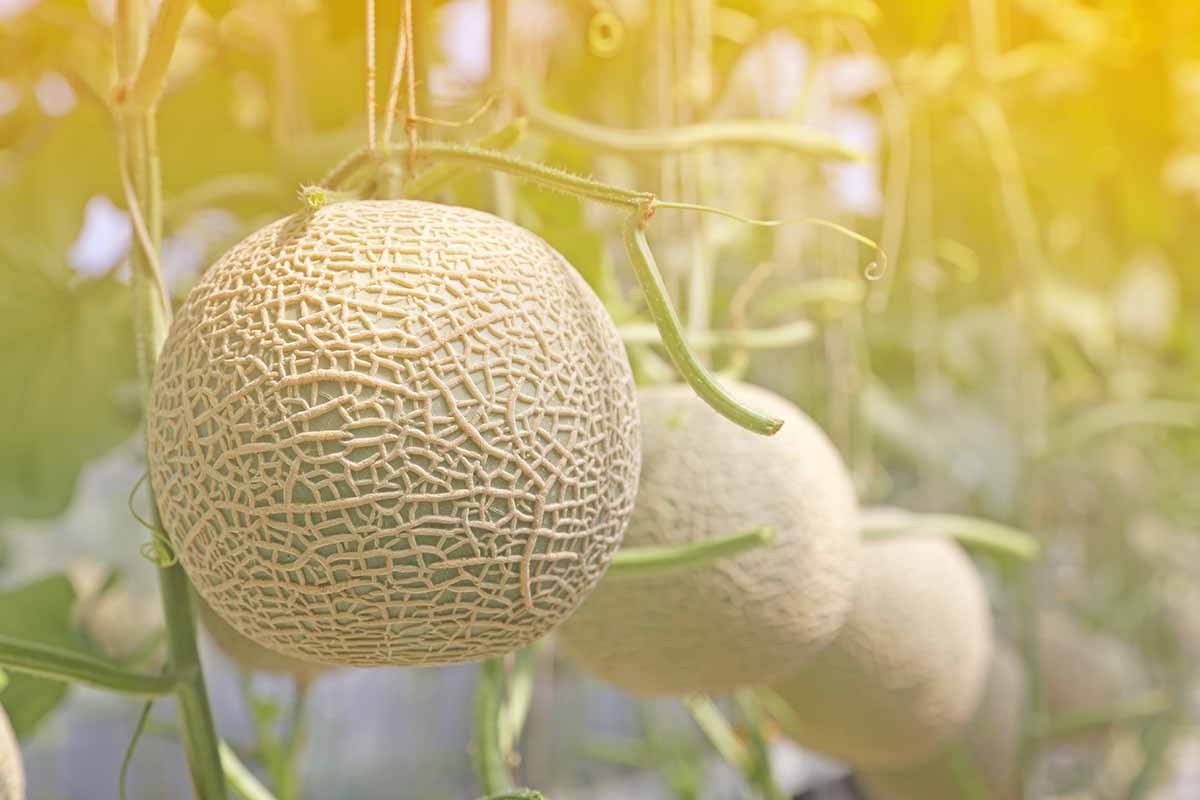
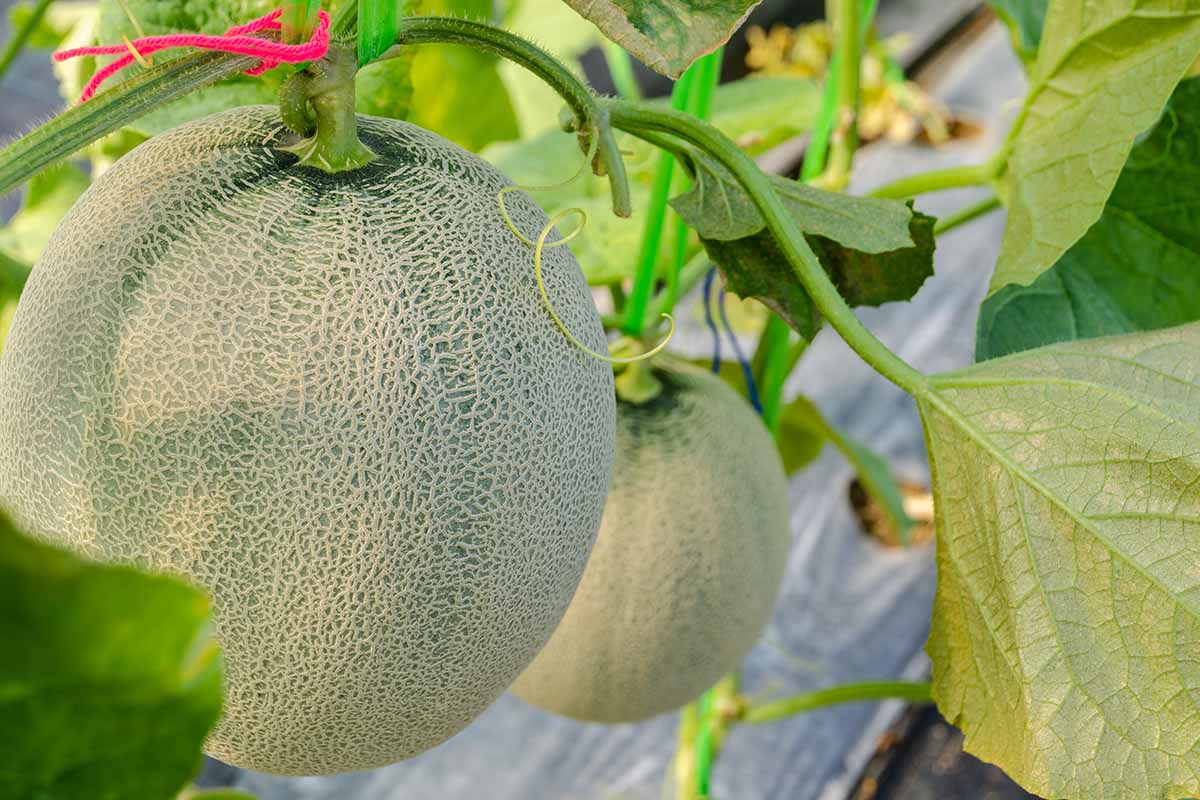
The fuzzy, vining, monoecious plants produce small, yellow blossoms that are either male or female. After pollination, individual vines can produce as many as six to eight fruits each.
It’s often believed that the names cantaloupe and muskmelon are interchangeable, but even though cantaloupes fall into this group, they’re only one of many types of muskmelon.
The cantaloupes that we typically find in American stores are not true cantaloupes, but muskmelons.
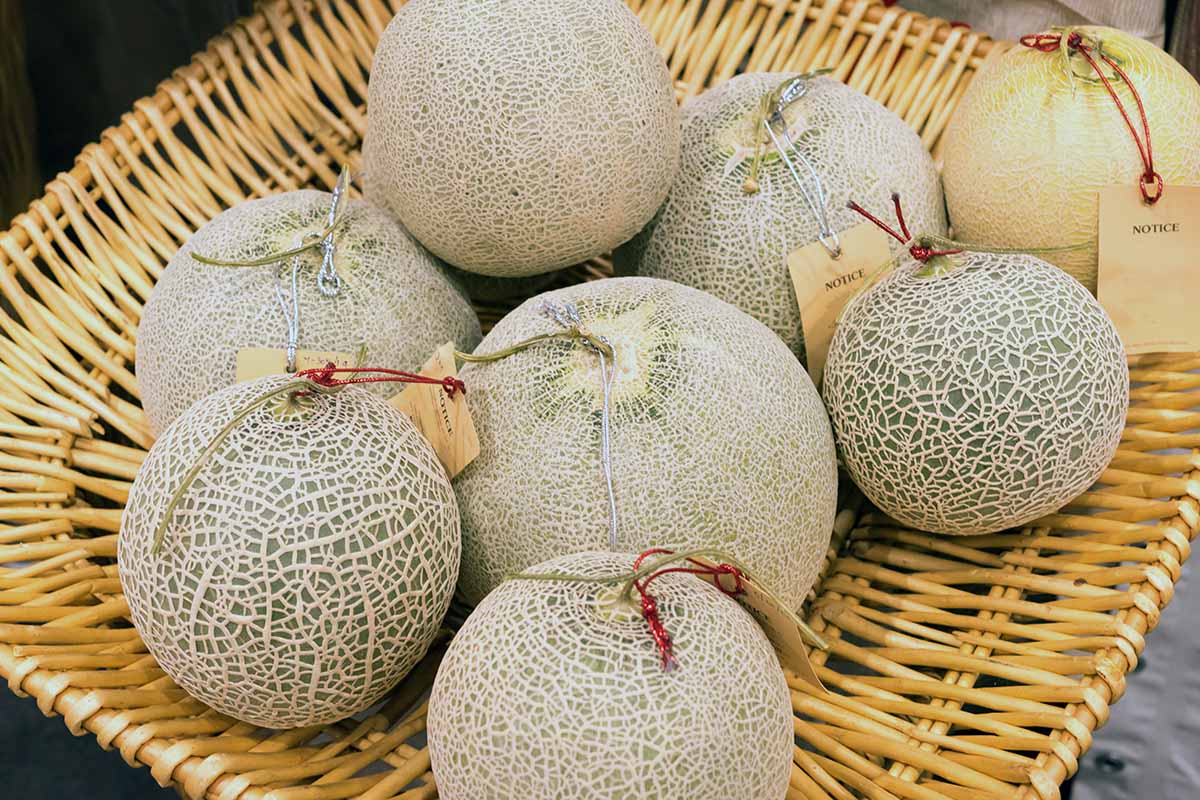
American cantaloupes have netted rinds, a feature of all C. melo var. reticulatus fruits. They have somewhat sweet flesh that is enhanced by long periods of exposure to heat, so the hotter the summer, the sweeter the fruit.
They’re typically rounded or oblong and the netted rind doesn’t usually have ridges. They may or may not produce a musky aroma as they mature.
You can find complete details on how to grow cantaloupe in our guide.
The true cantaloupe, the European C. melo var. cantalupensis, has thick, warty rind that may lack netting and often have ridges. They sometimes have green vertical striping as well.

One example of a true cantaloupe is the Charentais melon, bred in France in the early 1900s. It has the typical rough exterior, with vertical green ridges and a musky scent. The interior is often tinted pink, and the flesh has a firm texture and rich flavor.
Let’s take a quick stroll through history before discussing planting and caretaking, shall we? It’s always interesting to learn how our favorite foods have come to have a place on our tables.
Cultivation and History
Archeological evidence from excavations and written records proves that these melons were used in myriad ways as long ago as the third century in ancient Persia, Egypt, Rome, Greece, and Spain.
In the late 1400s, muskmelons were introduced to North America by Columbus. In 1881, the W. Atlee Burpee company began offering seeds for sale for a variety they dubbed ‘Netted Gem.’
Cultivars have been selectively bred for thicker, firmer flesh, better disease resistance, and more uniform size, shape, color, and flavor. Their highly nutritive flesh makes them a staple for home gardeners, containing large amounts of vitamins A and C, and potassium.
Planting and growing muskmelons is easy. The most important things to bear in mind are the length of the growing season and seasonal temperatures.
Propagation is done by planting seed – we’ll cover that next.
Propagation
Seeds are best sown outdoors at the planting site rather than starting them indoors and transplanting them out into the garden.
But if your region doesn’t have a long enough season to accommodate the months-long period of growth to reach maturity, you may have to start them indoors and move them outside later.
Use biodegradable pots to avoid disturbing the roots when it’s time to transplant them to their outdoor location if starting seeds inside.
From Seed
Begin about four to six weeks prior to the last predicted frost date for your area to start seeds indoors.
Fill biodegradable pots with a potting mixture of one part seed-starting mix to one part sand. I like these Coco Seed Cups that are available in packs of 20 from Home Depot.

Avoid potting mixes that contain peat as they are dense and not the best choice for propagating melon seeds.
Water the medium well and allow the excess moisture to drain off.
Press one to two seeds into the soil per pot, pointed end down, about three-quarters to one inch deep. Cover them over with soil.
Place the pots in a propagator or cover them with a piece of plastic film, and sit them in a warm place out of direct sunlight.
This domed propagator with an included grow light that’s available from Super Sprouter via Amazon is a great option that can be reused.
Super Sprouter Propagation Kit
The light can be switched on after germination occurs.
Use a heat mat to keep soil temperature consistently at 80°F and offer a gentle mist of water if the potting mix begins to feel dry, but avoid overwatering. Seedlings should emerge in about a week to 10 days and weaker seedlings should be thinned early on.
Direct sowing should be done after the last frost date when the soil temperature is at least 65°C. You can add a layer of landscaping plastic or fabric to help keep temperatures consistent and punch holes at about 18-inch intervals.
The soil at the site should be amended with sand and compost or manure and watered prior to planting. Make a small mound at each site, press two to three seeds about one inch deep into the soil in each mound, and cover them over.
Humidity domes can also be placed over the seeds if you’re concerned about cool evening temperatures or unexpected cold snaps.
These plastic cloches from Vumdua via Amazon are perfect since they have vents and come with stakes to keep them in place.
Keep the seedlings protected until temperatures begin to rise, but be sure to vent the covers or remove them on hot, sunny days since they can cause wilting and overheating.
Be sure to keep the ground moist but not wet until the seedlings start to produce true leaves. After that, offer enough water to prevent the ground from drying out completely. I’ll cover this in more detail in the How to Grow section below.
We have a great list of suggested supplies for seed starting here.
From Seedlings/Transplanting
Once your plants have two sets of true leaves, begin hardening them off.
Place them outdoors in a shady location for a few hours, and repeat this each day for a week, gradually moving them into more direct sunlight for longer periods.
Depending on the seasonal temperatures in your region, seedlings should be moved outdoors between April and June when the ground is consistently warm, and the danger of frost has passed.

Prepare the planting site by amending with sand and compost. Till or rake it well to loosen and make holes as deep as the roots or pots at 18-inch intervals.
If you’ve used biodegradable pots, simply place the entire pot into the hole and mound the soil but avoid burying the stems.
If you used a cell tray or plastic pots, carefully turn the seedlings out of their containers and avoid handling or damaging the roots. Place them in the holes and gently mound soil around the plants, but again, don’t bury the stems.
Water them in with a wand to avoid wetting the leaves. Provide water whenever the surface of the soil begins to feel slightly dry.
How to Grow
It’s easy to grow muskmelons, but you’ll want to keep a few main points in mind for the best outcome, and a productive harvest.
Note before you begin that muskmelons vary in their time to maturity. Some may be ready for harvest in about 40 days, but others can take 90 days or more to fully ripen.
Be sure that you know how long the growing period is for the variety that you choose, and plant accordingly so you don’t lose your crop to frost.
Soil
The soil at the planting site should be loose and loamy, but sand is an important component to increase friability.
Melons don’t thrive in soggy environments and prefer warm, well-drained soil, but they need fairly consistent moisture throughout the season.
Clay or heavy, compacted soil should be tilled and amended prior to planting. If you have generally poor soil, raised bed growing is also an option.
Test your soil ahead of planting to make sure the soil pH is between 6.0 and 6.8 and identify any nutrient deficiencies.
Prior to planting, add a three- to four-inch-deep layer of compost to the site to aid in warming the soil and increasing available nutrients.
Temperature
A long, hot season with temperatures in the 80 to 85°F range is a must. Look for the sunniest, warmest zone of your garden and plant them there.
If you live in a place that doesn’t experience high heat in the summer months, you may need to add a layer of black plastic or cloth to the ground to generate enough warmth.
You can find three-millimeter plastic sheeting in a roll 10 feet wide by 25 feet long available from HDX via Home Depot.

Roll it over the row, stake or weigh it down, and cut a hole at each planting site.
If you’d prefer not to use plastic in the garden, or you live in an area that experiences temperatures that typically go above the optimal range, a three- to four-inch-thick layer of straw mulch can be spread early in the season to reflect light and keep the planting area cool.
Additional sun protection such as shade cloth may be necessary if temperatures climb above 90°F for an extended period of time. Otherwise, you may see some bud and bloom drop or wilting happening.
Spacing
Space plants 18 inches apart in rows five to six feet apart. It’s best to avoid overcrowding as this may lead to issues with fungal disease as well as poor production and melons that are bland in flavor.
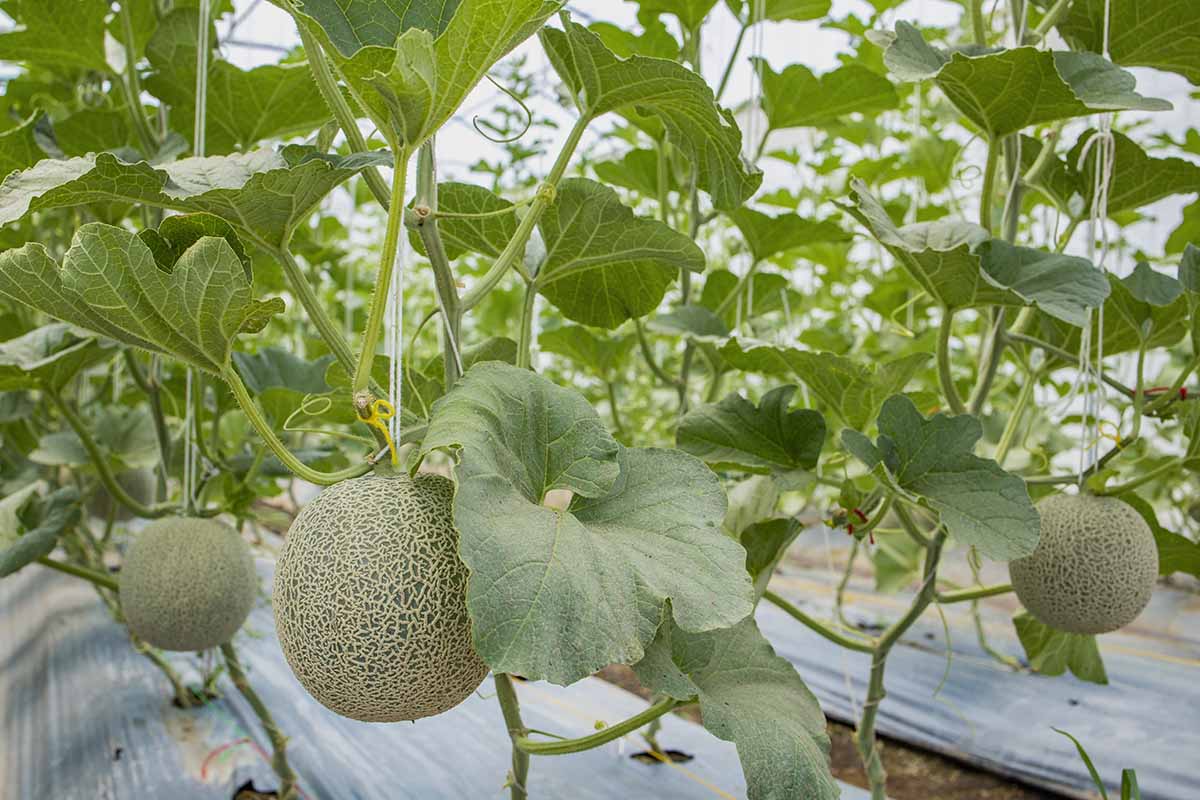
If you don’t have much available ground and prefer to trellis and grow vines vertically, that’s also an option.
Trellising
You’ll need a sturdy structure, such as one made of wood or metal. An A-frame trellis works well for this purpose.
Heavy fruits on trellised vines may need additional support, such as hammocks made of stretchy material like nylon pantyhose tied under each fruit.
The hammock should be tied on when the melons are still small and loosely hung to allow room for expansion.
Avoid using materials that hold moisture or don’t transpire as they will surely cause rotting.
Watering
As I mentioned, adequate moisture is extremely important for muskmelons, especially during early growth and blooming.
Provide about one to two inches of water per week in the absence of rain, or slightly more in times of high heat.
As the fruit begins to set, reduce the amount offered to about one inch per week, and continue tapering off irrigation gradually as the fruits approach ripeness. We’ll discuss how to tell if they’re ripe and how to harvest in just a moment.
Fertilizing
Adding compost to the bed or site prior to planting is best to increase available nutrients for young plants.
When buds begin to form – typically within three to four weeks of planting – apply another layer of compost two to three inches deep, but avoid piling it around plant stems.
Jobe’s Organic Fruit and Citrus Fertilizer
You can also use a packaged fertilizer, such as Jobe’s Organic Fruit and Citrus Fertilizer with Biozome (3-5-5 NPK). It’s available in four-pound packages from Home Depot.
A low-nitrogen fertilizer such as this works best to prevent overproduction of foliage. Apply it every two months or so throughout the growing season, according to package instructions.
Trimming
Rather than letting the vines produce to maximum capacity, they can be trimmed back after the second or third fruit begins to grow.
Trim the end of the vine after the leaf node following the last fruit. This will allow energy to be diverted to producing larger, more flavorful fruits, rather than expending it on growing long, trailing vines.
Any blossoms that appear after the vine has been trimmed can be pinched off to divert that energy as well.
Growing Tips
- Direct-sow seeds if possible or start them indoors in biodegradable pots to avoid root damage.
- Protect vines from extended periods of high heat.
- Cut vines back after the second or third melon has begun to form to divert energy to fruit production.
- Feed throughout the season and keep moisture consistent until ripening begins.
Cultivars to Select
There are many different types of muskmelon to choose from.
I’ll cover a few that are popular choices for home growing, but bear in mind that this is a small sampling of available varieties.
Hale’s Best Jumbo
‘Hale’s Best Jumbo’ is an heirloom cultivar introduced in the 1920s. It features three- to five-pound, orange-fleshed oval fruits with a sweet flavor.
The vines grow up to six feet long and fruits are ready to harvest after 80 to 85 days.
You can find packets of 200 seeds available at Burpee.
Hearts of Gold
‘Hearts of Gold’ is an heirloom variety that is frequently chosen for the home garden. Its large, two- to three-pound heavily netted fruits have thin rinds and deep orange, sweet flesh.
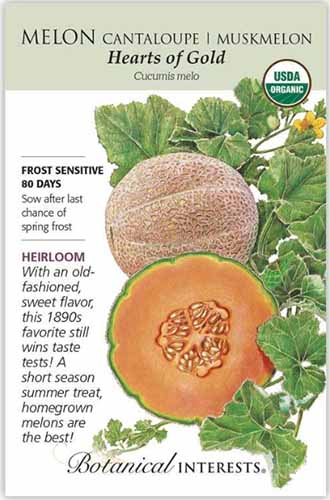
This cultivar is an excellent choice if you have a shorter growing season as it only takes about 80 days to reach maturity.
Bred from ‘Osage’ and ‘Netted Gem,’ you can expect vines of at least six feet and productive plants – with proper caretaking, of course.
Find one-gram packets of seed available from Botanical Interests.
Rocky Ford
‘Rocky Ford’ aka ‘Eden Gem’ is a vigorous heirloom cultivar that produces two- to three-pound fruits with light green flesh and a sweet, slightly spicy flavor.
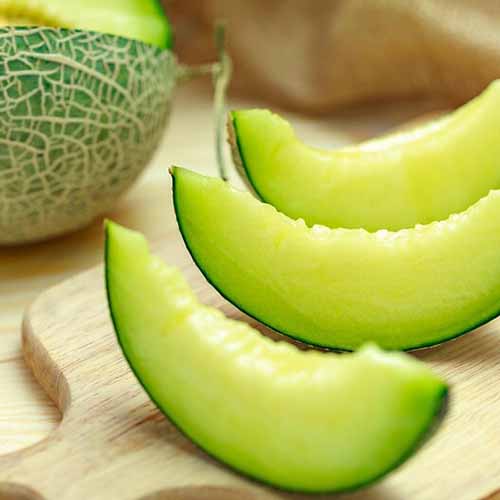
Vines grow at least six feet long and fruits are ready to harvest in 85 to 95 days.
You can find seeds in a variety of packet sizes available from Eden Brothers.
If you want to learn more about other types of melons available, take a look at our guide to 33 of the best varieties to grow at home.
Managing Pests and Disease
Muskmelons are susceptible to several different types of pests and diseases, although some types have been bred for resistance.
Some of these are annoying but easily dealt with, while others can wreck your harvest and destroy your vines if the problem’s not caught early on.
Animals
There are quite a few animals that enjoy melons as much as you probably do.
Birds, deer, chipmunks, groundhogs, raccoons, and, of course, squirrels, may all have a go at nibbling through the rinds to access the sweet flesh inside.
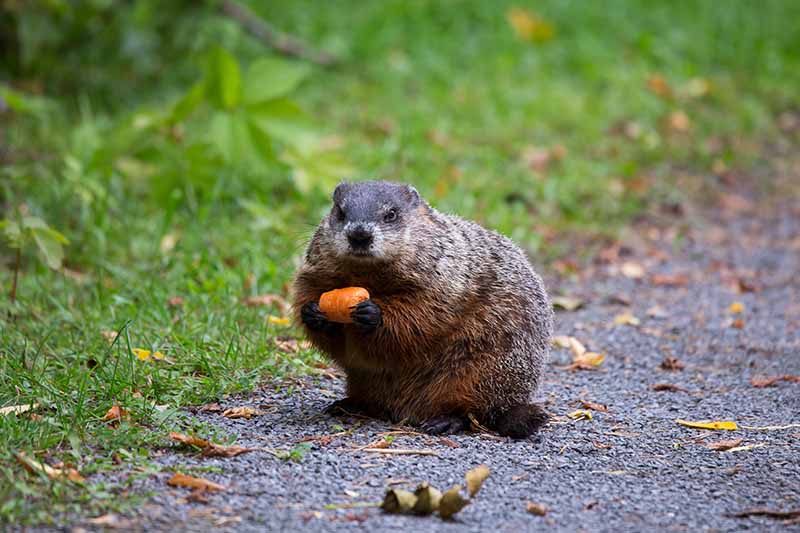
Trellising the vines and wrapping the fruits in nylon as they mature can prevent some issues, but it can be pretty tough to keep these furry fruit fiends out of your garden and off of your produce.
By far, the easiest way to protect your plants is to build a fence or use row covers that keep them out of reach.
Otherwise, you might consider planting some deterrent crops specific to the animals you’re dealing with.
Insects
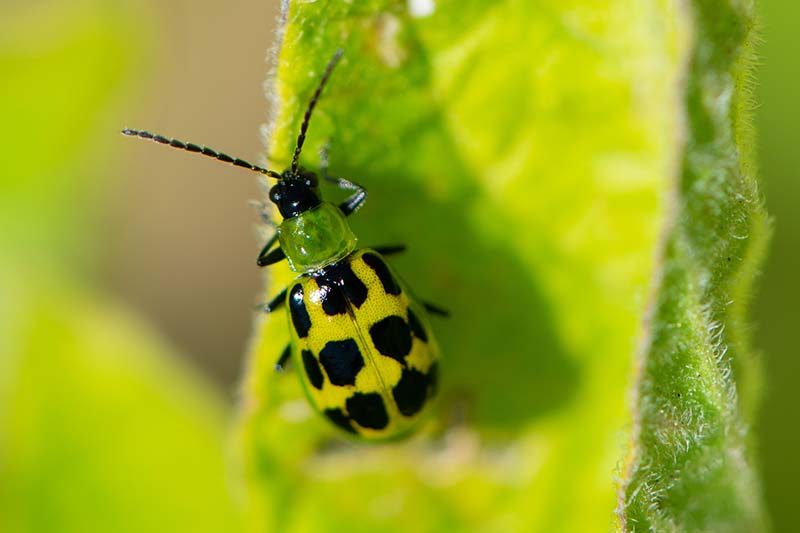
Pests are common in the garden and no less so when you’re growing muskmelons.
Aphids, spider mites, cucumber beetles, cutworms, and squash bugs are all potential guests that you may come across among your vines. Check out our guides to learn how to deal with these.
Keep a close eye out for signs of destruction that may mean you have an infestation.
Discoloration, stunted growth, holes or spots on leaves or in vines, and the spread of disease may indicate that you have unwelcome guests making the rounds.
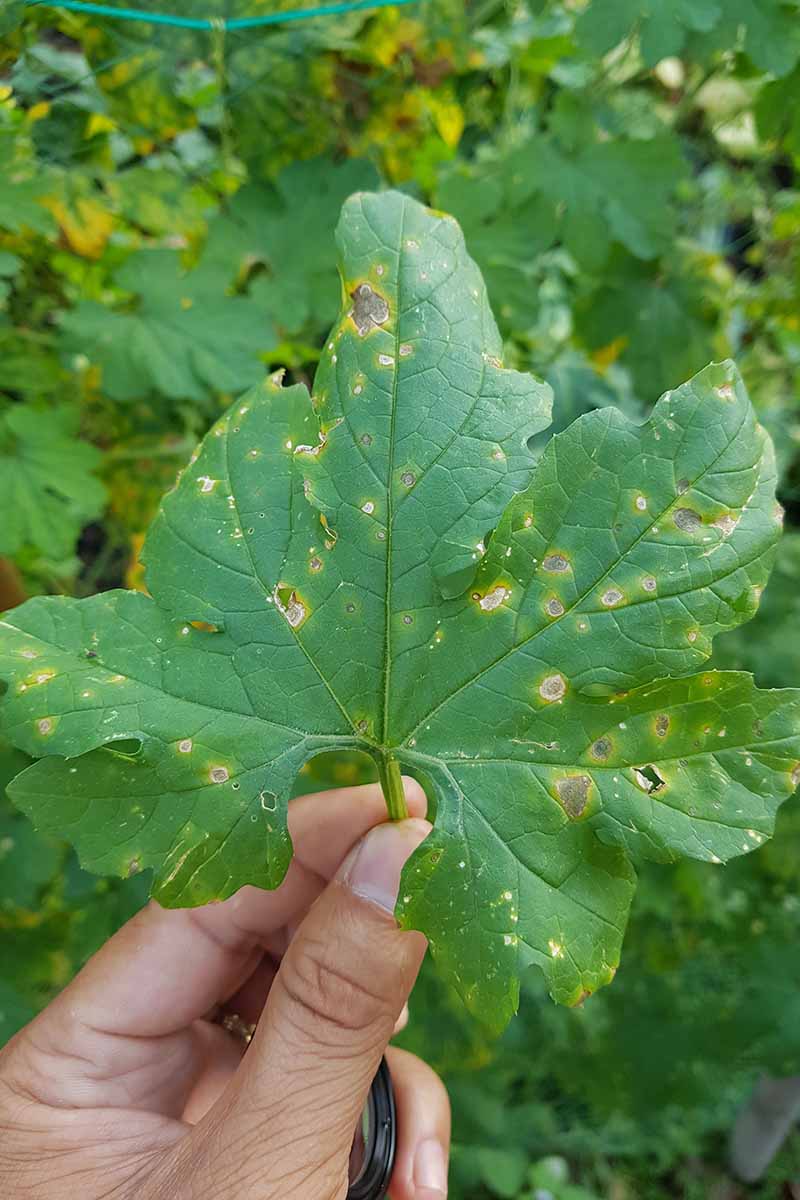
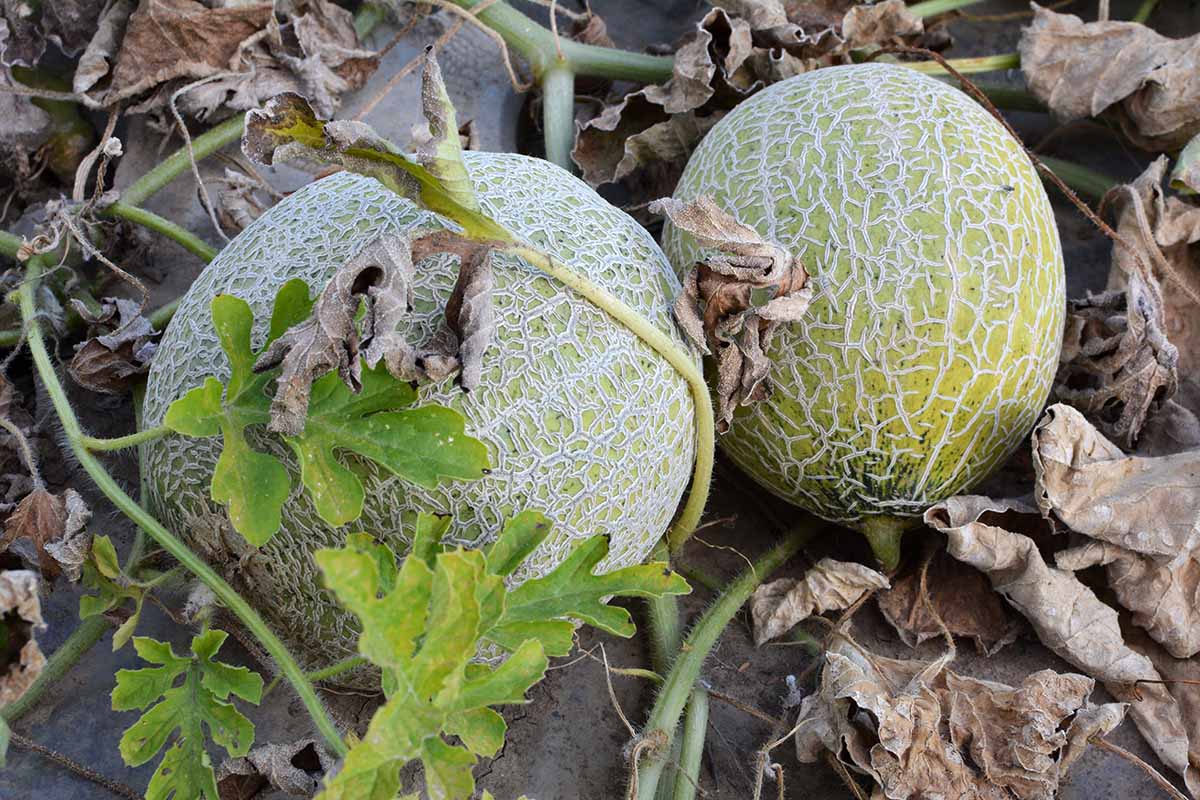
Disease
Unfortunately, there are quite a few maladies to be on the lookout for as well. And, just as with other issues that can arise, some can be devastating.
Alternaria leaf blight, downy mildew, fusarium wilt, mosaic viruses, and powdery mildew may befall your patch.
These diseases are particularly important to deal with quickly if you have other cucurbits or susceptible plants growing in close proximity, because pathogens can often spread and destroy your garden.
Take a look at our cantaloupe growing guide for information on these diseases and how to deal with them.
Harvesting
There are a couple of ways to figure out when your muskmelons are ripe and ready to harvest.
First, keep track of the planting date and count out the number of days to maturity of the cultivar you are growing to give you a target harvest date.
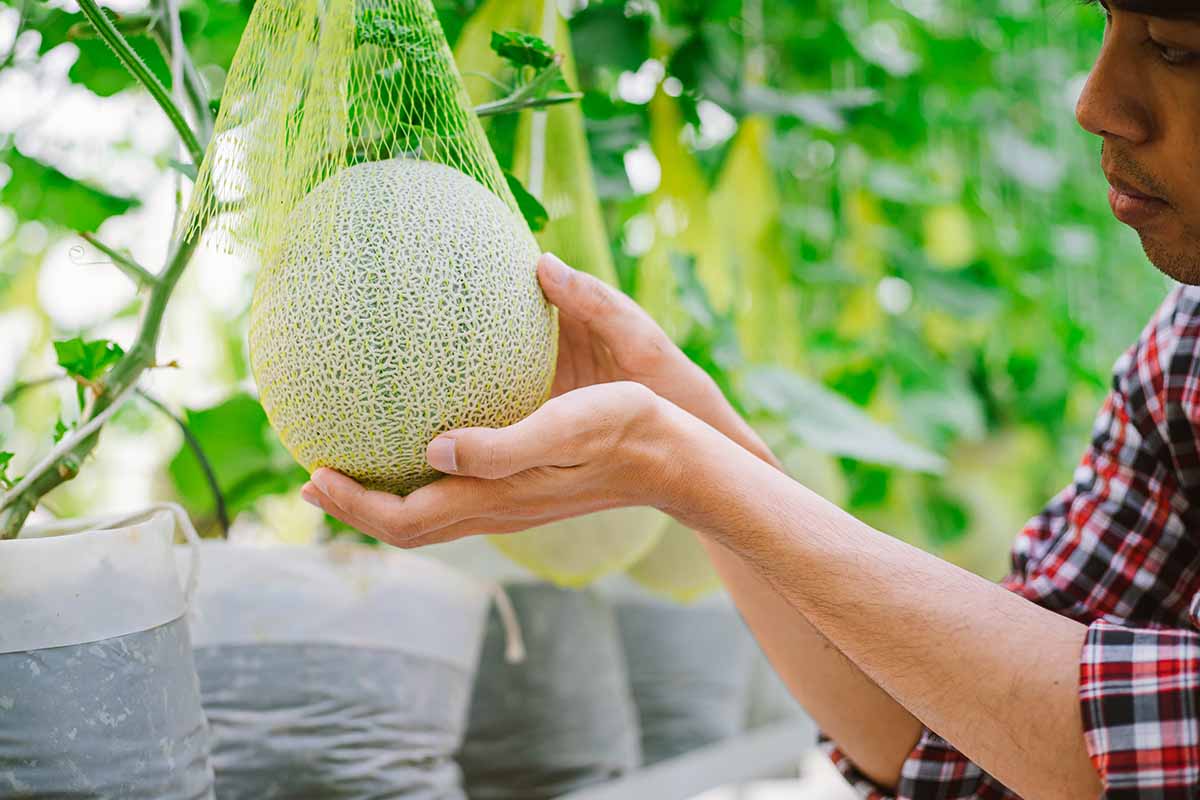
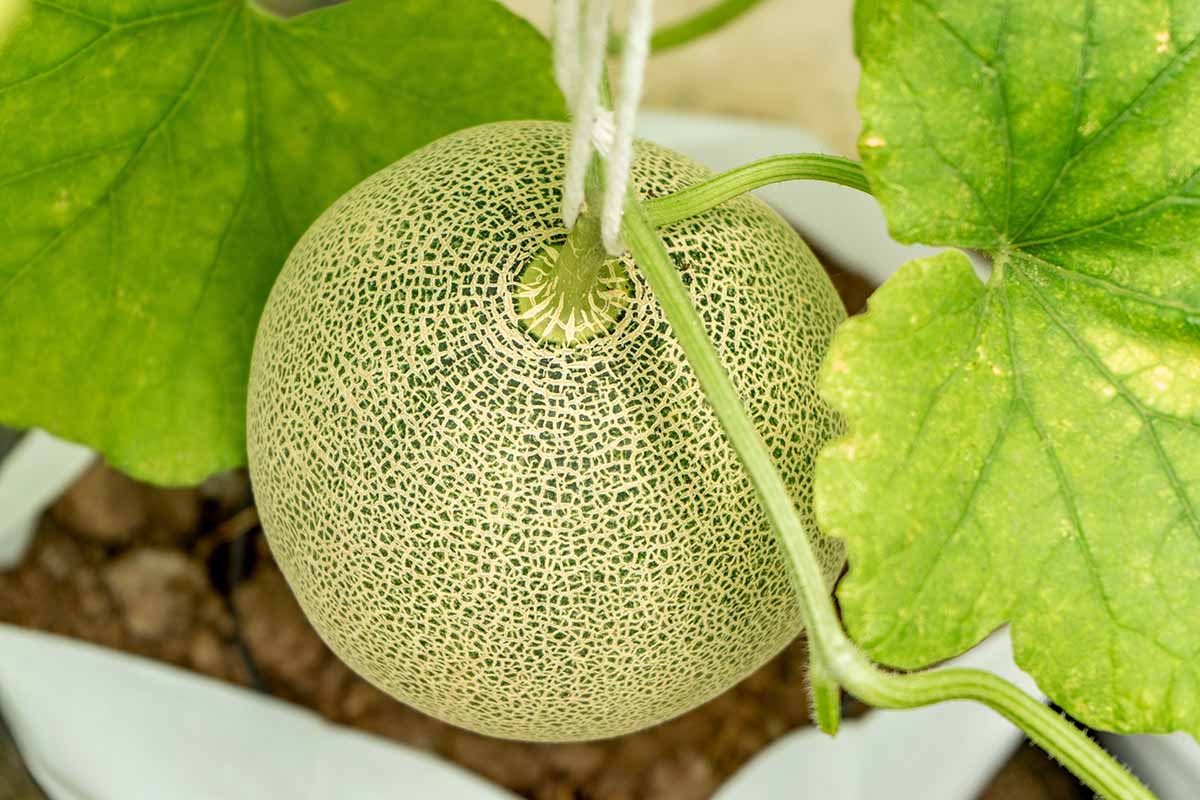
Around the projected maturity date, check on the melons daily. You can apply some gentle pressure to the stems where they attach to the fruit; if they’re ripe, the stems will release, or slip, reassuring you that they’re ripe for the picking.
Additionally, some types can look darker or brighter in color when they’re ready to pick. Changes in color are signals that the fruit may be ripe.
Handle the fruits gently as they can suffer bruising if they’re dropped or jostled together. Bring them indoors and immediately sanitize them, as the rind can harbor dangerous bacteria such as salmonella and listeria.
You can use a gallon of water heated to at least 180°F with about two cups of white vinegar added to submerge and soak for about 10 minutes. After soaking, scrub the rind under hot running water using a brush for about one minute.
Immediately following sanitizing, dry the fruit and move it to the refrigerator or prepare it for consumption if you prefer to eat it right away.
Preserving
If you’re not sure where to start to prepare a muskmelon, you can find a handy guide on how to cut a cantaloupe on our sister site, Foodal.
If you’re not ready to use it immediately, those cut pieces can be spread on wax paper on a cookie sheet and placed in the freezer for 15 to 30 minutes.
Once the outside is frozen, the pieces can be placed into a zip-top gallon bag and frozen for several months. Though the quality will decline, frozen melon is excellent in a smoothie.
Cut fruit will only last in the refrigerator for a few days before it starts to spoil, but a whole melon will last for about a week to 10 days. Be sure to process and freeze the flesh if you can’t use it in time.
Recipes and Cooking Ideas
I’ve been looking forward to this portion of the guide from the beginning!
You may be under the impression, as a lot of people are, that muskmelons are only useful if you like to eat them fresh – and, to be fair, eating them directly from the rind or adding the cut pieces to a fruit salad is probably the easiest and most common way to enjoy them.

And, of course, this is a perfectly serviceable option. But, let me tell you – these nutritious summer globes are versatile.
You can wrap cantaloupe slices in prosciutto and serve them with other sweet and savory meats, olives, crackers, and cheeses.
Sweeter varieties can be blended in a food processor with a bit of heavy cream and honey or sugar and frozen for an ice cold, fruity summer ice cream.
Or, omit the cream and simply freeze the pureed fruit and sugar or honey for a light, refreshing sorbet.
Skewer melon balls and add them to a punch bowl full of sangria at your pool party. Mix them with other fruit, such as strawberries, grapes, and peaches, if you’d like.
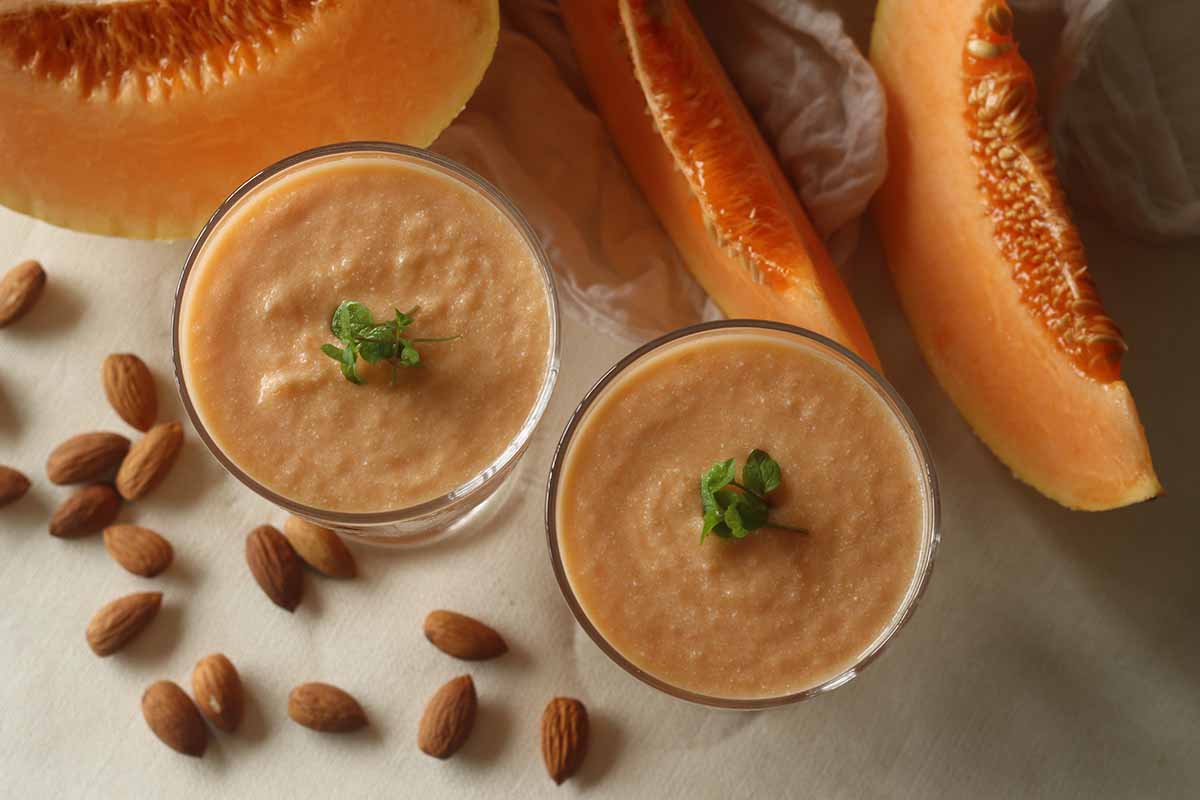
Add a handful of frozen cubes to a blender with a splash of almond, coconut, or oat milk and a drizzle of honey or maple syrup and blend it into a delicious smoothie – or, substitute the milk for Greek yogurt for a thicker, spoon-able treat.
Substitute puree in place of other fruits such bananas or applesauce in bread recipes for an unexpected flavor.
This is really just the tip of the iceberg, and there are so many ways to enjoy muskmelons. I’d love to hear your favorite in the comments!
Quick Reference Growing Guide
| Plant Type: | Herbaceous annual fruiting vine | Water Needs: | Moderate |
| Native to: | Middle East, Africa, Asia | Maintenance: | Moderate |
| Hardiness (USDA Zone): | 4-10 | Soil Type: | Loam, sandy loam |
| Season: | Summer | Soil pH: | 6.0-6.8 |
| Exposure: | Full sun | Soil Drainage: | Well-draining |
| Time to Maturity: | 40-90 days, depending on variety | Companion Planting: | Basil, beans, beets, calendula, catnip, collards, corn, dill, lettuce, marigolds, nasturtiums, radishes |
| Spacing: | 18 inches | Avoid Planting With: | Other cucurbits |
| Planting Depth: | 1 inch (seed), depth of rootball (transplants) | Family: | Cucurbitaceae |
| Height: | 12-18 inches | Genus: | Cucumis |
| Spread: | 3-6 feet | Species: | melo |
| Growth Rate: | Moderate | Variety: | Reticulatus |
| Common Pests: | Aphids, cucumber beetles, cutworms, squash bugs, spider mites | Common Disease: | Alternaria leaf blight, downy mildew, fusarium wilt, mosaic viruses, powdery mildew |
Magnificent Muskmelons!
So, was I right? Do you have a favorite variety in mind that you’re planning to grow this season? Or are you hoping to try more than one to see which you like most?
Give us your best tips for growing in your region in the comments below – I love hearing about the adaptations that gardeners make based on their local climate and growing conditions. And feel free to ask away if you have any questions as well.
You might also be interested in learning more about growing other types of melons, so check out these guides next: