
When I moved into my small, new house with a big patch of barren dirt for a backyard, I knew I needed to fill it with trees.
Before it had been cleared for construction, it was a beautiful slice of forest. I’d asked the builder to take down as few trees as possible.
He took almost all of them, leaving a fringe around the perimeter that was better than nothing but hardly ideal.
We link to vendors to help you find relevant products. If you buy from one of our links, we may earn a commission.
Since then, I’ve vowed that if I ever build a house from scratch again, I’ll be there when they clear the lot so that they don’t cut down more than they need to.
I also decided to plant as many trees as I could. To start with, my husband and I bought and planted 11 trees, four of which were fruit trees.
Our wallets were a little shocked, but they were worth the investment. Now I’ve started growing my own pear trees from cuttings.
Usually, they’re propagated by grafting or budding to create clones – and these processes require a special set of skills and equipment.
Trying to grow fruit trees from seeds typically doesn’t work well because they will not produce true to the parent plant.
You may be wondering: can pear trees be grown from stem cuttings?
While it’s not an easy task, the answer is a resounding yes. Plus, by rooting a cutting, you will grow a clone of the parent tree.
So if you want a satisfying and wallet-friendly way to propagate pear trees, this guide will walk you through the process.
Here’s what I’ll cover:
What You’ll Learn
Find the Right Type of Cutting
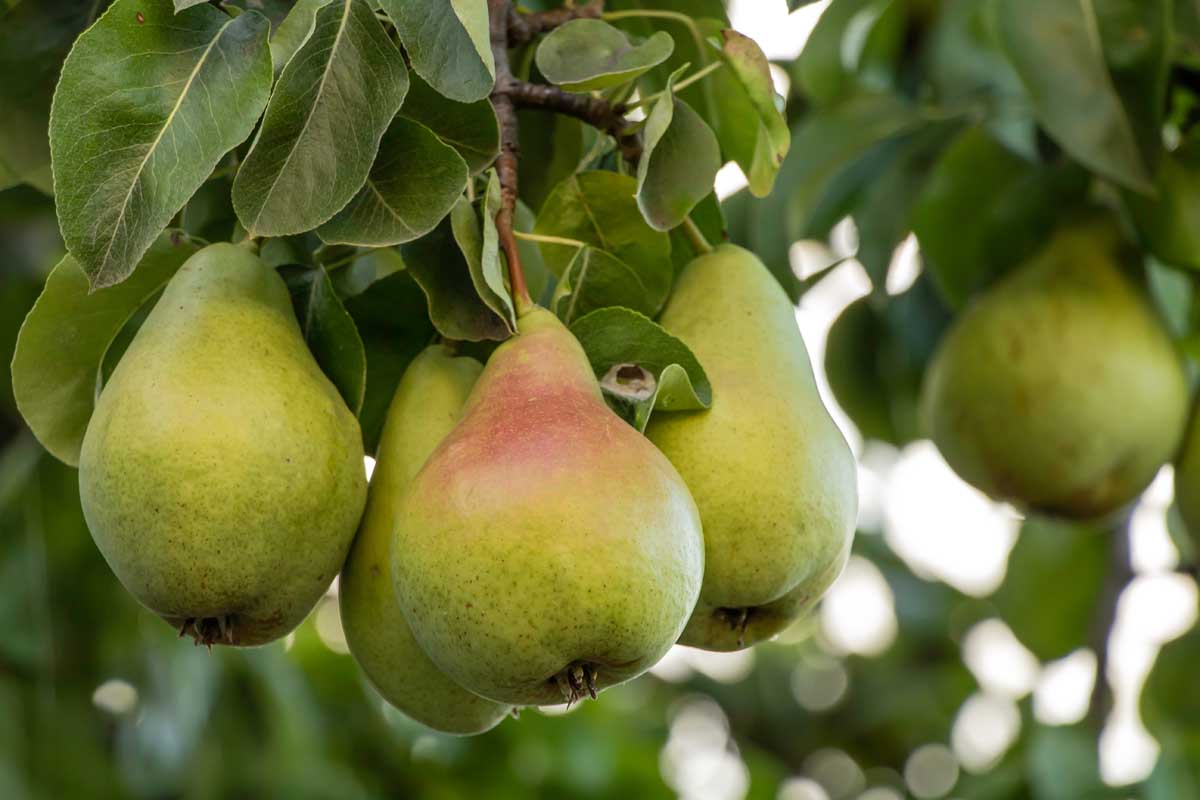
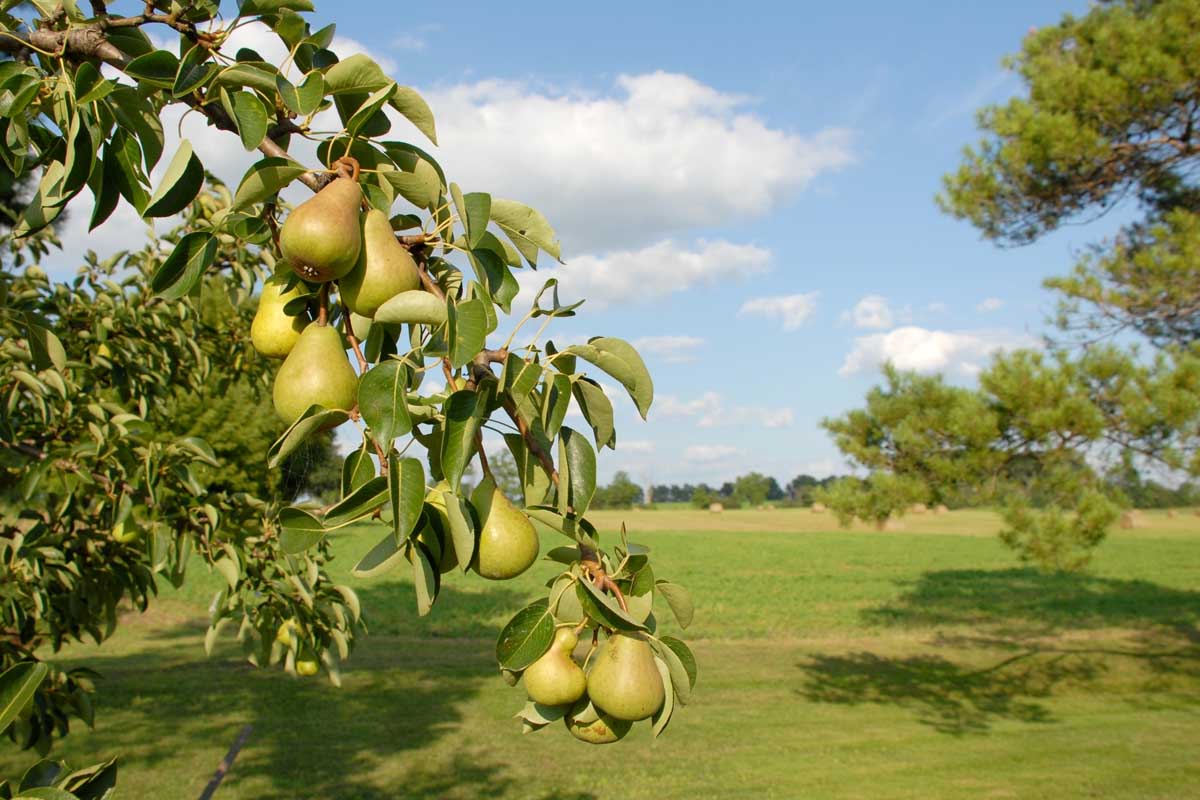
Pears are members of the Pyrus genus and there are typically two species grown in home orchards: P. communis, the European pear, and P. pyrifolia, the Asian variety. Both of these can be propagated via stem cuttings.
You’ll have to take a few steps to ensure that the branches you take will be suitable for rooting. The first step, of course, is to find an existing pear tree to take a cutting from. Maybe your neighbor is growing a few admirable cultivars and would be willing to give you a branch or two from each.
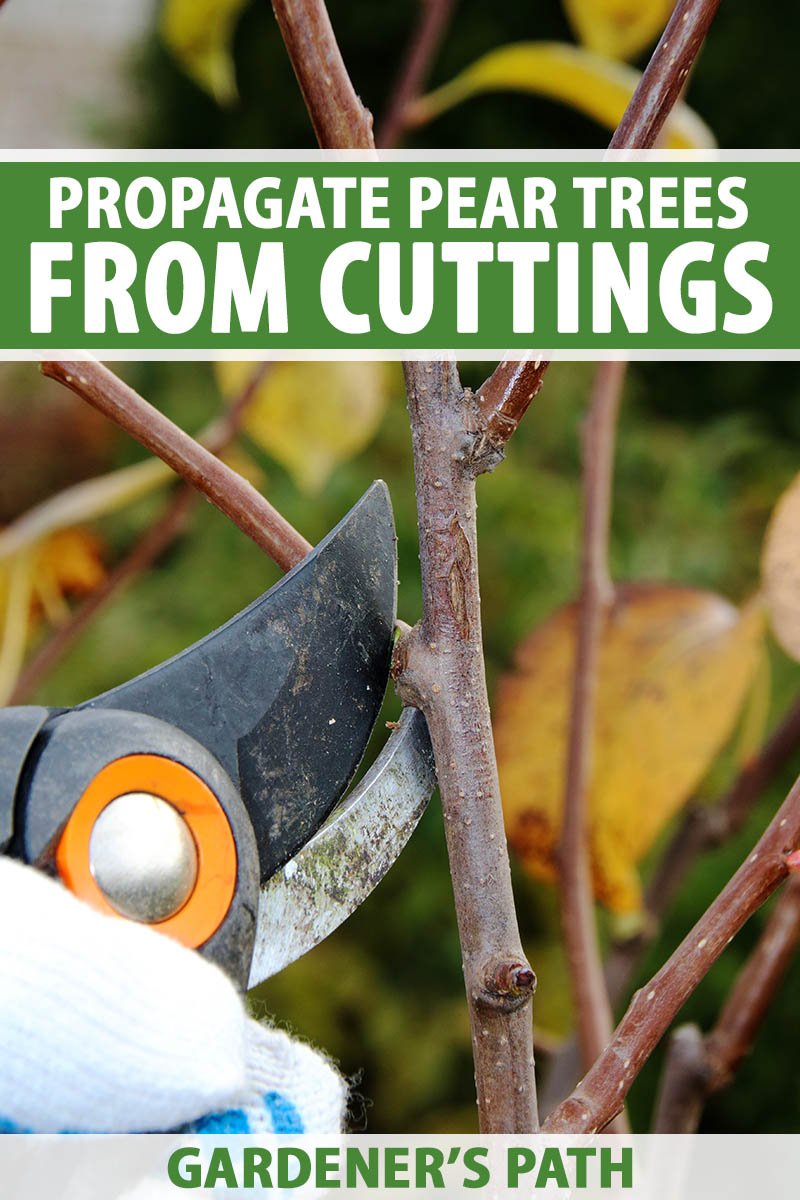
When you’ve found your source, it’s time to figure out which type of cutting you want to take. There are two types that work well for rooting: softwood and semi-hardwood.
A softwood branch section is taken from late spring to early summer when the tree is putting on new growth. As the name suggests, the wood is soft and grows roots more quickly than semi-hardwood.
If you look closely at a branch, you can see where the new growth occurs. The wood is lighter than older growth, and it just looks soft and green and new.

A semi-hardwood branch can be taken from mid- to late summer or early- to mid fall, depending on where you live. At this point, the early summer’s new growth is beginning to turn brownish-gray, woody, and hard.
Softwood branches grow roots more quickly, but they have a tendency to dry out more easily, too, which can slow or stop any chance of root growth. Semi-hardwood grows roots more slowly but dries out less easily.
Once you’ve decided which type of young branch to take and where to get them, you can move on to the step of collecting your supplies.
Gather Your Supplies
While it’s not as complicated as grafting onto a rootstock, you will need a set of supplies in order to successfully root a cutting.
You’ll need:
- Pruning shears.
- Three to six (or more, depending on how many cuttings you wish to take) clear plastic cups with about three holes cut in the bottom.
- Sand to place in the bottom of the cup to help prevent fungus gnats from climbing through the holes and eating the roots.
- Soilless rooting medium such as Espoma Premium Potting Mix, available via Amazon, or you can make your own from a mixture of perlite, vermiculite, peat moss, and sand.
- A spray bottle for misting the stems so that they do not dry out.
- Rooting hormone or cloning gel – I use this cloning gel from Arbico Organics.
- A flat seed-starting tray with a humidity dome, like this set from the Home Depot.
- A seedling heat mat, like this one also from the Home Depot.
The list may seem a little long and involved, but getting a pear branch to take root is all about providing optimal conditions, and the items listed above help you do just that.
Before you get started, fill your clear cups with your chosen potting medium and moisten the mixture with water.
Taking the Cuttings
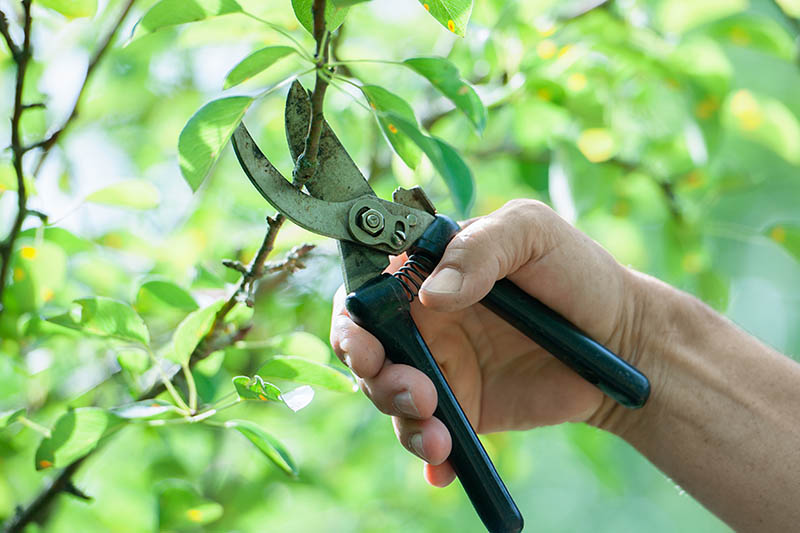
Regardless of whether you take softwood or semi-hardwood, you’ll need to measure a section that begins at the tip of the branch and reaches about six to eight inches back along the stem.
Cut it away from the tree with the pruning shears. You’ll need to take at least three to six cuttings as not all will necessarily be successful. If you can, take them from two different cultivars.
Trim the base of the branch to a 45 degree angle.
Next, trim off all the leaves and any buds present on the bottom two-thirds of the cutting. New roots will actually grow from the leaf nodes.
Prepare Your Cuttings for Rooting Success
Gently scrape off the outer bark along the bottom inch or two of the stem and around the leaf nodes, and then dip the bottom portion into your powdered rooting hormone or cloning gel.
Immediately afterward, make a hole in the potting medium and gently place the cuttings into their clear plastic cups and set them on your seed starting tray.
Place the humidity dome over the top of your seed starting tray and set it on your heat mat, if using. Make sure the location you select receives at least six to eight hours of indirect sunlight every day and an average temperature of 70-75°F.
Maintain the heat mat at a temperature of 70°F and mist the branches twice a day. Water the potting mix daily, keeping it moist but not soggy. The humidity dome should remain on at all times to prevent the exposed portion of the stem doesn’t dry out.
It can take a while for the cuttings to form roots: from a few weeks to a few months. So be patient, and keep those little pear tree hopefuls warm and moist for as long as you need to.
Softwood cuttings can root in as little as three weeks, but semi-hardwood will typically take a minimum of six weeks.
You can check for root formation by gently pulling on the stem. If you feel a little resistance, then you know it’s started to take root.
If you begin to notice a fuzzy look on any part of the stem, remove it gently with a cloth and open the vents in the humidity dome to allow just a bit of dry air to enter and keep that mildew away.
As the roots develop, you’ll be able to see them through the clear plastic of the containers.
If tiny blossoms or new leaves start to appear but the roots aren’t one to two inches long yet, you’ll want to trim away the new growth to keep the plant focused on growing those roots.
When you see that the roots are more than two inches long, you’re headed toward success. Now it’s time to repot your fledgling pear trees.
Repotting Pear Tree Cuttings
To repot a successfully rooted cutting, fill an eight-inch pot with fresh, sterile potting soil, leaving a hole in the middle that’s about the size of the clear plastic cups you started with.
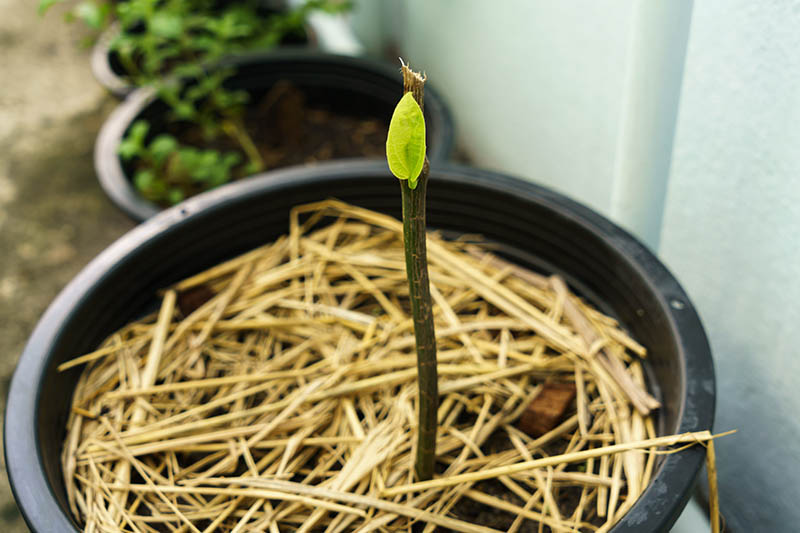
Carefully loosen the edge of the clear plastic cup with the baby tree inside and gently lift it out. Place it in the new pot and tamp the soil down around the developing root ball. Mulch with a thin layer of straw or wood chips to help retain moisture.
Water the newly transplanted pear cutting thoroughly and set in a location that receives at least six to eight hours of sunlight through a window.
If you don’t get enough sunlight during the day, you can place a grow light near the plant and turn it on for a few hours in the mornings and evenings before the sun rises.
You’ll need to keep them growing indoors or in a greenhouse for up to a year after you repot them. Water them a few times a week, or whenever you notice that the top layer of soil is drying out.
During this time they should grow foliage but if you see any flower buds, be sure to remove them.
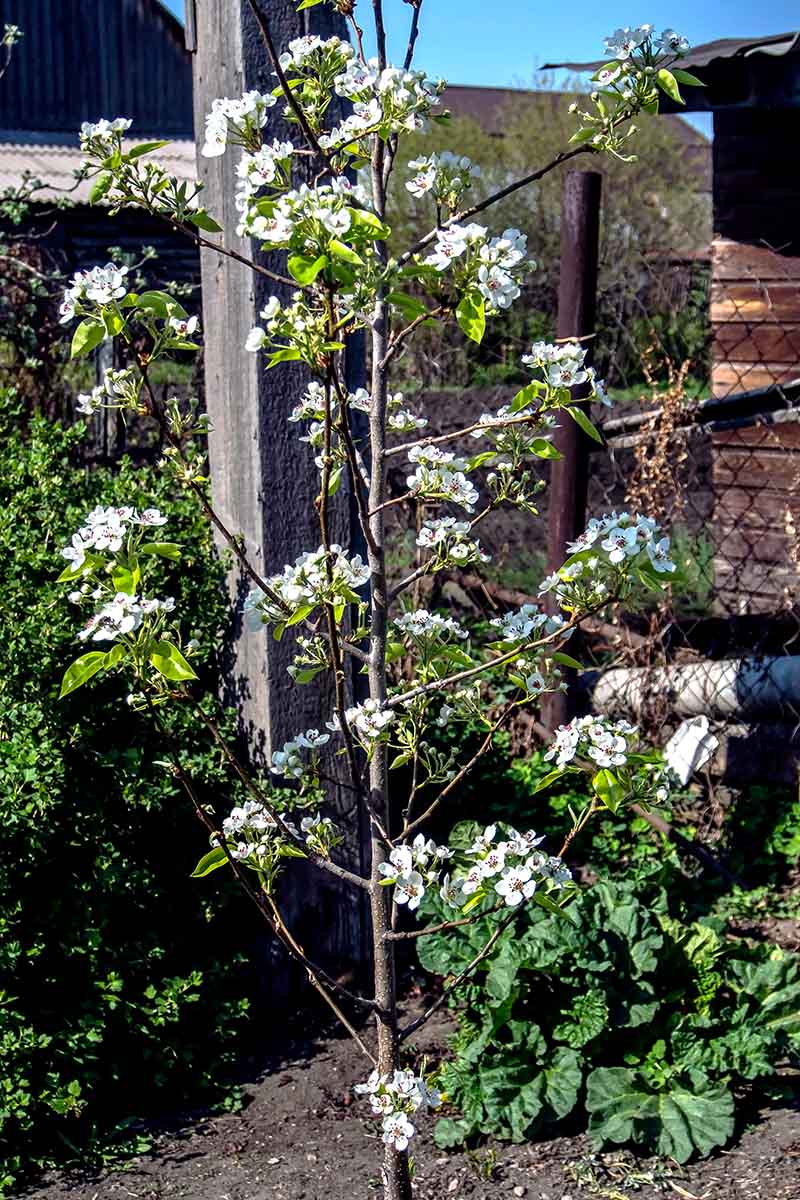
Then in the springtime, when your rooted cutting is between six and 12 months old, plant out your baby tree into your orchard. It will take three to five years for it to grow large enough to bear fruit.
But won’t those first fruits taste extra-sweet!
Peary Hard Work Pays Off
It’s pretty amazing that you can grow a whole new pear tree from a slim, six-inch section of branch.
Have you ever tried it? Do you now have big, beautiful pear trees in your garden that you can humble-brag to your friends about? I’d love to hear your stories and questions in the comments section below.
And for more information about growing pears in your garden, check out these guides next:
I’m a newbie! When is the best time to start the “cutting” process? I live in NJ and a neighbor has an awesome pear tree.
Early summer (starting now!) is the perfect time to take softwood cuttings! Best of luck with that cutting, and if you have any further questions feel free to reach out.
THANK YOU!
Glad to help! ????
Trim off all the leaves – from the whole cutting? Or all the leaves on the bottom two thirds of the cutting and leave the rest? Thank you!
Hi Steph, you just need to trim off the leaves from the bottom two-thirds of the cutting, leaving the rest intact. Good luck with your cuttings!
why does the cup need to be clear ?
Hi Alan, clear cups just make it easier to see when roots are forming, but it’s not essential to use them.
how old does the tree you’re cutting from have to be???!!!
Cuttings are typically taken from healthy, well-established trees. But they don’t necessarily have to be fully mature.
ok thx
I would like to try your step by step approach. Thank you!
Thanks for reading, Teresa. Let us know how it goes!
I have 30 foot tall very old trees. They bear heavily, far too much so. Did a well planned brutal pruning which left me with trees burgeoning with sucker branches. Can I use these sucker branches???
Hello Christine!
I bet it was a relief to get that mass pruned! Whether you want to try to use the suckers to propagate depends on whether your trees were grafted.
If they were, the suckers are going to yield the same trees as the rootstock, which may not be desirable.
Other than that, you’d want to propagate from the suckers in spring as they’re starting to grow, and make sure to keep them well-watered (but not soggy) since their roots are undeveloped. Good luck and please share your results with us if you decide to try this method!
Hello! Greetings from south Louisiana! We had a terrible storm last night that knocked my pear tree down! My aunt who lived in this home before me grew it and we’d like to save it! The tree is heavy with growing pears and I didn’t know if I could save larger branches with fruit on it to grow into trees later?
Someone please reach out to me!
Hi Christin, I’m sorry to hear that! If you act quickly, I’m sure you can find some semi-hardwood to take from the tree. I wouldn’t trim off large branches with fruit on them, but the ends of those branches likely have semi-hardwood growth that will be just right.
I have an opportunity to take clippings from a 100+ year old pear tree. The Hoover-Minthorn House Museum in Newberg, Oregon has given me permission to take clipping from a tree planted when Herbert Hoover lived there. I tried last year , to no avail, but will try again. Thank you for such clear directions.
How wonderful- please let us know how it goes! Thanks for reading!
Hi. I’ve not known to remove the bark from the bottom of the cuttings. What does this do, and is up to, or up past, the bottom nodes? Is it removing all the bark down to the white bones, or just a thin layer?
I have a pear tree that froze below the grafting. The trunk does not grow but the limbs that grow out at ground level are huge 3-5 inch diameter. How could I graft to get the tree producing fruit?
Hi Sam, honestly, at this point, you might want to start from scratch. You could use the base as a rootstock for grafting a new tree, but if it was damaged, it probably won’t ever be fully healthy and productive.