Pyrus communis
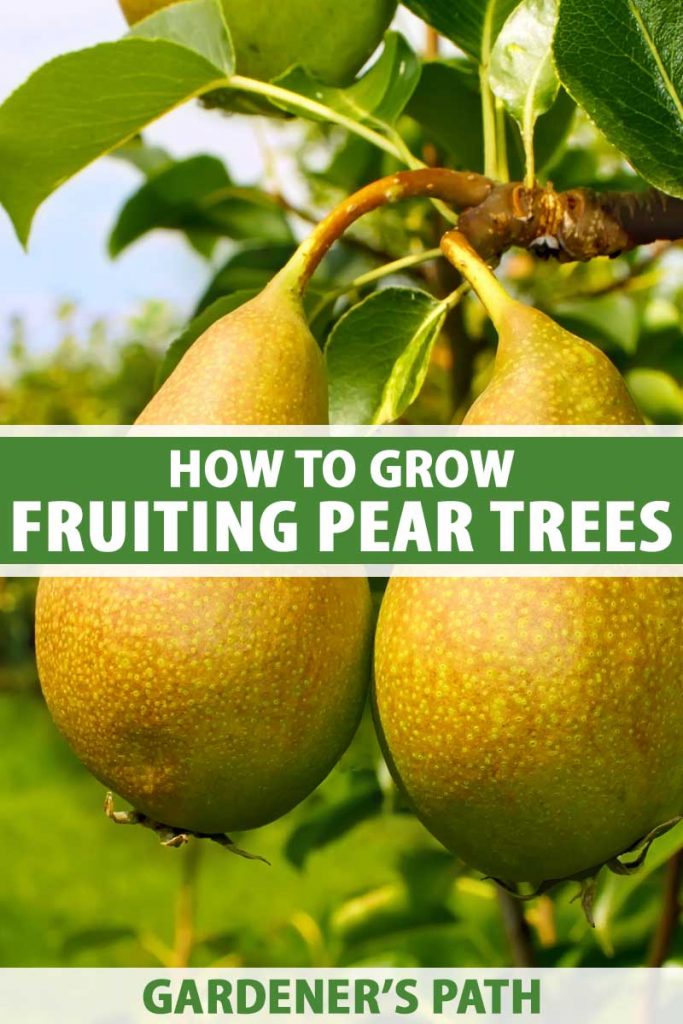
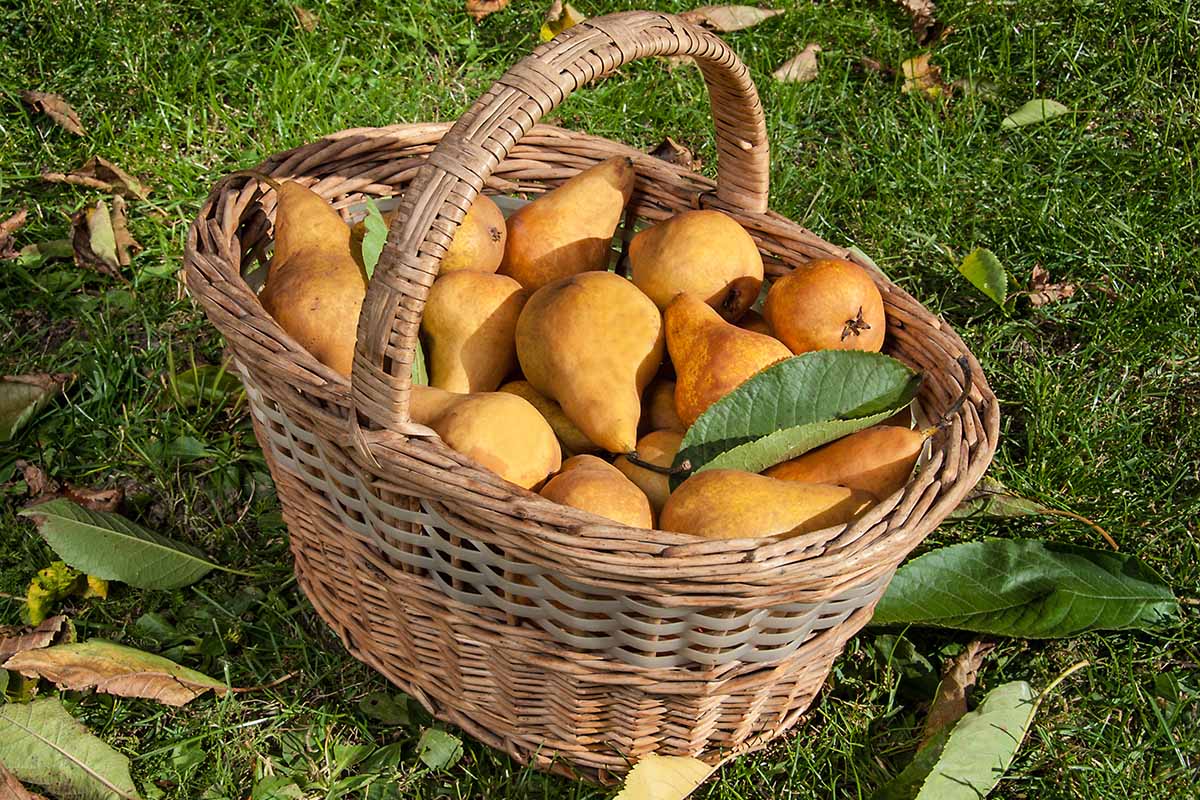
Pears are one of the most rewarding fruits you can grow in a home orchard and unlike most tree fruit, they taste better when picked firm and ripened off the tree at room temperature.
I think it’s pretty amazing that most types require cross-pollination to bear fruit – but not with another tree of the same cultivar.
Instead, you must plant certain varieties a reasonable distance from a complementary cultivar – ‘Orient’ near ‘Bartlett,’ for example.

We link to vendors to help you find relevant products. If you buy from one of our links, we may earn a commission.
Growing this apple relative is a little different than what you might expect or be used to. Want to give it a go?
I’ll give you plenty of helpful information to get you started. Here’s what I’ll share:
What You’ll Learn
There are three main types of pear trees. They’re all related to apples and are members of the rose family.
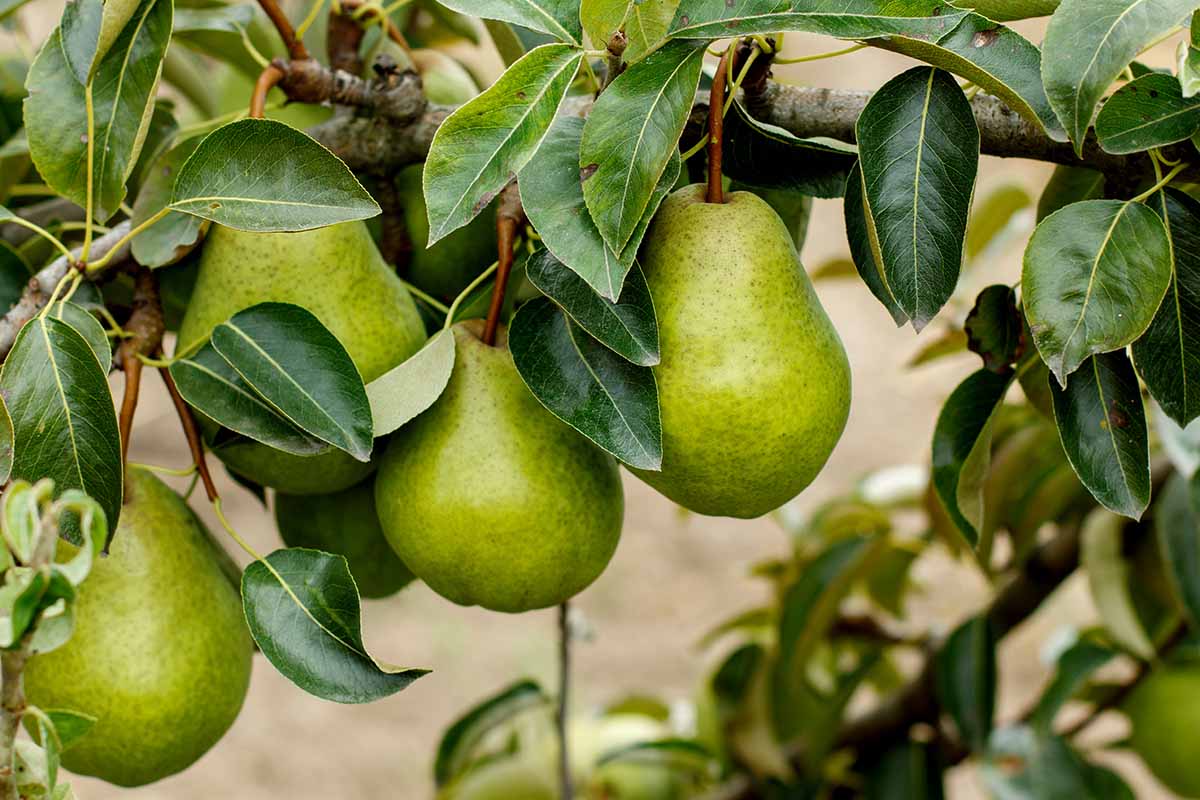
The first, and the one we’ll be talking about growing here, is the European or “common” pear, Pyrus communis.
The second type, the Asian pear, belongs to the same genus but a different species, P. pyrifolia.
Native to Eastern Asia, this type has its own unique attributes and needs, and you can learn more about growing Asian pears here.
Last are the ornamental pear trees. They rarely bear fruit, and some gardeners have a problem with the musky scent of the blooms.
One in particular, the callery pear tree, P. calleryana, is native to China and Vietnam and has beautiful white blossoms.
But it’s so fast-growing it has been named an invasive species and is being phased out by law in some states.
We won’t talk about growing the ornamentals here, except to say you should be cautious when purchasing, so you don’t end up with a pretty but invasive species.
Quick Look
Common name(s): Pear, common or European pear
Plant type: Perennial fruit tree
Hardiness (USDA Zone): 3-9, depending on variety
Native to: Asia
Bloom time / season: Summer
Exposure: Full sun
Soil type: Fertile, rich in organic matter, well-draining
Soil pH: 5.9-7.0, slightly acidic to neutral
Time to maturity: 3-10 years
Spacing: Standard 20-25 feet (12-15 feet dwarf)
Mature size: Up to 30 feet tall by 20 feet wide (dwarf 8-10 feet tall and wide)
Water Needs: Medium
Taxonomy
Order: Rosales
Family: Roseaceae
Genus: Roseaceae
Species: Communis
China, Europe, and the United States are the main producers of common pears. This fruit is the fifth most widely-marketed type in the world.
According to a 2018 study published in the Genome Biology journal, the early plant ancestors of the Pyrus genus probably originated 65 to 55 million years ago, in the mountains of southwestern China.

They’re one of the fruits humans have cultivated the longest, with evidence of their growth in China dating back at least 5,000 years.
Six states produce much of the US common pear crop, with the majority grown in California, Oregon, and Washington, and the rest in Michigan, New York, and Pennsylvania.
Modern-day production in the US is centered in Washington and California, where varieties such as ‘Bartlett’ and ‘Bosc’ are cultivated.
Those grown in Oregon are also a big deal, with specialty orchards owned by single families for generations producing many of them.
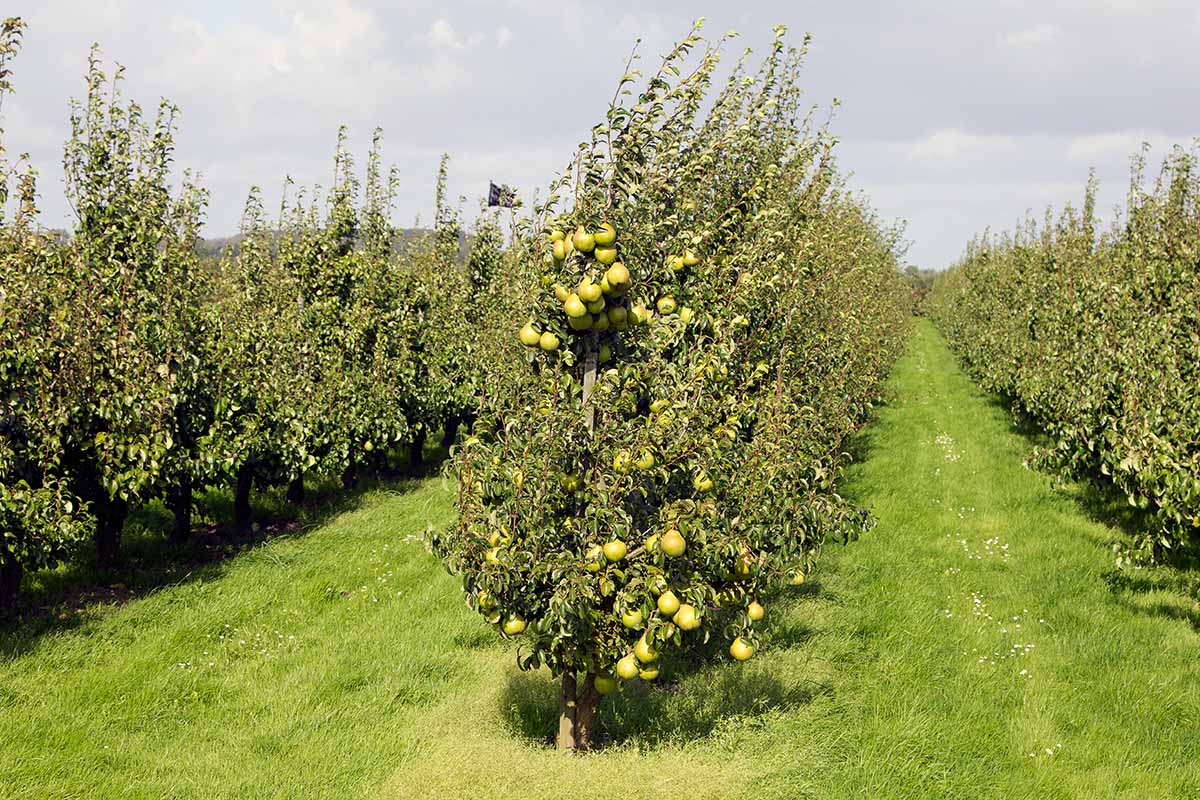
How to Plant
Pears need full sun, a minimum of six hours a day but preferably eight.
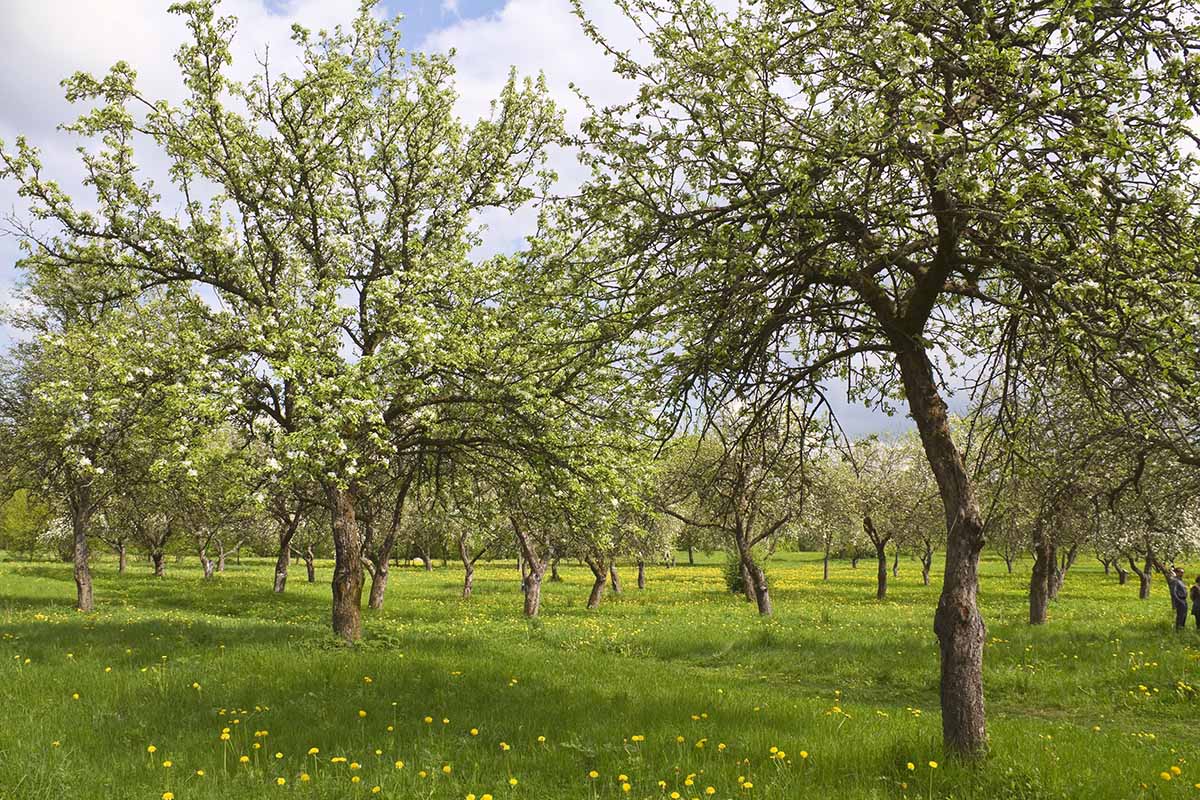
This spot will need to be spacious, since European pear trees can grow 25 to 30 feet tall and spread up to 20 feet across.
Even dwarf types can grow eight to 10 feet in each direction.
Trees planted in the fall have several months to become established before their big spring growth spurt.
You’ll also avoid the work of pinching back buds at planting time, so the tree will focus on its root system instead.
To learn more about why fall is a great time to plant trees, check out our guide.
You can also wait until late winter or early spring to plant fruiting pear trees. At that time of year, bare root trees can go in the ground as soon as the soil can be worked.
Potted trees should be planted after your average last frost in the spring.
It’s a good idea to conduct a soil test to check if it needs any amendments. Pears aren’t super picky, but they do grow best in pH between 5.9 and 7.0.
If the soil is poor or average, mix it 50-50 with some organic material like well-aged compost or leaf mold.
If the soil is sandy or drains too quickly, consider adding some organic compost or peat moss to help your tree retain moisture and draw up essential nutrients.
Allow 20 to 25 feet between saplings. They should also be that same distance from other trees or large areas of hardscaping.
You can get away with just eight to 10 feet between dwarf-varieties, but ideally you should plant them 12 to 15 feet apart.
Once you’ve picked a suitable spot, follow these steps:
- If you’re planting a sapling from a container, firmly grip the trunk and smoothly and gently ease it from the pot.
- Set the root ball on its side on the ground, then use clippers or shears to cut through any roots that have grown in a circle.
- Shovel earth from a hole just a few inches deeper and at least three times wider than the root ball.
- Make a small mound of soil in the middle, and set the bare root or sapling on top. You want the top of the root ball to be even with or slightly above the soil line.
- Gently spread the roots out, but don’t force or bend them.
- For grafted specimens, you will need to find the inside of the curve where the rootstock and scion grew together, and position it away from the sun. It’s also important not to bury the knob the graft forms.
- Gently backfill with soil over the root ball and across the width of the hole and cover the top of the root ball with about an inch.
- Lightly firm the soil with gloved hands and water thoroughly.
That’s it! As the anteaters with the picnic basket said, “And now, we wait.”
How to Grow
After planting, these trees won’t need a lot of attention from you, especially once their roots get going and before they start producing fruit.
They will need ample water during dry spells, especially in the first few months after planting. This will help them to establish a viable root system.
In some types of soil, they won’t require any added fertilizer.
In general, an eighth of a pound of the ammonium nitrate fruit trees love will do the trick. Apply it in early spring, even if you plant the tree in autumn.
With each passing year, add an extra eighth of a pound to the amount you apply.
You’ll be able to tell if your orchard isn’t getting enough fertilizer if the summertime leaves are a pale green (think inchworm-shade) or sort of yellow.
If you spot those colors, use more fertilizer the following spring.
You can also apply small amounts at the end of the season to mature trees if the leaves looked yellowed instead of a nice bright or deep green.
If the plants are growing too quickly, that’s also a warning sign.
More than 12 inches of growth in a single season indicates the tree has been overfertilized and is turning its resources to producing foliage instead of fruit, which is not what you want at all.
And you always want to err on the side of caution with nitrogen fertilizers.
They can encourage fire blight, which attacks the young, green shoots that overfertilized fruit trees produce in abundance.
About the only other thing you need to do to keep these easy-to-grow trees happy is to prune them lightly every year.
This will help them grow in a more attractive, fuller shape, and also make them more productive.
To learn how to prune your pear tree, check out our guide.
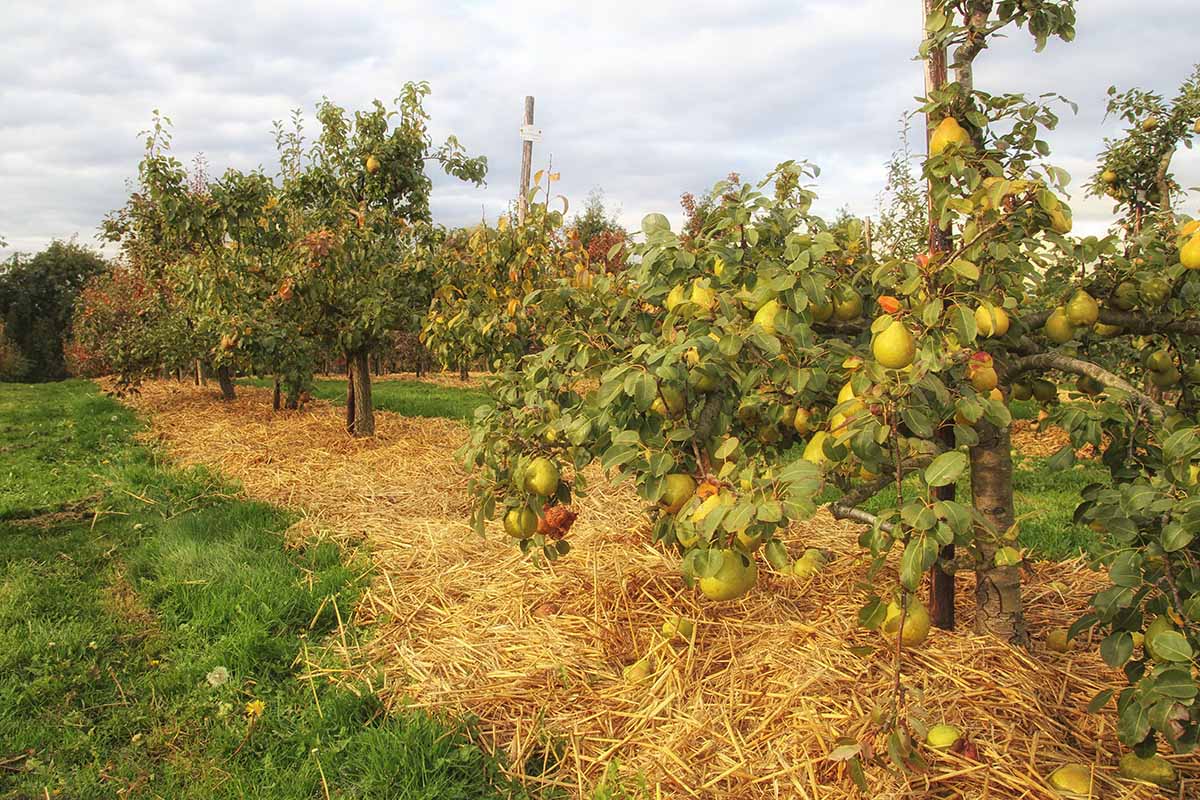
Rake up any fallen fruit and leaves in autumn to prevent disease and pests. Happily, both types of debris make a fine addition to compost if you haven’t used insecticide.
Also pick up any rotting fruit during the harvest season to keep wasps at bay.
To encourage larger fruit, you can pick some of the early, immature fruits from the branches when they are still small.
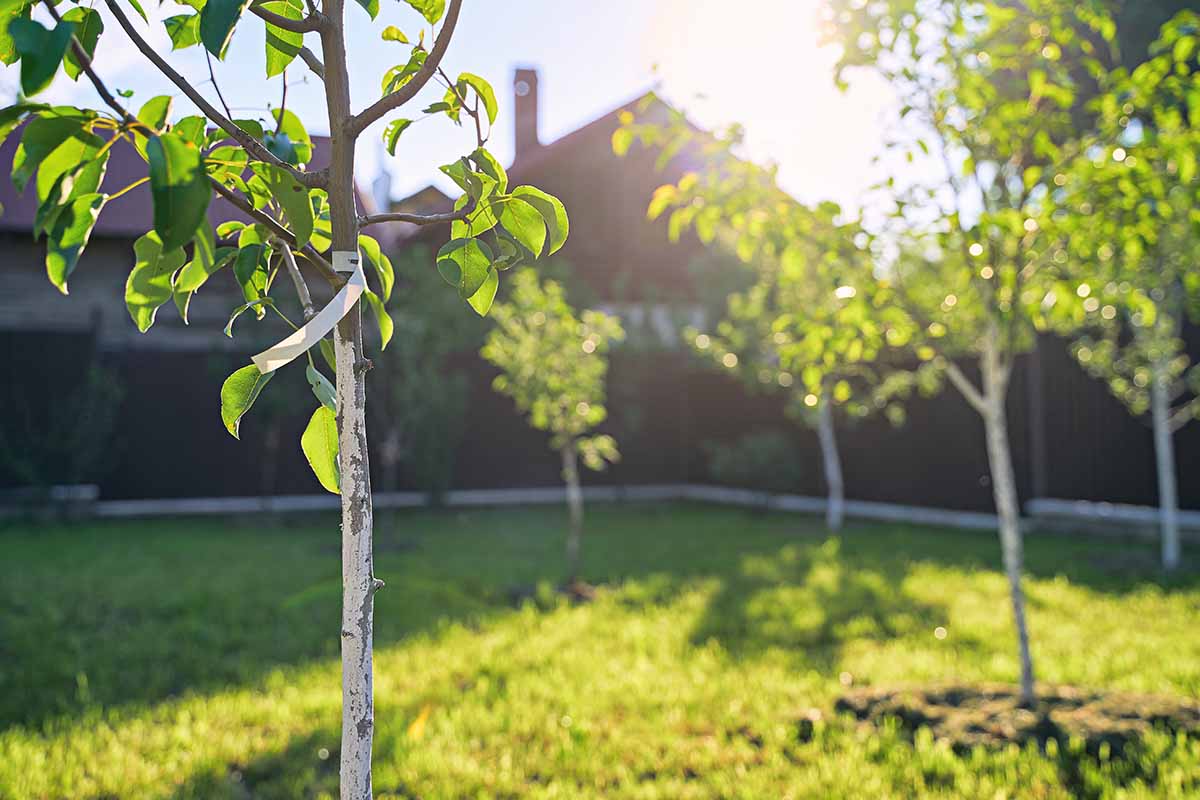
Winter is prime time for pear tree damage. Consider placing plastic tree guards in early winter to deter deer and voles from noshing on the bark.
You can learn more about preparing fruit trees for winter here.
Tree wraps can also help prevent sunscald on saplings.
Cultivars to Select
You know how carpenters say, “measure twice, cut once”? Choosing which type of pear to grow requires the same level of careful planning before you dive right in.
First, you’ll want to make sure you’re not considering an ornamental variety that will only produce flowers, instead of an edible bounty.
Next, you’ll need to choose a variety that’s self-fruitful, or plan to plant two varieties that will cross-pollinate within close proximity.
They need to be within 100 feet of each other, so a tree growing in the neighbor’s yard would also work.
Hybrid varieties such as ‘Kieffer’ will self-pollinate, but even they bear more heavily if grown in multiples or near another European variety.
‘Orient’ and ‘Bartlett’ make a good match in this regard. ‘Bartlett’ trees are available from Fast Growing Trees.
While common pears are generally hardy in Zones 3 to 9, only a few European cultivars are adapted to survive low winter temps in Zone 3 or 4.
We have a list of the best cold hardy pear varieties here.
Outside the moderate temperatures and dry climes of the Pacific Northwest, fire blight resistance is a crucial element to consider.
‘Kieffer’ is popular because these trees grow quickly, adapt well to both cold climates and hot, humid areas, and are resistant to fire blight.
‘Kieffer’ trees are available from Fast Growing Trees.
You will also need to keep in mind that pears require a number of chill hours during the winter months. This can vary from 150 for a cultivar like ‘Baldwin’ to 800 for ‘Anjou.’
For even more choices, and the pros and cons for each, consult our guide to the best fruiting pear tree varieties.
Propagation
Saplings that you buy from the plant nursery or garden center are typically propagated by grafting or budding, which produces a clone of the parent tree.
Growing pears from seed is not recommended as it will not produce true to the parent – and will take a long time.
You can also propagate your own pear trees via cuttings.
Pests and Disease
In comparison to apples, pears are quite resistant to most types of pests and diseases. But there are still a few to keep an eye out for.
Pests
There are a handful of insects and other types of pests that may damage pear trees, including aphids, fruit worms (particularly the codling moth), mites, and scale.
Pear psylla (Cacopsylla pyricola) is a tricky pest because it can develop resistance to insecticides.
These tiny, cicada-like sap-suckers transmit mycoplasma disease, causing tree decline, and their nymphs secrete honeydew that leads to sooty mold on leaves and fruit.
Biological controls like brown lacewings and minute pirate bugs help keep populations in check.
Chemical sprays, insecticidal soaps, and kaolin clay can minimize infestations, but use them carefully as many pesticides kill beneficial insects as well as pests.
If you spray, do it just before bloom and repeat at least once, ideally twice, since adults begin laying eggs as buds swell.
Deer, rabbits, and voles can also cause damage.
Deer take the fruit, rabbits chew bark and young shoots, and voles may girdle trunks. Tree guards or tree wrap applied in late fall addresses most of this.
For voles, extend barriers six to ten inches into the soil to prevent burrowing.
Disease
European pears are celebrated for being easier to grow than apples, but they can still encounter a few diseases. While many are minor, a few are more serious.
Here are a couple to watch out for:
Fire Blight
The worst is fire blight, caused by Erwinia amylovora bacteria.
This is the disease that literally makes commercial European pear production impossible in the southern US and other hot, humid regions.
This pathogen only attacks members of the rose family. It is aggressive and does ugly damage. It overwinters in cankers formed on dead wood.
You can learn all about fire blight in pears here and check out our guide to the best fire blight-resistant pear varieties.
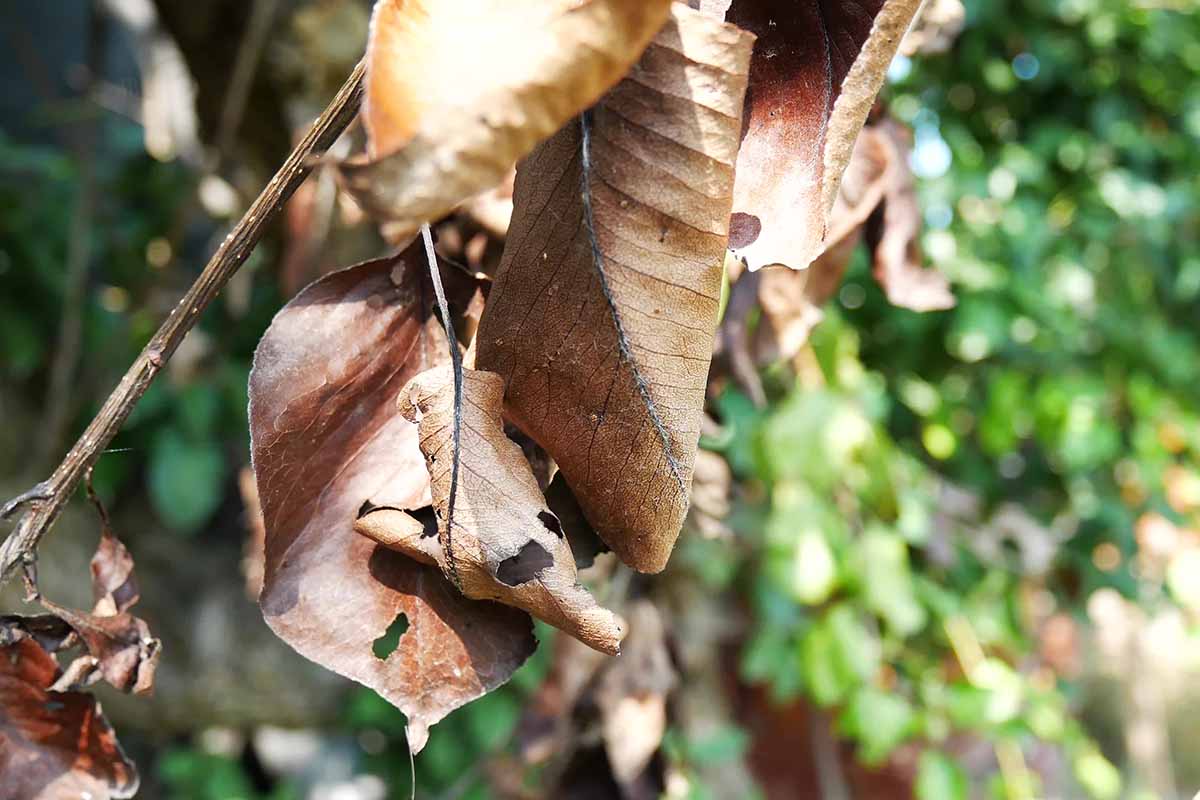
Pear Leaf Spot
Another common threat is pear leaf spot, caused by Fabraea maculate fungi. It creates dark purple spots on the fruit or the leaves, which soon start growing into brown blotches.
Good sanitation is the best way to prevent leaf spot, especially by keeping dead leaves raked up and decaying fruit collected and placed in the compost.
If it’s too late for prevention, a fungicide spray routine is the best solution. Start as the leaves start forming in spring and keep up through midsummer.
You may need to rotate your fungicides to avoid potential resistance.
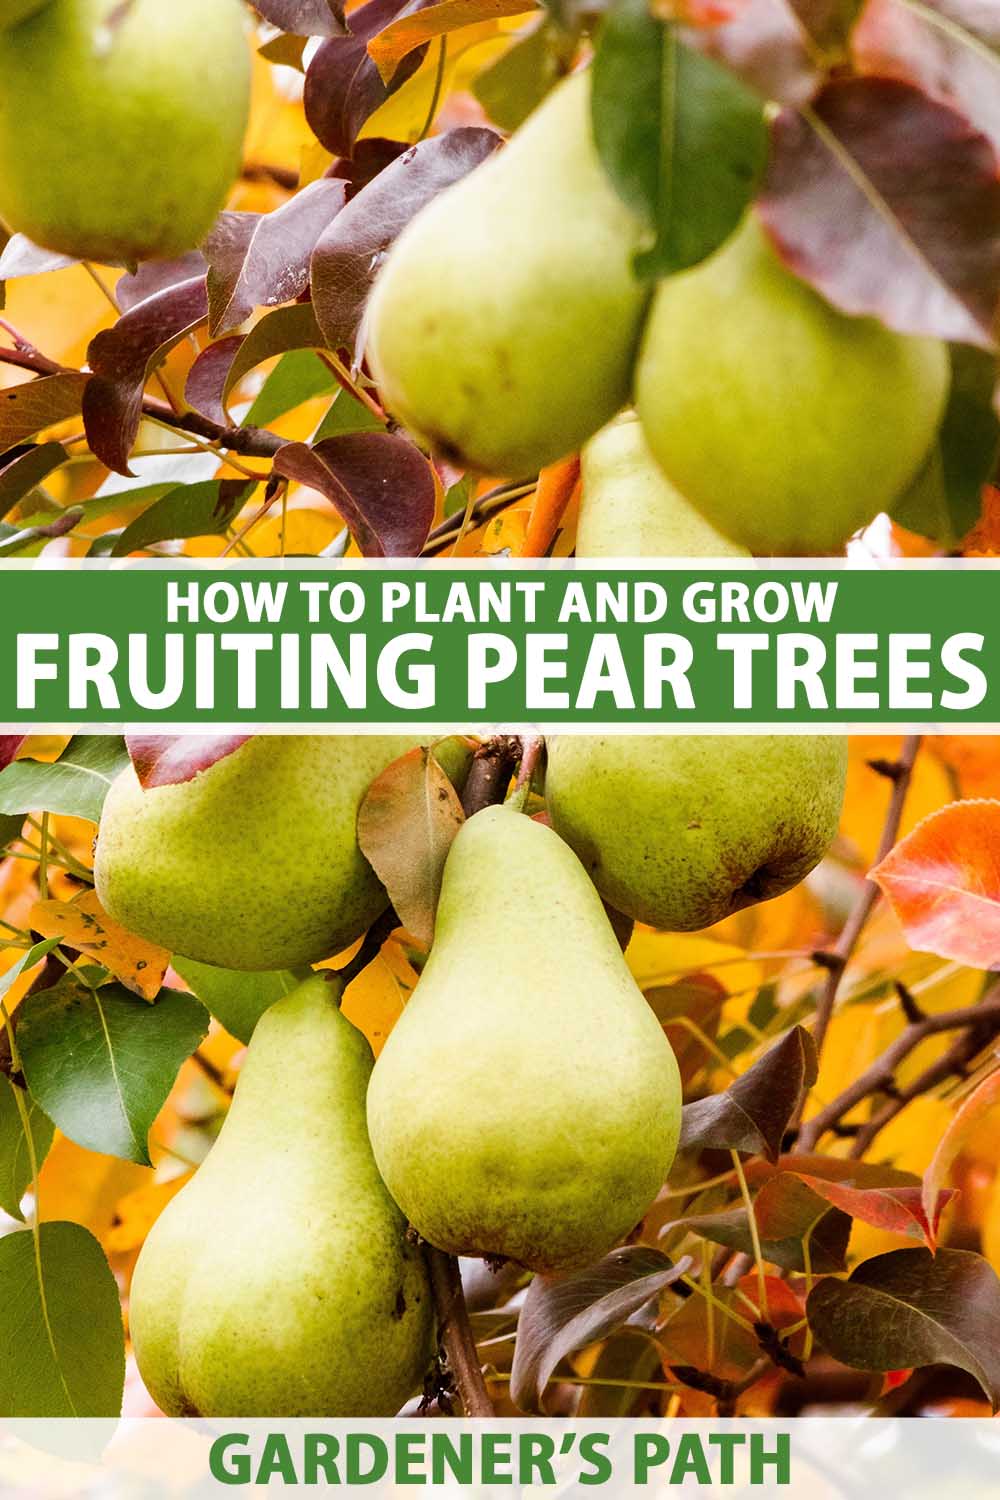
Harvesting and Preserving
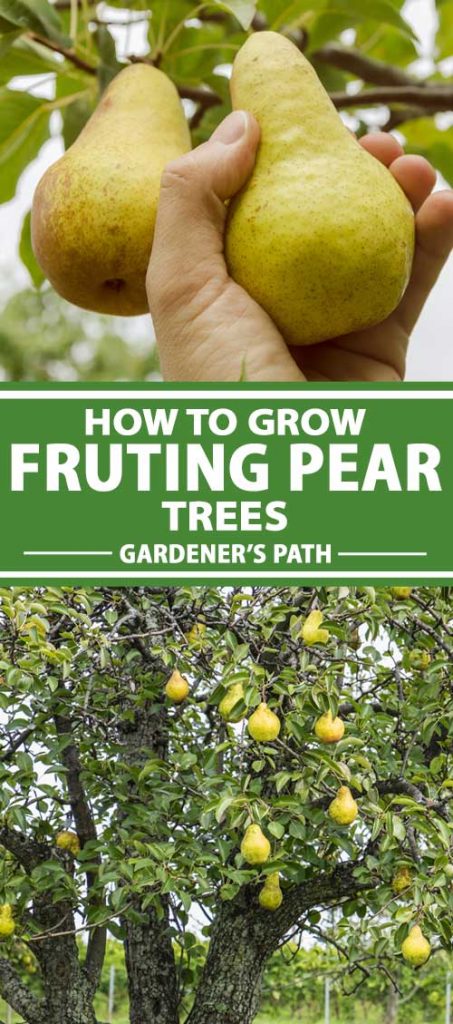
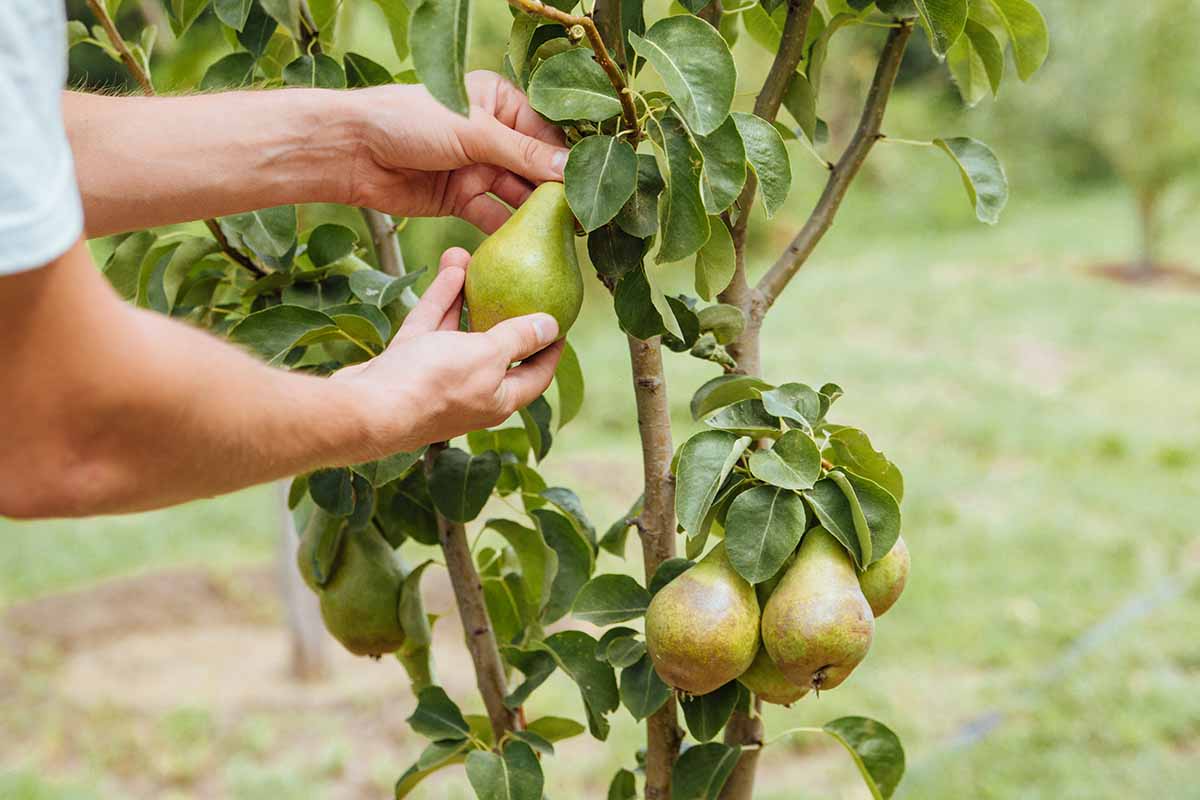
Especially if you’re used to grocery store or farmers market produce presented to you in an ideally-ripened state, it can be tricky to know exactly when to harvest pears.
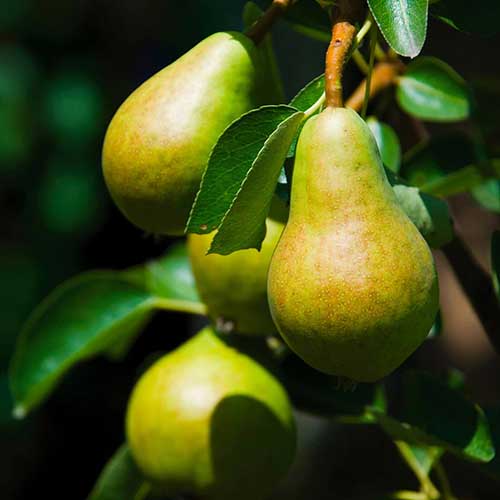
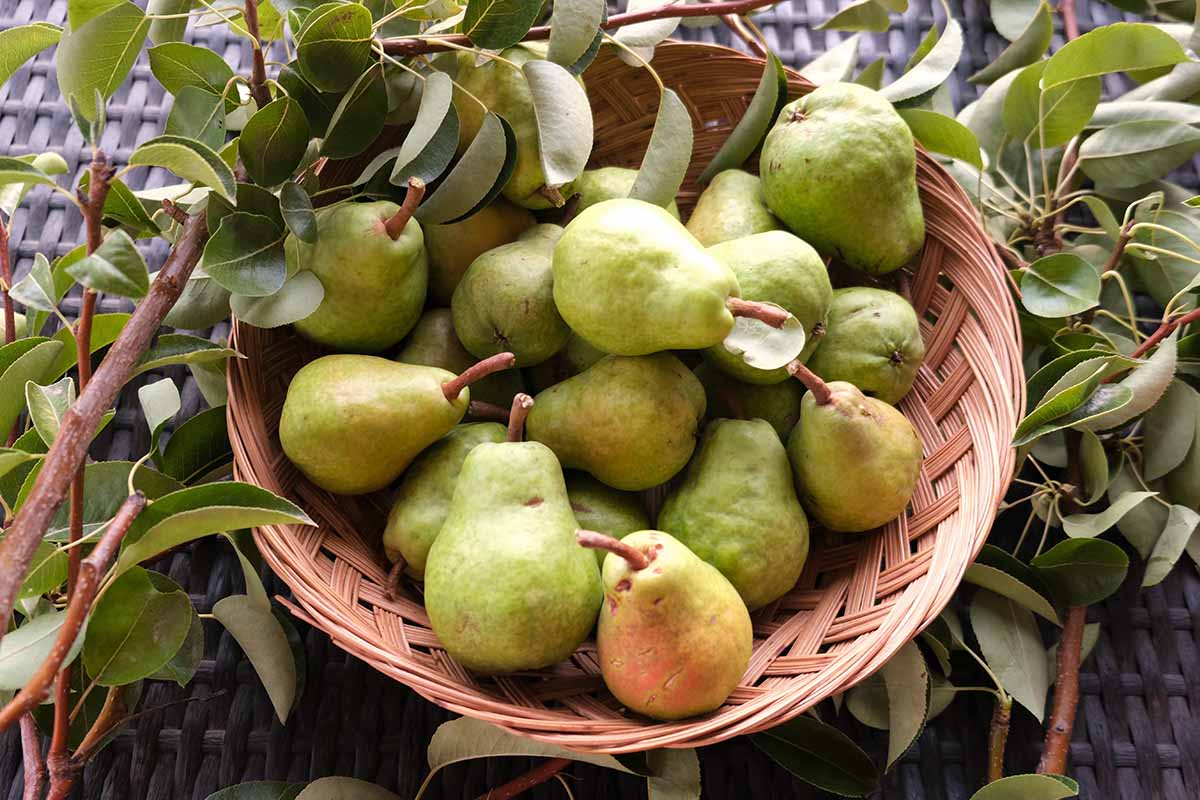
First of all, you want to pick them before they turn soft. Honest!
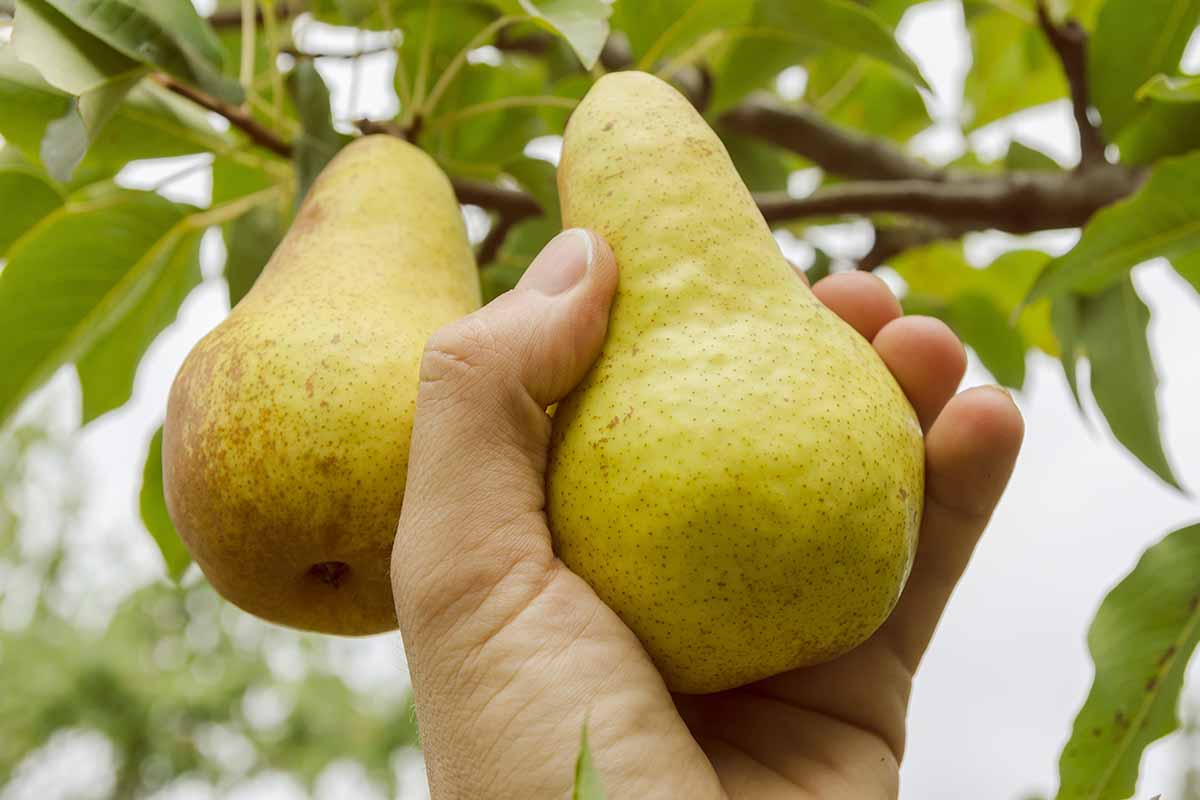
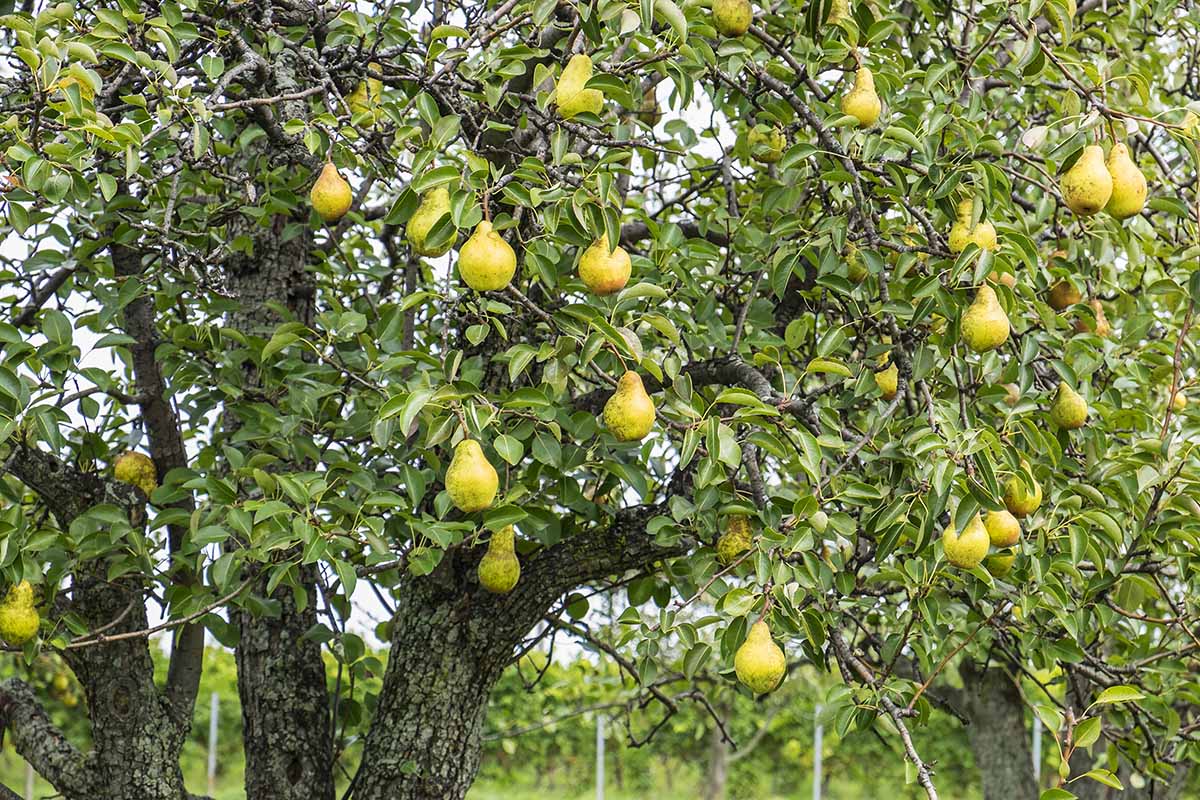
Note when they are the shape and size of mature pears you’ve purchased in the past, or when they look like the photos in cultivar descriptions – that’s when they’re ready to pick.
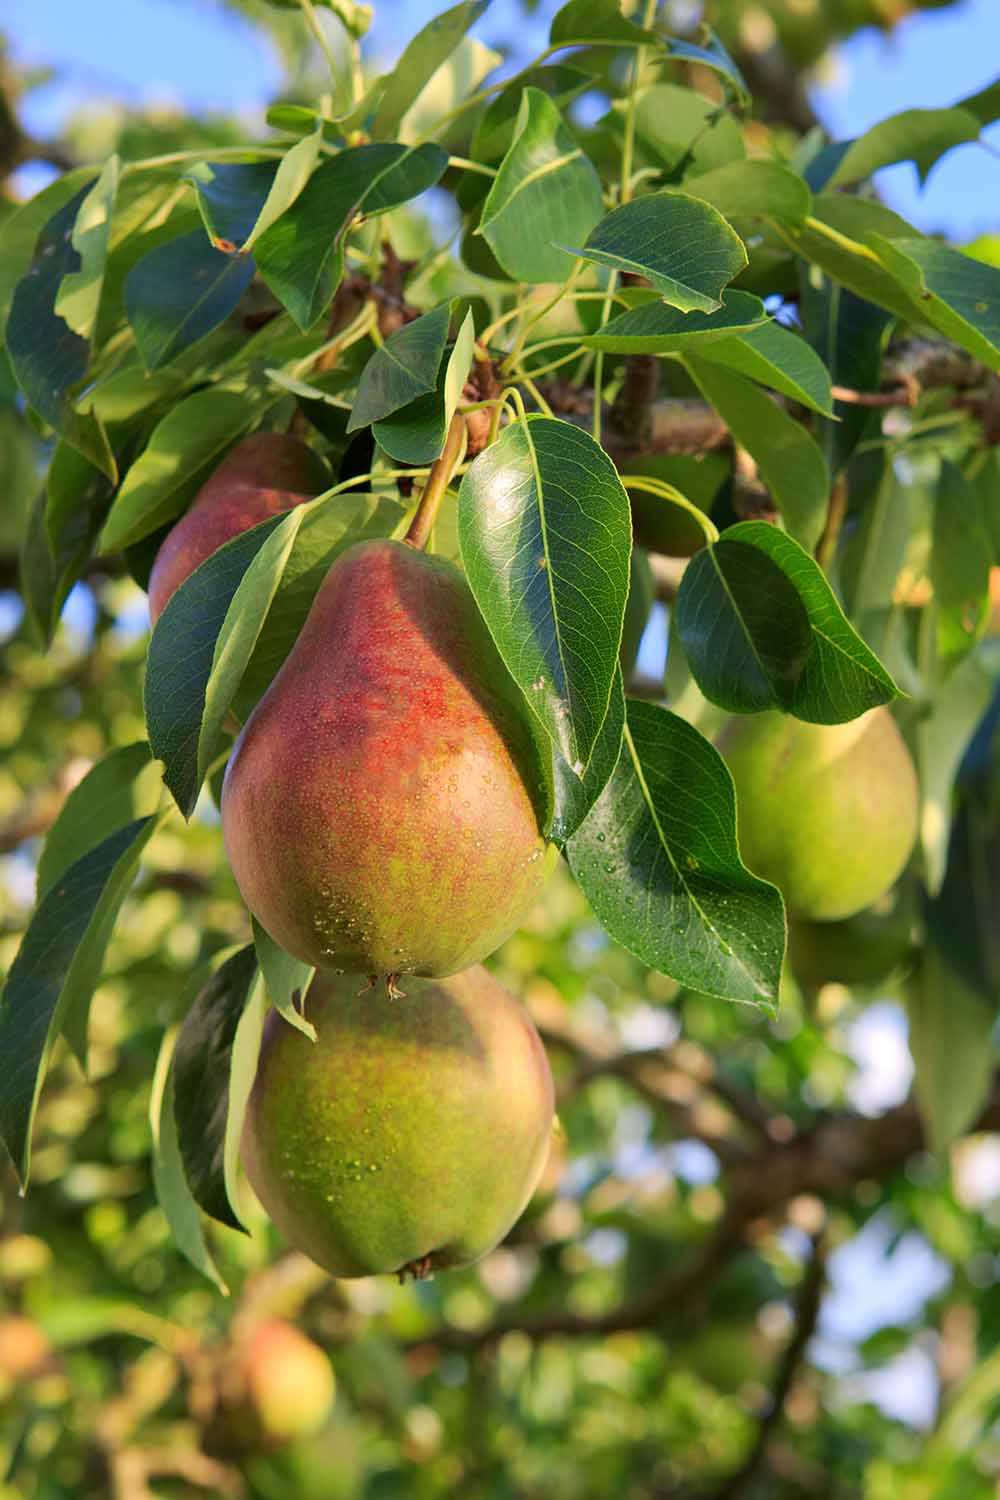
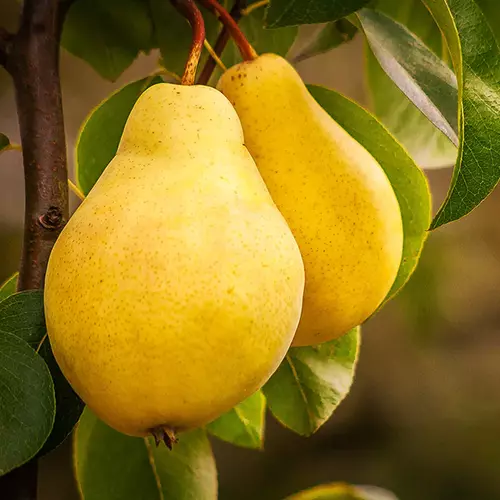
They may have begun to be a tad more colorful, yellow or red depending on the variety, but they should be firm.
If they are soft on the tree, you can be certain that they’re rotten at the core. And if you pick them too soon, they’ll shrivel in storage.
For more extensive info on when pears are ripe and how to know when to harvest them, see our guide.
Once you’ve picked them, they’ll ripen at room temperature. This usually takes about four or five days, but check them once a day.
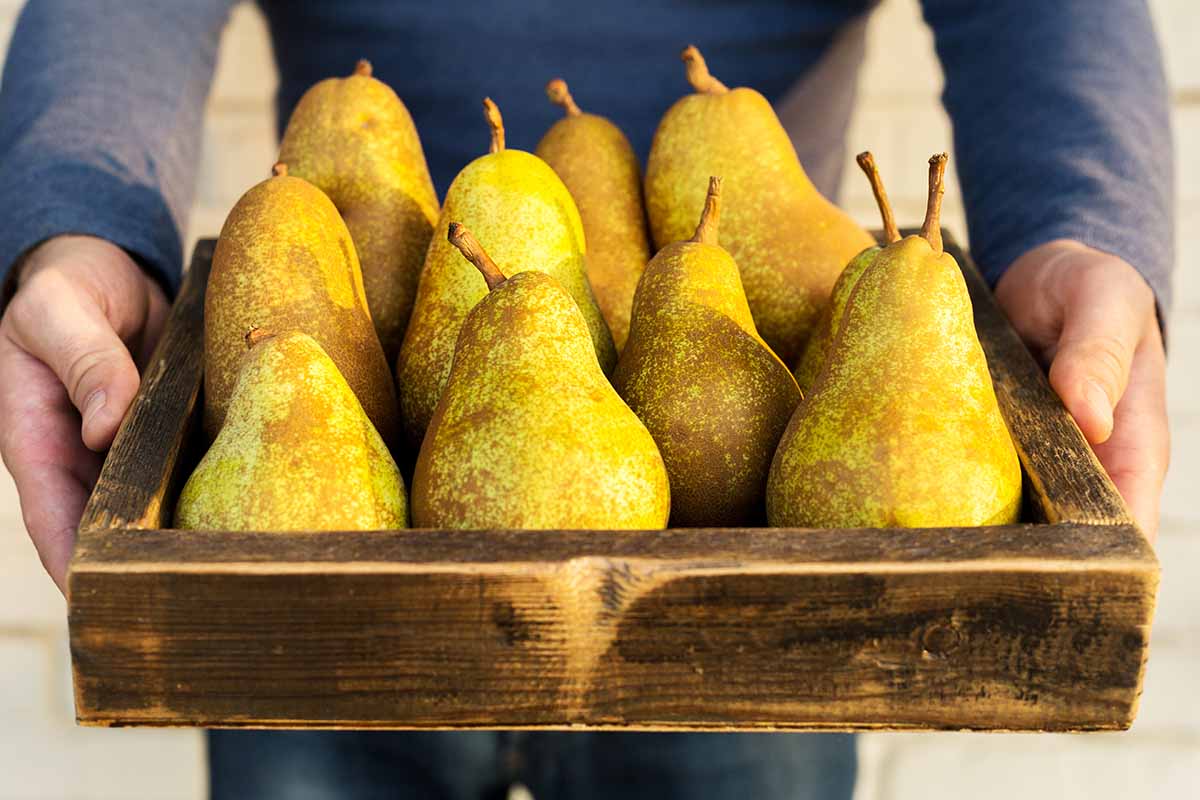
Some winter pears, including ‘Anjou’ and ‘Bosc,’ need to be stored at 35 to 40°F for a week or two before coming out to the kitchen counter to ripen at room temperature.
Others can move straight from branch to bushel basket to a space in a room that’s consistently between 65 and 75°F.
You can learn more about how to store pears here.
You can experiment with the many canning, jam, conserve, chutney, and sauce possibilities, but don’t try to freeze raw pears as when defrosted they turn to a tasteless mush.
They do freeze just fine inside baked muffins, though!
You can dry part of the harvest for snacks, too.
Dehydrated pears that have been reconstituted by soaking in water for a few minutes can also make a tasty, nutritious addition to your favorite granola, cookie, or chutney recipe.
Be sure the ones you dry are ripe but not mushy, and peel what you plan to dehydrate, since the skins get tough during drying.
You can also use overripe pears to make fruit leather.
Cooking Ideas
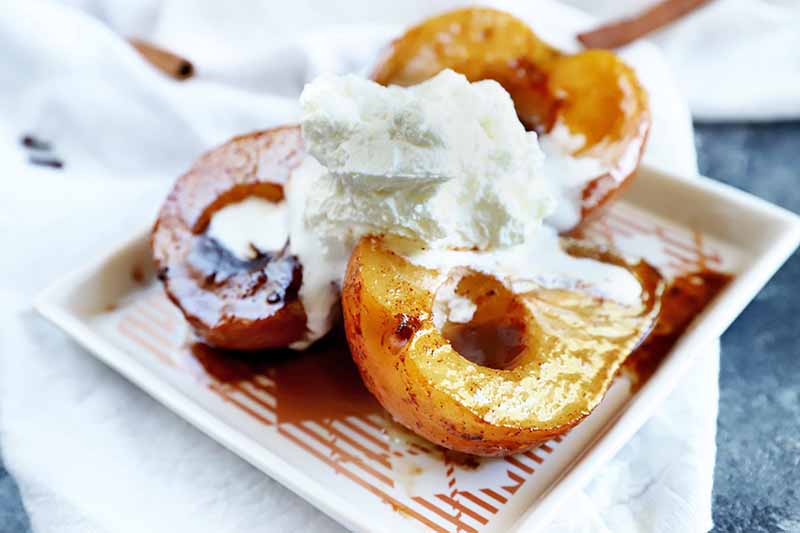
Fruit desserts may be the ultimate option to cook with this fruit.
Consider treating yourself with an indulgent batch of citrus caramel roasted apples and pears, using this recipe from our sister site, Foodal.
They’re also good in pies, tarts, muffins, shortcakes, crisps, crumbles, buckles, clafoutis (am I starting to sound like Bubba Blue from “Forrest Gump”?)
Don’t forget to enjoy the ripe fruits as an everyday treat as well. They can pump up a salad, for example, like they do in this recipe for baby greens with roquefort and pear, also on Foodal.
You can also use them to rev up the flavor in your favorite homemade applesauce recipe, substituting them for up to half of the apples.
Just don’t try a 100 percent swap, or the sauce may be a little too watery or mealy for your liking.
For more recipe inspiration for your pear harvest, head to our sister site, Foodal.
Prolific Fruit Trees, Partridges Optional
These days, when so many of us are trying to grow more of our own food and create a sustainable haven for wildlife and pollinators, planting fruiting pear trees seems like a good idea.
What about you? Have you grown these delicious fruits? Tell us about your experience to the comments section below! And if you’ve got a question, we’re here to help.
And for more information about cultivating pear trees in your orchard, check out these guides next:
Found info on Pears by Rose tremendously informative and will surely enhance my tree’s future. Enjoyed, and thanks.
Thanks for the encouragement, J.V.! And wishing you all the best with your pear tree.
There are really nice still life shots here for artists. Thank you!
This was an incredibly informative article. I moved into a house 2 years ago that has (2) 20’+ fruiting pear trees. I have zero idea how to care for them (and by your article, it sounds like they mostly take care of themselves, fortunately) and did not know if they were edible or if they needed to be sprayed with something. Your article answered those questions and I am very much appreciative! Now that I know they are safe to eat, I will harvest them and drop off at our local food bank. Thank you.
Thanks for reading, Jennifer!