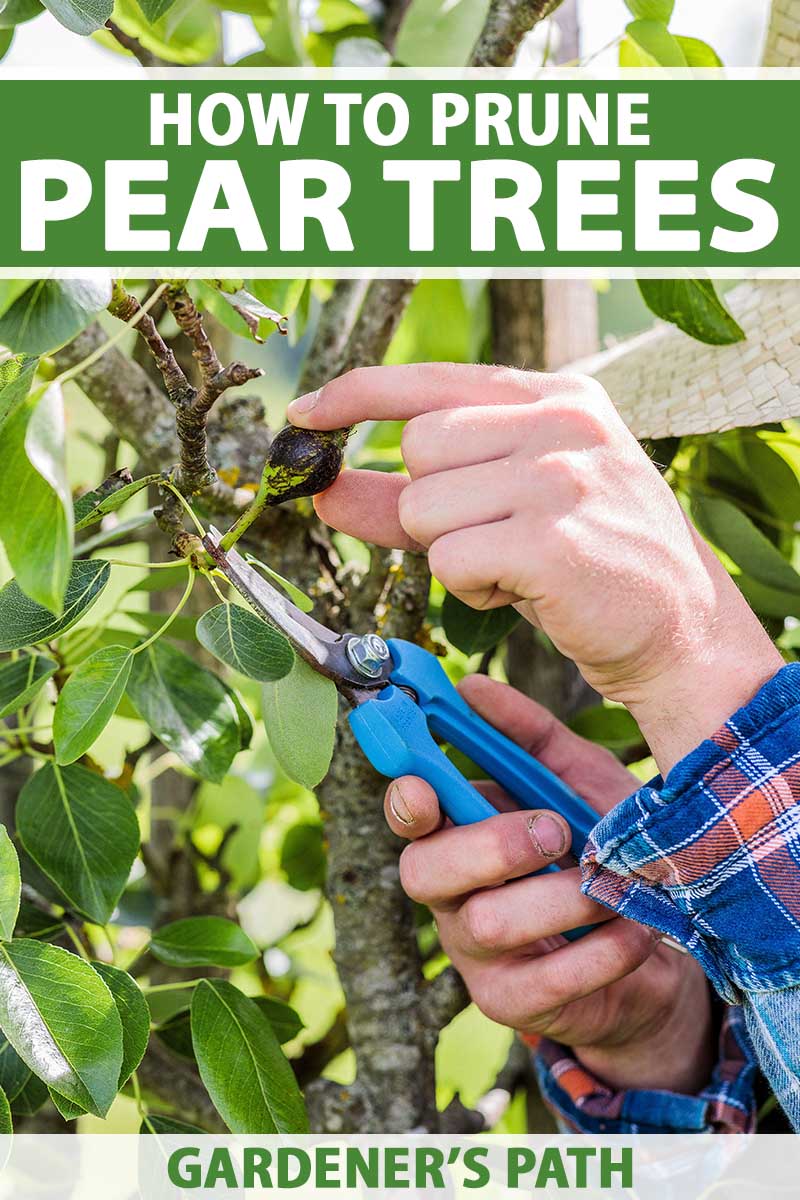
You’ve heard that it’s important to prune your pear trees. You’ve purchased a pair of pruners and have looked at a few resources but you’re still not quite sure when to carry them outside and start snipping.
Maybe you’re nervous, too. How, exactly, does one prune a pear tree?
We link to vendors to help you find relevant products. If you buy from one of our links, we may earn a commission.
If you want to learn more about growing pears, read our guide.
In this article, we’ll point out exactly why pruning Pyrus trees is important, and walk you through the steps you need to take.
Here’s everything we’ll cover:
What You’ll Learn
Why Should You Trim Pear Trees?
If you’re wondering why you should bother to cut branches off your pear, you’re not alone. What good does cutting limbs off do?
Here’s the secret: trimming young pear trees helps them grow into and maintain the shape you prefer.
But pruning also does much more, and trees of any age can benefit.
By trimming away boughs that are touching each other or growing too close together, you help eliminate the threat of injury. When there’s friction between them, the bark can rub off, creating an entry point for pests and disease.
And when leafy branches are growing too close together – even if they aren’t touching – sunlight can’t reach every bough individually.
According to experts at the People’s Trust for Endangered Species, pruning fruit trees improves airflow between limbs. This can help dry out excess moisture, like dampness from a recent rainfall, more quickly.
This, in turn, helps keep fungal infections away.
The experts at the People’s Trust also say that a well-pruned tree lets more sunshine in, resulting in large, vigorous leaves and buds.
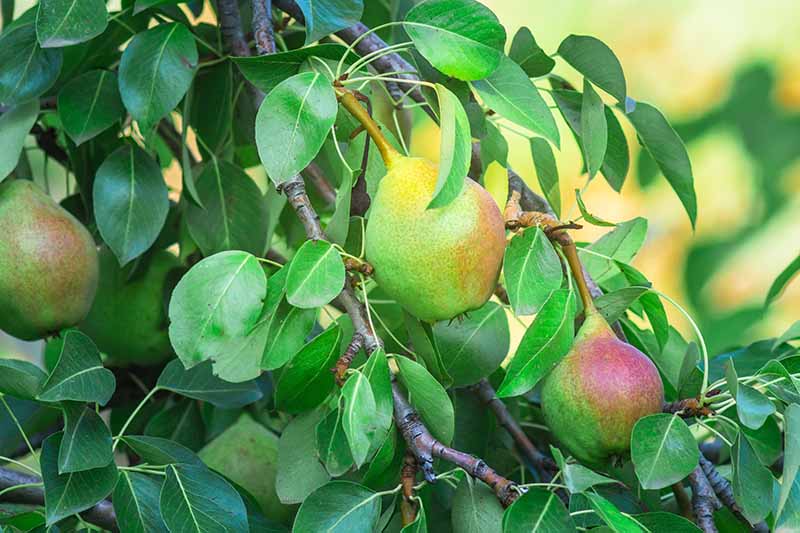
Diane Brown, extension educator at the Michigan State University Extension, adds that sunlight is crucial in helping the leaves to make sugar, allowing the tree to grow as it should, and helping to produce high-quality fruit.
Delicious!
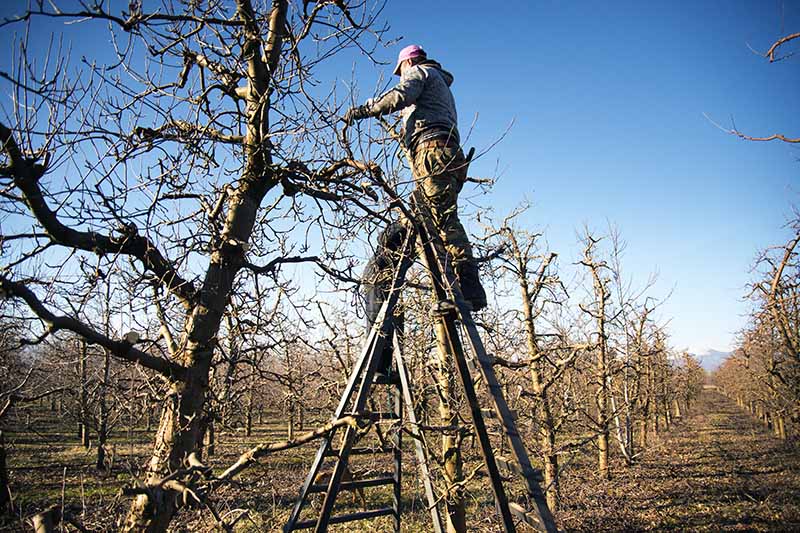
When to Trim
You should plan to prune in late winter or early spring. Experts at the University of Maine Cooperative Extension say pruning them at this time helps to protect their winter hardiness and health.
Be on the lookout for winter dieback, or cold damaged wood, and prune it away, too.
You’ll still be catching the tree at the tail end of its dormant stage, but the wounds created by the pruners will heal quickly as the growing season begins, reducing the chance that insects will infest the branches through the open cuts, or that disease will take hold.
If your pear desperately needs a trim though, late summer is an option, say the experts at the Maine Extension.
You’ll only want to remove dead or broken branches at this point, as a heavy trim in summer will weaken the plant. You never want to remove more than a third of a tree’s growth in a given year.
To keep your tree as healthy as possible, cut back dead or diseased branches, or limbs that are rubbing against each other, once a year.
How to Prune
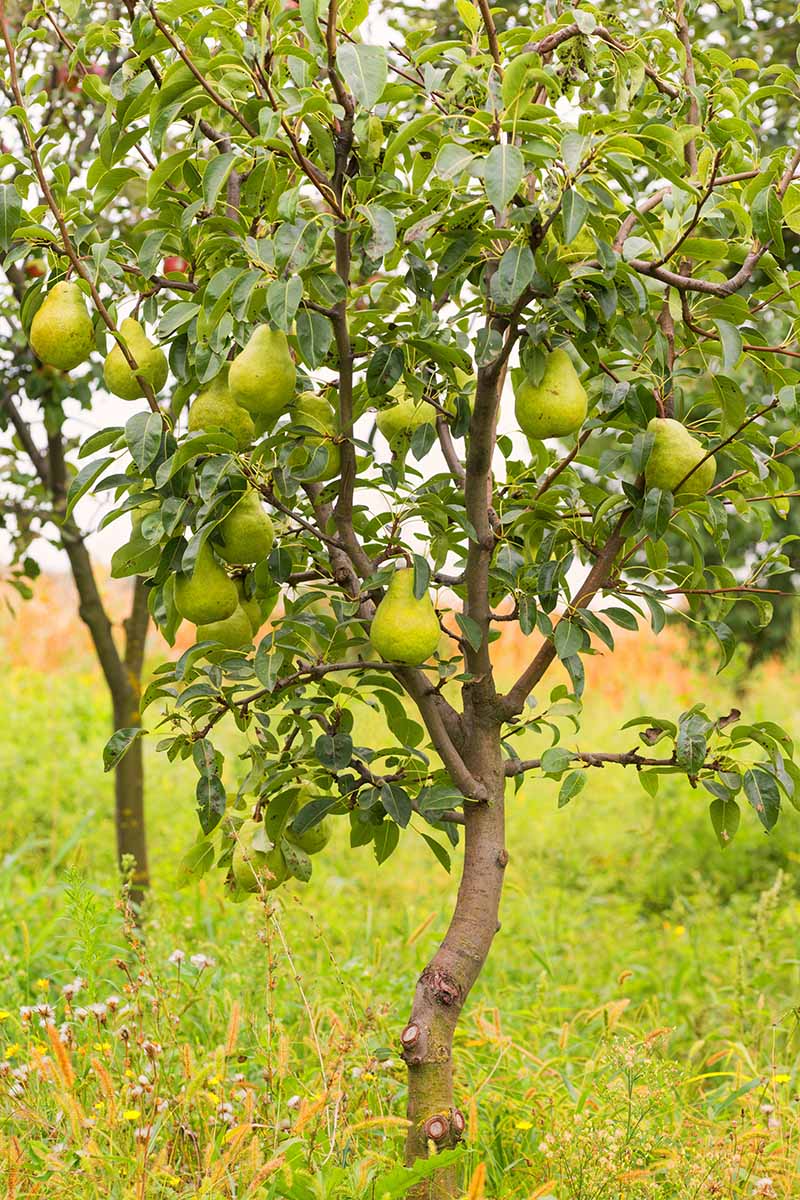
Before you begin snipping away, consider what you wish to achieve with your Pyrus tree.
Do you want to train it into a shape ideal for bearing large yields of high-quality fruit year after year? Or would you rather it grow with a more natural look, potentially at the expense of a larger harvest?
If you’re really fancy, or short on space, you can try growing them in the espalier style.
If you prefer the first option, you’ll probably want to prune your pear into what’s known as a “single leader” or “central leader” shape.
Since pears tend to grow straight up, the central leader shape honors the way pears like to grow while also maximizing light exposure to the lower and middle branches, which helps promote fruit production and quality.
But if you’d rather maintain a “natural” look, with branches that grow more naturally and uniformly while also keeping the tree healthy, you can do that, too.
We’ll cover how to prune with either of these goals in mind in a moment. But first, a few tips and notes on equipment.
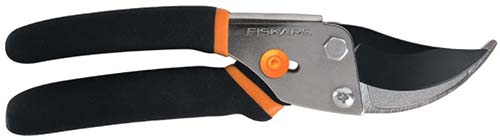
Use a sharp pair of bypass pruners for young specimens and small branches. I like these from Fiskars, which are available from the Home Depot.
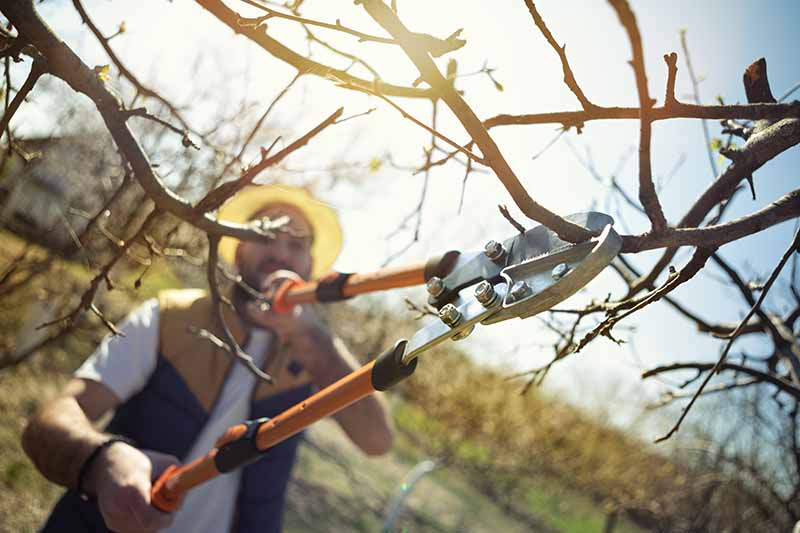
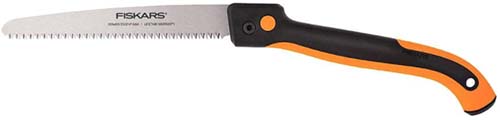
For older trees with thick limbs, use a pruning saw like this one from Fiskars, also available from the Home Depot.
Always cut about an inch above an outward-facing lateral bud, which allows a new branch to grow outward rather than crossing back inward toward the trunk.
For branches that curve upward, make an angled cut so that water can easily run off the open wound. For boughs that stick straight out, a straight cut works well.
Always clean and disinfect your pruning tools before making any cuts.
Never remove more than a third of the tree’s growth in one year.
You can learn more general tips in our guide to the basics of pruning.
Pruning to Create a Central Leader
Your goal here is to allow the trunk to grow straight upward, and to create two to three sets of strong scaffolding branches growing outward from the center.
Pruning of this type should be done at planting time, or during the winter following the tree’s first summer.
If you’re starting out with a whip, or a branchless tree, you’ll want to make what’s called a “heading cut” at planting time, wherein you cut a few inches off a branch, typically removing the tip and one or two buds.
Heading cuts stimulate new growth.
Your heading cut on a whip should reduce the height to 30 to 45 inches, says Diane Brown of the Michigan State University Extension. This will encourage side shoots, which will become your scaffolding branches as the tree grows.
If you’re starting out with a branched tree, you can skip this step. Instead, prune dead, diseased, or broken boughs away by cutting them back to their point of origin.
This is called a “thinning cut.” Unlike a heading cut, a thinning cut does not stimulate new growth but instead redirects energy into the existing branches.
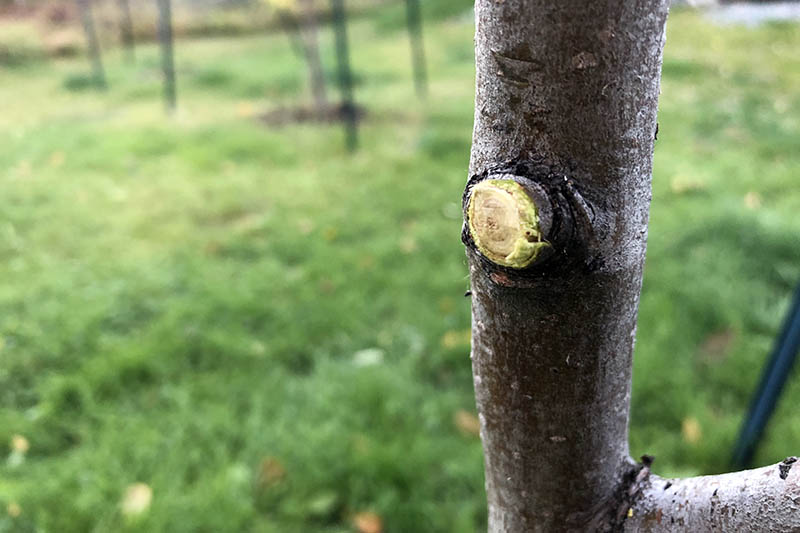
When you cut entire boughs off, take care to leave about one-quarter of an inch of the stump in place, essentially leaving only the branch collar behind.
The branch collar is a ring of thickened tissue surrounding the branch’s attachment point to the trunk. If you cut nice and close to it, the collar will naturally seal itself back over in time.
A longer stump, on the other hand, can rot and potentially breach the collar area’s protective tissue, ultimately infecting the entire tree. But if you cut too much of the stump off, you risk removing the collar entirely, and injuring the trunk.
When the tree has several branches, after about a year of growth, choose four or five to keep. Pick branches with a crotch angle of 45 to 60 degrees.
A narrower angle can result in a weak branch that can’t properly support fruit. It can also cause bark to get trapped in the crotch and begin to crack – an open invitation for rot.
The lowest branch you choose to keep should be about two to three feet off the ground.
Over time, these boughs will become your lowermost scaffolding branches.
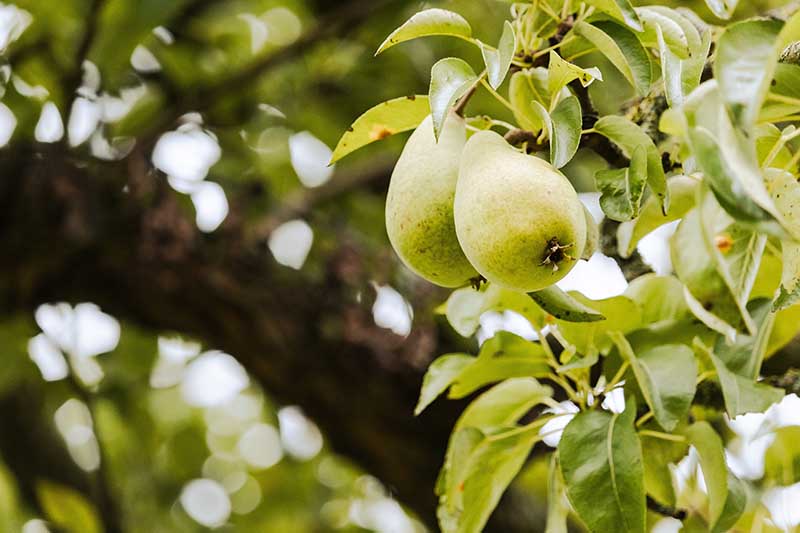
In the first several years of growth, also cut away any developing fruits as soon as you see them. This will allow the tree to focus on growing strong and healthy instead of producing fruit, and after year three, you’ll be able to let it bear pears!
Continued Care for Central Leaders
Two or three years after you form the first set of scaffolding limbs, select a second set from the branches that have grown above the lower scaffold.
The crotch of the lowest branch in your second scaffold set should be about two feet above the crotch of the uppermost branch in your lower scaffold.
Cut back any limbs in that in-between space. Leaving this space relatively open will allow sunlight to reach the center of the tree.
Once you’ve done that, trim the branches in your second scaffold set back so that they’re a couple of inches shorter in length than the lower boughs.
According to extension expert Diane Brown, your pear will begin to look a little bit like a Christmas tree.
This shape – narrower at the top, and broader at the bottom – prevents the upper branches and leaves from blocking overhead sunlight that needs to reach the lower scaffold.
If you’re growing a dwarf pear variety, your shaping work is done after you create this second set of scaffolding branches.
But if you’re raising a semi-dwarf or standard tree, you’ll need to create a third and final set.
Whenever the tree has grown several more branches – generally a year or two after you create the second set of scaffolding branches – you’ll repeat the step above to create the third set of scaffolds.
Remember to trim them to be a couple inches shorter than the middle branches.
When your pear reaches the desired height – around eight to 10 feet for a dwarf, 12 to 16 feet for a semi-dwarf, or about 20 feet for a standard variety – you can opt to trim the central leader at the top of the tree, cutting it back to your desired height.
If your pear gets too tall, you may have difficulty harvesting fruit, depending on your height preference and expectations for the tree.
Do this every couple of years to maintain the desired height.
After doing all this work, you can sit back and relax for the most part. The tree will retain the form that you have coaxed it to grow into, and will only need minor adjustments every year or two.
Trimming for a Natural Look
If you love your pear trees but want them to look more natural while still providing fruit every year or two, you can choose a more laid-back trimming option.
All you need to do for this one is to:
- Cut back broken, dead, or diseased branches.
- Remove branches that are crossing, growing inward toward the trunk, or rubbing against each other.
- Trim away any branches with crotch angles narrower than 45 degrees.
Let the tree grow as tall as you want. Every two or three years, stand back and look at the overall shape of your pear.
If you see any limbs sticking out awkwardly, or notice that some areas of the tree are too dense with lateral branches for light to penetrate, you can choose to do a bit of pruning.
Use thinning cuts to remove the lateral branches you don’t want, cutting them back to their point of origin, leaving the branch collar intact.
Otherwise, you really don’t need to do much at all.
A Note on Age
Pruning to shape a pear is best done when the tree is young. Once it’s around five or six years old, the shape is more or less set in stone, and heavy trimming could be detrimental.
If you’ve recently moved into a home with older, neglected pears, cut with care. Remove those broken, dead, or diseased branches first. Then, use thinning cuts to remove branches that crowd the tree.
Make room for sunlight to hit the innermost branches from every angle, taking care not to prune back more than one-third of the branches.
For a severely crowded, tangly tree, you may need to thin about a third of the branches off every year for two or three years, until it looks adequately thinned out.
Did your central leader die back or break off? See our guide for what to do if the top of your tree dies.
A Peary Delicious Bounty
Whether you choose to create a central leader or use a more natural method for pruning your pears, you’re sure to get plenty of delight out of growing your fruit tree. Or, if you’re like me, your fruit trees, plural.

How do you like to prune your pears? Let us know in the comments below! We love reading your stories and answering your questions.
For more helpful tips, remember to check out these articles on growing pears next:
Great article, very helpful. We have Summercrisp, Moonglow, Seckle, and they all need pruning. Thank you for the information!
Bought a house in Michigan, have a pear tree, way overgrown. Had a wind storm, broke main top and couple other mains full of fruit beginning of Sept. What should I do? Thank you, Terry
Sorry to hear it, Terry! It may be a good idea to consult with a professional arborist. How large is the tree overall, and it is in good health otherwise? When trees are damaged in this way, they should generally be pruned to create clean cuts and to remove any damaged branches that still remain on the tree, either cutting back to above the branch collar where the fallen limb meets with the trunk or to a main limb. You may be able to train a new leader but this will take some time.
What to do if the fruit is too small every year?
Trees often produce more fruits than they can support to harvest, and thinning the fruit when it is just starting to develop in the spring/early summer will help to ensure a higher quality crop of larger fruit at harvest time. Thinning early in the season by removing fruits to leave a max of one or two pears per cluster at a minimum distance of about 4-6 inches apart should help.
my pear tree took about 4 years to bear fruit. at that time it bore about 4, the next year it had like a hundred flowers and as much fruit I pruned it back and then this year it had few flowers. I think i may have pruned it in late winter. i plan to do it again now in the late fall. any suggestions?
also, what do you recommend for fertilizing the tree?
Four years to start bearing fruit- that’s great, right on track! Late fall pruning is not recommended since this can spur new growth as trees go into dormancy, potentially leading to winter cold damage and dieback. Late winter is best for pruning, and you need to remember that cutting back significant portions of the tree will also remove some of the buds that produce flowers and fruit. Flowering buds in pear trees can be terminal on long shoots, or they may appear on shorter shoots known as spurs. Once the tree has the shape that you prefer, annual maintenance pruning… Read more »
We have a pear tree in our yard, not sure the variety. It’s an old tree but not very large and was infested with ants so it never really grew any more or produced a fruit for years. This year with a bit of care it produced a decent pear crop. However it almost seems like it’s got 2 different growing setups, central leader and open center, it’s odd I know. The central leader looks like it was topped and it’s crown isn’t very large, it also rubs against another one of the limbs. This is an established branch and… Read more »
Hello Andrew. I think you’ll be okay cutting it, especially if it’s rubbing against another limb. But I would wait until late winter or early spring so you don’t weaken the tree.
For more tips on caring for the central leader afterward, re-read this section of our guide before you do that pruning early next year. Good luck!
Going to trim our tree in spring. This was great learning. Thanks
Thanks for reading David!
This article was very helpful to me for how and when to prune my pear tree. Thanks!
Glad to hear the article was helpful Rosemary! Thanks for reading.