Many human senses may come into play as you determine when homegrown pears are ready for harvest.
For Asian varieties, Pyrus pyrifolia, your sense of smell or taste will let you know it’s time to pick. But for P. communis, European varieties that include ‘Bosc’ and ‘Anjou,’ you’ll rely only on your eyesight.
These latter types are inedible unless you pick them while they’re still firm, and let them ripen at room temperature or maybe after chilling.
We link to vendors to help you find relevant products. If you buy from one of our links, we may earn a commission.
For either type, though, you’ll have the best harvest when you use your common sense and set reminders to alert you that the potential harvest window is open.
To help you along the way, we’re going to cover the best ways to determine when and how to pick your homegrown fruits. Here’s what we’ll cover:
What You’ll Learn
When Asian Pears Are Ripe
This variety is also known as the apple pear because it has a taste and texture reminiscent of that crisp, sweet fruit.
Like apples, they also reach optimal ripeness while they’re still hanging from the branches.
Depending on which cultivar you’re growing, Asian varieties including ‘Chojuro’ and ‘Shinseiki’ will be juicy and ready to eat some time between August and October.
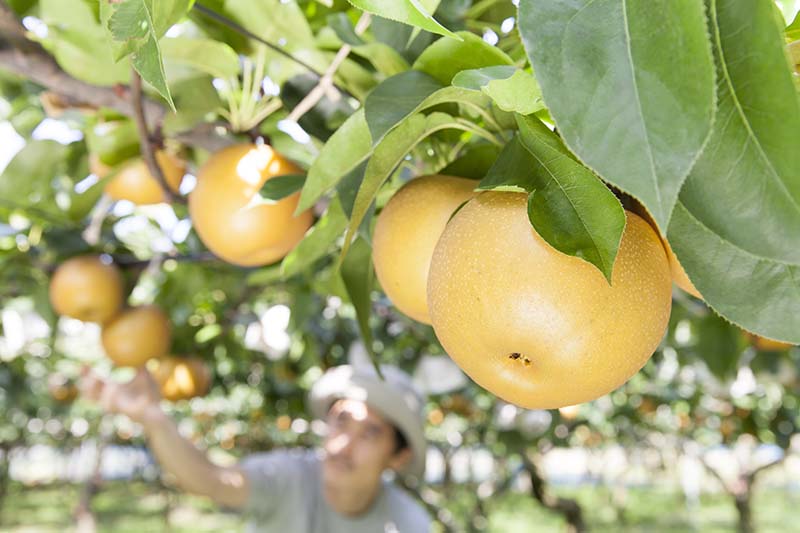
When the fruits are the size and shape you’re anticipating, it’s time to use your nose. If the skins smell fresh and fruity, that one is probably ready to pick.
Also look for a color change. Depending on the cultivar, they’ll go from green to yellow, hazel, or golden as they ripen.
When they’re the right color and smell ripe, pick one and bite in! Or use a knife and cut a sliver, your choice.
Does it taste the way a juicy, crispy Asian pear should? If the answer is “yes,” you can move along to picking.
There’s no need to get the whole harvest off the tree at once. The harvest window may last as long as a month.
Just make sure to keep an eye on the ripe fruit, and pick all you want before the flesh starts getting mushy or develops a wine-like or fermented flavor.
If they start falling on the ground, it’s time to harvest all the rest, along with checking to make sure any that are on the ground still smell fruity rather than fermented or rotten if you plan to eat them.
You can also extend the harvest by lightly wrapping individual fruits in tissue paper and storing them in a ventilated box at a temperature between 32 and 35°F. In those conditions, the ripe fruit you pick might last one to three months longer.
Signs European Pears Are Ready to Pick
With European varieties, the question isn’t “Are my pears ripe?” but “Are they ready to pick?”
To determine the answer, first figure out if your particular cultivar is meant to be harvested in summer or winter.
Expect to start harvesting mature summer types in August or September. A few of these varieties include ‘Bartlett,’ ‘Colette,’ and ‘Shenandoah.’
They will still be firm when you pick them, but summer varieties will ripen after seven to 10 days at room temperature. They don’t need cold storage ahead of ripening – but winter varieties do.
These winter types include ‘Anjou,’ ‘Bosc,’ ‘Comice,’ and ‘Kieffer.’
Home orchard owners pick them each year in September or October, and then place them in cold storage (at temperatures from 32 to 44ºF) for at least three weeks ahead of ripening at room temperature.
Find a complete list of winter varieties here.
Read more about ways to store your harvest for maximum freshness and taste in our handy guide.
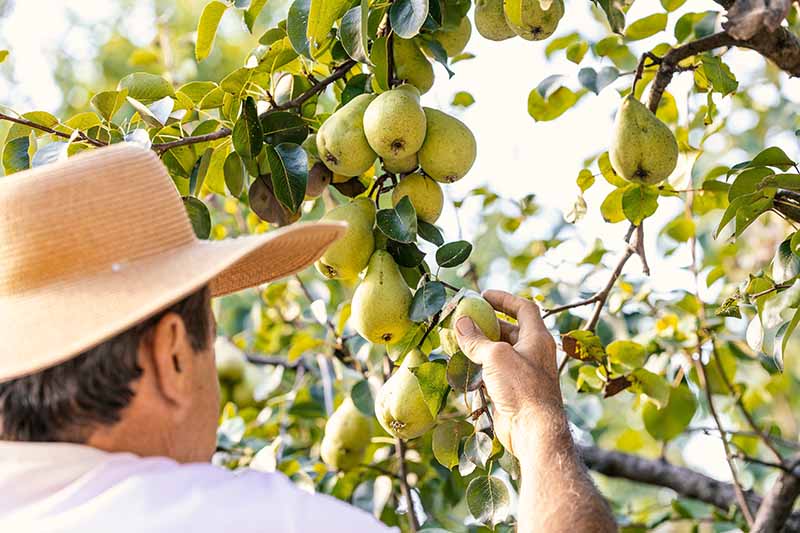
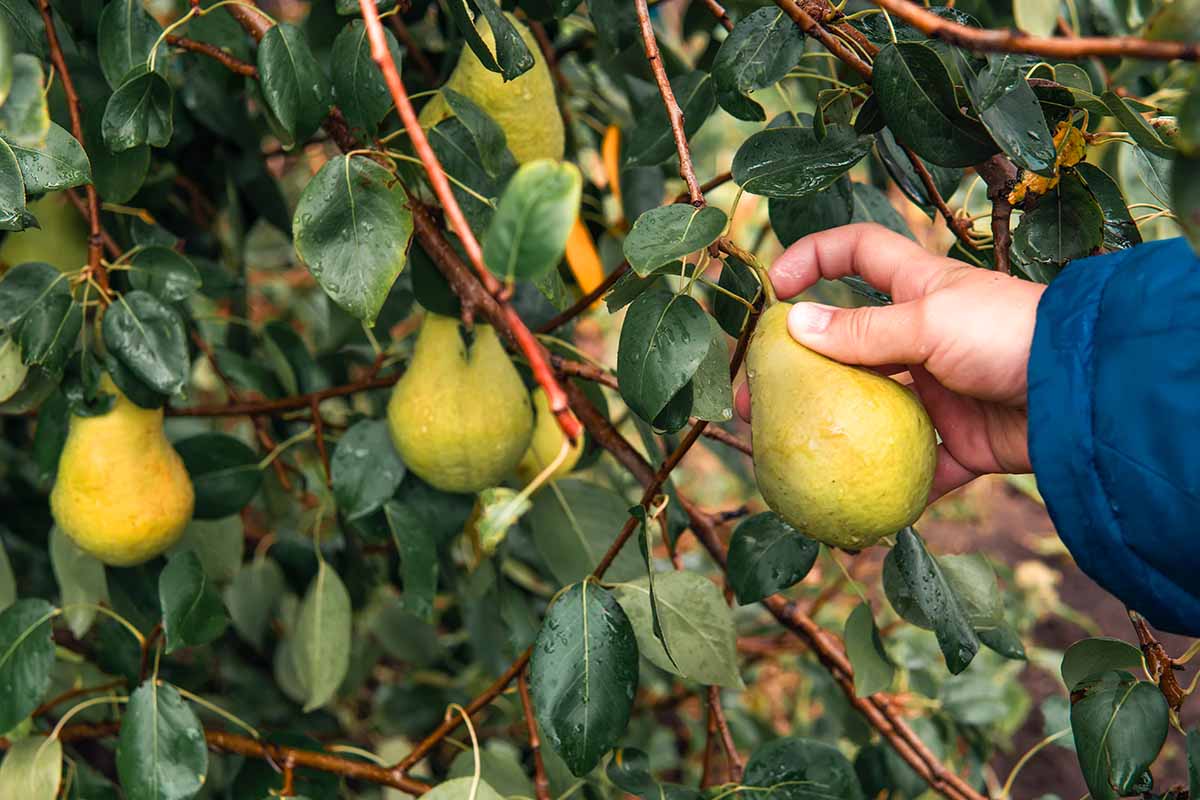
Before you pick, note any visual cues that these cultivars are ready for harvest.
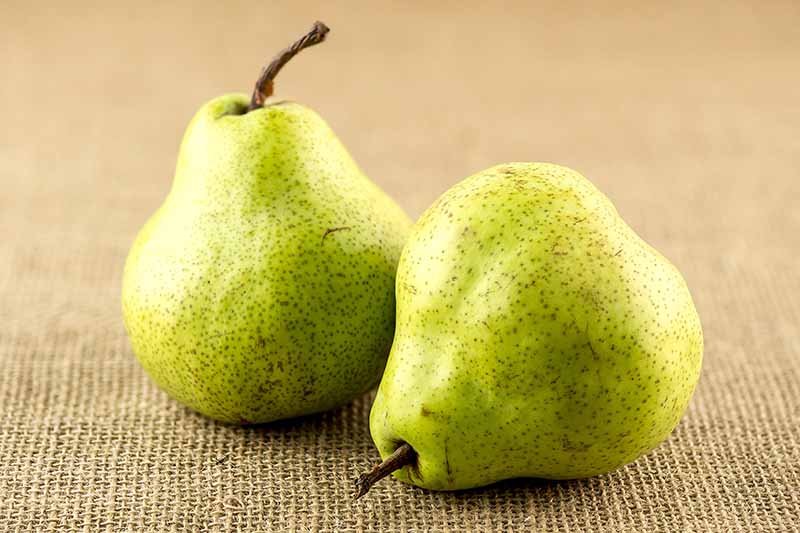
First, while they’ll still be green, the fruits will reach full size and attain the shape the variety is known for when they’re mature.
‘Bartlett’ may also change from a bright green to more of a yellow-green, while remaining firm.
Also keep an eye on the lenticels, which are the small spots you’ll see across the skin. They’ll start out white but eventually become brown to indicate the firm fruit is mature.
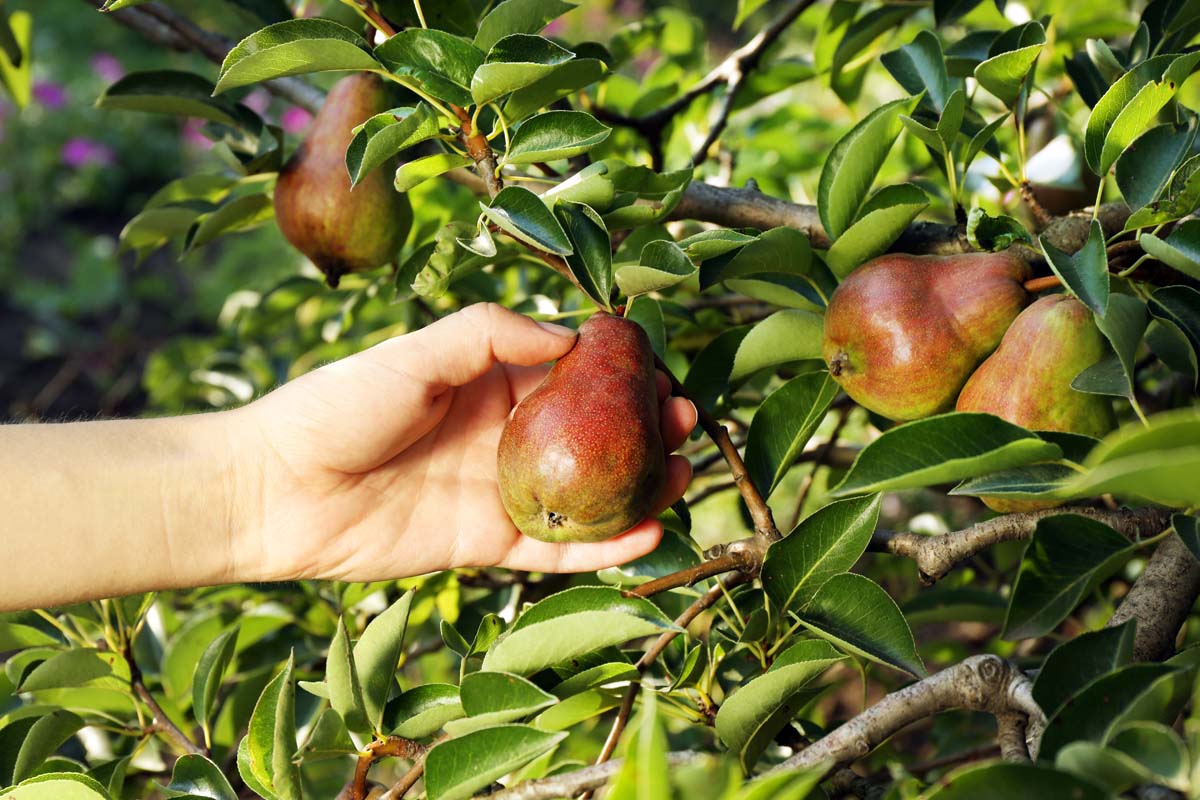
Most importantly, the mature fruit will come off of the branches readily.
When the other signs are there, test one or two. Lift them at a right angle, kind of like a door knocker.
If they pop right off the stem, it’s go time. Harvest instructions are below, so keep reading!
How to Harvest
Before you set out to pick Asian types, find a padded bucket or line a flat basket or cardboard box with something soft, like a clean fleece blanket. These fruits bruise easily.
Pluck individual fruits by resting one in the palm of your hand, lifting it by a few inches while supporting the weight, and then using your other hand to twist the stem from the branch.
Place it carefully in the lined container before picking the next one.
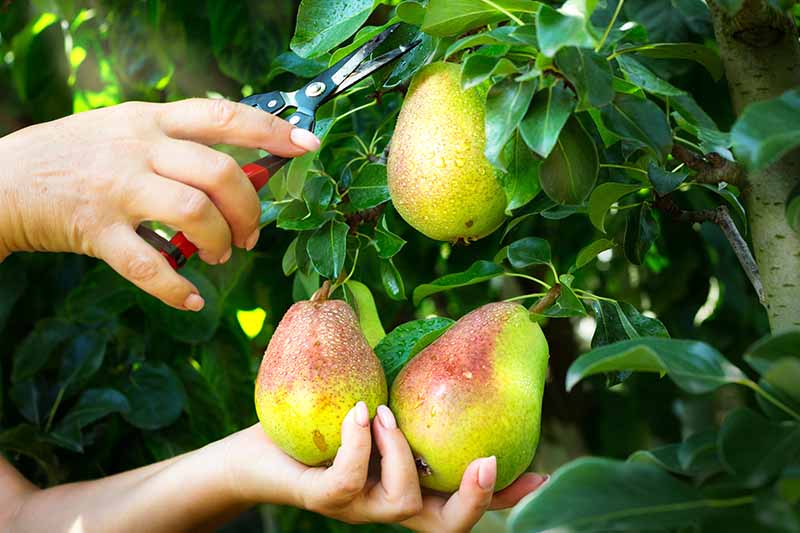
Since they’re not yet ripe, fruits from the European varieties are a little tougher, and you can place them in a bushel basket or harvest bag as you pick. You may need to pack them differently for longer storage, though.
To pick them from the tree, use the same method of lifting them horizontally and then levering or twisting the stem from the branch. If it doesn’t detach readily, let the fruit mature further for a few more days.
Impeccable Pear-Picking Skills
I consider it a “grow your own food” victory to be able to pick and store the maximum number of fruits from your trees.
Throughout the fall and winter, each luscious fresh bite, jar of preserves, or pie will reward the efforts made in the harvest window.
Even if you didn’t have perfect timing this go ‘round, there’s always next year. Keep working at it! And leave any questions or tips in the comments section below.
And if this coverage made you curious about other aspects of growing these juicy fruits in a home orchard, read these pear guides next:
Should I wash the pears after they’re picked? Or at all?
Hello Paula!
You’ll want to wash the pears thoroughly with plain, cold water from the kitchen faucet only after they’re ripe and you’re getting ready to take a bite–or right before you begin to prepare them for recipes.
If you do it earlier, they will be more prone to developing brown or soft spots. Thanks for reading, and I hope you enjoy your pears.
Do you have to chill Ayers pears for a period of time after harvest? I get conflicting answers. Some say straight to 65° to 75° after picking and others say a period of chilling before being brought to room temperature.
Hello Wade. Ayers pears (I love that rhyming name) ripen in mid-summer and do not need that chilling period the way winter pears do. They don’t last as long in storage as winter pears either. Read more about storing pears in our guide, and I wish you the best of luck.
What if you have a pear tree in your backyard? But you do not know what type of pear it is anyway to tell?
Hello Monique! This is a lovely pear tree and I’m glad to see the fruit. If it’s summer where you live, I’d say that’s a summer pear variety. Based on the shape, maybe ‘Hood,’ but its hard to say for sure. It’s definitely not an Asian pear, since the fruit isn’t that characteristic round shape. You may want to browse through our article about some popular pear types to see how your tree compares. Here’s a link. As for harvesting, you can still use these tips from this guide to harvest even if you’re not certain what that tree is.… Read more »