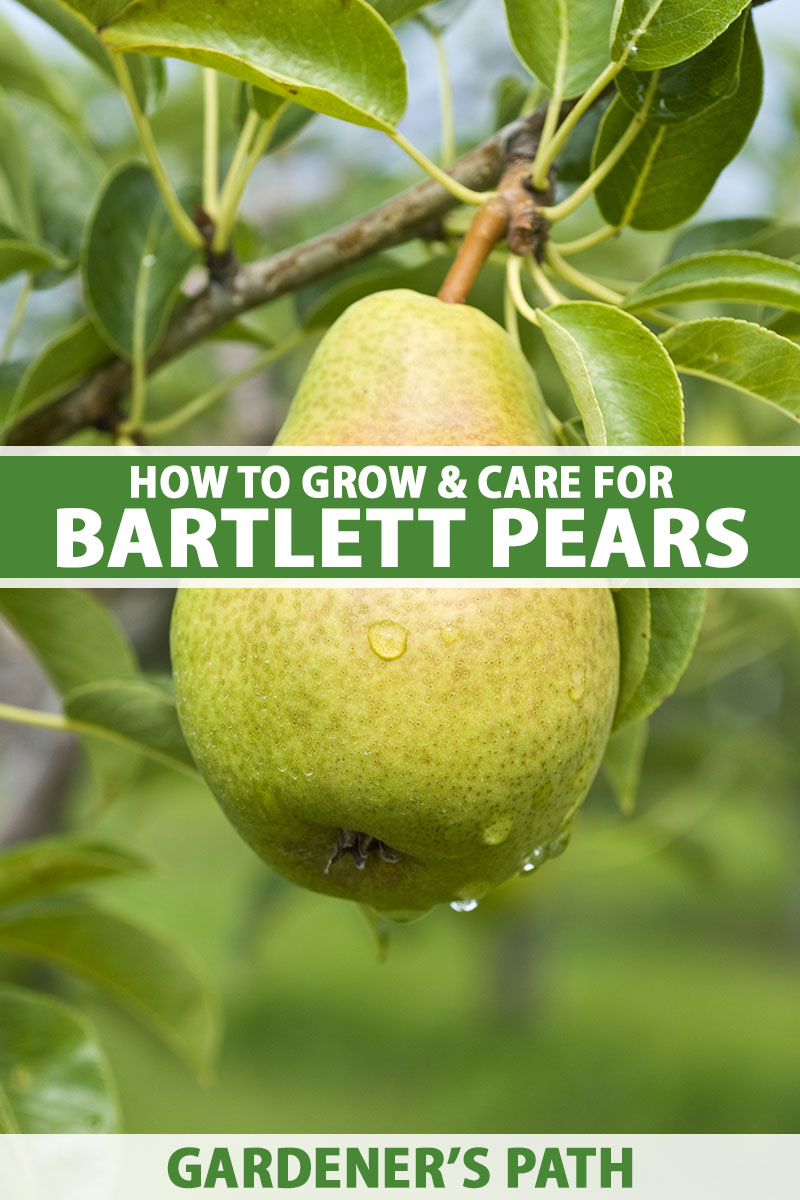
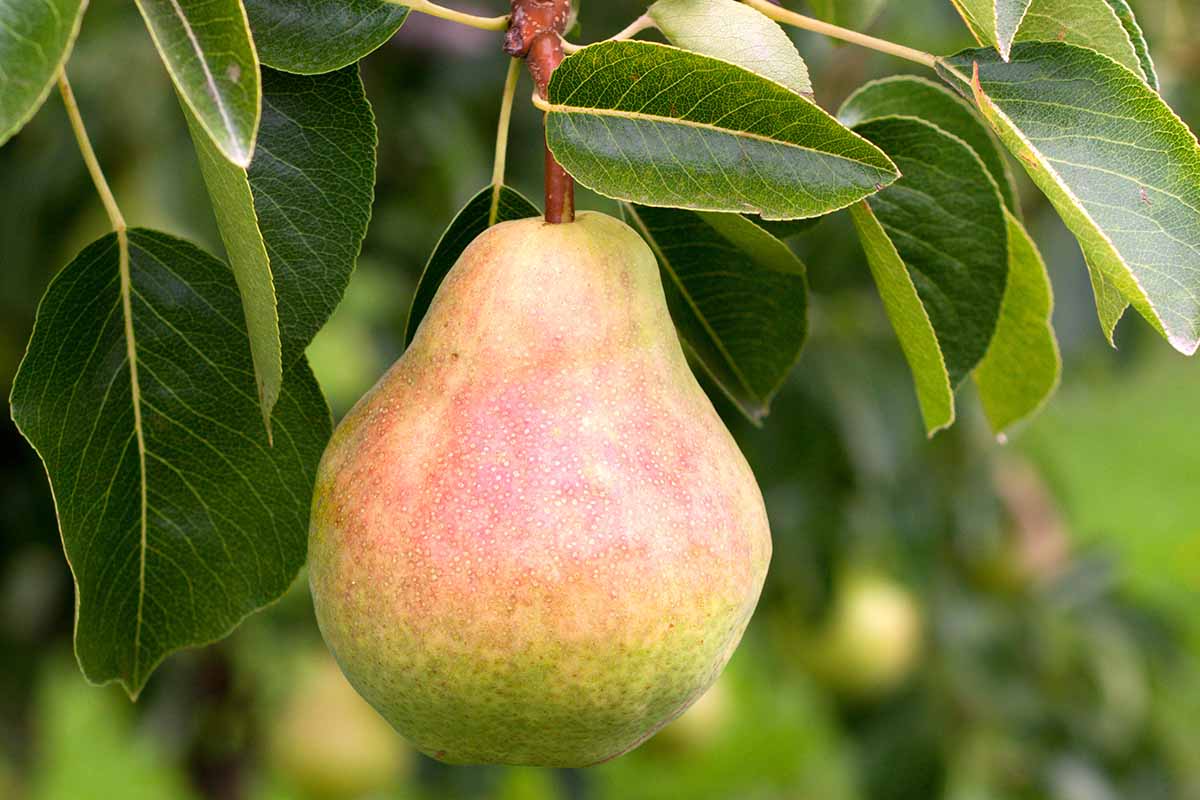
Pyrus communis ‘Bartlett’
When it comes to pears, steaks, or even bits of gossip, I say the juicier, the better. And you’d be hard-pressed to find a juicier pear than ‘Bartlett.’
Consistently placing high in “Best Pear” lists, ‘Bartlett’ is arguably the most popular of them all.
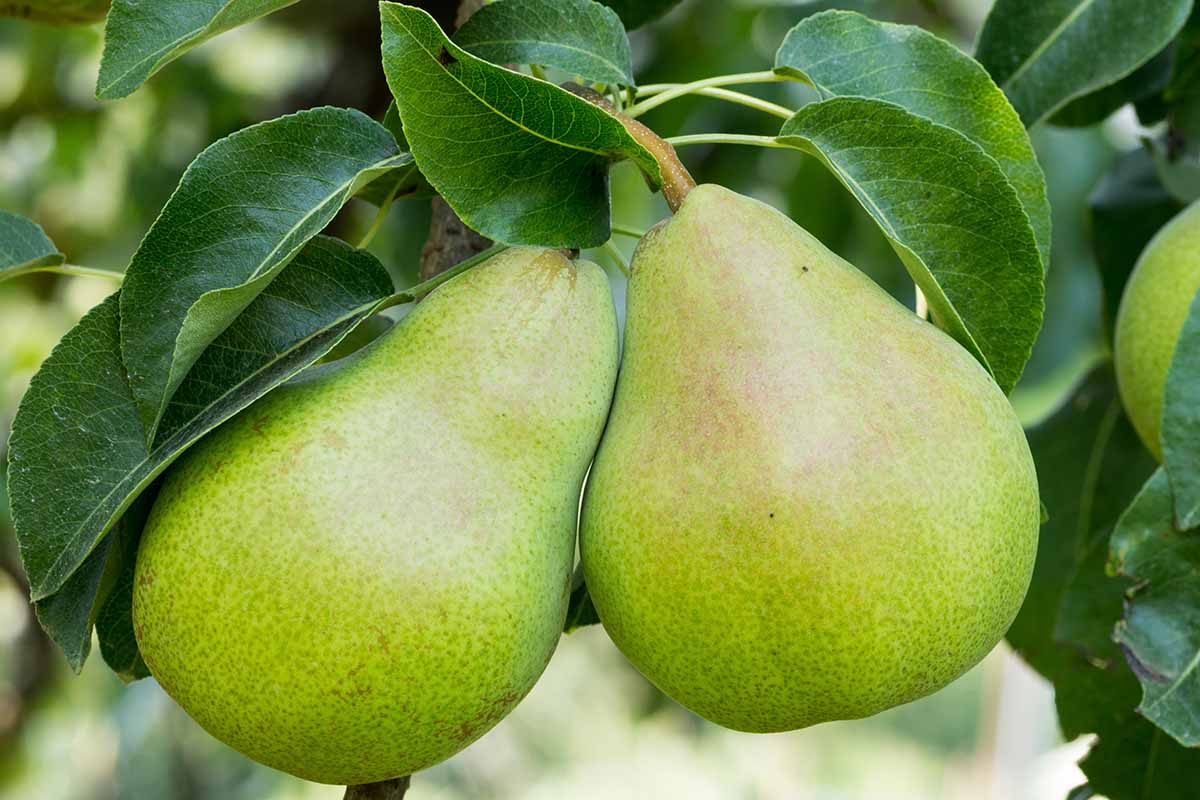
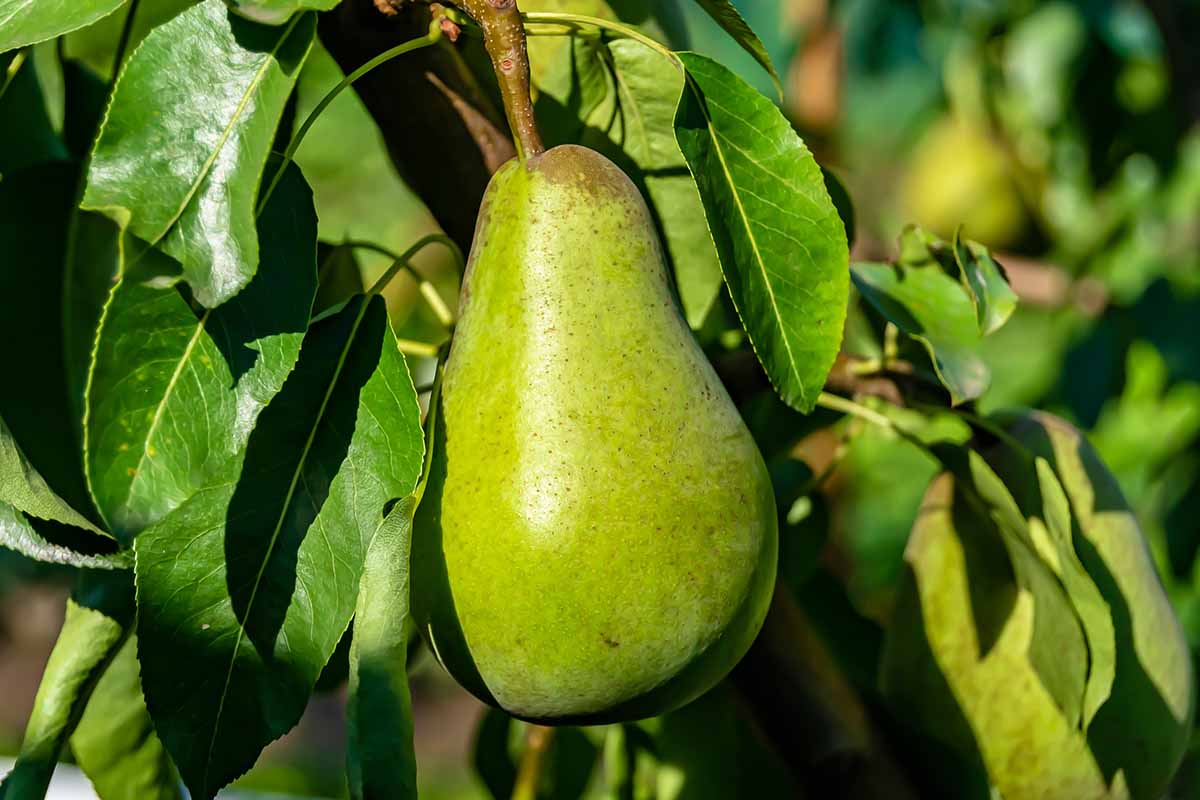
With a delicious taste, sweet aroma, and smooth texture along with that picturesque pear shape and beautiful colors that lighten with ripening, these fruits are a delight to all the senses.
We link to vendors to help you find relevant products. If you buy from one of our links, we may earn a commission.
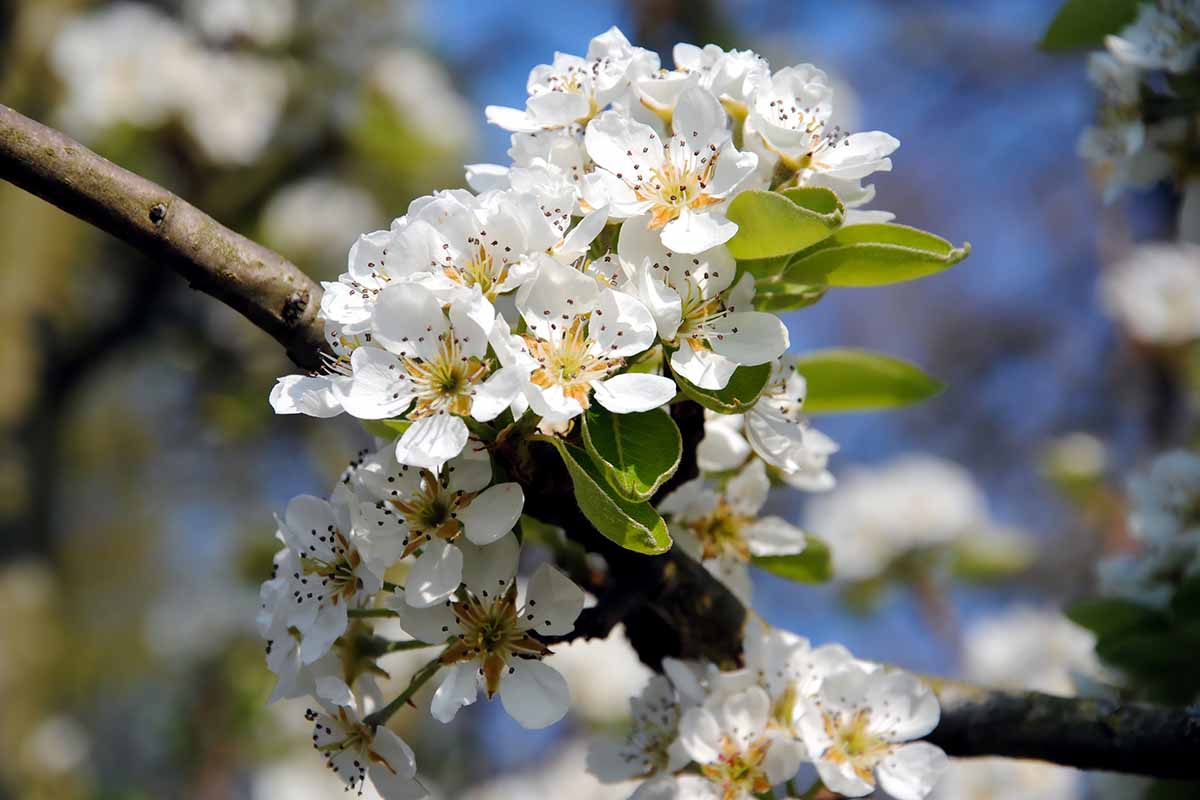
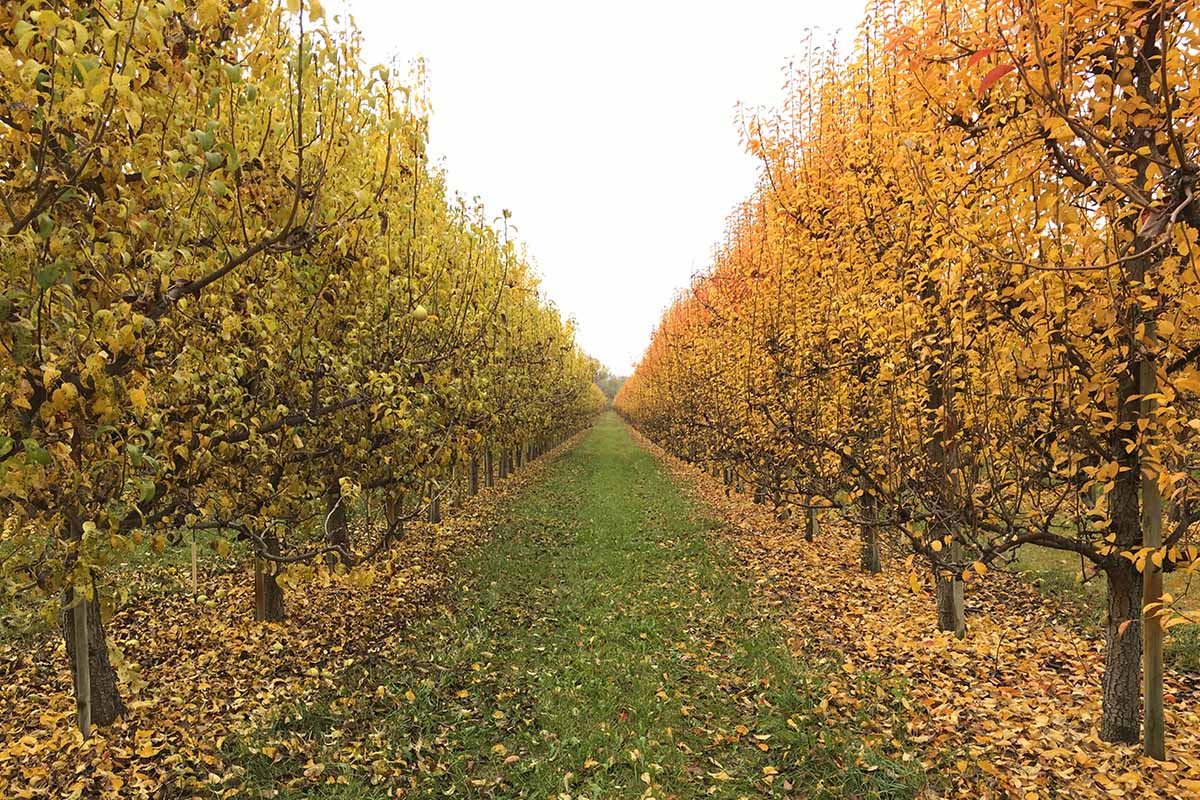
Sporting gorgeously white blooms in early spring and lovely green leaves that turn yellow in fall, the trees themselves are an aesthetic joy, even while fruitless.
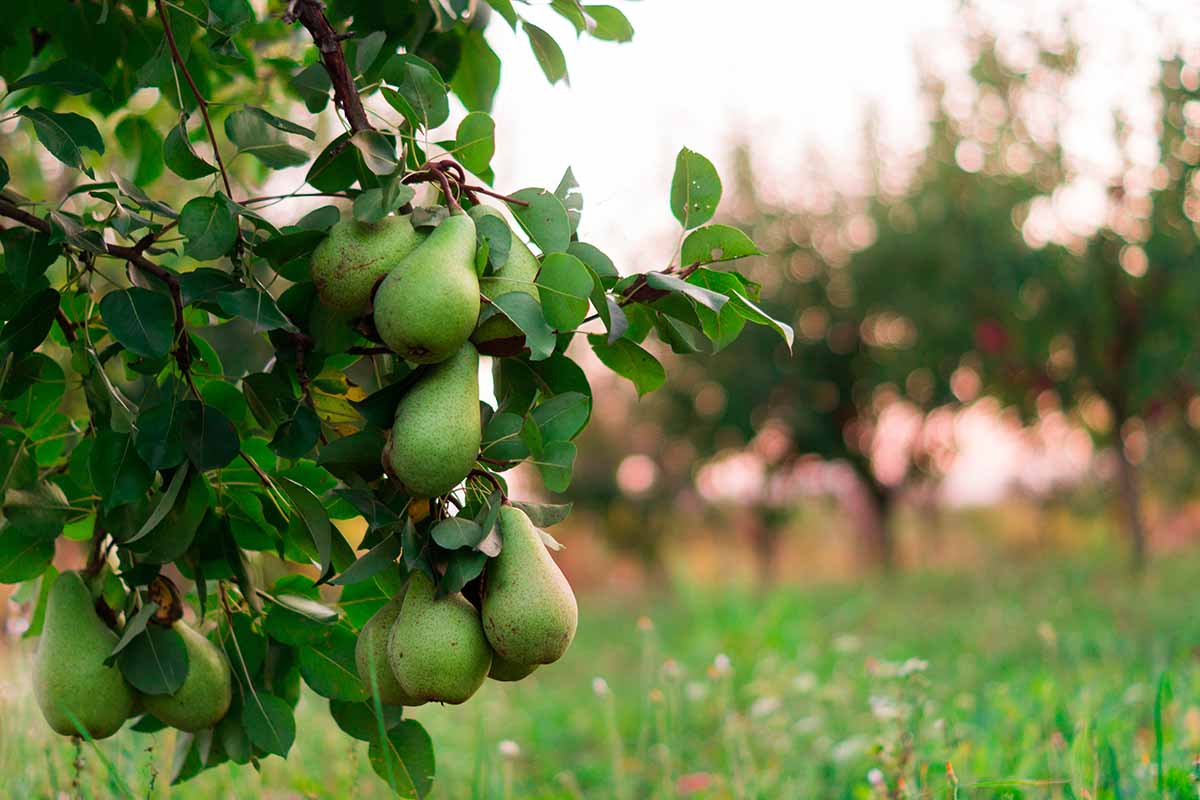
And when the pears do show up, they’re a sight to behold.
If you’re salivating at the thought of just-picked ‘Bartlett’ pears, then get ready – this guide has all the info you’ll need for growing your own.
Here’s what we’ll cover:
What You’ll Learn
What Are Bartlett Pear Trees?
The ‘Bartlett’ pear, also known as or ‘Williams,’ is a cultivar of Pyrus communis, aka the European or common pear.
A member of the rose family alongside apples, strawberries, and almonds, common pears are primarily cultivated for their fruits, although their pretty appearance is certainly a fringe benefit.
Hardy in USDA Zones 5 to 7, this cultivar has an oval to pyramidal form, with a mature height and spread of 20 feet.
Dwarf forms exist, too – these attain a more petite stature of about 12 feet tall and 10 feet wide.
Shaped like narrow ovals, the three-inch long leaves are a glossy dark green, with a slight upward fold along the midrib. With a sharply pointed tip and fine serrations along the margins, ‘Bartlett’ foliage turns a beautiful yellow in fall.
Just prior to leaf emergence, the tree will bloom with three- to four-inch clusters of flowers, each with red anthers and five white petals.
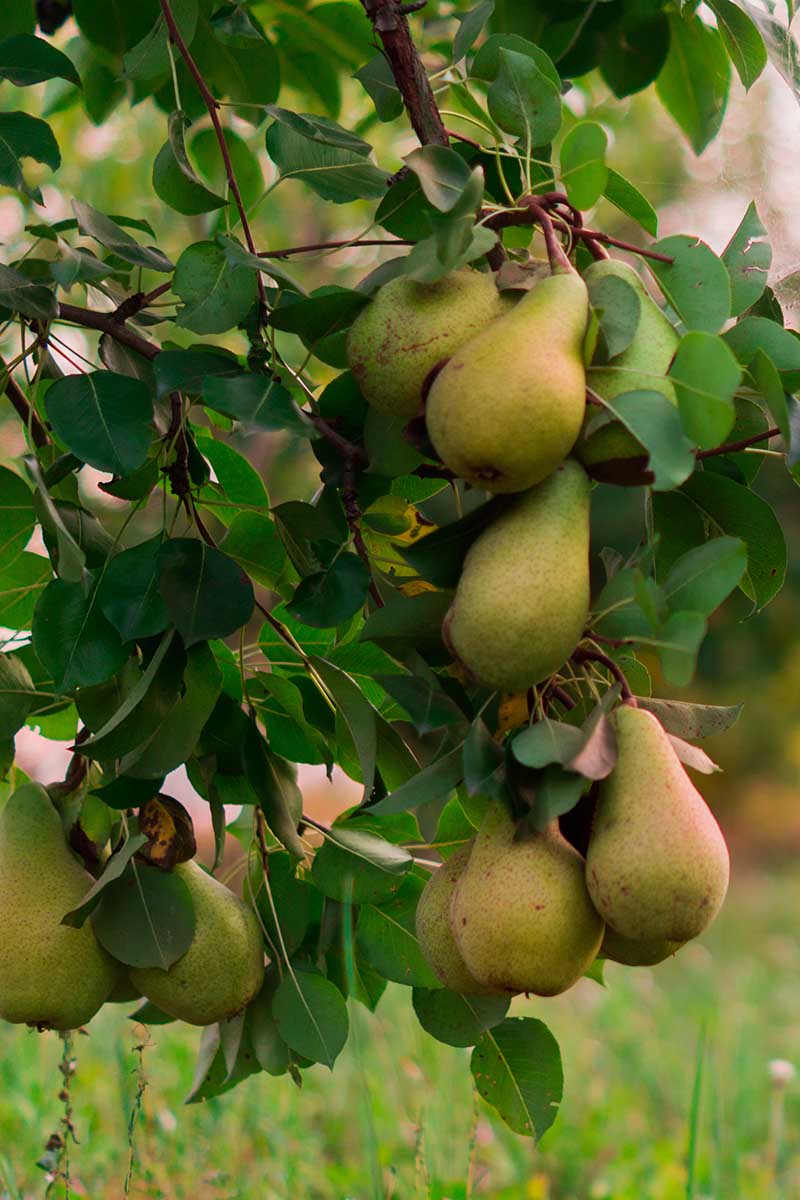
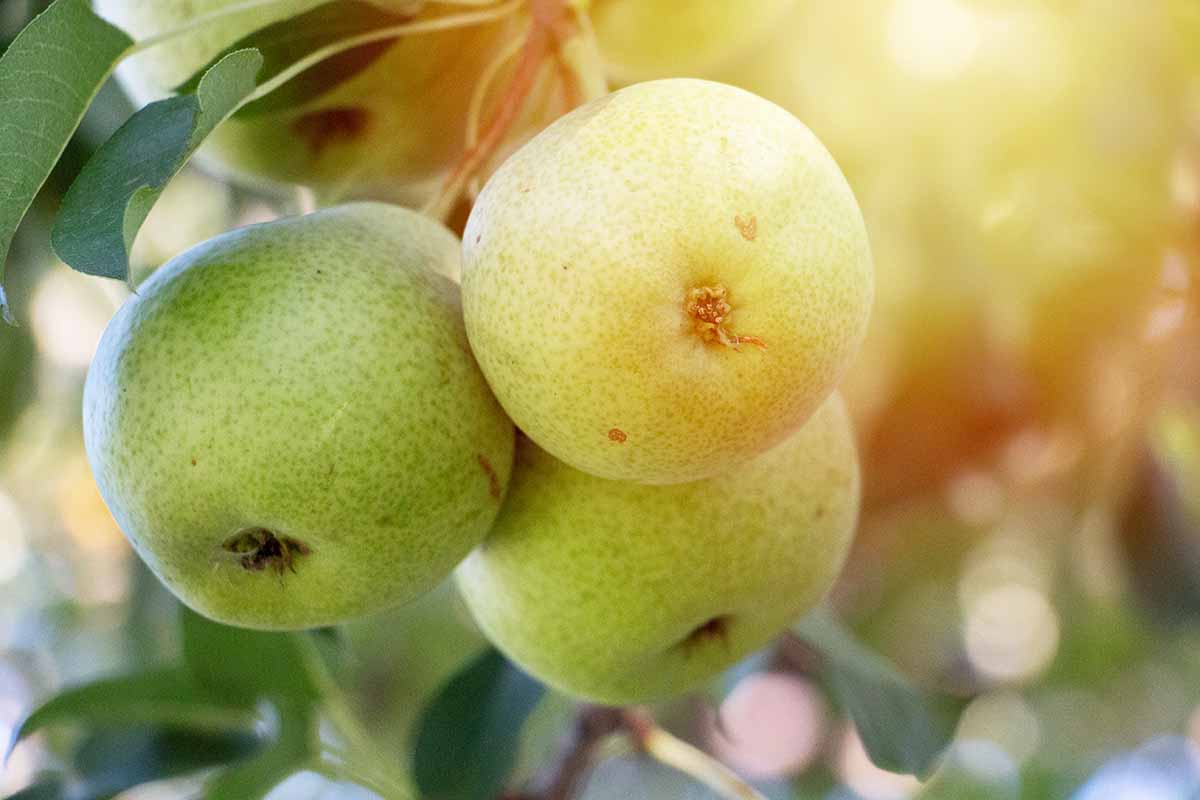
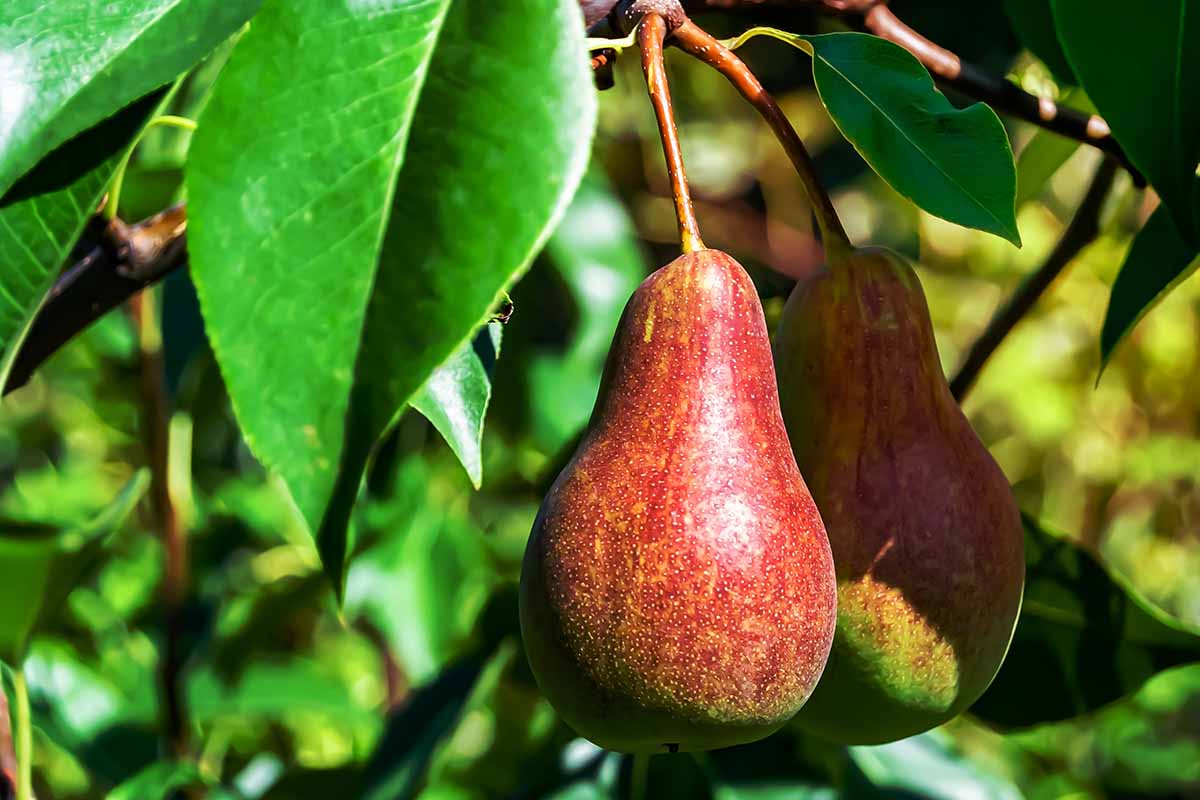
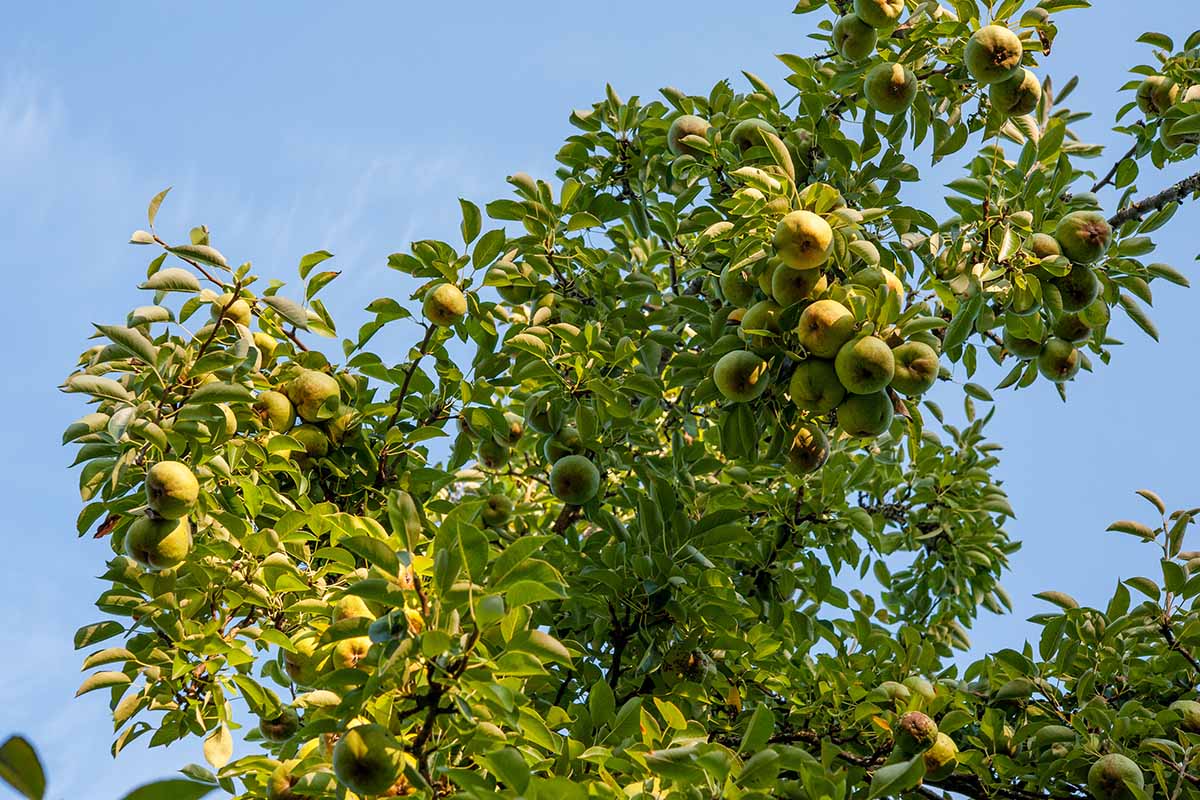
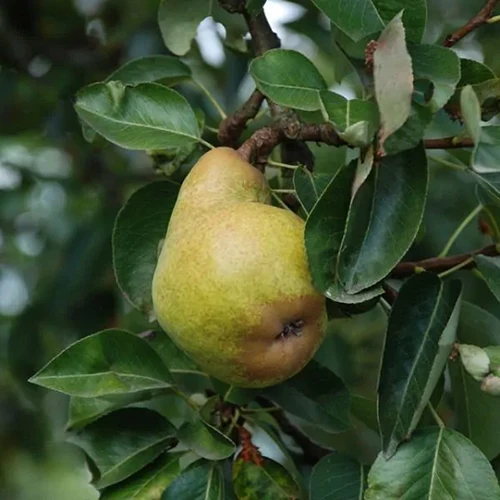
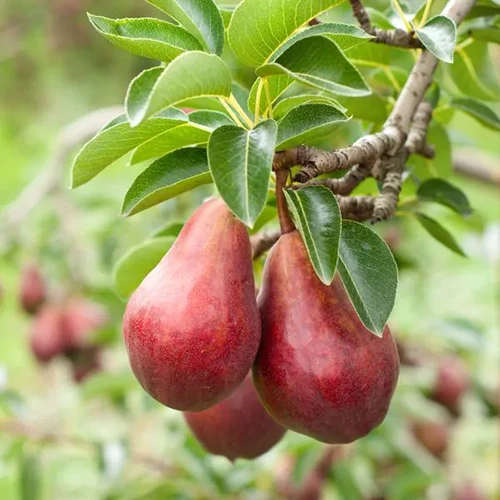
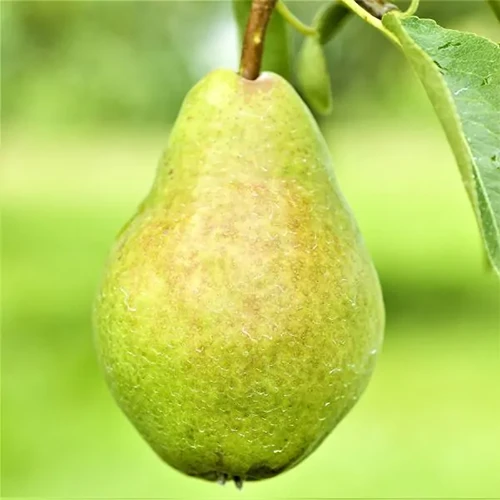
Depending on the type of ‘Bartlett,’ green or dark red pears will begin to form in summer, ready to harvest in the fall.
Green fruits will become golden yellow upon ripening, while the dark red ones will turn a lighter shade of red.
And if properly cared for, this cultivar can continue bearing fruit for more than a hundred years!
Cultivation and History
The story of the ‘Bartlett’ pear begins in the late 1700s with an English schoolmaster named John Stair.
After discovering the tree growing wild in England, Stair took cuttings, which ended up in the hands of a nurseryman named Williams.
Williams commercialized the new variety and introduced it to the rest of England, humbly – ahem – naming it the ‘Williams’ pear.
In the 1790s, specimens of the ‘Willams’ variety were sent to the United States, where they were planted on the property of a Mr. Thomas Brewer in Roxbury, Massachusetts.
After buying the estate from Brewer, fellow Massachusettan Enoch Bartlett enjoyed the property’s ‘Williams’ pears, eventually propagating some of his own.
Not knowing the original European name, he allowed them to go out to the rest of the US as ‘Bartlett’ pears.
It wasn’t until the early 19th century that folks realized the ‘Bartlett’ and ‘Williams’ cultivars were actually the same variety.
But by that time, the ‘Bartlett’ name had taken the lead, and was fully cemented as the go-to American moniker… or at least by the time the American Pomological Society added it to their list of fruit and nut cultivars after its establishment in 1848.
To this day, ‘Bartlett’ continues its reign from the pear throne. If there was an official pie chart of the most-produced pear varieties in North America, then the ‘Bartlett’ slice would definitely be the largest.
Bartlett Pear Tree Propagation
Let’s start off by talking about how you shouldn’t propagate these: via seed.
Don’t get me wrong, you can certainly try… but it’s rather time consuming, and will produce offspring that won’t be true to the parent, meaning that the fruits of your labor may not produce the exact fruits that you’d want to consume.
Grafting and budding are methods that nurseries and orchards use to yield clones of a parent plant.
In the case of fruit trees, it works by combining stem tissue from a parent tree with desirable fruit, known as a scion, with stem tissue and an attached root system of another tree with desirable hardiness, productivity, and/or disease resistance, known as rootstock.
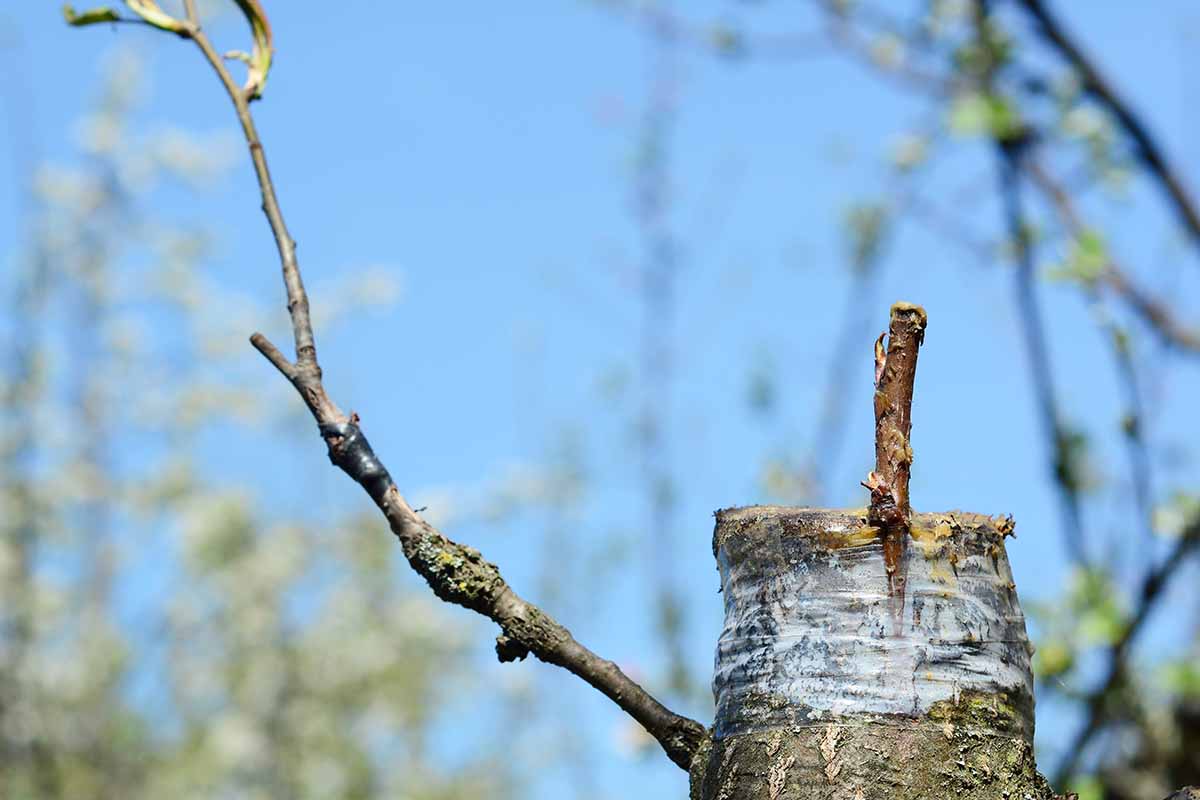
As their union heals, the two pieces grow together as one plant, with the traits of both scion and rootstock.
There are many different techniques for joining a scion and rootstock, each with their pros and cons, and all that’s a bit beyond the scope of this guide.
But it’s certainly worth exploring once you have some ‘Bartlett’ experience under your belt!
For the average home gardener who’s new to pear trees, you should stick with stem cutting propagation or transplanting a nursery specimen.
From Stem Cuttings
First things first: you’ll need an existing ‘Bartlett’ specimen to take cuttings from. Whomever you go to for this, make sure you have their permission!
You can either take softwood cuttings in late spring to early summer, or semi-hardwood ones in midsummer to mid-fall. Softwood roots and dries out easier, while semi-hardwood is the opposite in both respects.
Once you’ve chosen your preferred type, take six- to eight-inch cuttings with sterilized pruning shears, each starting at the tip of a branch.
Snip the cuts at a 45-degree angle, and defoliate the lower two-thirds of each cutting.
After scraping off the bark from the bottom inch or two of each cutting, coat the barkless sections in a rooting hormone such as this IBA powder from Bonide, available from Arbico Organics.

Bonide Bontone II Rooting Powder
For each cutting you took, fill a three- to four-inch container with a 50:50 mix of peat moss and perlite. Stick the bottom two-thirds of each cutting into the media in its own pot, and water them in.
Cover each container with a clear humidity dome. For a set of 30 individual plastic containers with accompanying clear domes, head on over to Amazon.
Nursery Pots with Humidity Domes
Make sure your cuttings receive six to eight hours of indirect sunlight per day from a nearby window, and that their ambient temperatures are in the 70 to 75°F range.
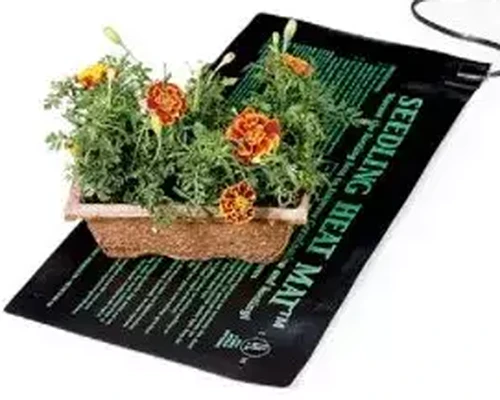
If your home is cooler than that, then you should add bottom heat to up the temperature.
Not sure how to do so? Give a heat mat a try! These mats with six-foot power cords are available from Gardener’s Supply.
Keep the potting medium moist as the cuttings form roots, and be sure to mist the cuttings above the media twice a day – softwood cuttings may require more attention, misting-wise.
If blossoms or leaves form before rooting occurs, trim them away to direct the cuttings’ resources towards root development. Whether it takes a few weeks or a few months, be patient and carry on.
Once the roots have grown about two inches long, move each cutting into its own eight-inch pot of peat moss and perlite. Make sure the pots have drainage holes!
Water in the cuttings, and add a thin layer of straw to the surface as a mulch to retain moisture.
Keep the cuttings in similar light and temperature conditions as before, but without a humidity dome. Irrigate whenever the surface of the potting medium feels dry.
When the cuttings have been growing for six months to a year, you can harden them off outdoors in springtime.
Place the cuttings outdoors in full sun for 30 minutes to a full hour before bringing them back inside.
Add 30 to 60 minutes each following day until they can spend a full day outside. Now it’s transplanting time!
Via Transplanting
Timing here depends on the transplant. Bare root trees can go in the ground in fall or spring after soaking in water for two to 24 hours, while containerized transplants should wait until spring, after the final frost.
Once it’s time, prepare deep, fertile, and well-draining planting sites with a pH of 6.0 to 7.0. Standard trees should be spaced 20 to 25 feet apart, while dwarf forms only need 12 to 15 feet. Dig holes the depth of and a bit wider than the transplants’ root systems.
In the case of bare root trees, pile up a ball of soil in the center of the hole and gently spread the roots out over it.
Potted transplants in soil can be lifted from their containers and set in the holes directly, leaving the original potting medium in place. Just be sure to loosen or cut through any roots circling the container first, if they’re present.
Alternate adding soil and irrigating until the transplant holes are fully backfilled and the trees are watered in. This allows for making adjustments to the tree to keep it straight. If necessary, tie the trunk to a stake and keep it in place for a few years to ensure upright growth.
Keep the root zone moist for the first growing season until the roots are established. If you’ve reached that point, kudos on a successful transplant!
How to Grow Bartlett Pear Trees
A note on pollination, real quick:
While technically capable of self-pollination with the aid of bees, flies, wasps, and other pollinators, ‘Bartlett’ produces its best fruits when it’s able to cross-pollinate with another variety, such as ‘D’Anjou’ or ‘Bosc.’
Full-sized, standard ‘Bartlett’ trees should have a compatible variety planted within a hundred feet, while dwarf forms need a pollination partner ideally spaced no more than 20 feet away.
Read more about pear pollination here.
But before you can munch on those sweet, juicy pomes, the trees will need to reach fruit-bearing maturity.
If your trees are cared for properly, this should happen when they’re three to four years old!
Climate and Exposure Needs
‘Bartlett’ trees should be grown in USDA Hardiness Zones 5 to 7.
Additionally, they should receive 800 “chill hours” – or hours spent in temperatures below 45°F – per year, which is essential for the plant to break dormancy at the proper time.
For optimal fruiting, full sun exposure is essential. Your pear-based culinary concoctions depend on it!
Soil Needs
The ideal soil qualities were touched on earlier: deep, well-draining, and fertile, with a pH of 6.0 to 7.0.
To maintain fertility, adding an inch or two of compost or well-rotted manure to the soil above the root zone each spring would be wise.
Water Needs
Once established, a pear tree does well with a bout of thorough, deep irrigation whenever the top six inches of soil dry out.
Many soil knife blades are about that long – the perfect length for stabbing the soil to check the blade tip for moisture.
Find more tips on watering pear trees here.
Growing Tips
- Full sun exposure is ideal for peak fruit production.
- Amend the soil each spring with a couple inches of organic matter.
- Water deeply whenever the top six inches of soil are dry.
Pruning and Maintenance
A bit of pear tree pruning will go a long way in keeping your orchard healthy and looking sharp.
You can prune away dead, diseased, or otherwise damaged branches whenever you notice them. Making edits to the overall shape, however, should happen all at once, a bit before bud break in spring.
You’ll also want to snip away root suckers, and you should pull weeds as you notice them too.
Maintaining a three- to four-inch layer of mulch around the tree helps to suppress weeds while maintaining soil moisture and protecting the roots from physical harm.
During the first couple years or so after a juvenile tree begins to bear fruit, cutting away said fruits as they form will help the plant to focus on overall growth over fruit production, which will leave you with a better harvest in the years to come.
To add a formal aesthetic to your orchard, you might consider growing your trees as espaliers by tying and pruning them against a frame.
But of course, letting them grow au naturel in a field has never failed to look good.
To prevent infections and/or infestations, rake up fallen leaves and fruit in fall, and pluck any soft, rotted fruits that remain on the tree.
Where to Buy Bartlett Pear Trees
Thanks to modern technology and the demand for scrumptious pears, buying ‘Bartlett’ trees has never been easier.
The Internet – or “Interwebs,” as I jokingly call it – offers fantastic means of buying a specimen. Many nurseries have these plants in stock, and provide all the information you need to make an informed purchase.
Plus, the ratings and reviews of confirmed buyers can also help you to shop smart, and may even teach you a thing or two.
Offered in both paper pots and #3 containers, yellow-fruited and standard-sized ‘Bartlett’ plants are available from Nature Hills Nursery.
Or if red is more your color and slightly reduced dimensions are more your speed, ‘Red Bartlett’ trees that reach a height of 12 to 18 feet and a spread of 12 to 15 feet are sold in #3 containers at Nature Hills Nursery.
For a pear tree with smaller dimensions maxing out at 15 feet in height and spread, check out ‘Southern Bartlett,’ also available from Nature Hills Nursery.
Of course, you could always go old-school and visit a nursery or garden center in person.
It’s nice to see the specimen for yourself prior to purchase, and chatting with the green thumbs employed there may be less frustrating than calling customer support.
Managing Pests and Disease
Humans aren’t the only ones that eye pear trees with hunger. Many furry critters and creepy-crawlies do, too.
And don’t even get me started on pathogens… at least not until we make it down to the “Diseases” section below.
Herbivores
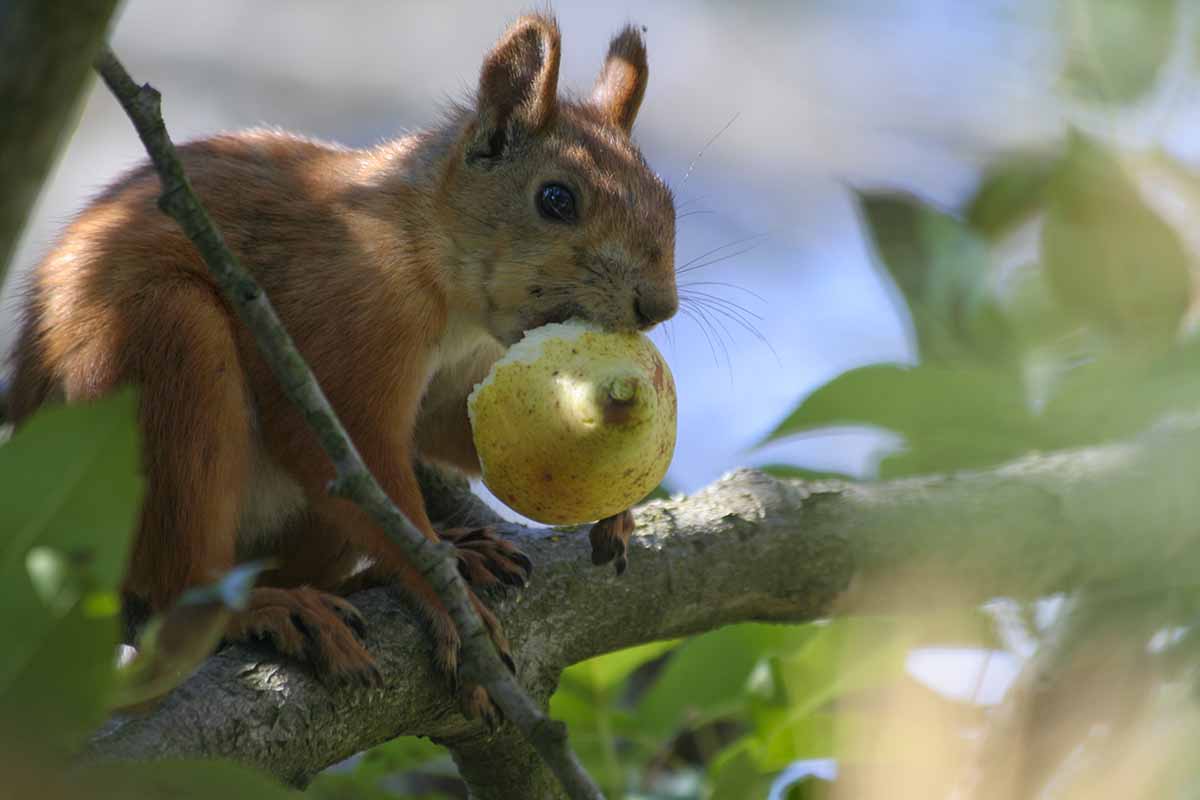
If given the chance, flora-munching fauna will dine on your trees.
Deer and squirrels are happy to dine on the fruits, rabbits will have at the wood of young saplings, and voles can girdle the trunks of trees.
Deer are best controlled with well-built deer fencing around your property that’s both strong and tall enough to keep them out.
Tree wraps or guards should protect the trunks from voles and rabbits, the latter of which can be further deterred with about three feet of hardware cloth installed around the tree.
To deter vole burrowing, ensure that barriers are partially submerged at least six to 10 inches below the soil line.
Insects
It pays to control insects, especially since some can vector diseases.
Of the insects that can attack ‘Bartlett,’ you’re probably a bit familiar with some already, such as aphids, mites, and scale.
But here are two that are perhaps less familiar and worth rehashing: codling moths and pear psylla.
Codling Moths
There’s nothing worth coddling about codling moths, and it’s actually the larval forms of Cydia pomonella that do the most damage.
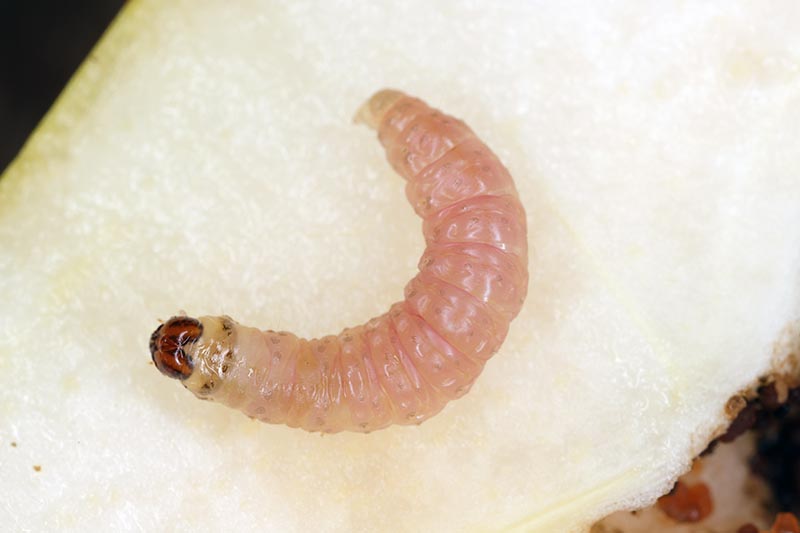
Never growing to be more than an inch long, the larvae start out with black heads and white bodies when they’re young, and become pinkish-bodied and brown-headed with maturity.
Feeding within infested fruits, these larvae may bore all the way to the core, or they might stop short. Regardless of the burrowing depth, this leaves infested pears grossly inedible.
Try to prevent codling moth infestation by removing and destroying fallen fruits ASAP.
If the adults show up to lay their flat, translucent eggs in spring, parasitic wasps from the Trichogramma genus will help to control them.
You can acquire Trichogramma wasps for your garden from Arbico Organics.
If the parasitism of the unhatched turns your stomach, sprays of horticultural oil may be used to simply smother the eggs.
Bonide All Seasons Horticultural Spray Oil
Bonide offers a horticultural oil concentrate, as well as some ready-to-spray oil, available via Arbico Organics.
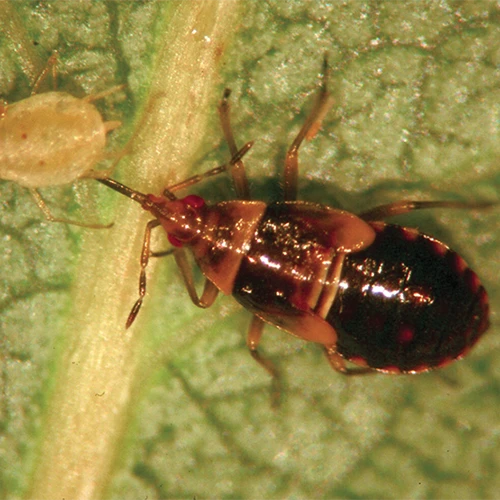
Pear Psylla
Also known as Cacopsylla pyricola, pear psylla kind of look similar to reddish-brown or black cicadas during adulthood, save for their two-millimeter length.
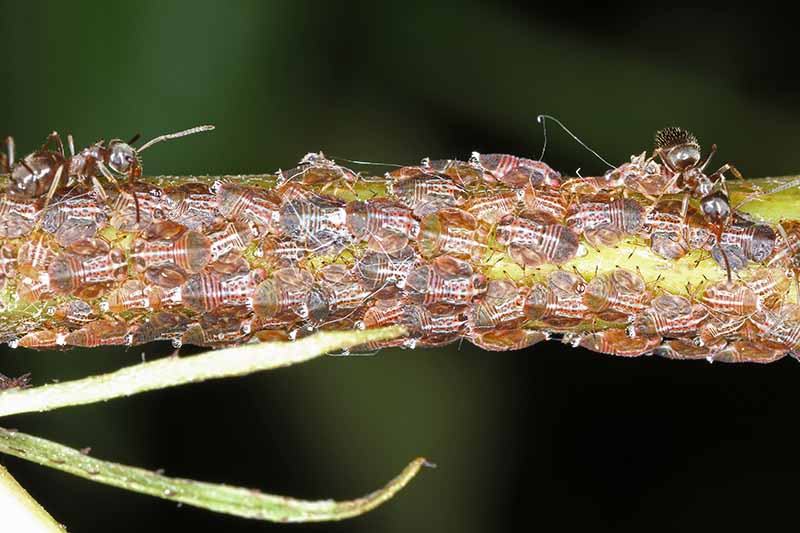
Both adults and nymphs suck up phloem from infested tissues. In large amounts, this can cause defoliation, stunted growth, and fruit drop.
Nymphs excrete honeydew onto the fruits, leading to sooty mold. And to top it off, pear psylla can transmit “pear decline phytoplasma,” which starves the roots and causes overall tree decline.
Commercial sprays for fruit trees and insecticidal soaps can help to control infestations.
Chemicals should be sprayed in spring before blooming, when the adults lay eggs. Applying up to three sprays prior to bloom time is sufficient.
A variety of beneficial bugs such as lacewings and pirate bugs can aid you in your efforts.
For some minute pirate bugs that are available to purchase for your garden, check out Arbico Organics.
Disease
Yes, various diseases may plague pear trees – some major, some minor. Many threats can be reduced with sanitary gardening: using disease-free specimens, clean soils, and sterilized tools.
But a couple are worth a more specific warning.
Fire Blight
Far cooler-sounding than it actually is, fire blight is a disease of Pyrus and other Rosaceae plants that can easily spread and kill entire trees.
Caused by Erwinia amylovora bacteria that overwinter in dead canker wood, fire blight symptoms begin with blossoms that look water-soaked at bloom time.
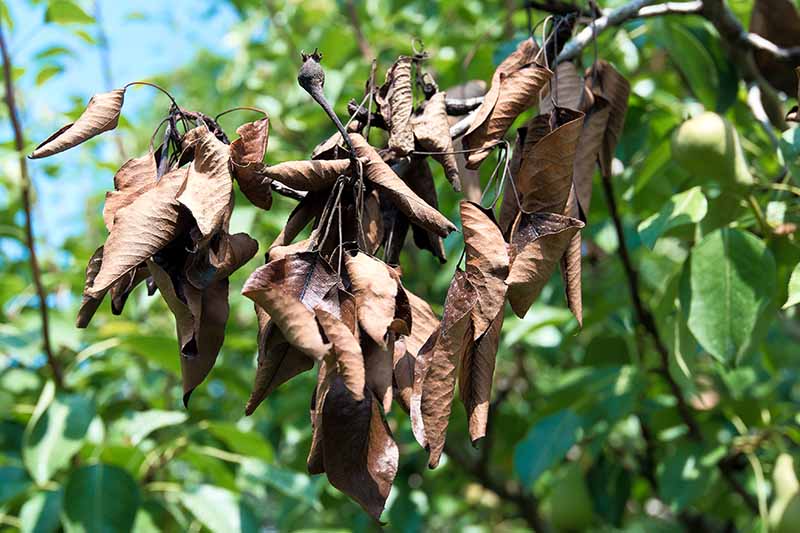
Leaves then become burnt-looking and shriveled, fruits perish, and branches exhibit dark, moist, and nasty patches below the bark.
In rain and humidity, these patches tend to ooze pale liquid, which turns a blood-like, rusty color as it dries.
Though some varieties of pears like the ‘Kieffer’ hybrid are known for being resistant to this disease, ‘Bartlett’ is not.
If this disease is a known problem in your area, you may opt to plant a different cultivar.
You can even switch to the more fire blight-resistant Pyrus pyrifolia, and all the varieties it has to offer. Read more about Asian pears in our guide.
In the case of an infected ‘Bartlett,’ prune away infected tissues eight to 12 inches below areas with observed symptoms.
Either burn them or dispose of your prunings in sealed garbage bags. If the tree is too far gone, remove and destroy it.
Preventatively, you can spray your trees with a product containing beneficial Streptomyces lydicus bacteria, such as this 18-ounce bag of Actinovate AG from Arbico Organics.
Start when flowers manifest, and repeat every five to seven days until the end of summer.
Pear Leaf Spot
Caused by Fabraea maculate fungi, pear leaf spot lives up to its name by causing dark purple spots on infected fruits and foliage, which eventually turn into brown blotches.
Reduce disease risk by raking up dead leaves and decaying, dropped fruits for pitching in the compost pile.
If infection has already occurred, spraying with a rotation of fungicides may be your best shot. Begin when the foliage begins to form and maintain treatment throughout the summer.
Harvesting, Storing, and Ripening Bartlett Pears
Finally, it’s time to reap what you’ve sown… even though you probably didn’t sow the seeds, technically.
A big mistake that newbies make is waiting until the fruits appear ripe before picking them, which leaves you with mushy and messy fruits to eat.
Since pears ripen from the inside out, you’re better off harvesting them when they attain a mature form and size.
After picking, bring ’em inside to ripen at room temperature.
Fruits harvested before they have a chance to become overripe should have a more pleasurable mouthfeel, and they’ll also be less messy to consume.
Individual fruits can ripen at slightly different times thanks to their ambient environments, so make sure to consider each and every fruit prior to picking!
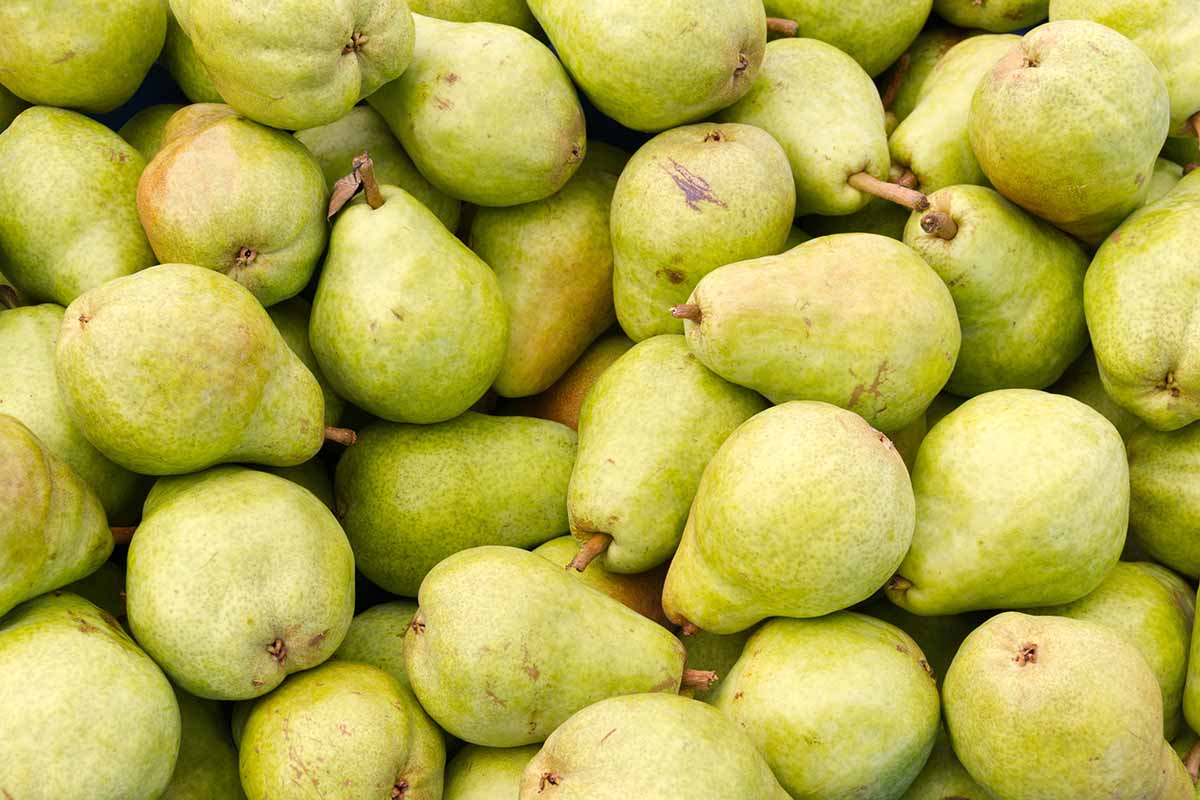
For ‘Bartlett’ fruits, late summer to fall is usually plucking time. You’ll know that they’re ready when they’re fully formed, yet still green and firm.
Give healthy, undamaged ones the ole twist ’n tug, gently place them in a collection container, and presto!
Learn more about how to harvest pears in our guide.
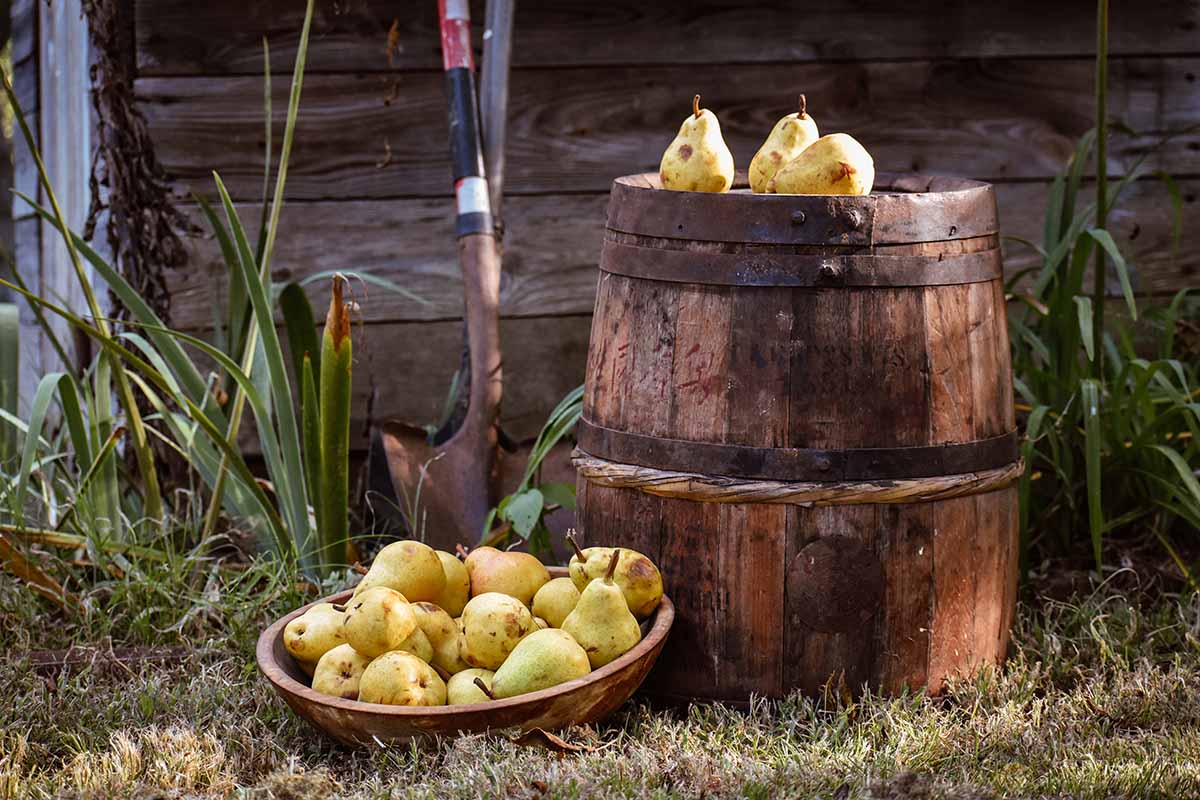
After harvesting, collected pears can be stored in the refrigerator for up to two months.
When you’re ready for them to ripen, simply bring them out to room temperature – they should adopt a golden yellow, ready-to-eat hue in three to 10 days.
Recipes and Cooking Ideas
Without a doubt, the flagship asset of ‘Bartlett’ is the fruit.
Whether eaten raw, kept as preserves, used in syrups, sliced atop a salad, or utilized in desserts, these pears will dial the sweetness up to 11.
And if you need even more culinary applications to try, most recipes that require apples work just fine with pears instead.
Check out the enticing collection of pear recipes from our sister site Foodal now, including a pear and arugula salad with maple vinaigrette and creamy fried goat cheese, a warm and comforting pear crisp with a crunchy oat topping, and a sweet pear sorbet with ginger-infused maple syrup.
Quick Reference Growing Guide
| Plant Type: | Perennial fruit tree | Flower/Foliage Color: | White/green (yellow in fall) |
| Native to: | Europe | Tolerance: | Suboptimal soil drainage |
| Hardiness (USDA Zones): | 5-7 | Soil Type: | Deep, fertile |
| Bloom Time/Season: | Early spring (flowers), fall (fruit) | Soil pH: | 6.0-7.0 |
| Exposure: | Full sun | Soil Drainage: | Well-draining |
| Time to Maturity: | 3-4 years (fruiting) | Attracts: | Bees, flies, wasps, other insect pollinators; birds; various herbivores |
| Spacing: | 20-25 feet (standard), 12-15 feet (dwarf) | Companion Planting: | Insect-repellent crops such as fennel, marigolds, and chrysanthemums |
| Planting Depth: | Depth of root system (transplants) | Uses: | Espalier, edible fruits, ornamental orchards |
| Height: | 12-20 feet | Order: | Rosales |
| Spread: | 10-20 feet | Family: | Rosaceae |
| Water Needs: | Moderate | Genus: | Pyrus |
| Maintenance: | Low to moderate | Species: | Communis |
| Common Pests and Disease: | Aphids, codling moths, mites, pear psylla, scale; fire blight, pear leaf spot | Cultivar: | Bartlett |
One Pear to Rule Them All
If fruits had knees, then all pears would bend theirs to ‘Bartlett.’ Unparalleled in its soft and juicy sweetness, ‘Bartlett’ has a mind-blowing taste, no matter how it’s consumed.
Plus, I’m not much of an artist, but a ripened ‘Bartlett’ would definitely be my pome of choice for those still life fruit paintings that art museums seem to go nuts for. Nothing reflects cascading sunlight quite like golden yellow, y’know?
Do you have questions, comments, or delicious recipes to share? The comments section is ready and waiting.
Has learning about pears become im-PEAR-ative? Then behold these Pyrus guides: