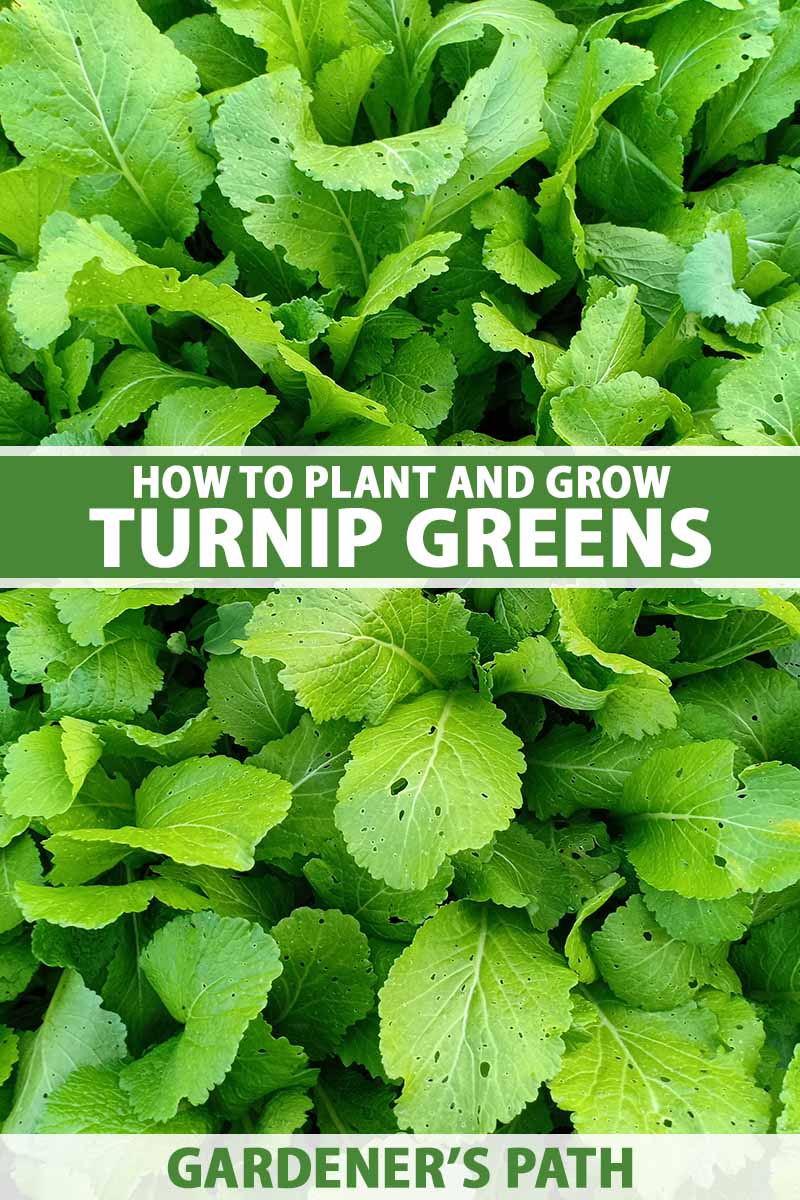
Brassica rapa var. rapa
There are a few plants out there that rescue me from the end-of-summer blues.
You know, that feeling that comes around when you know the growing season is coming to a close and the thrill of harvesting fresh veggies from the garden is ending.
But just as things are winding down, turnip greens are about ready to take their turn on stage.
While these lovely greens can be grown in the spring or throughout the winter in warmer climates, they are particularly perfect for fall planting.
We link to vendors to help you find relevant products. If you buy from one of our links, we may earn a commission.
In fact, these plants can handle quite a bit of cold, but heat is their enemy. A hard freeze might not kill them, but heat surely will.
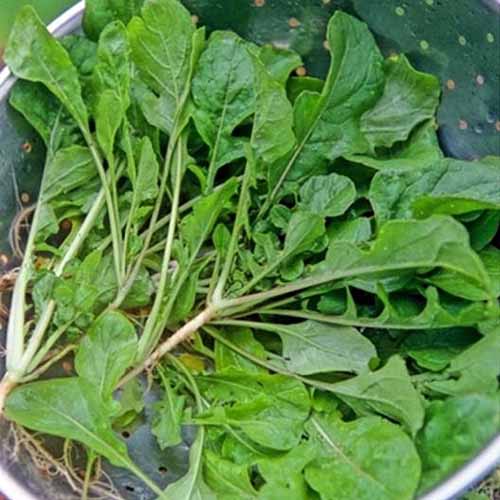
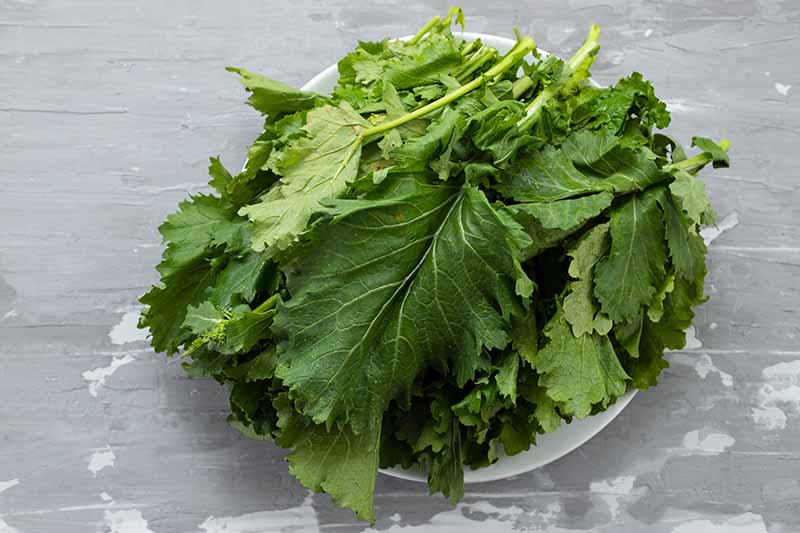
If you’ve typically grown turnips in the past for the roots, you’re in for a real treat. The greens can be sweet and tender or slightly bitter and dense, and you can eat them both raw and cooked.
In this guide to growing this underappreciated green, here’s what we’ll go over:
What You’ll Learn
Can’t wait one minute more? I understand! Let’s break out the gardening gloves and dig in.
Cultivation and History
Turnips have been around for a long, long time. They are thought to have originated in eastern parts of Asia and the Middle East, and have been cultivated for centuries.
Ancient Romans used the roots – not just to eat, but to sling at public speakers they disagreed with as well. And they were the original vegetable of choice to carve for Halloween in Ireland.

But the record of using them just for the greens (or the tops or leaves, as they’re also called) is a bit hazier. It’s likely that the leaves have been used in one way or another for as long as the roots.
They’re better-known in the southern US than the rest of the country, where they typically take a back seat to their more popular (though still underappreciated) roots.
Propagation
Turnip greens are a cool-weather crop, so you need to plant them when you have some cool weather ahead. Temperatures from 40°F to the low 60s are perfect.
That means early spring, fall, or even winter, depending on where you live.
From Seed
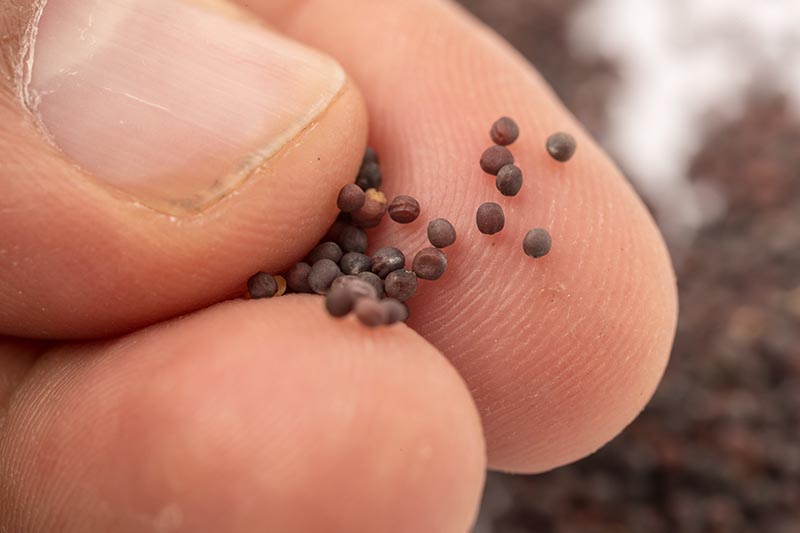
Seeds won’t germinate until the soil temperatures climb up to 40°F, but you can put them in the ground as soon as you can work the soil. They’ll just remain dormant until the conditions are right.
In the fall, start planting once daily highs are below 75°F.
You can plant turnips grown specifically for the tops closer together than those you’re growing for the roots. However, giving plants a little extra space can discourage diseases.
Plant the seeds half an inch deep spaced four inches apart, or scatter them evenly over the soil and cover lightly. Thin to every four inches once the seedlings emerge.
Sow more every week or two – so long as you have enough cool days ahead – for a continual harvest.
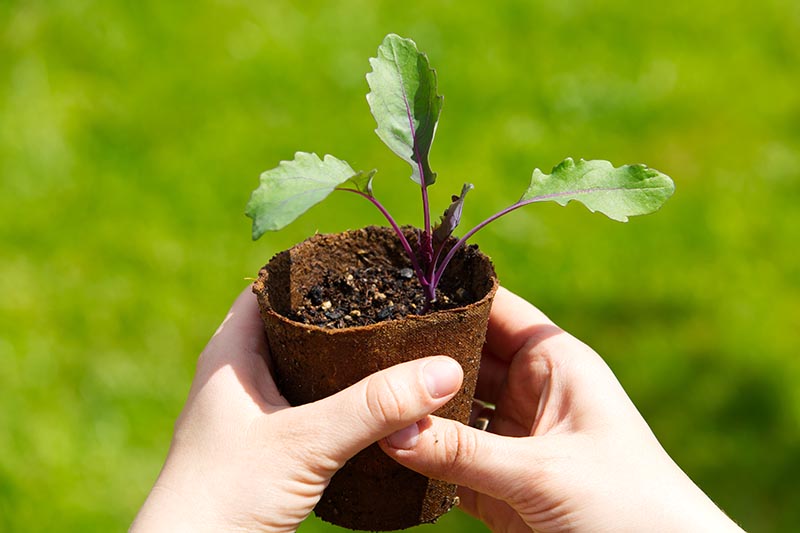
If you want to start the seeds indoors, use compostable pots. These can be placed straight in the ground, so the roots are disturbed less.
CowPots are a brilliant idea because they are better for the environment than peat pots.
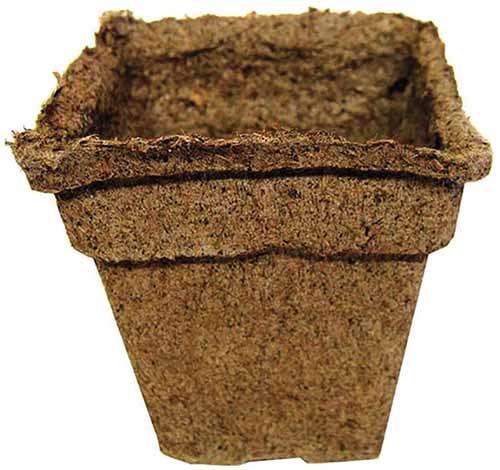
CowPots are made out of cow poop, which is definitely a renewable resource!
You can find some for your seed growing at Arbico Organics, where you can nab packs of 12, 400, or 1176 pots.
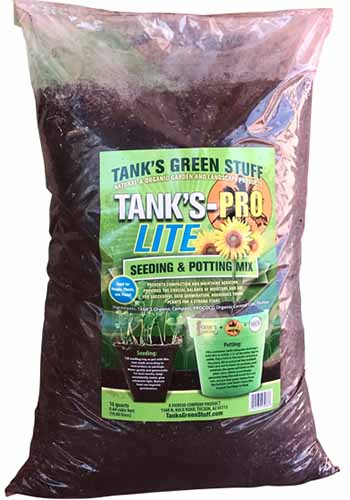
Fill the pots with a seed-growing medium like Tank’s Pro-Lite mix, also available at Arbico Organics in 16-quart bags.
Place two seeds in each pot. Water the soil using a spray bottle, and keep the soil moist while the seeds germinate. Once they emerge, pluck the smallest of the two. Continue to keep the soil moist.
Once they have two sets of leaves (and the temperature outside is right), harden them off for a week by putting the pots outdoors in a protected spot for an hour on the first day.
On the following days, add an hour each day until they can stay outside full-time.
From Seedlings/Transplanting
In general, root vegetables don’t transplant terribly well. It’s safer, not to mention cheaper, to just sow seed.
However, many cultivars known for their tasty greens produce smaller roots than root cultivars, so you can transplant them more reliably.
Transplants can go in the ground a few weeks before the last predicted frost date. A frost here and there won’t hurt them.
Or, for fall growing, put them in the ground whenever cooler weather comes around. Once the daily high is below 75°F, you can plant. Turnips will survive frost and sometimes even a hard freeze.
To plant, dig a hole about the same size as the container that the transplant is growing in.
If you have heavy clay or sandy soil, dig a much larger hole (we’re talking two or three times as large) and work in lots of well-rotted compost to improve drainage and water retention.
Then, refill the hole, leaving an opening the size of the container.
If you’re not using a compostable pot, loosen the sides of the container by pressing the sides, then gently remove the transplant.
Place it in the prepared hole and gently fill around it with soil. It should sit at the same level it was sitting at in the container. Tamp down the soil and water thoroughly.
How to Grow
Turnips can thrive in a pretty wide pH range, but 6.0 to 7.5 is ideal. You should test your soil before planting to determine the pH range and whether it is deficient in any nutrients.
If it is, amend the soil. You can also work in lots of well-rotted compost to improve poor drainage or aid water retention.
Turnip greens can handle partial sun, but they do best in full sun. If you have a bit of shade, afternoon shade is best.
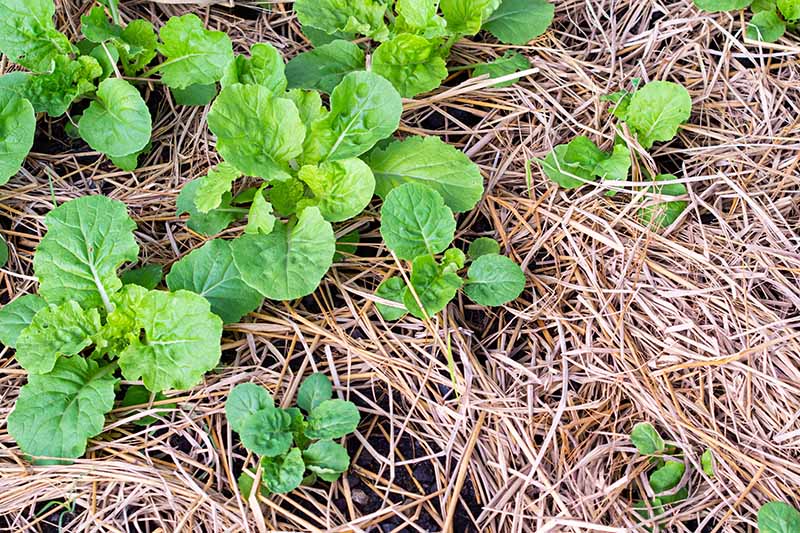
Keep the soil moist, but not wet, at all times. The tops aren’t as sensitive to dry ground as the roots are, but you still want to give them what they crave, and that’s water.
Try to keep the soil so that it feels like a well wrung-out sponge. An inch of mulch like straw or leaves can help the earth stay moist.
Once the leaves are a few inches tall, side dress with a high nitrogen fertilizer. Both bat guano and blood meal are good options.
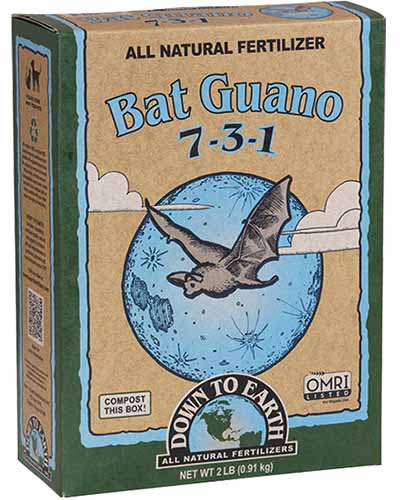
Down To Earth sells guano fertilizer in compostable quarter-, one-, and five-pound boxes. Many local nurseries, as well as Arbico Organics, carry this brand.
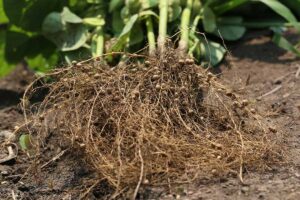
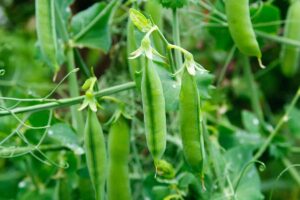
It’s a good idea to plant turnips with other plants that put nitrogen into the soil like peas, beans, clover, black medic, or vetch.
Use one (or more) of these as a spring or fall cover crop, and work the plant material into the soil at the end of the growing season.
Growing Tips
- Keep the soil moist but not wet.
- Plant in full sun or afternoon shade.
- Side dress with nitrogen-rich fertilizer when plants are a few inches tall.
Cultivars to Select
You can grow any type of turnip for the leaves, whether it’s typically grown for the roots or not. But if you’re just after the foliage, you might want to select a cultivar developed specifically for the greens.
These usually won’t grow a very large root, and the greens typically taste less bitter. Here are a few suggestions:
Alamo
‘Alamo’ is a hybrid with vigorous growth so you can harvest a ton of leaves from just one plant. It’s resistant to aphids and mosaic virus, and is ready in just 33 days.
This variety can be cropped, which means harvesting the oldest leaves, and it will keep producing.
All Top
The name should tip you off to why ‘All Top’ stands out as a turnip green.
It doesn’t have a large taproot that saps the plant’s energy. Instead, all that growing goodness is focused on the leafy tops, which mature in about 50 days.
The greens will produce a second or even third crop if you have enough cool weather, and you will enjoy a massive amount of leaves each time.
Seven Top
‘Seven Top’ is a particularly tasty cultivar, and the one that I give to people to taste if they aren’t generally fans of turnip greens.
The leaves are sweet and mild enough that you can use them raw in mixed green salads or even just tossed in olive oil, salt, and pepper. Most people change their minds about their turnip greens aversion after trying these!
Ready in 50 days, this one has been a favorite for over a century.
If you want to convert the turnip green haters in your life, Eden Brothers carries half-gram packets, and one-ounce, quarter-pound, one-pound, and five-pound packages.
Shogoin
‘Shogoin’ wasn’t bred for the leaves, but it’s still a good option even if you don’t take advantage of the medium-sized, pure white globes underground.
The leaves are huge, but the greens are still quite tender. The tops are best in soups, pickled, or braised, though young leaves are excellent raw in salads. The leaves are ready in 30 days, and the roots in 60.
If you decide to let the plants fully develop roots, stop harvesting the leaves after the first round.
Southern Green
In just 36 days, you can be harvesting these large, dark green, glossy leaves. This cultivar is bolt-resistant, and the leaves return quickly after you pluck them.
‘Southern Green’ was developed for the tops, so it doesn’t waste nutrients developing a big root.
Topper
‘Topper’ is suitable as both an option for greens or for the roots. If you’re growing this plant for the big, dark green leaves, they’re ready to harvest in 36 days.
This hybrid is resistant to fungal disease and aphids.
Managing Pests and Disease
One of the nice things about plants with a short growing season is that there isn’t much time for most pests and diseases to wreak too much havoc.
Turnip tops tend to have fewer pests and disease problems than some other cole crops.
Herbivores, on the other hand, can cause real issues.
Herbivores
Deer, rabbits, and voles, oh my! This trio of troublemakers is up to no good in your veggie garden.
Deer
I can’t blame deer for loving turnip greens, but I really wish they’d leave mine alone. They seem to prefer turnip (and beet) greens over just about anything else.
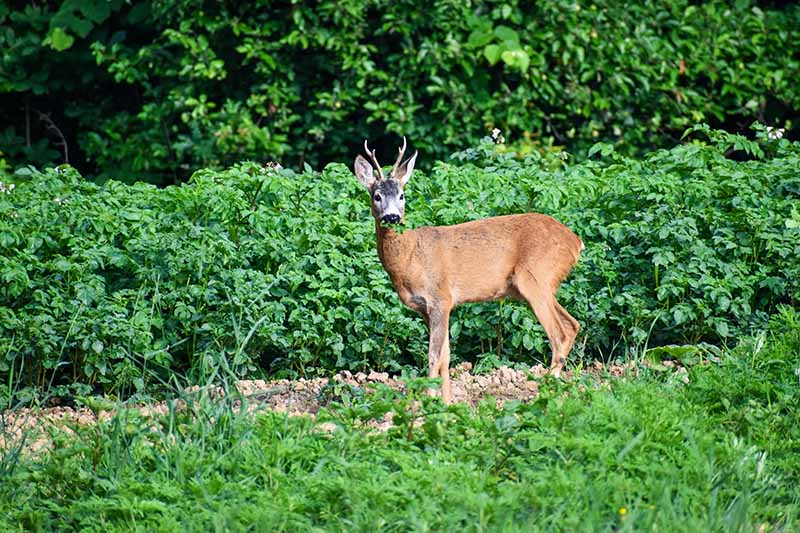
Our guide to keeping deer out of your garden can help you to deal with this four-legged foe.
Rabbits
They might arguably be the cutest of all the turnip pests, but don’t let those adorable faces fool you. Rabbits can still do a whole lot of damage.
These mammals will nibble on the leaves and can completely defoliate a plant. Young plants are especially at risk.
Learn how to manage them in our guide on deterring and dealing with bunnies in your home garden.
Voles
Voles are a particular problem for plants that have large, tasty roots, since they tunnel and feed underground.
But even if you’re growing a type of turnip that doesn’t have those, voles can still do some real damage. They’ll come out of their tunnels to devour the greens.
Beyond nibbled on or missing leaves, you can spot evidence of voles by looking for the tunnels that they dig, particularly in grass, and their droppings.
To control them, limit the amount of cover they have access to by removing weeds and keeping surrounding plants trimmed and pruned. Heavy mulch also provides a safe haven for these pests.
Wire fences that extend a foot up and a foot into the ground can be a big help.
Vole repellents can also be effective. There are lots of brands out there, but Victor is a well-known and reliable option.
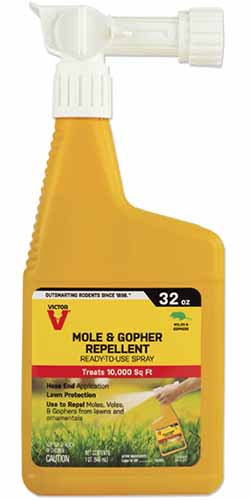
You can purchase a 32-ounce ready-to-spray bottle or a four-pound bag of granules at Arbico Organics.
Insects
Turnips are packed full of nutrients that are enjoyed by both humans and insects. And you’ll find a handful of pests that can’t wait to make a meal out of your greens.
Our guide to turnip pests has a more detailed explanation of what to look for and how to deal with the problem.
Here are the most common pests to be on the lookout for:
Aphids
Aphids have evolved alongside many, many different plants throughout the world. Turnip greens and other cabbage relatives are often attacked by cabbage aphids (Brevicoryne brassicaea).
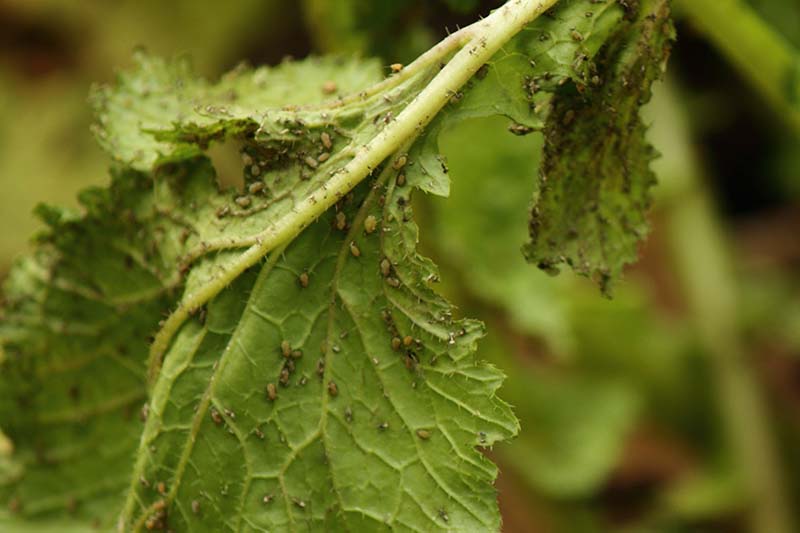
In small numbers, they aren’t a big deal, but if these sap-sucking pests gather in large enough groups, they can cause your plants to be stunted, wilt, or even die.
Learn more about how to deal with aphids in our guide.
Flea Beetles
If you head out to your turnip patch and find the leaves riddled with holes, almost as if someone took a teeny-tiny shotgun and sprayed the plants full of bullets, you probably have a flea beetle situation on your hands.
These little beetles, which jump around like fleas, can do a large amount of damage. Preventing an infestation is best, but they can be controlled with neem oil or organic pesticides if they’ve already shown up.
Slugs and Snails
Do you know how turnip greens like moisture and cool conditions? Guess who else does…
Slugs and snails can devour an entire plant in one evening if they show up in a large group. Managing these common pests is going to be essential to your success.
You can learn how to deal with slugs and snails in our guide.
Disease
Sadly, turnips are a favorite of several different types of fungi, viruses, and bacteria.
Here are the most common, but if you want a more comprehensive overview of the types of turnip diseases you might encounter, we have a guide that can help.
Alternaria Leaf Spot
While it’s a cosmetic issue, Alternaria leaf spot, caused by the fungi Alternaria brassicicola and A. brassicae, can be a bummer. No one wants to eat leaves covered in yellow, tan, brown, or black spots.
Good garden hygiene goes a long way to preventing this problem, and there are several natural solutions you can use to control it. You should also look for certified disease-free seeds.
Our guide to Alternaria leaf spot has more information.
Anthracnose
Anthracnose is caused by the fungus Colletotrichum higginsianum, and it’s another disease that causes a breakout of spots on the leaves of your turnip plants. The holes are tan or gray and circular.
Even worse, this disease makes the plant susceptible to bacterial soft rot.
It’s most common in warm, moist conditions and when water is present on the leaves, so that should tell you that it’s important to water at the soil level rather than on the foliage.
Buying certified disease-free seed is also important. You can avoid this problem if you are growing during periods when temperatures are on the cooler end of the acceptable range.
You should also do your best to keep wild cruciferous “weeds” such as wild mustard, rock cress, pepperweed, and sweet rocket away from your garden since they act as hosts.
Copper fungicides can kill anthracnose. You can use either a spray or a dust such as Bonide Copper Fungicide Dust.
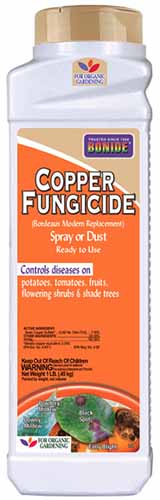
You can also mix this dust with water to use as a spray. Apply once a week while symptoms are present.
Purchase this handy fungus killer in one- or four-pound bottles at Arbico Organics.
Black Rot
This disease is a doozy. It causes all that lovely foliage to wilt and turn yellow or brown before collapsing. But before that happens, you might see v-shaped lesions on the leaves or dark rings on the stem.
As with many diseases caused by bacteria (Xanthomonas campestris, in this case), there is no reliable cure. It thrives in warm, wet conditions, which you can’t always avoid.
But watering at the soil level rather than on foliage and keeping plants well-spaced helps.
Make sure you’re purchasing certified disease-free seed and plant during the coolest weather possible.
Learn more about black rot in our guide.
Damping Off
You put your seeds in the ground with dreams of your upcoming harvest, only to see them develop water-soaked rings at the base of the stems before collapsing. Some seedlings might not even emerge at all.
Damping off is a disease caused by the fungus Rhizoctonia solani, and it’s particularly prevalent in cool, moist conditions, which is precisely what turnip greens like.
Cleanliness is key to avoiding this depressingly common disease. Always sterilize your tools and any reused containers.
You should also use a clean seeding medium or sterilize your soil before planting if you’ve had this disease in that spot in the past few years.
Our guide to damping off has more helpful tips.
Downy Mildew
Downy mildew is common on many veggies, and turnips aren’t immune. It causes irregular brown patches and is accompanied by a downy white fungus-like growth on the undersides of leaves.
Our guide to dealing with downy mildew on turnips can help you identify and stop this problem.
Mosaic Virus
Turnip mosaic virus (TuMV) attacks all cole crops, including turnips. It usually starts as yellow, round lesions that grow and merge, destroying the leaves.
There is no cure, so read our guide on this devastating disease to learn how to prevent it.
Harvesting
Depending on the cultivar, turnip greens take about 45 days to mature.
Some cultivars are cut-and-come-again, which means you can pick the leaves, and new ones will pop up. You can continue to harvest more every few days or weeks.

This only works in regions with enough cool days in the growing season because turnip greens can’t handle warm weather. If you only have a brief period of cool weather, it’s probably best to harvest all at once.
For a continual crop, harvest the largest leaves first, which grow at the base of the plant. This practice is known as “cropping.”
Otherwise, dig up the plants once they’ve reached your preferred size, and cut the tops off.
The greens are ready to harvest when they’ve reached four inches long or so. Some people prefer the flavor when the leaves are small, while others like the leaves when they’re big and slightly tougher.
Try tasting them at different levels of maturity to see what you like.
While a hard freeze usually won’t kill the plants entirely, it can ruin some of the leaves. If a freeze is in the forecast, it might be safest to harvest all of the leaves, or cover your plants with a blanket or bucket.
Preserving
You can store fresh leaves wrapped in a paper towel and placed in a plastic bag in the refrigerator for up to a week.
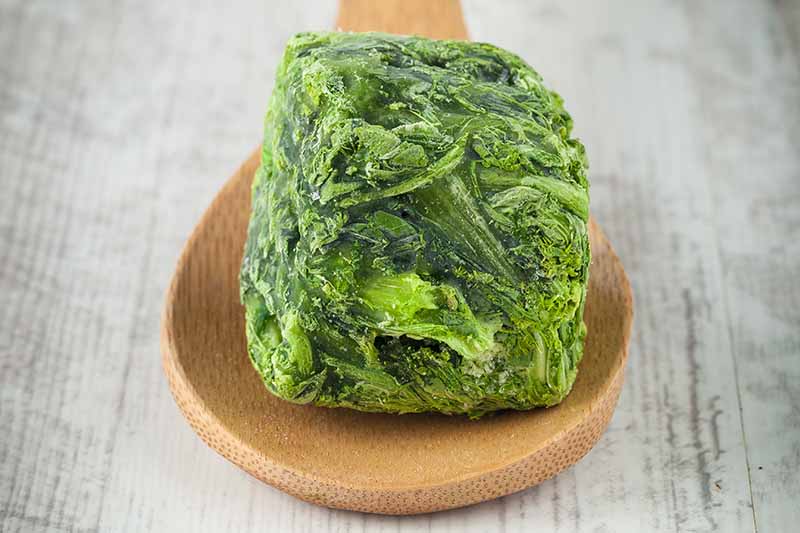
You can also freeze the leaves. Wash them, blanch them in boiling water for a minute, and then submerge them in ice-cold water.
Place them in a bag, press out all of the air, and seal it. Place in the freezer, where they can keep for up to six months.
Recipes and Cooking Ideas
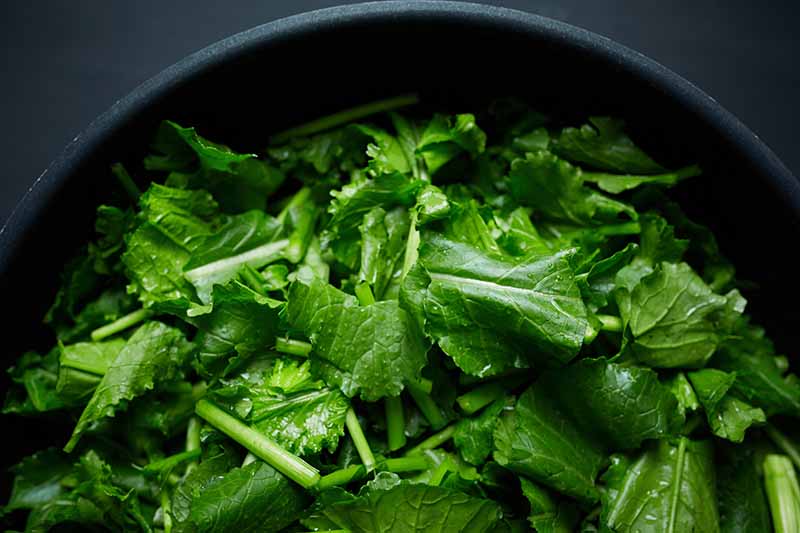
Turnip greens are probably best known for being cooked, but the young leaves add a delicious zing to salads and sandwiches. They have a peppery note similar to arugula.
That’s not to say that braised greens aren’t a classic for a reason. They’re delicious and stunningly simple to whip up.
You can find lots of recipes out there. But I like to go classic. Here’s my favorite way to enjoy them:
Combine two cups of turkey stock with two cups of water in a large stew pot, add three tablespoons of butter, and bring to a boil.
Add two pork knuckles and four pounds of washed and chopped turnip greens. Cover, reduce to a simmer, and braise for 90 minutes or so. Season with salt and pepper to taste.
Quick Reference Growing Guide
| Plant Type: | Leafy green vegetable | Maintenance: | Low |
| Native to: | Asia, Middle East | Tolerance: | Frost, freezing temperatures |
| Hardiness (USDA Zone): | 2-9 | Soil Type: | Rich, loamy, loose |
| Season: | Spring, fall, winter | Soil pH: | 6.0-7.5 |
| Exposure: | Full to partial sun | Soil Drainage: | Well-draining |
| Time to Maturity: | 30-60 days (depending on variety) | Attracts: | Bees (flowers) |
| Spacing: | 4 inches | Companion Planting: | Beans, black medic, borage, clover, peas, vetch |
| Planting Depth: | 1/2 inch (seeds), same depth as container (transplants) | Avoid Planting With: | Melons, okra, peppers, squash |
| Height: | Up to 18 inches | Family: | Brassicaceae |
| Spread: | Up to 9 inches | Genus: | Brassica |
| Water Needs: | Moderate to high | Species: | Rapa |
| Common Pests and Disease: | Deer, rabbits, voles; Aphids, flea beetles, slugs, snails; Alternaria, anthracnose, black rot, damping off, downy mildew | Variety: | Rapa |
Turnip Greens Are Tops
Turnip roots are tasty, but come on. The tops are also scrumptious and they deserve their moment in the spotlight.
When the cooler months roll around and you’re looking for something to grow, turnips are an excellent option.
Once you harvest your tasty tops, come back and share with us how you use up your harvest in the comments below.
If you’re looking for more information about turnip roots and greens, check out these guides next: