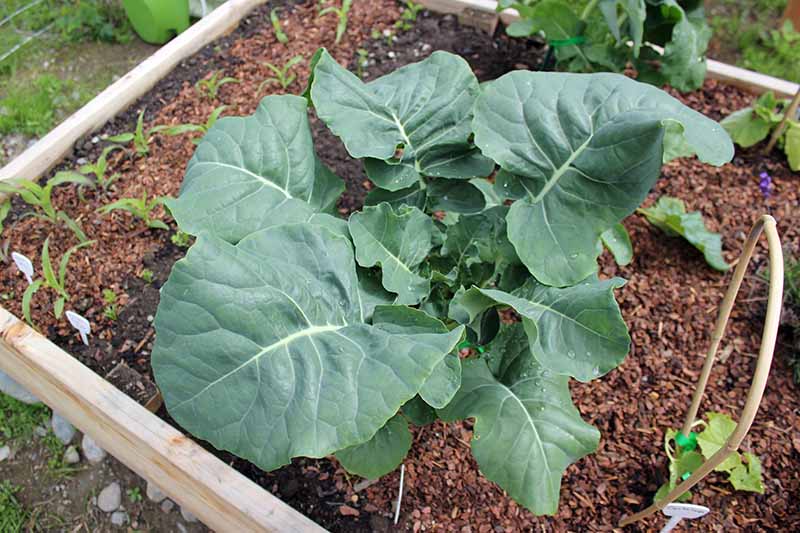
I’m here to make a confession: when I first started gardening, I planted four broccoli seedlings in a container, I grossly underestimated how big they would get.
They started from such tiny seeds. How could they possibly grow to be so enormous and strong?
But that’s the magic of gardening, isn’t it?
I ended up leaving just one plant inside a container and transplanting the rest to my garden.
Even then, I planted them too close to the other vegetables.
We link to vendors to help you find relevant products. If you buy from one of our links, we may earn a commission.
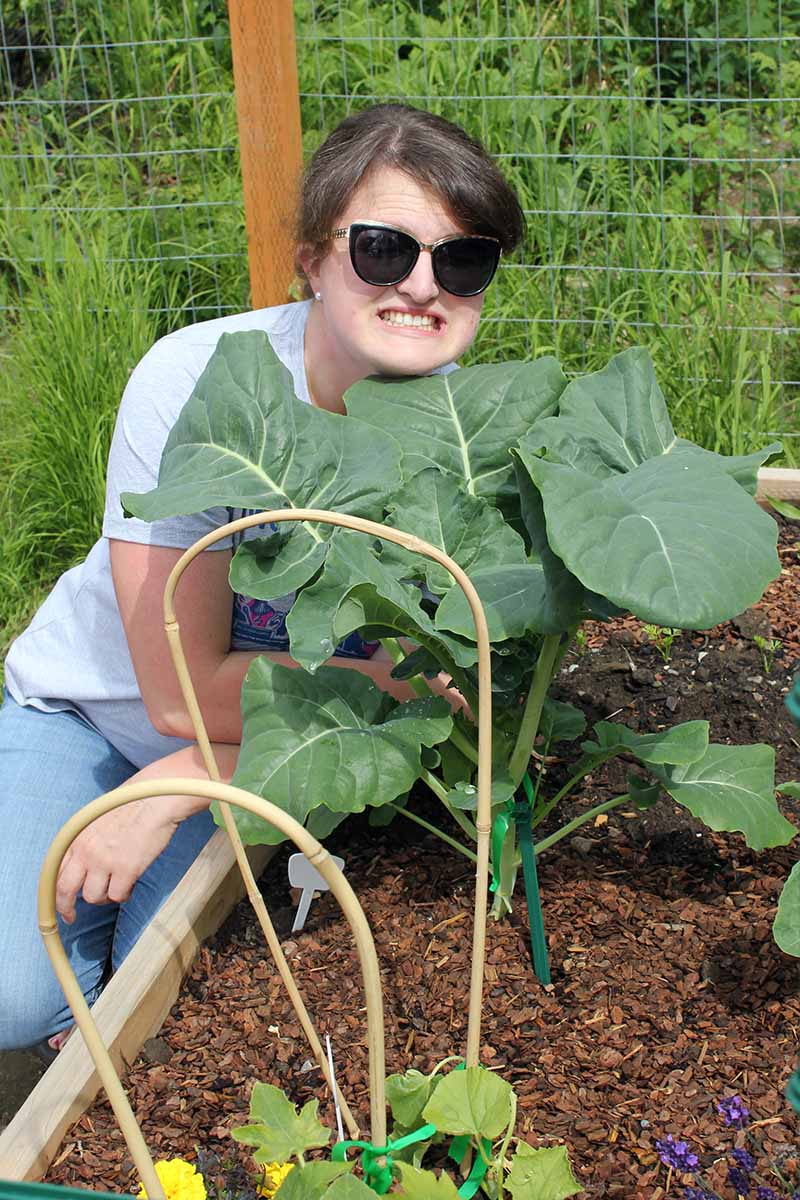
Before long, their enormous leaves shaded out my carrots, shallots, rhubarb, and more. The rhubarb leaves grew to be twice the size of my face in their quest for a droplet of sunlight.
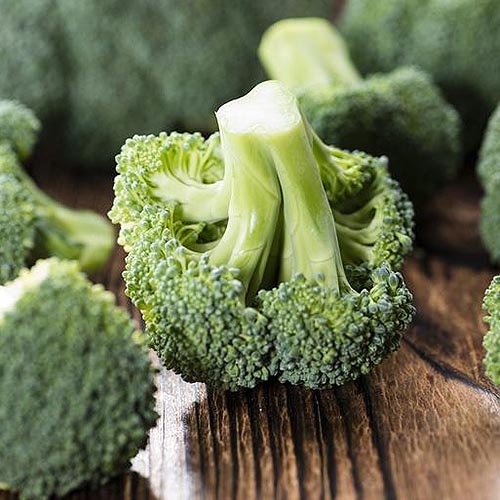
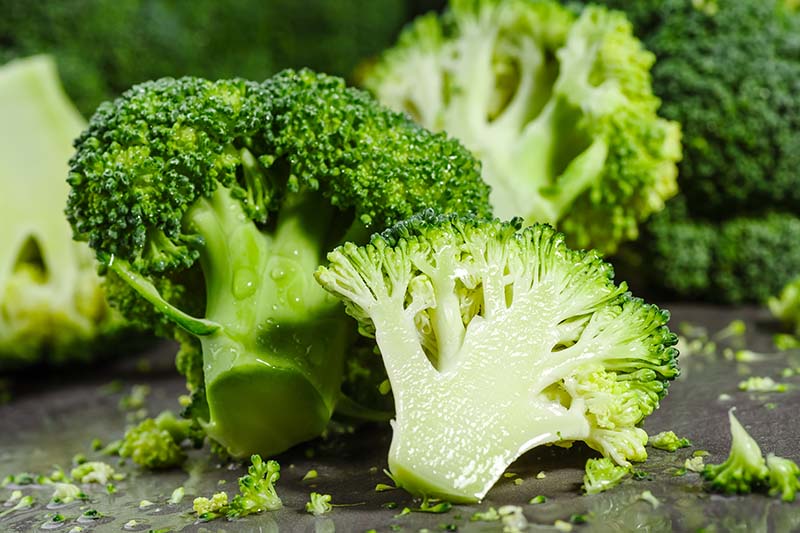
I couldn’t begrudge the lovely Brassica oleracea var. italica plants for this, though. Not once I harvested and ate the verdant, earthy heads.
There’s no broccoli as delicious as that grown from seed in your own garden.
Here’s what I’ll cover:
What You’ll Learn
A Bit About Broccoli
Italians first cultivated broccoli about 2,000 years ago. A member of the Brassicaceae family, its relatives include cabbage, cauliflower, brussels sprouts, and kale.
You can learn more about this tasty veggie in our full guide to growing broccoli.
It’s also highly nutritious, packed with fiber, calcium, iron, folate, potassium, and vitamins A, C, and K.
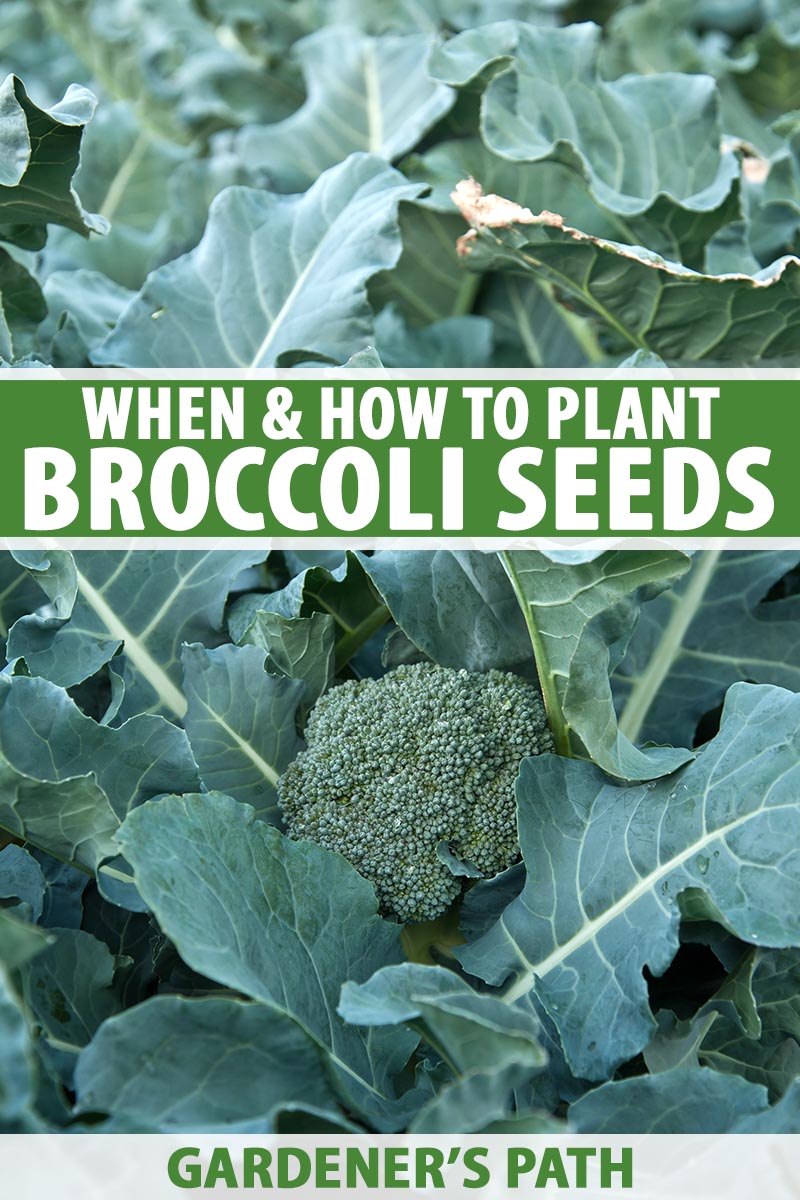
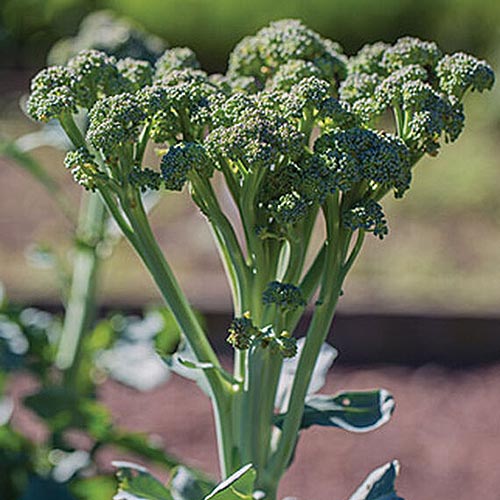
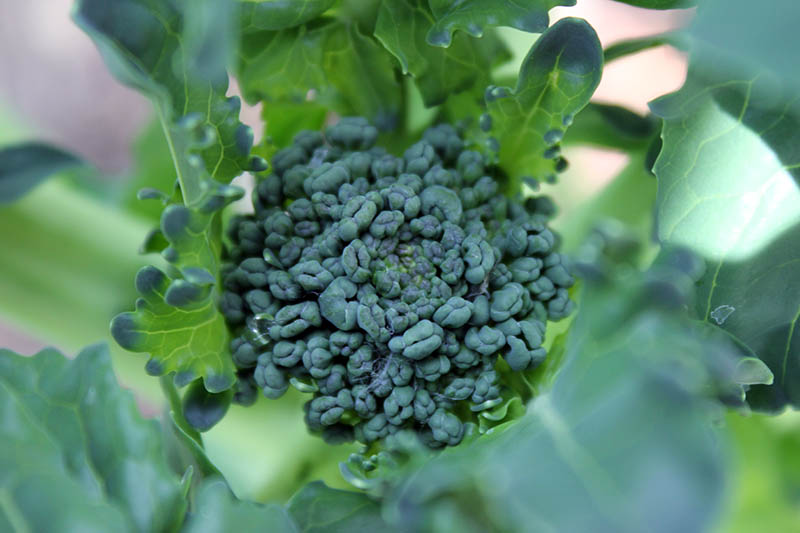
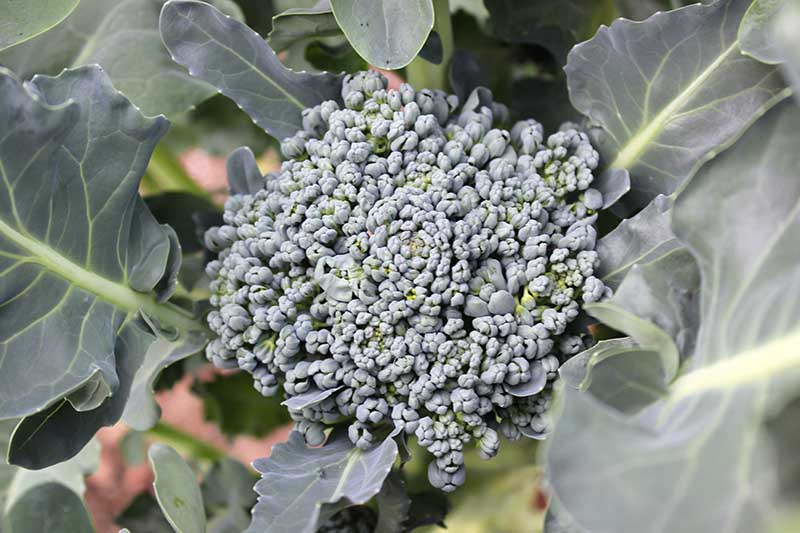
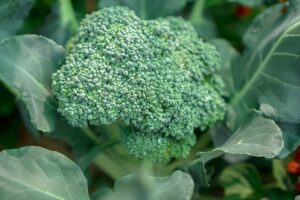
The green, tree-like florets we consume are real, unopened flower buds. Do not ask me when I learned this. (Hint: it was embarrassingly recent.)
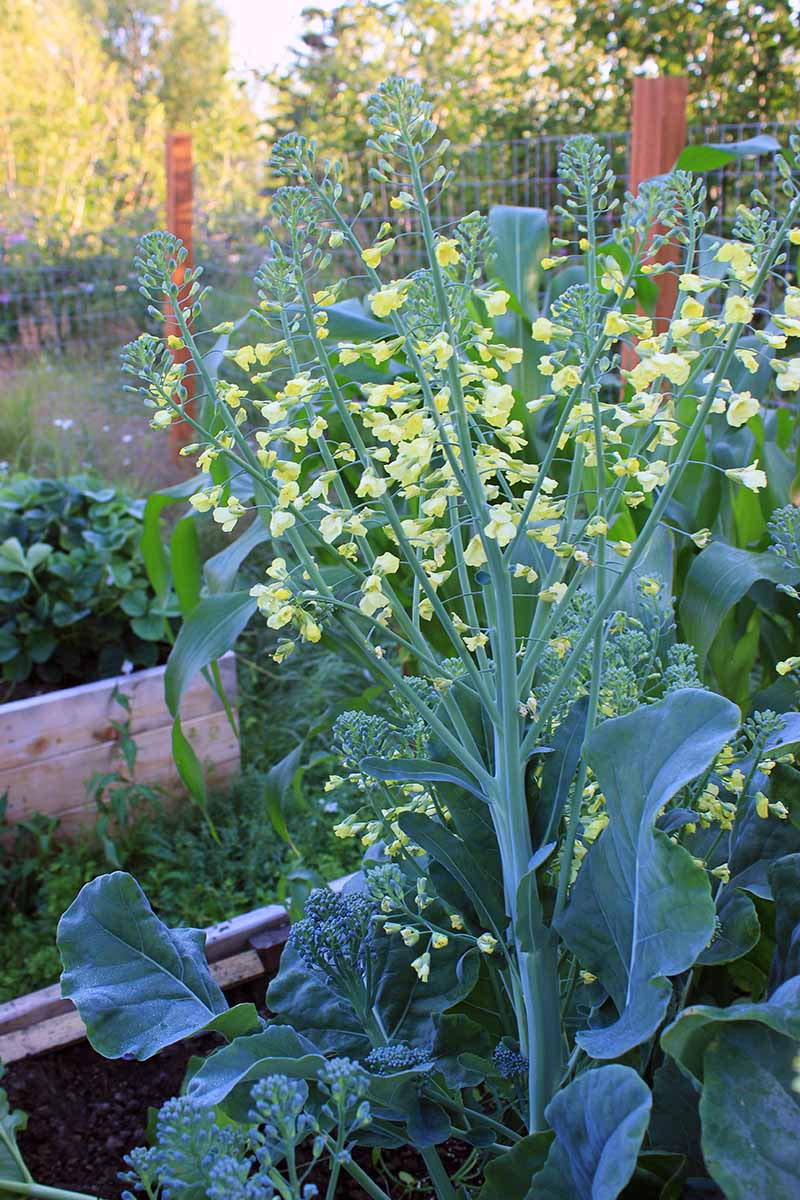
If you wait too long to harvest your crop, the buds will open and become tiny yellow flowers.
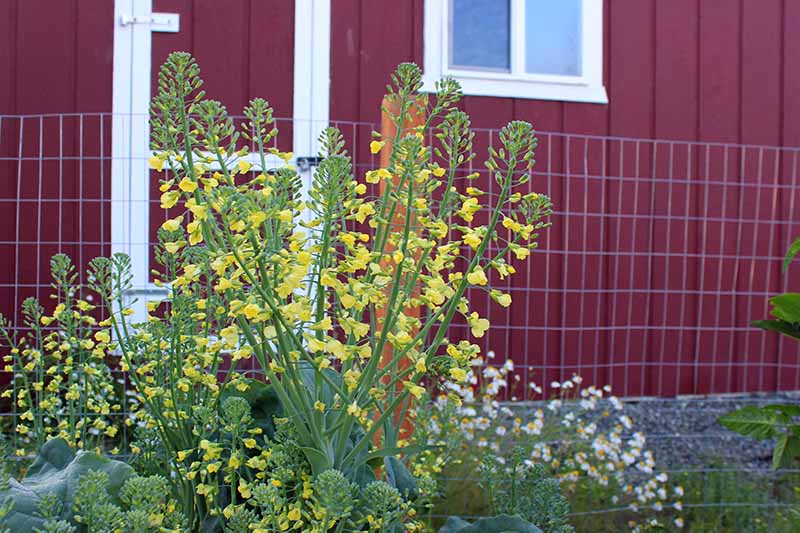
Thankfully, even bolted broccoli tastes lovely when sauteed with some garlic. And while we’re talking about edibility, did you know you can eat the broccoli stems and leaves, too?
So yes, this plant grows to be enormous. But it’s deliciously edible from crown to leaf to stem, making all that space it takes up beyond worth it.
People around the world enjoy this vegetable as both a side and the star in a variety of dishes.
You’d think that, since it’s been around so long, we must have been growing it here in the United States for centuries. But the first commercial crop, grown in California, wasn’t sown until 1923.
Even then, broccoli didn’t take off as a commonly grown commercial crop in the United States until after World War II.
Now, we eat it all the time. The US is the third largest producer worldwide, and most of our crops of this tasty veggie are grown in sunny California – and in home gardens all over the country, of course!
Despite its sun-loving nature, believe it or not, broccoli can handle a bit of a chill. This veggie prefers cooler temperatures, so let’s talk about growing zones for a moment.
In USDA Hardiness Zones 3 and 4, you’ll need to sow seeds indoors six to eight weeks before the average last frost date, and transplant the seedlings outside about five or six weeks later.
For Zones 5 and 6, you can direct-sow seeds as soon as the earth is workable in the spring.
But in Zones 7 through 9, you’re better off sowing a fall crop. Depending on the variety you choose, do this 14-17 weeks (or three to four months) before your area’s average first frost.
A few ideal fall-sowing varieties include:
Calabrese
A head-forming variety that matures in 50 days, ‘Calabrese’ is the one that you’ll find in most grocery stores.
Seeds are available from Eden Brothers.
Royal Tenderette
This is a cutting (or multi-stemmed) hybrid that matures in 50-60 days.
Waltham 29
A head-forming variety, ‘Waltham 29’ matures in 50 days.
Seeds can be purchased from Eden Brothers.
Read more about some of our favorite broccoli varieties here.
Ready to sow? Let’s go!
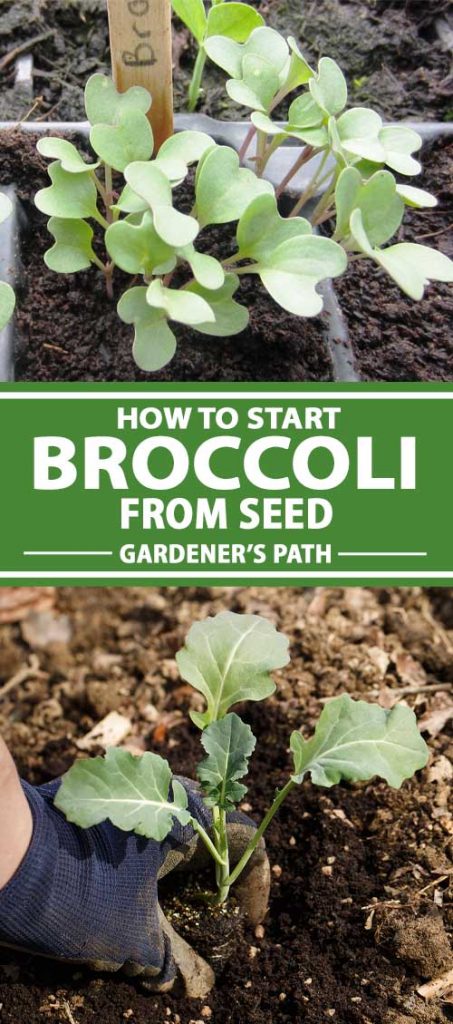
Sowing Seeds
Whether you’re planning to sow seeds indoors or plant them directly in the garden, the instructions are easy-peasy.
Try doing this with kids or grandkids for a fun fall activity! They’ll be more likely to eat the harvest, too.
Indoor Sowing
To grow seedlings indoors, you’ll need seed trays, potting mix, and a grow light (or a reliably sunny windowsill).
Fill the seed trays with potting mix, sow two seeds 1/4 to 1/2 an inch deep in each cell, and cover lightly.
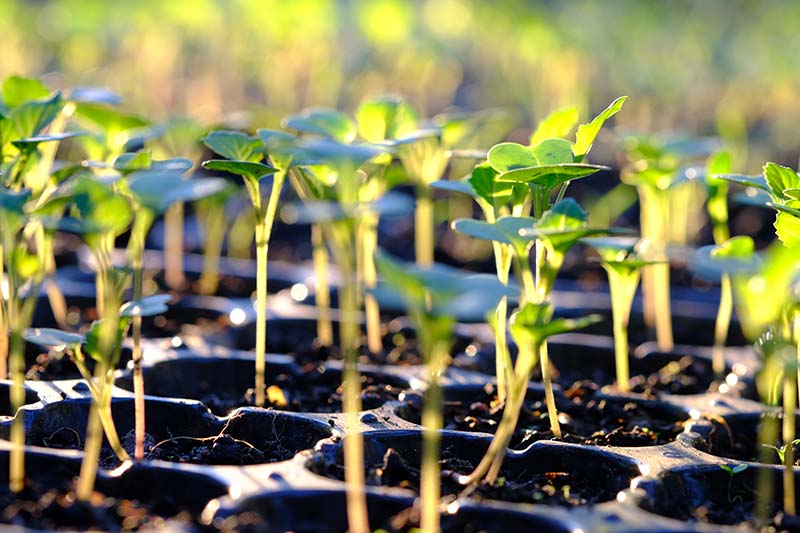
Moisten with a spray bottle and keep them moist until germination, which should occur within 5-10 days.
As soon as they germinate, set the seeds in that sunny windowsill or under your grow light for at least 8-10 hours a day.
Make sure to keep the grow light just an inch or two away from the seedlings, adjusting it as they grow.
If you’re growing them on a windowsill, rotate the tray every day to encourage the shoots to grow straight and not to lean towards the light.
Go ahead and thin the seedlings to one plant per seed tray just after germination, too.
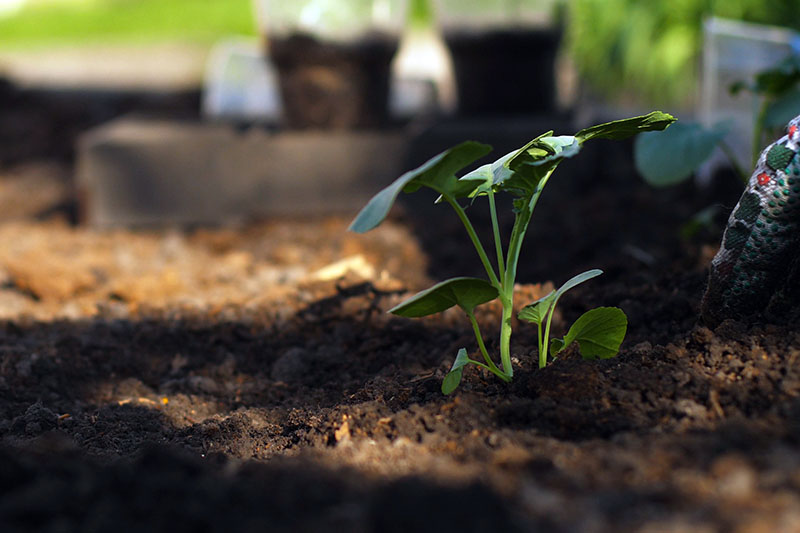
Keep the seedlings moist until they’ve got 2-3 sets of true leaves and are 4-6 inches tall. At this point, you’ll need to transplant them outside into your garden, or into your container, if you’re planning to go that route.
First, harden them off. To do this, leave them outside in a sheltered area away from direct sun and wind for half an hour.
The next day, increase the time to one hour. For the next several days, increase the time that they are left out by an additional hour, until the plants have been outside all day.
To transplant, simply prepare an area that receives at least eight hours of sunlight per day.
The soil should be loose and well-draining. Broccoli prefers a pH between 6.0 and 7.0, so conduct a soil test to find out if you need to amend it.
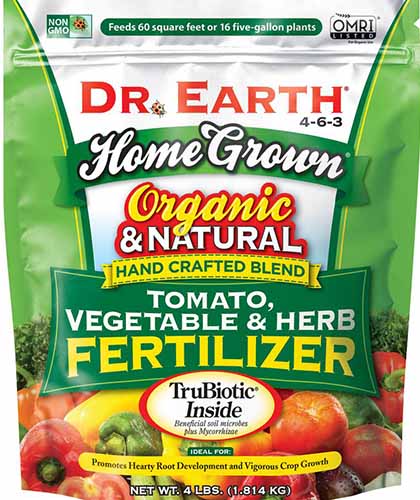
Dr Earth Tomato, Vegetable, and Herb Fertilizer
To give the veggies a nutrient-rich start, add a 4-6-3 (NPK) vegetable fertilizer to the soil, like this one from the Home Depot, according to package instructions.
Or, add a 10-10-10 (NPK) fertilizer, according to the instructions on the packaging. Mix it into the soil you’re about to transplant the young plants into.
Dig holes that are about 18 inches apart in rows that are 24 inches apart. Set each root ball inside a hole, backfill with dirt, and water thoroughly.
Planning to grow yours in pots or planters instead? See our guide to growing broccoli in containers for more tips.
Direct Sowing
To direct sow, select a location that receives at least eight hours of sun. The soil should be loose and well-draining, and amended with 4-6-3 or 10-10-10 (NPK) fertilizer according to package instructions.
Sow two seeds apiece in holes 1/4 to 1/2 inch deep. Holes should be spaced 18 inches apart in rows that are 24 inches apart.
Keep the area moist with a spray bottle until germination occurs. Once you see sprouts, thin each planting area so that it only has one seedling.
Caring for Broccoli
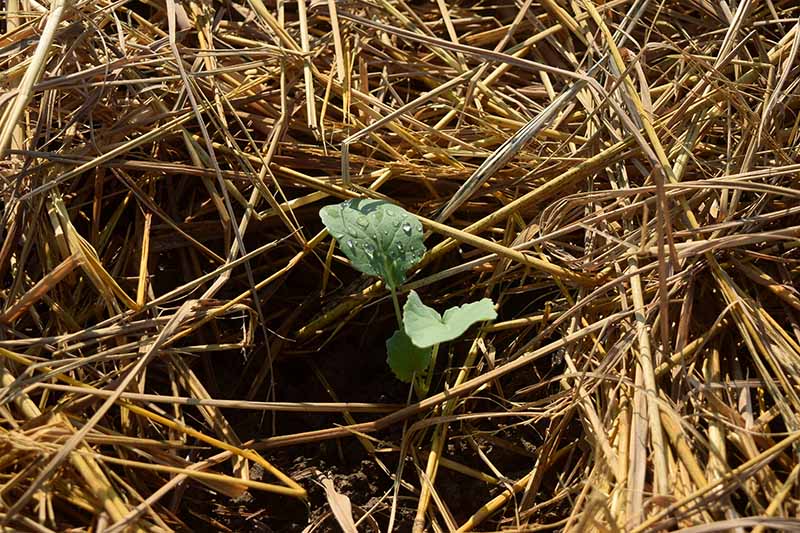
Just after you transplant your seedlings, or when your direct-sown plants begin to take off, they will look tiny in your huge garden space. But before long, they will grow…
… and grow…
… and grow!
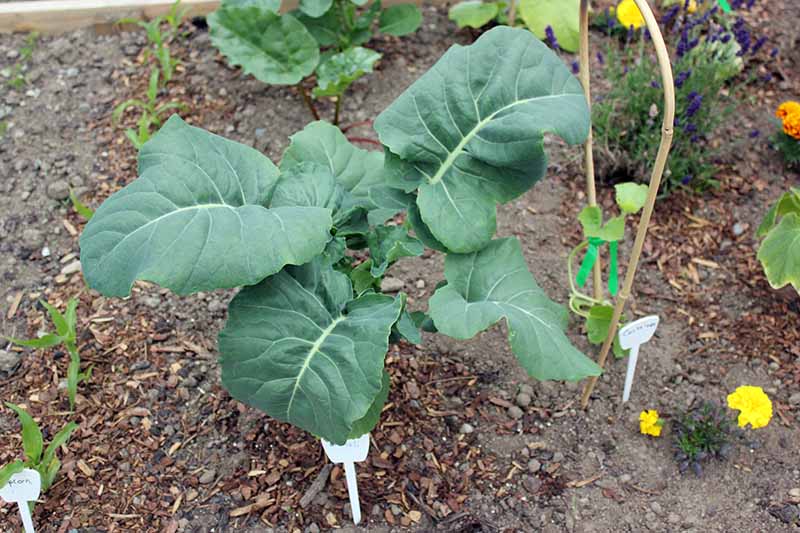
It doesn’t take much to keep broccoli plants happy and thriving. But if you miss out on satisfying their needs, they may protest by failing to grow luscious heads.
To keep them happy, give the plants one to one and a half inches of water per week.
To check the moisture level, poke your finger about an inch down in the soil. If you don’t feel any moisture, it’s time to give them some water.
They’ll also need a dose of 5-10-10 (NPK) fertilizer every three to four weeks.
With just enough nitrogen to stay healthy and a nice dose of both phosphorus and potassium, your plants should form those firm, sweet stalks and buds. Give them too much nitrogen, though, and they’ll only produce a bunch of tasty leaves!
Another thing to watch out for is heat. If temperatures rise much above 70-75°F, it’s time to erect a shade cloth or even a row cover to keep the plants cool.
Too much heat can stress out the plants, causing the heads to button or bolt.
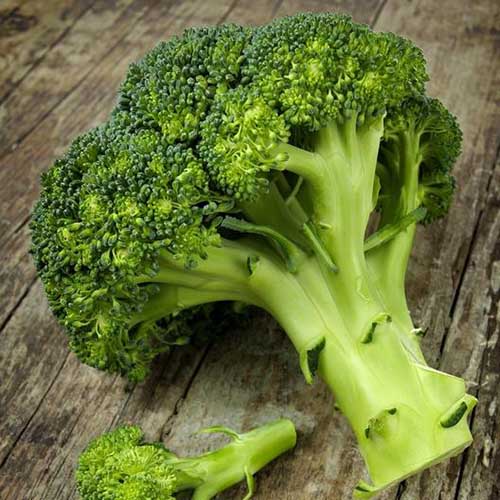
Once that tiny head in the center of the plant becomes a big, beautiful, tree-like thing, it’s time to harvest!
Enjoying Your Harvest
To harvest, simply use a knife to cut the stalk away from the plant. Remove a few leaves, too, for your salad at lunchtime – but don’t pull up the plant yet!
If you let the plant keep growing, it’ll give you a second crop of smaller side-shoots that are no less delicious than the fully formed head.
Then, use the heads to make this delicious recipe for sweet potatoes and broccoli with an olive oil fried egg from our sister site, Foodal. It’s one of my favorite fall dishes.
So is this delectable vegan roasted broccoli cashew soup, also from Foodal.
Fabulous Florets
I love garden-grown broccoli so much that I plan to devote at least an entire half of one of my raised beds to it next year.
Alas, due to Alaska’s frigid climate, I can’t grow them in the fall. But I’ll be dreaming of that spring planting all winter long.
Have you ever grown broccoli from seed? Share your tips, tricks, and questions in the comments below.
And remember to check out these articles for more information about growing broccoli next:
- How To Save Broccoli Seeds At Home
- Why Does My Broccoli Have Loose, Bitter Heads?
- How to Harvest Broccoli: A Crop that Keeps on Giving
- 9 of the Best Companion Plants to Grow with Broccoli
Photos by Laura Melchor © Ask the Experts, LLC. ALL RIGHTS RESERVED. See our TOS for more details. Product photos via Burpee, Eden Brothers, and Home Depot. Uncredited photos: Shutterstock.

Thank u for the lesson
Thank you for reading, Chriselda!
What’s the best “soil test kit”? Where to get one? How often to test the soil? Use lime to make more acidic? What about DE to help soil? Thanks!!!
Hi Sally, we’ve got a guide to soil test kits that you can find here which will give you a lot of options depending on your needs. Lime will make soil less acidic and DE is generally used to repel pests.