

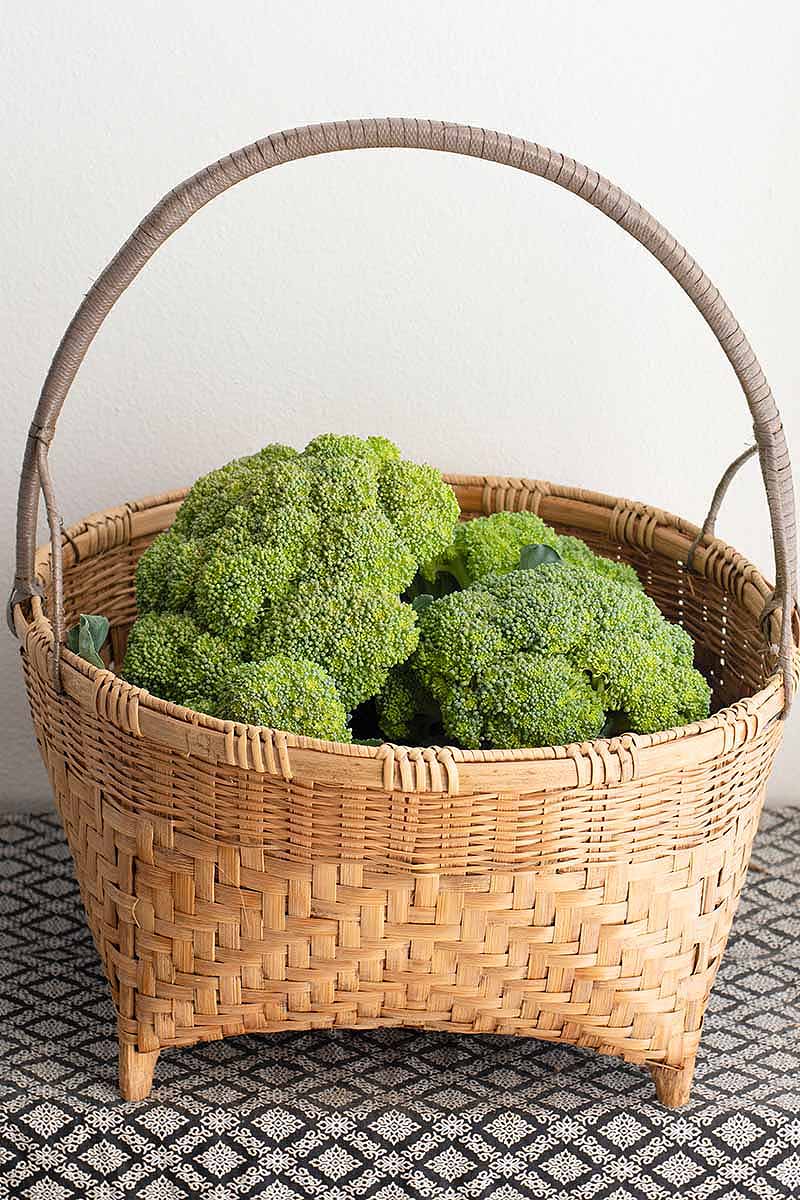
I grew up eating broccoli at almost every meal.
My mother loves broccoli, almost to an absurd degree, and she made sure to instill that love in all of her children.
Whether it was roasted with garlic, steamed in butter, or sauteed in a stir fry, I could almost always count on broccoli making an appearance at the dinner table.
So when I started growing my own food, including this cruciferous veggie in my garden was a no-brainer.

We link to vendors to help you find relevant products. If you buy from one of our links, we may earn a commission.
What I didn’t realize in those early days is that growing and harvesting it can be a bit tricky, if you don’t know what to watch out for.
If you are just getting started, check out our complete guide to growing broccoli.
I learned early on that obtaining a harvest of large, tender, perfectly ripe heads can take a bit of patience and practice.
It took me a few seasons to get it right, but I’m finally confident that my broccoli patch will produce an abundant crop each year.
So, what are the signs that it is time to harvest? We’ll cover the basics, and offer some storage tips and cooking ideas as well. Here’s what’s ahead:
What You’ll Learn
When to Harvest Broccoli
The key to harvesting your crop is knowing the right time to pick the heads.
Let’s say you have carefully monitored your plants through the season, watching for pests and disease, weeding, and taking measures to avoid bolting.
Miraculously, your plants have withstood the elements, and beautiful, full heads have begun to form.

This is the time to pay extra attention to your plants! Once you notice that the flowering heads have started developing, it is a good idea to check on them each day when you do a pass through the garden.
And for an extra treat while you are waiting for the main head on each plant to be ready, you can harvest the young leaves!
They have the same tasty flavor as the heads, and are delicious sauteed in butter or oil.
You can begin harvesting the leaves when the main head is still small and compact, and has yet to protrude above the tops of the leaves.
The small, early leaves are best; once the crown begins to open, the leaves become tougher and lose some of their flavor.

Pick the outermost leaves when they are about 4 to 6 inches long.
Only pick a few leaves at a time, so as not to harm the plant. As new leaves form, you can continue to harvest them throughout the season in the same fashion.
It is time to harvest when the main heads are a deep green – or perhaps a different shade, depending on the cultivar – and the flower clusters are dense with tightly grouped flower buds.
It generally takes around 100 days for plants to reach maturity. Though size can vary widely, a good general rule is to harvest when the heads have reached about 4 to 8 inches in diameter.
Check your seed packets for notes on maturation rates and sizes.

You want to make sure to pick the heads before the flowers open. Harvest immediately if you notice that flower clusters are beginning to separate, open, or turn yellow.
How to Harvest Broccoli
So, your crop looks ready to harvest. Great job! Here’s what you need to do:
First, timing is important. The best time to harvest is in the morning, before the heat of the day sets in. Vegetables will be the most crisp early in the day.
Cut the mature heads off the plant with a clean, sharp knife, taking at least 6 inches of the stalk. Cut the stalk at a point where it emerges from a set of leaves.

It is a good idea to make a diagonal cut across the stalk, so that water does not pool in the center and lead to rot.
Remember Those Side Shoots!
Don’t think you are done with your plant once you harvest the large head. Really, the fun is just getting started!

Aside from those tasty young leaves that will continue to emerge throughout the season, after the main head has been picked, each plant will also produce a number of edible side shoots.
These will be much smaller than the main head, but they will be tender and delicious, with the same classic flavor and crunch.

Keep an eye on the side shoots as they develop, and take note when smaller flower clusters begin to form.
You can harvest these in the same way as the main heads, cutting several inches below the flowering buds, and picking before they start to open into yellow flowers.
If your plants stay healthy and happy after the main harvest, new side shoots will continue to grow throughout the season.
Safe Storage
Broccoli can be stored in the refrigerator crisper drawer for about 5 days.
Don’t wash it before storing, or this will encourage rotting. Instead, wait until just before you’re ready to eat it to give it a good rinse under cool, running water.
If, like me, you have grown more than you can possibly eat yourself in 5 days and need a longer-term solution, the best way to store your crop is to freeze it.

To freeze, you want to blanch it first, to maintain texture and flavor.
Start by washing or soaking the heads in cool water for a minute or two, to remove dirt and any hidden insects, then rinse and drain.
Separate the florets into chunks, sized depending on your preference. I generally aim for 1 to 2-inch pieces.

Cut off the tough bottom inch or so of the stem and add it to your compost. The rest of the stem can be chopped into small pieces to blanch with the florets.
Prepare an ice bath, with enough ice and cold water filling a large bowl or basin to submerge the broccoli in after blanching.
Toss the cut pieces into a pot of rapidly boiling water to blanch them, and let them boil for one minute.

Quickly remove them with a strainer, tongs, or a slotted spoon, and dunk the veggies into your ice water bath.
Shocking the blanched vegetables in this way is an important step, as it keeps the florets from overcooking.
Drain thoroughly in a colander for several minutes prior to freezing.
I like to spread the florets out on a baking sheet lined with parchment paper, and freeze them in a single layer first to prevent clumping during storage.
Once the pieces are thoroughly frozen, I transfer them to a tightly sealed freezer-safe bag or airtight container.
They should last in the freezer for up to a year.
Recipes and Cooking Ideas
Thankfully, I married a broccoli lover, so the tradition of broccoli-themed dinners lives on in my home.

These days, it often makes an appearance alongside other vegetables in stir fries, curries, wraps, and pasta dishes, though it’s regularly featured as a standalone side as well.
It can also add a particularly satisfying flavor and crunch to veggie lasagna. You can find an excellent recipe for mushroom and broccoli lasagna on our sister site, Foodal.
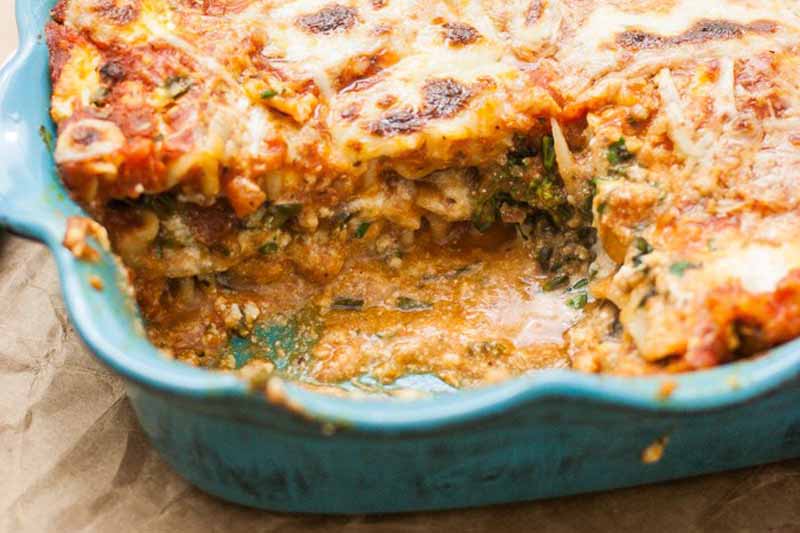
Rich, cheesy, and delicious, just one piece will leave you feeling full and satisfied.
I especially love making veggie lasagna in the summertime, when I can incorporate fresh garden tomatoes into the mix as well!
Seeking something savory to enjoy in the morning?
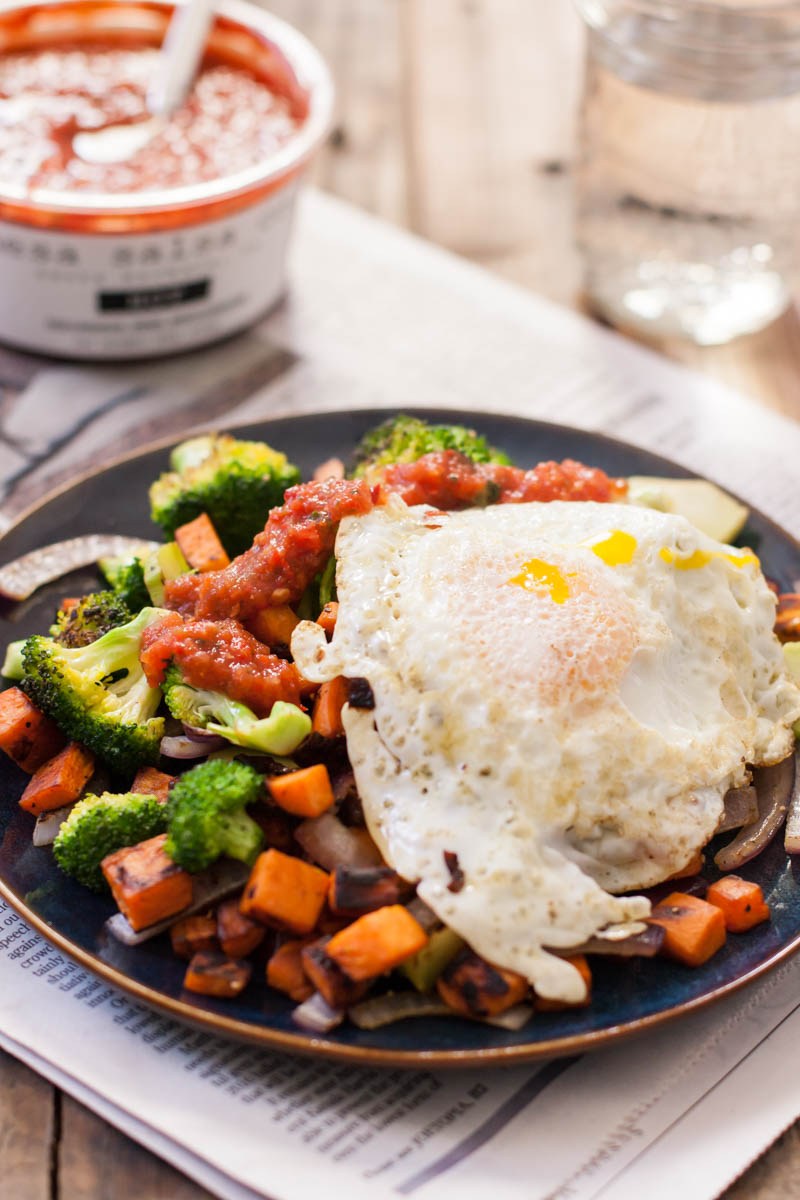
Take breakfast to a whole new level with sweet potato and broccoli hash, topped with a fried egg. You can find the recipe for this tasty creation on Foodal as well.
This dish offers the perfect combination of savory, sweet, fresh, and rich ingredients. Don’t forget to top it with a spoonful of salsa!
Or keep things simple with a classic side dish.
This recipe for roasted broccoli with garlic and lemon is so simple to make, and I can practically guarantee that it will never disappoint whoever’s dining at your table.
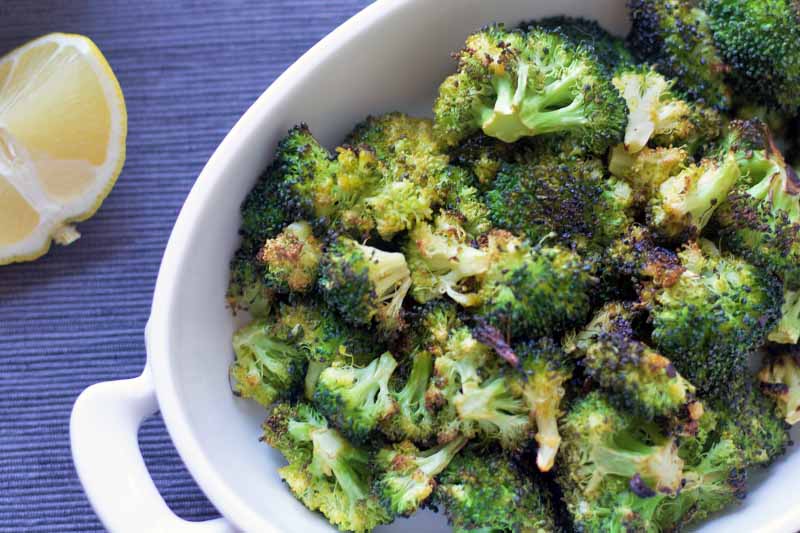
In only 10 minutes, you can have a perfectly delicious side dish ready to accompany just about any meal.
Make Your Parents Proud
Every time I pile up my plate with a heap of freshly cut broccoli from the garden, I feel an extra sense of pride in knowing that I am carrying on an honored family tradition.
What’s more, whether I am picking and serving up a large, ripe head, sauteing some freshly cut tender leaves, or enjoying some late season side shoots, I love knowing I can harvest fresh broccoli all throughout the growing season.
What are your tips for picking and storing this vegetable? Do you have experience harvesting and using the leaves or side shoots? Share your suggestions and questions in the comments below!
Ready to refine your broccoli-growing expertise even more? Read these helpful articles next:

Great post. Helped me a lot. First year growing these, so the information helped. I’ll also try the recipes as well. Thank you.
I am so glad I came across this article. This is my first year growing broccoli. I have one in a container and one in the ground, not planted at the same time. The one in my container is measuring at 2 inches. I am super excited!