Bok choy is a member of one of my favorite vegetable families, the brassica family. It calls three of the most popular vegetables its own: broccoli, brussels sprouts, and cauliflower. Oh, and don’t forget cabbage!
See? I can’t get enough of the brassicas, and I bet you can’t either!
Bok choy is another member of this cruciferous crew. And when you’re growing your own, you’re going to need to know when and how to pick it for the most delicious harvest ever.
While it may look like it’s a cultivar in the cabbage species, Brassica oleracea, bok choy is actually most closely related to turnips and carries the botanical name B. rapa var. chinensis.
We link to vendors to help you find relevant products. If you buy from one of our links, we may earn a commission.
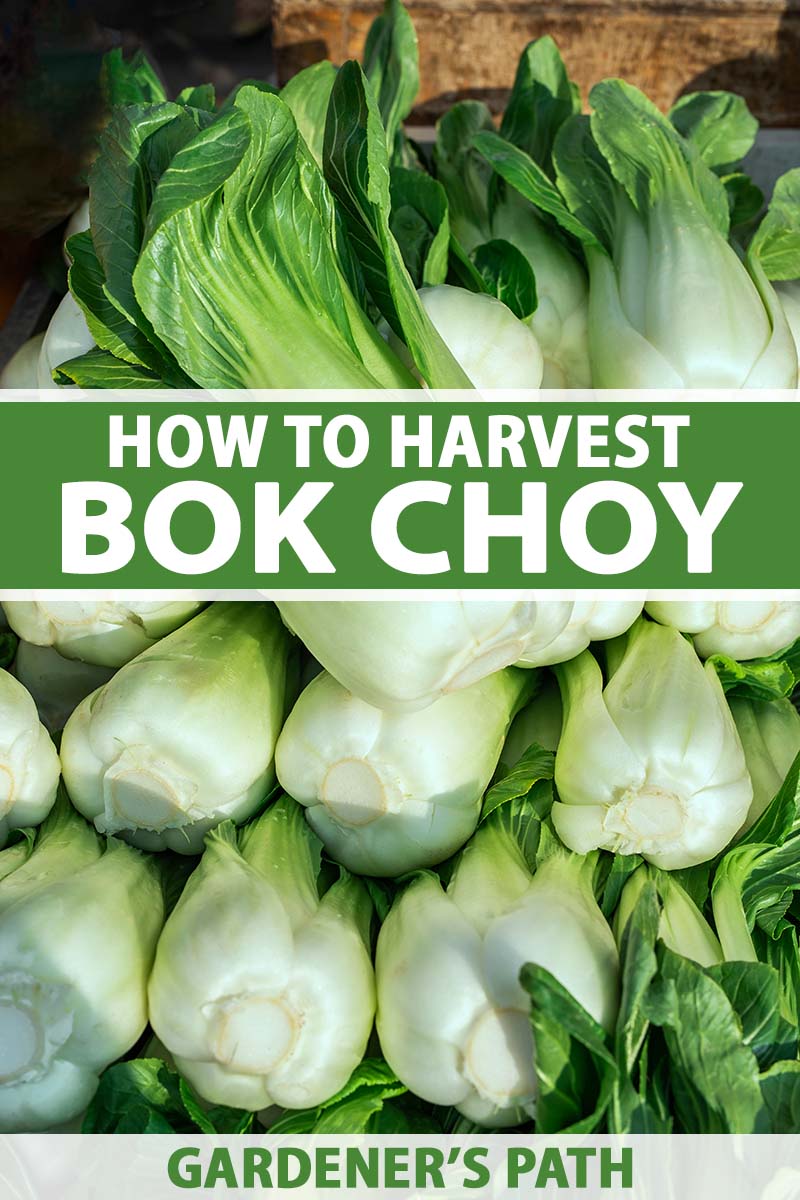
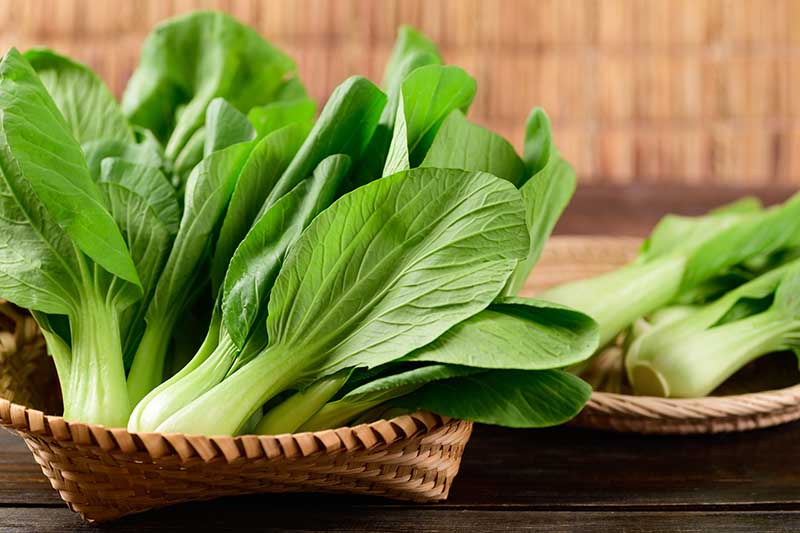
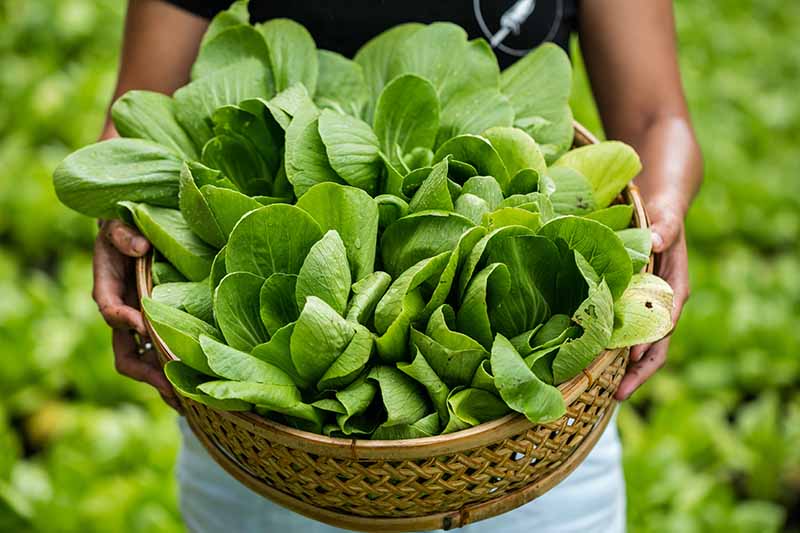
Also called pak choi or horse’s ear, and regarded as a variety of Chinese cabbage as well, this veggie grows vibrant, rounded leaves borne on white or light green stems. In Cantonese, the words “pak choi” translate to “white vegetable.”
This leafy veggie was first cultivated in fifth-century China and remains a popular addition to Asian cuisine. With its juicy stalks and a peppery, spinach-like flavor, it makes an excellent ingredient in stir fries and other Asian-inspired dishes.
The inner stems are a creamy white color, and they make an appealing contrast against the deep green of the leaves. All parts of this veggie are edible, although people most commonly eat the stems and leaves.
If you’re growing bok choy but aren’t sure when or how to harvest this tasty green at home, you’ll find out everything you need to know in this guide.
Let’s get started! Here’s what we’ll dig into:
What You’ll Learn
When to Harvest Bok Choy
Most pak choi cultivars mature fully within 50 to 70 days after germination, but you can harvest them at 30 to 35 days for a more tender, smaller head of leaves.
A biennial that’s usually grown as an annual, pak choi is suited to USDA Hardiness Zones 2 through 11, which means nearly anybody in the US can try their hand at growing it.
To learn all the details of how to cultivate this tasty vegetable, check out our guide to growing bok choy.
In order to harvest your succulent stems and flavorful leaves, it’s important to plan ahead.
The main thing to do is note the day of germination on a calendar or in your gardening journal.
From there, you can keep track of how many days have gone by since germination, which can help you to know when to harvest your crop.
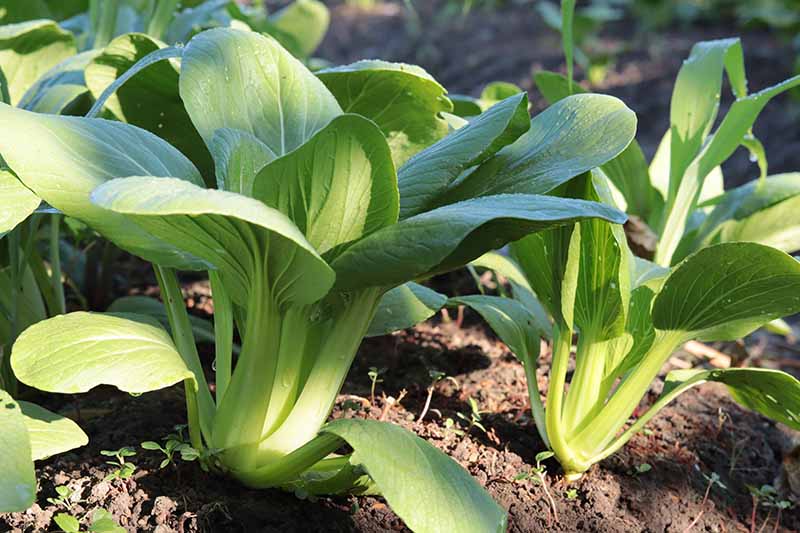
You’ll also want to keep tabs on the size of the variety you’re growing. The average size at maturity varies by cultivar, and again, note-taking helps.
Here’s an example: if you make note that the seed packet or information available online for your chosen cultivar says it grows to about 18 to 24 inches tall and 12 inches wide when it’s fully mature, you can head out to the garden with a tape measure every few days to see how your crop is getting on.
This is an excellent activity to do with the youngest gardeners in your life, especially if they’ve been helping you since the beginning of your pak choi journey.
Nothing’s more satisfying than measuring the growth of living things and knowing you had a hand in helping them thrive!
Once pak choi reaches its mature height and approximately 50 to 70 days have passed, you can harvest it.
Or, if you want to eat it as tender baby bok choy, harvest it closer to 30 or 35 days after germination, or when it’s six to 10 inches tall.
If you’re not interested in harvesting an entire head at once, you can pick several leaves at a time throughout the growing season, leaving the others behind to grow larger.
More on this in a moment!
How to Pick
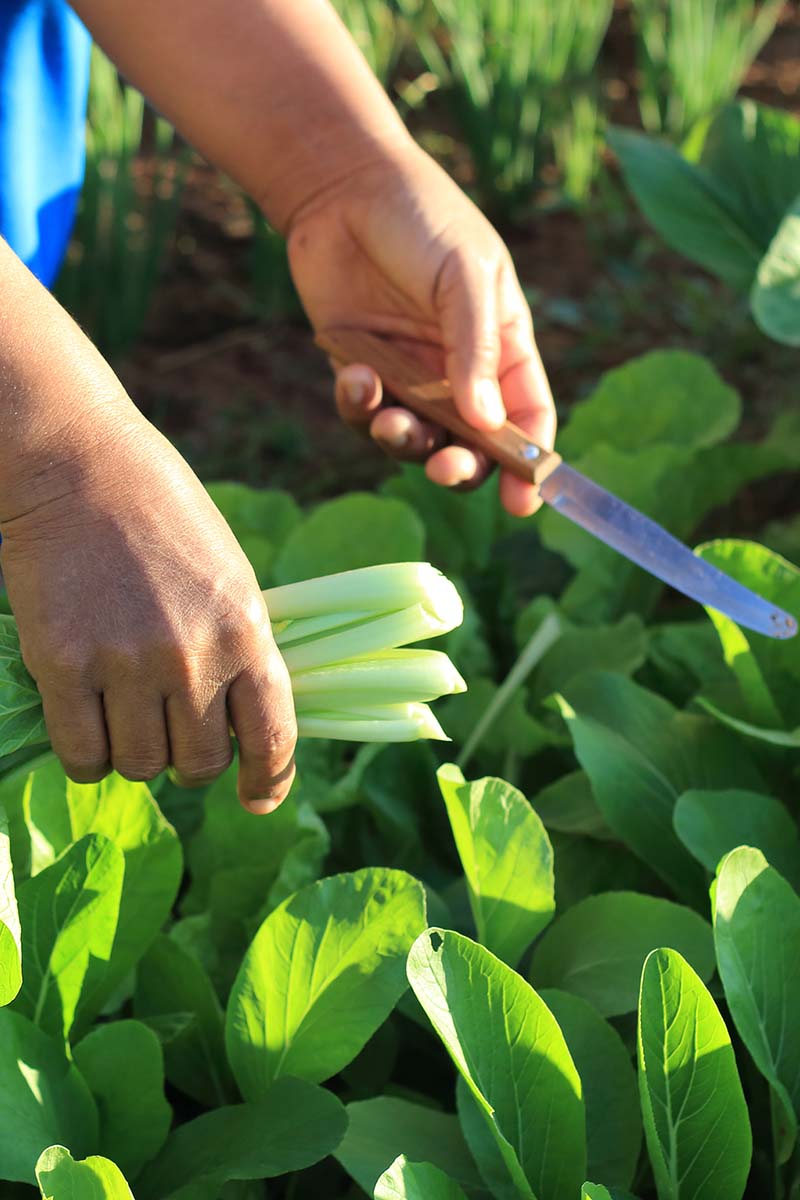
Grab your favorite pair of gardening or kitchen scissors, make sure they’re clean, and head out into the garden – preferably in the early morning when temperatures are cool, and the heat from the sun hasn’t begun to suck the moisture out of your plants.
Find the base of a plant, gently lift the rounded base of the stems, and cut the short root stem below the base, lifting away your lovely head of homegrown Chinese cabbage.
Bring it into your kitchen, and either cook or eat the stems and leaves raw, or store them right away.
If you wait for the day to warm up before you pick, or you keep the harvested pak choi out for too long, the leaves and stems are likely to wilt, dry out, and turn rubbery.
Be sure to pick at the right time of day, and properly store anything you won’t be using straight away.
If you leave at least two inches of the base of each plant intact when you cut the leaves away, you can elect to uproot these to regrow new leaves from the base as an indoor gardening project.
If it’s not too late in the season, they may also regrow outdoors in time to harvest more.
To harvest using the cut-and-come-again method I mentioned above, snip just the outer leaves about one or two inches up from the base.
You can cut about one-third to one half of the plant at a time, harvesting the outermost leaves. New leaves will begin growing right away!
Bok choy’s readiness to regrow and provide more leaves to eat is one of my favorite things about it.
But hot weather can take its toll, causing the plants to bolt.
If your bok choy bolts, sending up a central stem topped with small yellow flowers, cut off the entire stem. This may prevent the leaves and stems from turning tough and woody, if you catch the flower stem in time.
Taste a few leaves to see if they’re still tender and flavorful. If not, it’s time to harvest the entire plant, eat what you can, and compost the rest.
If the leaves do still taste good, keep a close eye on the plant to make sure it doesn’t bolt again, and keep it as cool as possible with a shade cloth if necessary – heat makes it bolt!
Read more tips on stopping bok choy from bolting here.
Regardless of whether or not your plant is still tasty and tender once it flowers, you can also eat those bright blooms by tossing them into a salad or sandwich, for a zesty addition with a flavor reminiscent of mustard.
Preserving Your Bok Choy
If you don’t plan to eat your pak choi right away, don’t wash it as soon as you bring it inside!
Cut the stems away from the base if you want to regrow your bok choy as an indoor gardening project, or simply pry the stems apart if you don’t, and store them in a zip-top bag.
Place them in your refrigerator’s vegetable drawer, where they’ll stay fresh for up to five days.
To eat, cook, or process your harvest right away, separate the stalks and clean all the nooks and crannies between them. Once you get to the center, slice the head in half to make sure you can get all of the dirt out.
You can blanch and freeze the stalks to add to recipes later, when summer’s bounty is just a memory. You can even pressure-can the stalks. Our sister site, Foodal, has 13 top tips for you to follow when you start pressure canning.
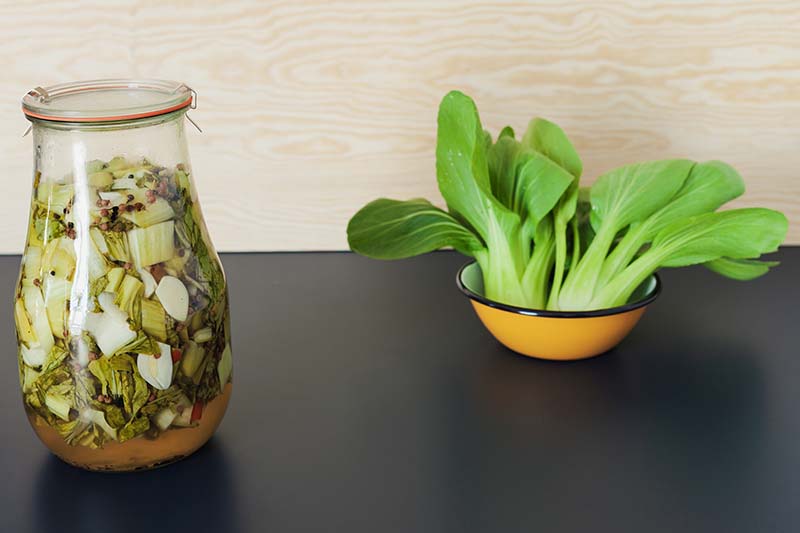
Bok choy is also super easy – and tasty! – to enjoy as a “refrigerator pickle.”
Unlike canned pickles that are shelf stable, refrigerator pickles only last for about four to six weeks in your refrigerator. But they’re an easy, quick way to hang on to your pak choi for longer, and infuse it with incredible flavor.
You’ll probably only want to use the stems for refrigerator pickling, which means you can remove the leaves to use in a salad and save the stems to make pickles.
If you love pickled leaves, though, go ahead and include those, too. Bok choy also makes a delicious kimchi.
Here’s my version of how to make refrigerator bok choy pickles, with the crunchy stems:
- Wash and cut the stems of two or three heads of pak choi.
- Place them in one or two tall, wide-mouthed, 32-ounce canning jars. Go ahead and fit as many in each jar as you can!
- Bring one cup of water to boil and then dissolve two tablespoons of sugar in the water.
- Remove the water from the heat and add half a cup of rice vinegar and a pinch of salt, along with any other flavorings you wish to use. Raw garlic is my favorite thing to add.
- Pour the water into your jars, filling them to the very top, and screw the lids on tight. Place in the refrigerator.
- Let the pickles sit in the brine at least overnight before opening and enjoying! Eat your pak choi pickles within four to six weeks.
If you notice any mold or off flavors, toss them sooner. You can always make a new batch!
If you love dehydrated veggies, and especially dried greens, you can also dry bok choy in a food dehydrator. Check out the best dehydrators on the market in this guide from Foodal.
Be sure to follow the manufacturer’s recommendations for time, temperature, and veggie prep when dehydrating.
Moisture content can vary, so it’s always a good idea to keep an eye on whatever you’re drying from the garden, and adapt as needed.
This isn’t my favorite way to eat Chinese cabbage personally, but some people adore it – and you might be one of them!
Recipes and Cooking Ideas
I love trying out new combinations of vegetables to roast together.
One of my latest favorites is roasting bok choy stems and leaves alongside radishes, carrots, and cauliflower for a tasty side dish that can be enjoyed with any meal.

I usually drizzle my veggies with olive oil and lemon juice, and add a sprinkle of salt and pepper, to bring out all the delicious flavors.
You can also steam Chinese cabbage, saute it, or eat it fresh in salads.
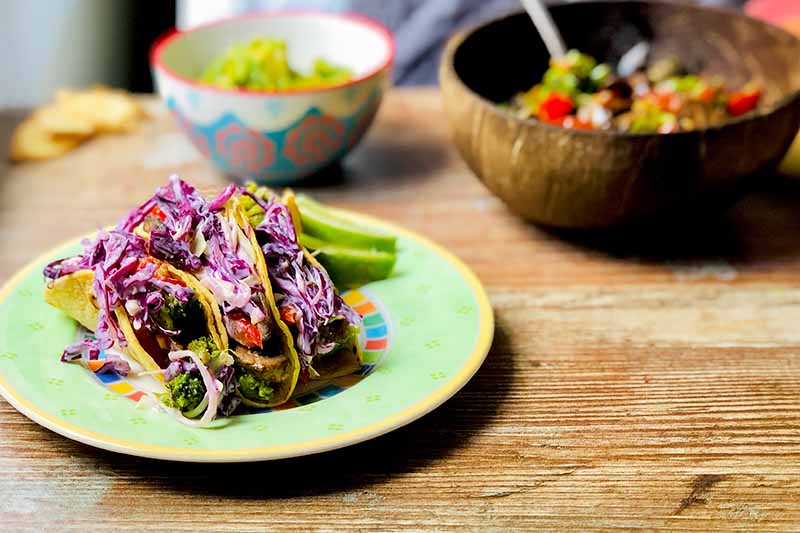
If you’re feeling adventurous, try swapping pak choi in for “regular” cabbage in recipes like this one for garlic ginger vegetarian tacos with sweet and spicy cabbage slaw from our sister site, Foodal.
The stems will provide that juicy crunch that you’re looking for.
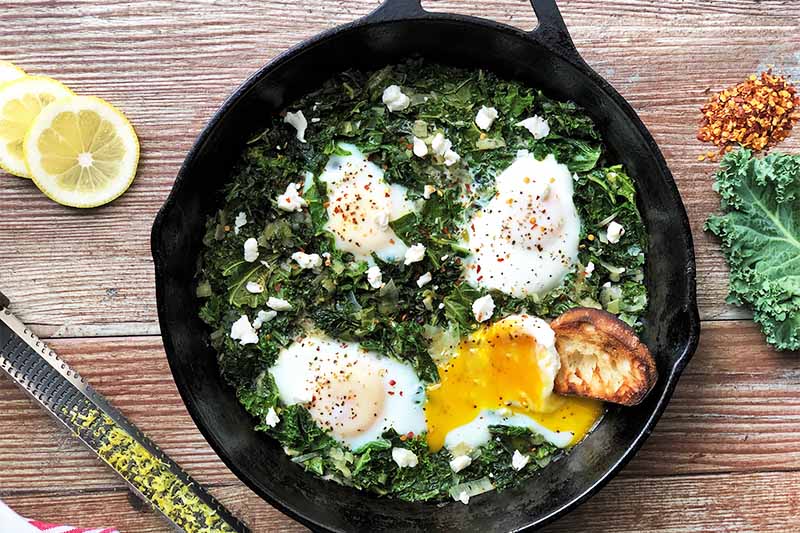
Or, use it instead of – or along with! – kale in this Foodal recipe for kale and eggs with leeks, lemon zest, and goat cheese.
Imagine heading to your garden, harvesting some bok choy leaves and maybe some kale too, and adding them to this recipe for a hearty breakfast.
What a perfect way to start the morning!
Versatile Verdancy
It’s amazing how many things pak choi can be used for, isn’t it? This multi-talented veggie makes a fine staple in any garden – or on any plate.
Have you ever grown this brassica? Let us know in the comments below, and share your questions and stories, too!
And check out these articles for more information about growing bok choy next:

This is my first time growing Bok Choy, I got starter plants from a local family-owned garden center, so have no idea of the germinate date. I now plan to harvest the outer leaves when I need them instead of pulling up the whole plant. Thank you.
Enjoyed the article and help with harvesting and prep ideas!
Also, would love to see that flower bed y’all made!
Peace, joy and blessings to you and yours!